Ok, I’ll admit, this one is a little silly – but ever since I’ve been doing live broadcasts on the regular, I’ve wanted to increase the number of ways that live stream audiences can interact with the broadcast. I was inspired by projects like Twitch Plays Pokemon and letsrobot.tv, and wanted to create an easy to use system so people can easily create whatever hardware they imagine, and let their audiences take control of it, no matter what platform they’re streaming on.

It turns out that for Twitch.TV, it’s a relatively simple task. Twitch’s chat is based on IRC (the Internet Relay Chat protocol) so it’s relatively simple to have a wifi-capable microcontroller sign into that IRC server, start listening in on the chat, and when it detects certain keywords, can trigger a hardware event. But I wanted a system that would be completely platform agnostic, so I turned to my favorite mobile IoT solution, Blynk.

Blynk already makes it simple enough to control any wifi enabled microcontrollers from any internet connected mobile device, but you can also easily share projects with other people too. Sure, it’s a pain in the butt for your audience to have to download a mobile app to use it – but on the bright side, they don’t need to create any account or give up any personal details, they just need to download the app and then scan the QR code, which will let them control your hardware.

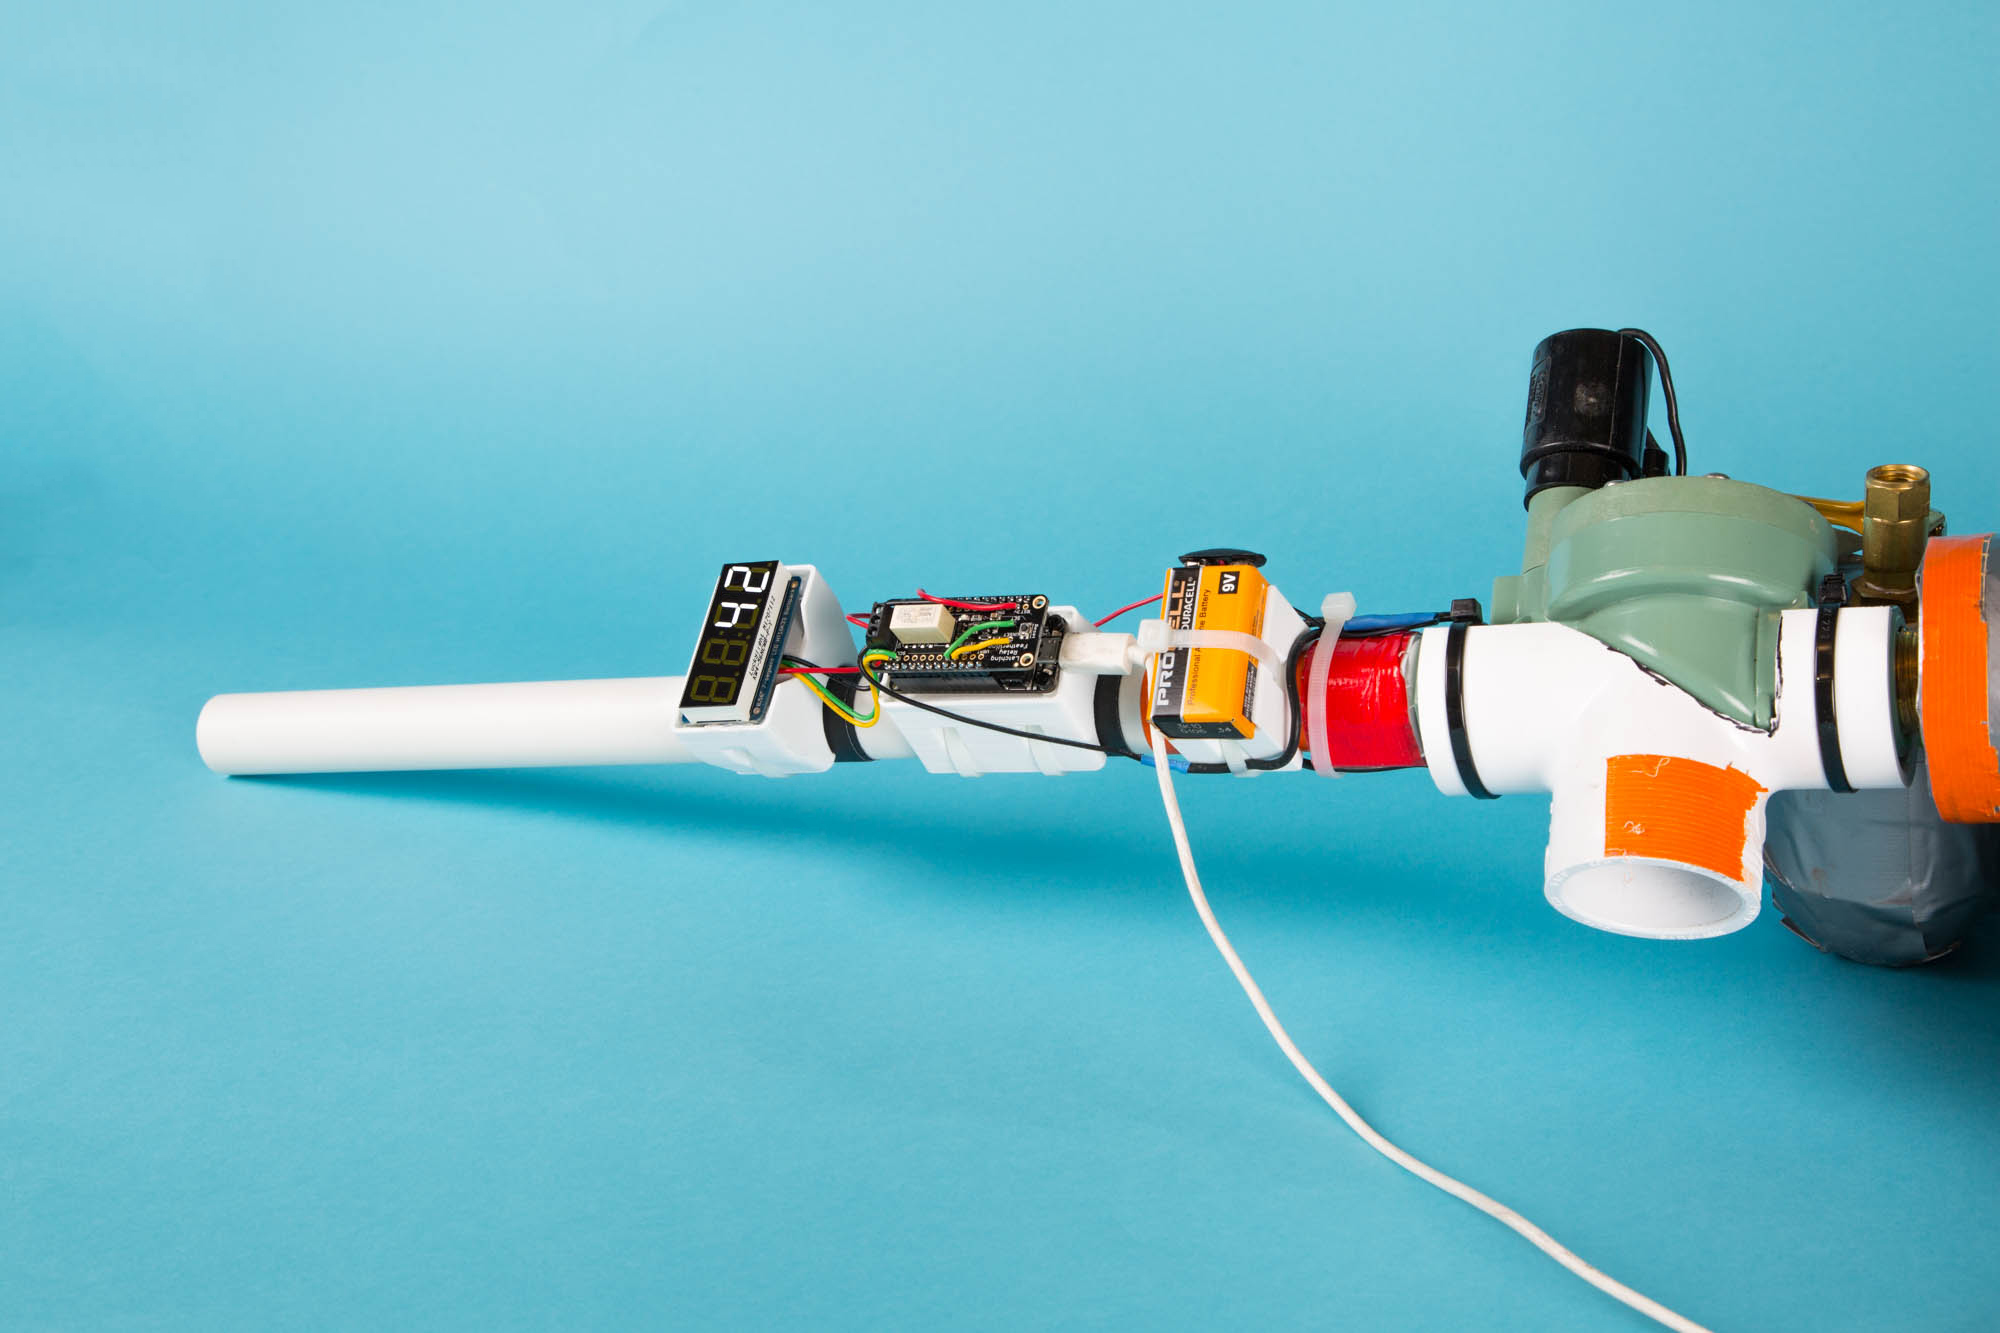
In this implementation, the project will just have a simple button that they can press over and over again. Pressing that button will cause a counter on a seven segment display to count up. When it reaches a certain threshold, the counter will stop, a relay will be triggered, activating a confetti cannon. Hooray! We did it!

I’m not going to go into the details of building the confetti cannon, it’s just a simple air cannon constructed from PVC. if you need help building one, follow the instructions on this project.

Project Steps

Step 1: Solder All the Things

First up, you want to solder up your hardware. Attach female header pins to the top of your Feather Huzzah board, and then solder the seven segment display to its PCB. Then attach the male headers to the bottom of the relay featherwing. You’ll also need to solder some jumpers to the relay board – pin twelve to the “set” pin and pin 14 to the “unset” pin. Using some short pieces of hookup wire, connect the Seven Segment controller board to the relay featherwing. Since it communicates using i2c, it only needs connections for power, ground, SCL and SDA.


Feather Huzzah with female header pins soldered.
Soldered 7-Segment Backpack. Red is (+), Black is (-), Yellow is SDA and Green is SCL
Soldered Relay Featherwing. Wires heading off to the right connect to the 7-segment display. Also note the “Set” wire connected to pin 12 and “Unset” to pin 14.

Step 2: Don’t Blynk (Actually, do Blynk)

Next we’re going to set up a program in Blynk. Create a new project and give it a name. Select “Generic ESP8266” as your device. Once you create it it should sent you an email with your auth key. Now create a button and map it to digital pin 5. Hit the icon up at the top that looks like a nut to go into settings. Hit the switch to activate project sharing and get a QR code. Take a screenshot it and send it to yourself in an email – people will need to scan it to access your hardware. They can’t do anything to change the app, only use it, and any changes you make to it, including temporarily deactivating it, will be immediately reflected on their end.

Blynk Project settings: note the shared access toggle.


Settings for the Button in Blynk

Step 3: Time to Install the Software! Huzzah!

OK, now let’s get the code onto the Huzzah. Get the auth code from your email and add it to the sketch, and then add your wifi details. Set the trigger threshold to whatever you feel is appropriate, and then upload it to the board. You can get the code from the repo for this project, found here.

Software setup. The Bits that require user modification are highlighted in red.

Step 4: Ready your Weapons

Strip the shielding off of the wires for the solenoid valve of your air cannon and solder one of them to one of the leads of your battery clip. A solenoid  is essentially an electromagnet so polarity doesn’t matter. Wire the other lead from the battery clip, and the loose lead from the solenoid, into the common and Normally open side of the relay terminal. – Screw them down tight. You can then mount the hardware to your confetti cannon in any way you like – I’ve included some parts for the Feather, the display and the battery that you can print up and mount using zip ties and screws. If you want to use them, they’re in the repo.

Step 5: Go Play! (but be safe)

The project is now complete! Boot up the microcontroller – when the display reads “0” that means it’s connected to the internet and ready to receive input. Make sure that your app in Blynk is deactivated before pressurizing the air cannon or filling the barrel with confetti. When the cannon is ready to fire ( and safely aimed away from any person) activate the Blynk app.  Share the program with people by publishing the QR code you took a screenshot of earlier. As people interact with it, you’ll see the counter on the seven segment display rise, until the threshold is met, and the cannon fires.