Back in the 1970s, my friend Wayne Gillis and I used to do light shows at science fiction conventions. We had the usual panoply of overhead, slide, and custom-made projectors, and a single, very expensive, helium-neon laser from Edmund Scientific. Calling ourselves Light Opera, and later, Illuminatus, we performed at ConFusion conventions in Ann Arbor, Mich., and at the World Science Fiction Convention in 1976, where Robert Heinlein was guest of honor.

Flash forward 30 years, and I get a call from David Bloom, a web marketing/connection guy and awesome keyboardist. Would we like to revive our act and perform with him at Penguicon 7? You betcha, I said, and Wayne and I set about to update our craft, revive our spent youths, and order a bunch of now-inexpensive lasers. Thus Illuminatus 2.0 was born.

Penguicon is a unique convention that mixes science fiction fans with those deep into open source software. Given the open nature of the event, we decided to share our tech with MAKE readers interested in laser displays and soldering.

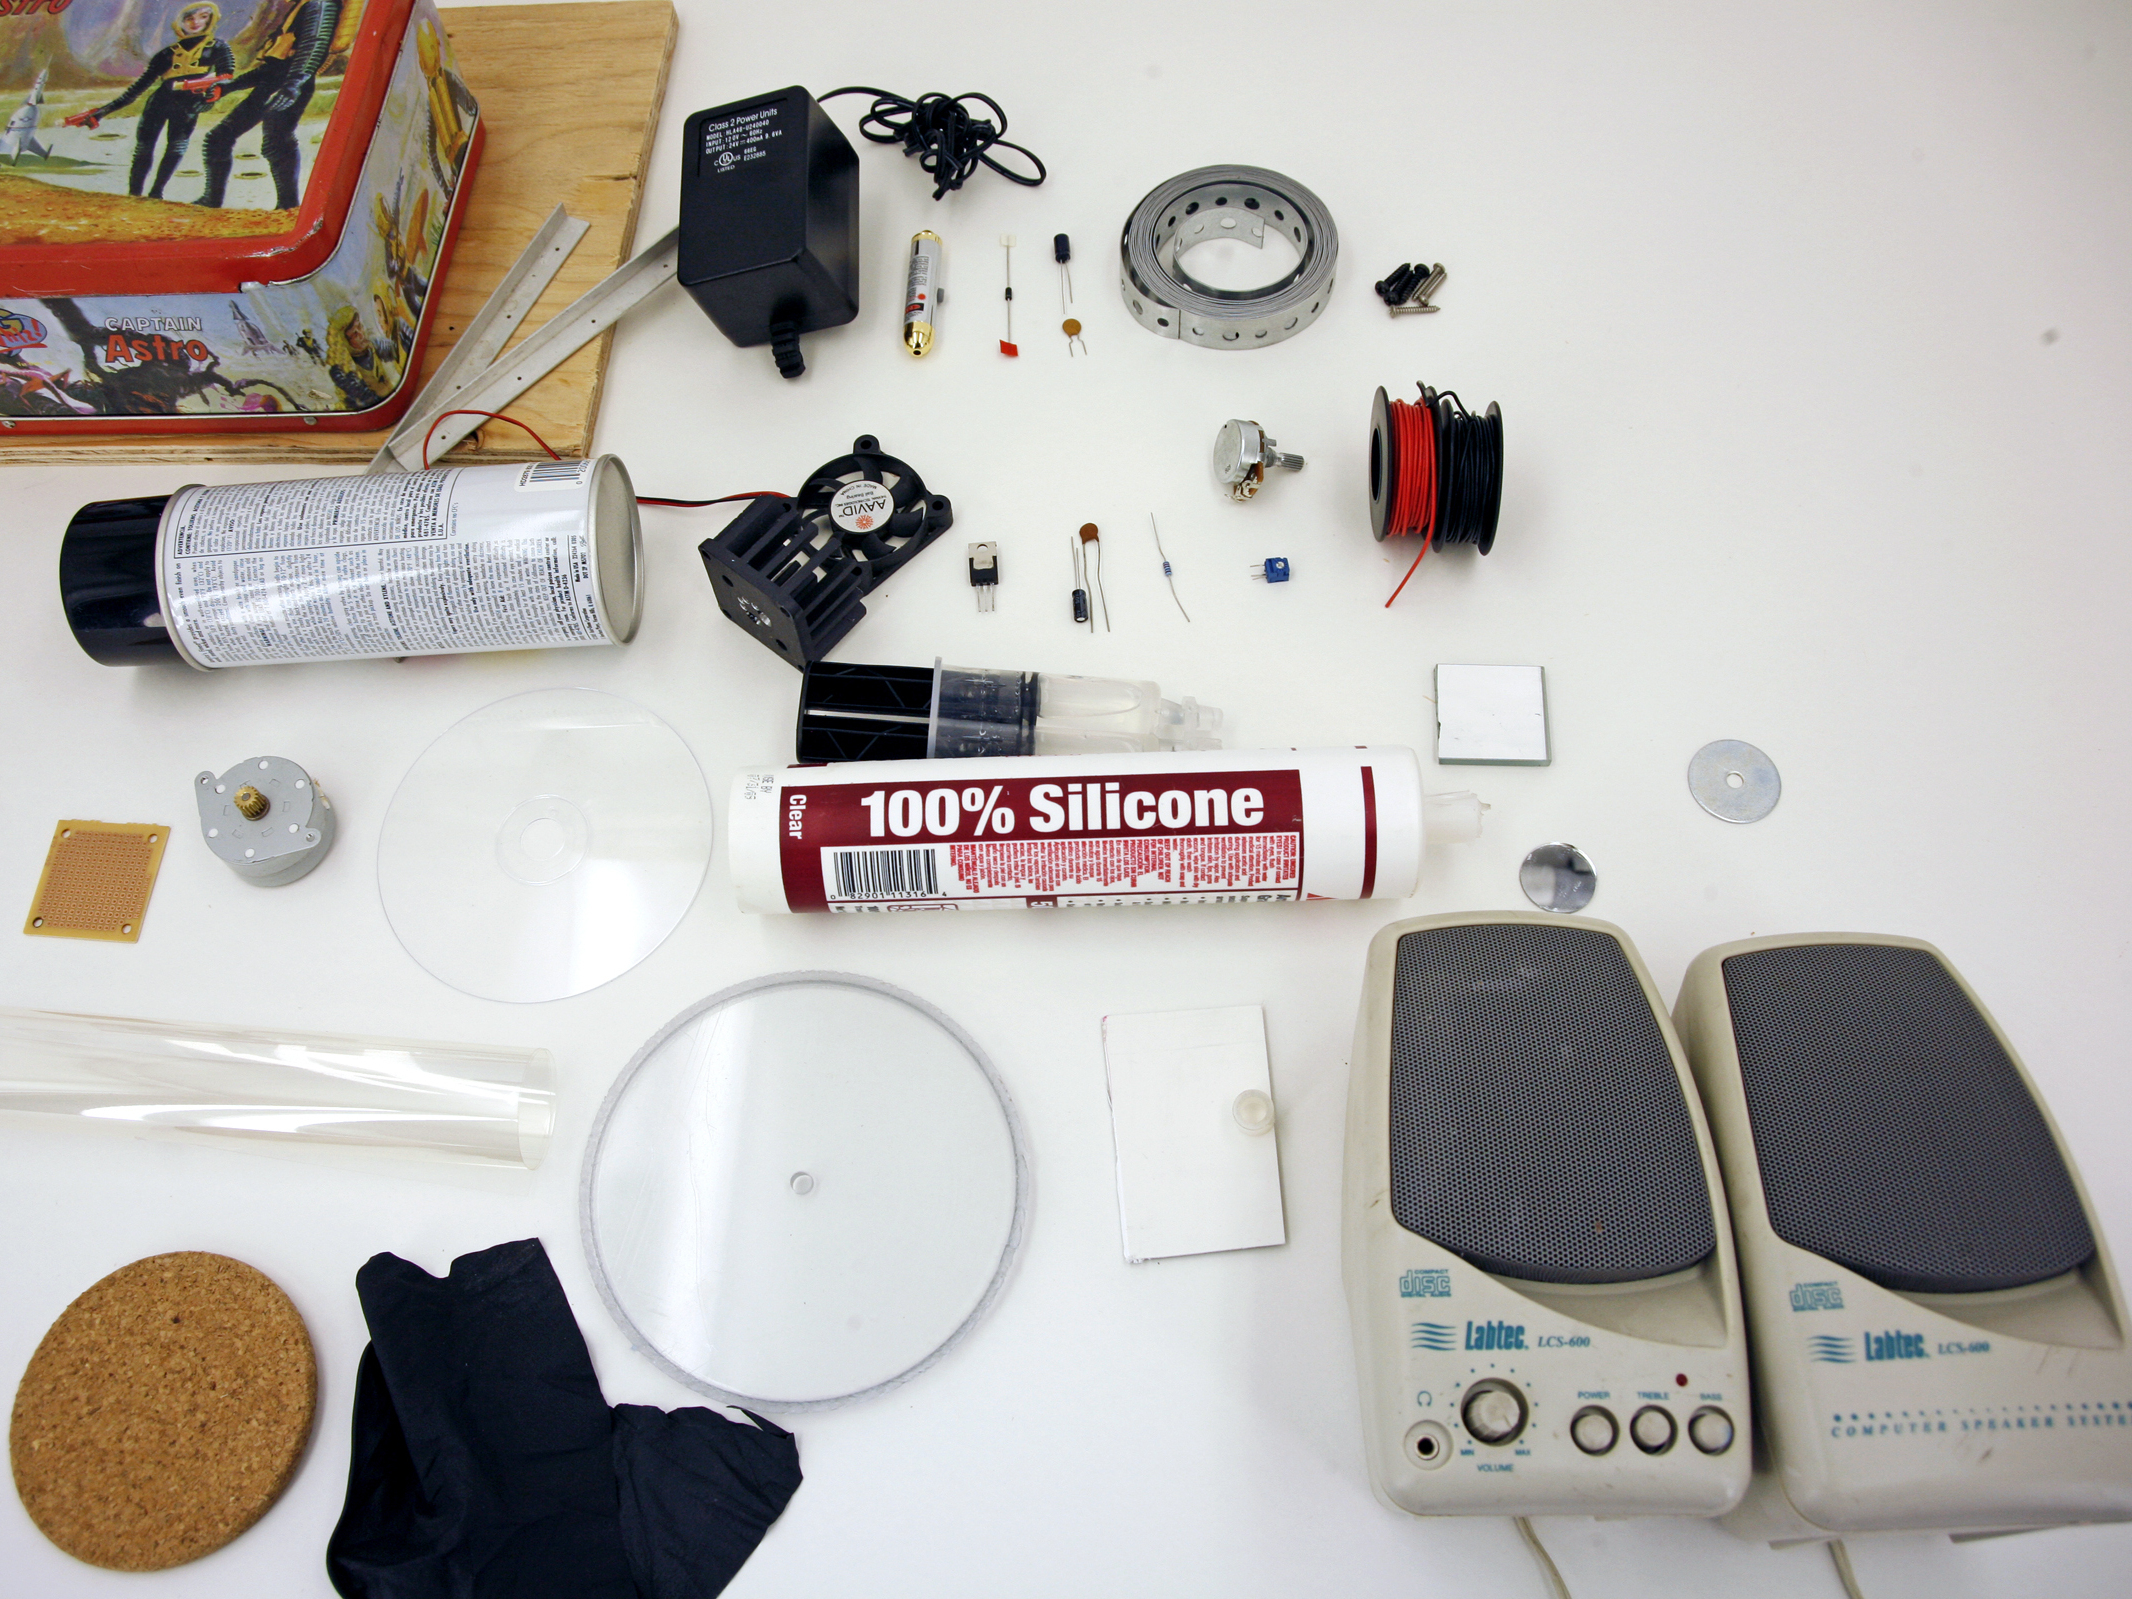
Instead of a single, monolithic laser device, we went with a bunch of inexpensive units, and as “cheapness” was the watchword for this project, we housed the devices in the cheapest metal boxes we could find, namely, lunchboxen. (Penguicon is a Linux convention, so it’s one box, two boxen). A search of eBay turned up a raft of cool boxen with science fiction themes, and we were on our way.

Project Steps

Assemble the voltage regulators.

Count the number of voltage regulator circuits you need to build your boxen. Each Lumia box needs 2, a Diffracterator needs 4, and a Motiondizer uses 1.

Cut a section of perf board for each box and follow the circuit schematic in the documents section to assemble its voltage regulator circuits.

If you’re using a laser stronger than 10mW (or want the option to swap one in later), put a heat sink on the LM317 voltage regulator.

Note that all the individual regulator circuits share their connections to power, diode D1, and capacitors C1 and C5.

Make the internal frames.

For each box, start with a base plate made of 3/8″ plywood. Measure the inside of your box at the bottom and cut a piece of plywood to fit, giving it 1/8″ or so of space all around to make removal easier. All the gizmo-ry gets built onto the plate.

Attach side rails to the plate, sized to reach the top corners of the lunchbox. The rails keep everything from falling when the box is on its side, and they also provide places to hang components and serve as convenient handles for removing the workings from the box. I made mine from some erector-set-looking metal stock screwed into ½” blocks of wood glued to the base plate, with the corners secured with pop rivets.

Paint the base plate and rails flat black to prevent random internal reflections.

Now you’re ready to make some laser lunchboxen! Instructions for Lumia, Diffracterator, and Motiondizer follow. The Lumia is a good place to start because it’s the simplest; all you need is 1 laser, 1 motor, 1 lumia wheel, and 2 voltage regulators. For all boxen, the simplest versions use a smaller laser, say in the 5mW neighborhood, which won’t require a heat sink and fan.

Build your boxen: the Lumia.

Make the disk, from plastic or glass. For plastic, glue a washer that fits the motor shaft to the center of a CD spacer. For glass, cut the disk (or have one cut) with a glass cutter and glass drill bit.

In a well-ventilated area, apply model glue or clear epoxy to one surface of the disk, smearing it around with a toothpick to make an irregular surface. These disks can be an endless source of experimentation and amusement as you try different combinations of glue, plastic, glass, and whatnot.

Figure out your component layout on the base plate. If you’re working with a higher-powered laser, leave space for heat sinks and/or fans.

For the motors and laser, position them to minimize footprint and maximize adjustability, so you can fine-tune the beam paths until you get everything dialed in. I usually screw in just one end of the mounting straps, and only screw in the other end after everything is lined up.

With our Lumia device, we used a big 250mW red diode laser from Sunclan (http://clantechlaser.com), so the laser and LM317T regulator are both heat-sunk, with a fan blowing on both. The laser is aimed at a front surface mirror, following the usual configuration, but if your laser is small enough you may be able to skip the mirror and just aim it straight up through the wheel.

Attach everything to the base plate, and adjust. To attach the circuit boards, we used 2 methods. I mounted mine directly to the base plate using wood screws; the plywood acts as an insulator. Wayne mounted his vertically using small angle brackets, which minimizes footprint and provides access to the bottom if you need to tweak the wiring. With pipe straps, you can use the existing perforations for screws, and drill extra holes if the spacing is off.

Assemble the device outside the lunchbox, but periodically put it in to make sure everything fits. As you go along, make sure the laser is happy; warm to the touch is OK, but if it’s burn-your-finger hot, add a fan. Also check that the motor turns at a nice slow speed; <1rpm is best, but adjust to taste.

Finally, attach the lumia disk to the motor, pop it all into your box, and shine on, you crazy diamond!

Conclusion

Variations

Lasers are blisteringly awesome to behold, susceptible to endless tweakage, and dirt cheap. The Lumia boxes have enough room to mount 2 colored lasers, following slightly different paths to create superimposed pattern projections.

The Lumia projector Wayne built (shown here, minus the wheel) has red and green lasers both cooking away. Note the cooling fan and heat sink on the top laser, a 20mW greenie. The mirror is secured with a cabinet door hinge and a strip of pipe strap.

The motor has a more elegant mounting method: standoffs made for circuit board support. He also used ¼" masonite for his base. Having a better stock of sheet metal than I, Wayne used brass strips and small angle brackets for his laser supports. The blue material around the edge is designed to cushion the apparatus in transit, and the copper strip at the top secures the base plate to the box.

RESOURCES

A good place to start: laserpointerforums.com

For advanced users and professional laserists: photonlexicon.com/forums

The pioneering work of Thomas Wilfred: lumia-wilfred.org

Visit makezine.com/20/lunchboxen for hobby laser and materials buying advice and photos of the laser lunchboxen in action.

This project first appeared in MAKE Volume 20, page 110.