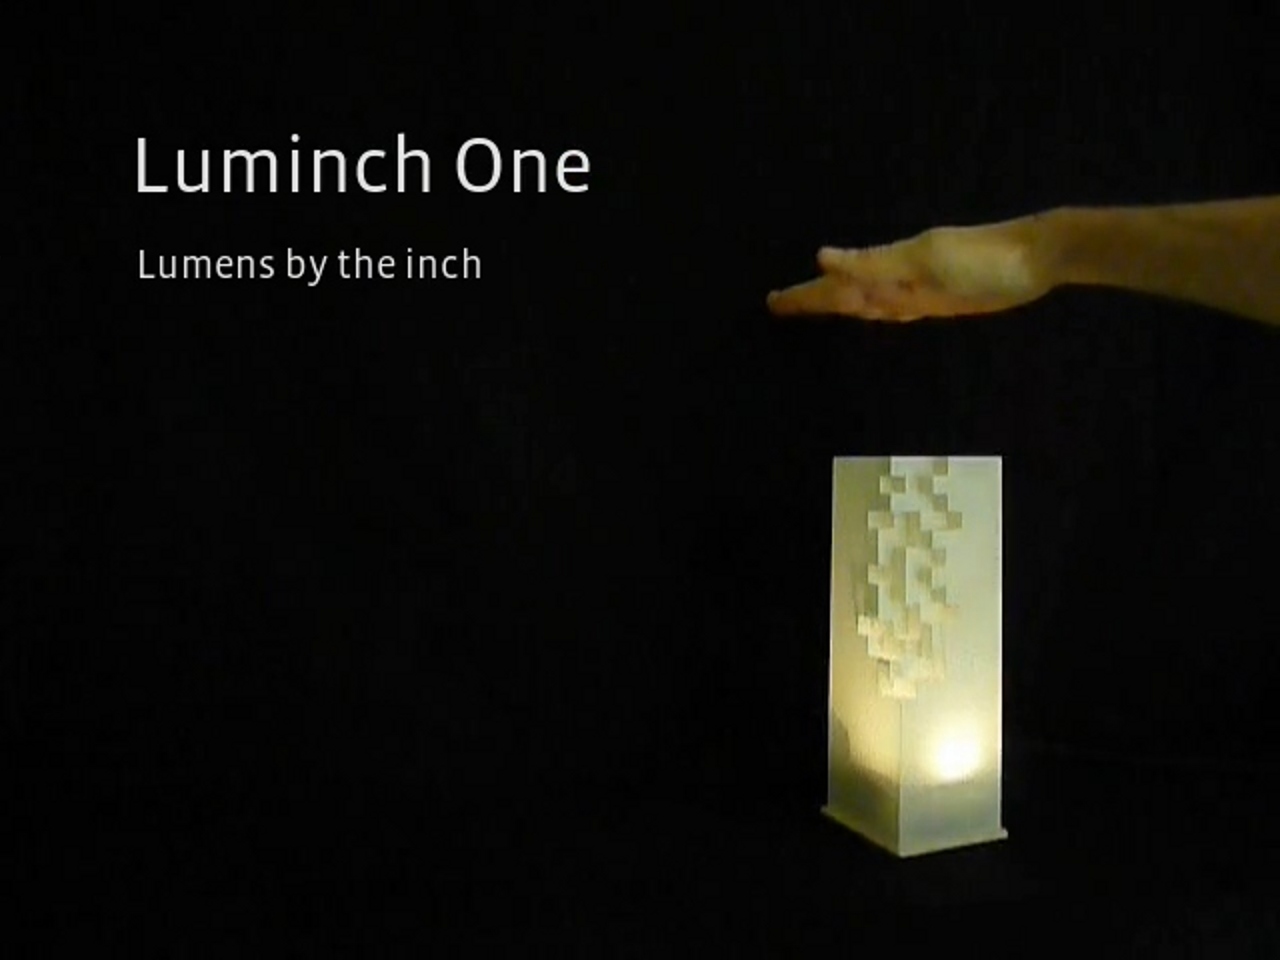
Luminch One is an interactive lamp controlled by the movements of your hand. Wave your hand over it to turn it on or off, or move your hand up or down above it to change its brightness. Inside the lamp, an Arduino hooked to an infrared distance sensor tracks your hand and sets the state and the brightness of the LED lamp.

Project Steps

Get the tools and materials

You can get most of the electronic parts required for this project from Sparkfun. Click the items from the parts list to go to the product page of each part.

Solder the connectors

Cut a 2-pin piece from the right-angle header strip and solder it to the LED board.

Cut a 3-pin piece from the right-angle header strip and solder it to the infrared sensor cable following the color order in the picture. You can add heat-shrink tubing to the wires before soldering them.

Assemble the circuit

Assemble the circuit on the protoboard following the picture and the schematic. Pay attention to the polarity of the electrolytic capacitors and the transistor.

Program the Arduino

Connect the Arduino to your computer using the USB cable.

Download the source code for the project.

Start the Arduino IDE and open the luminch_one.ino file.

Configure the board type and serial port for your Arduino in the IDE.

Upload the code to the Arduino.

Test if it works!

Cut the balsa sheet

Cut three pieces of balsa wood of the following sizes: 77 mm x 77 mm, 70 mm x 70 mm, and 45 mm x 65 mm.

Glue the base

Glue the 70×70 mm balsa square on the center of the 77×77 mm balsa square using the white glue.

Let it dry for two or three hours under a heavy object like a large book.

Glue the Arduino

Glue the Arduino on the center of the wood base using the hot-glue gun. Make sure the board of the Arduino does not stick out of the small square of the base. Only the USB connector of the Arduino must stick out of the small square.

Stack the circuits

Glue the protoboard and the infrared sensor to the 45×65 mm balsa piece.

Put the 45×65 mm balsa piece on the top of the Arduino and fold the cables on the sides.

Cut and score the lampshade

Print the luminch_one_lampshade.pdf file from the project files on the A4 tracing paper sheet.

Fix the A4 tracing paper sheet to the cutting mat using the masking tape.

Cut the solid lines of the pattern using the hobby knife.

Score the dashed lines with the point of the file tool of the Swiss Army knife or with another paper scoring tool.

Remove the sheet from the cutting mat.

Score the dot-dashed lines on the back side of the sheet with the point of the file tool of the Swiss Army knife or with another paper scoring tool.

Fold and glue the lampshade

Fold the sheet following the dashed and dot-dashed lines. Dashed lines are valleys and dot-dashed lines are mountains.

Glue the flap to shape the lampshade as a square prism.

Cut a square hole for the USB connector of the Arduino.

Assemble the lamp

Put the lampshade on the wood base.

Connect one end of the USB cable to the Arduino.

Connect the other end of the USB cable to the USB wall charger.

Plug the USB wall charger into a power outlet.

Enjoy! :)

Further improvements

Replace the Arduino with an ATtiny45 or ATtiny85 to reduce the size of the circuits.

Attach a heat sink to the LED and replace its resistor by a smaller one (6.8 to 10 ohms) to increase the LED power.

Replace the hot-glue with screws to ease disassembly at the unit’s end-of-life.

End-of-life disassembly

Remove the circuits and the hot-glue from the balsa wood pieces.

Cut the lampshade and the balsa wood in small pieces and compost them in your garden.

Disassembly the circuits by removing the cables and the components from the protoboard.

Reuse the Arduino and the electronic components in another fun project!