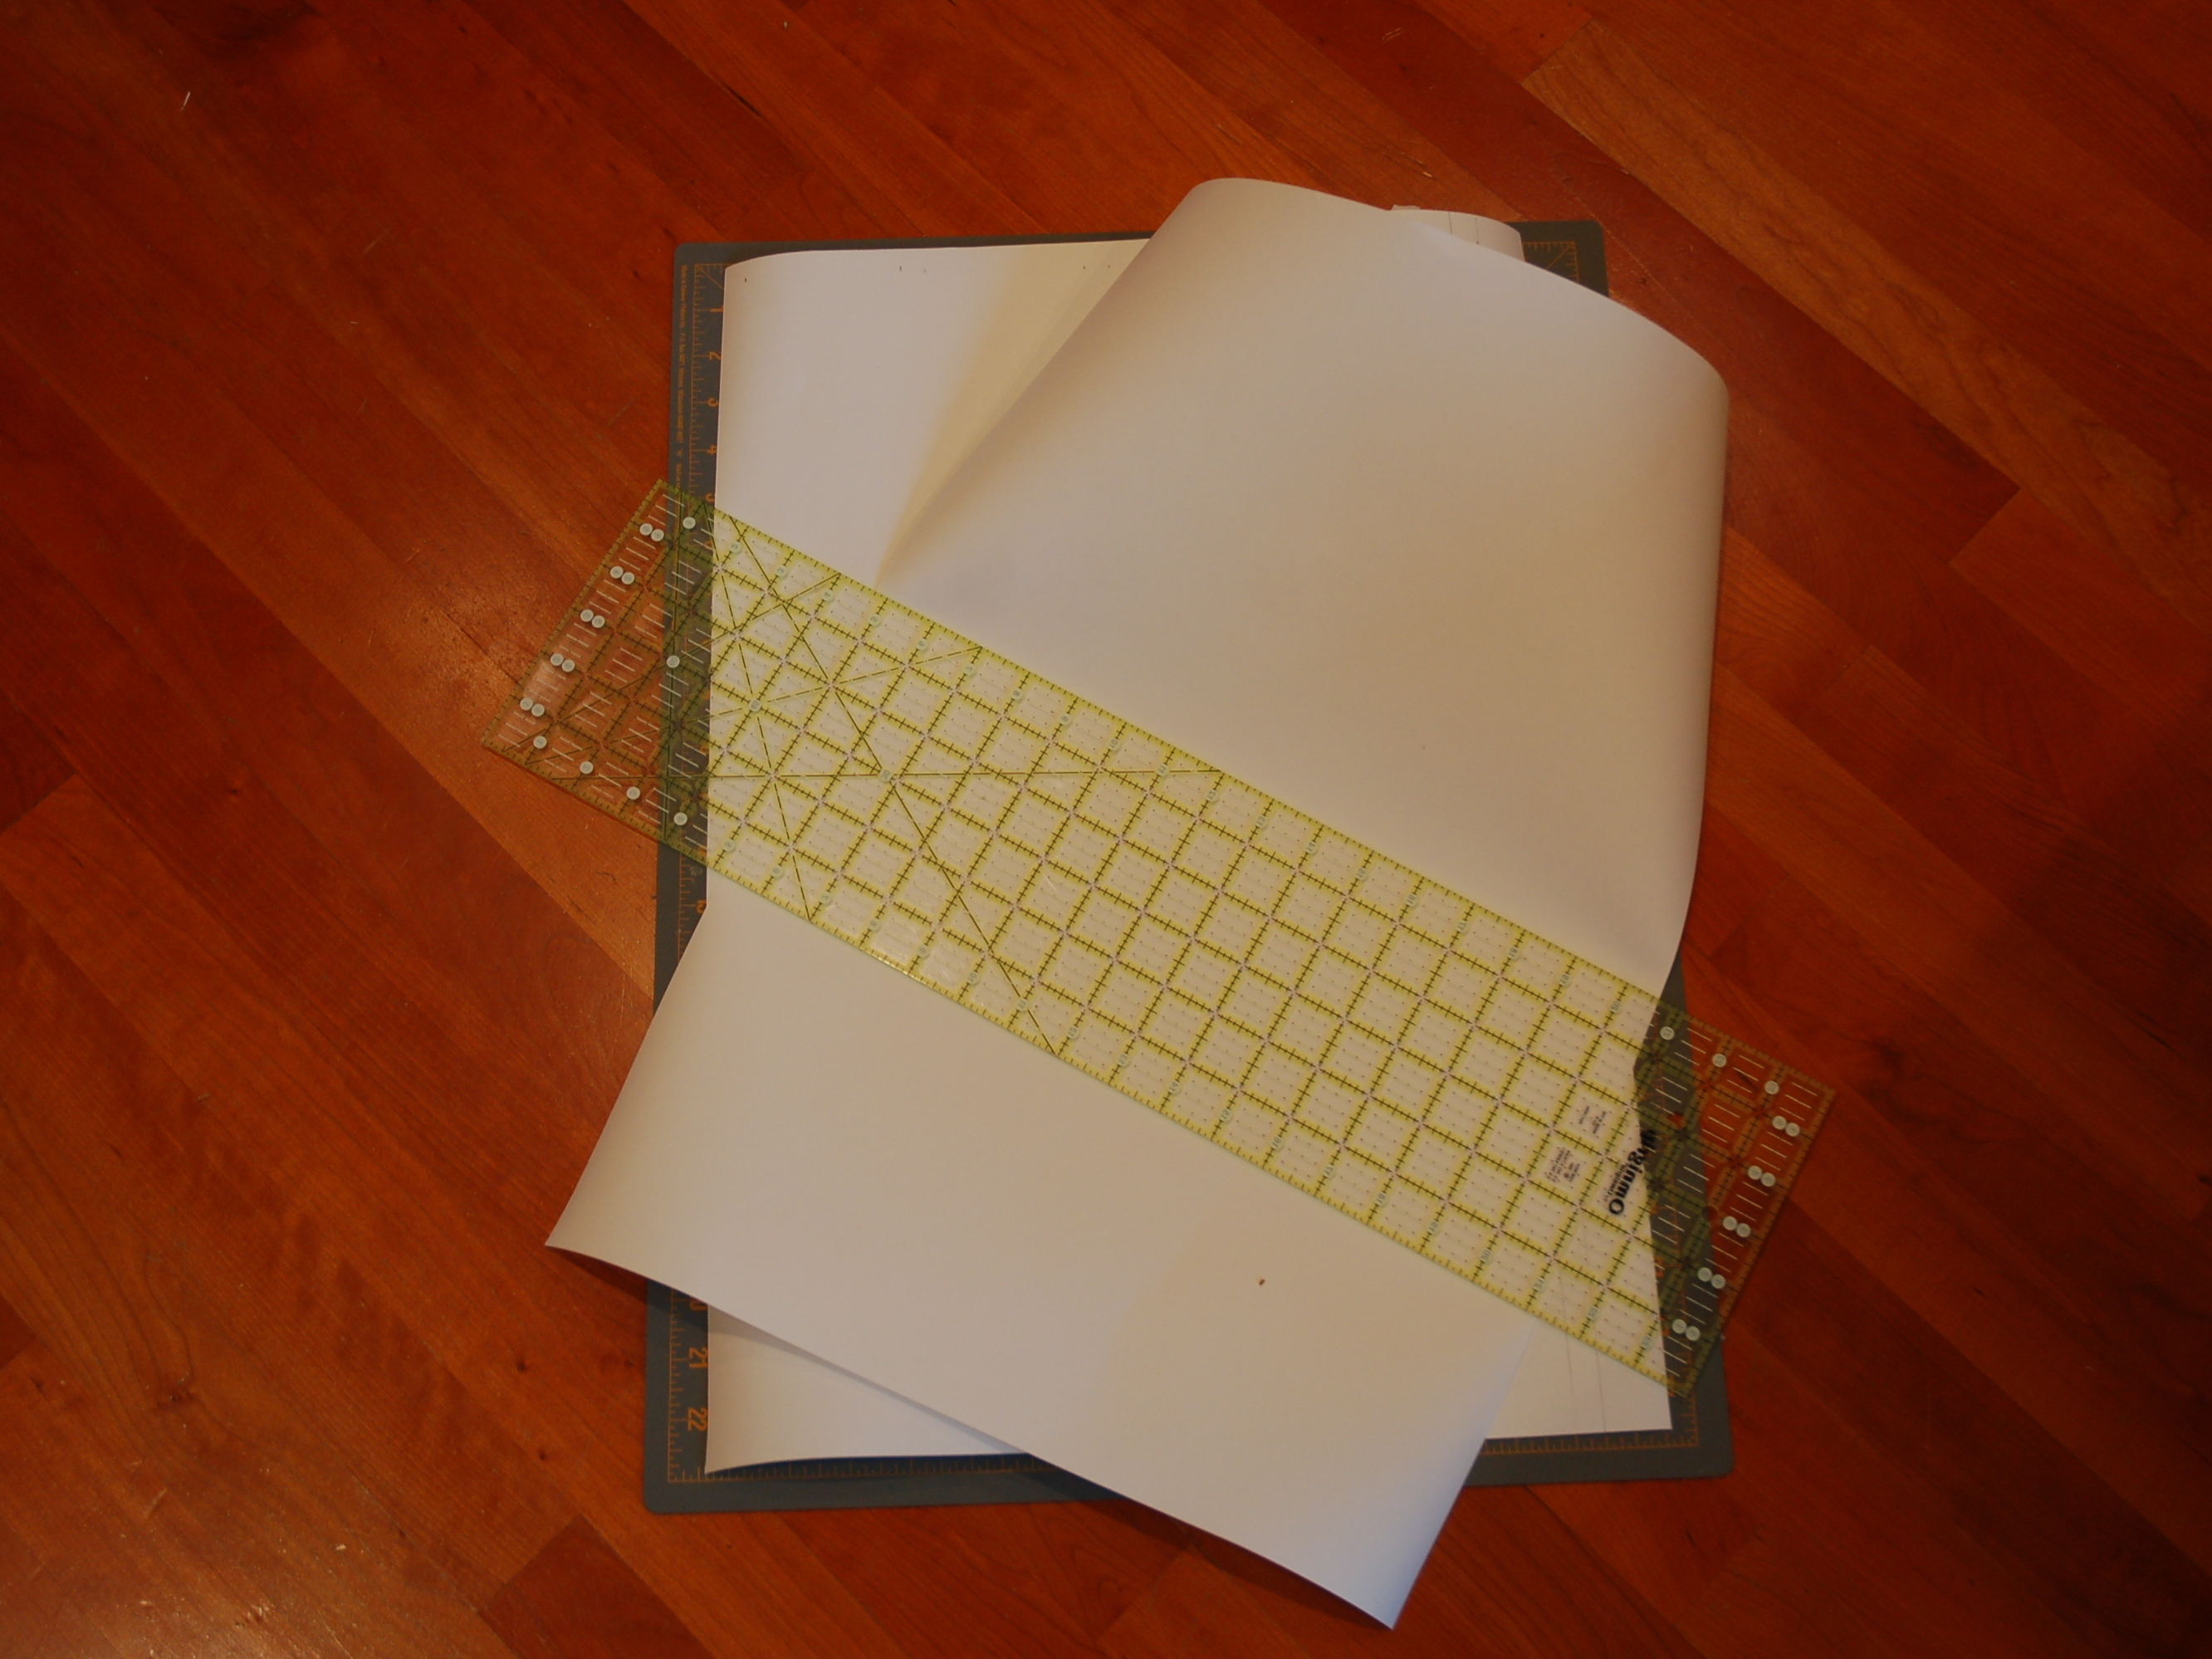
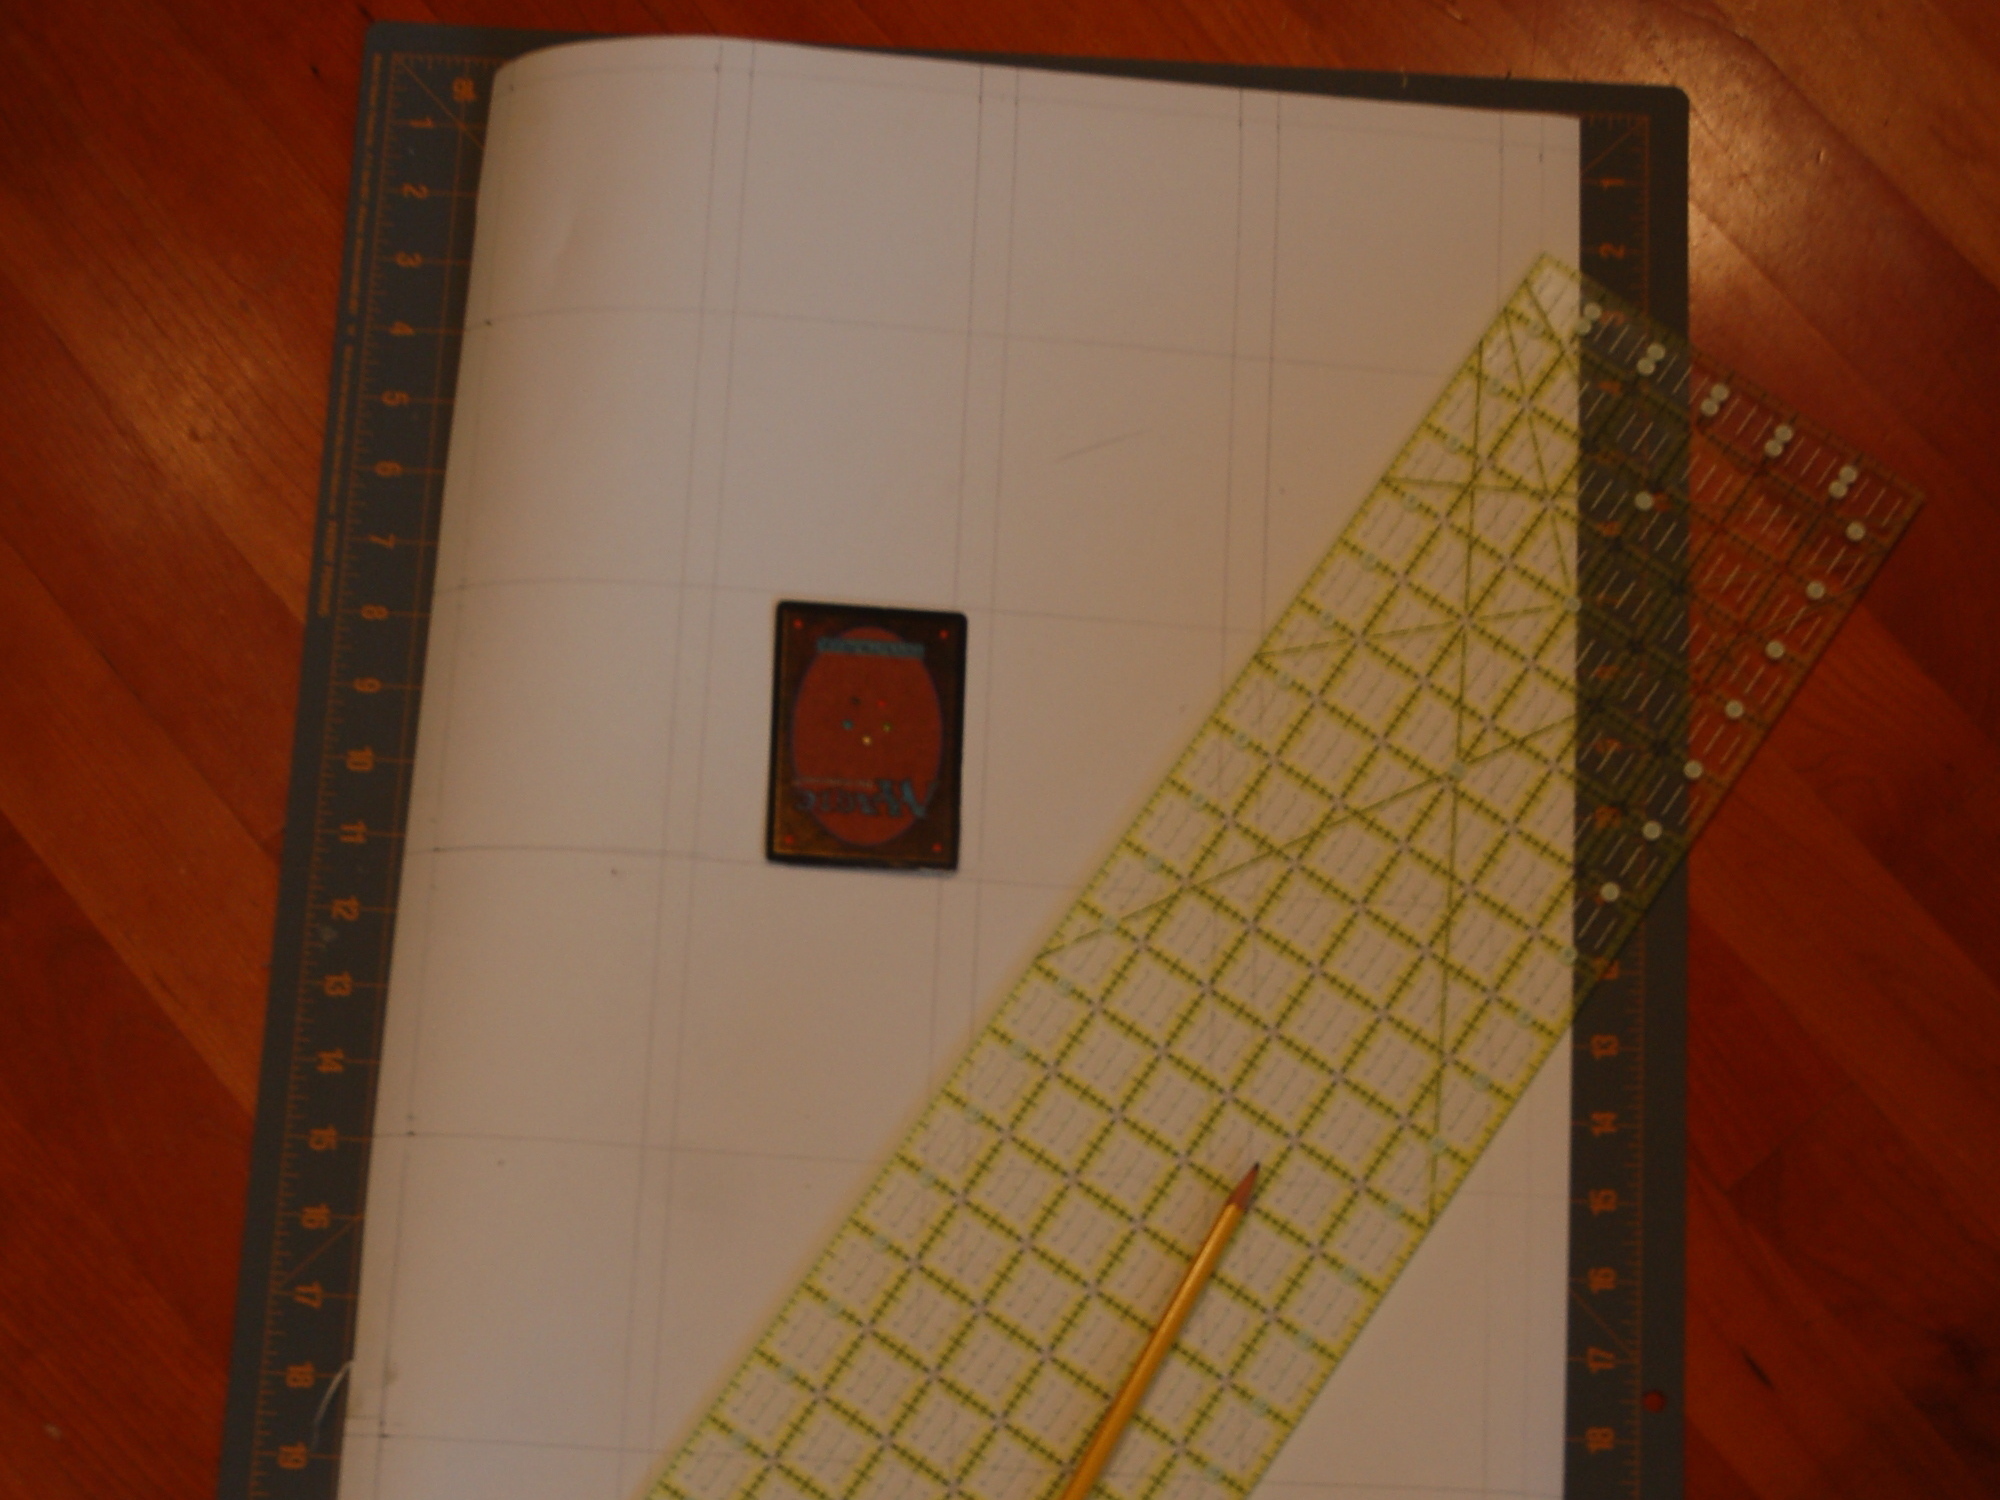
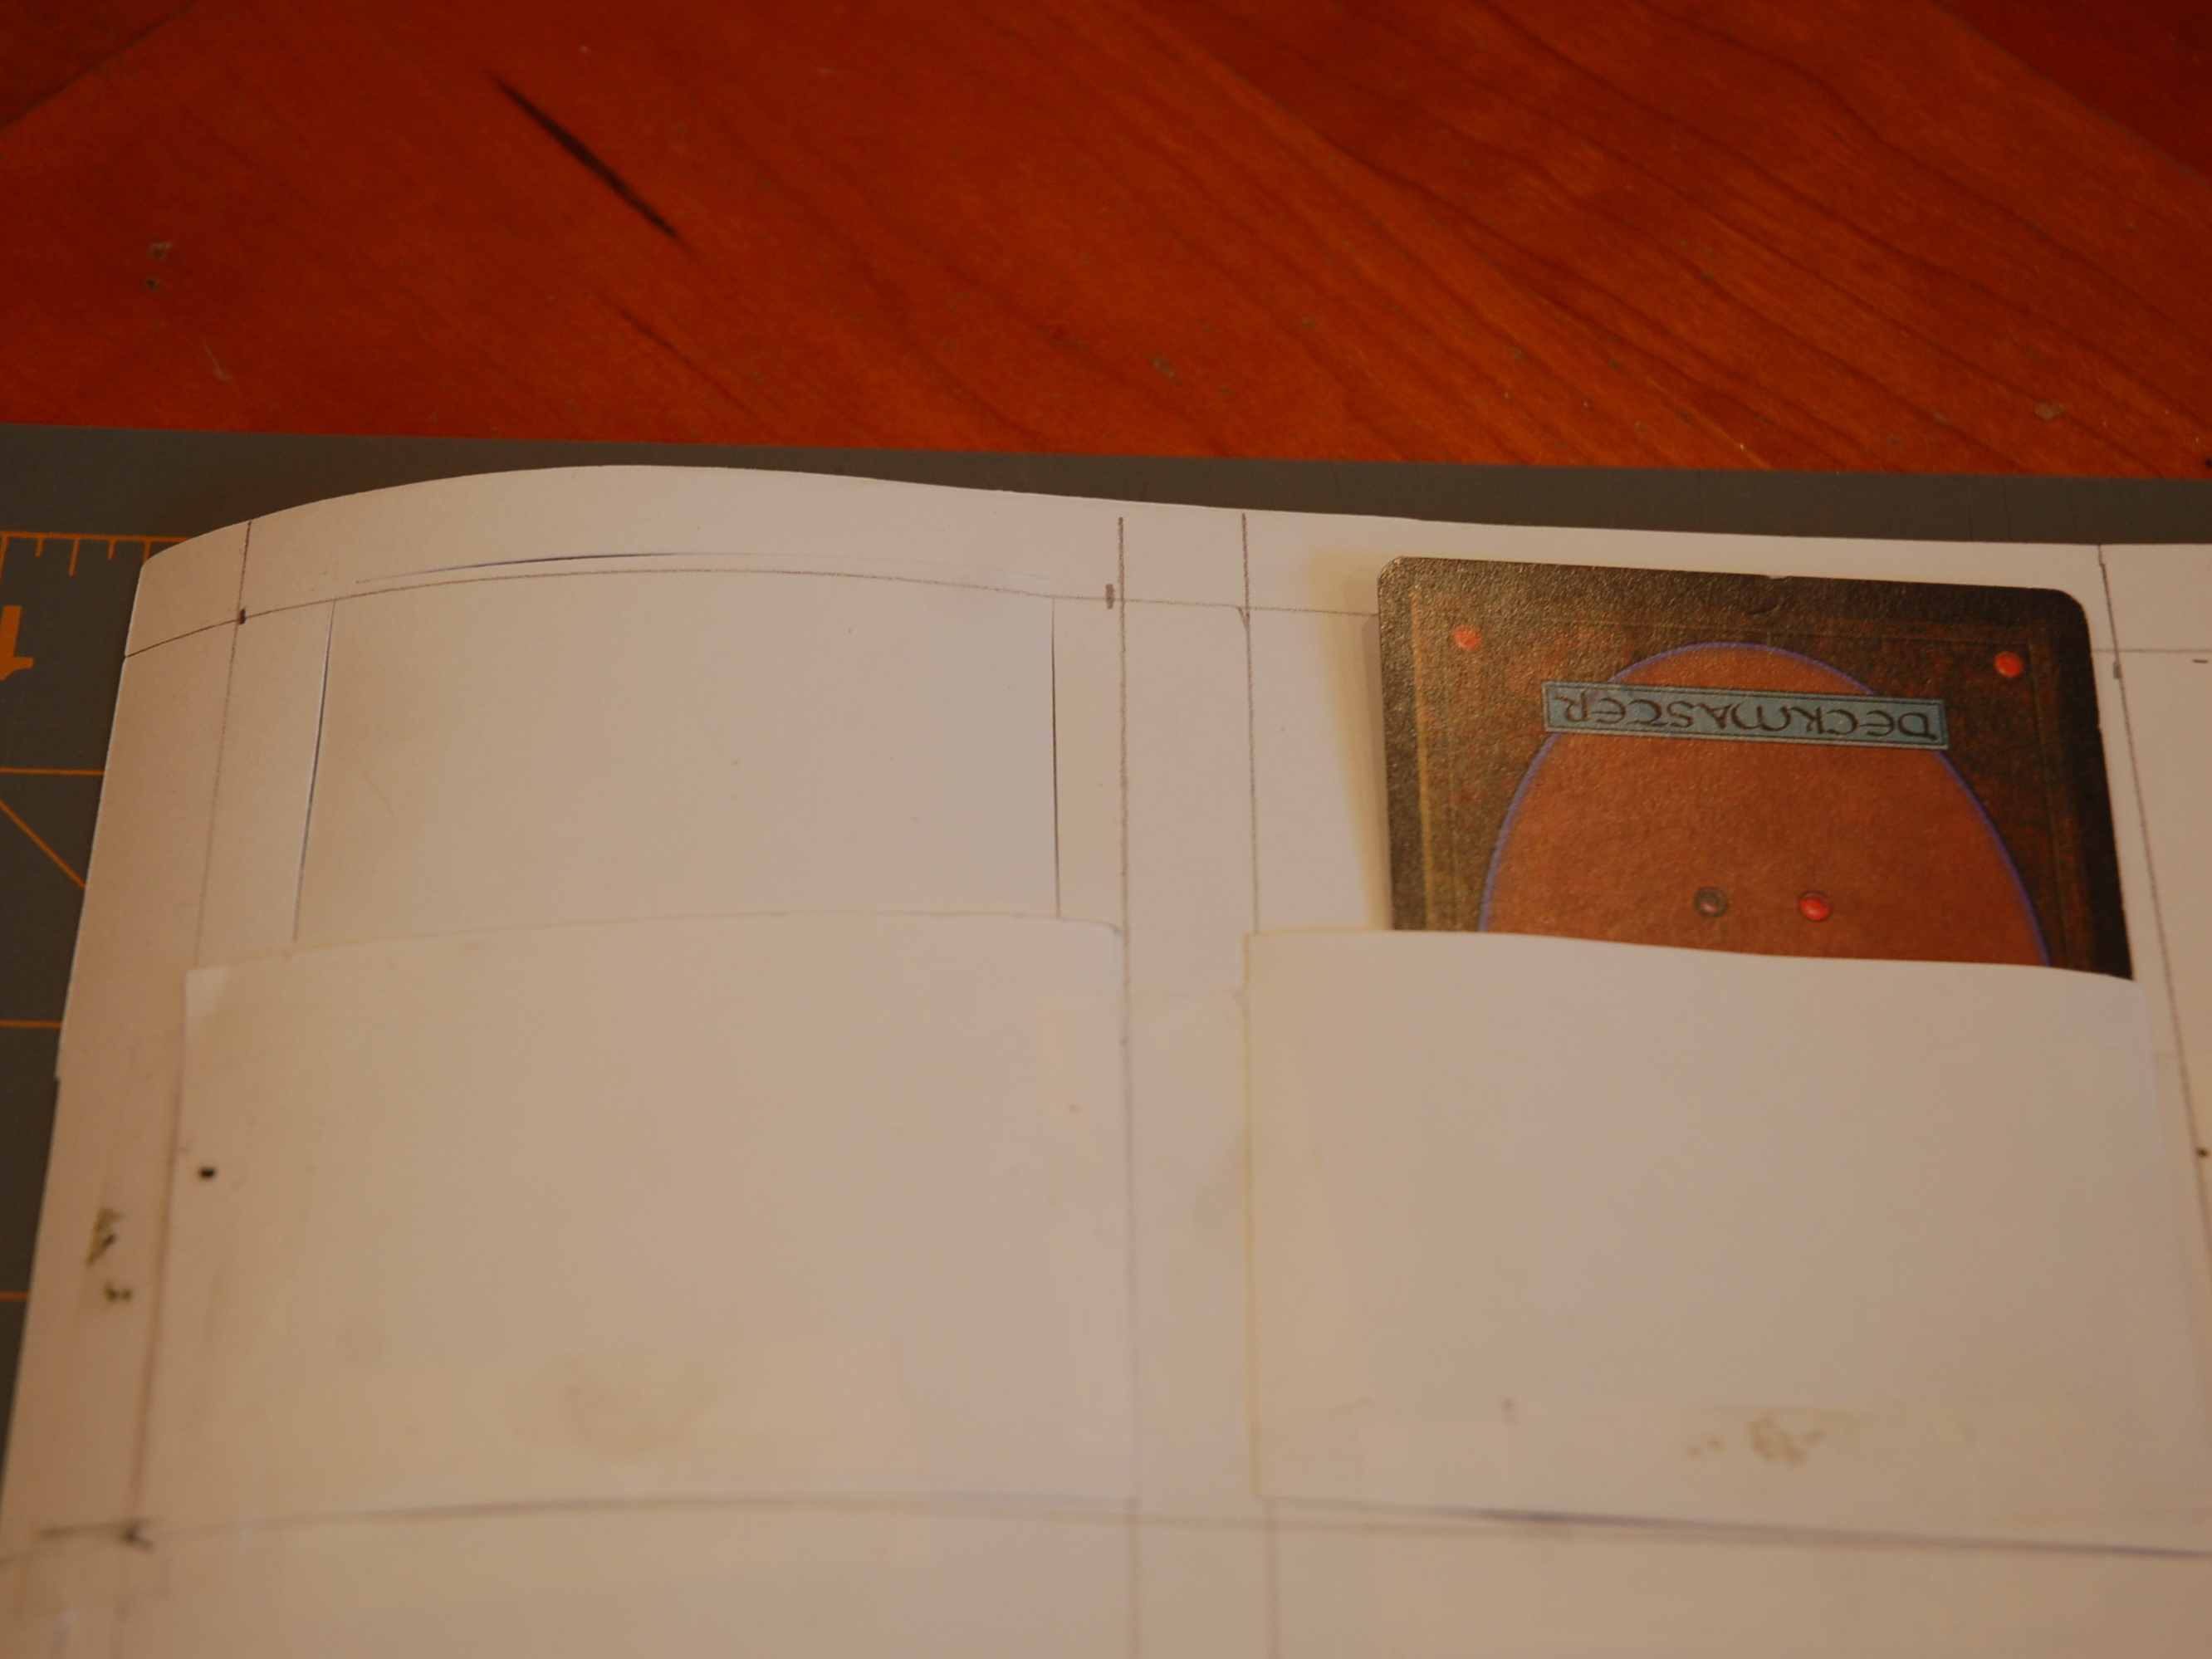
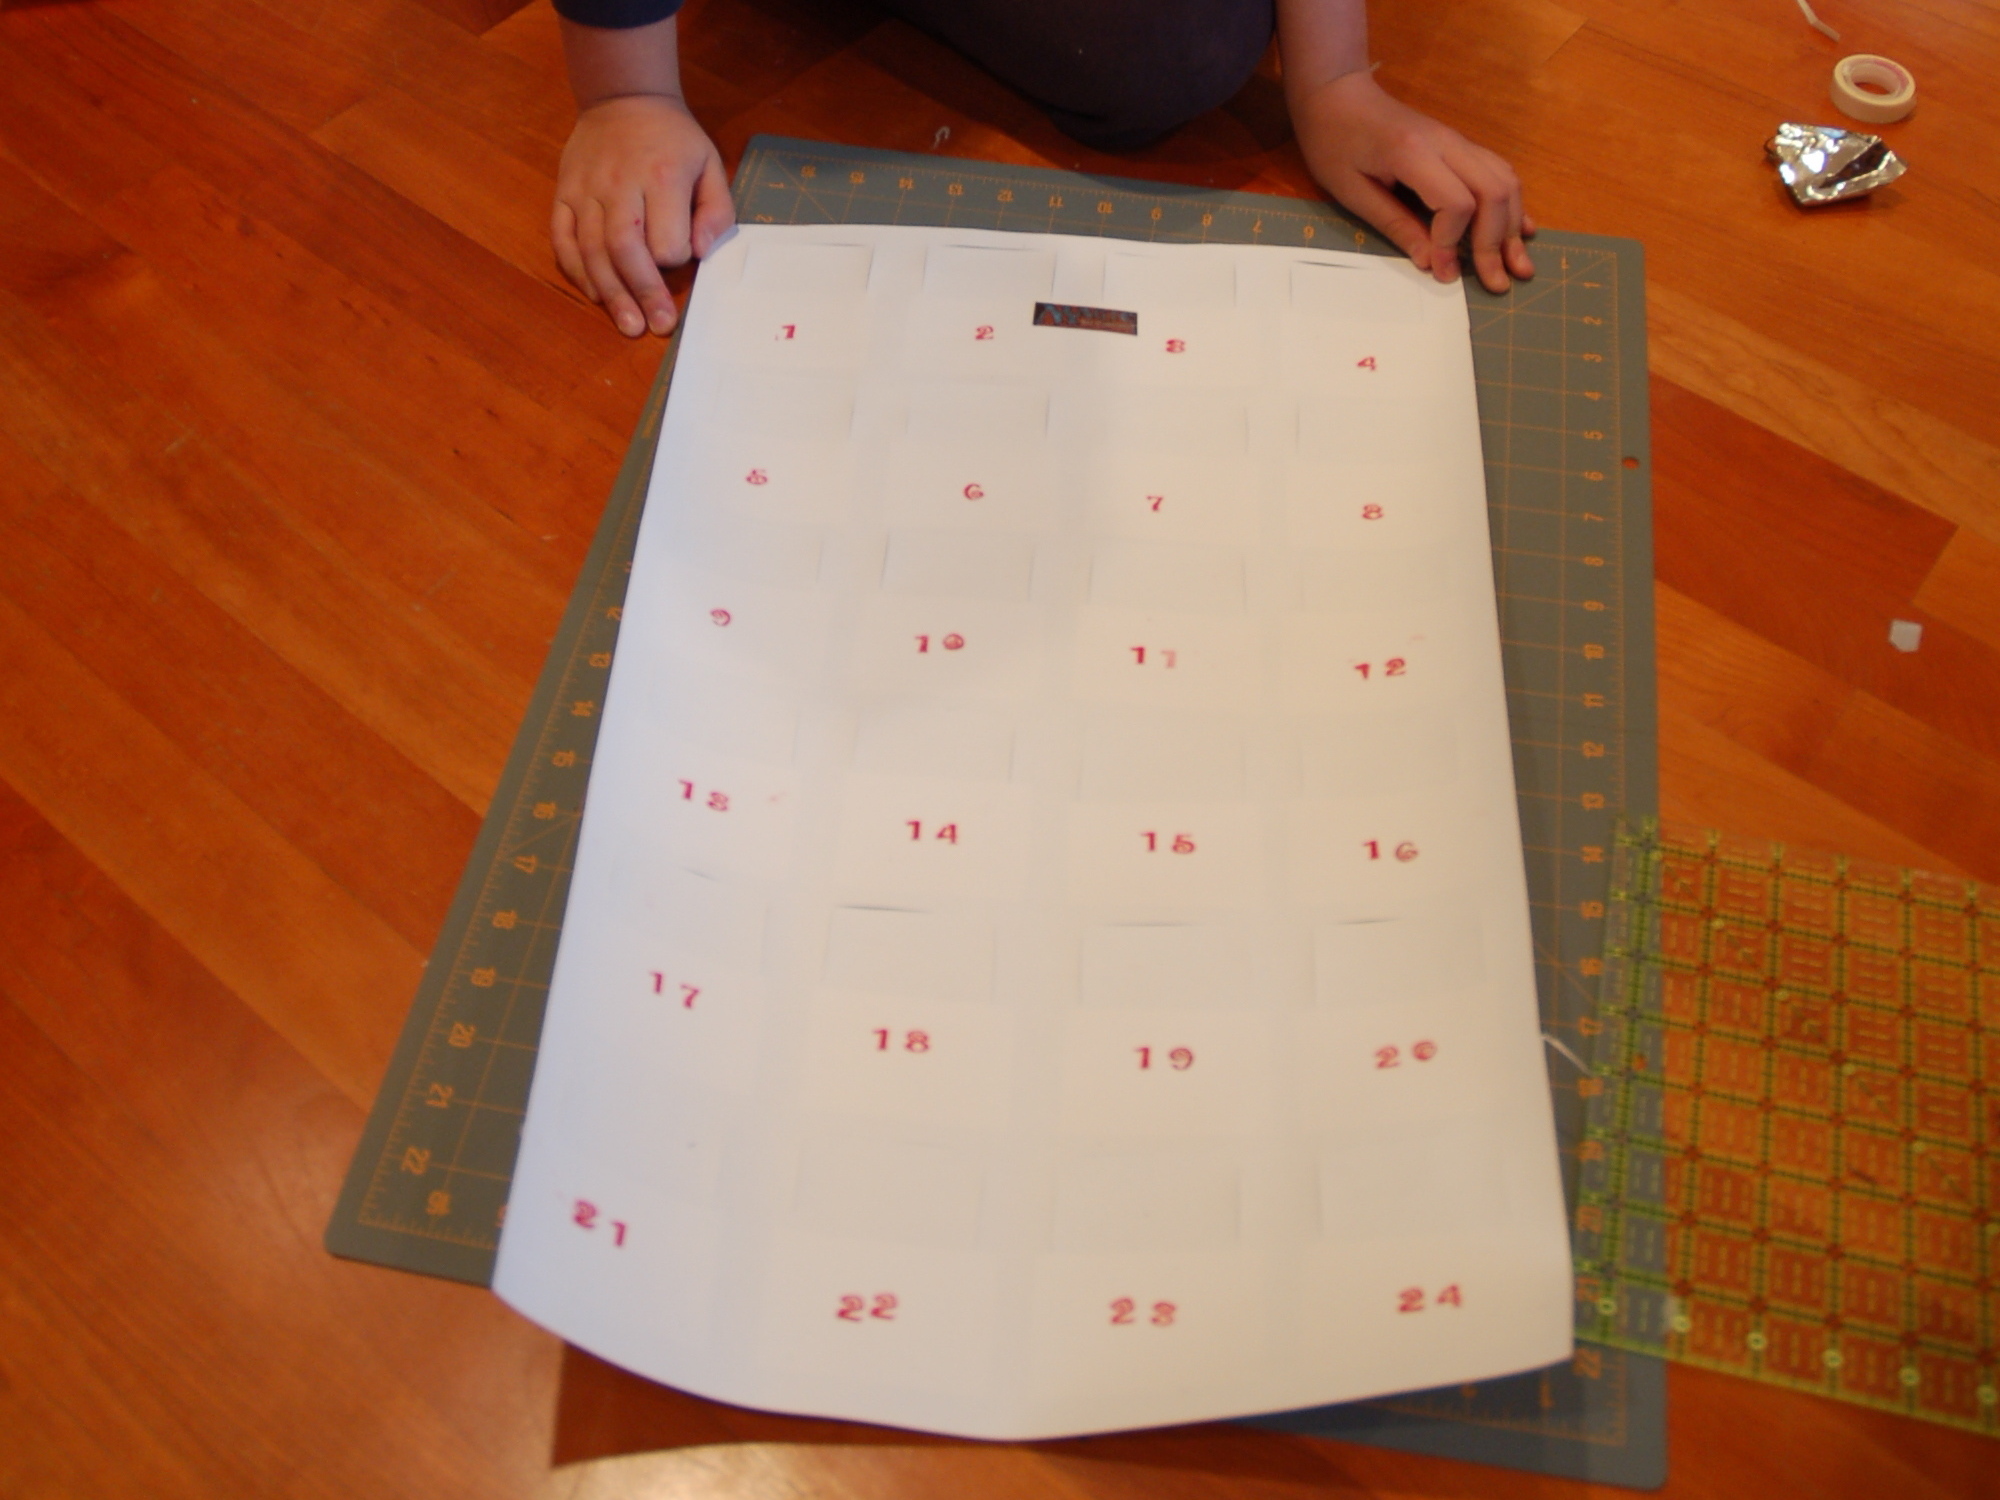
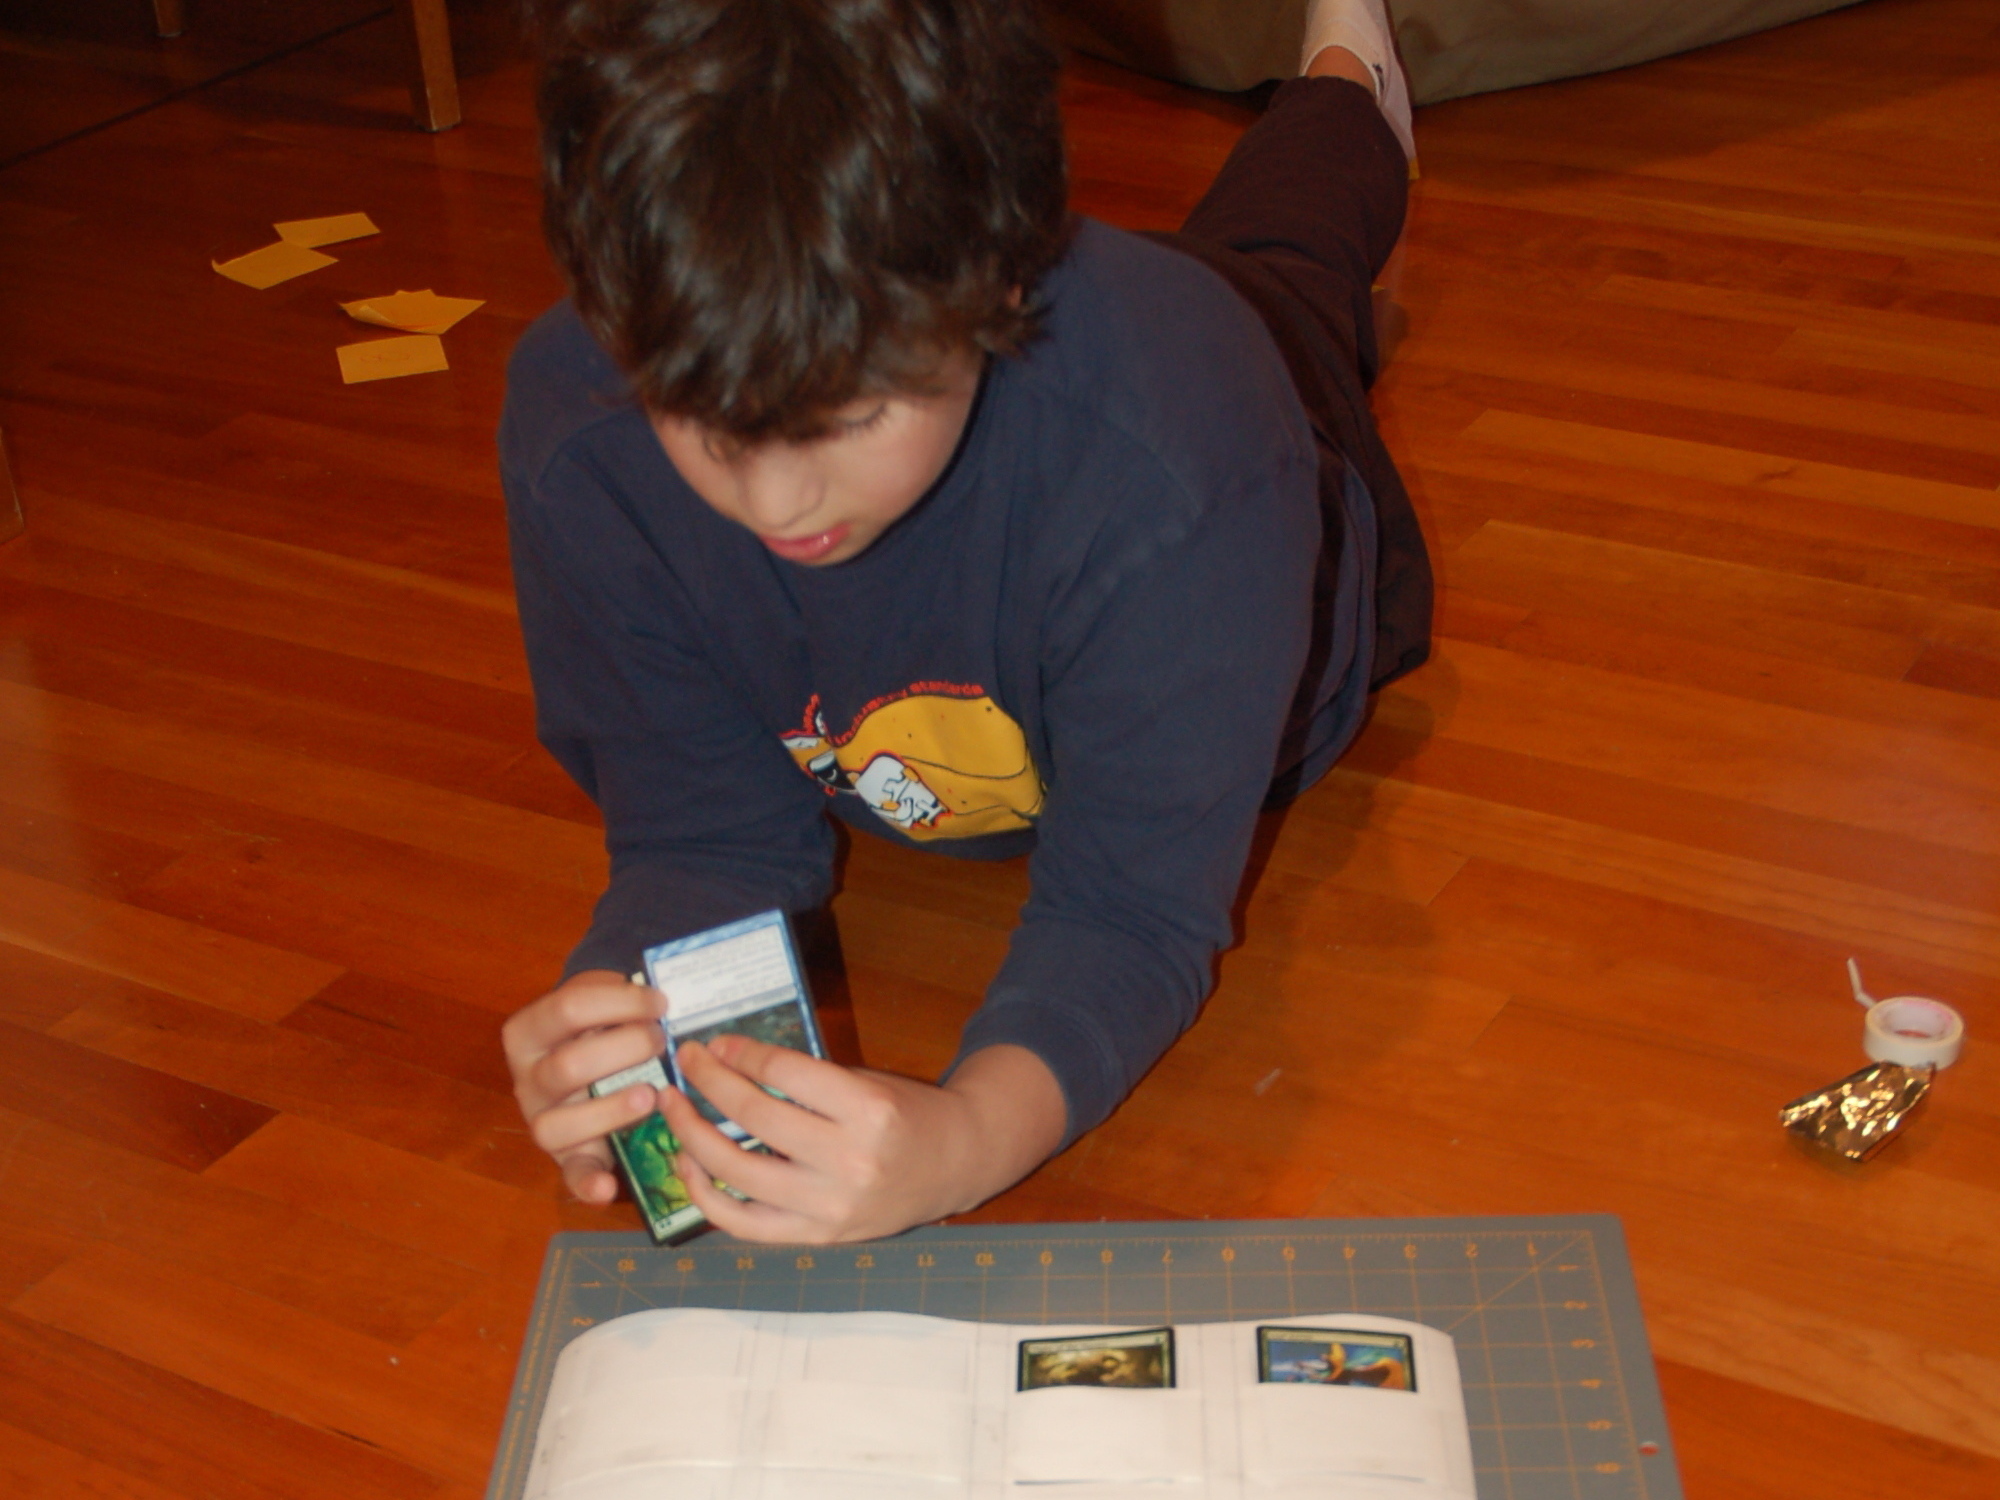
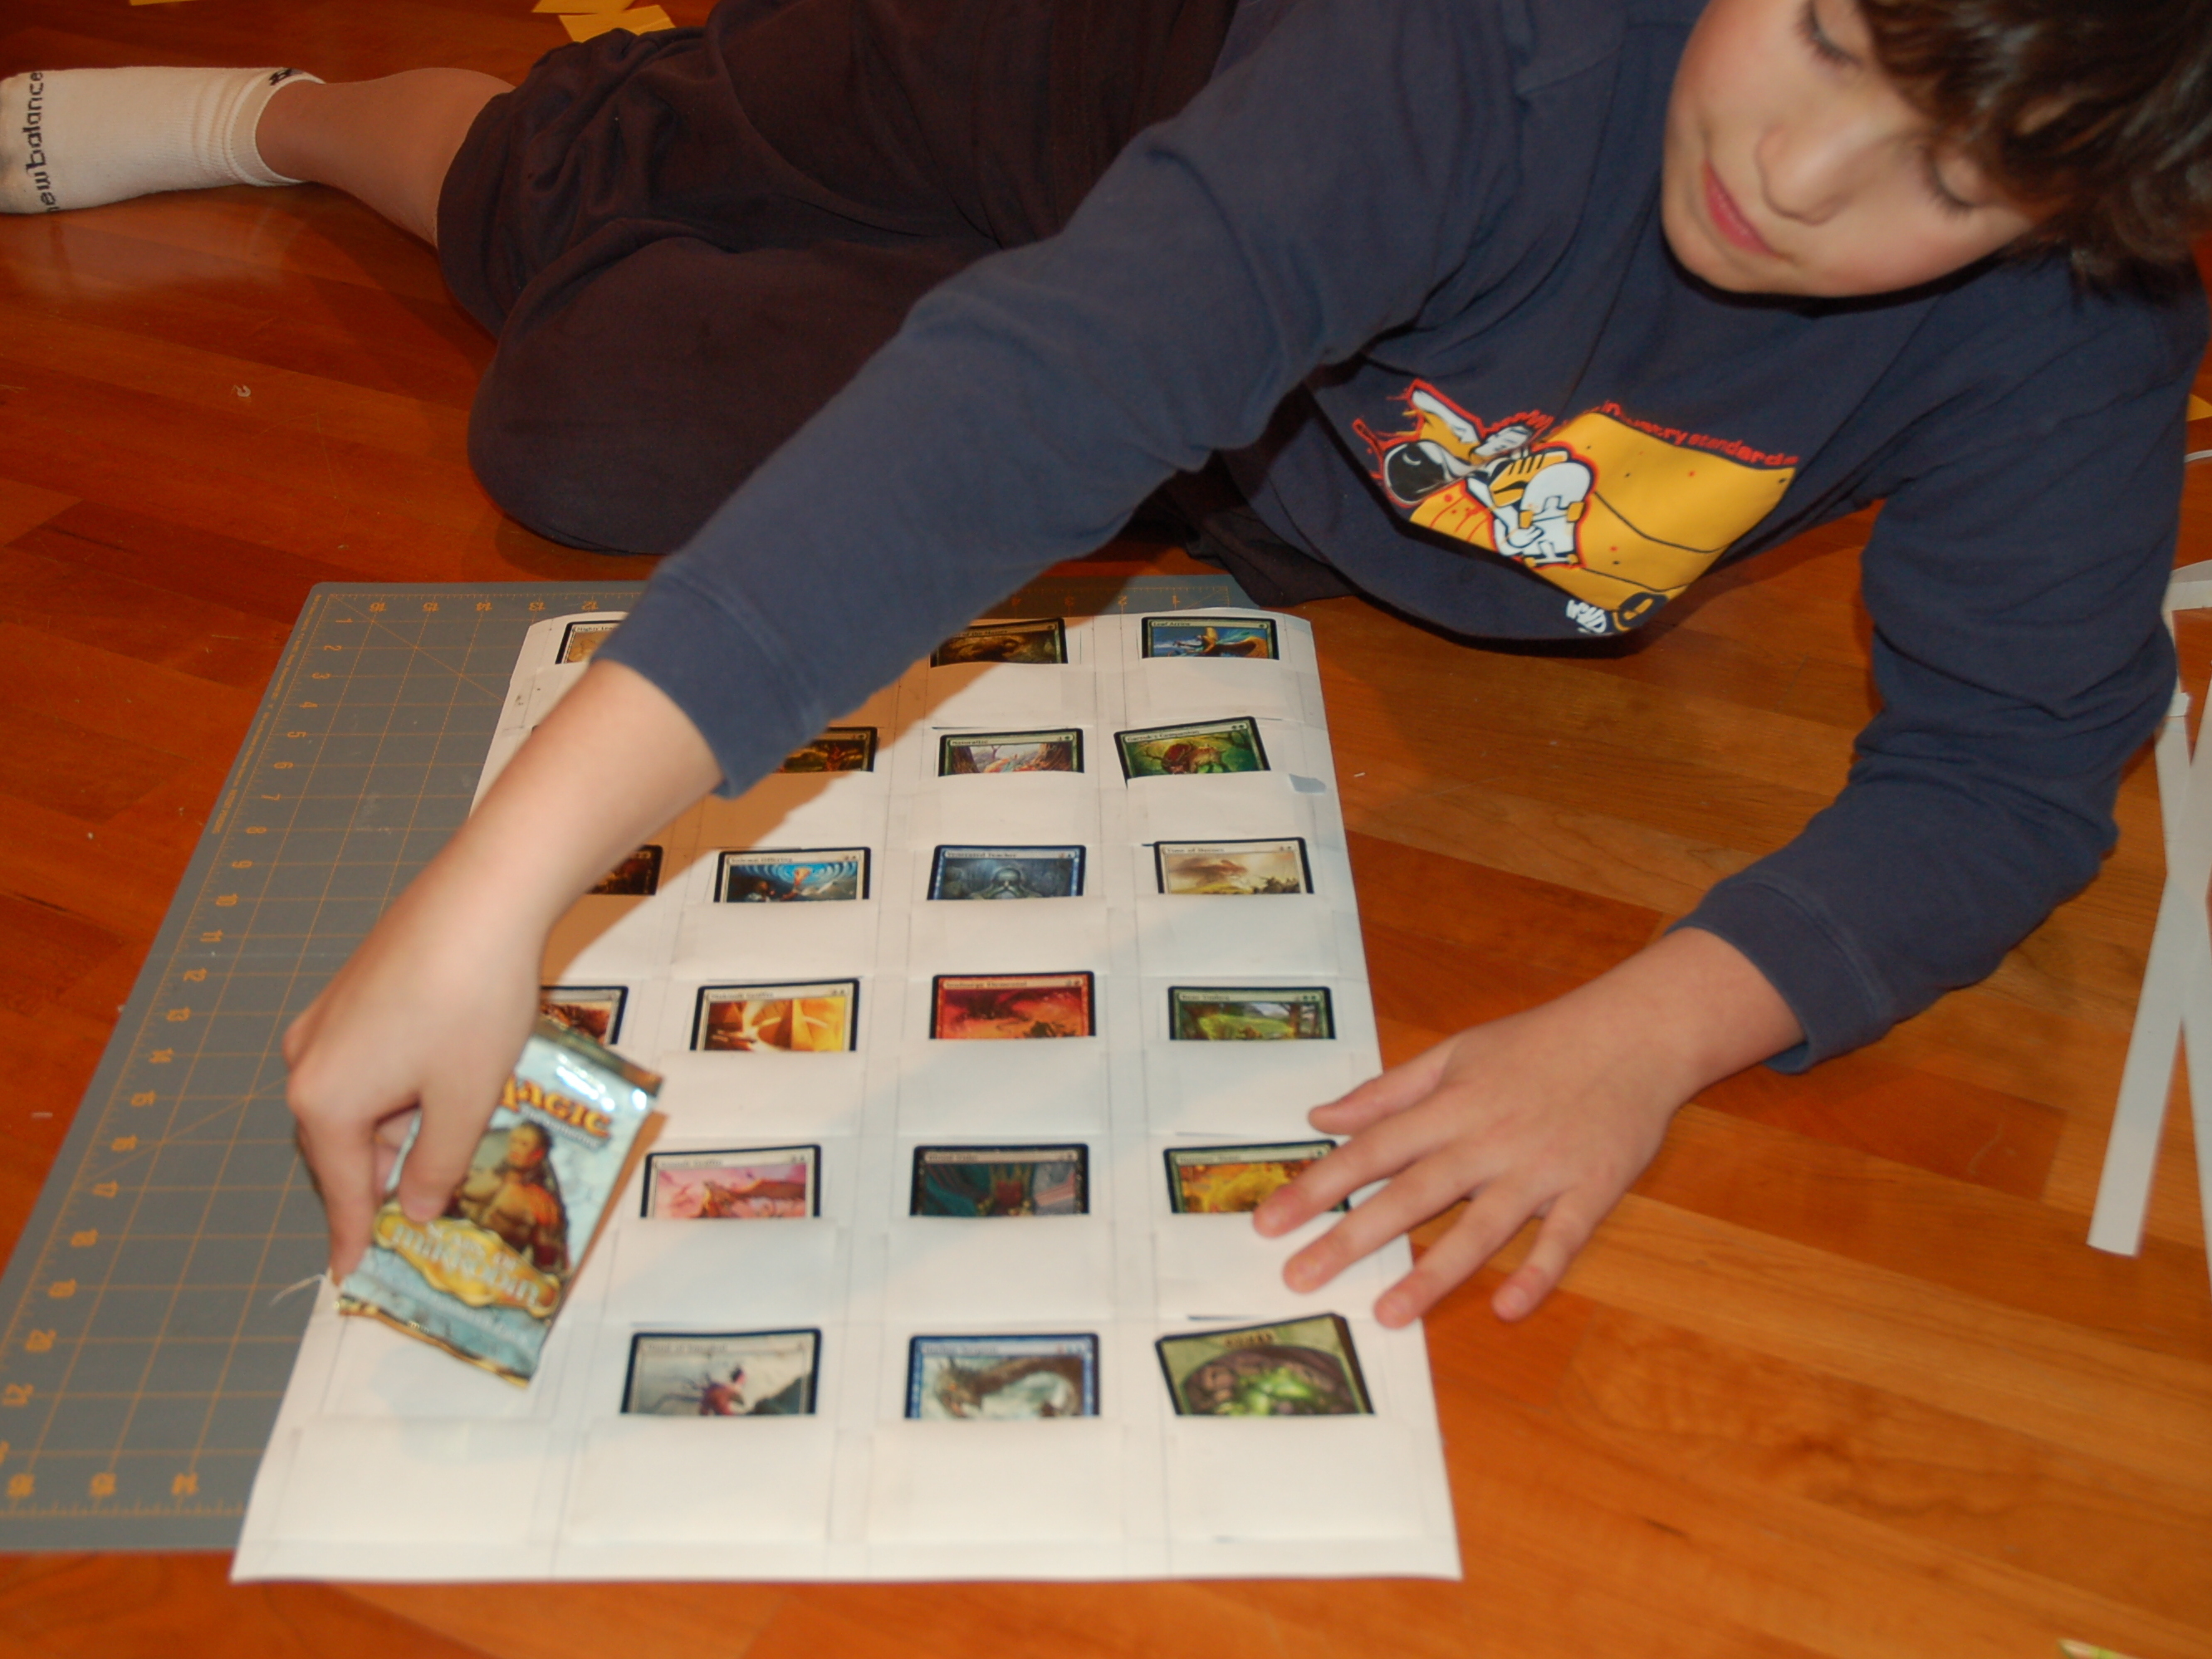
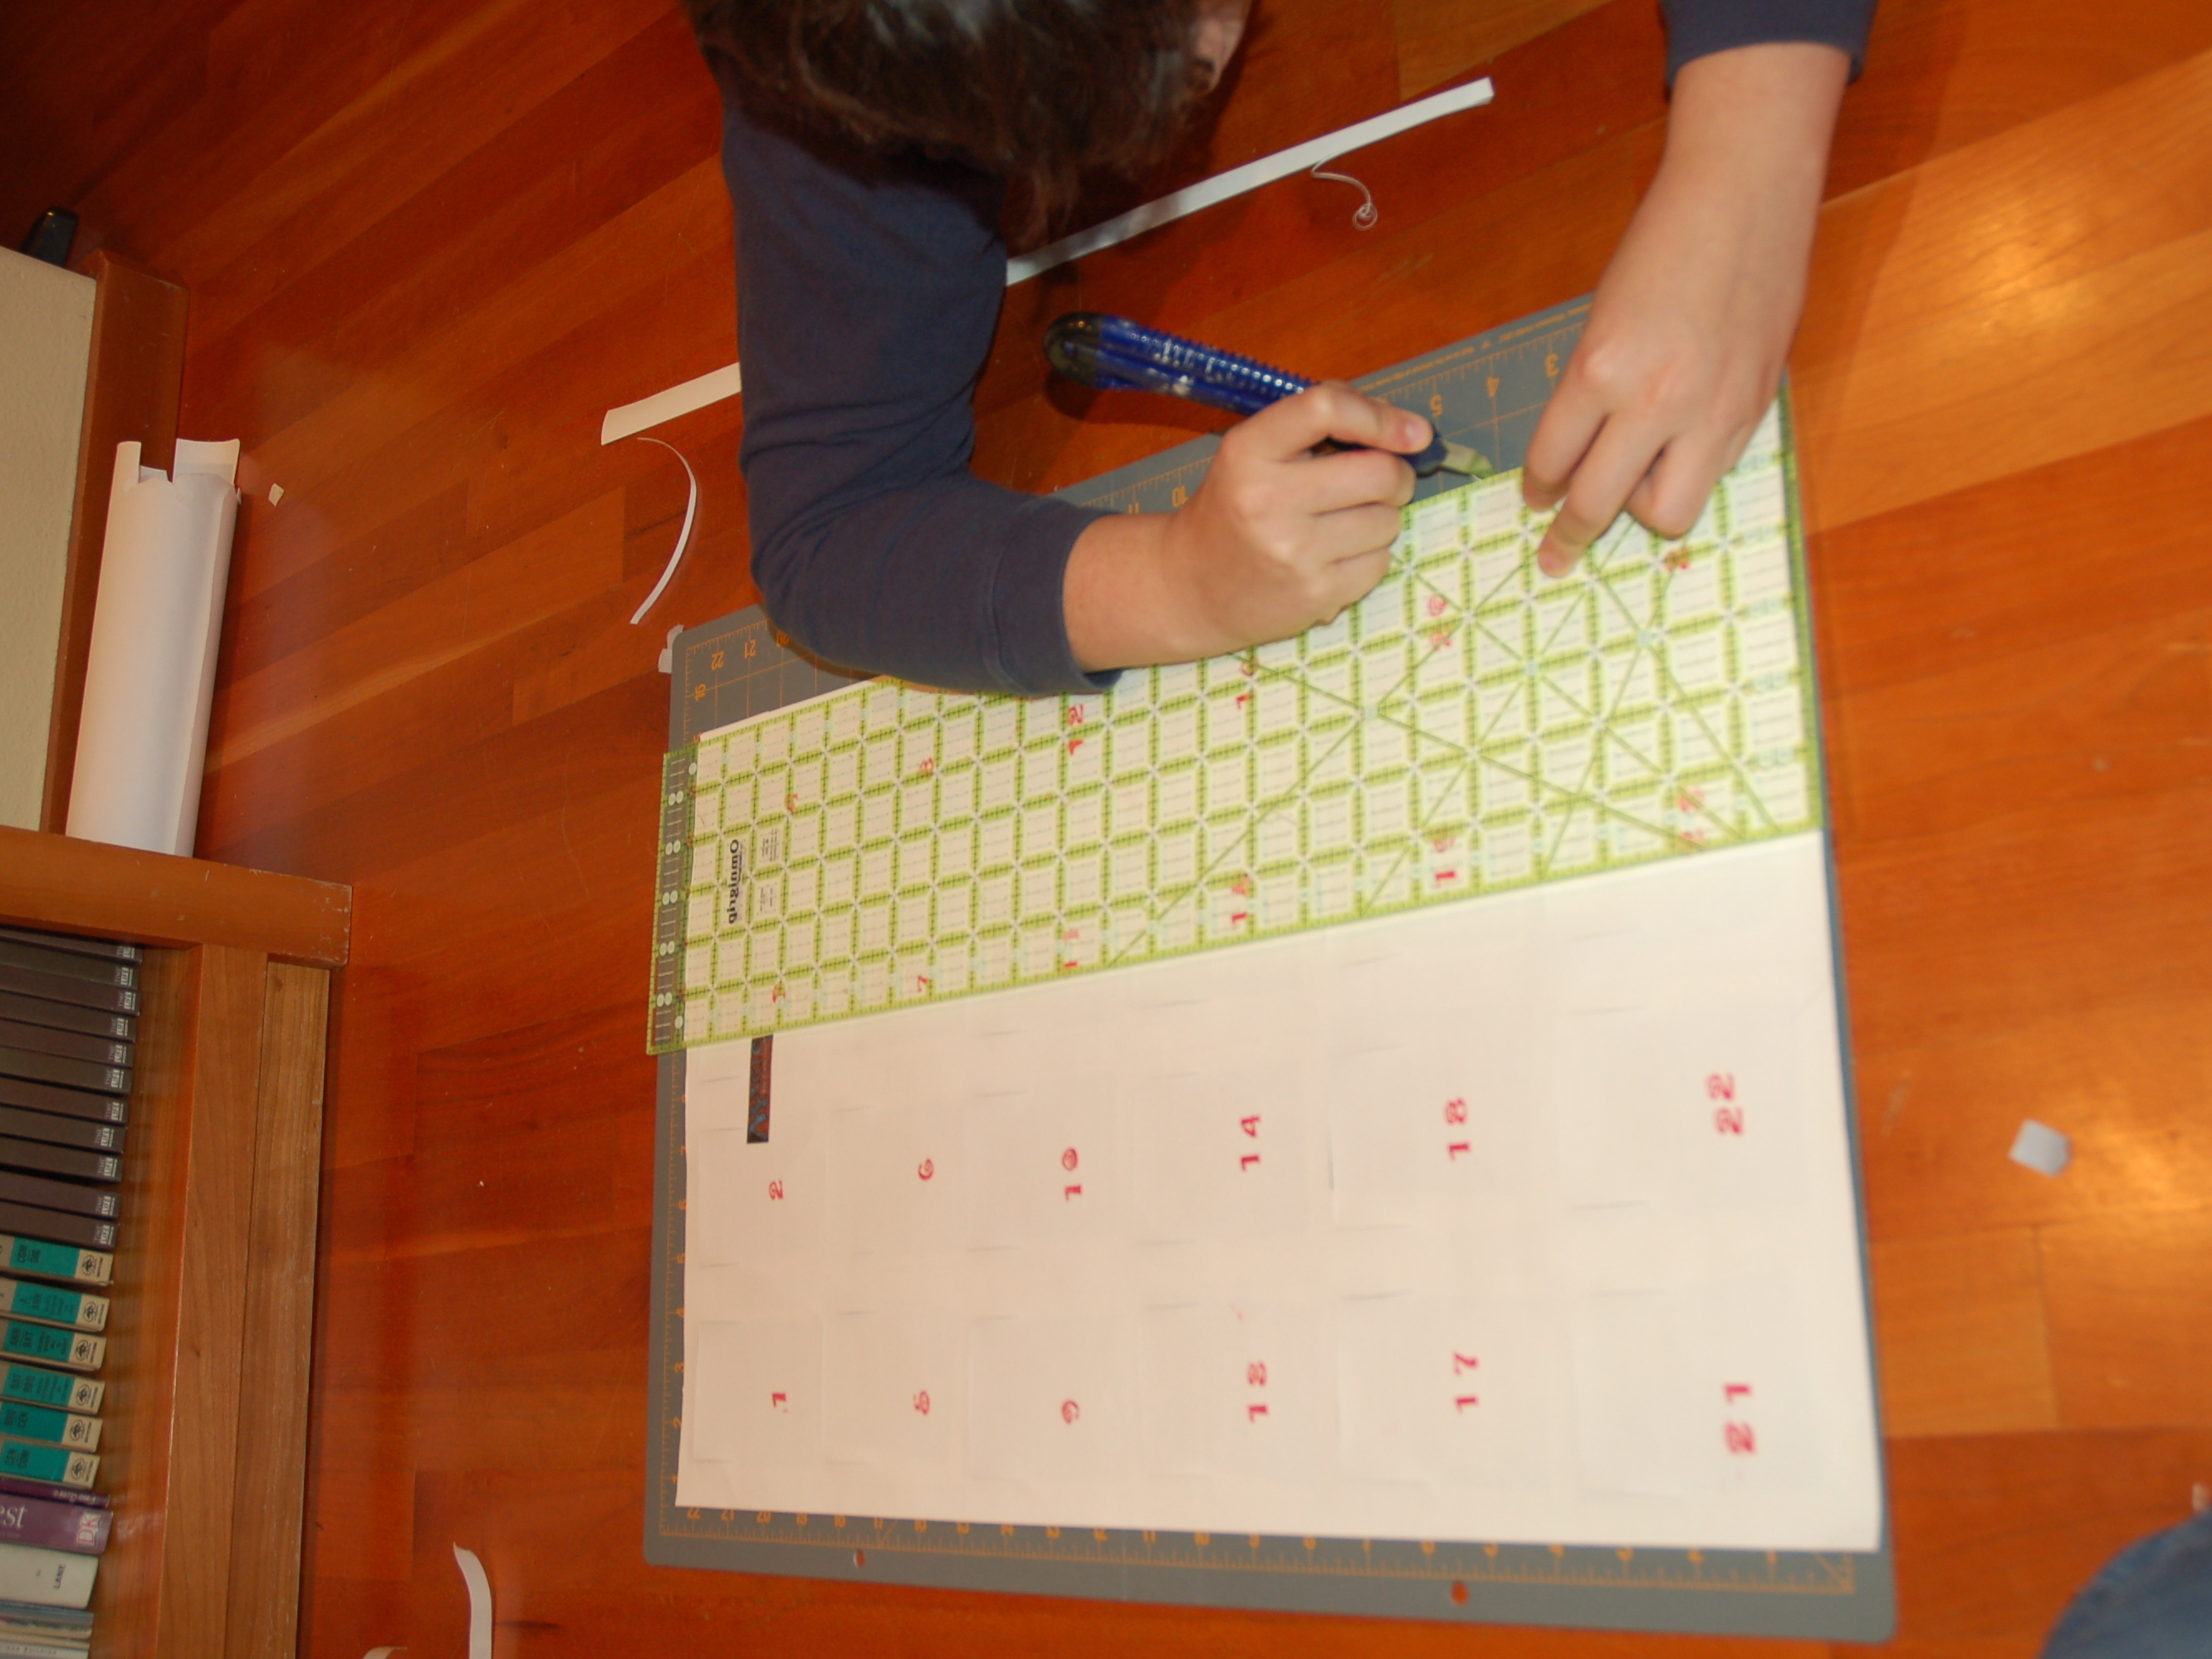
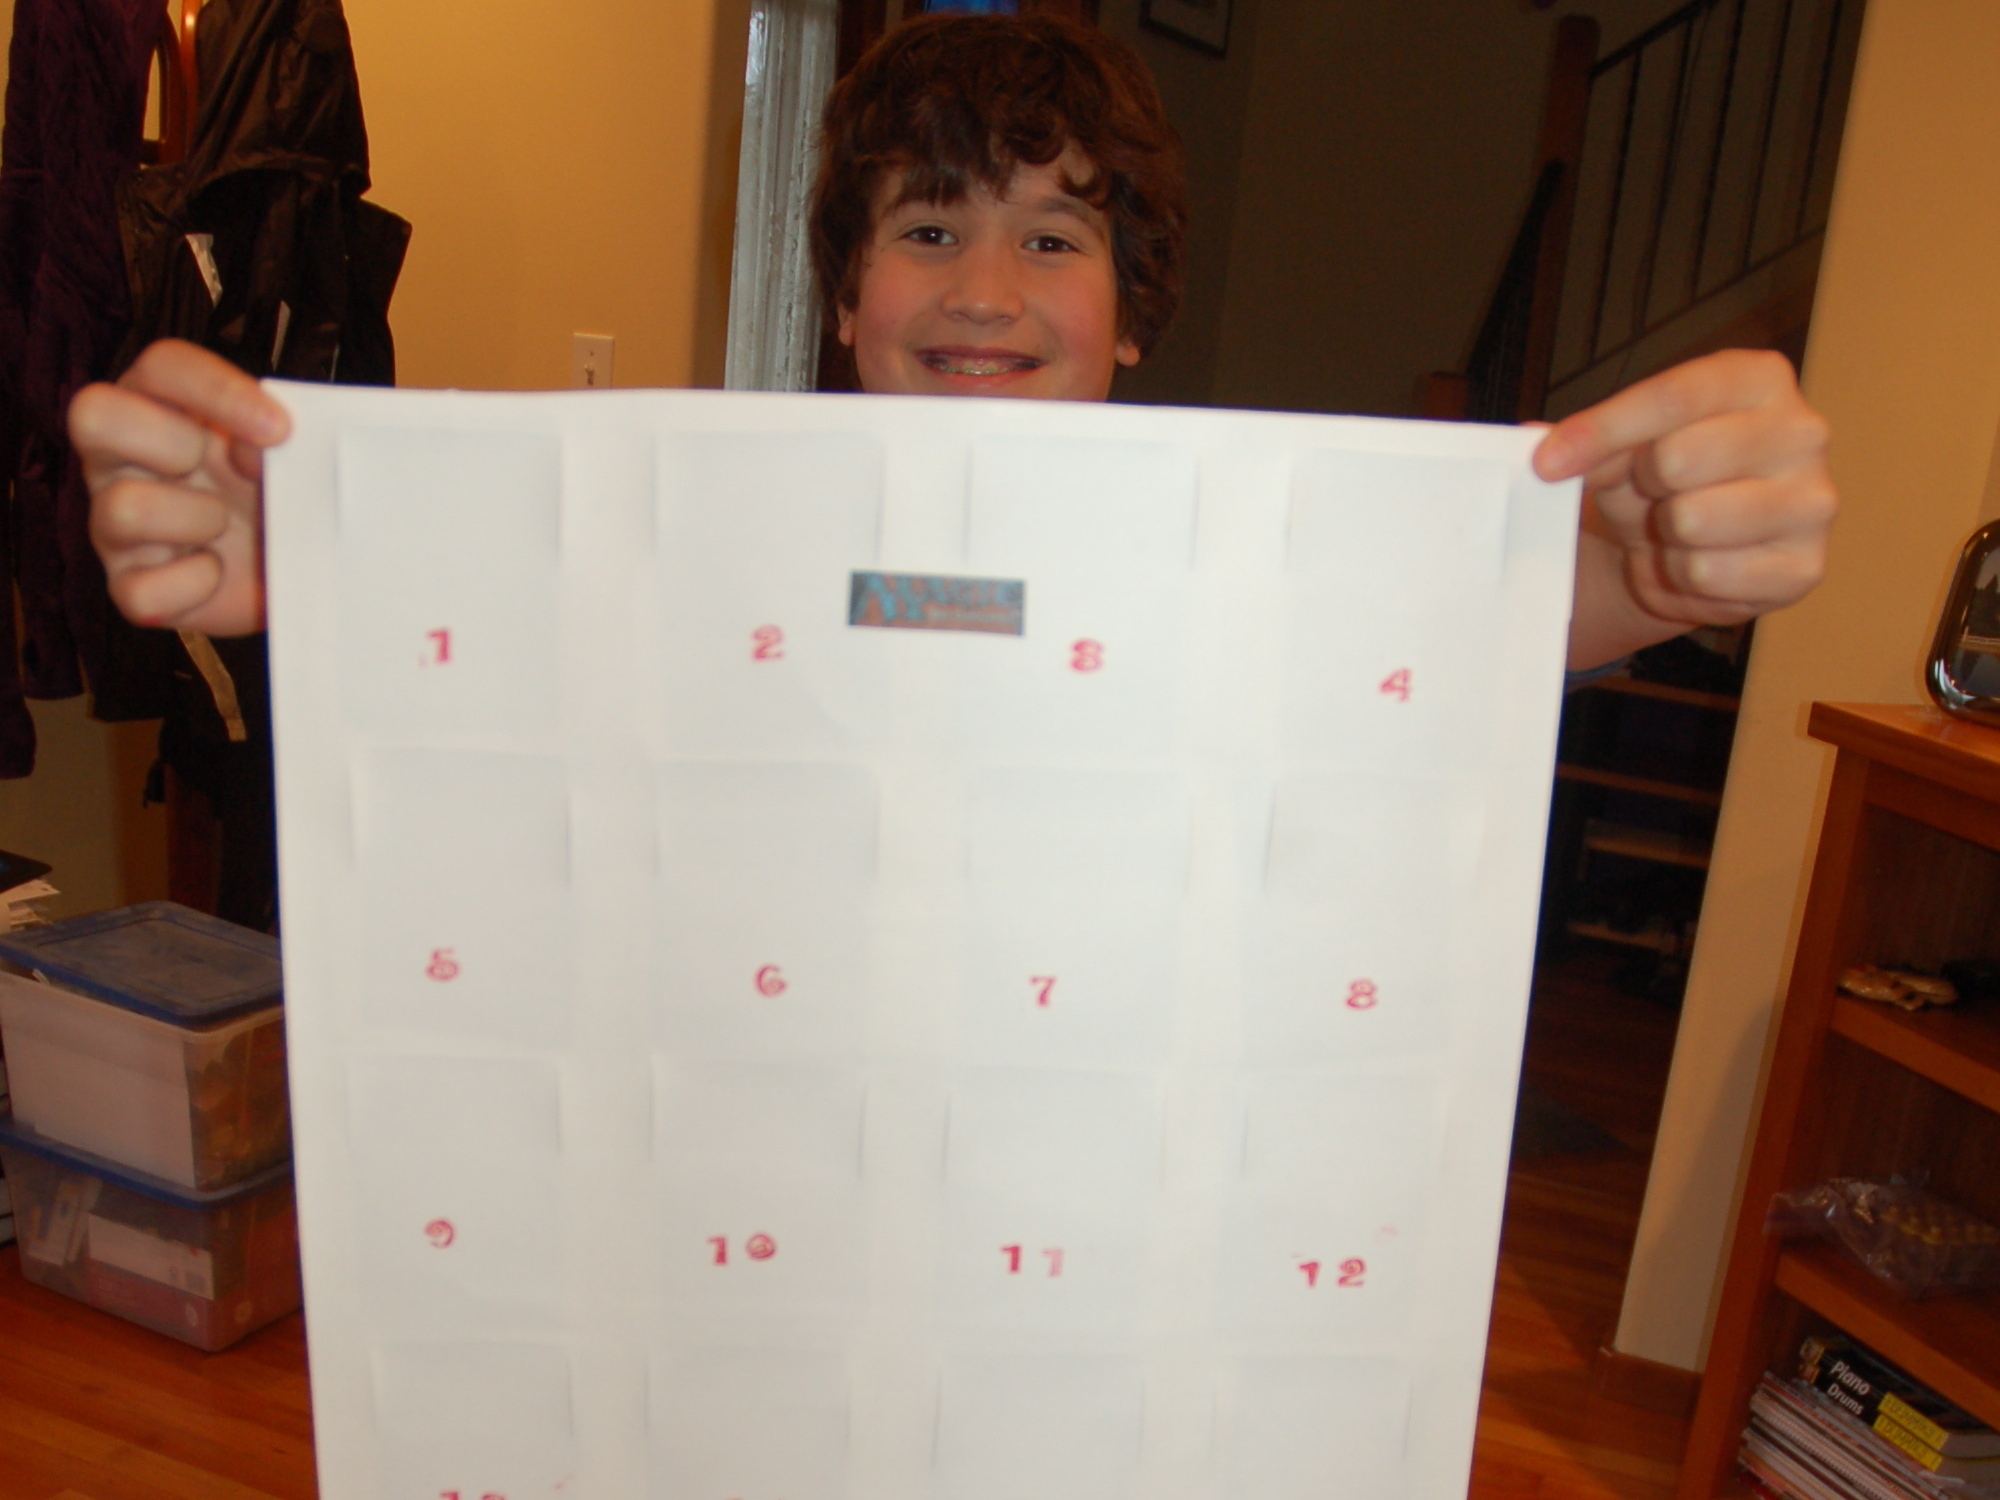
This year my son was enamored of Advent calendars – the idea of getting a little something every day from Hanukkah to Christmas. He also wanted to give them as gifts to his friends. He came up with the idea of a calendar that contained Magic: the Gathering cards. This was a great rainy-day-off school project for the two of us. We put it together using paper and tape (and the cards, of course) in just about an hour or so.
Projects from Make: Magazine
“Magic: the Gathering” Card Game Advent Calendar
Make an Advent calendar containing ''Magic: the Gathering'' or other booster cards.
- By L Bricker
- Time Required: 60-90 minutes
- Print this Project
- Like
- Digg
- Del
- Tumblr
- VKontakte
- Flattr
- Buffer
- Love This
- Odnoklassniki
- Meneame
- Blogger
- Amazon
- Yahoo Mail
- Gmail
- AOL
- Newsvine
- HackerNews
- Evernote
- MySpace
- Mail.ru
- Viadeo
- Line
- Comments
- Yummly
- SMS
- Viber
- Telegram
- Subscribe
- Skype
- Facebook Messenger
- Kakao
- LiveJournal
- Yammer
- Edgar
- Fintel
- Mix
- Instapaper
- Copy Link

Parts
- Single-sided tape (1)
- ½' double-sided adhesive tape (100)
- Pieces of 2″x3″ paper (24)
- Pieces of large card stock poster board or cardboard (at least 14″x27″) (2)
- Booster packs of 'Magic: the Gathering' or other cards (3)
Tools
- Cutting mat
- Markers or other decorating materials
- Ruler
- X-Acto knife
Steps
Advertisement

Draw grid lines where you want the pockets to go. Leave at least 1/2 inch on each side of the card.


- Cut 24 "pocket" pieces (2"x3"). You could also probably use post-it notes.
- Tape the pockets onto the grid using the single-sided tape.


- Using a card you don't care about as a guide, put the card in the pocket and score around the top half.
- Do not score all the way around; leave some parts uncut. Also, don't cut the tape from the pocket above.


- Flip it over and put the cards in order in the pockets. Make sure you note where the #1 pocket is and go in the right order.
- My son decided that the last day should contain a full booster pack as a special present.


- Put double-sided tape in the gutters around the cards. Make sure the cards don't touch the tape.
- Put the back onto the front, carefully aligning the sides and press firmly to make sure they stick.
- Trim the edges to make sure both sides are the same height/width.
Conclusion
The calendars are a hit with the recipients! They can't wait to start opening them up.