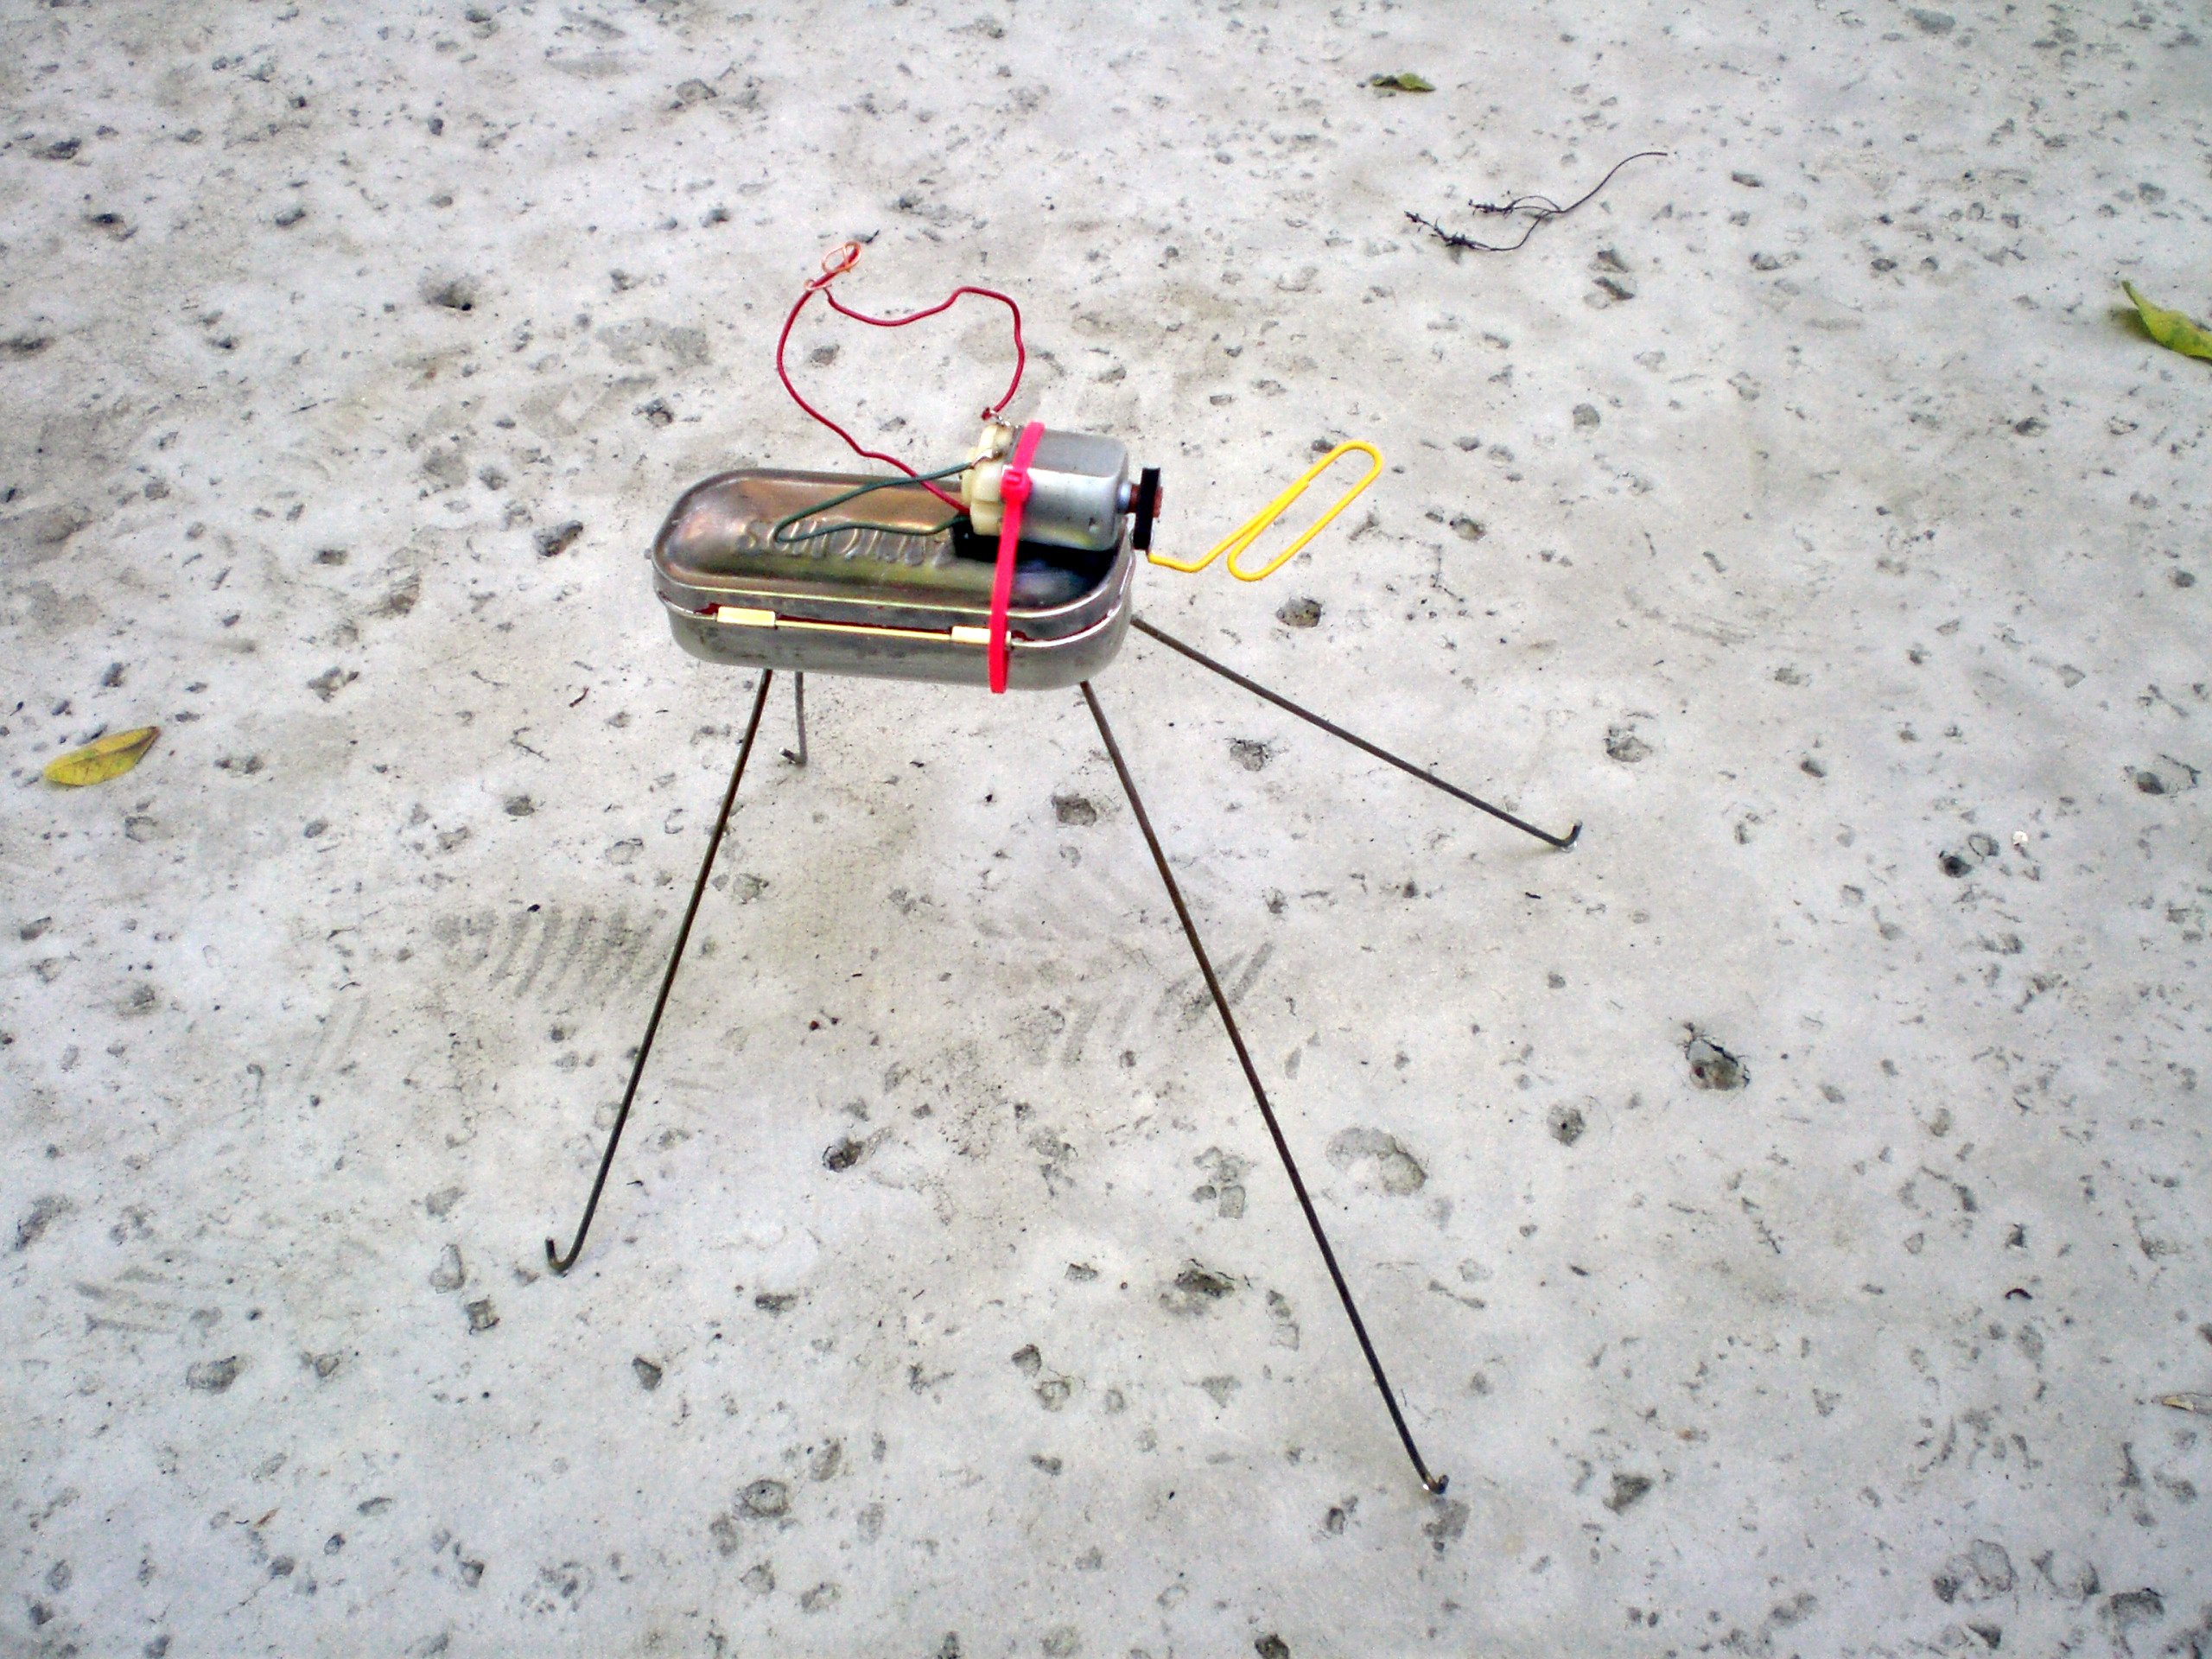
When my 3-year-old daughter dropped the $1 battery-powered fan I bought her, the plastic case cracked, ruining it. I promised her I’d make something even better using the fan’s motor. I’m a fan of Chico Bicalho’s wonderful windup toys, so I made a robot inspired by his designs. I call mine the Vibrobot, and you can make one in a couple of hours or less.
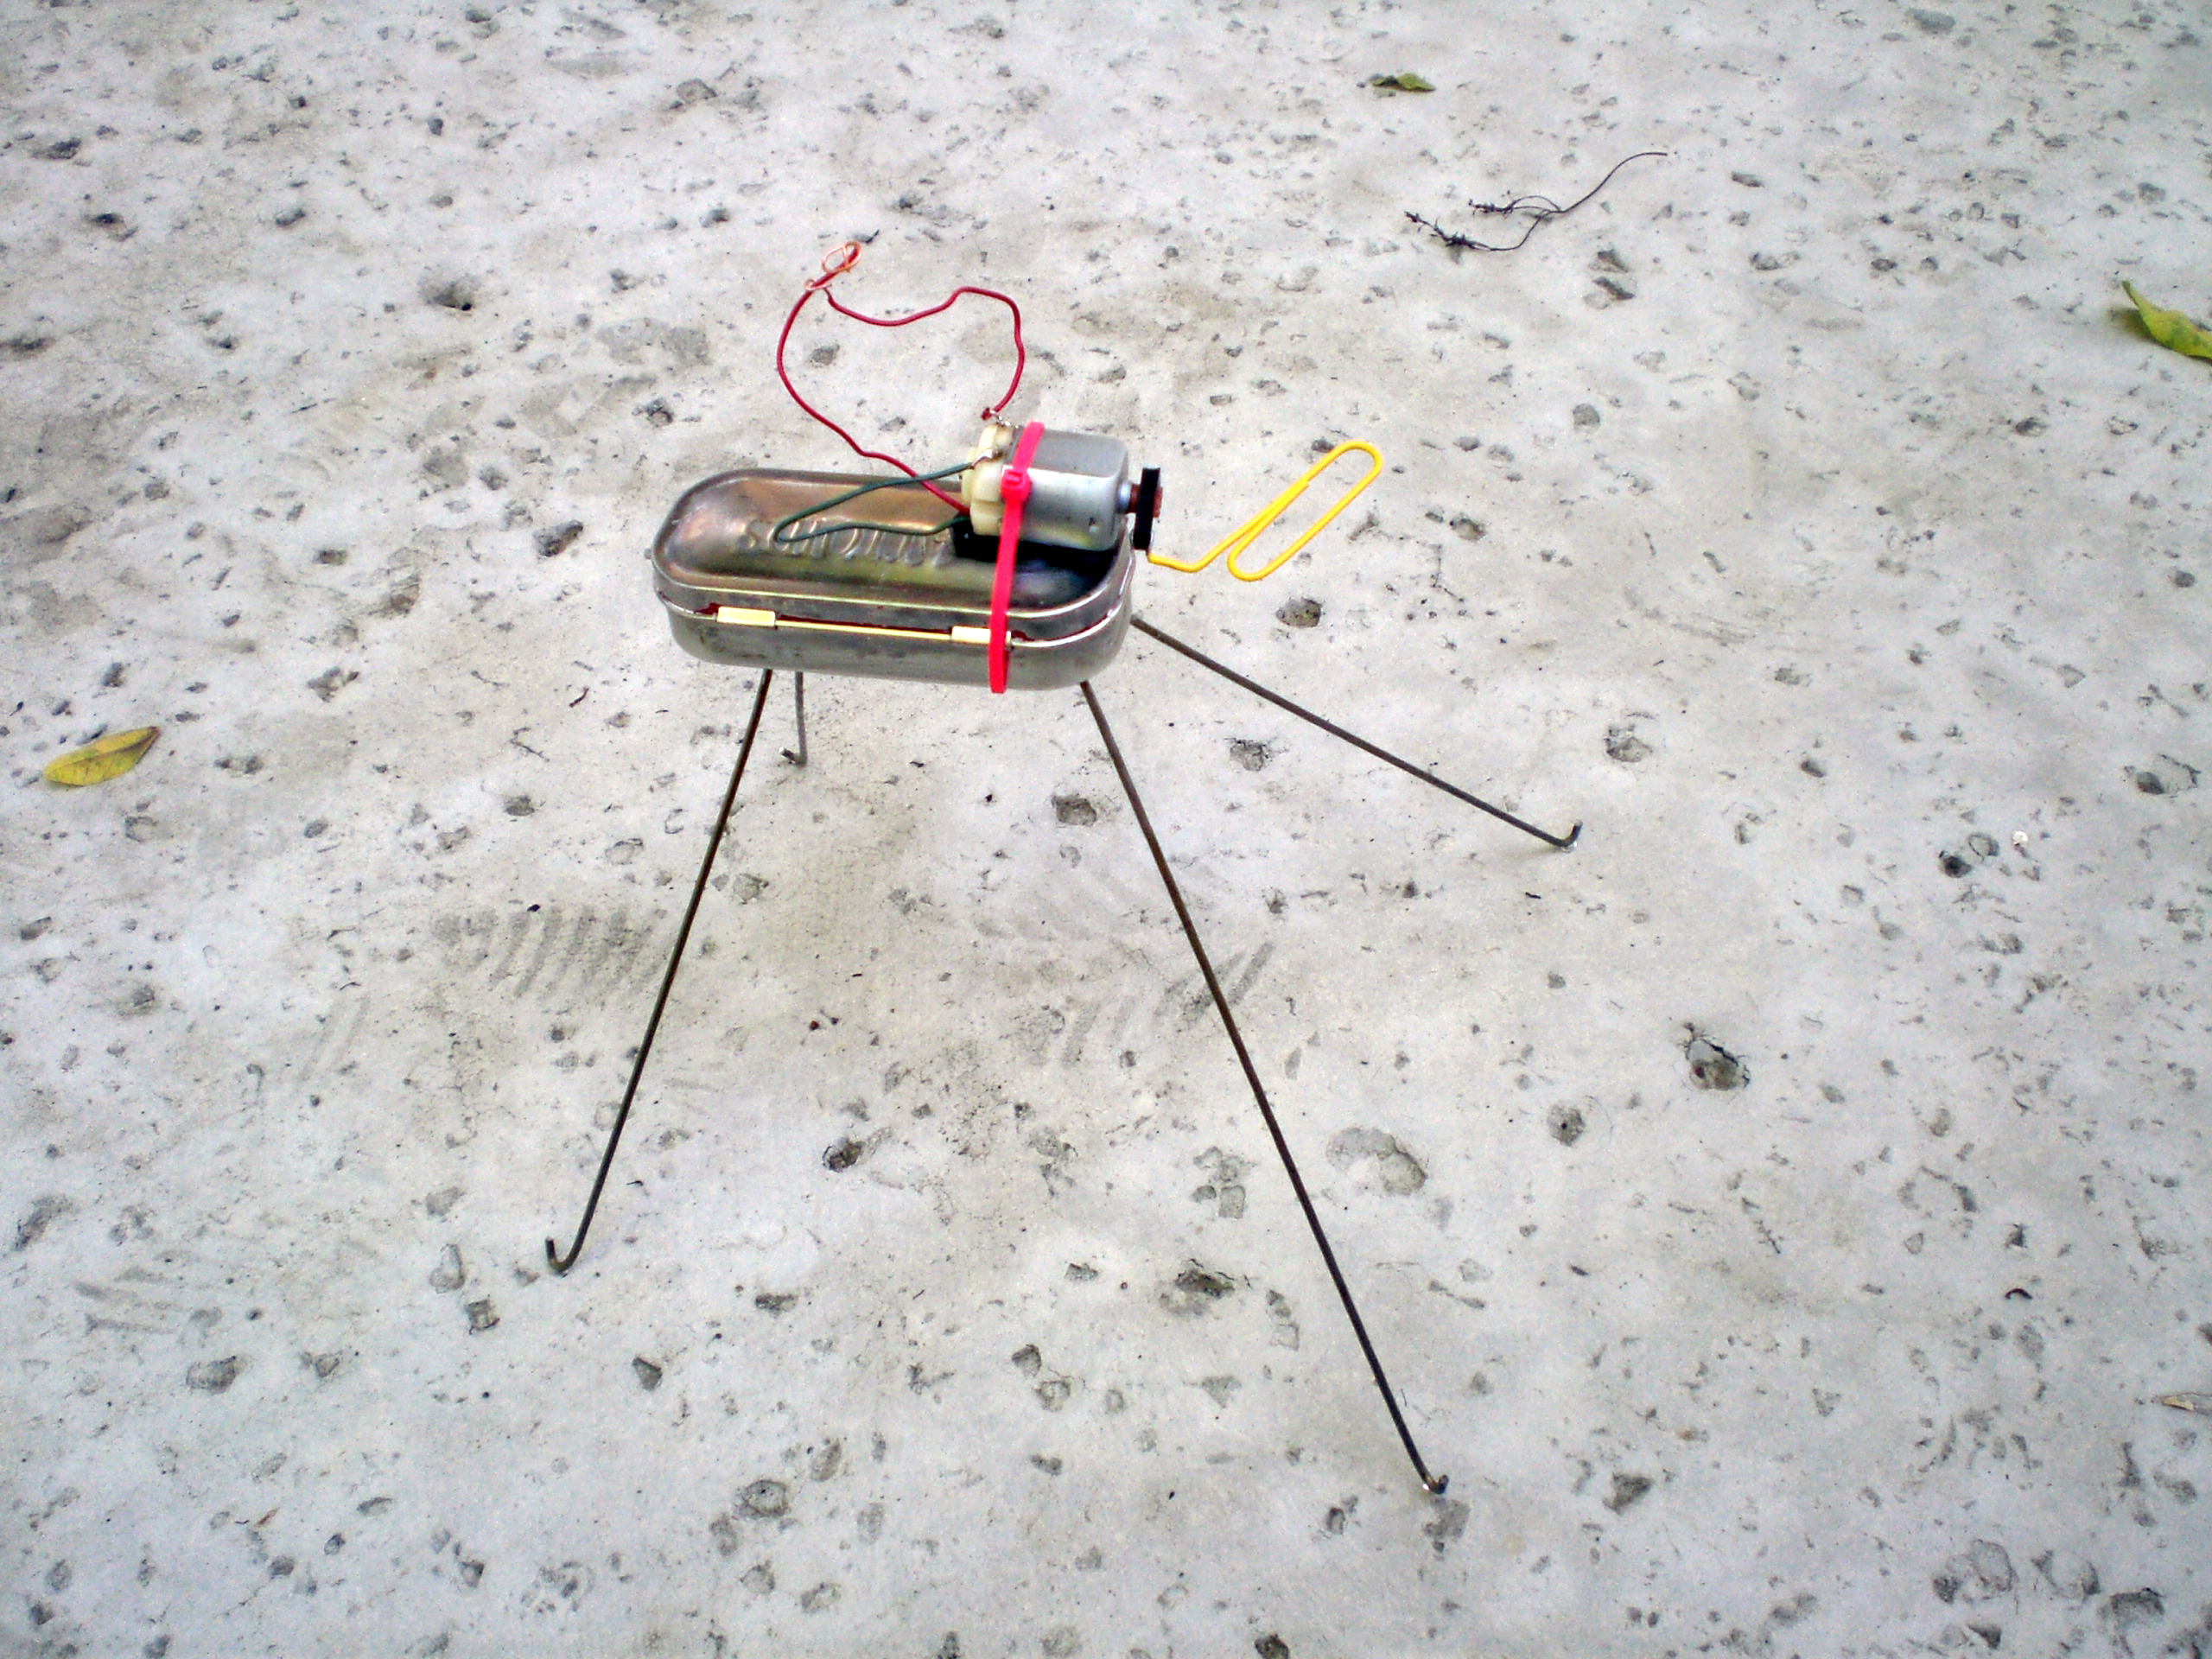
Prepare the candy tin.
Sand the paint off the tin, if you wish.
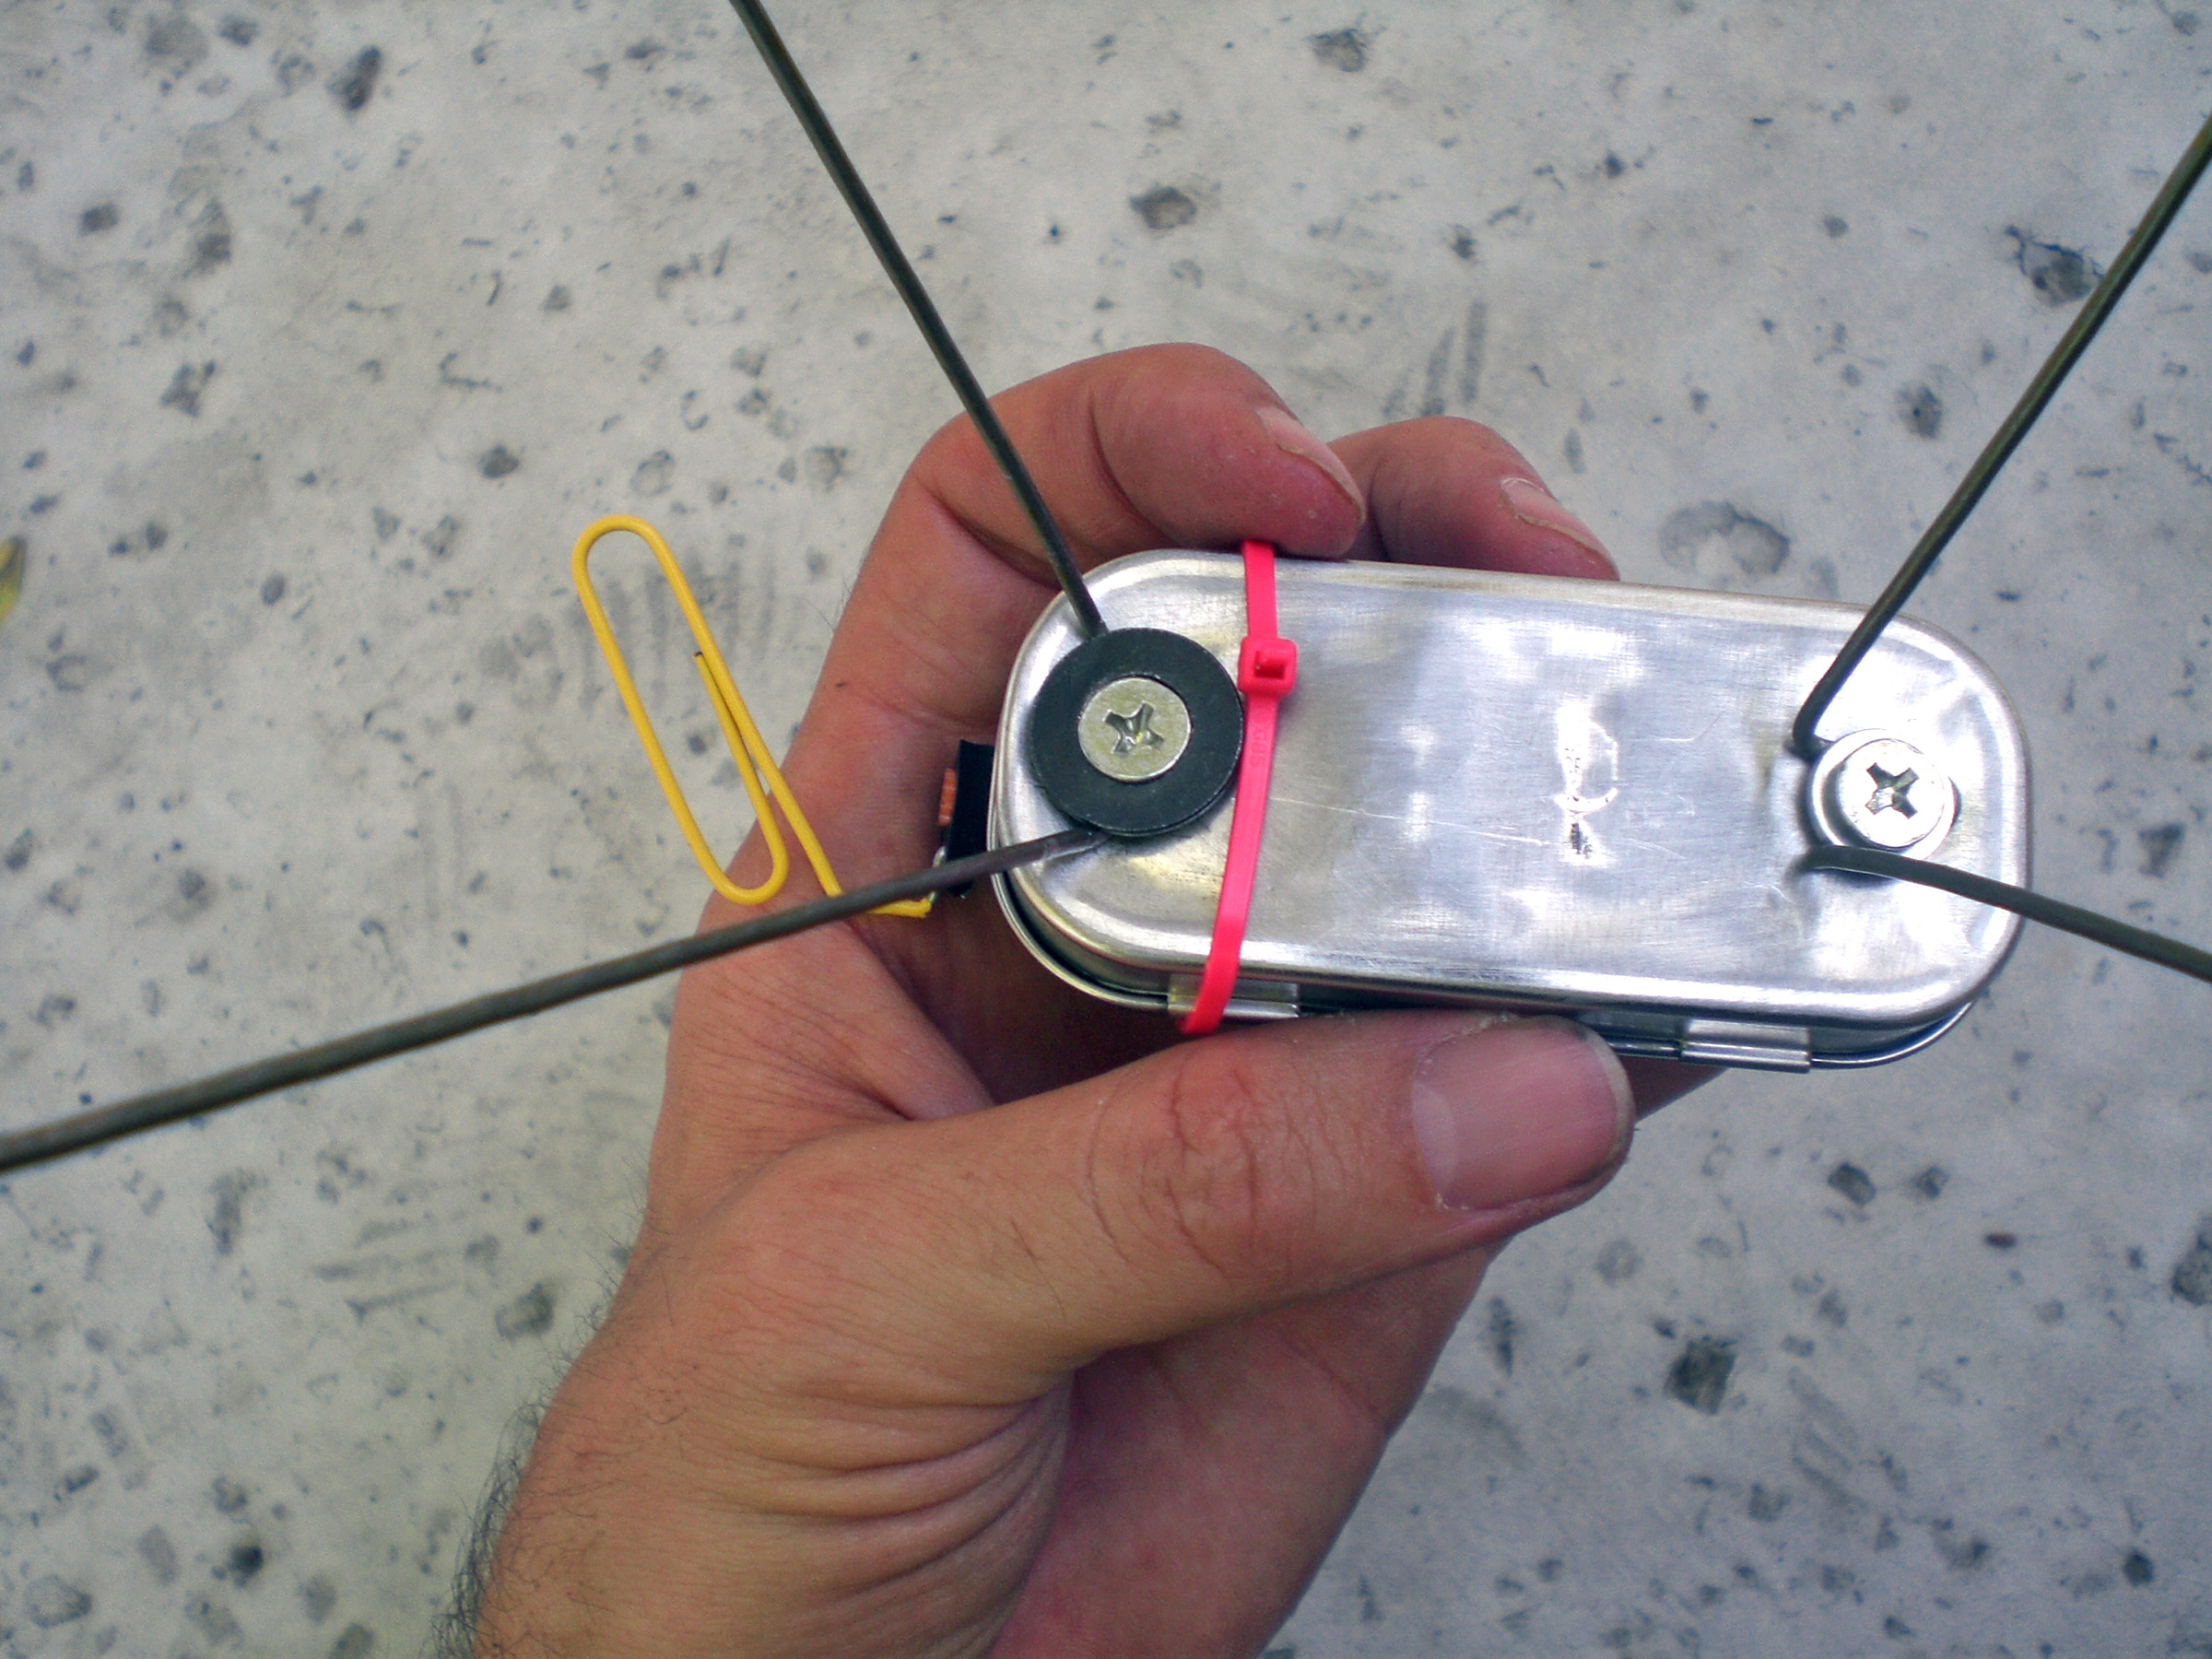
Punch 2 holes through the bottom of the tin, one on either end, using a hammer and a Phillips screwdriver. You’ll use these holes to attach the legs.
Punch a hole through the lid near one end. This hole is for routing the wires.
Make the legs.
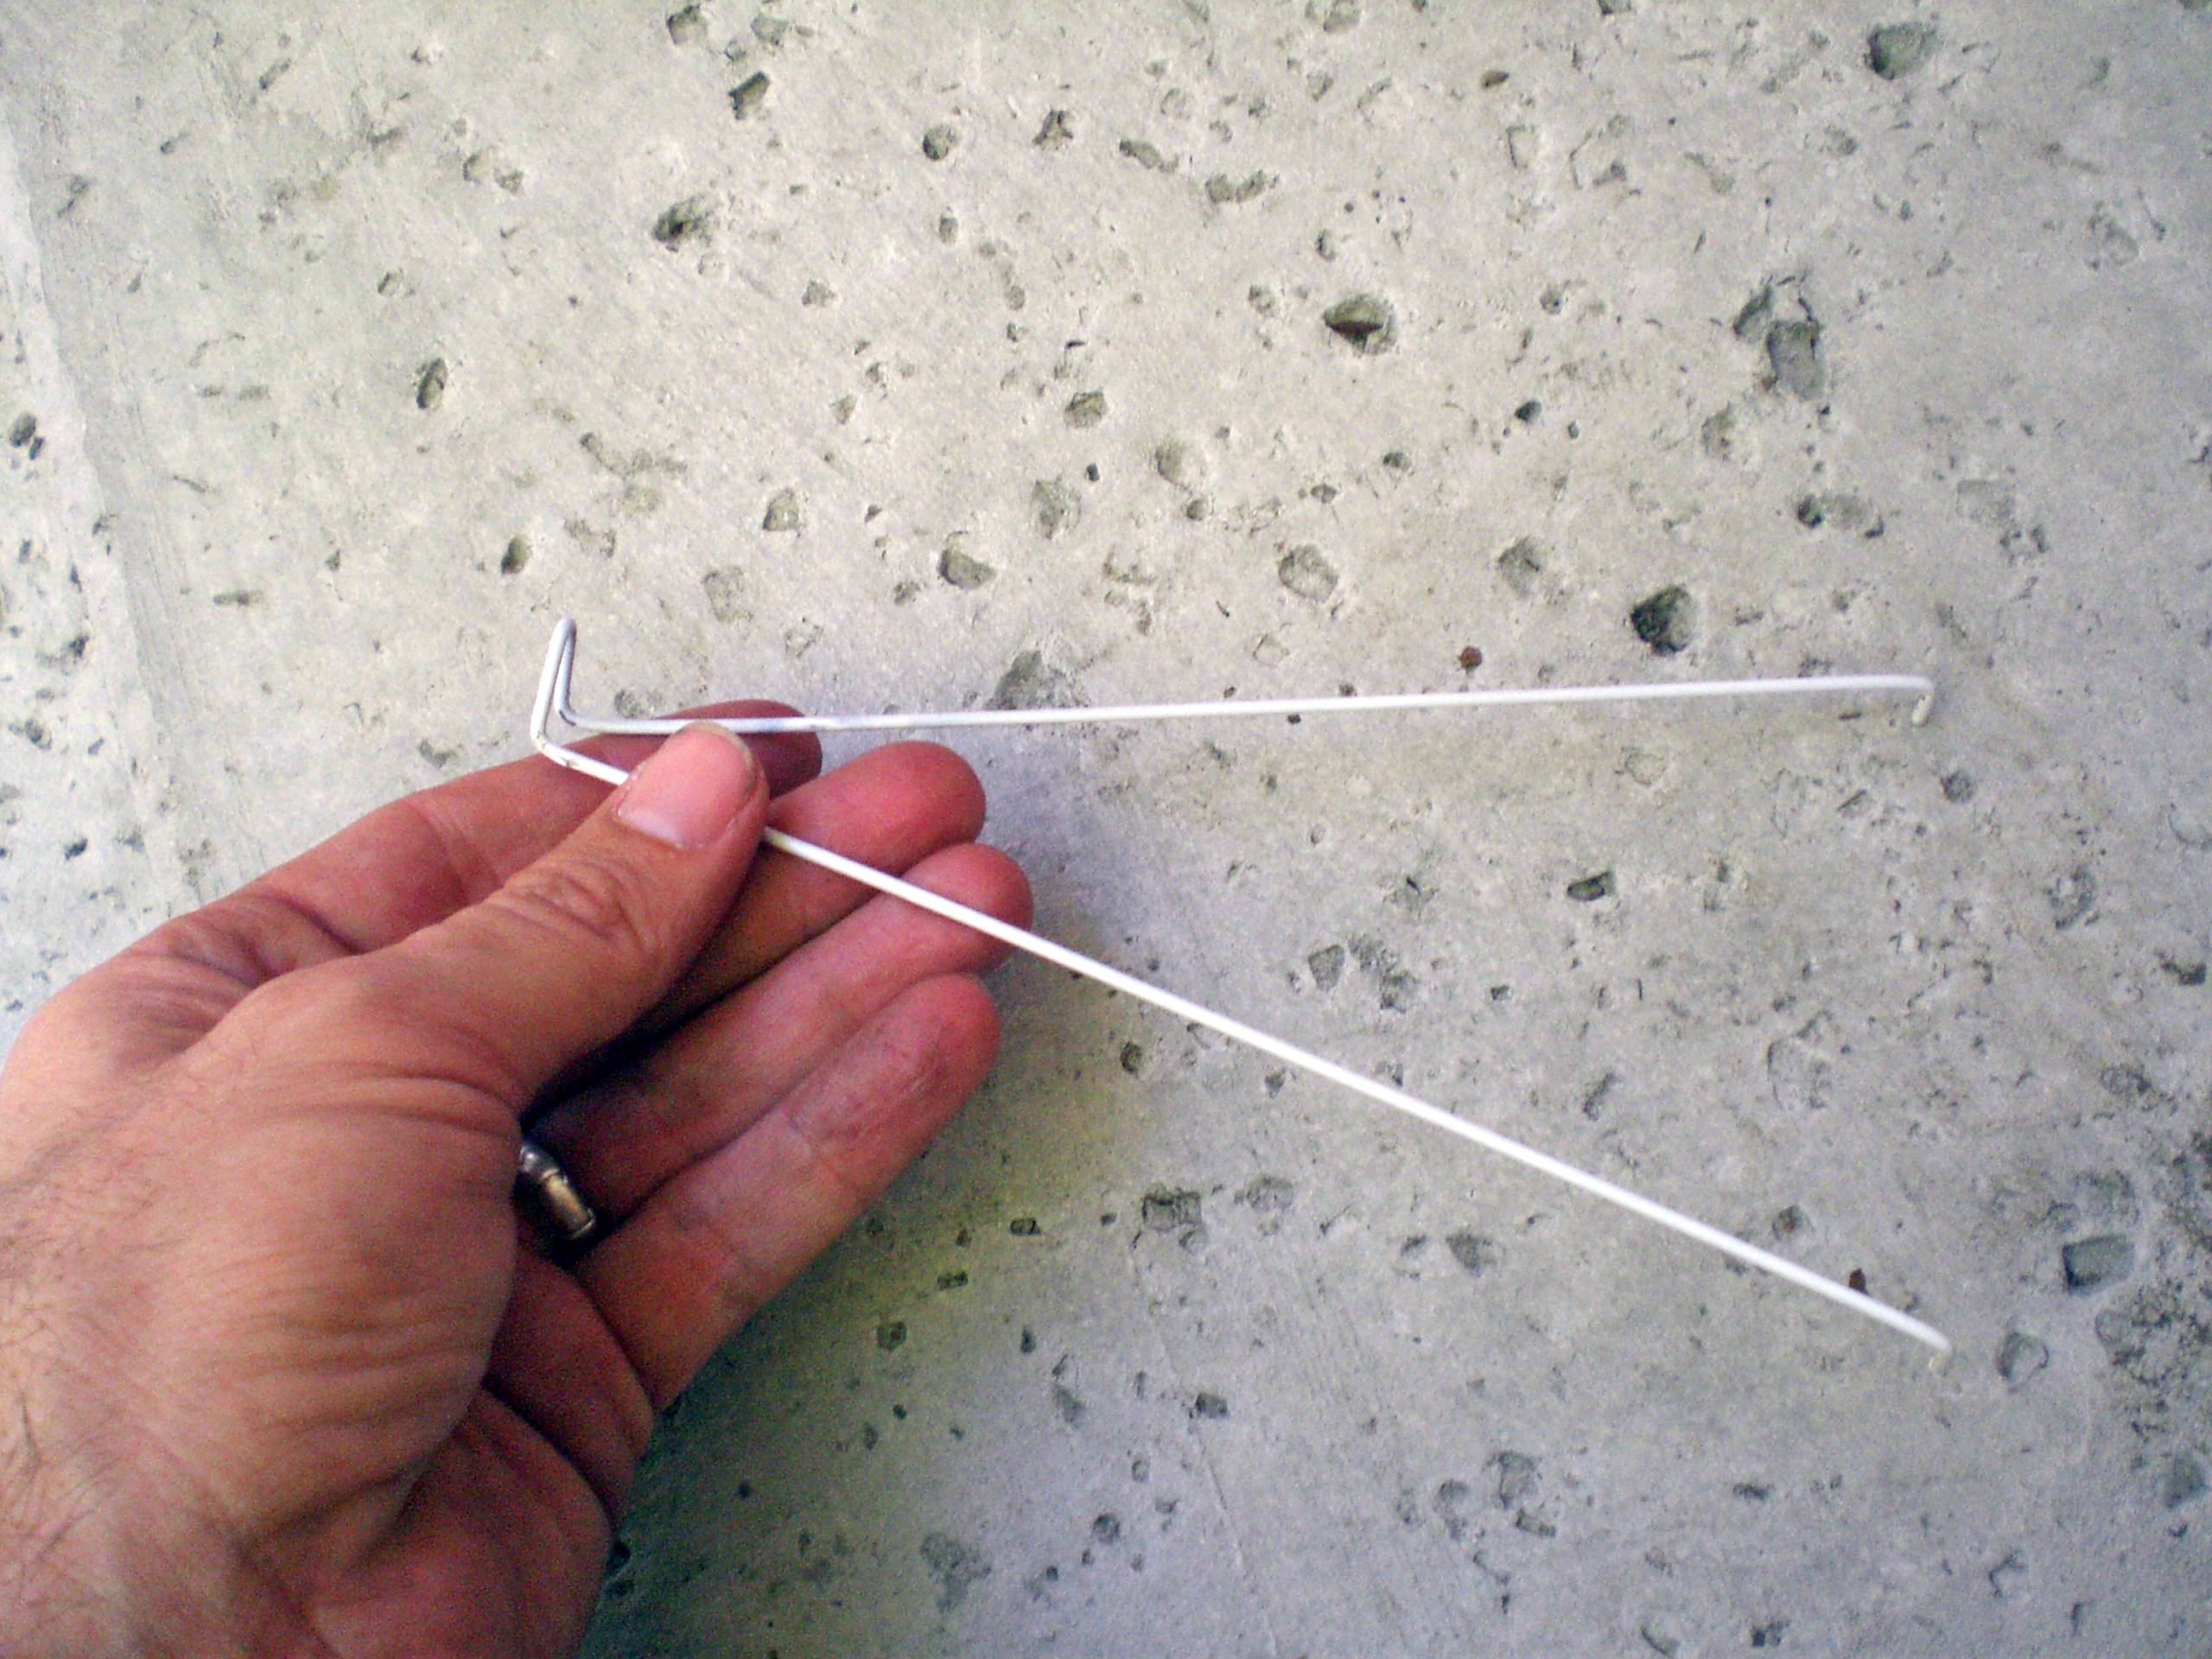
Snip off 2 long pieces of wire from a coat hanger and bend each into a V-shape.
Bend the tip of the V into a right angle, and then bend a little “foot” at each end.
Attach the legs to the holes in the tin using bolts, nuts, and metal washers.
Add a dollop of hot glue to each foot to give them rubber tips.
Install the motor.
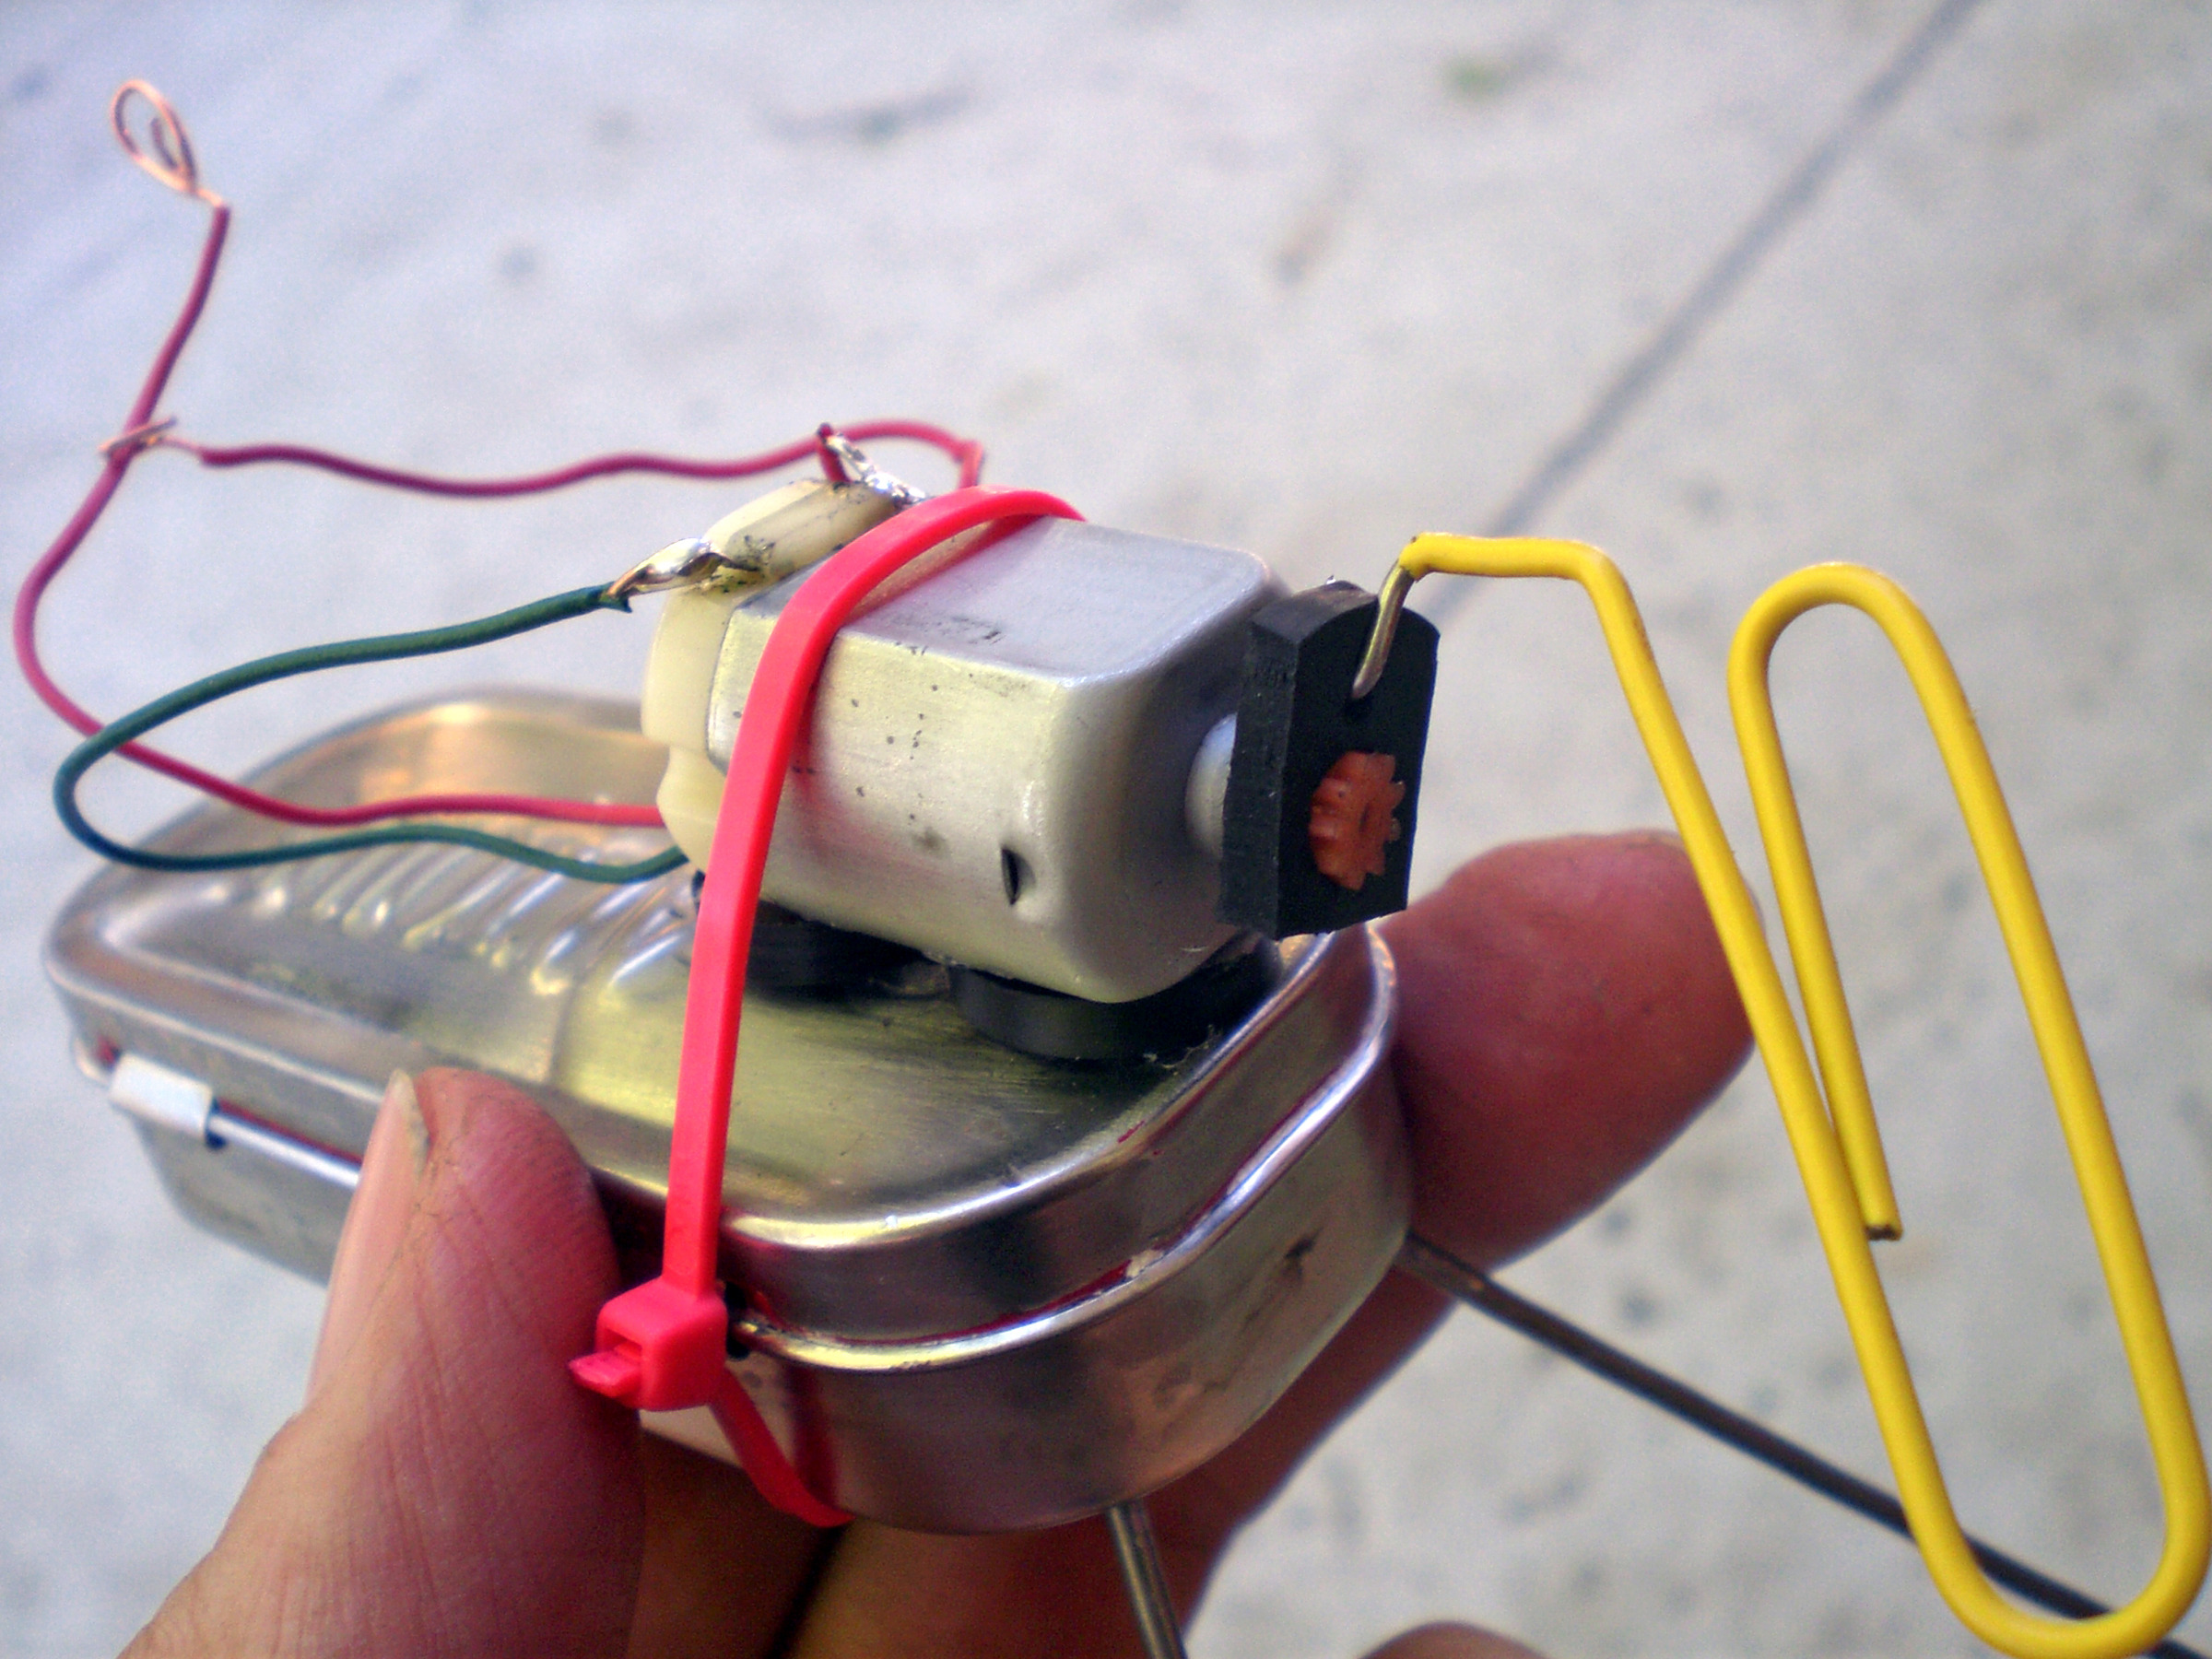
Push a paper clip through one of the plastic flat washers, and attach the washer to the spindle of the motor.
Solder 2 wires to the 1.5V battery, insert the battery in the candy tin, and thread both wires through the hole in the lid.
Solder one wire to a lead on the motor, and solder a third loose wire to the other motor lead.
Put 2 plastic flat washers between the motor and the candy tin, and secure the motor to the tin using a cable tie.
Operate.
To operate the Vibrobot, twist the loose battery wire and the loose motor wire together (you can also solder an alligator clip to one of the wires for a switch).
Experiment with the critter by gently bending the paper clip and legs into different shapes and observing the effects.
Conclusion
This project originally appeared in MAKE Volume 10.
Related Posts on Make: Online:
Classroom Vibrobots
http://blog.makezine.com/archive/2009/09…
How-to: BEAM Vibrobots


