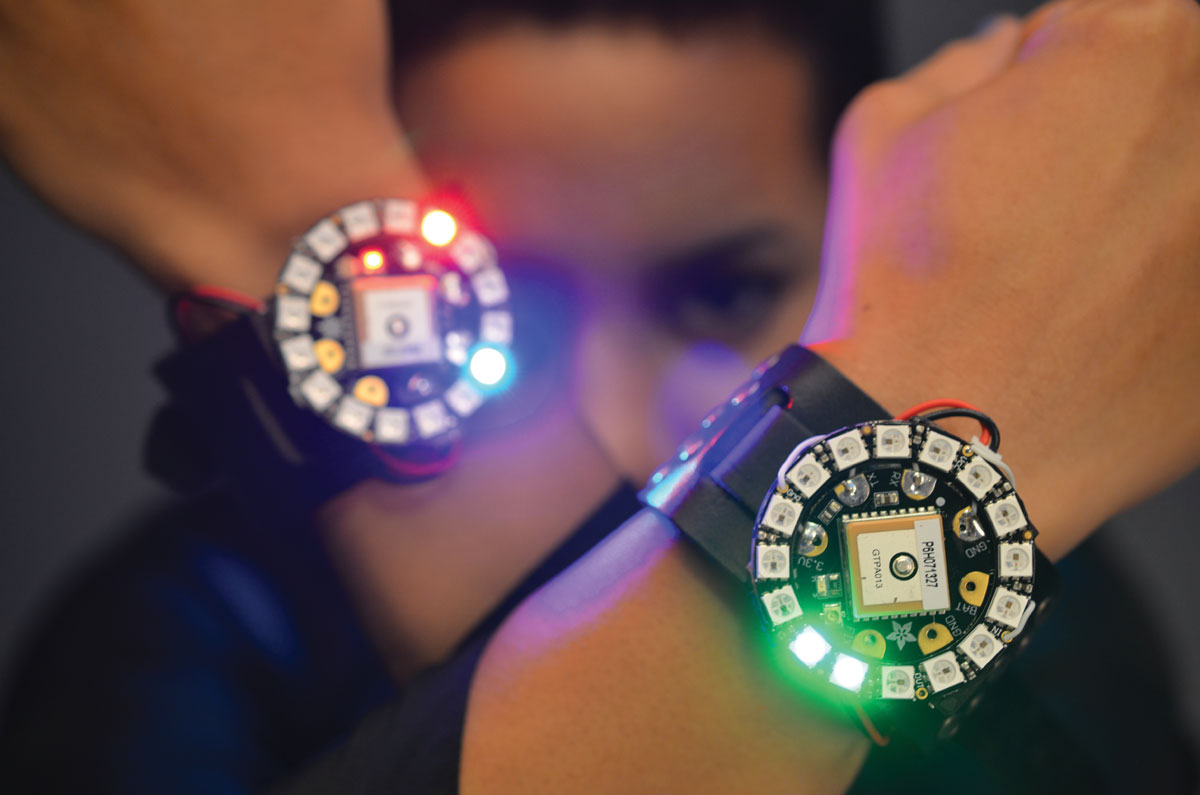
Use the Flora wearable microcontroller and its GPS module to tell time with a stunning ring of pixels. A leather cuff holds the circuit and hides the battery. The watch is chunky but still looks and feels great on tiny wrists!
The circuit sandwich becomes the face of the watch, and you’ll use a tactile switch to make a mode selector. The watch has three modes: timekeeping (one LED shows the hour and one shows minutes), compass (always points north), and GPS navigation. Customize your waypoint in the provided Arduino sketch, and the LEDs will point the way and then tell you when you’re arriving at your destination.
This is an intermediate-level project requiring soldering and some precision crafting. Before you begin, you should read the following guides at adafruit.com:
This project is adapted from our new book, Getting Started with the Adafruit Flora, available from the Maker Shed. Project help and modeling from Risa Rose.
Why Flora?
Flora is Adafruit’s Arduino-compatible wearable electronics platform. Measuring only 1¾” in diameter, the main board is small enough to embed into any wearable project, and it has large pads for sewing with conductive thread. The round shape means there are no sharp corners to poke through your garment, and the 14 pads are laid out to make it easy to connect sensors like a sewable motion sensor, color sensor, the Ultimate GPS, or the Flora light sensor. Power and ground buses are interleaved with data pads specifically to prevent crossed threads.
The most innovative modules in the Flora family are the Flora NeoPixels: addressable, color-changing LED pixels designed to be daisy-chained and easy to sew.
The Flora is beginner-friendly, and easy to use with a wide variety of battery packs from 3.5 to 16 volts. Its four indicator LEDs let you know about its power status and data transmission.
Since it uses the powerful ATmega32u4 microprocessor, Flora has built-in USB support allowing it to act as a keyboard or mouse just by plugging into its mini USB connector. It’s programmed via Mac, PC, or Linux with free software you download online. Adafruit publishes hundreds of tutorials and dozens of free code libraries for Arduino-compatible boards, so you’ll never be lacking project ideas or sample code to get you started.
Circuit Diagram
Each component connects to the Flora main board as follows:
GPS:
3.3V → 3.3V
TX → Flora RX
RX → Flora TX
GND → GND
Accelerometer:
GND → GND
SCL → SCL
SDA → SDA
3.3V → 3.3V
NeoPixel ring:
Vcc (power) → Flora VBATT
IN (Data Input) → Flora D6
Gnd (ground) → GND
Tactile switch:
any 2 diagonal pins → Flora D10 and GND
Battery:
plugs in via the onboard JST port


