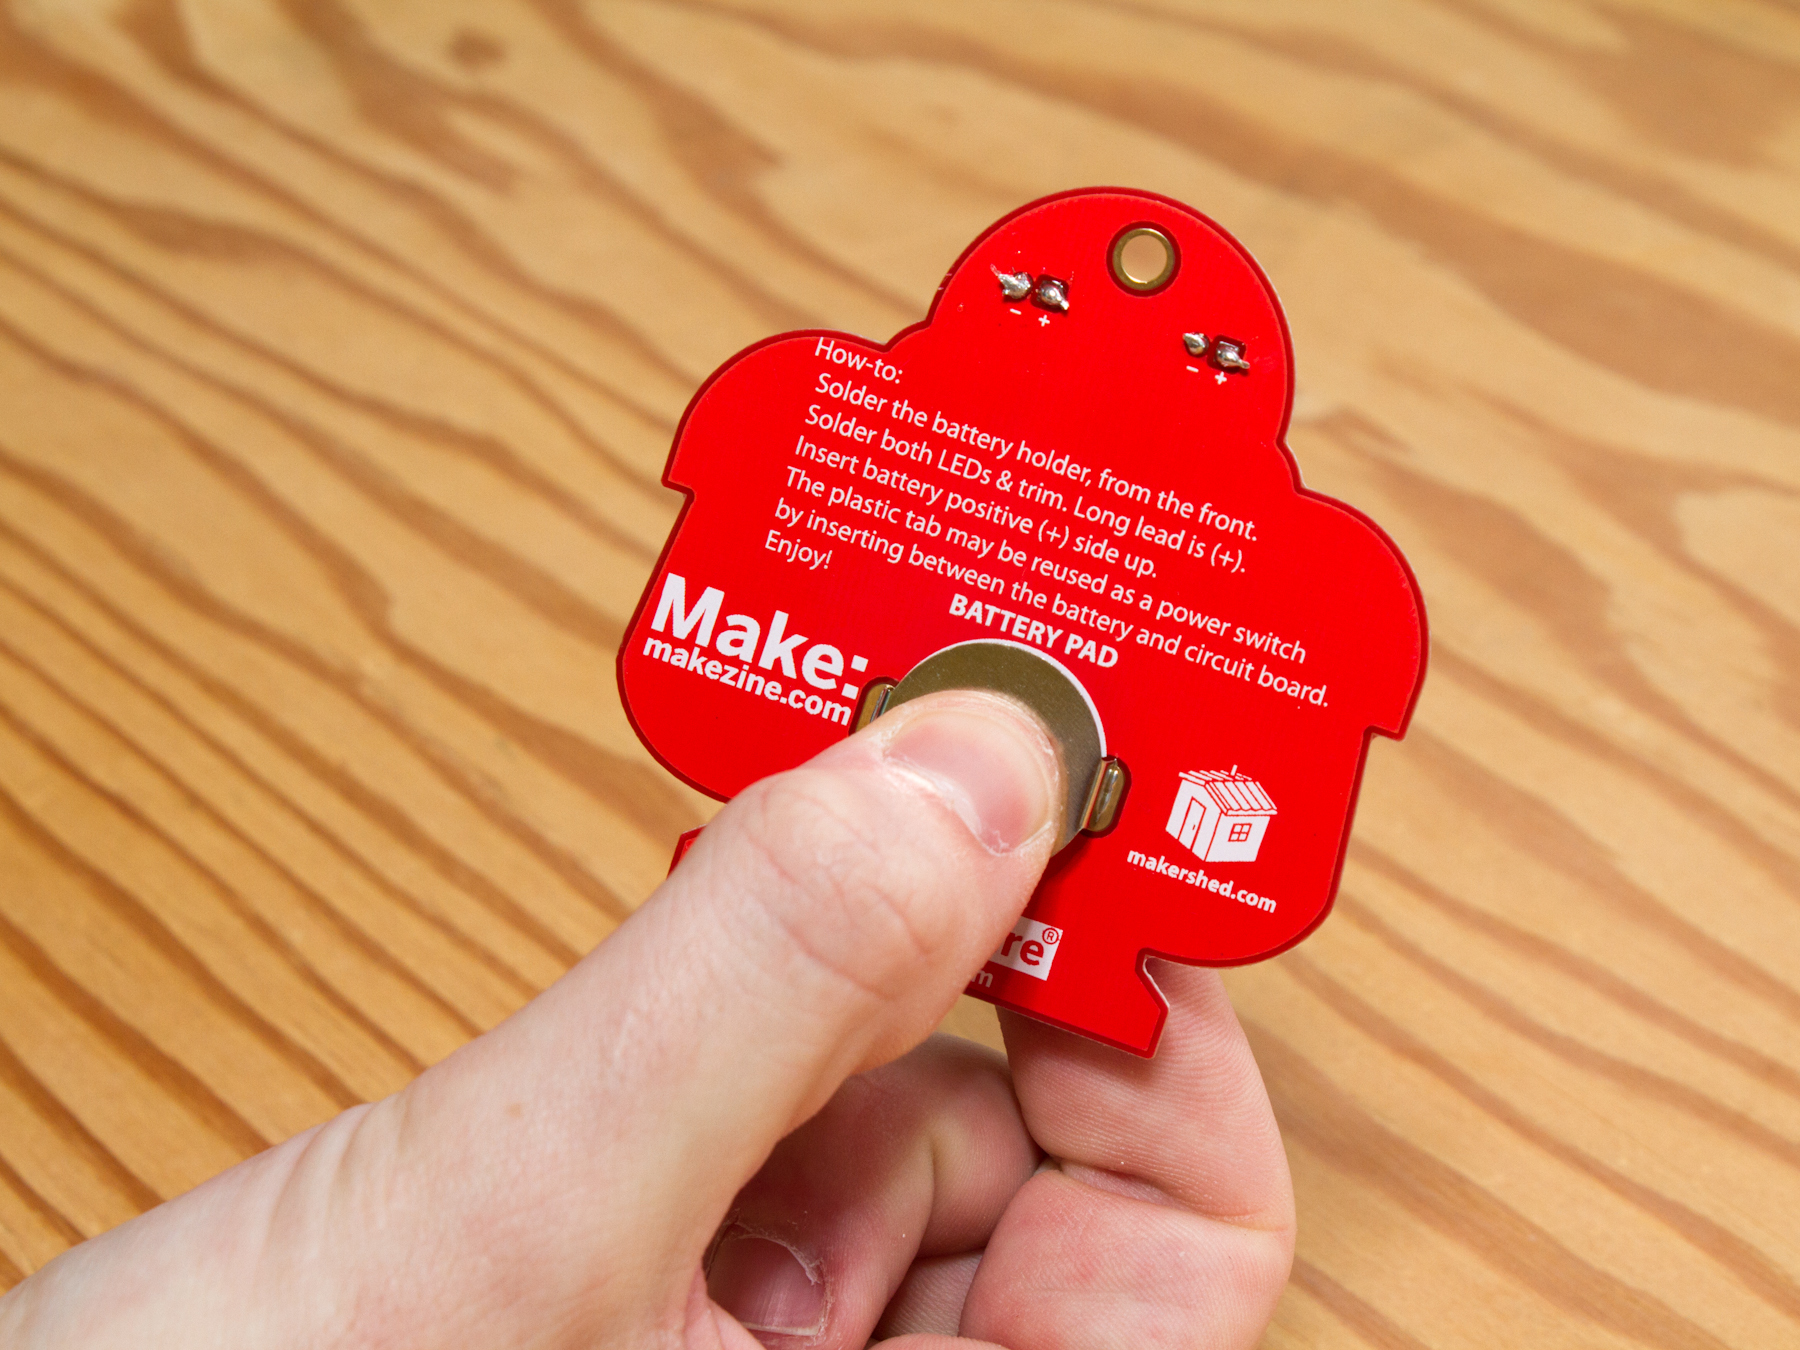
This is a comprehensive guide to soldering the MAKE Holiday Ornament. It’s a simple, fun project and the end result is a great flashing ornament.

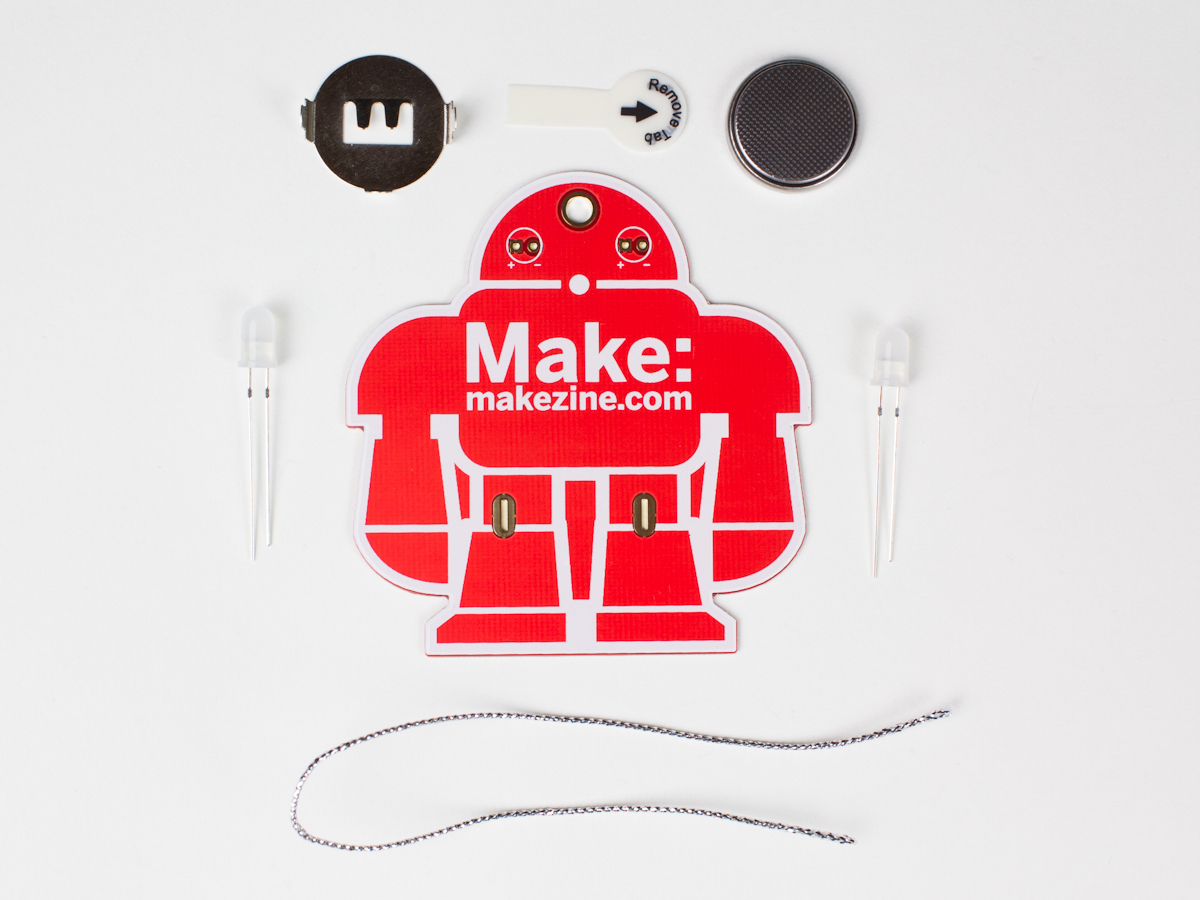
Before you start, make sure you have everything. You should have the PCB, two LEDs, a battery holder, a battery, a plastic tab, and a silver string.
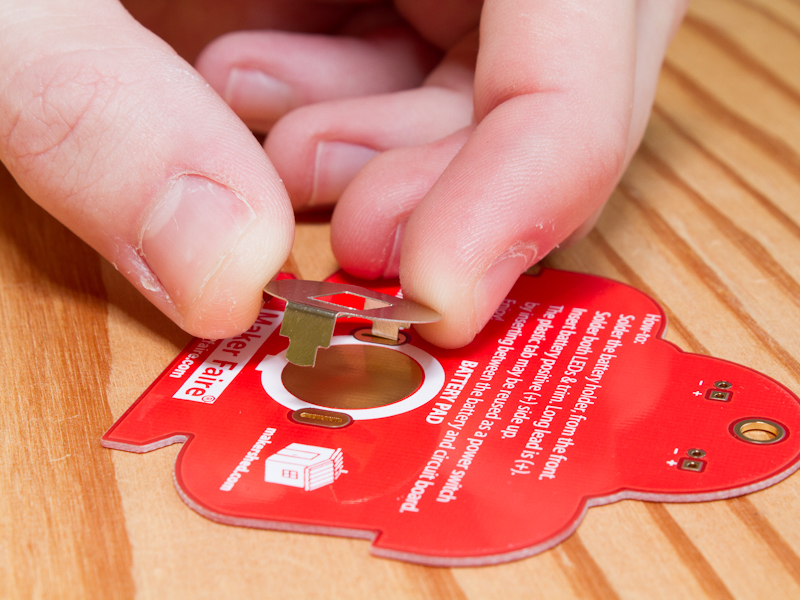
As the instructions on the back of the PCB state, it’s easiest to start with the battery holder.
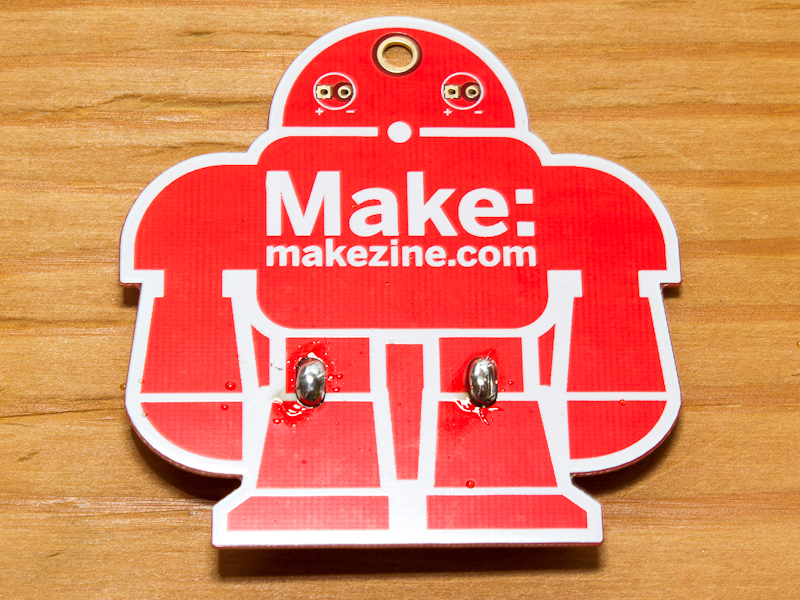
Insert it into the back side of the PCB with the little tab facing the bottom of the board. Flip the board over and solder!
These tabs are big, so you may need to hold your iron in place for a few seconds to heat them up before the solder will flow.

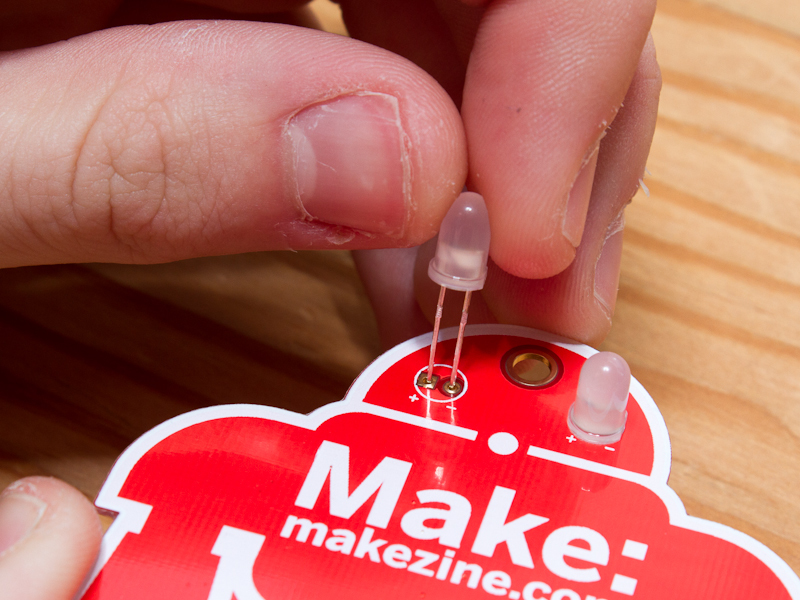
Insert each LED into the front of the PCB to give the bot eyes. Spread the legs of the LEDs on the backside of the board to keep them in place while you solder.
Remember: LEDs are polarized. The long lead is positive.
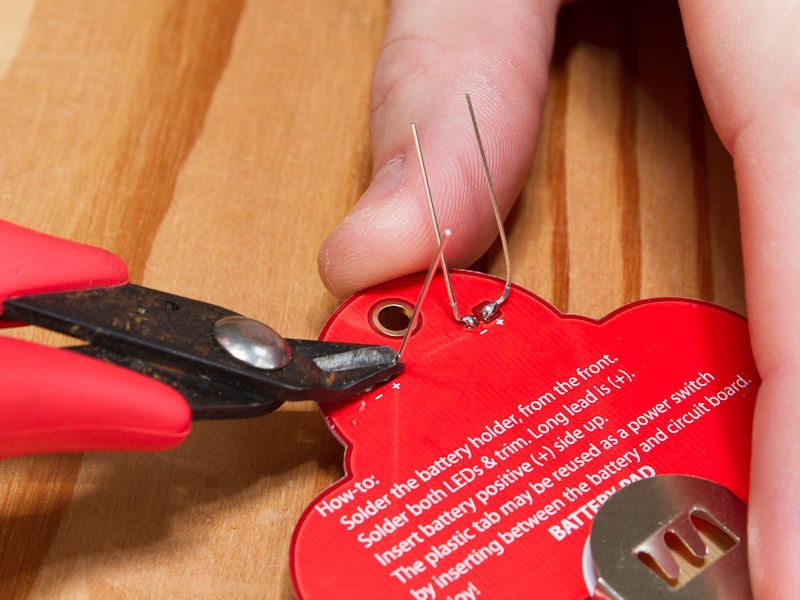
Clip the leads once everything’s soldered in place.
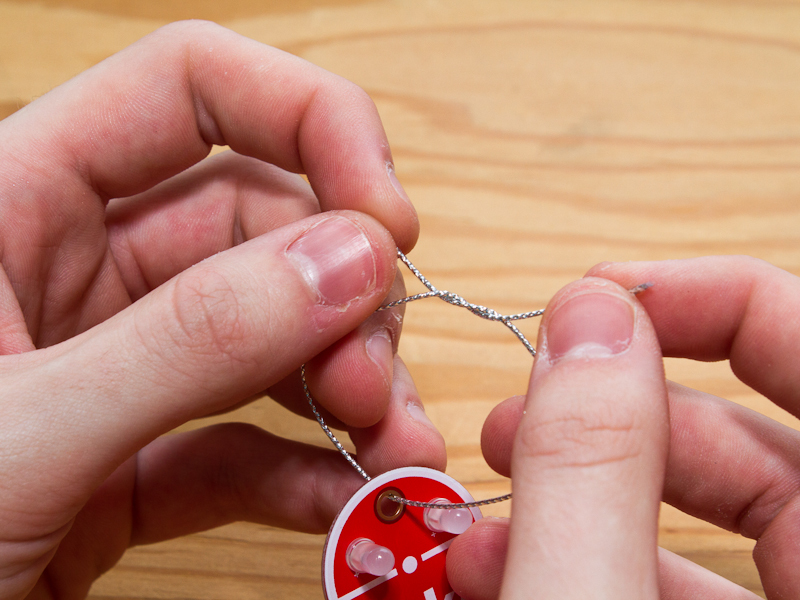
Now thread the silver string through the hole between the robot’s eyes and tie a knot.
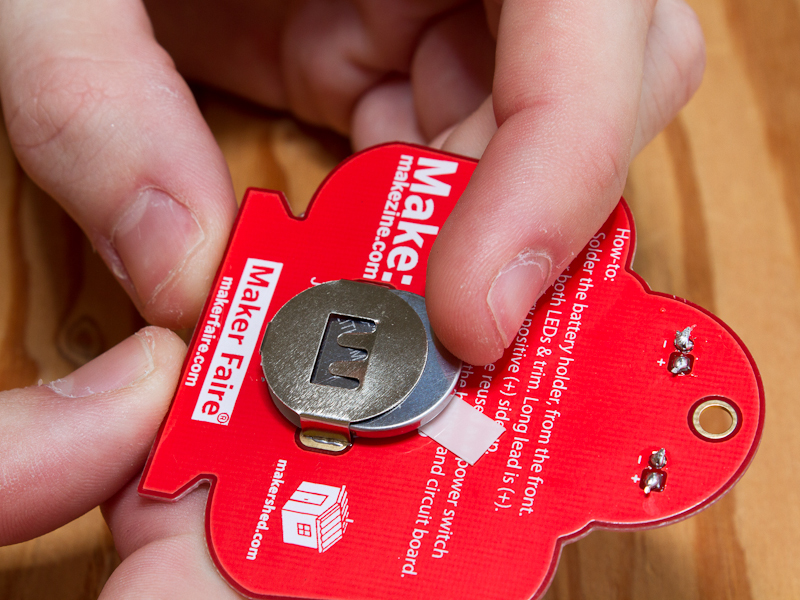
Insert the battery into the clip with the glossy (+) side facing up, and watch your robot come to life!
You can use the included plastic tab as a power switch, if you want to turn your robot off without removing (and potentially losing) the battery. Just slide it in between the battery and the PCB!
If you’re not getting good contact between the battery and PCB, simply depress the battery holder slightly to put more pressure on the battery.


