bb-8-gif-sphero

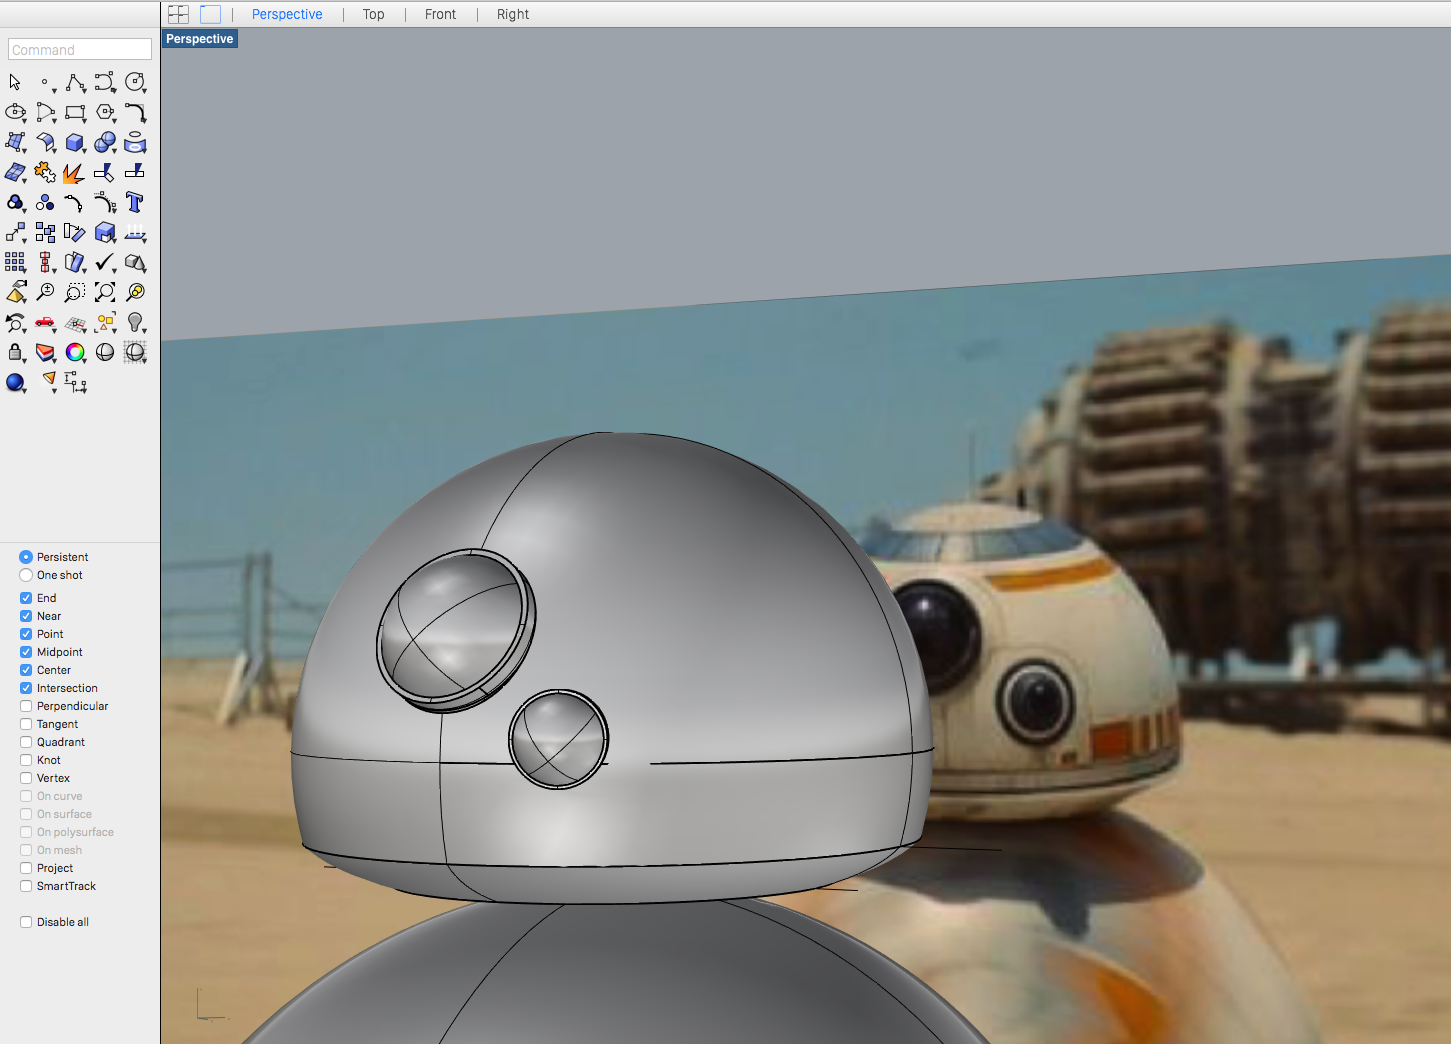
As an industrial designer, I’ve been particularly fascinated by products that have personality and emotion. And I think the droids in Star Wars have always been really great at capturing a character without facial expression and drawing you in. And BB-8 was no different when they brought it out onstage for the first time.

As I watched it roll around my only thought was “need!” …So I made one.

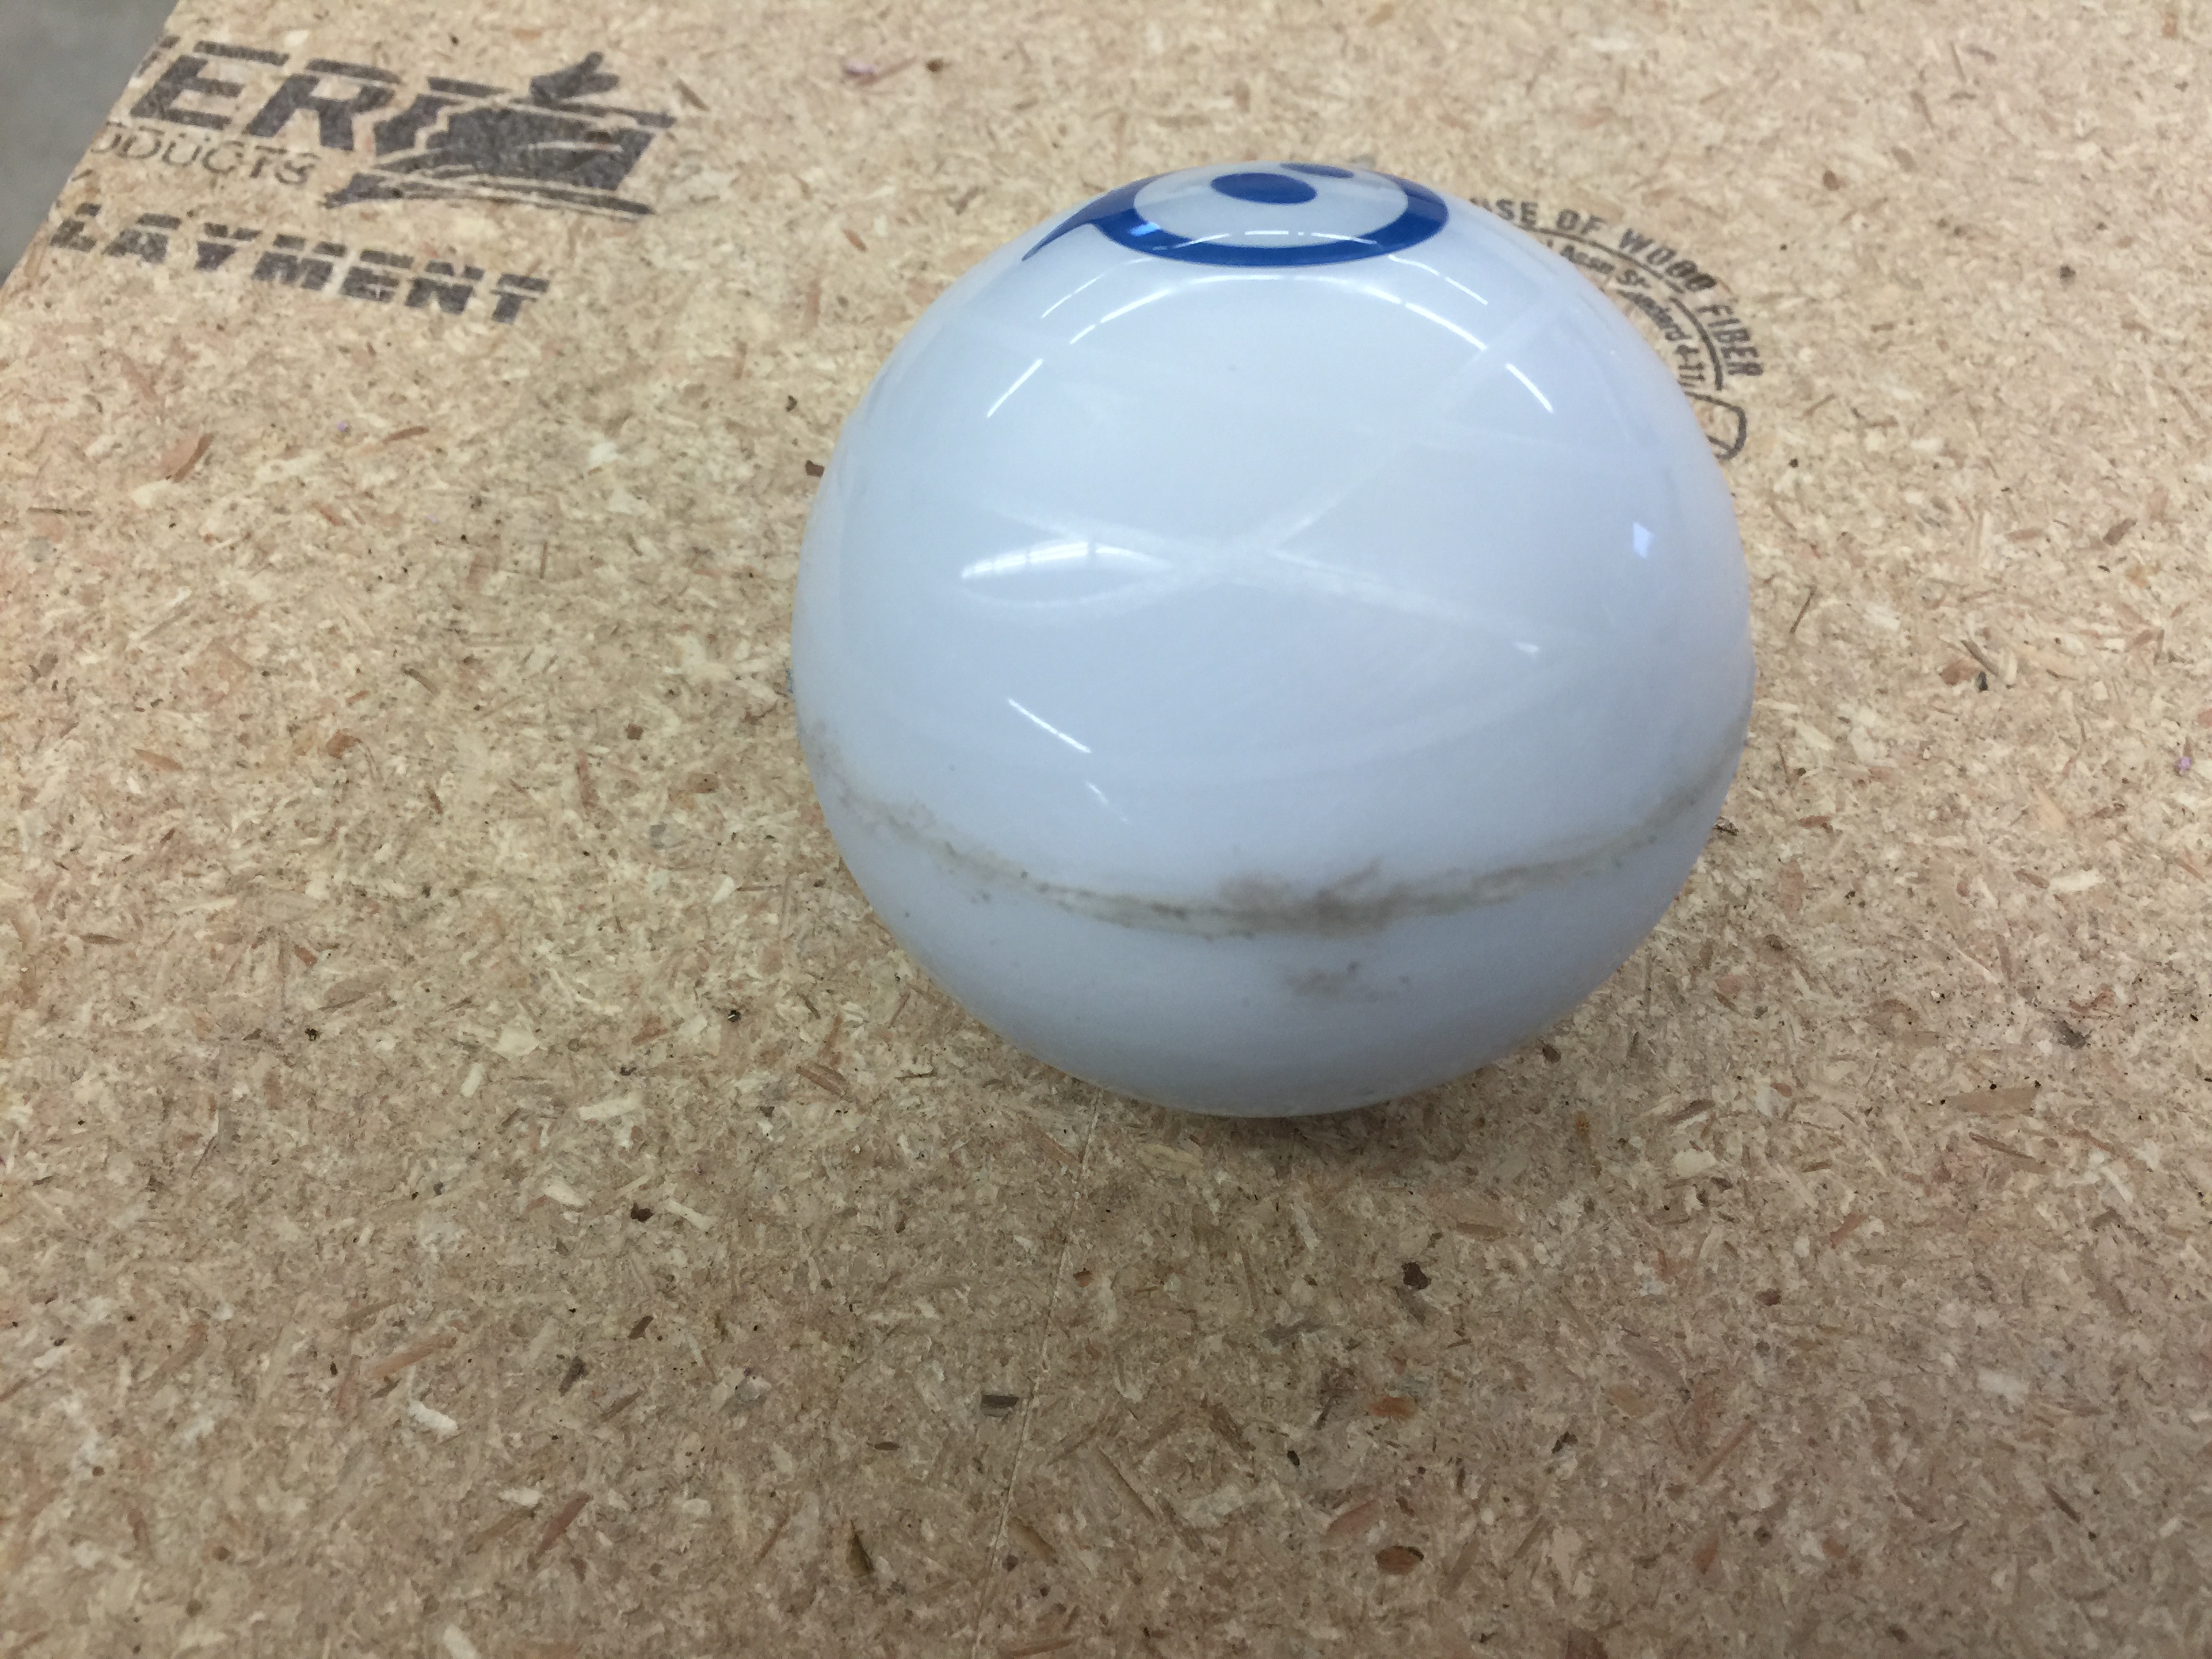
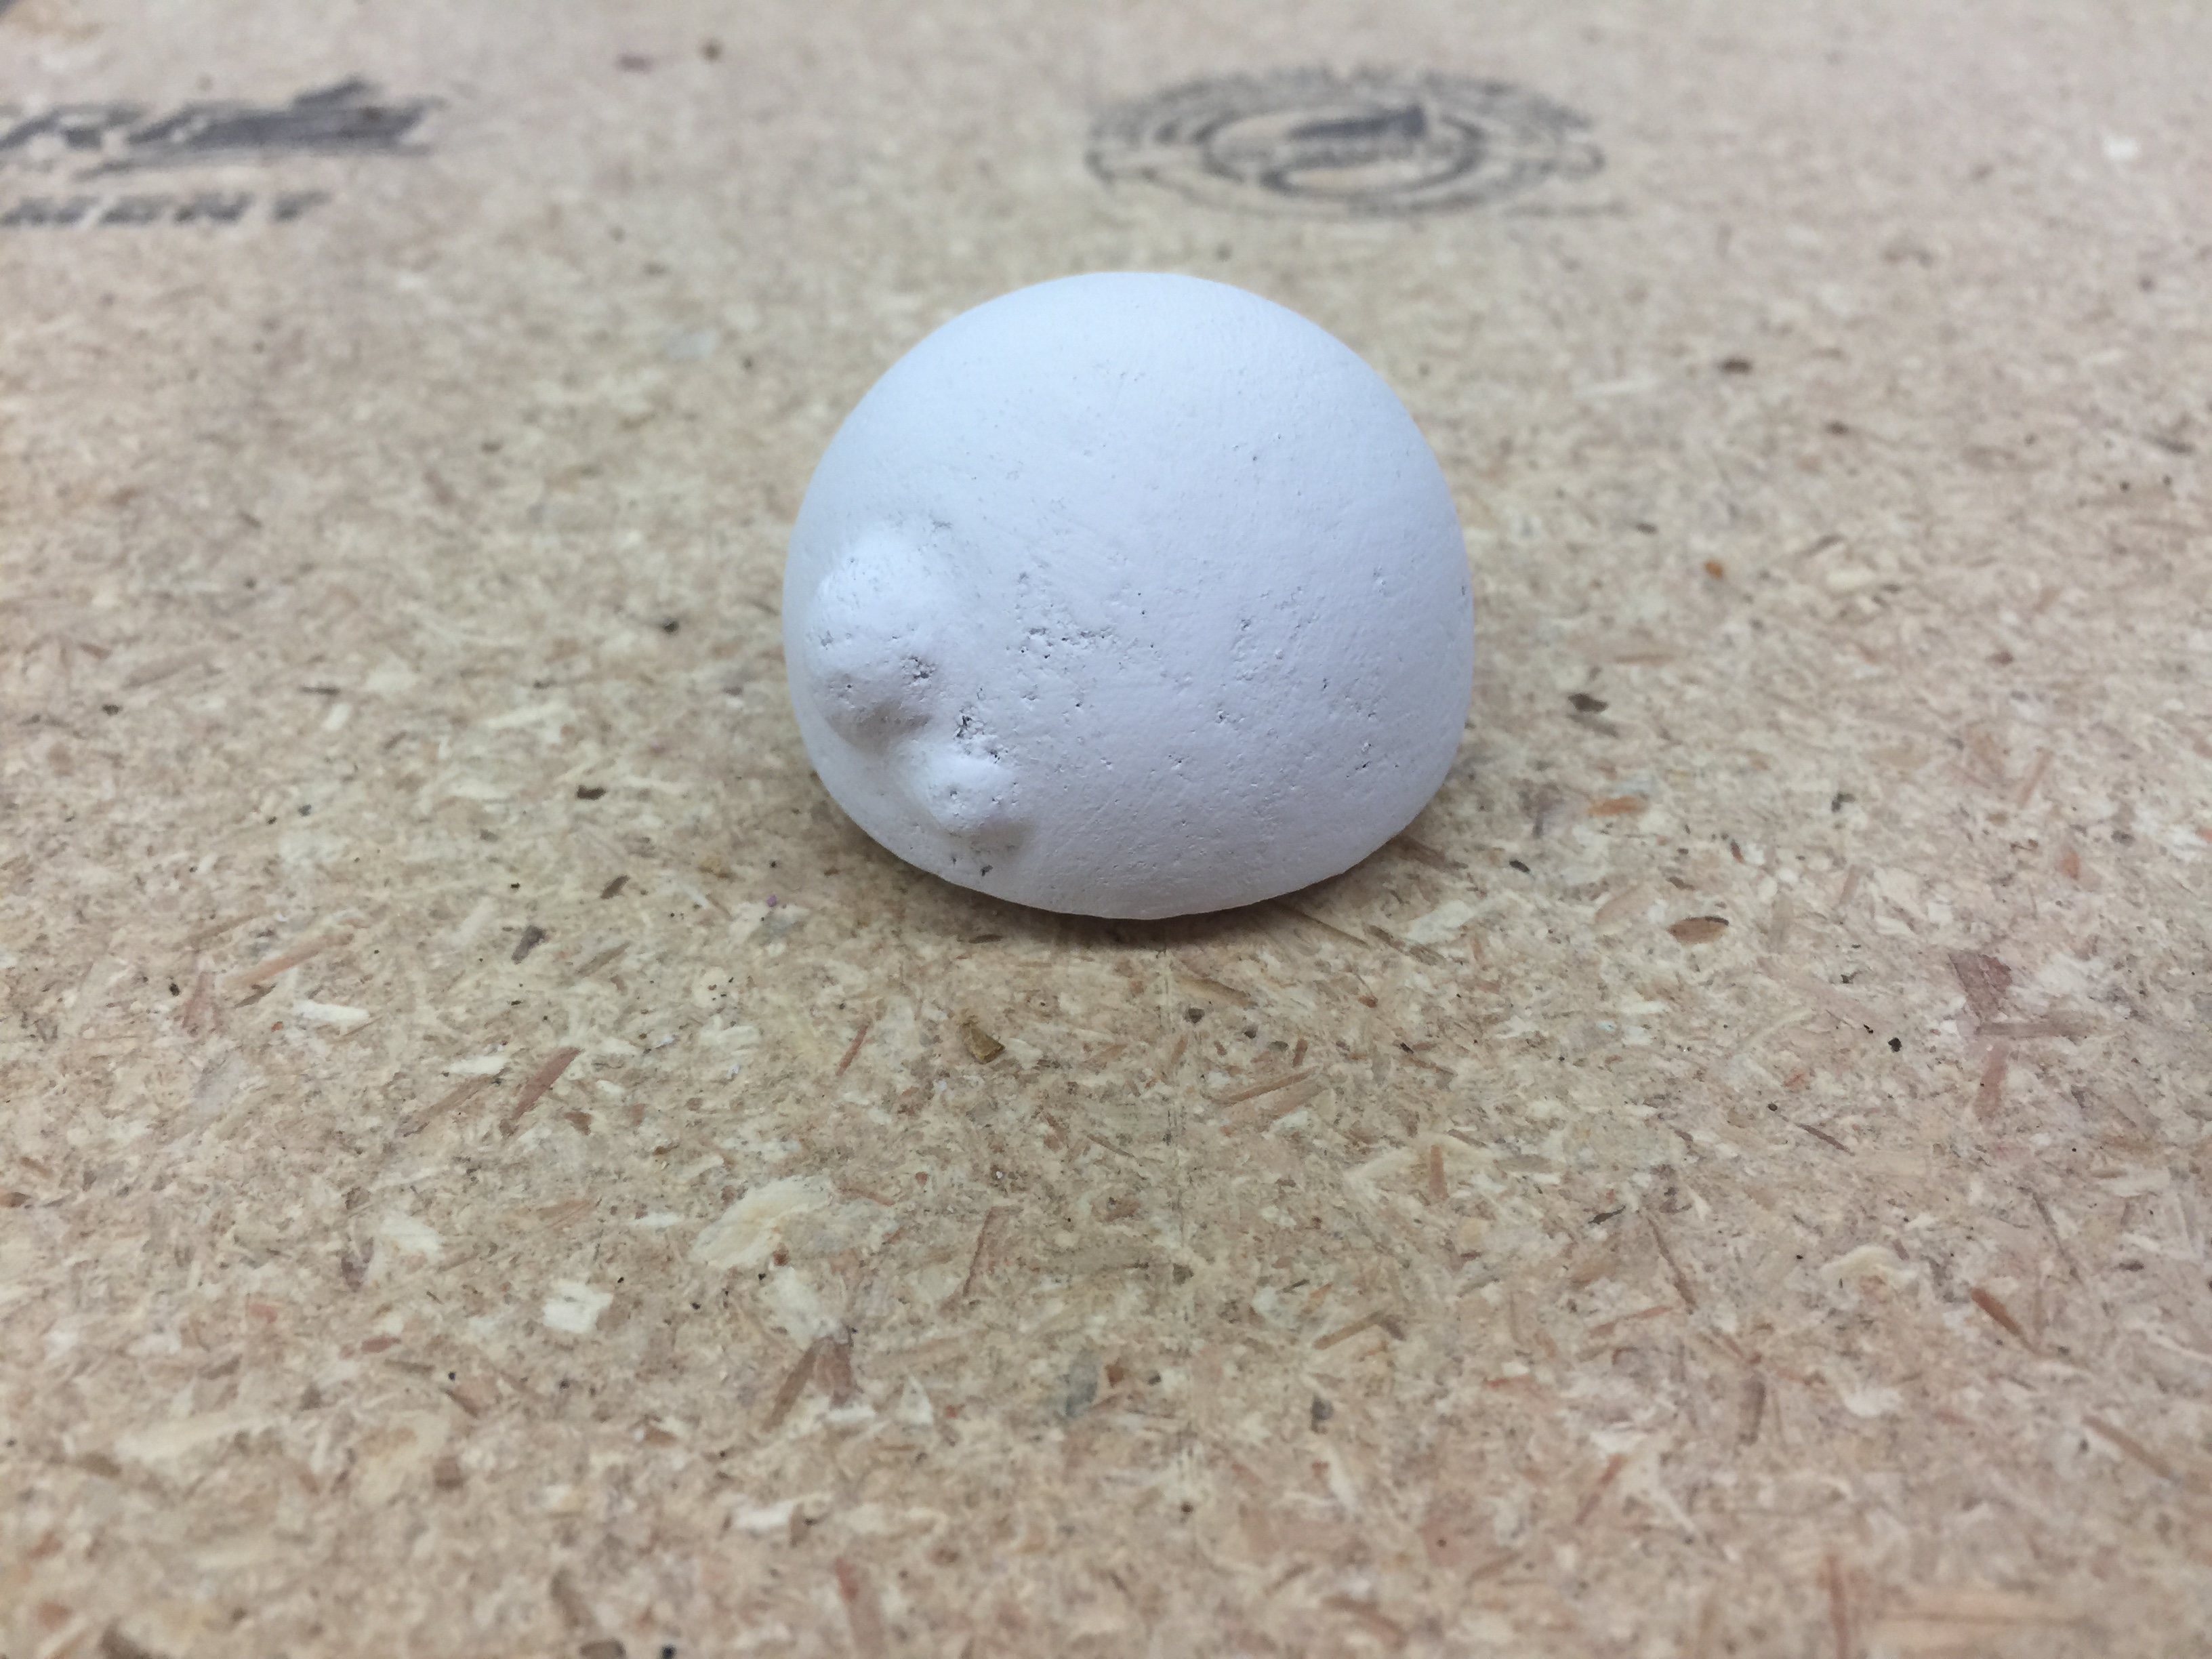
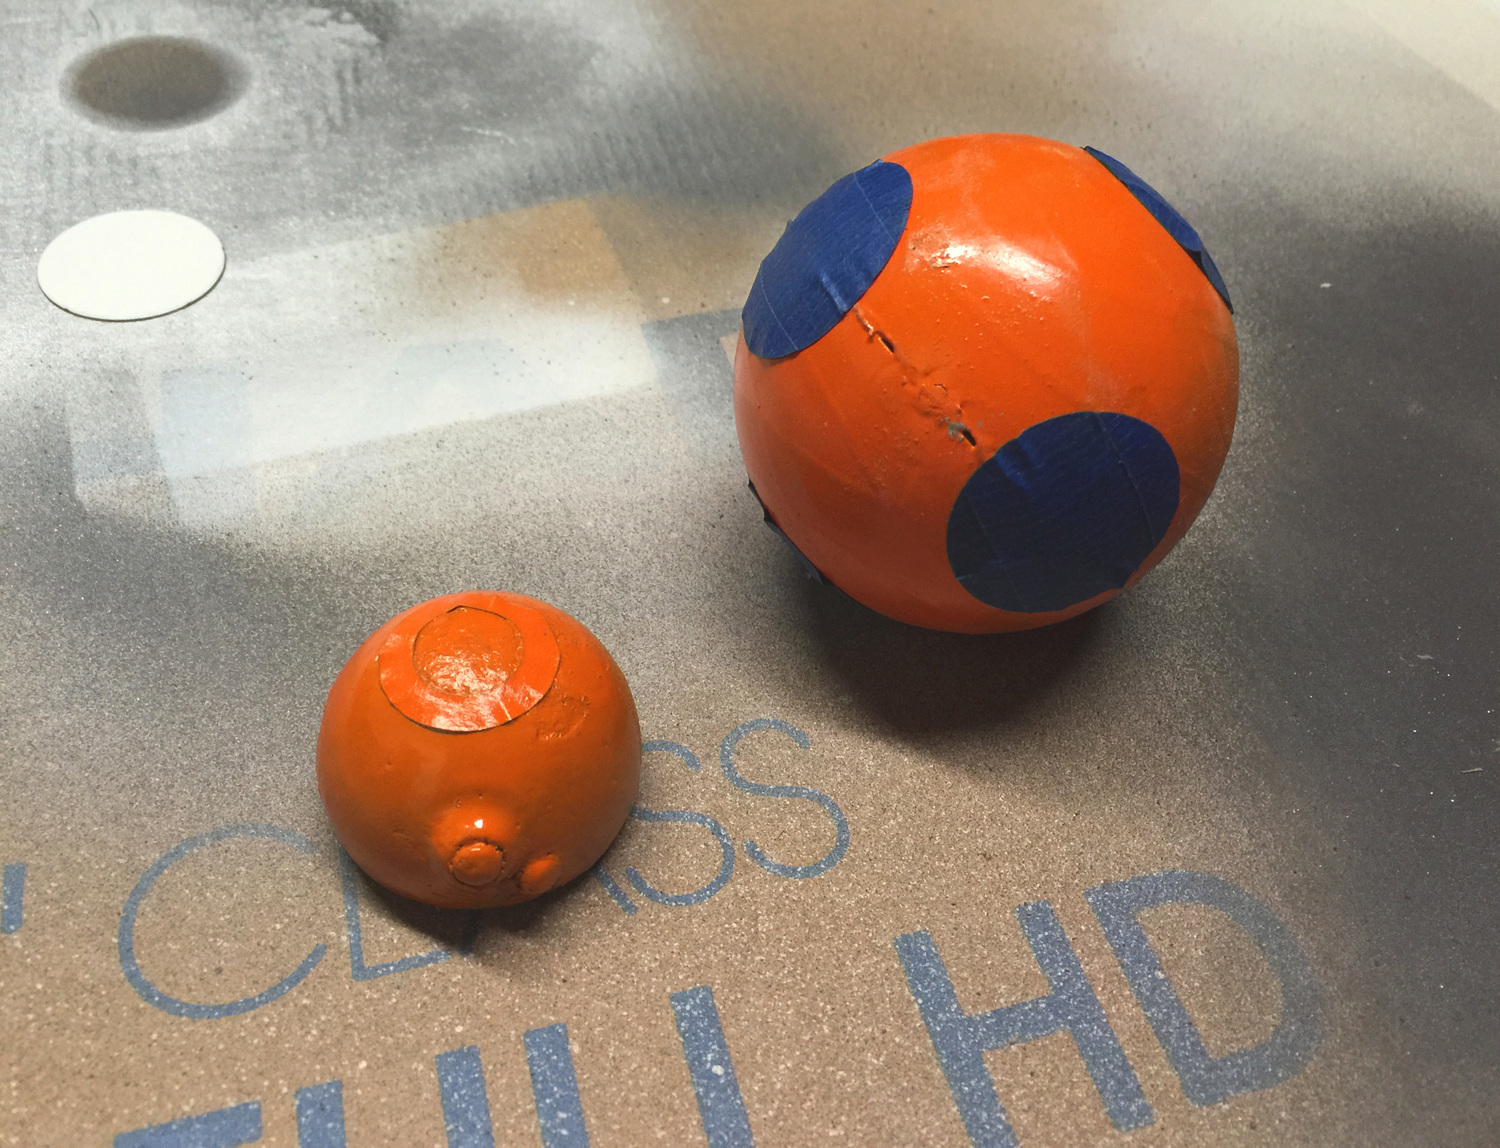
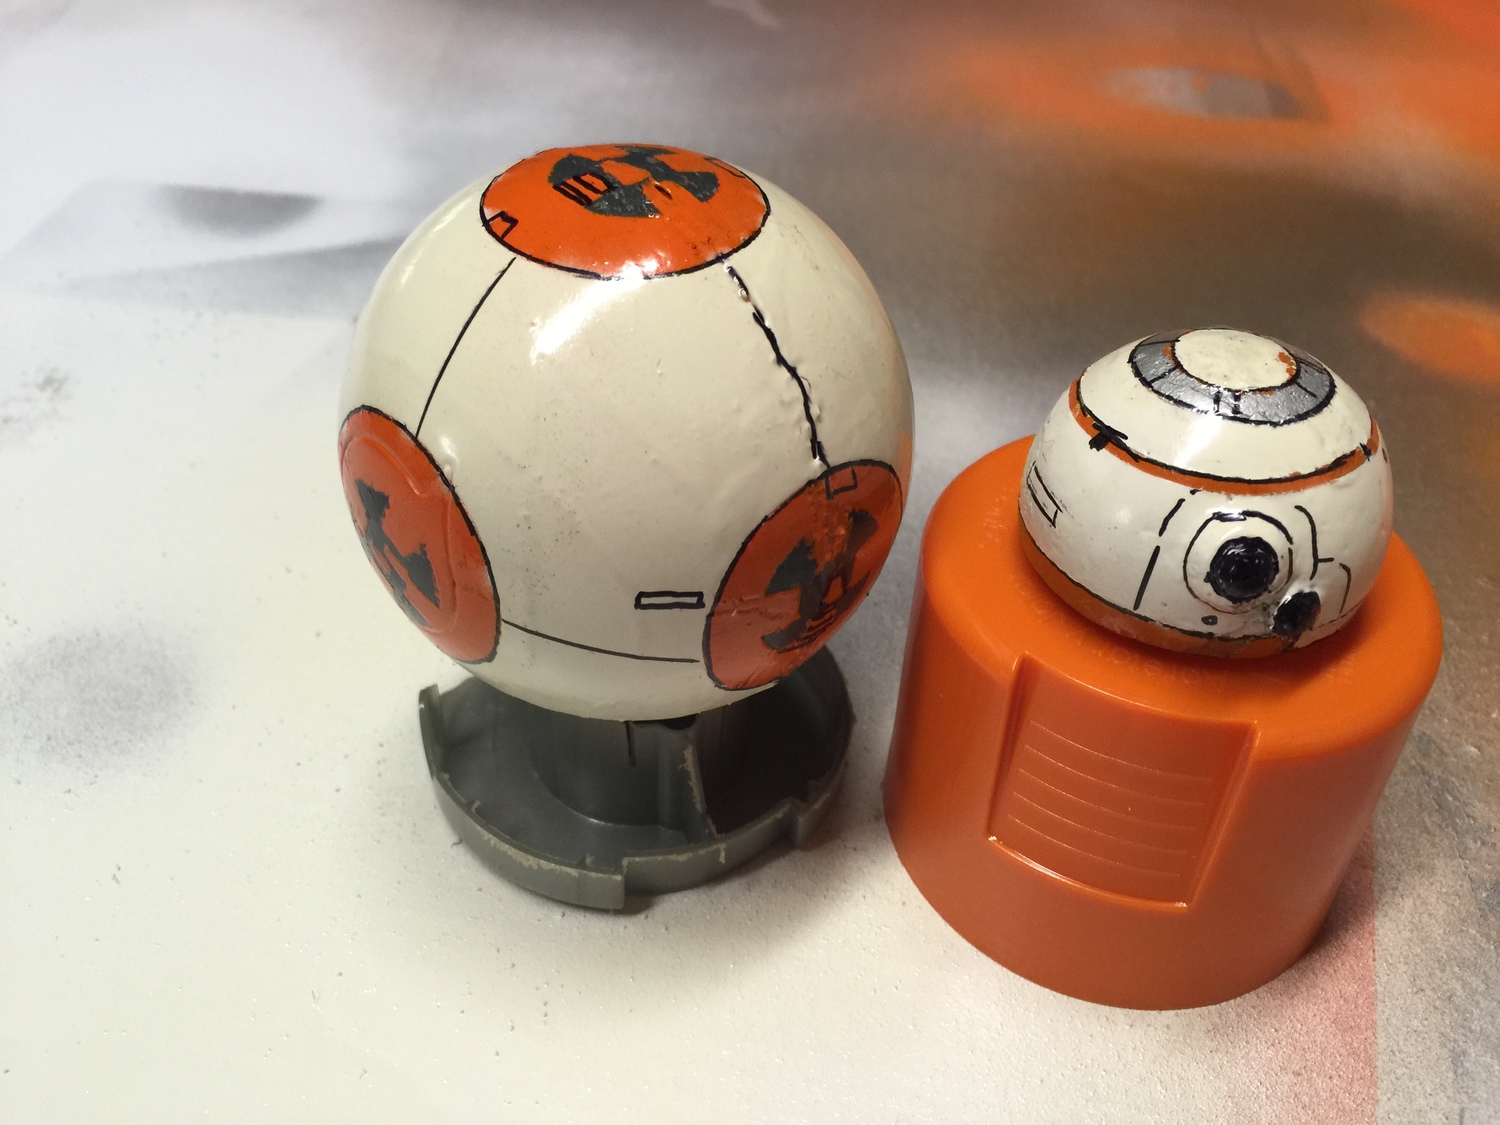
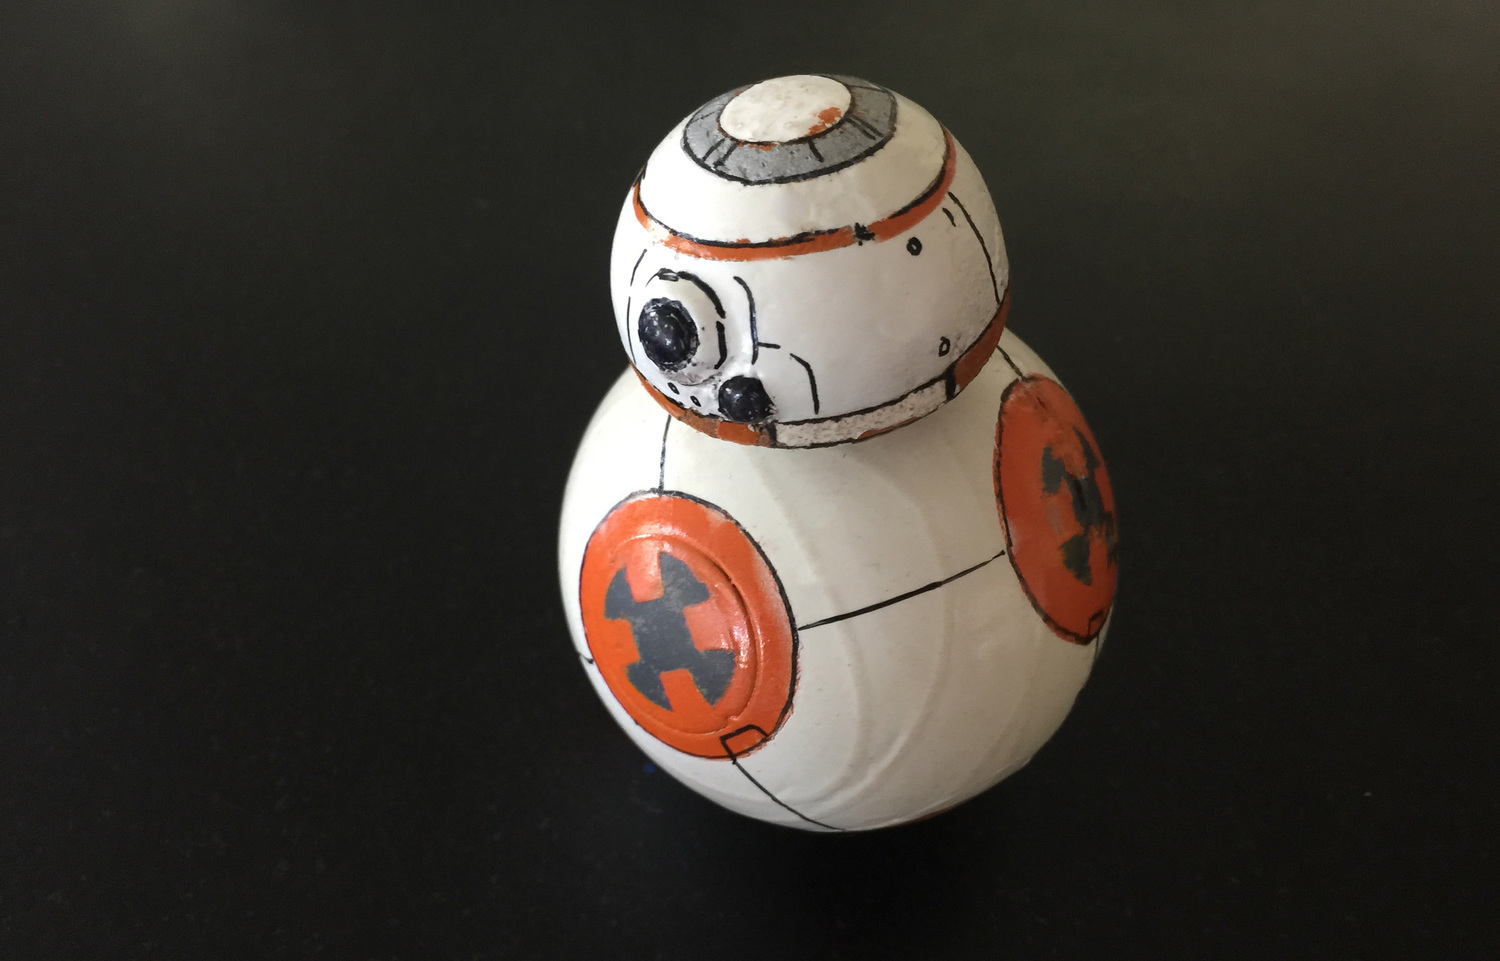
Part of what I really enjoyed about the process of making it was the timeline. Most projects I work on end up taking weeks, if not months to finish. With BB-8, I pushed myself to make it in a day. As a result, the surfacing and paint is less than perfect, which I’m serendipitously calling “weathered”. But I was able to stick to my goal, and was able to make the whole thing in a matter of hours. I wanted to capture the character and personality of the real robot as simply as possible, and I’m really happy with how it turned out.

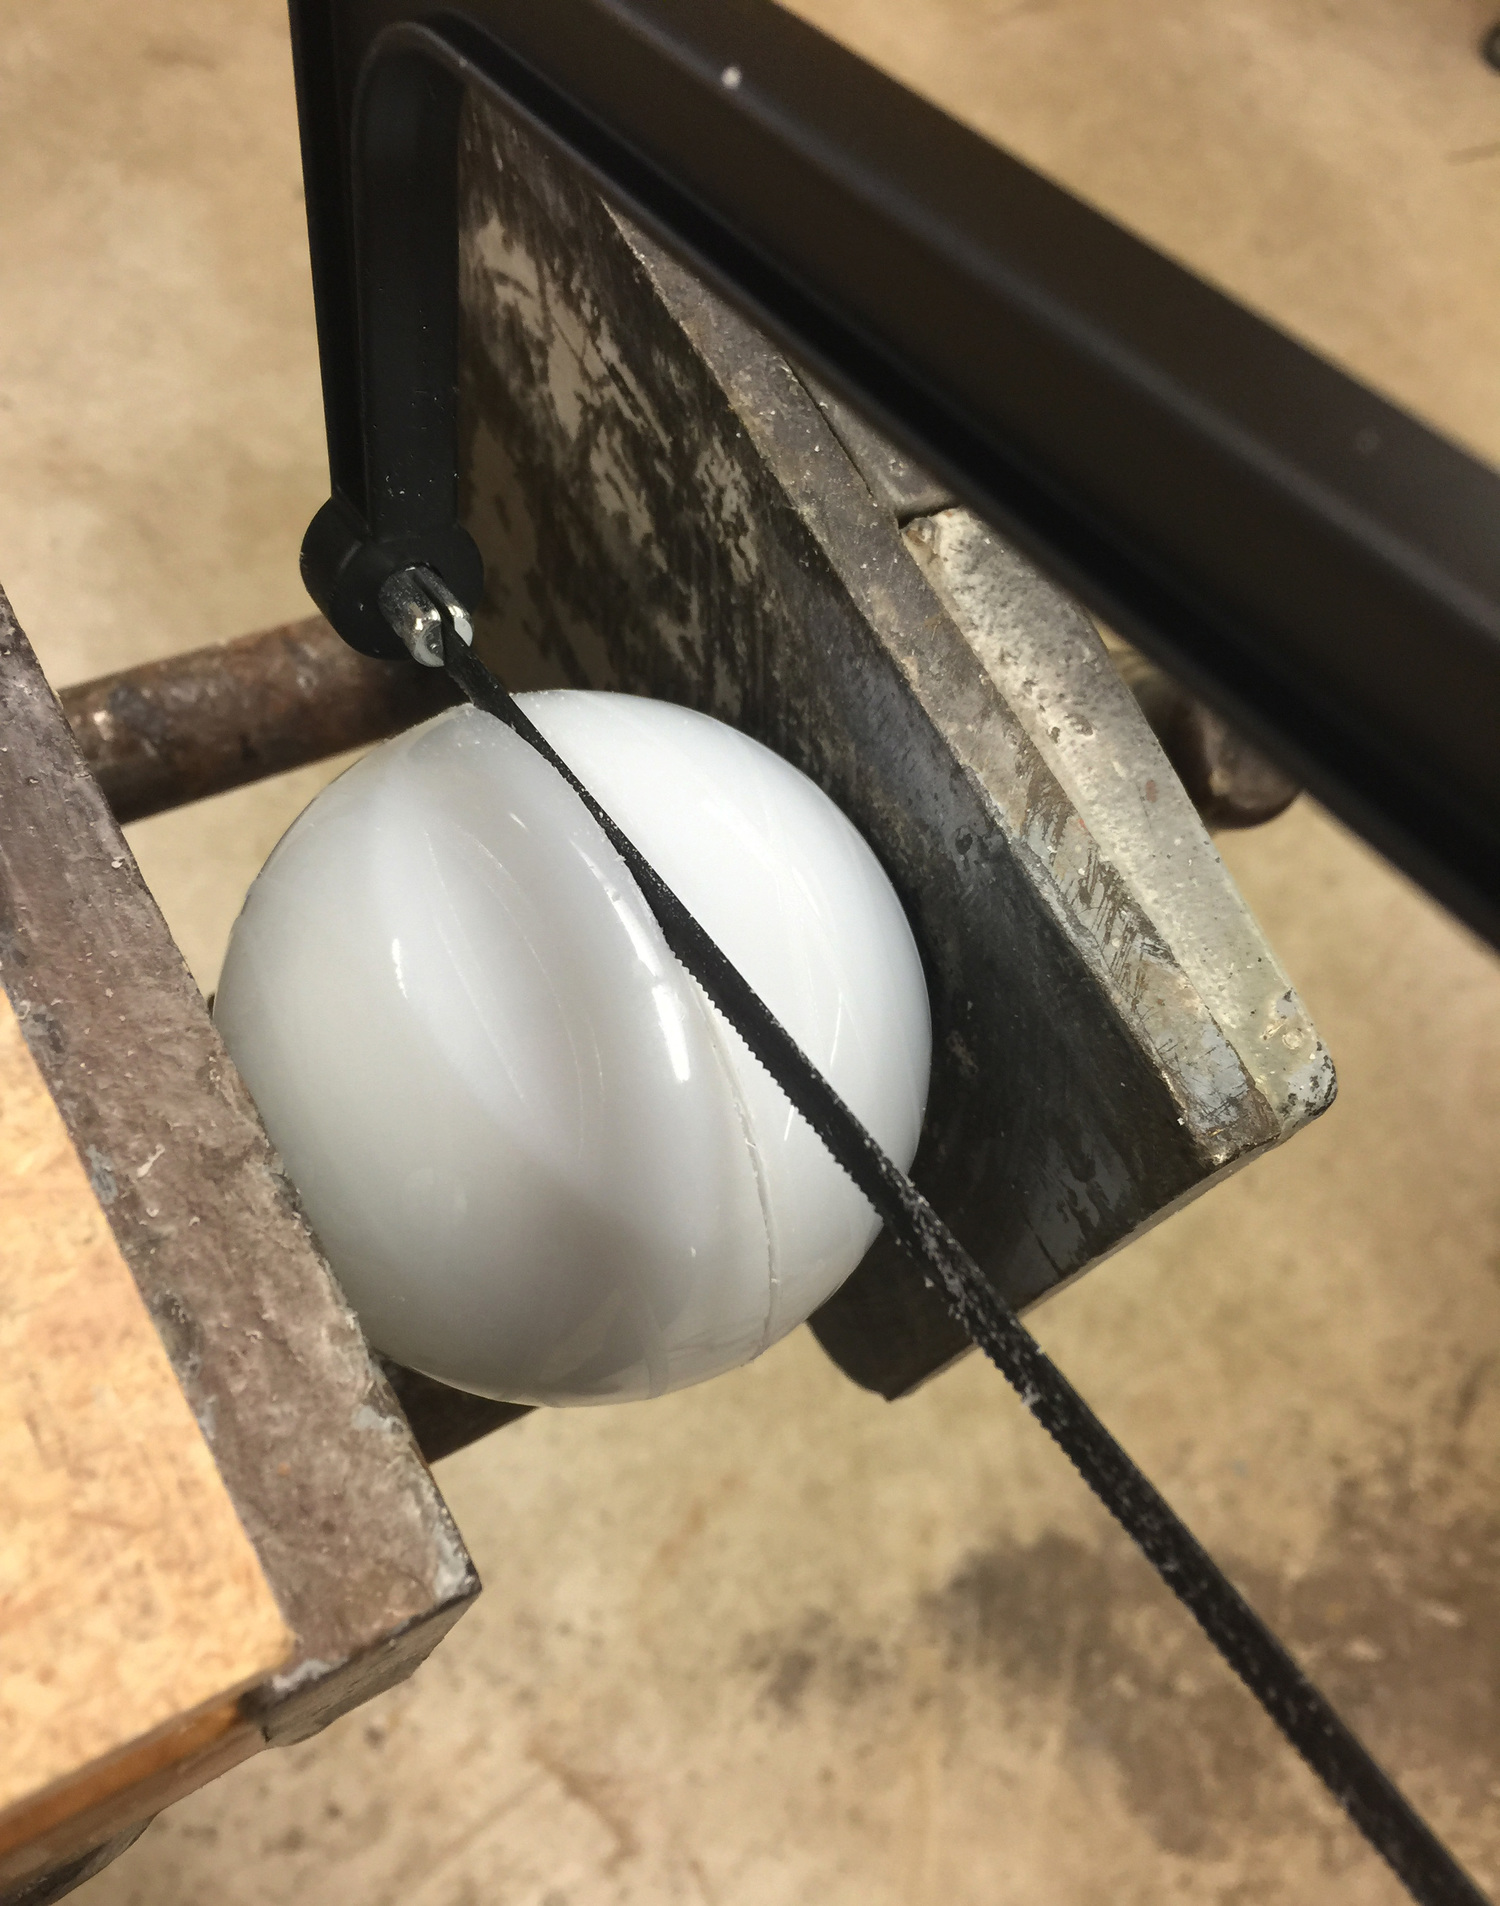
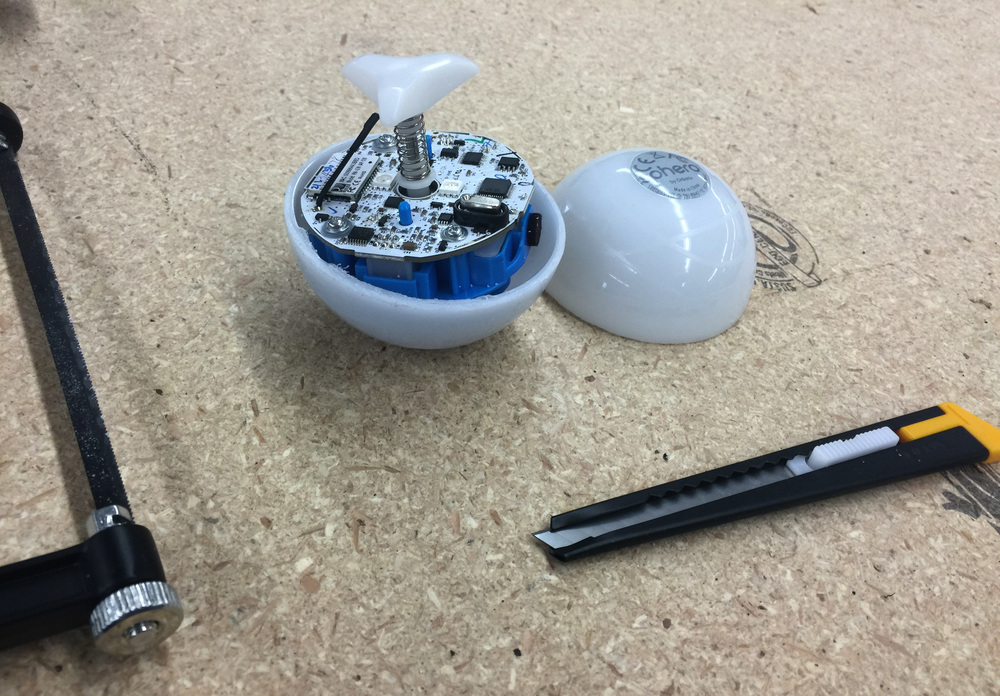
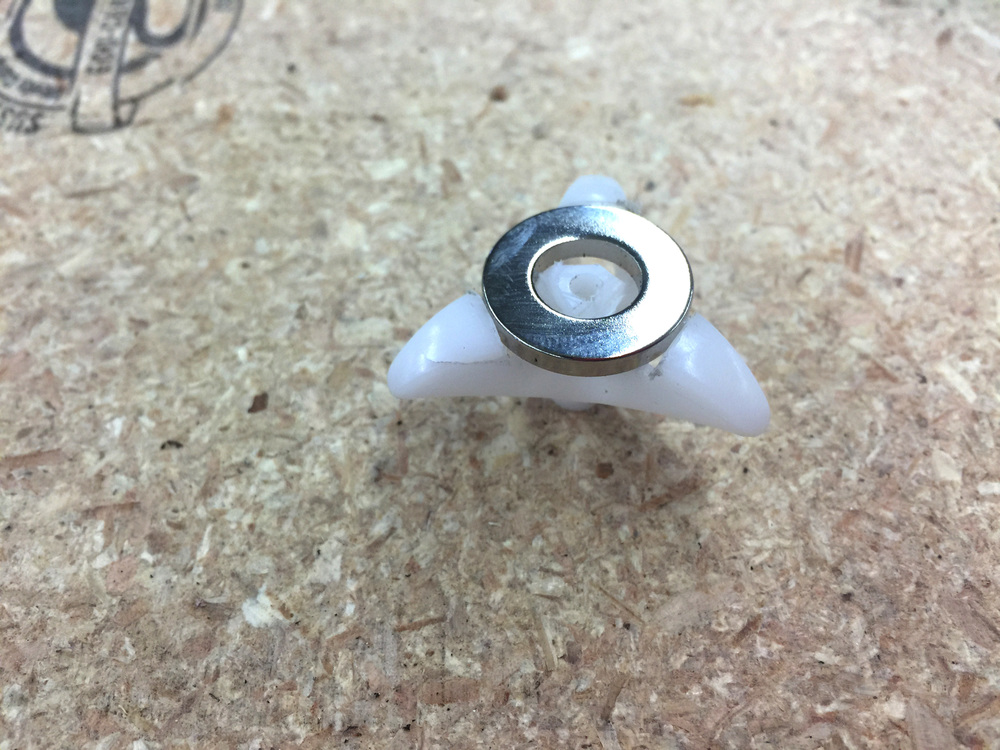
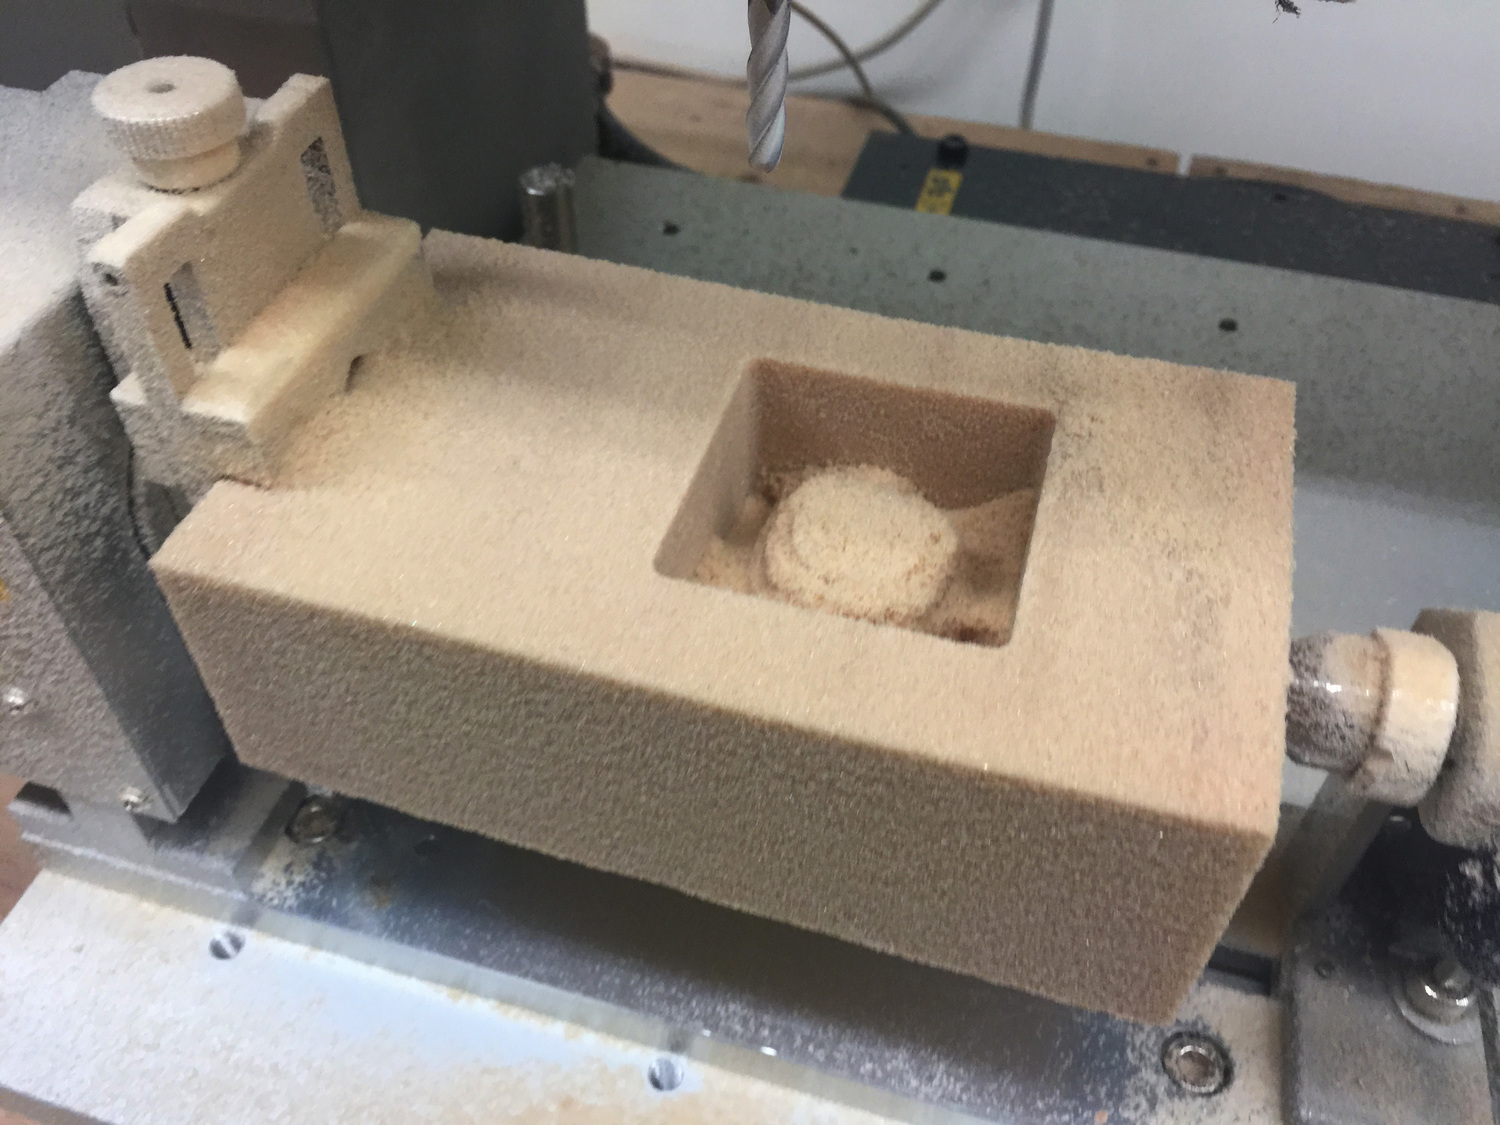
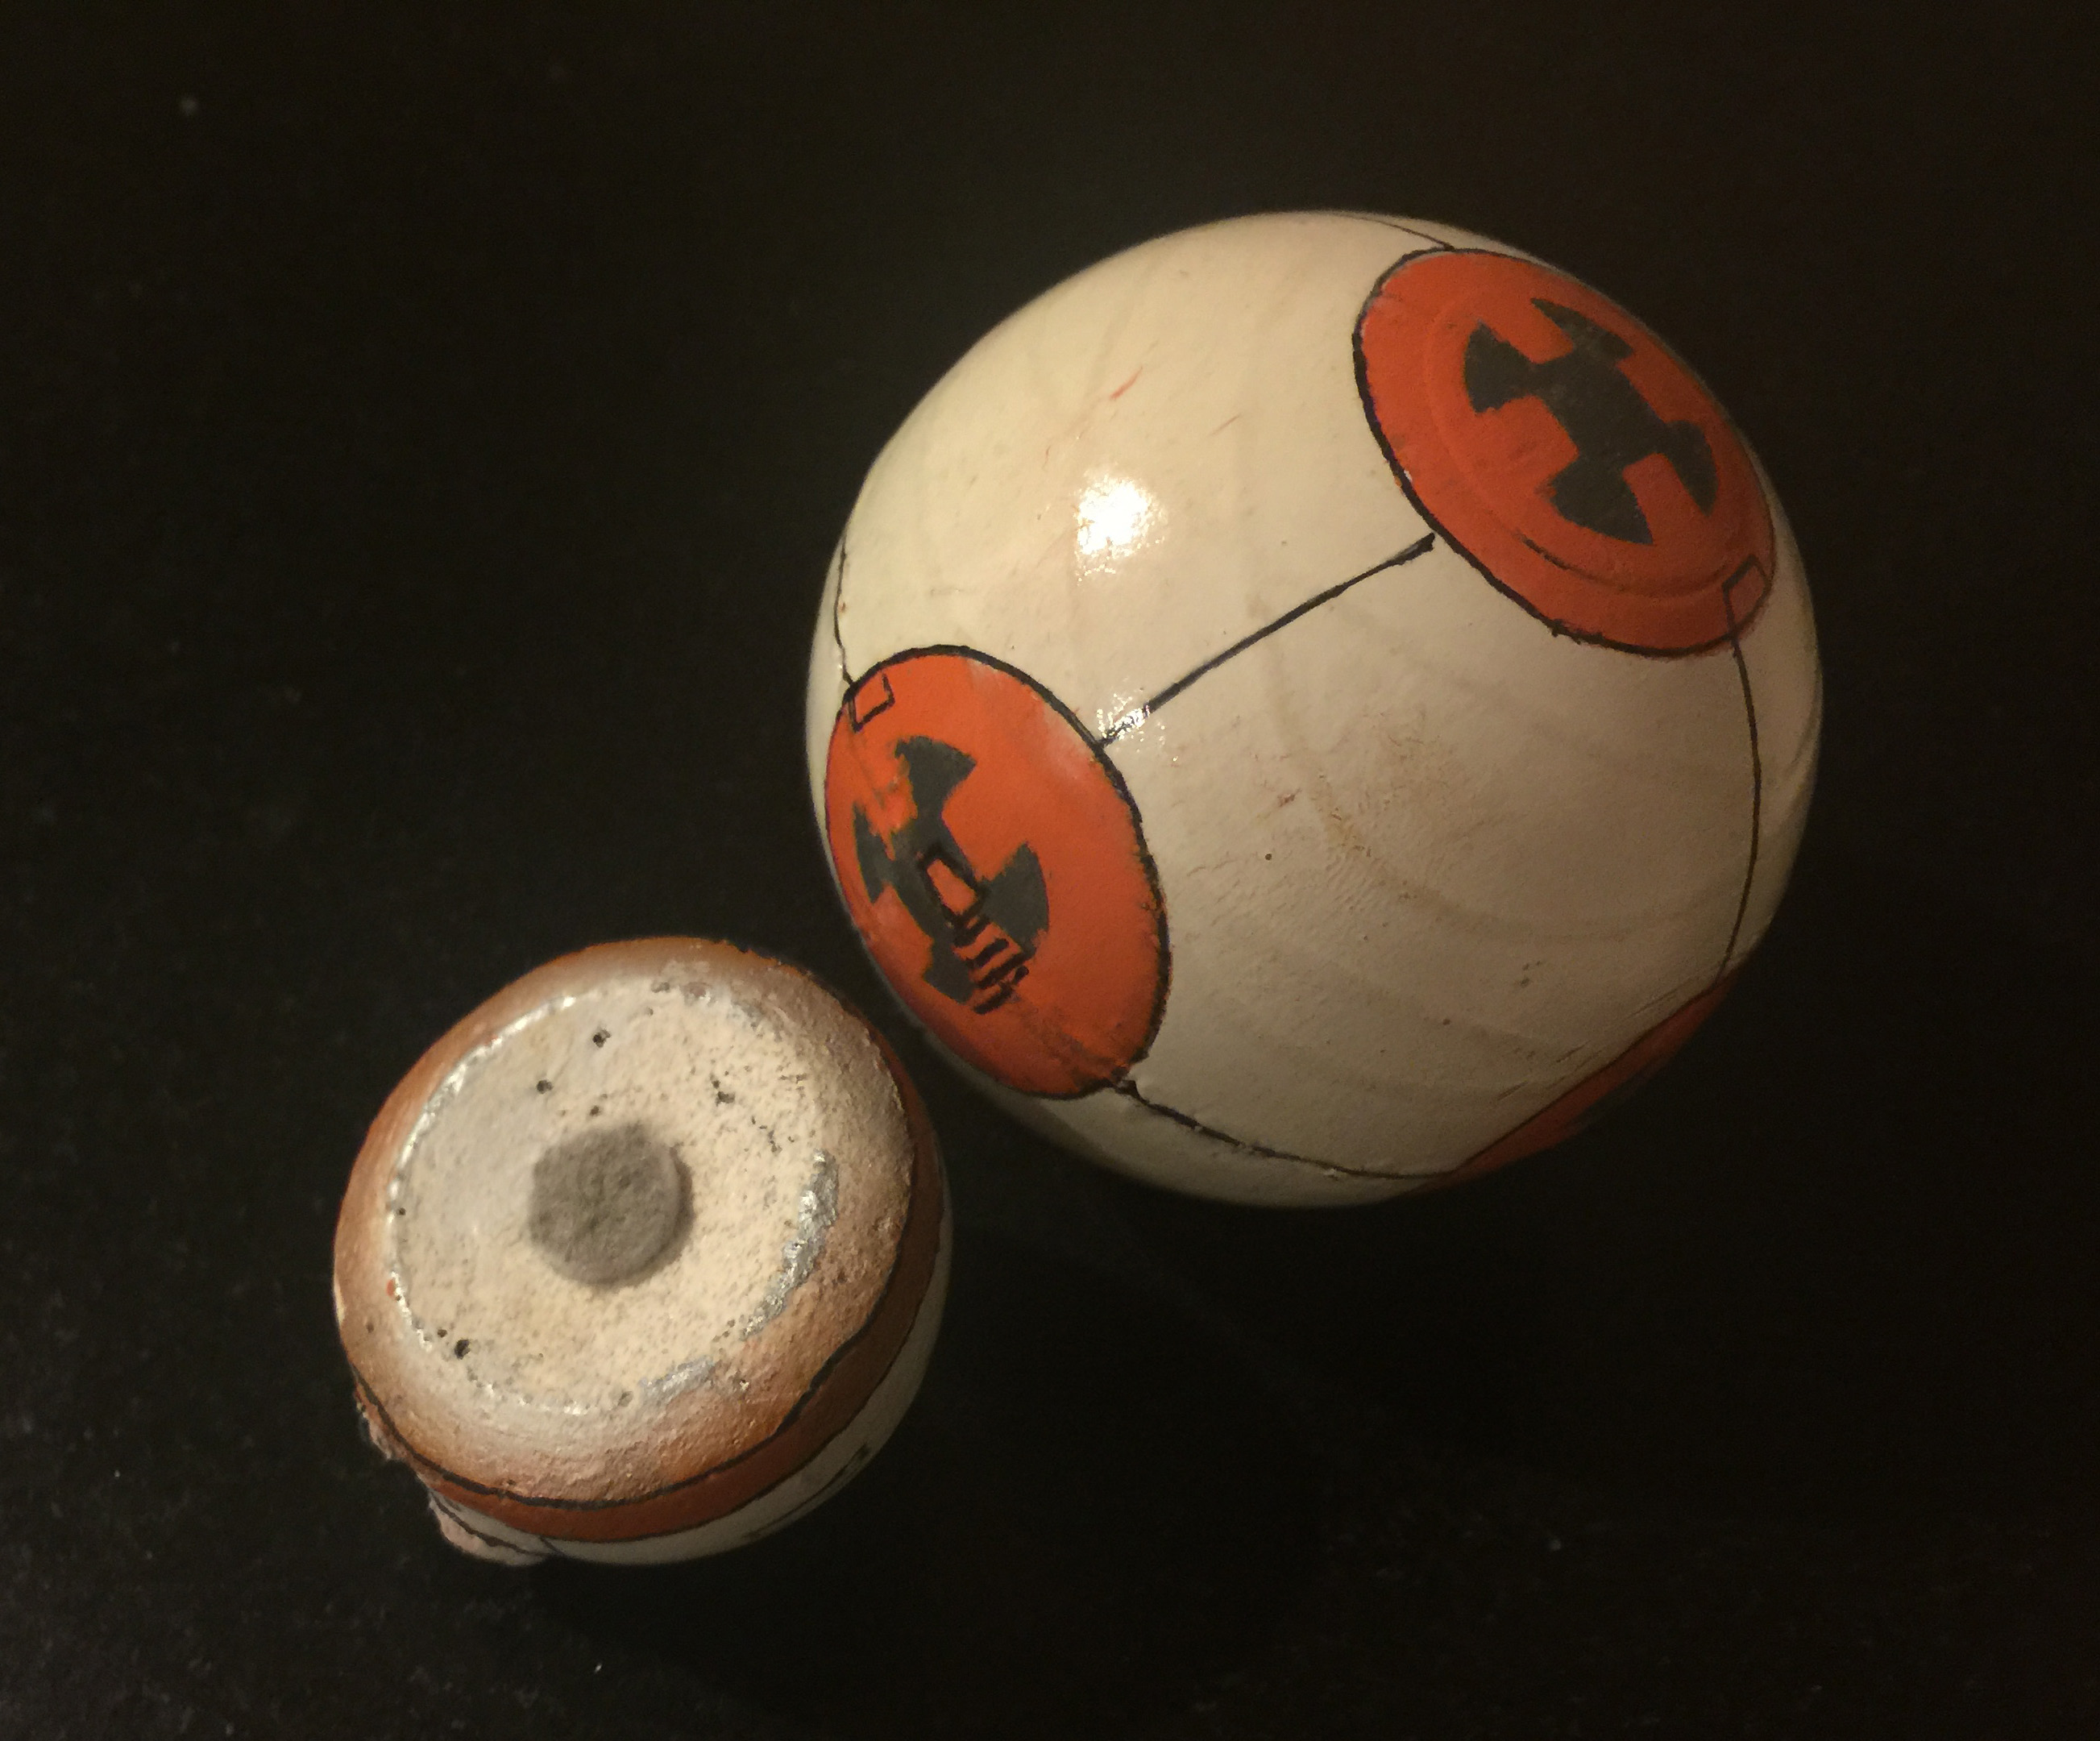
To make it I used a Sphero 1.0 for the body (I’ve never split open the Sphero 2.0, so I’m not sure if it will work on that model), polyurethane foam surfaced with spackle for the head, and neodymium magnets to connect the two.

YouTube player

Project Steps

Splitting Sphero 1.0

The first step was to split open the Sphero along the part line using a hack saw, being careful not to saw through the internal chassis.

Embedding the magnet

Once I split it apart, I needed to attach the internal magnet.

The internal chassis of the Sphero has a post that pushes against the top of the sphere and acts as somewhat of a shock absorber. It’s to this post that I attached the 3/4″ neodymium magnet ring.

I then cleaned up the edges of the sphere with a utility knife and used hot glue to reattach the two halves with the newly magnetized structure inside.

Design and fabricate the head

I then began work on the head. I built it in Rhino over a screenshot from the trailer to make sure I had the proportions right. An STL file of my design can be downloaded from Thingiverse.

I milled out my design on a CNC using polyurethane foam.

I then used wood spackle to finish the surface of the foam.

Masking and Painting

To get the paint job right, I laser cut the designs out of tape to mask off the different colors. I used gray plastidip for the base coat. I chose plastidip because it is more opaque than regular spray paint and wanted to block out the flashing LEDs (a glowing green droid just wouldn’t work for me).

After the base coat was dry, I coated it with orange spray paint.

Finishing coats

After masking out the orange I hit it with a coat of white, added the sharpie details and finally finished it with a clear coat enamel. The top coat was particularly important to get just right, to reduce as much friction as possible between the head and body.

Add magnets and felt

After the paint was completely dry, I embedded a 3/8″ neodymium magnet disc in the head and I added a small adhesive felt pad so that it can slide easily across the surface of the body.

I used a drill press to sink the magnet in just deep enough to be flush with the surface and glued it in place before attaching the felt pad over it.

The droid is controlled by bluetooth through the Sphero app, but also has a mind of its own. Because it’s now more top-heavy and tends to lean, the gyroscope will try to correct the lean, and it will keep on rolling in whatever direction it’s pushed.