Projects from Make: Magazine
MakerShield Tutorial
How to use the integrated potentiometer and push button to control the brightness and blink rate of the on-board LEDs.
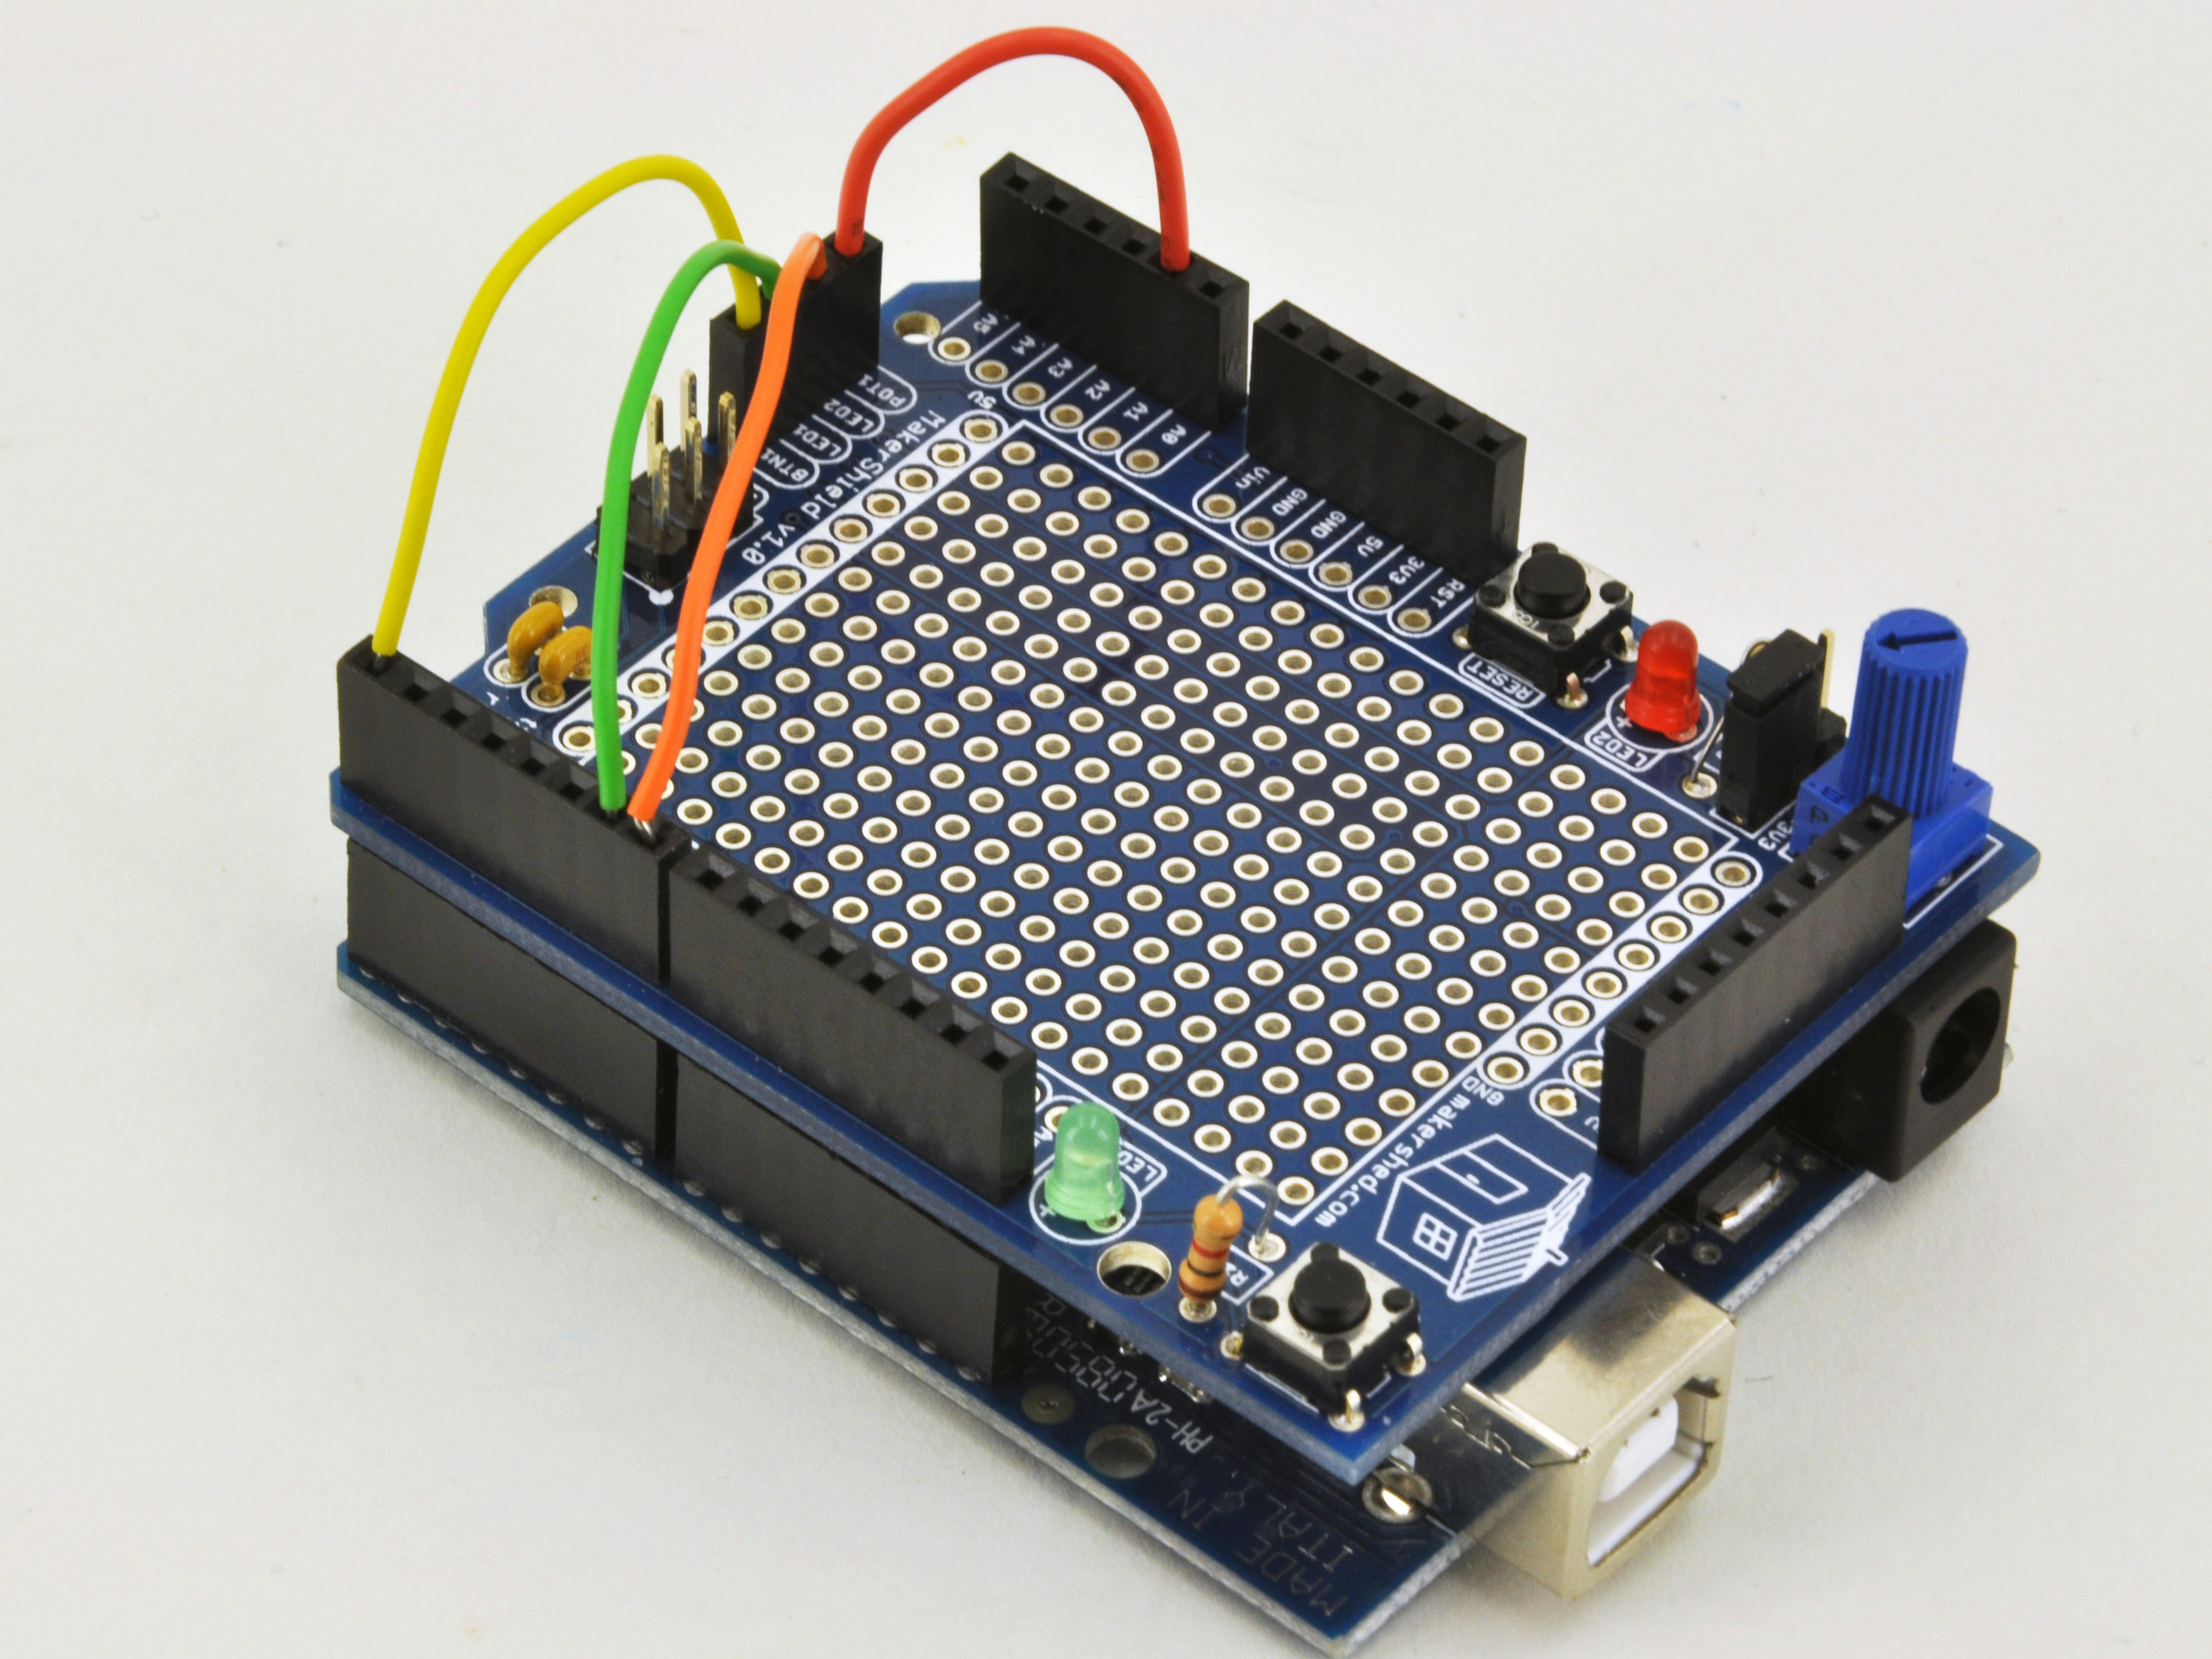
MakerShield Feature
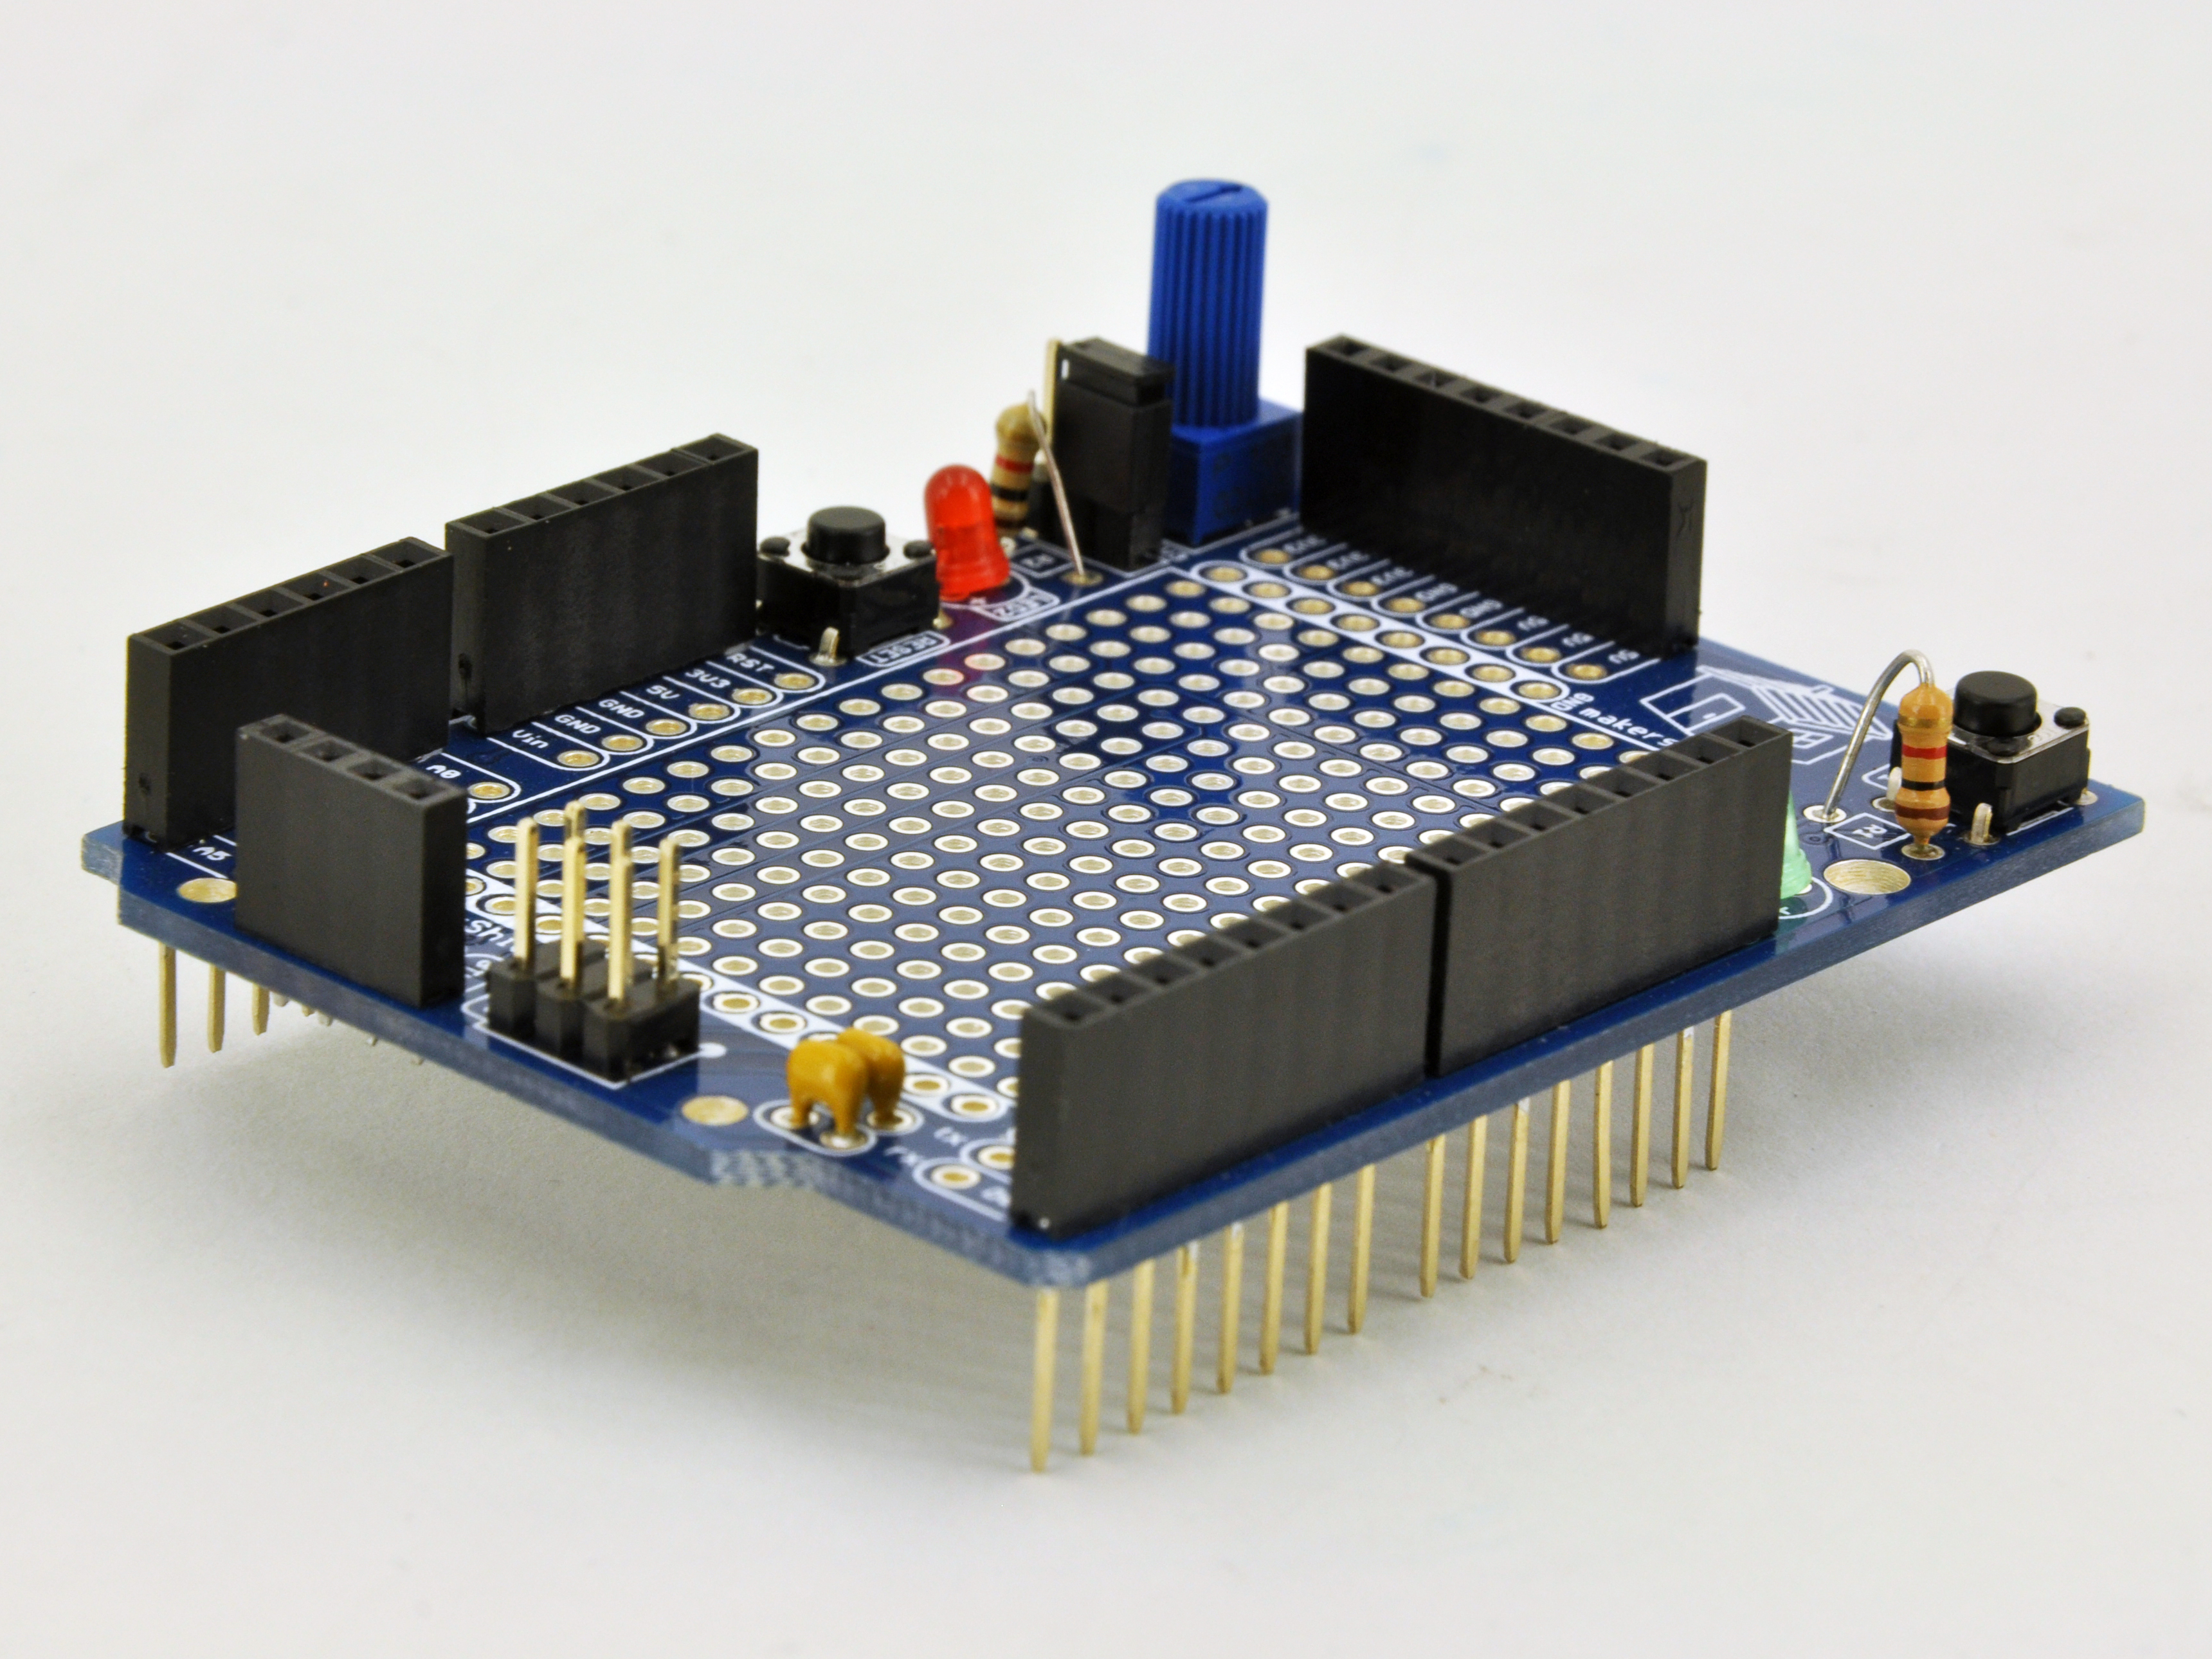
The MakerSheild provides key components and corresponding pin-outs to facilitate easy prototyping.
Analog Potentiometer (Pot1), Simple switch button (Btn1), and two LEDs (LED1 and LED2).
Using only these four componenets and four wires we will control the brightness and blink rate using a sourced code.
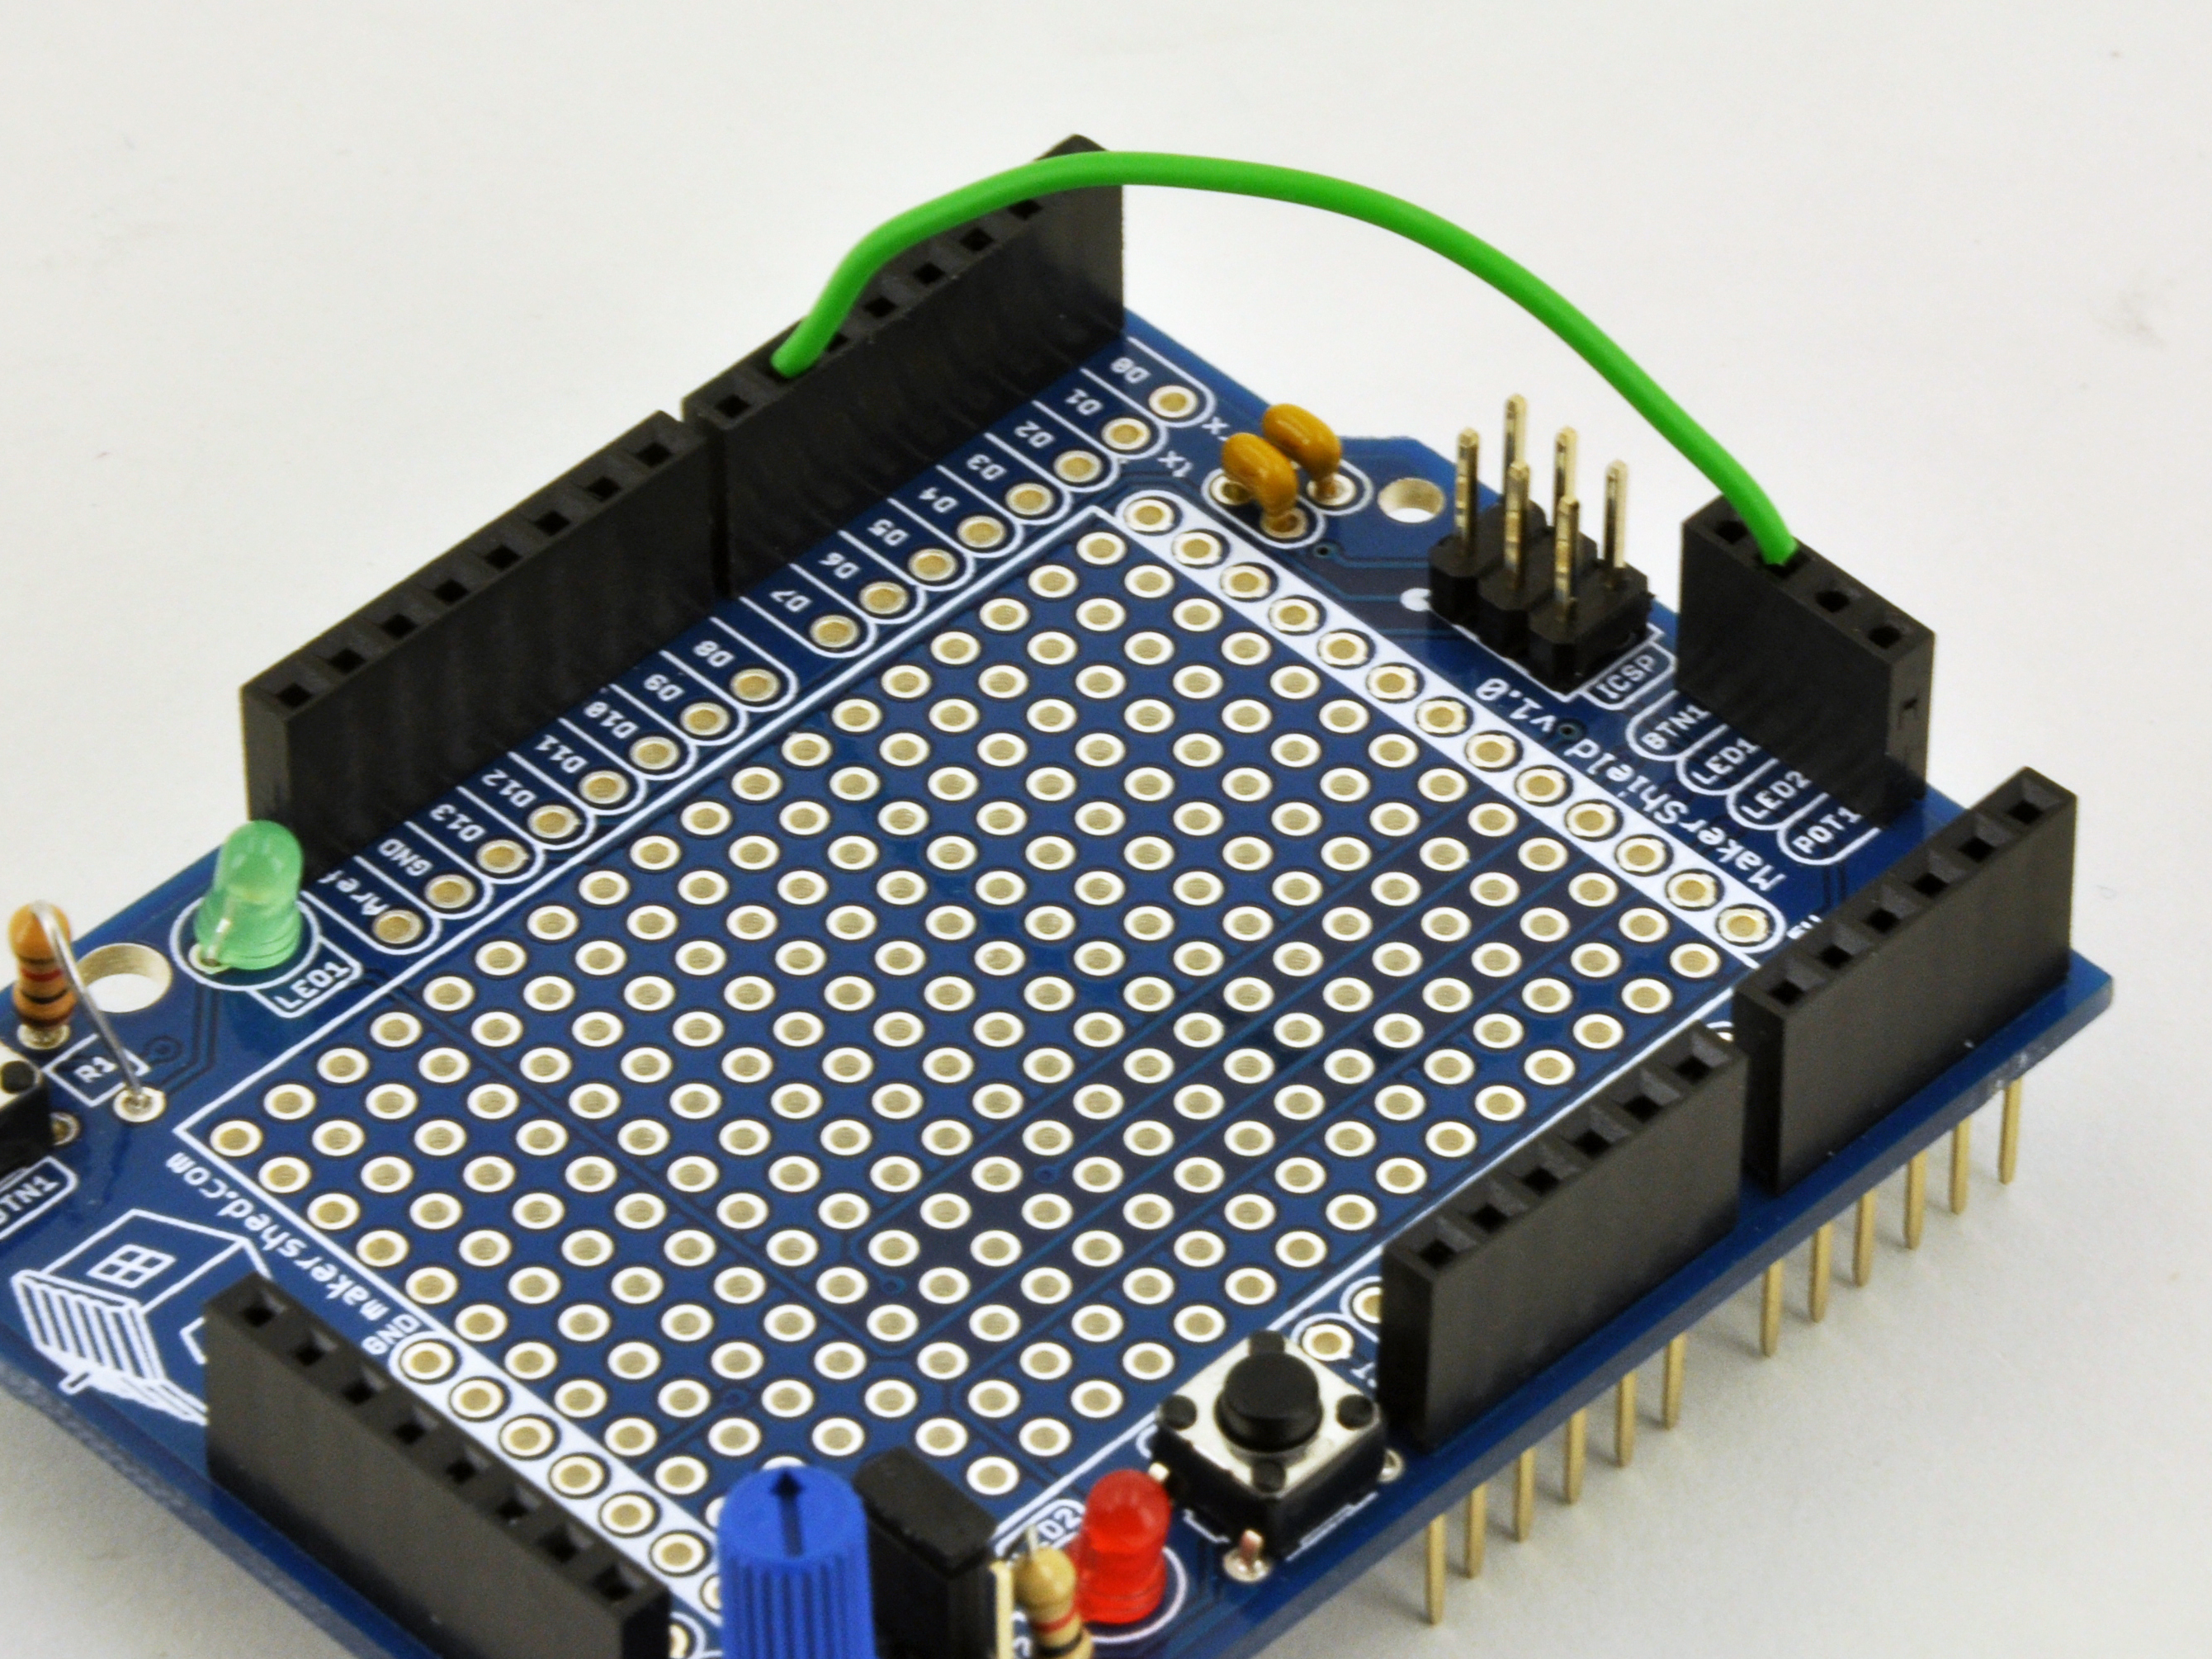
At the back end of the board, there is a pinout with 4 spots.
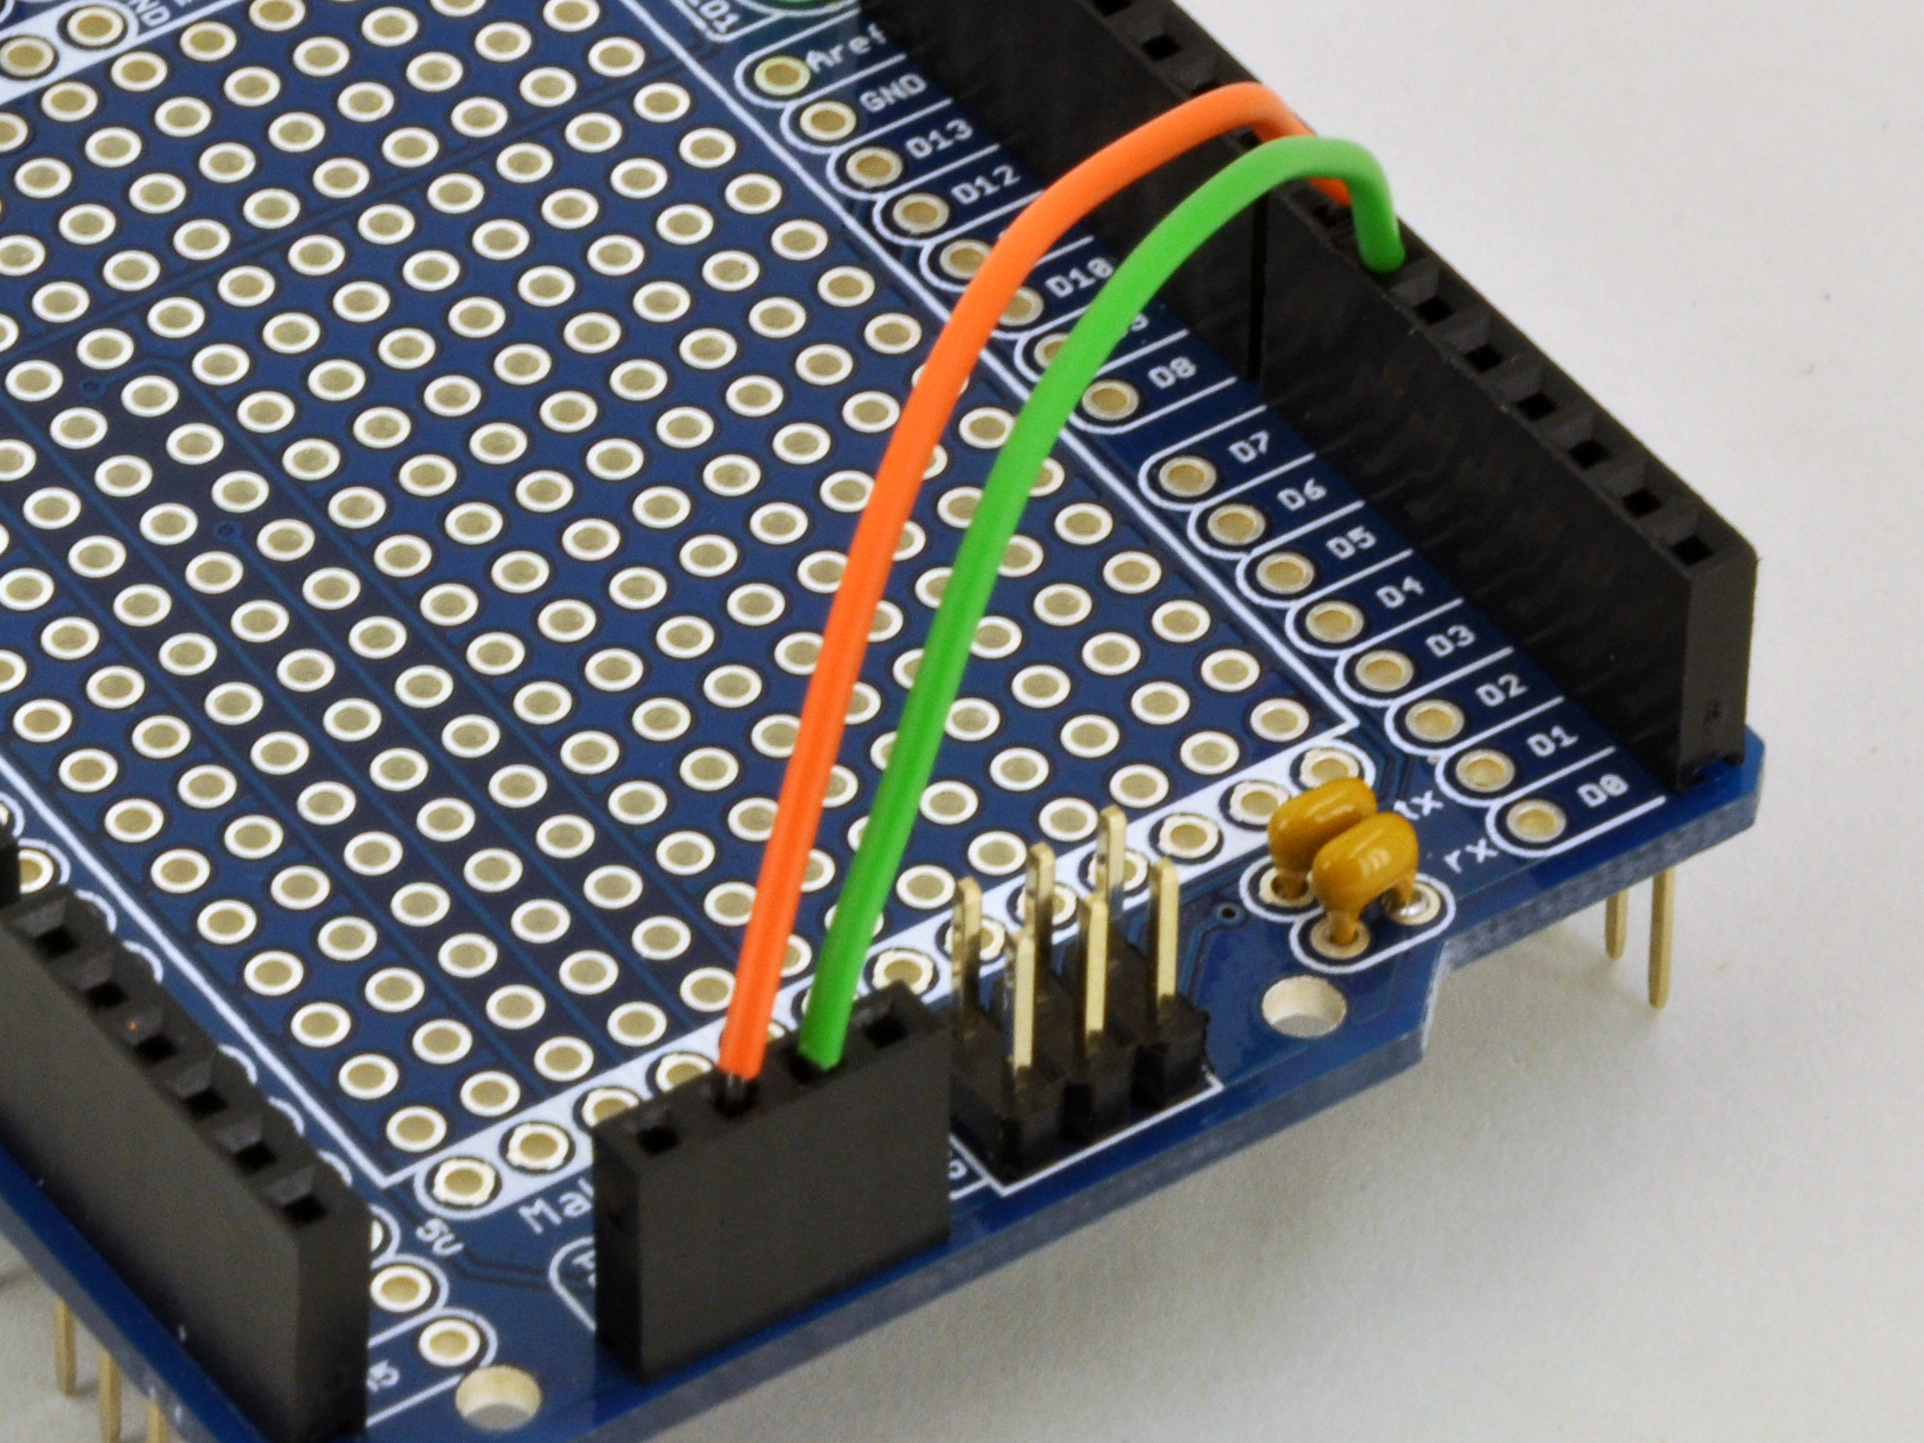
Insert the stripped end of a breadboard jumper wire into the LED1 spot, and the other end of the wire into the D6 pin.
Insert a second wire into the LED2 pin, with the other end running to D7 pin.
When we write out code, D6 and D7 will be the pins that control red and green LEDs that are mounted to the board.
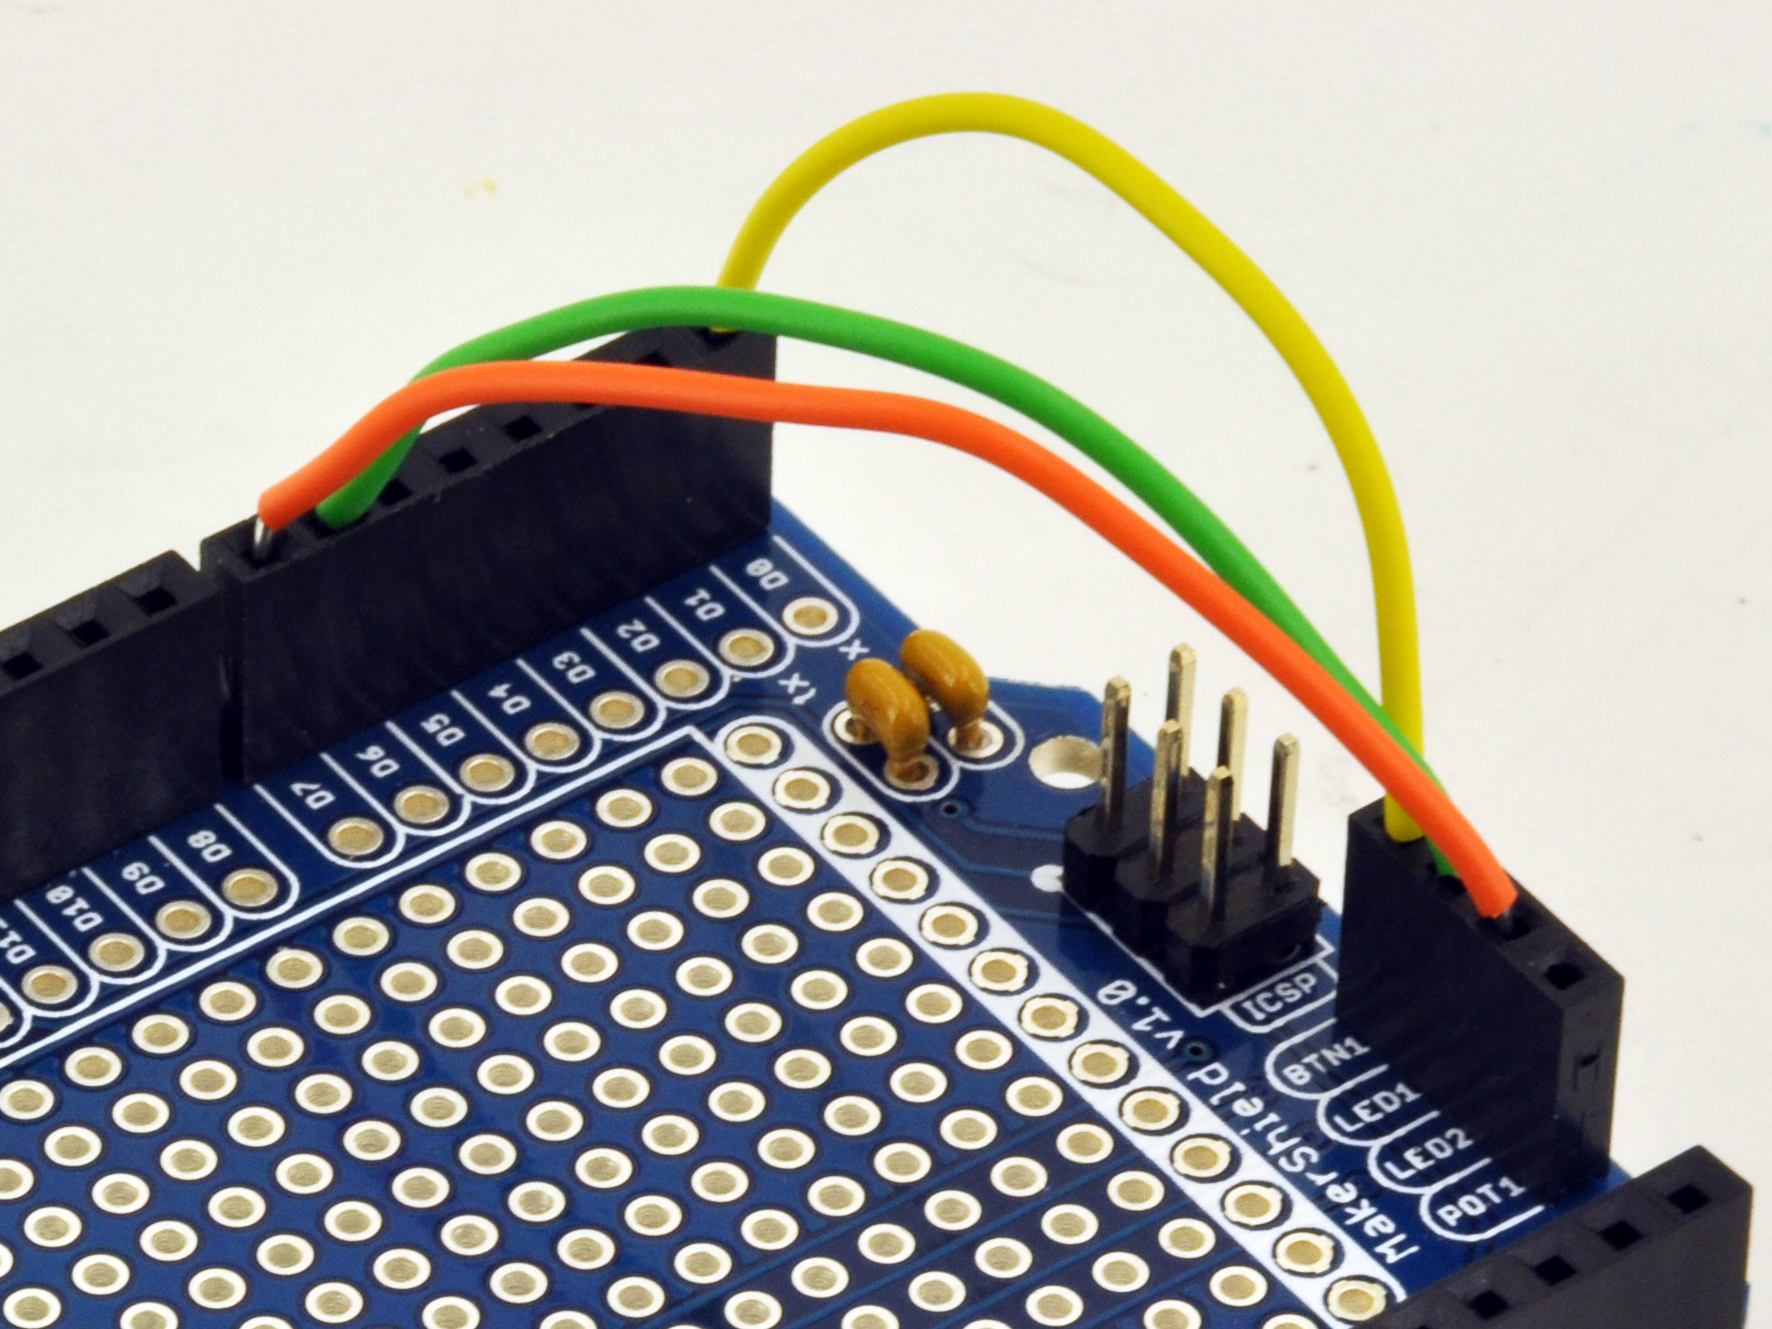
Next we will connect the push button into the board. Take the third wire and insert one end into the BTN1 pin and run the other end to the D0 pin.
The BTN1 provides a digital signal that the microcontroler can read. When the button is not pressed the circuit is open and produces a LOW signal.
Once the button is pressed, the circuit is closed and produces a HIGH signal. We will program the microcontroler to read these signal and assign different operations for each.
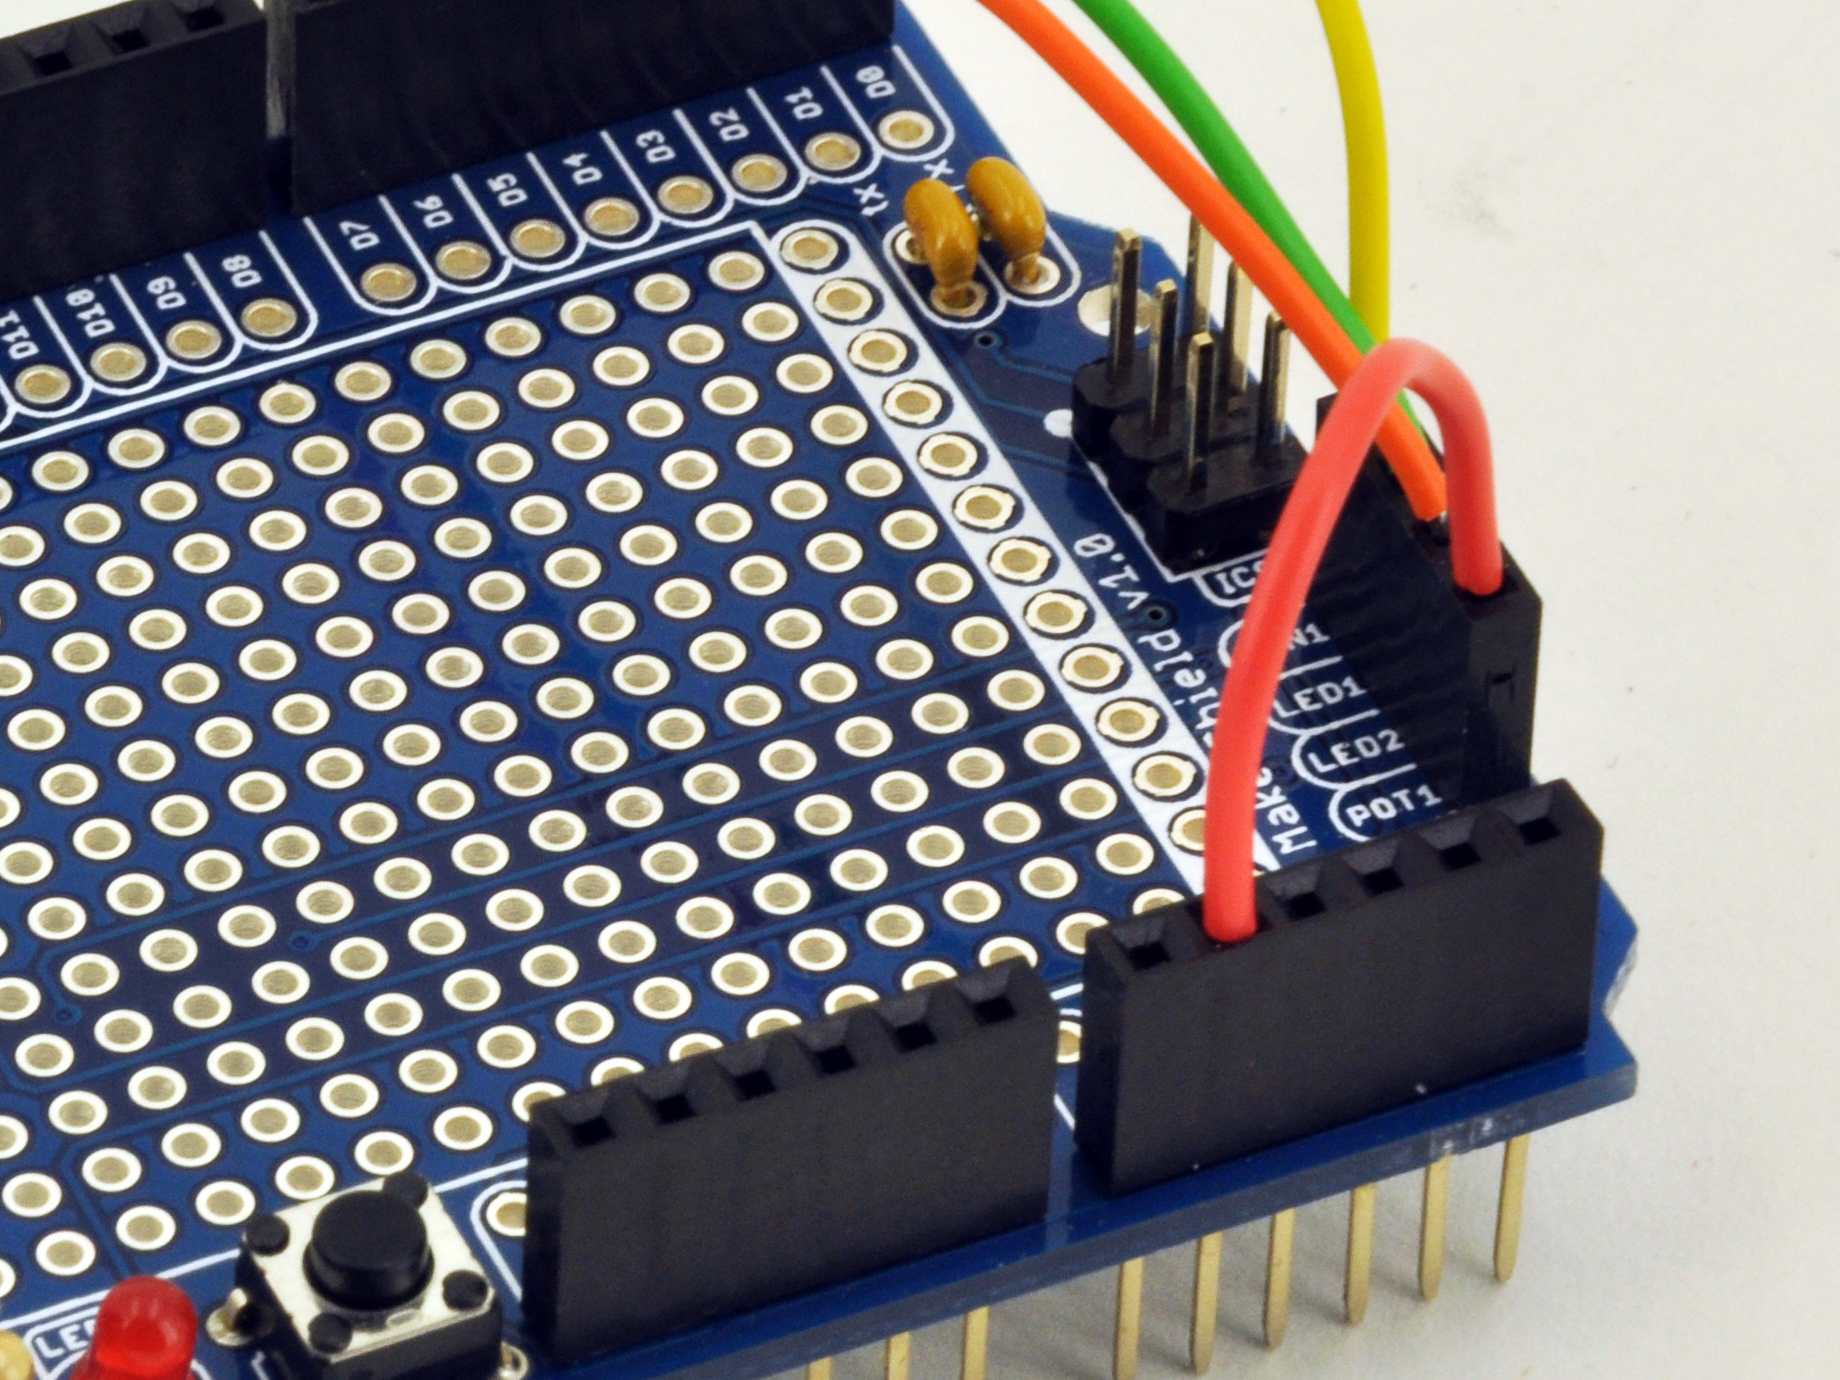
The last connection we will make will be the Potentiometer. Take the 4th and final wire and connect it to the POT1 pin, running the other end of the wire to the A1 pin.
The potentiomter produces an analog signal. Unlike the digital HIGH/LOW signal of the push button, the microcontroller and read the voltage from the potetiometer and assign values from 1-###.
We will program the microcontroller to read the analog signal from the potetiometer and asign values that will correlate to two seperate variables. One variable will control the brightness of the LEDs, while the second variable will control the time blink rate of the LEDs.
Note: It is important to understand the difference between Analog and Digital signals, and learn to identify the corresponding components. The MakerShield has 6 analog pins (denoted with a capital A), and 14 digital pins (denoted with a capital D). If you were to plug in the potentiometer to a digital pin the micro-controller would not be able to assgin a value to. Similarly, if you plug in BTN1 to an analog pin the button would not function properly.


