YouTube player

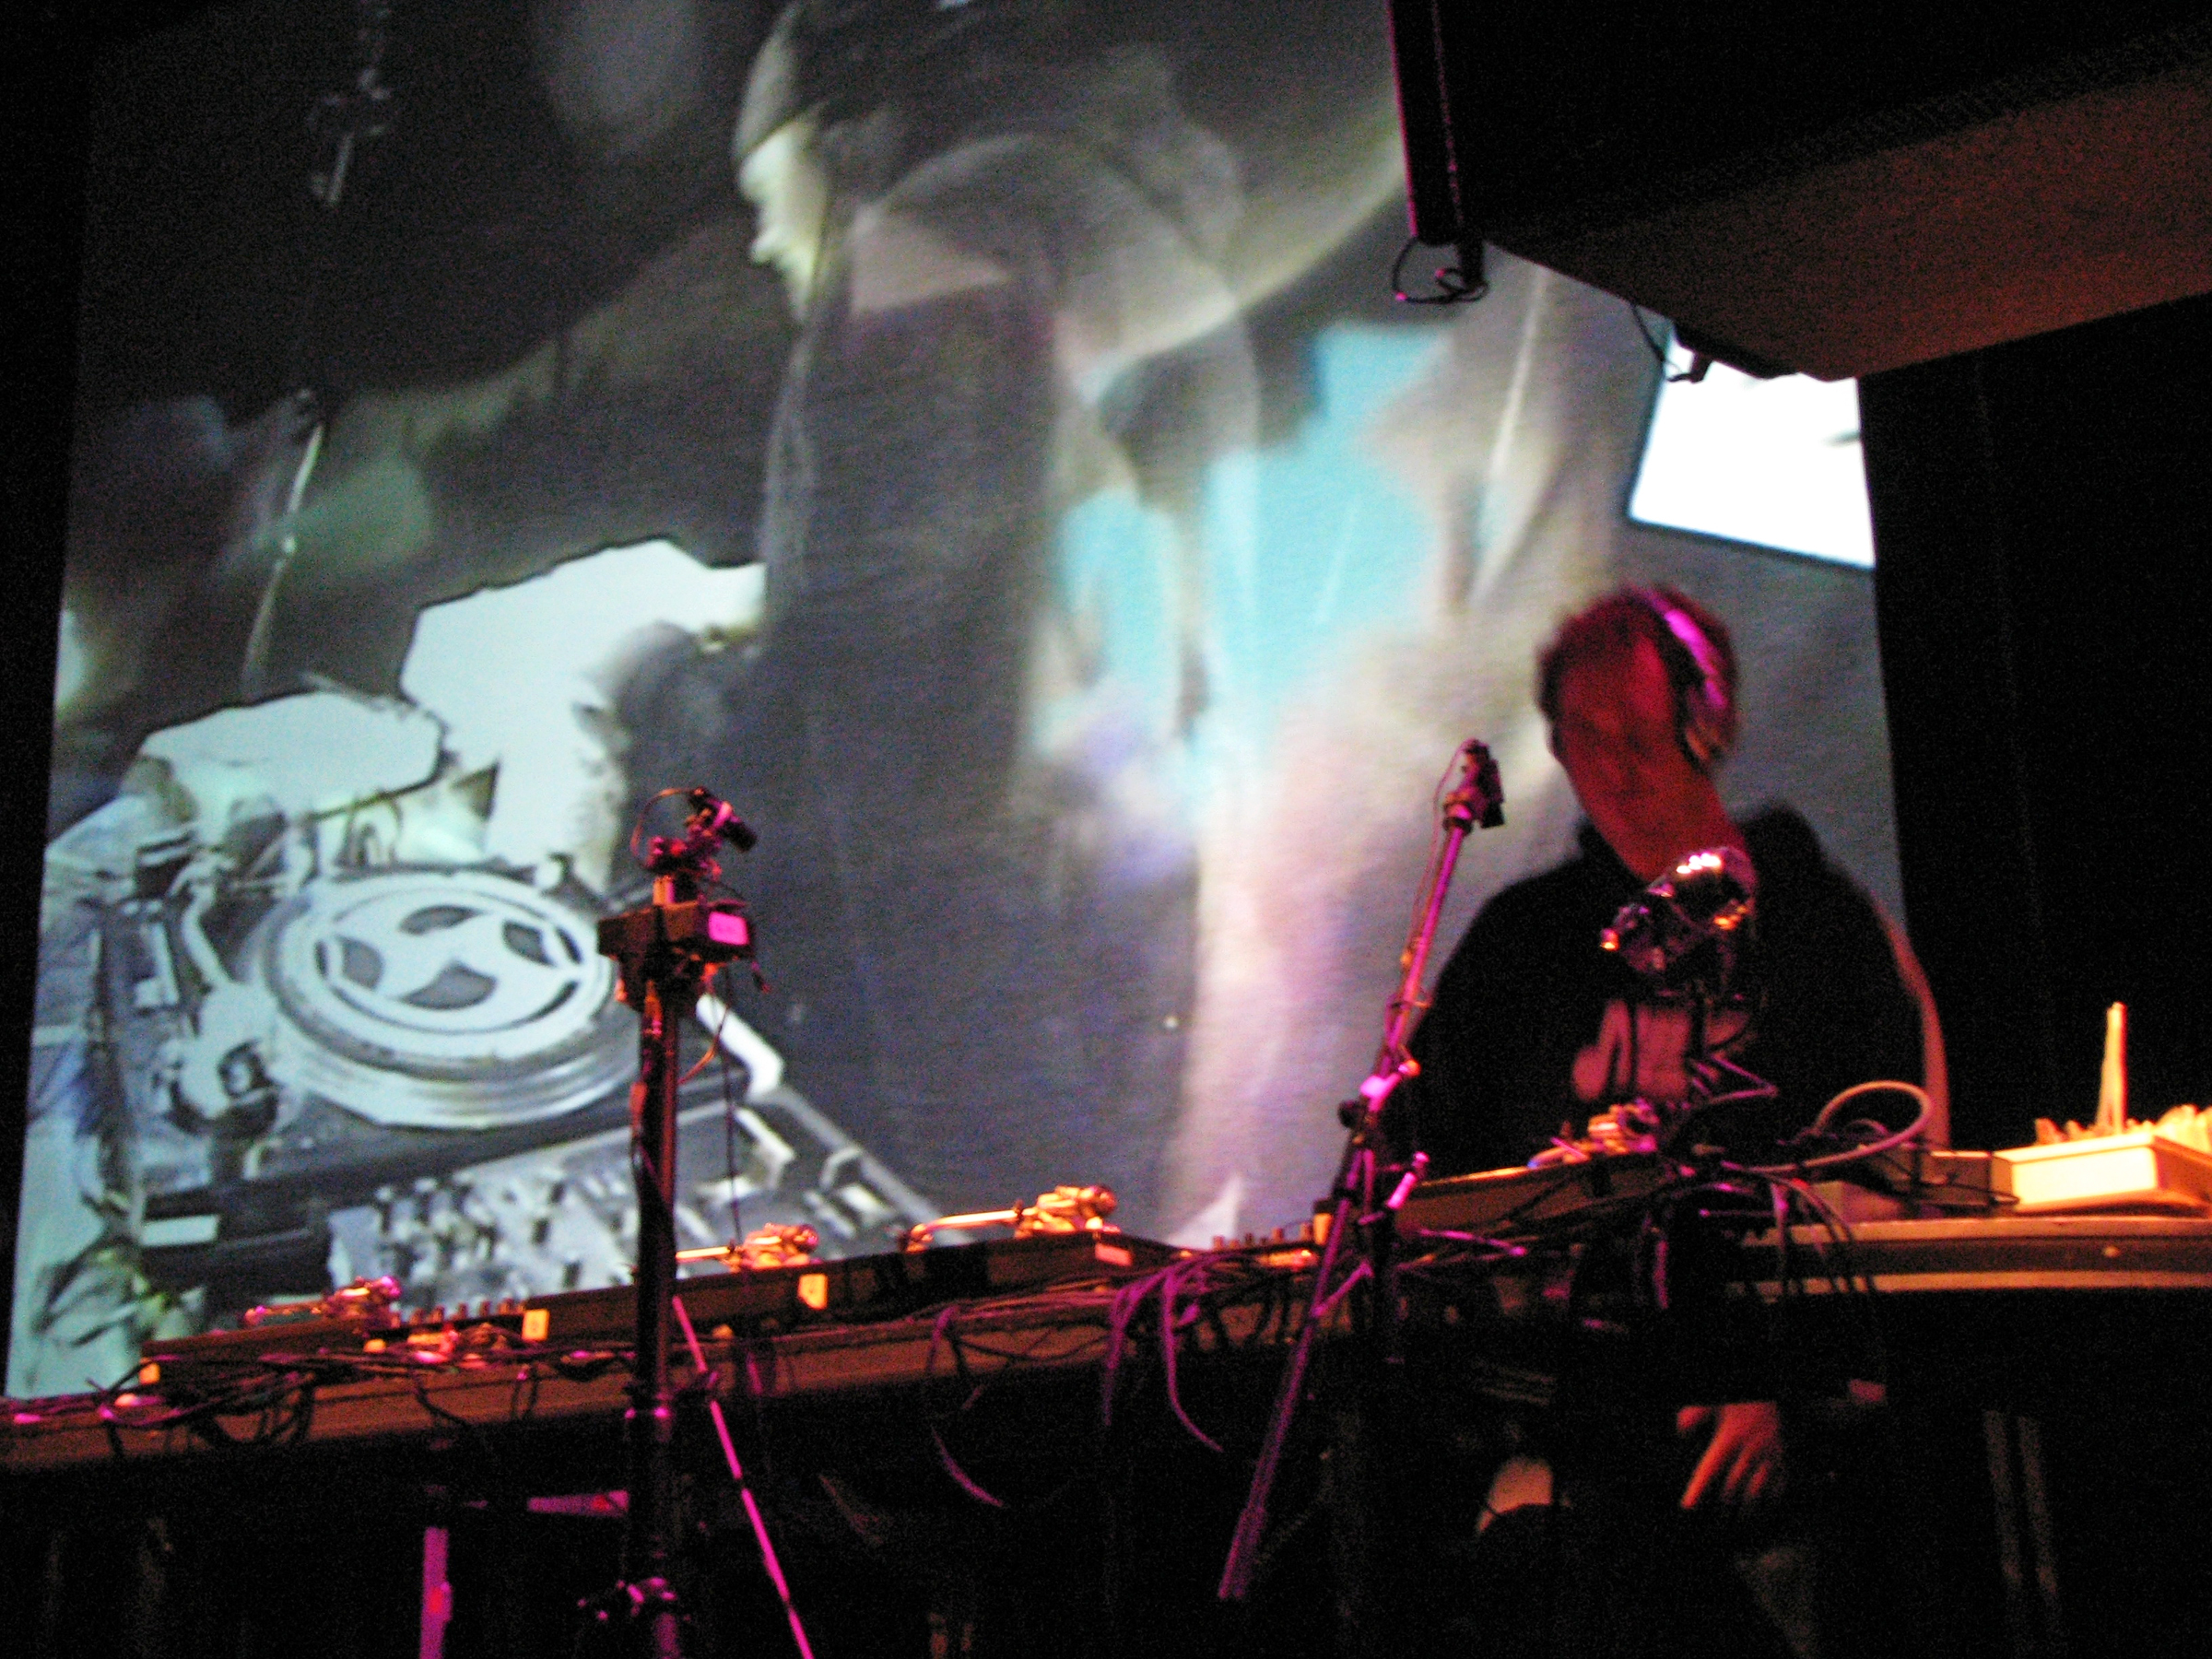
I had the chance to run visuals for a unique DJ act called The Hard Sell, a collaboration of turntablists DJ Shadow and Cut Chemist. The art of spinning and cutting records is usually not visible to dance club audiences. Cut and Shadow wanted to let everyone see, up close and personal, all the action on their 8 simultaneously spinning turntables playing old 45s.

But they needed a way to do it unobtrusively. Given the often cramped spaces of the venues they perform in, they couldn’t have a crew of sweaty dudes in black clothes wielding cameras in their faces. Also, Cut and Shadow wanted to mix in additional visuals from DVDs, to change and match the moods of the different tracks.

I got involved when Ben Stokes, the show’s lead visualist, said to me: “I like robots. I like cameras. I love robot-cameras! You build all kinds of crazy stuff; what can you come up with for this?”

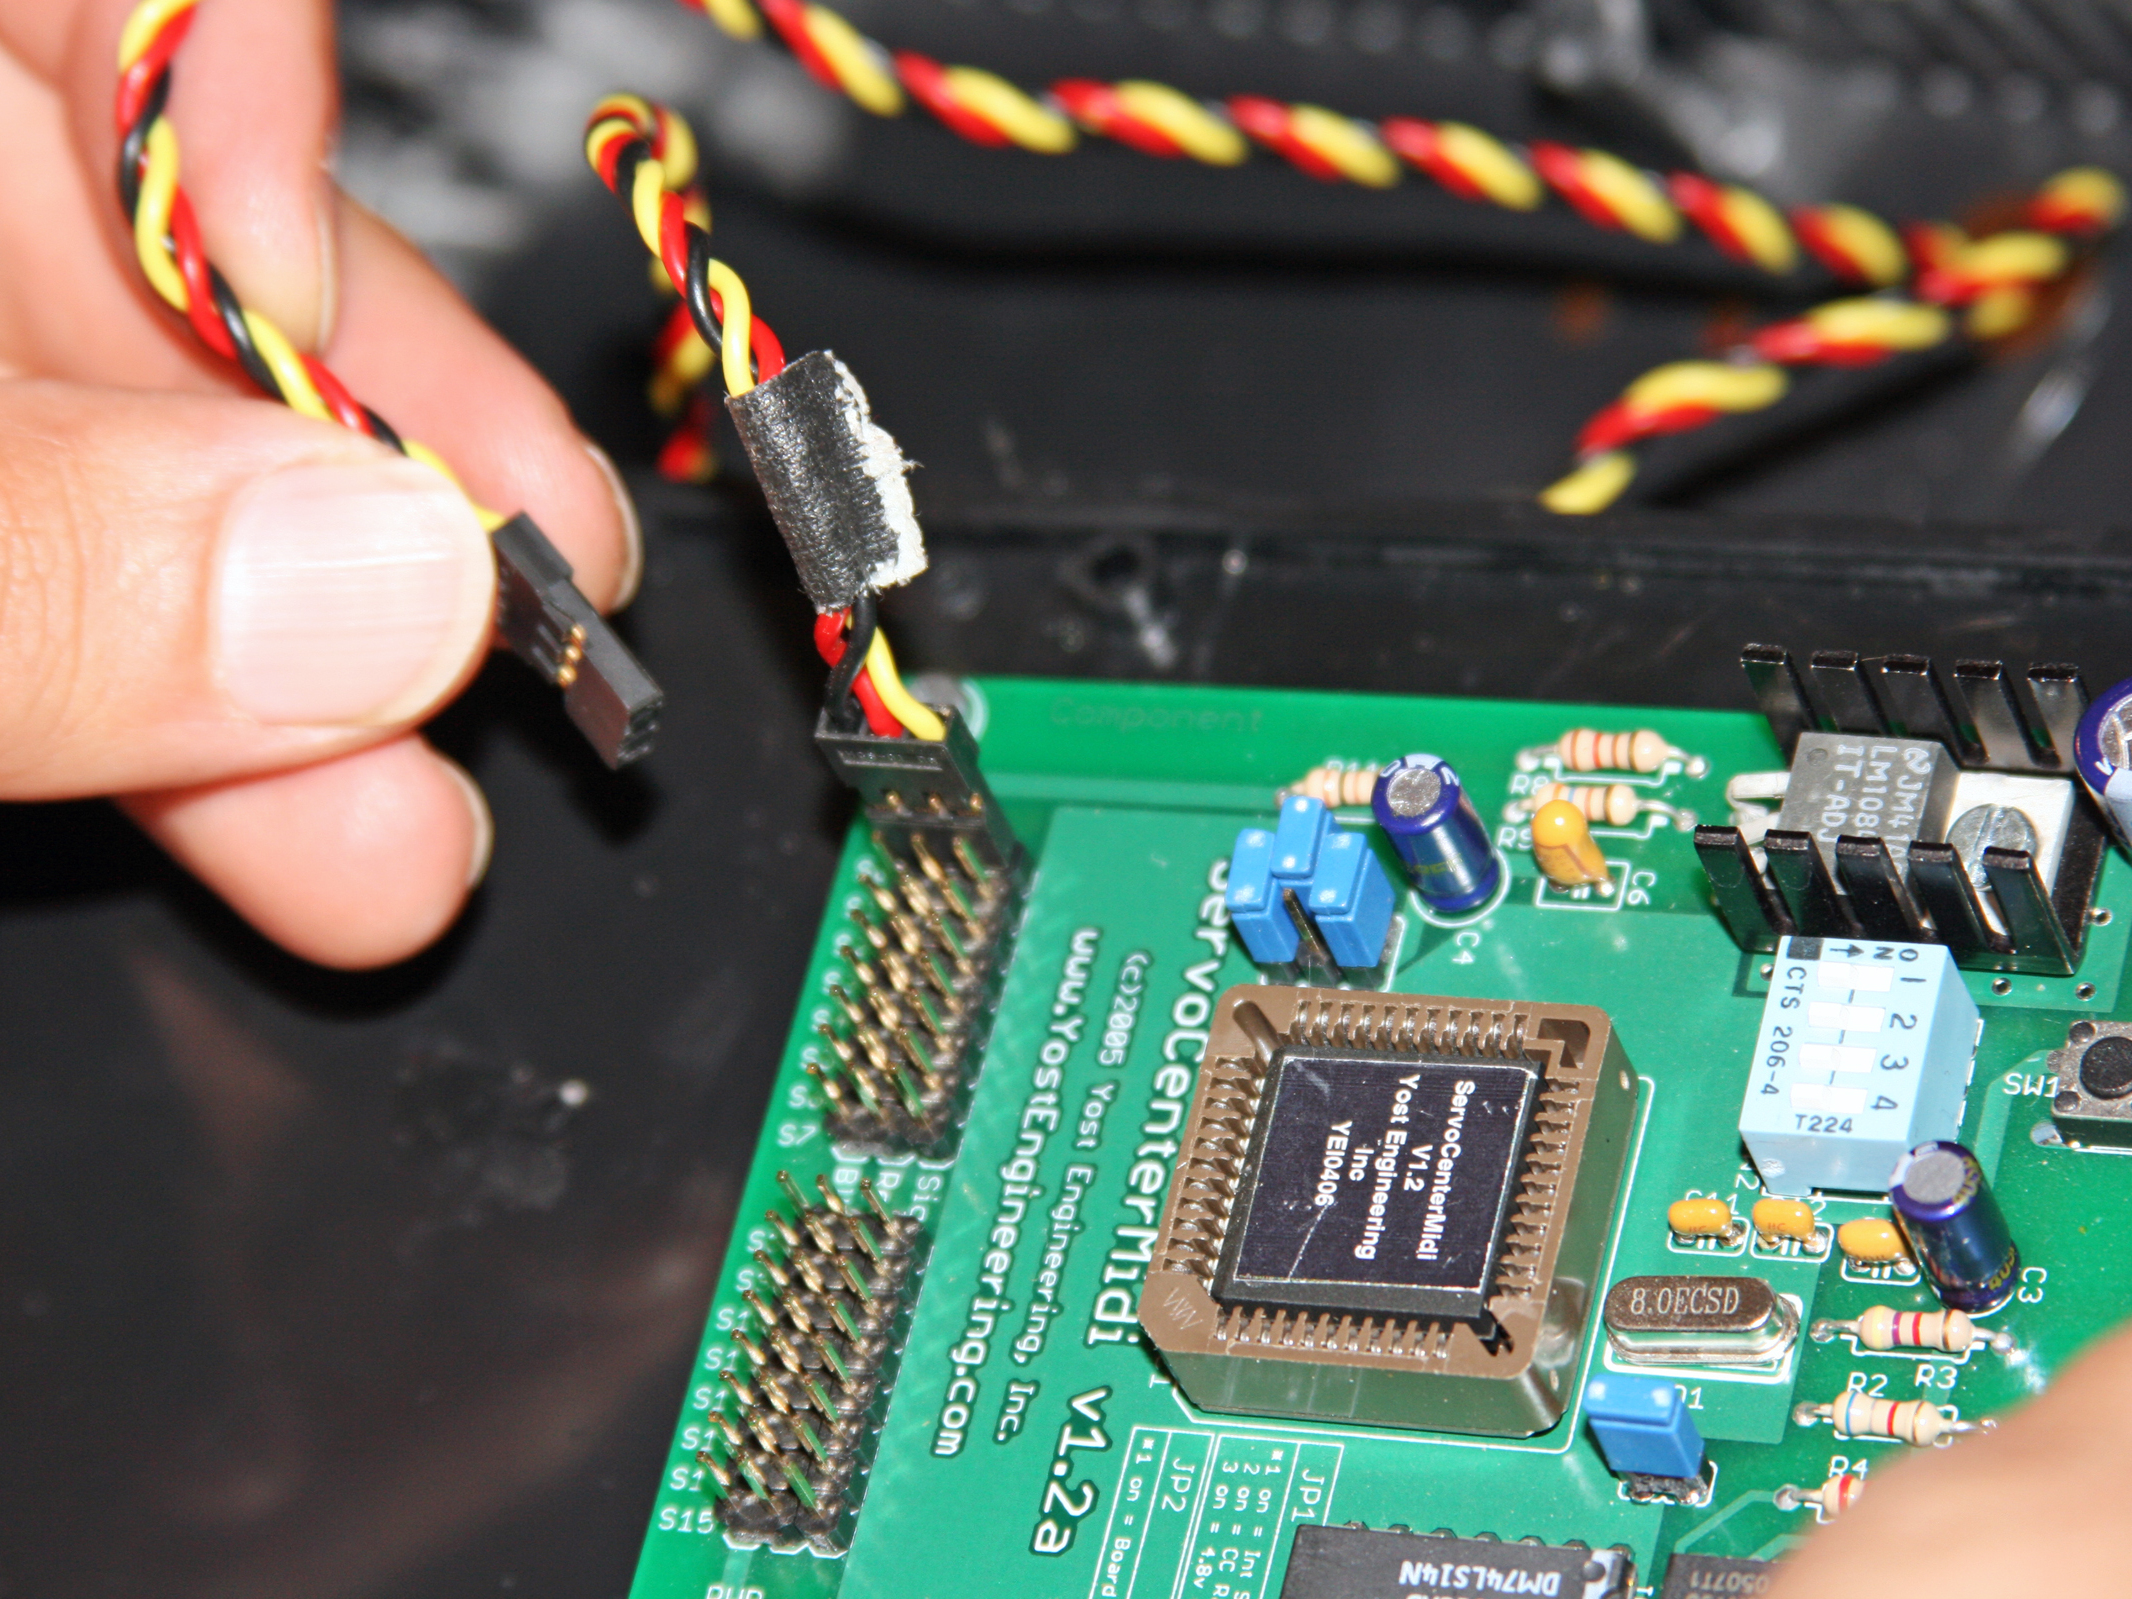
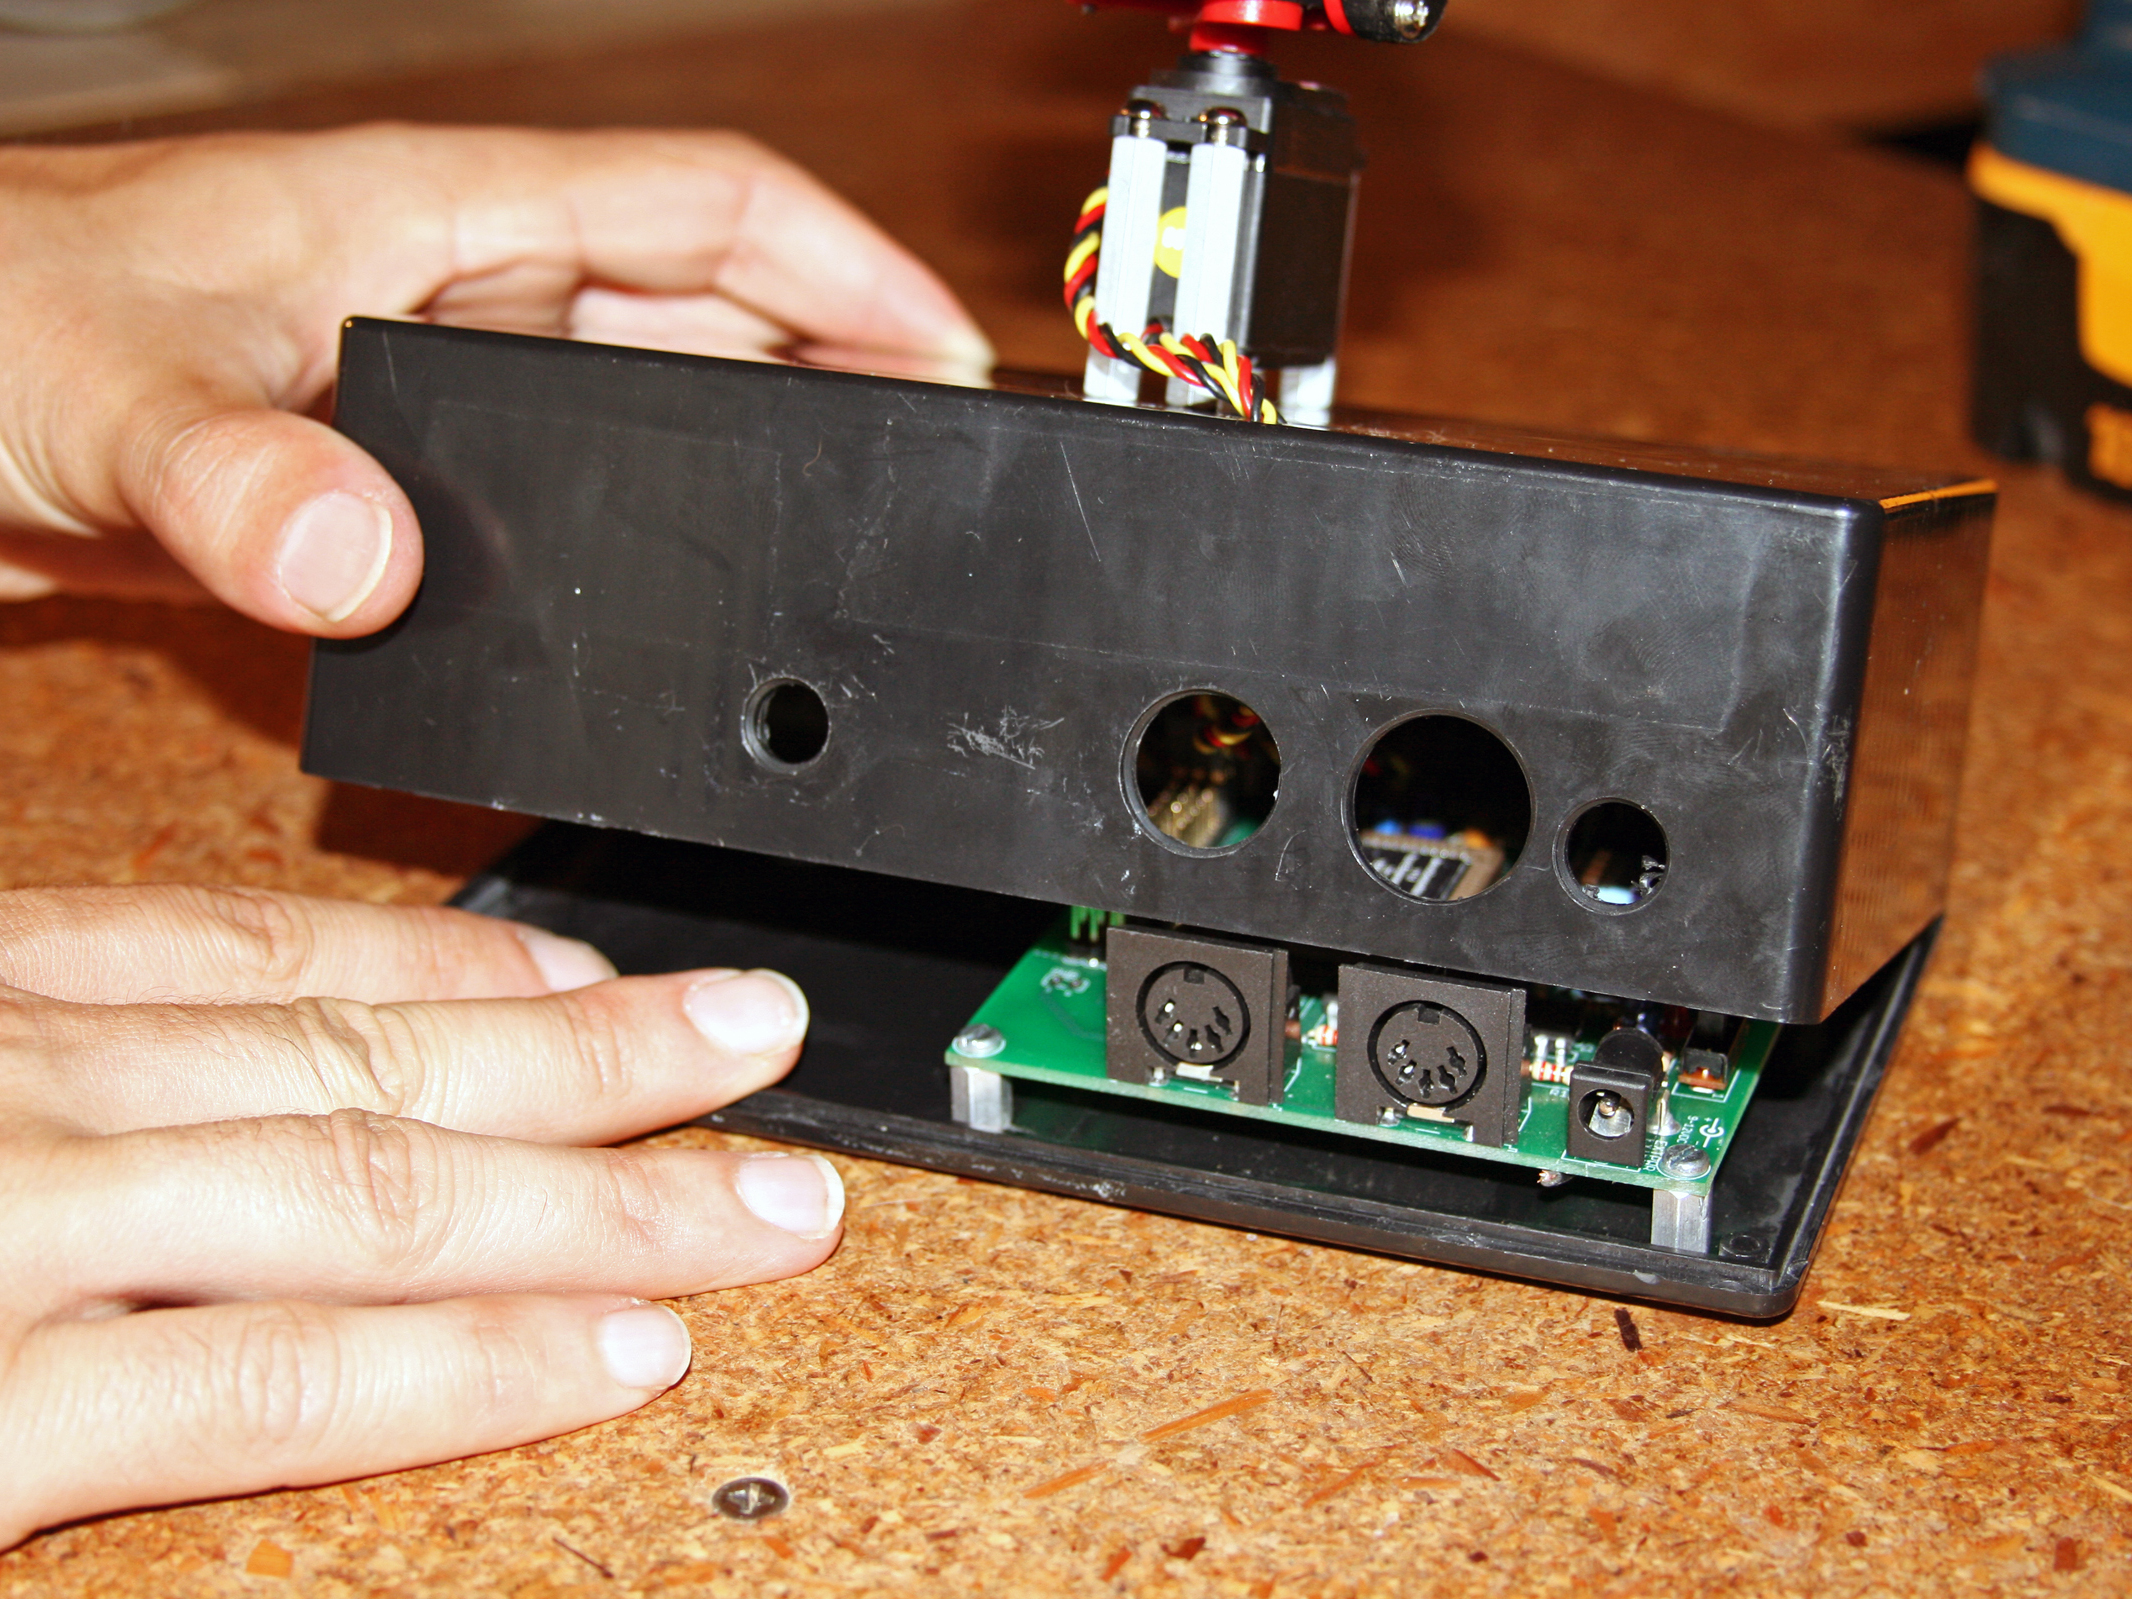
I suggested I could probably make some small robotic mounts for the cameras, each with their own pan-and-tilt mechanism driven by hobby servos. They’d be small, light, cheap and effective — my favorite combo!

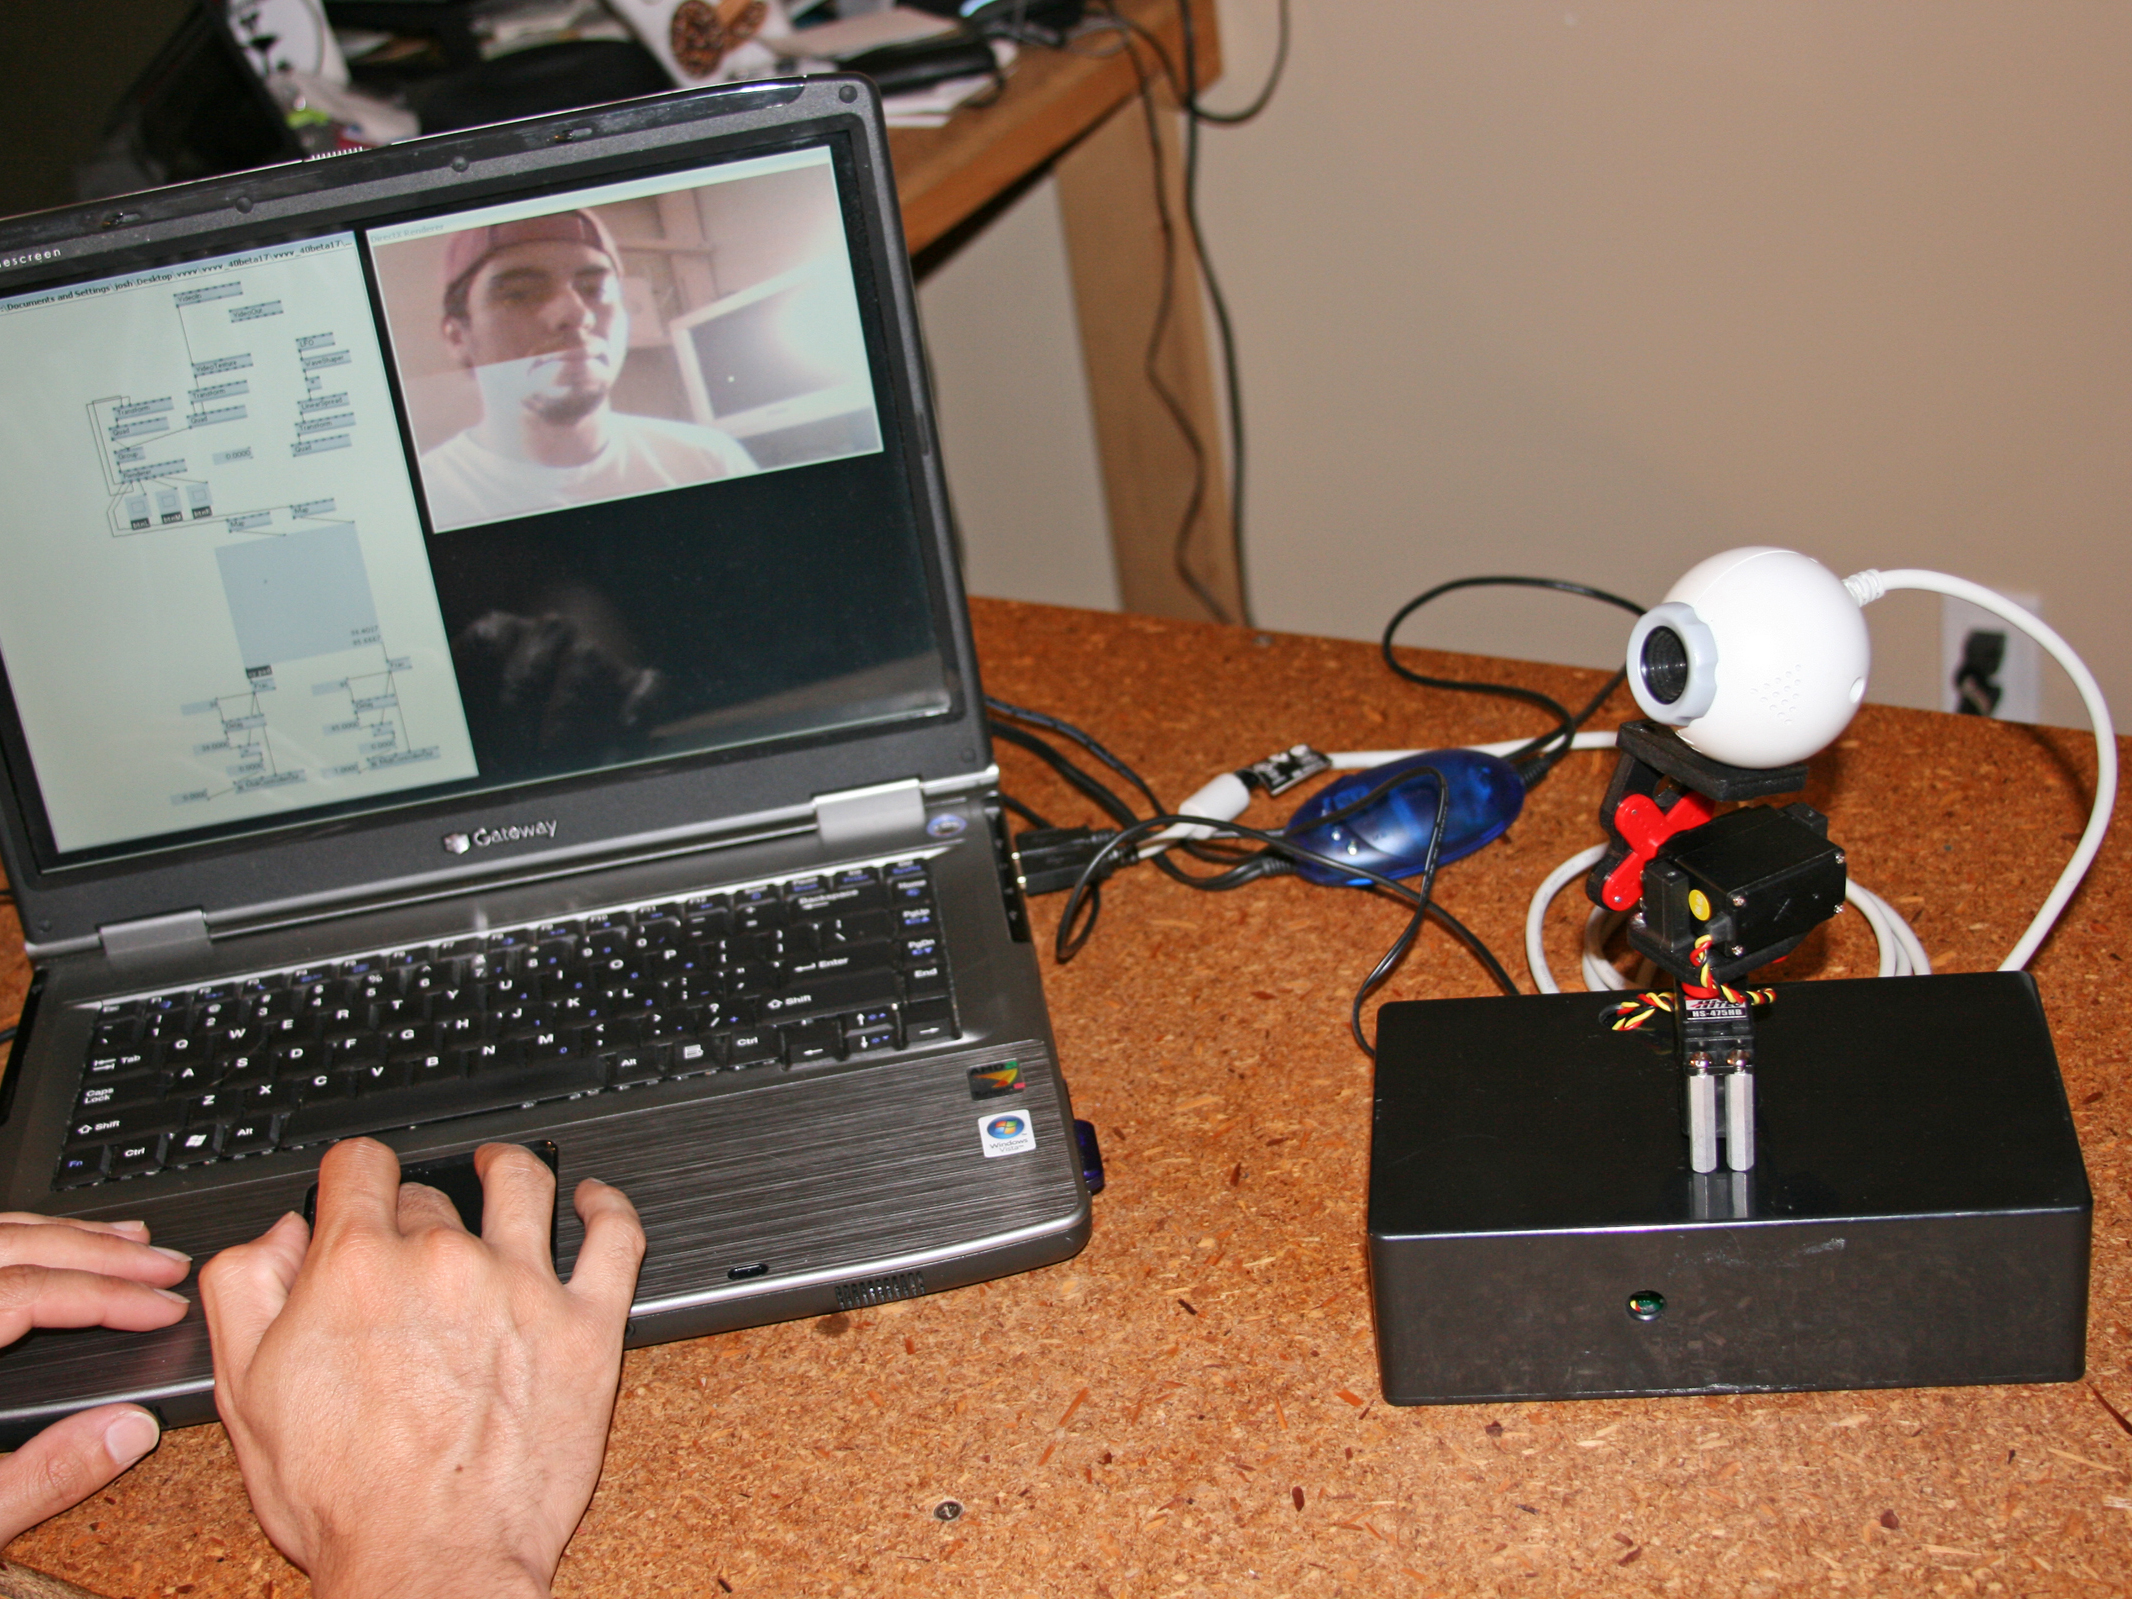
Here’s the multi-camera live setup I devised for the show, and a lower-budget version that you can put together without all the professional equipment.

Project Steps

Pick your cameras and servos.

For cameras, we used standard CCD security cameras with composite video output (camcorders would have been too large and heavy). For the mounts, I found a nice little prefab pan-and-tilt bracket from http://servocity.com that worked with hobby servomotors. A handful of these brackets and a pair of servos for each one, and we had a bunch of quick and easy rigs, ready to be powered up.

Use MIDI to control the cameras.

We mused about having the cameras move autonomously in random patterns, but decided we wanted control over each, so we could frame the shots and follow the artists as they moved from deck to deck.

Hobby servos are built for R/C, of course, but the prospect of relying on a multichannel radio transmitter wherever we performed made me nervous. In a performance-critical environment, I didn’t want interference from any wireless mics, radios, and other devices that happened to be operating nearby.

Instead, we kept things musical by using MIDI, which is the standard protocol for electronic music hardware and software. Since MIDI is multichannel, we could control many cameras from the same interface. And in addition to enabling live control, MIDI let us record, edit, and play back camera movements just like you can record, edit, and play back music.

To bridge the gap between our MIDI control signal and our pan-and-tilt hobby servos, we used the ServoCenter control board from Yost Engineering. This little circuit board has MIDI sockets and connectors for up to 16 standard hobby servos.

The ServoCenter translates MIDI’s Continuous Controller (or CC) messages, which are usually associated with knobs or sliders, to corresponding servo control signals. By configuring which CC channels run which servomotors, you tie the controls on any MIDI device to the cameras.

For the Hard Sell tour, our MIDI controller was a Korg MicroKontrol, a 3-octave keyboard with a row of 8 knob-slider pairs over the keys. We assigned each knob-slider pair to a different camera, with the knob set to pan and the slider set to tilt.

Our camera setups changed as the tour progressed, with the most ambitious being at the Hollywood Bowl: several cams on poles captured the DJs’ setup, a couple cams on the floor took extreme angles of the DJs and the crowd, an overhead camera looked down, and a cam mounted on a robotic dolly I built ran back and forth on a track in front of the two DJs, allowing us to get some very dynamic, moving shots. The speed and direction of the dolly were controlled by MIDI as well, with the ServoCenter driving a beefier servo that turned the dolly’s rubber wheels.

Mix the video.

The next question was how to switch or mix the multiple video feeds for projection onto the big screen. With our 9-cam Hollywood Bowl setup we used a security camera DVR, which let us switch feeds and also record all the cameras — the entire show (albeit at low quality) — direct to a hard drive.

At other shows we used an Edirol V-4 video mixer, a favorite VJ workhorse that can switch, mix, and apply effects to 4 simultaneous video streams. The mixer let us intercut the cam feeds, morph them into more abstract patterns, and add in any DVD visuals we queued up.

As we did more shows, we devised new ways to bend the technology to our will. We tried recording the MIDI control messages with music software on a laptop, then playing them back as pre-orchestrated camera moves. Also, I had been experimenting with VVVV, a free software toolkit for prototyping multimedia applications. I wrote VVVV routines for my laptop that generated MIDI commands to move the cameras in patterns, such as sine waves.

After some more tinkering, I was able to bring camera video streams into my laptop, then manipulate or mix them with other graphics, all in VVVV. (You can do the same thing with other software as well, such as Pure Data, Max/MSP, and Quartz Composer.)

Try this at home.

Working on the Hard Sell tour made us realize the possibilities of MIDI cams. With setups like this, just 1 or 2 people could provide dynamic, multi-camera video coverage for all kinds of live events: sports, performances, contests, demos, even pranks. Now I also wonder how many tiny robotic cameras I could manage at once.

Running VVVV on a laptop, you can eliminate the need for the high-end hardware we used on the Hard Sell tour. I concocted a work-alike system that uses just a PC, the servos and ServoCenter, and a webcam for video capture. Computing power is a factor, but a fast computer can handle simple mixing with 2 video feeds. Just make sure the webcams are different brands, so that Windows won’t see them as having identical IDs (I have heard that FireWire webcams don’t have this problem).

Build a pan-tilt MIDI cam unit.

To make a nice, self-contained single camera unit I enclosed the ServoCenter board in a project box and attached the pan-tilt assembly on top. The webcam connects to the laptop, the pan-tilt servos connect to the ServoCenter, and the laptop connects to the ServoCenter through a USB-MIDI interface.

On the laptop, VVVV runs 2 separate workflows at once: one generates MIDI to control the servos, and one processes the video input from the webcams.

I drilled the top of the box and used 1¼” standoffs to attach the pan motor, which acts as the base of the pan-tilt assembly (photo 1). Inside, I mounted the ServoCenter board using 3/8″ standoffs. The servo wires are threaded through another hole in top (photo 2), and holes in the side allow access to the ServoCenter’s MIDI and power.

If your webcam has a stiff cord, a small servo might have trouble pushing it around; if so, cut away the insulation on the outside of the cord. Then mount the webcam on top of the pan-tilt assembly. I used a short ¼” bolt that threaded right into the cam’s original mounting hole, but you could use any method that securely attaches the camera.

Photo 3 shows the motor connection to ServoCenter; the board can handle up to 16 motors.

To start running your MIDI cam, download and install VVVV (http://vvvv.org), Midi Yoke, and MIDI-OX (both at http://midiox.com). Then download my script here.

Run the core VVVV app, then open the script and see the embedded instructions, which explain how to set it up to move your cams, as well as use some other simple VJ functions to mix in images or videos.

VVVV is a graphical programming language that lets you build applications by drawing “building blocks,” and linking them together. It’s not your standard Windows program, so figuring it out takes a bit of reading the Help and poking around. But once you get the hang of it, it all makes sense; it has a logical, schematic-like workflow, so if you’ve ever read or drawn a circuit diagram, you should pick it up quickly.

If you have MIDI hardware, you can connect that to your laptop and use it to control your cameras through VVVV. Moving a physical knob or slider is better than poking around with a screen and keyboard, especially if you’re performing live.

Conclusion

This project first appeared in MAKE Volume 19, page 129.