It’s a star-filled universe — in your pocket! Hold the Mini Infinity Cube up to your eye and gaze into an endless galaxy of colored stars. This project is easy and fun!


It’s a star-filled universe — in your pocket! Hold the Mini Infinity Cube up to your eye and gaze into an endless galaxy of colored stars. This project is easy and fun!
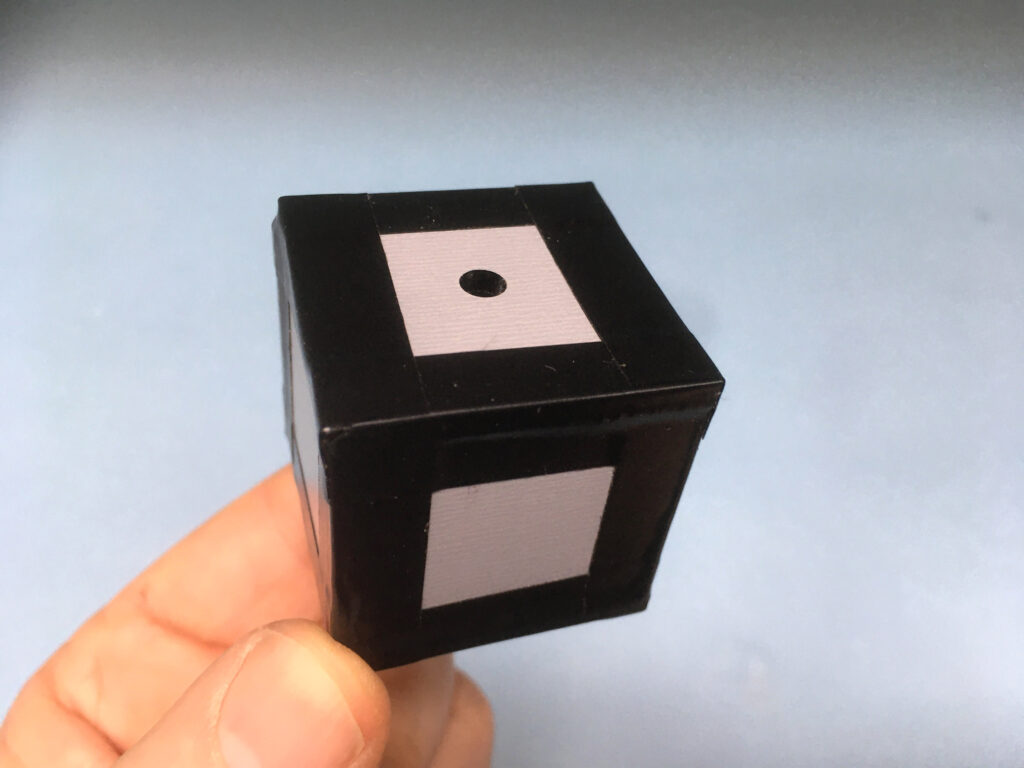
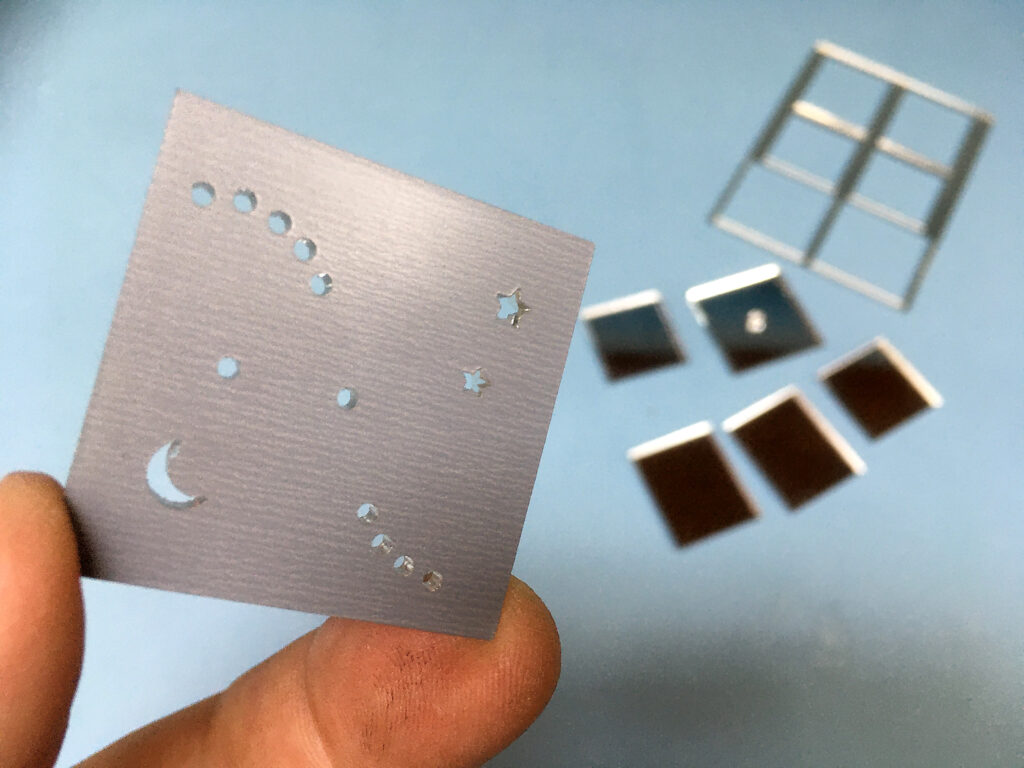
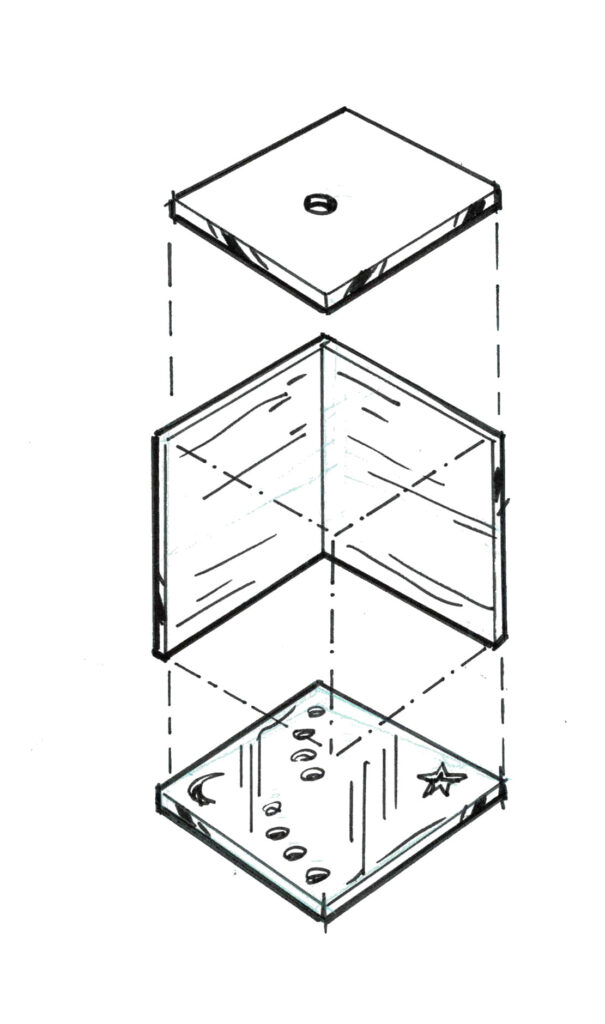
Make a 1½" cube out of six pieces of mirrored 1/8" acrylic. Drill a 3/16" peephole in the top piece. On the bottom piece drill a series of smaller holes; these will be the “stars.” The four side pieces of the cube are left undrilled to serve as infinity box reflectors. None of the dimensions are critical but the sides must be parallel for best effect.
If you have access to a laser cutter, download an .svg cutting file. It has little moon- and pointed star-shaped holes for an extra fun look!
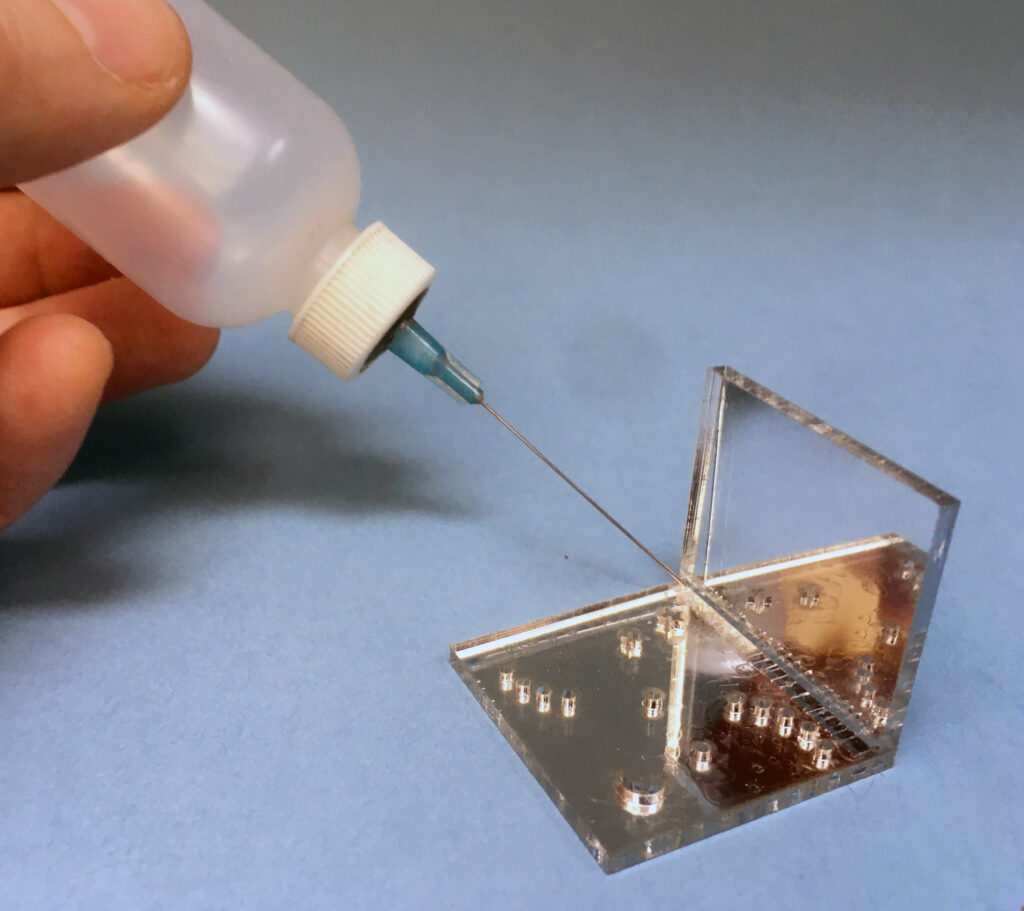
Bond the sides together using acrylic solvent to make a cube. Be sure to assemble the cube with the mirrored sides facing inward.
Then use some strips of black vinyl electrician’s tape to cover all the exposed edges. This will keep light from leaking in along the edges of the acrylic. You want a nice, dark cube “universe” for gleaming stars! Make sure not to cover up any of the star holes on the back.
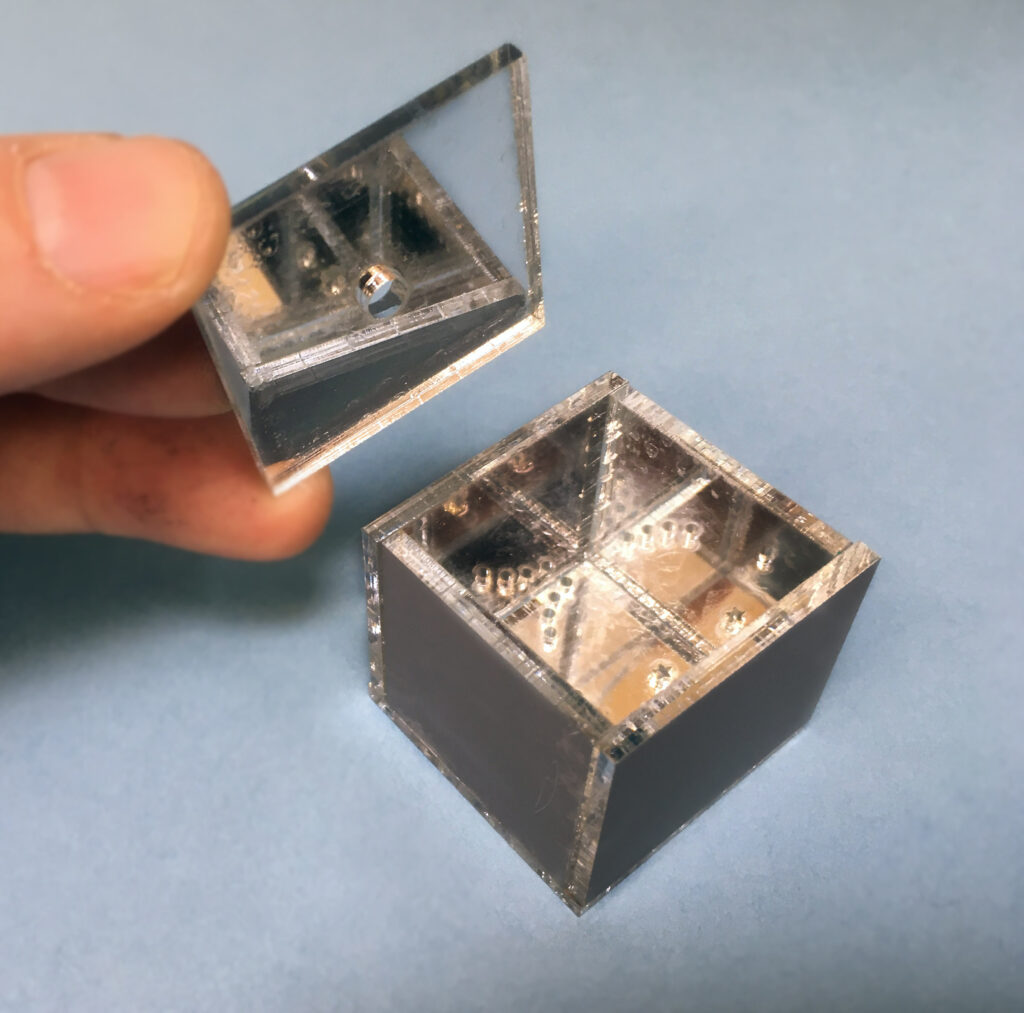
Hold the cube right up to your eye and look in the peephole. Swivel the cube and look around inside to see the infinity effect. Point the cube around to change the colors of the stars like a kaleidoscope. Wow, man!