Traditional photography is fantastic. I love the way mechanical cameras feel in my hand, and I love the way film makes me think about composition and lighting before I actually take a shot. The only thing I don’t like about traditional photography is the cost of having film processed or buying equipment to develop my own.
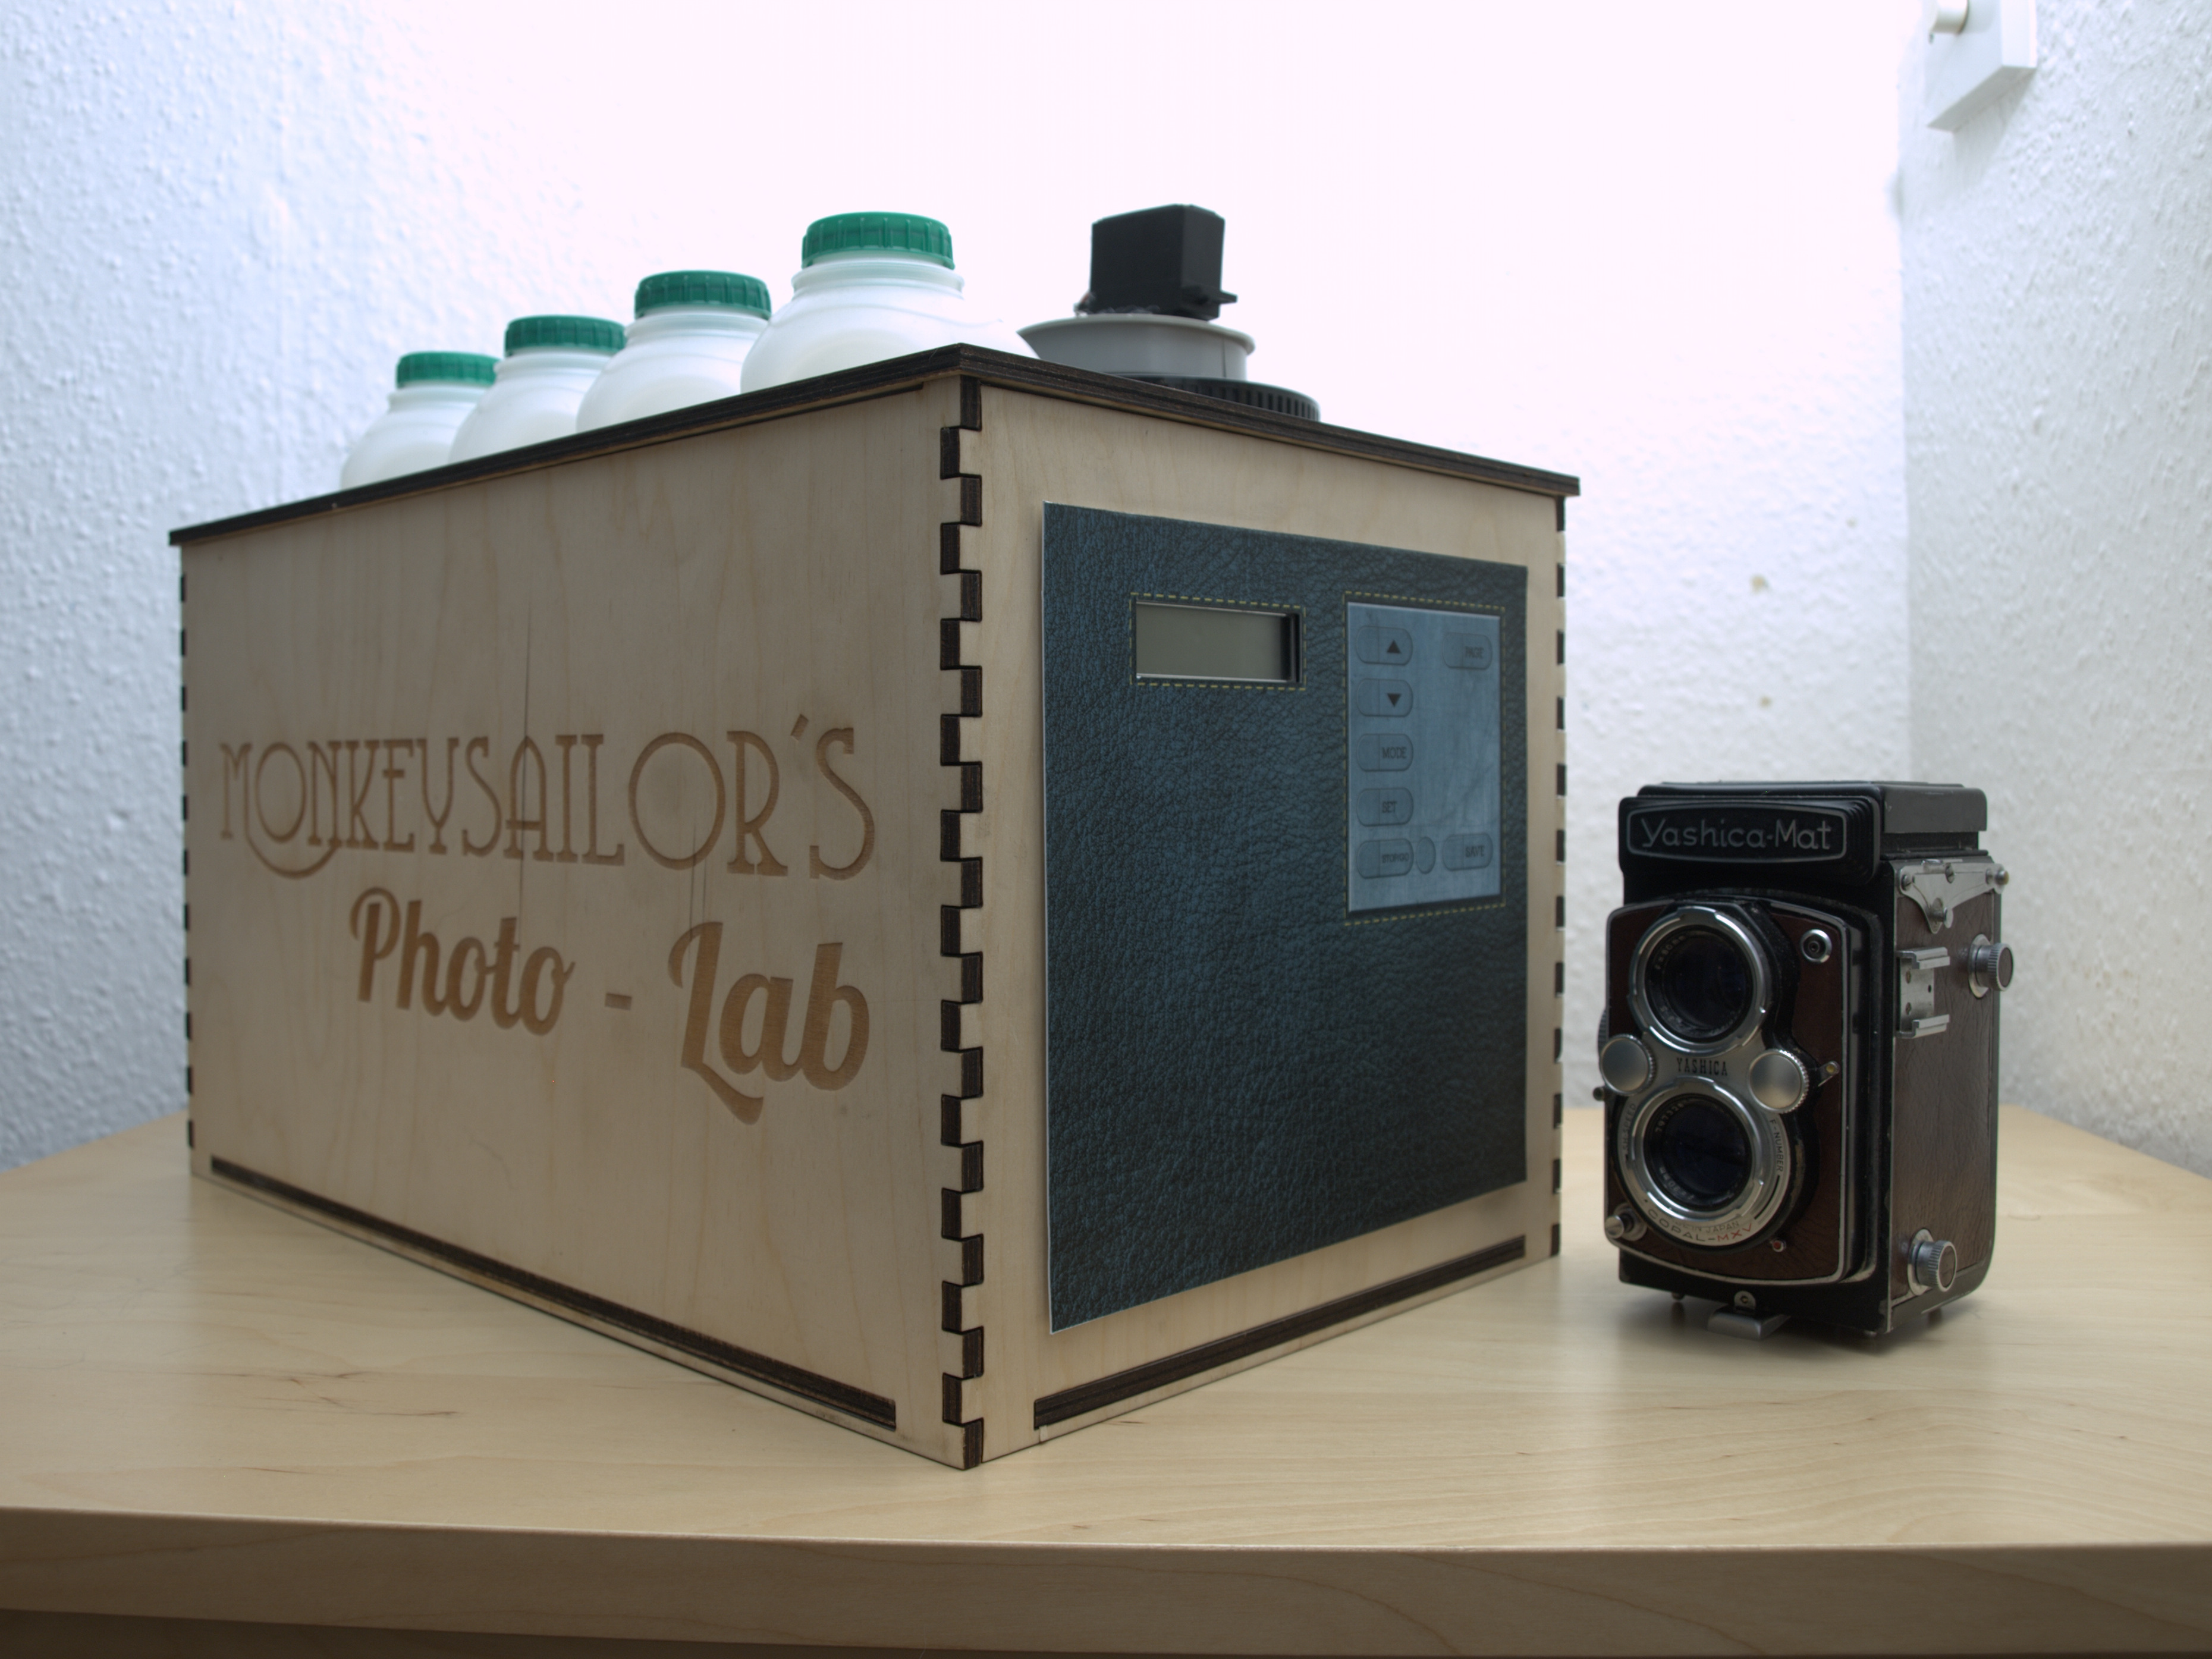
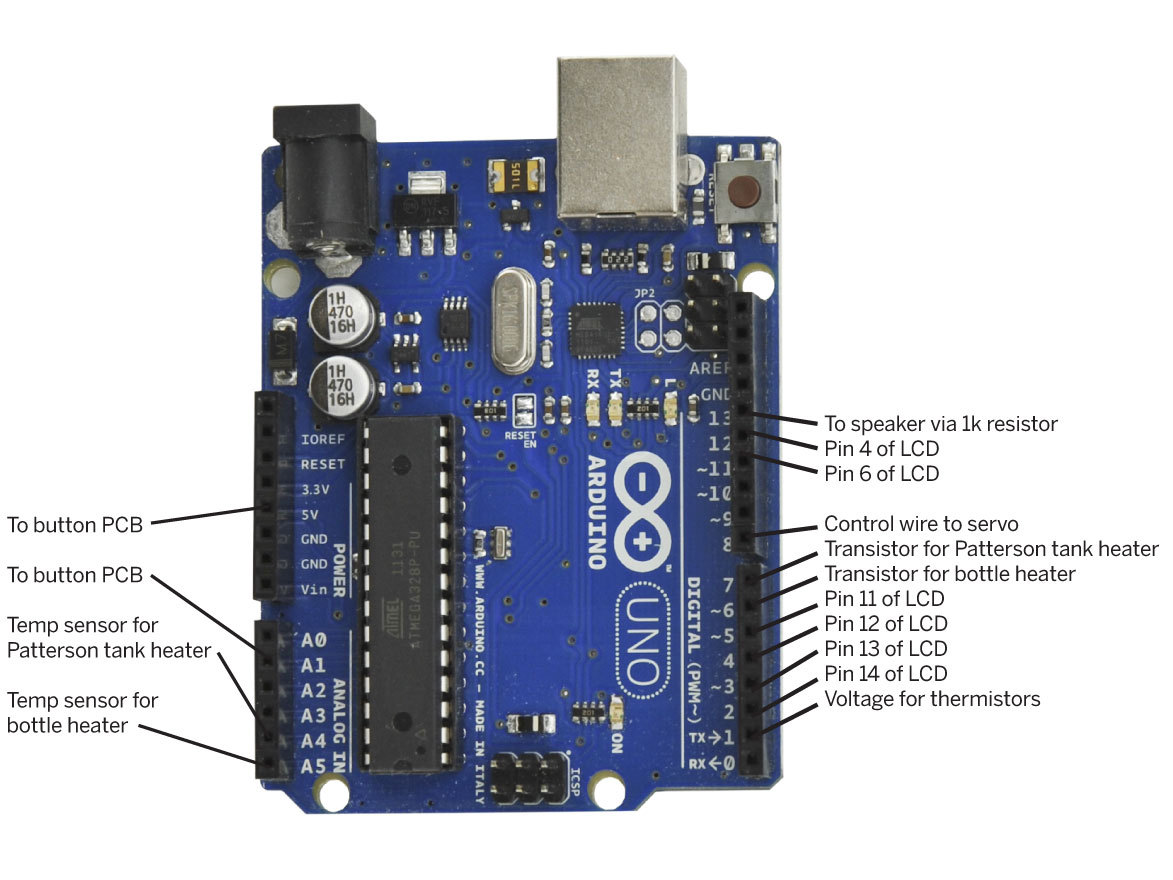
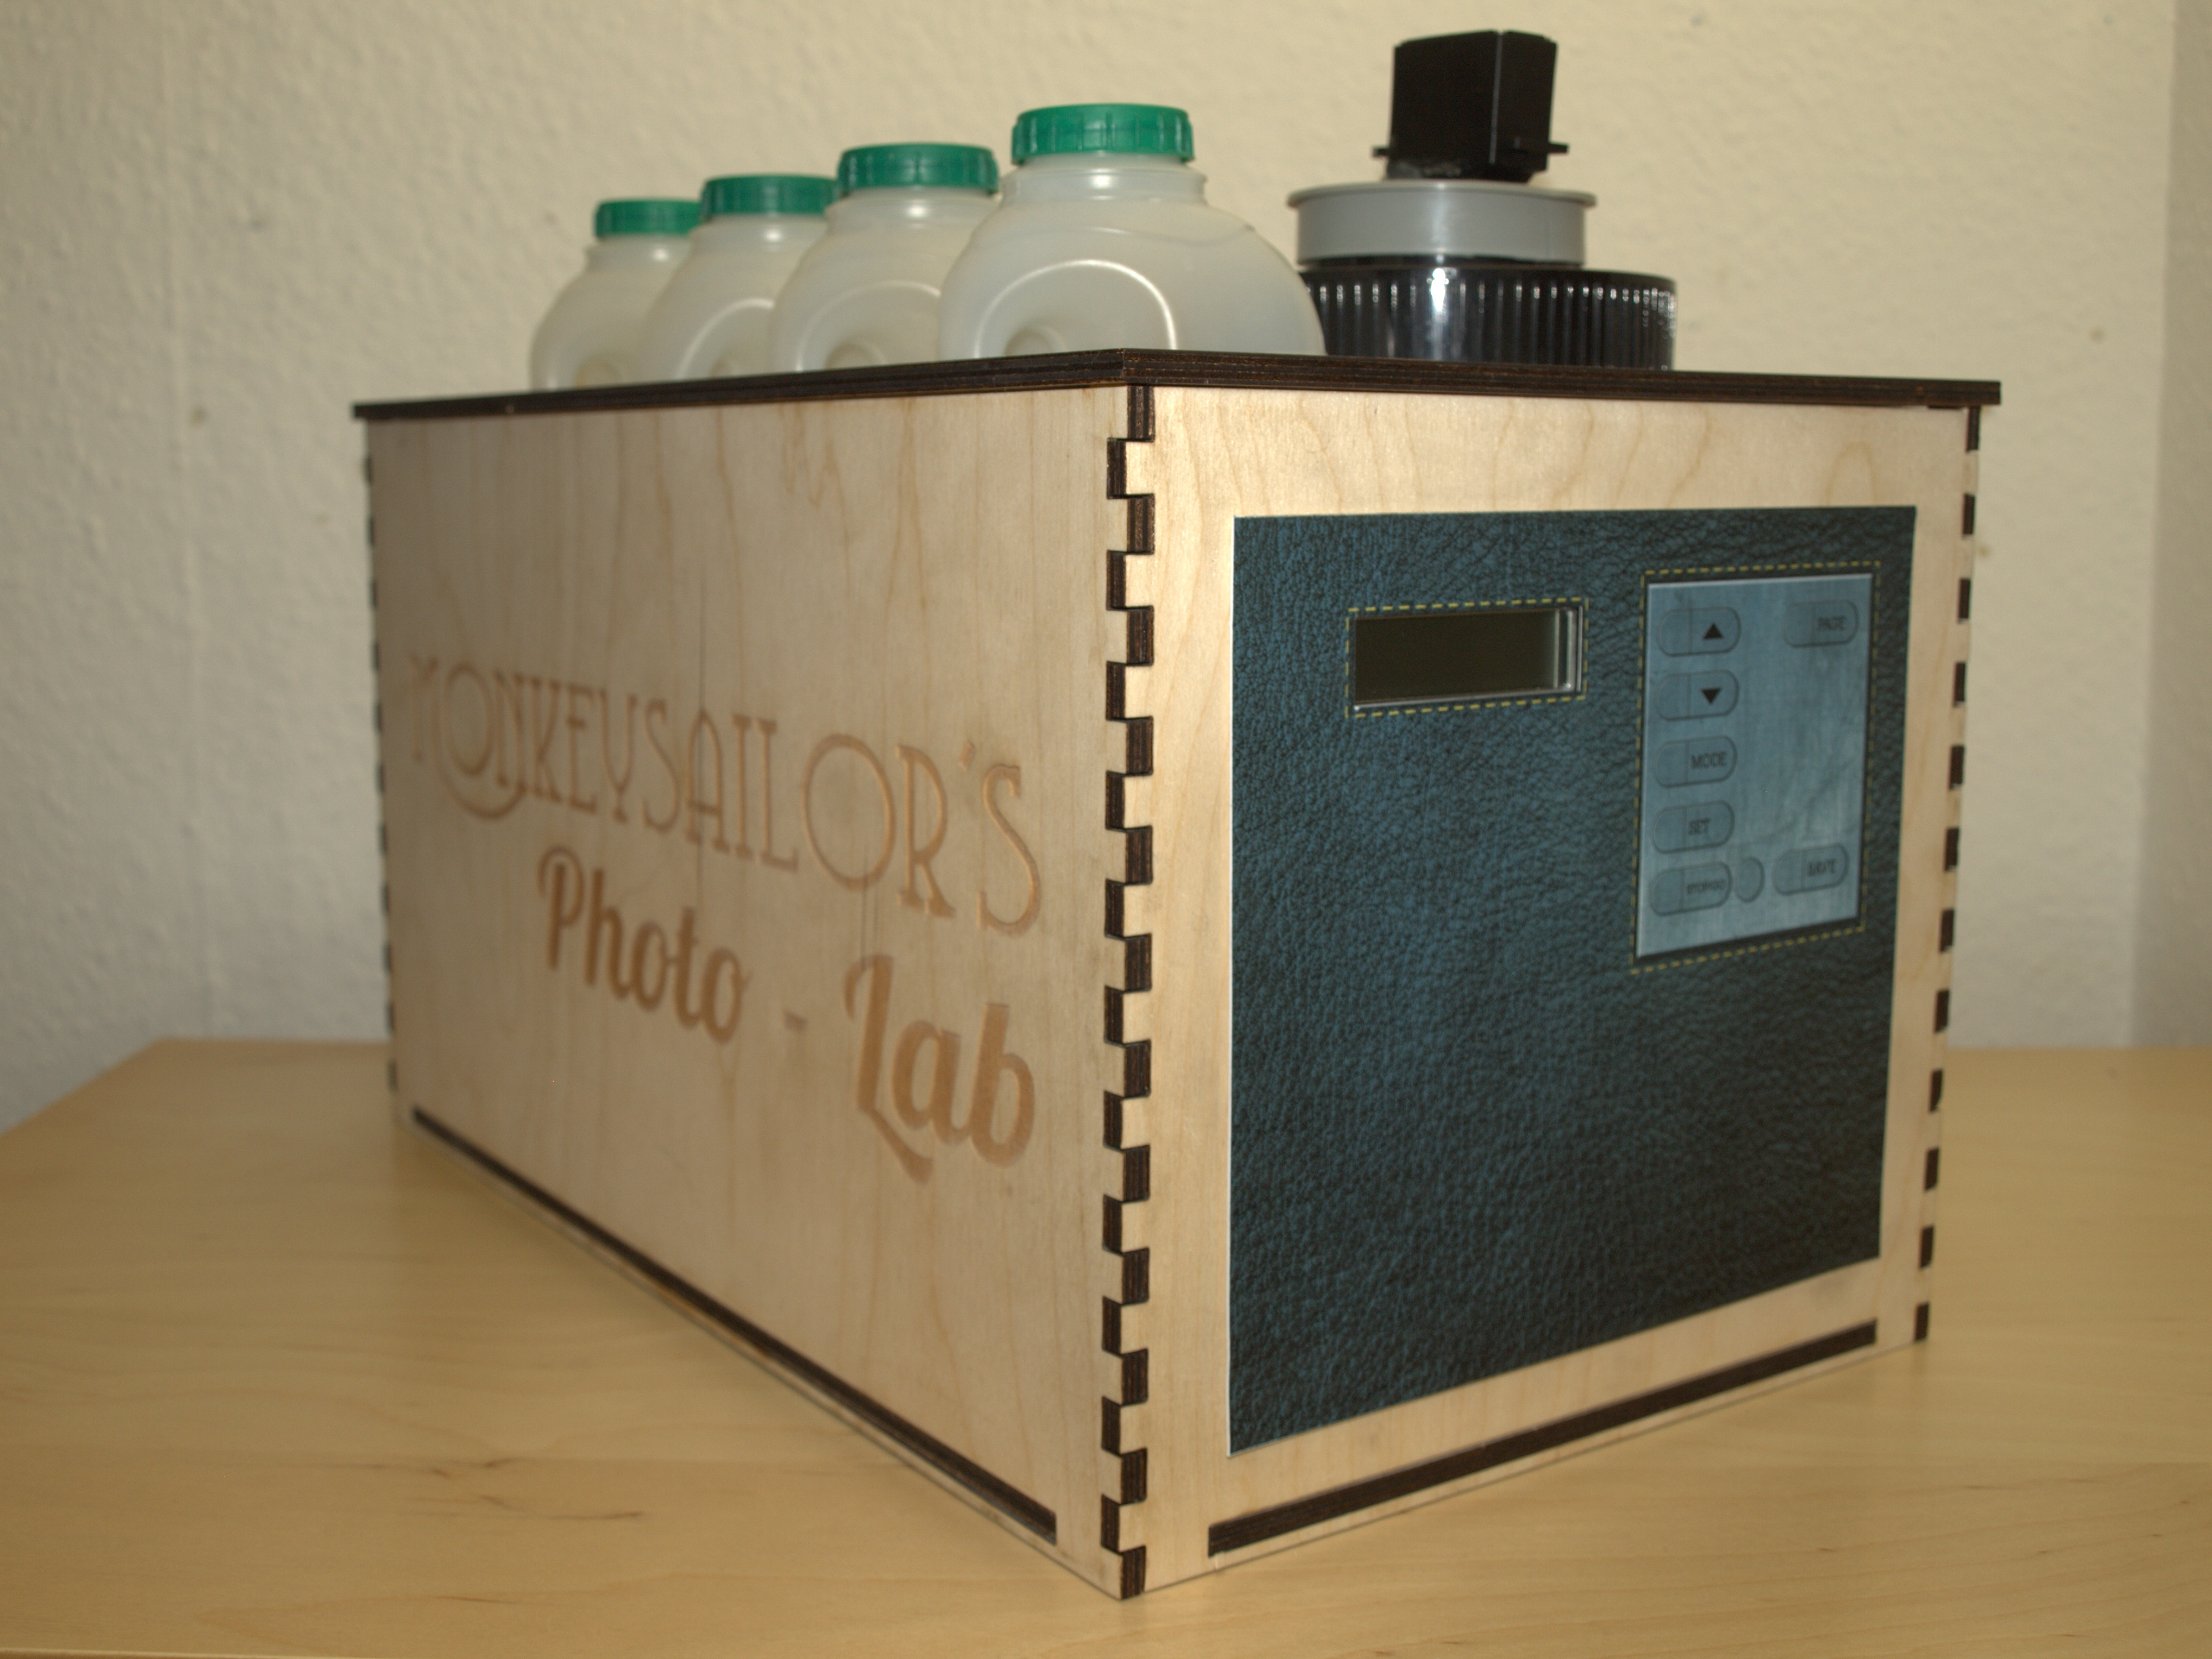
To cut costs and have a little fun with an Arduino along the way, I decided to make my own film processor. The equipment needed to turn a roll of exposed medium-format color film into negatives actually isn’t that complicated, and the chemical process is also straightforward. Using a standard developing tank and chemicals, all you really need are a stable working temperature and accurate timing, which you can accomplish using an Arduino, an LM35 temperature sensor, and a few electrical components.
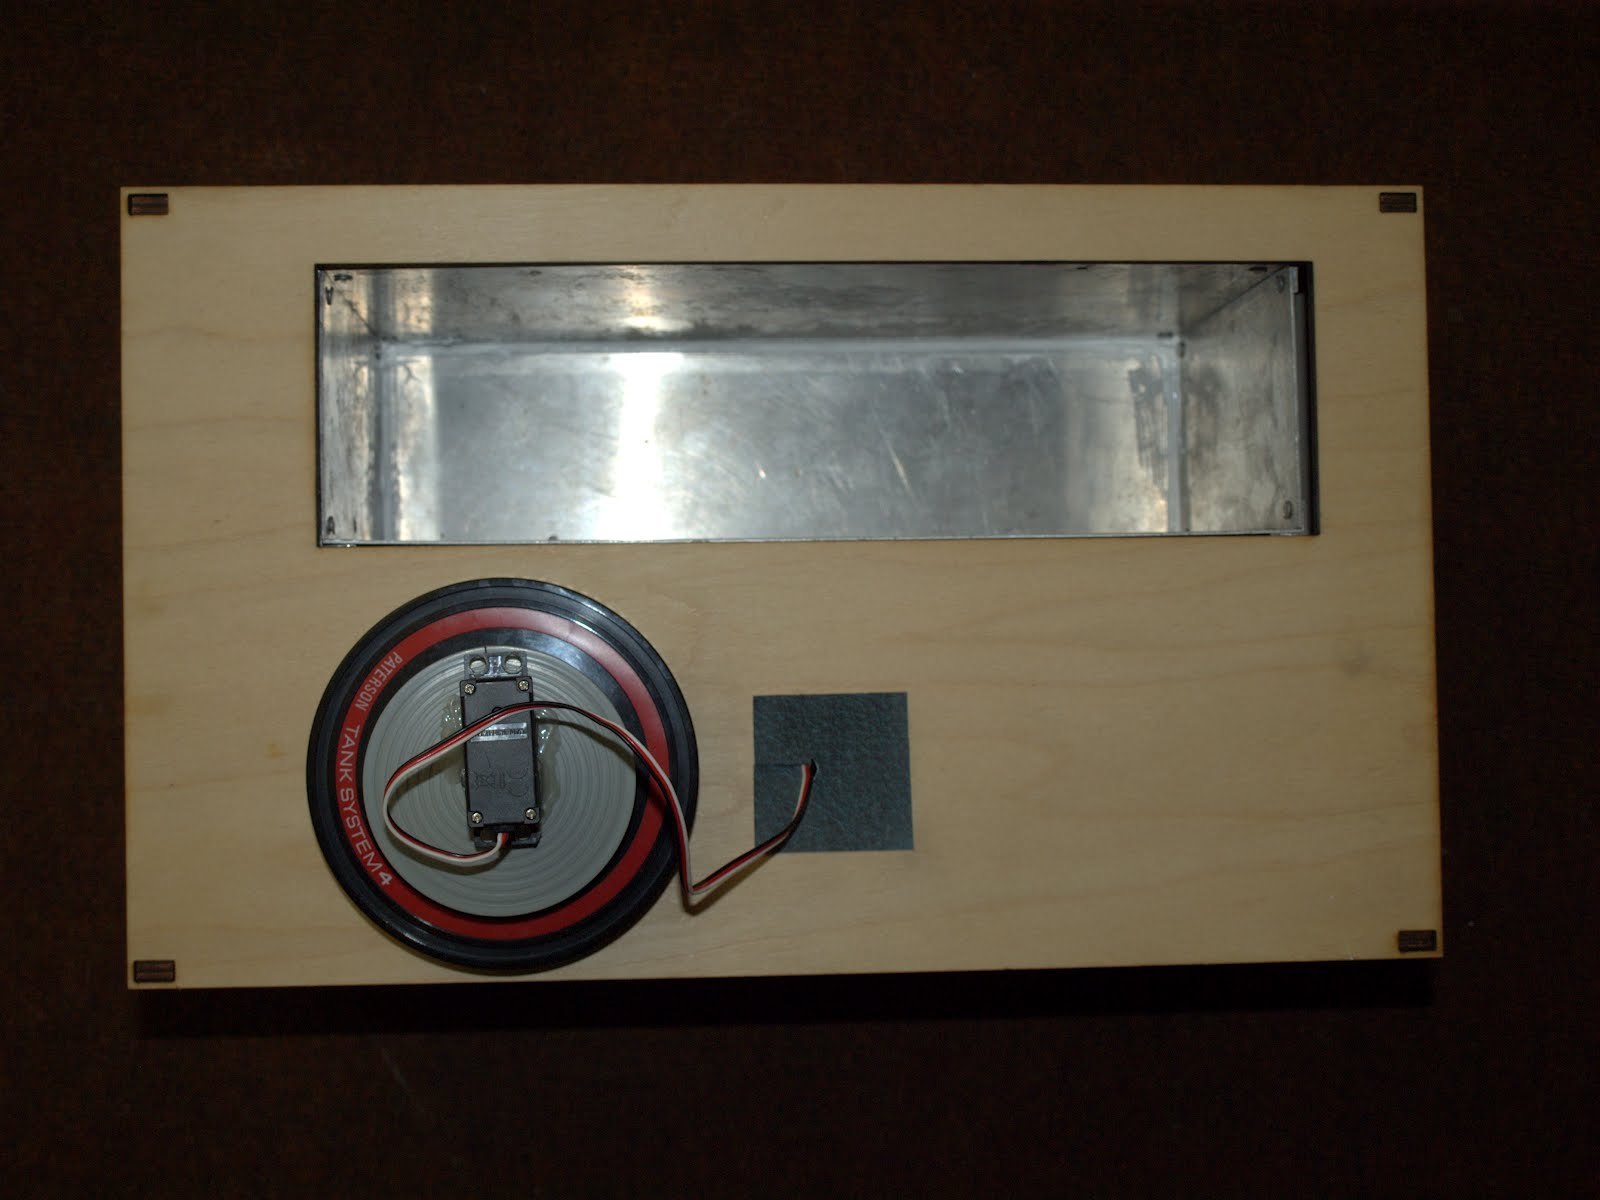
To develop film, you immerse it in developer at a specific temperature for a specific amount of time, agitate it every few seconds to ensure an even process across the film, then repeat the process with fixer/blix solution, and repeat again with rinse water. This can be done in a Paterson tank, which lets you pour liquids in and out without exposing the film inside to any light. With a film-changing bag to load the film into the tank, you don’t need a darkroom!
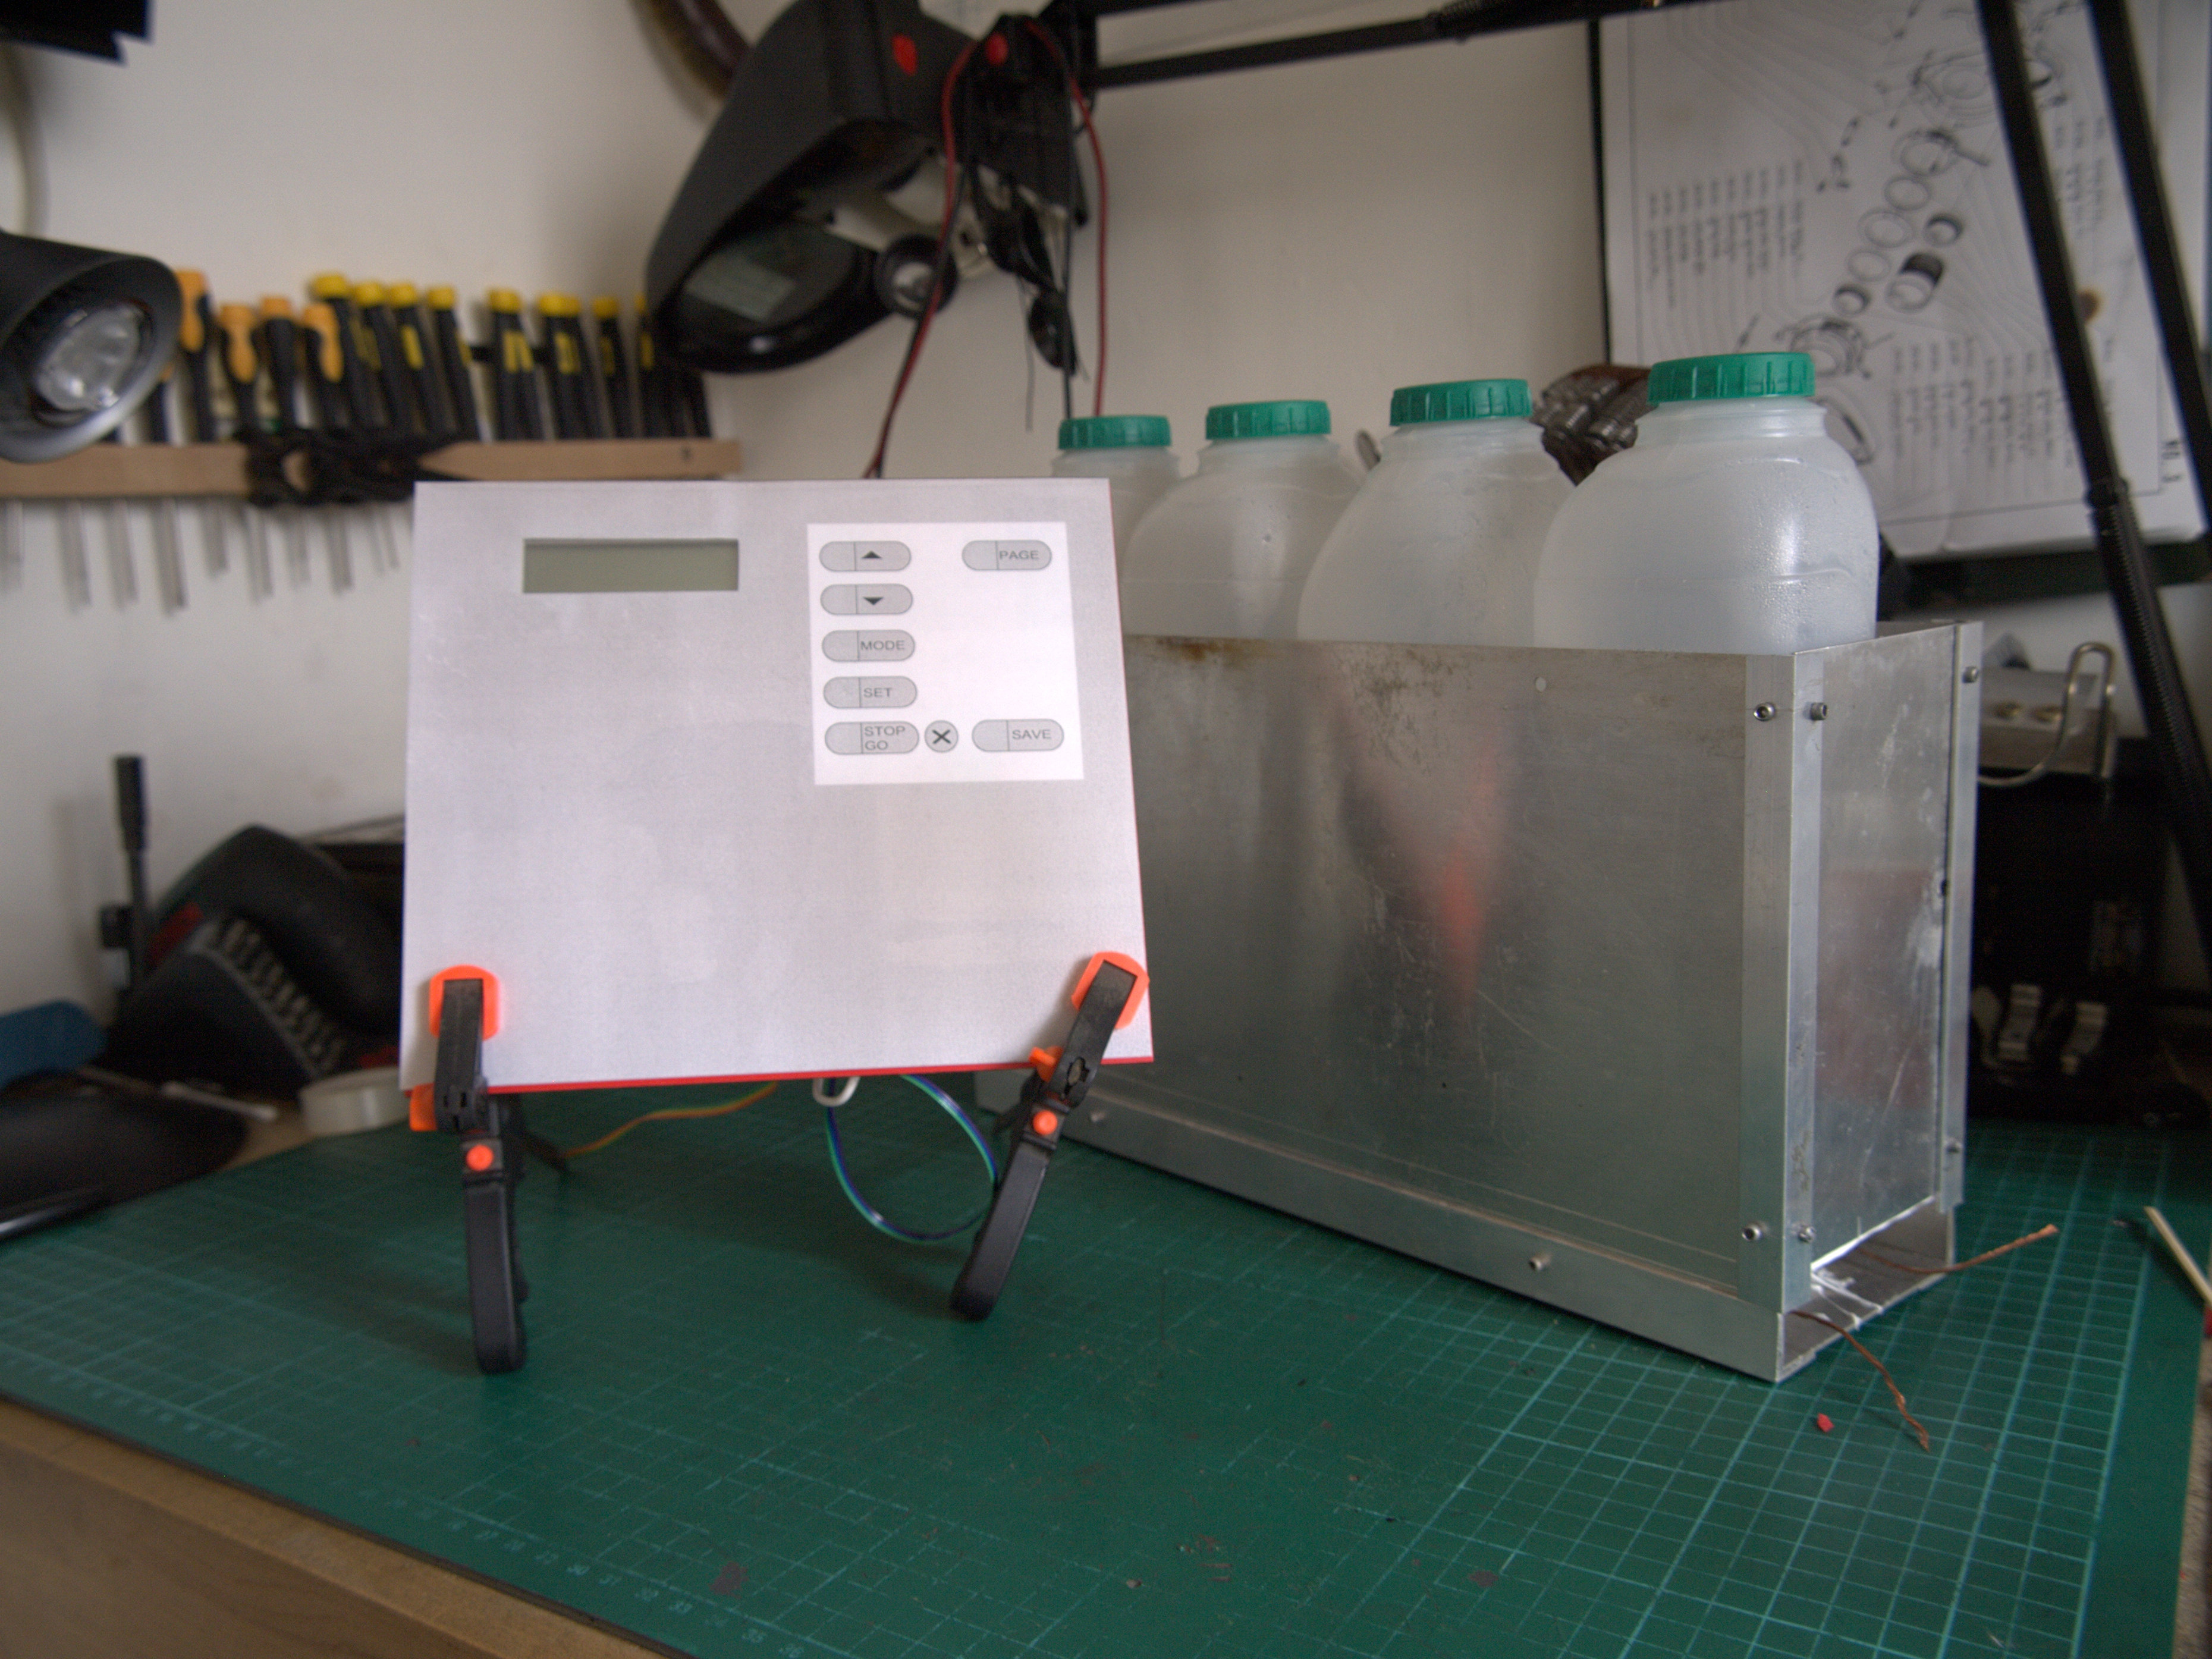
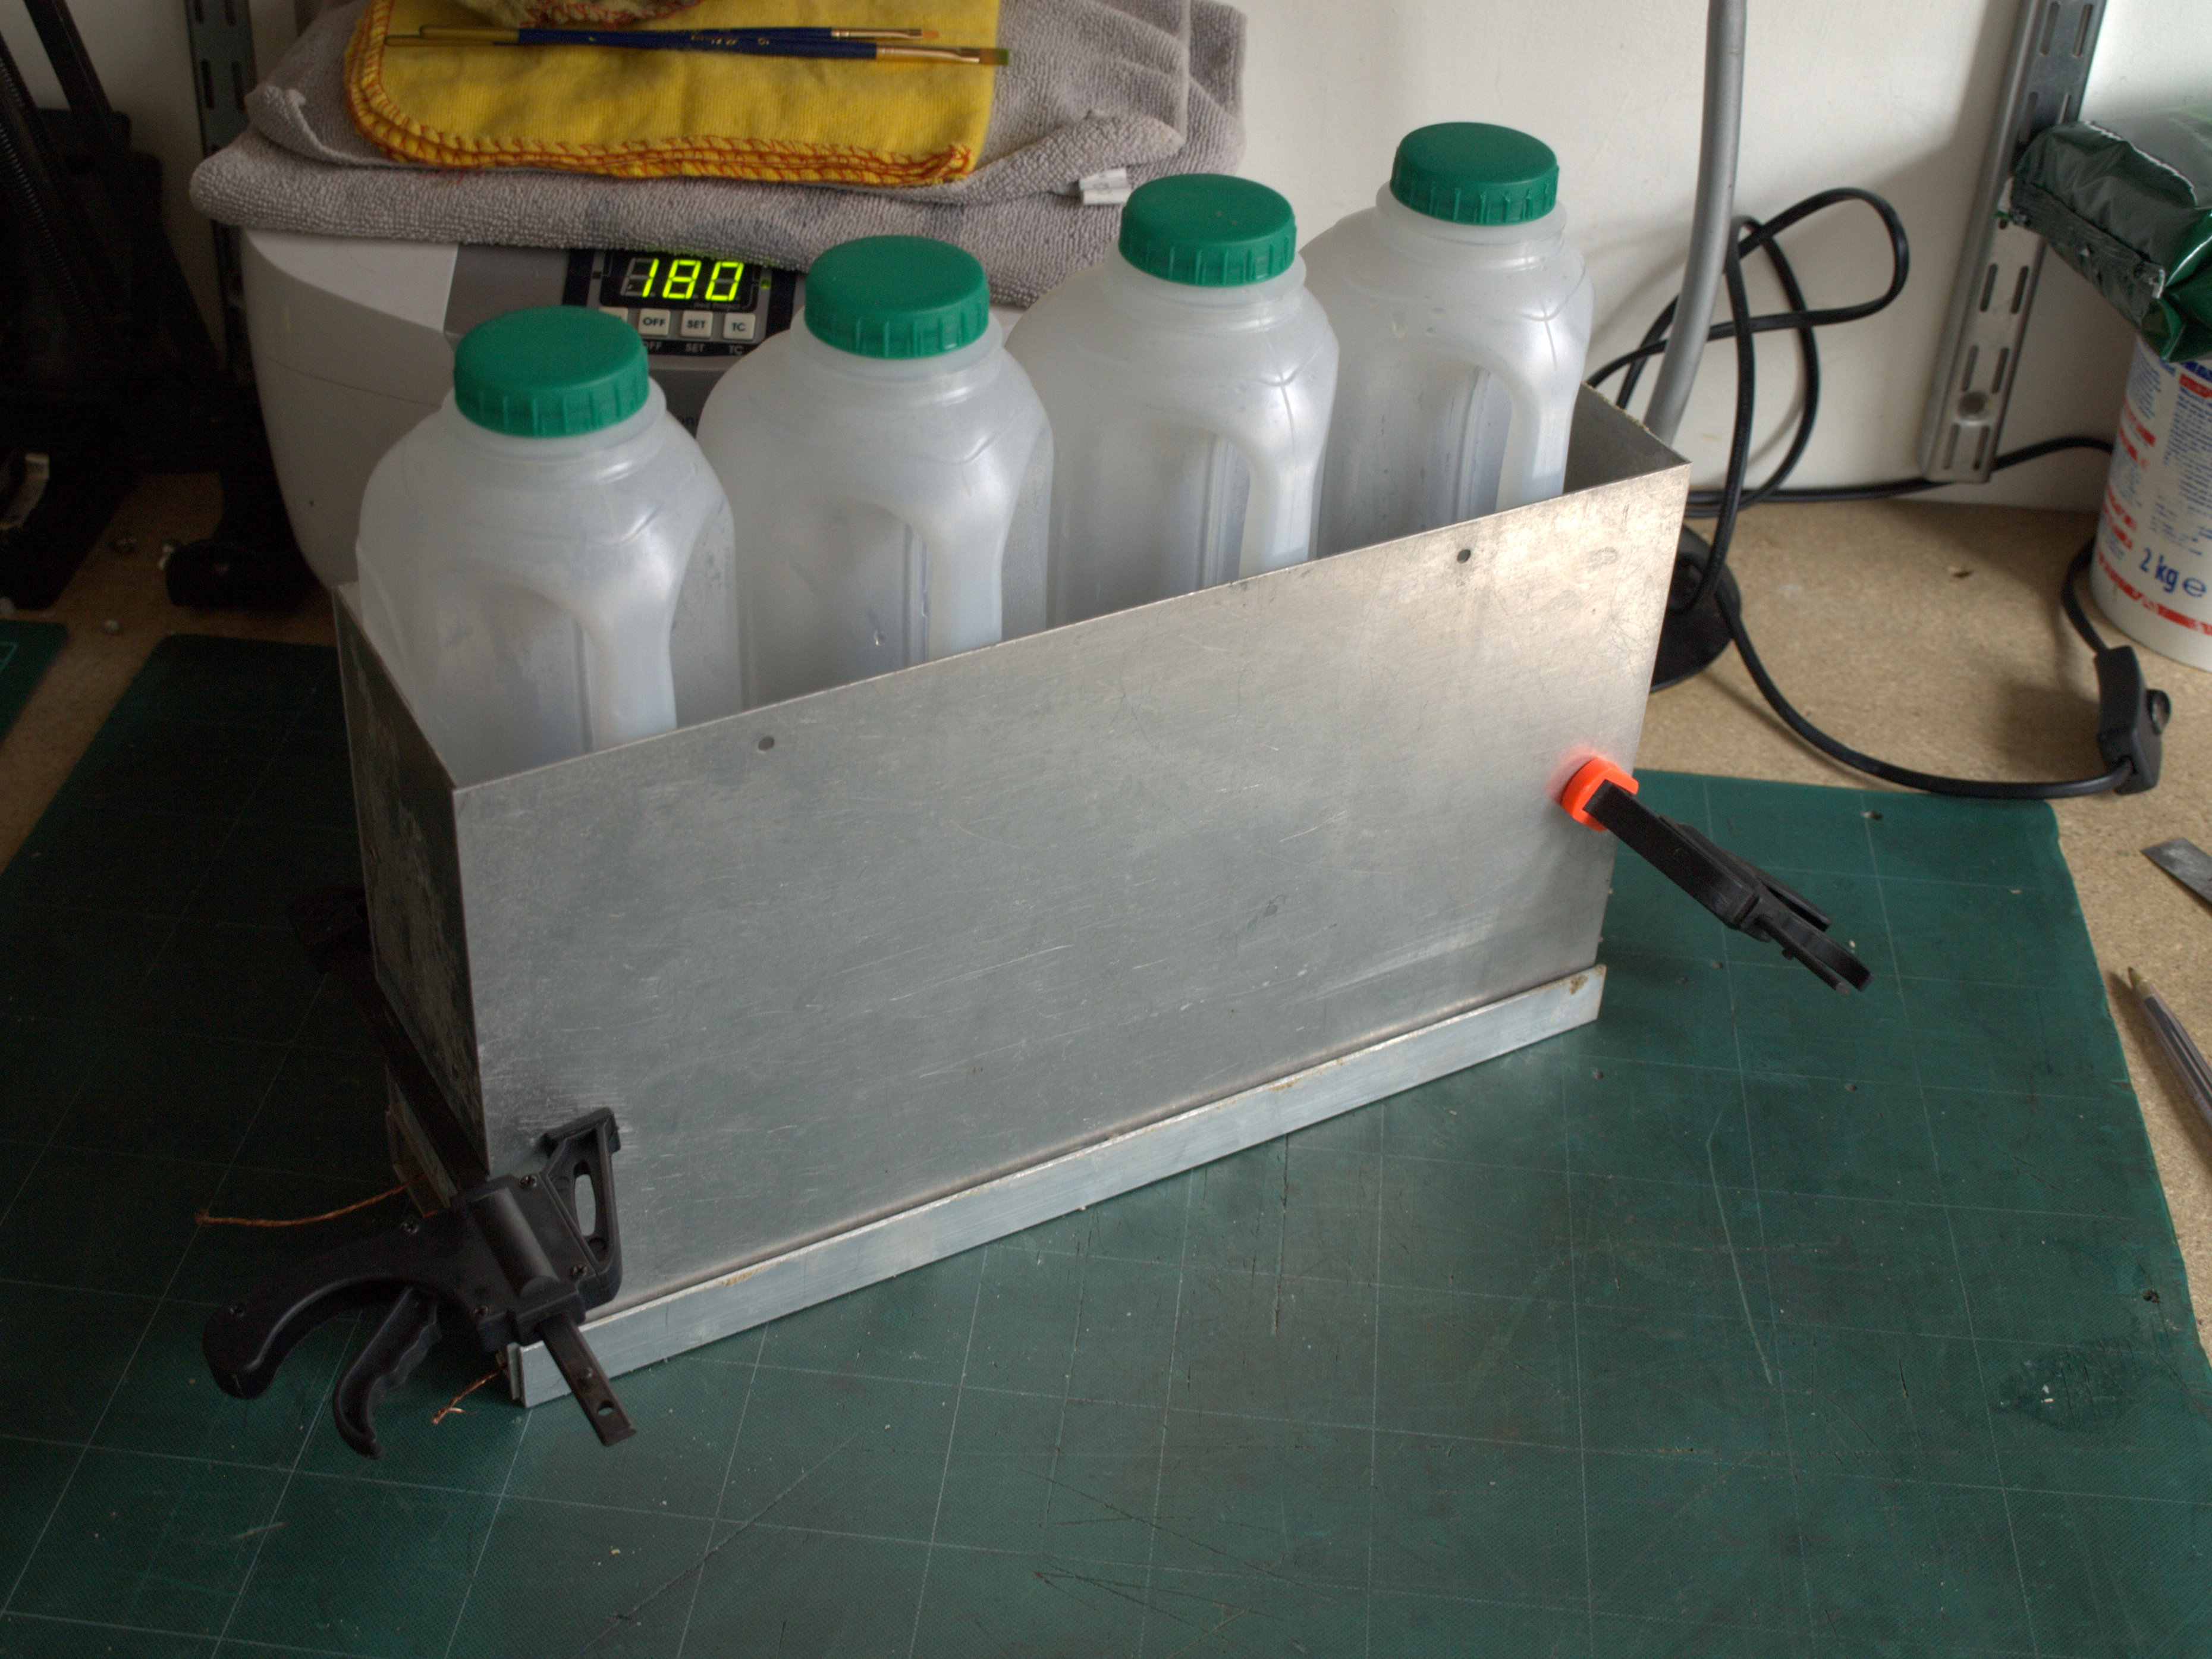
Different film types or chemicals require different times and temperatures, and the brightness, contrast, or color will not develop correctly if they’re wrong. So I needed to work out a system that would maintain and monitor the temperature of 4 chemical bottles, and time the processing down to the second.
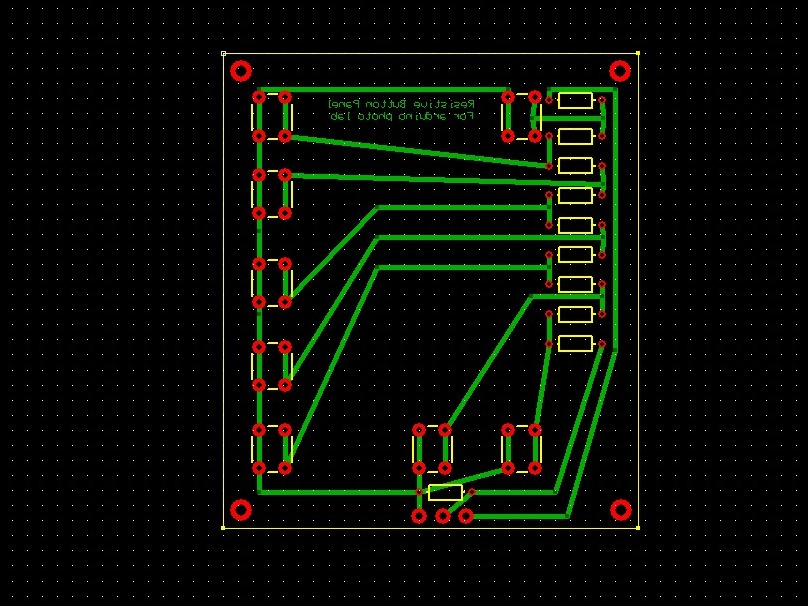
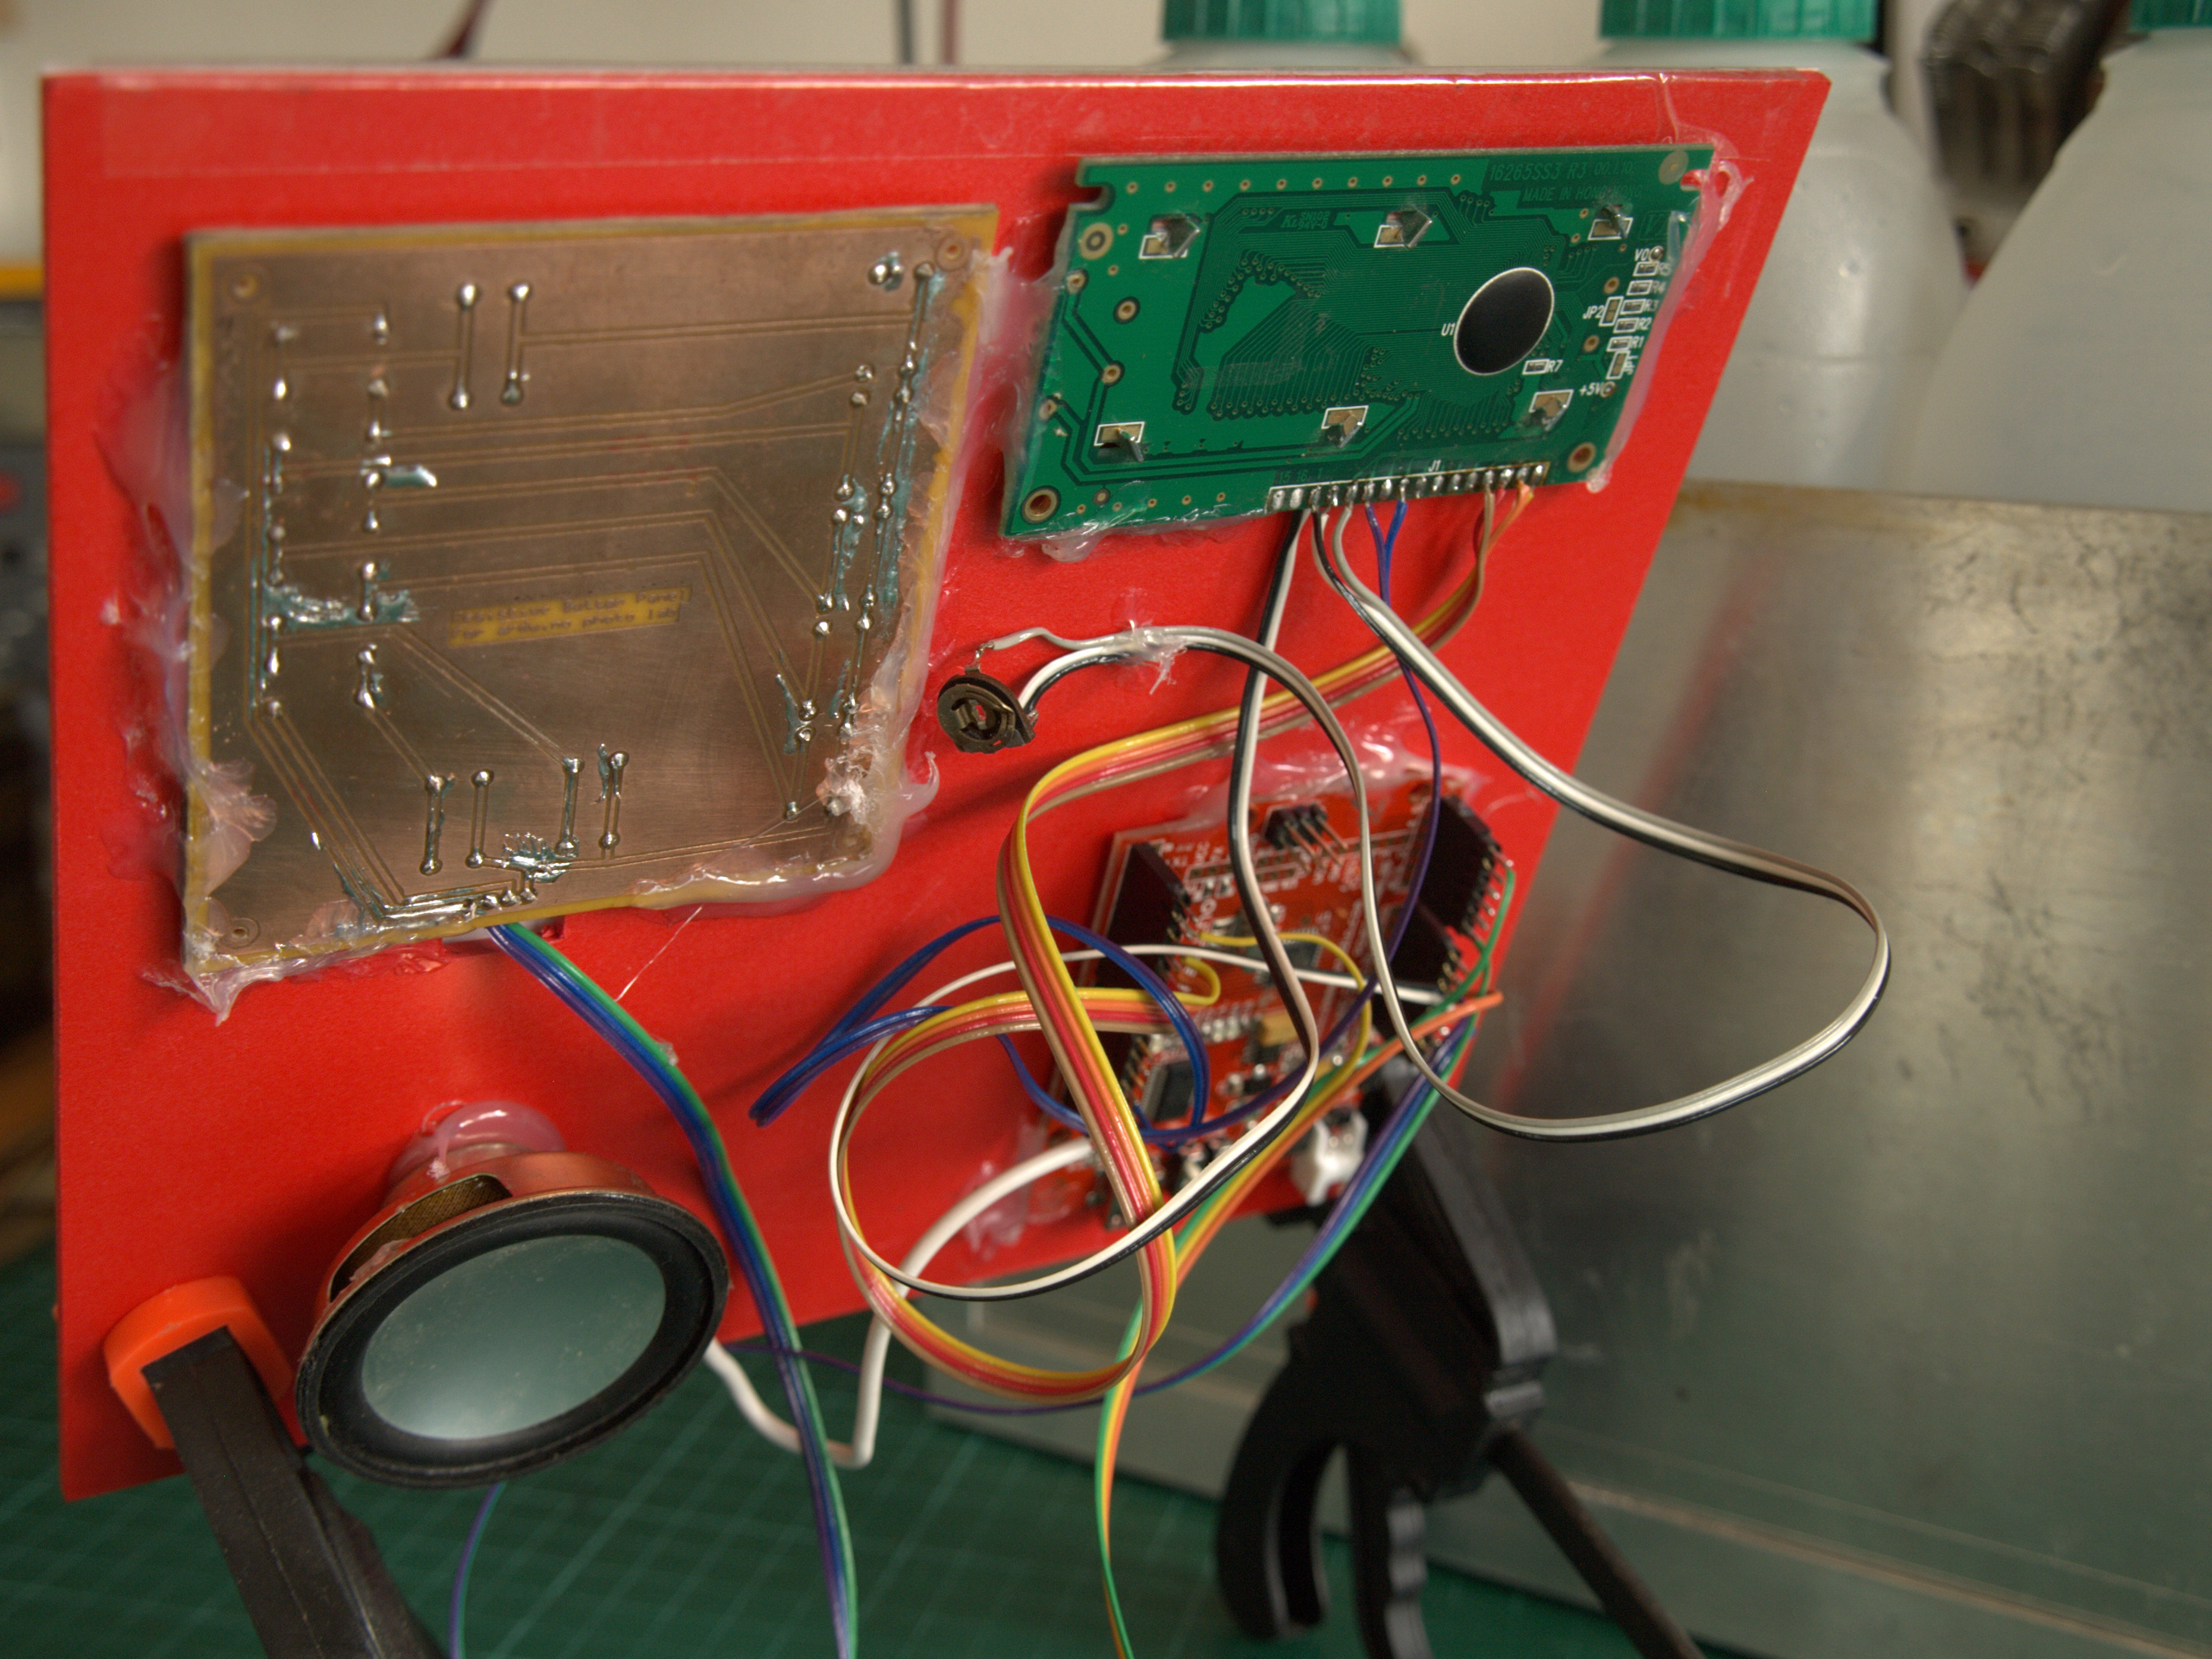
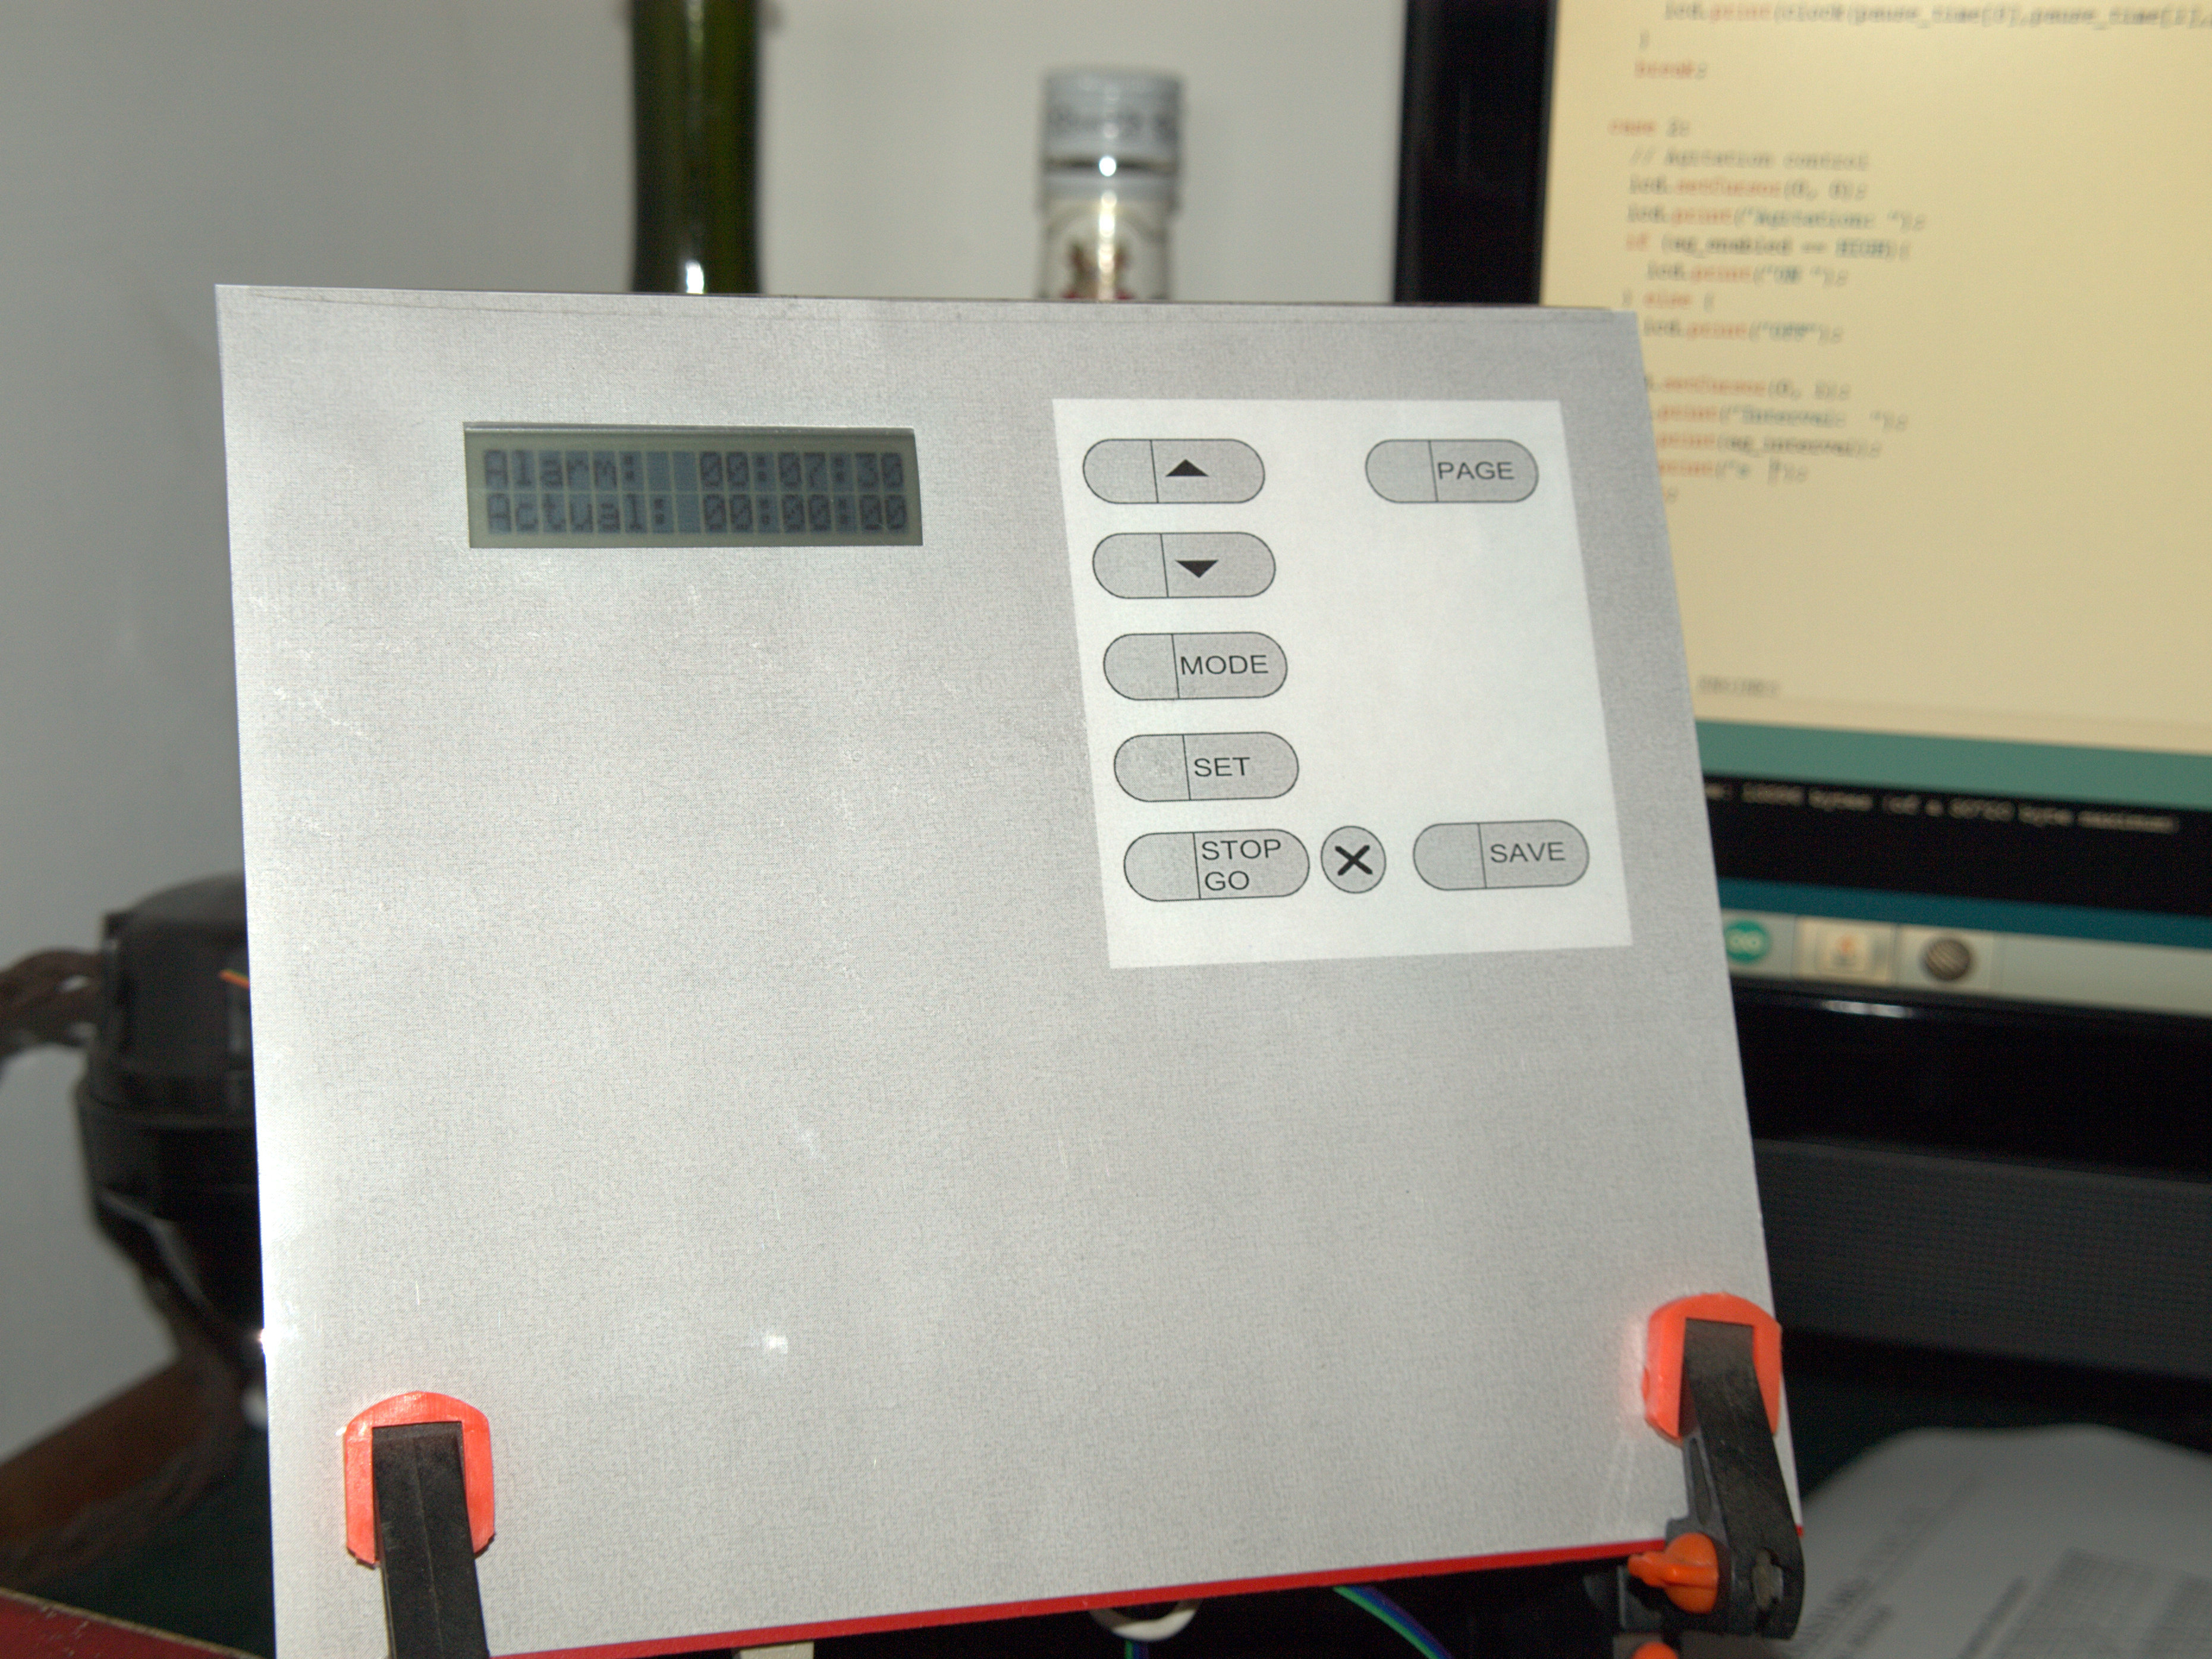
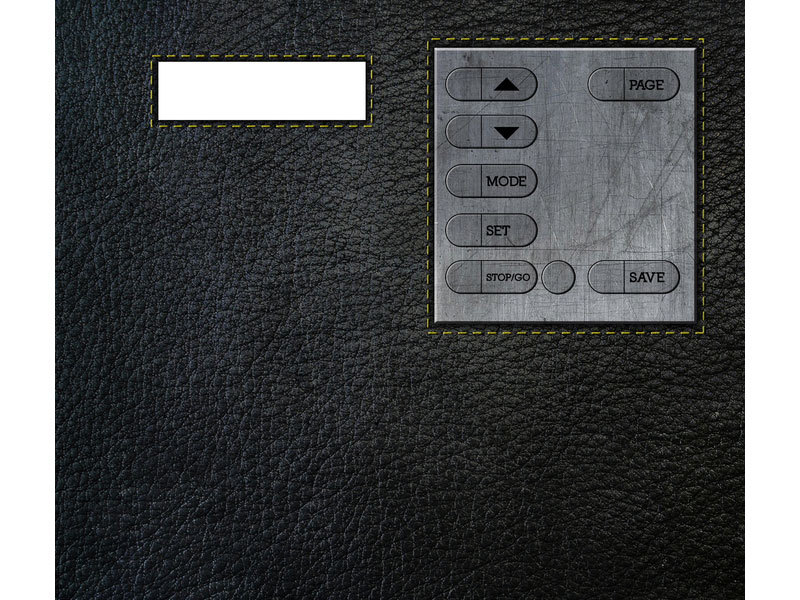
I also thought it would be handy if my Photo Lab could agitate the film automatically, and store my time and temperature settings so I wouldn’t have to reprogram them with each batch. For the auto-agitation, I used a hobby servomotor, and for programming I designed a control panel around a Hitachi HD44780 16×2 LCD display, with pushbuttons for making menu selections. The buttons let you move through the menu screens, increase and decrease heater, timer, and agitation values, and save/restore the settings to the Arduino.
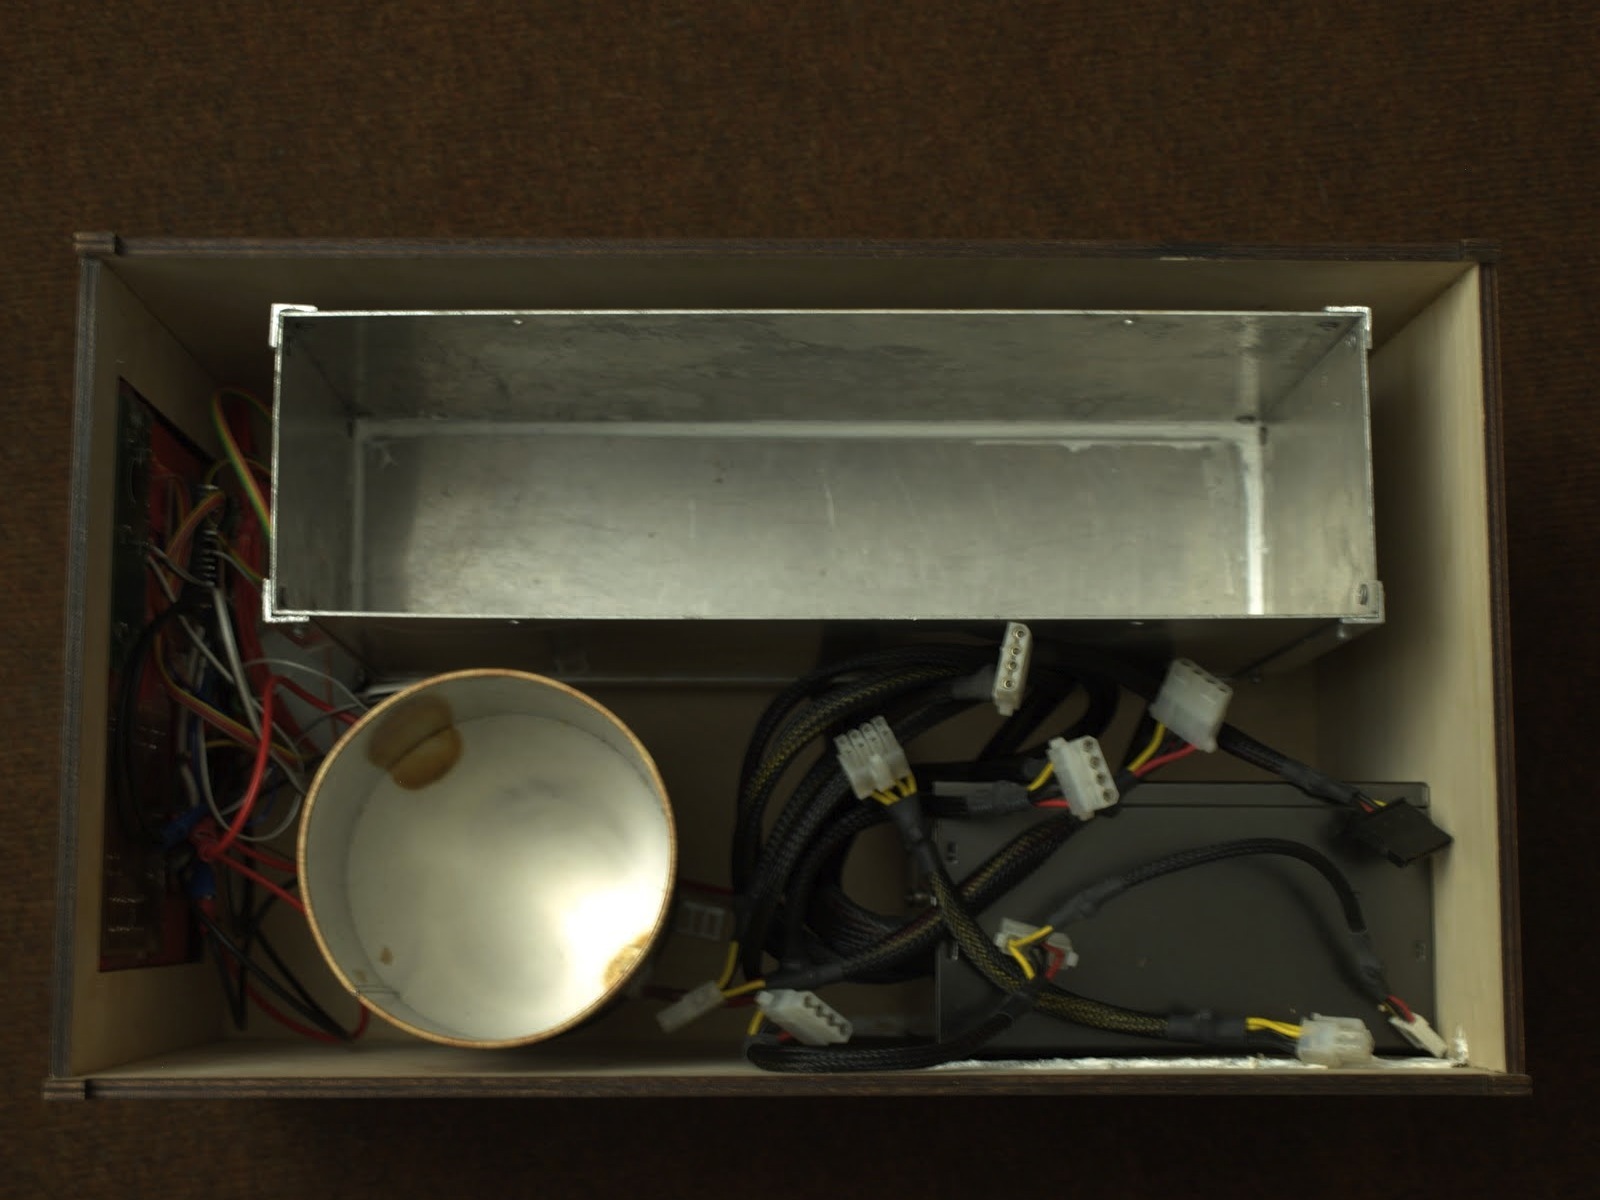
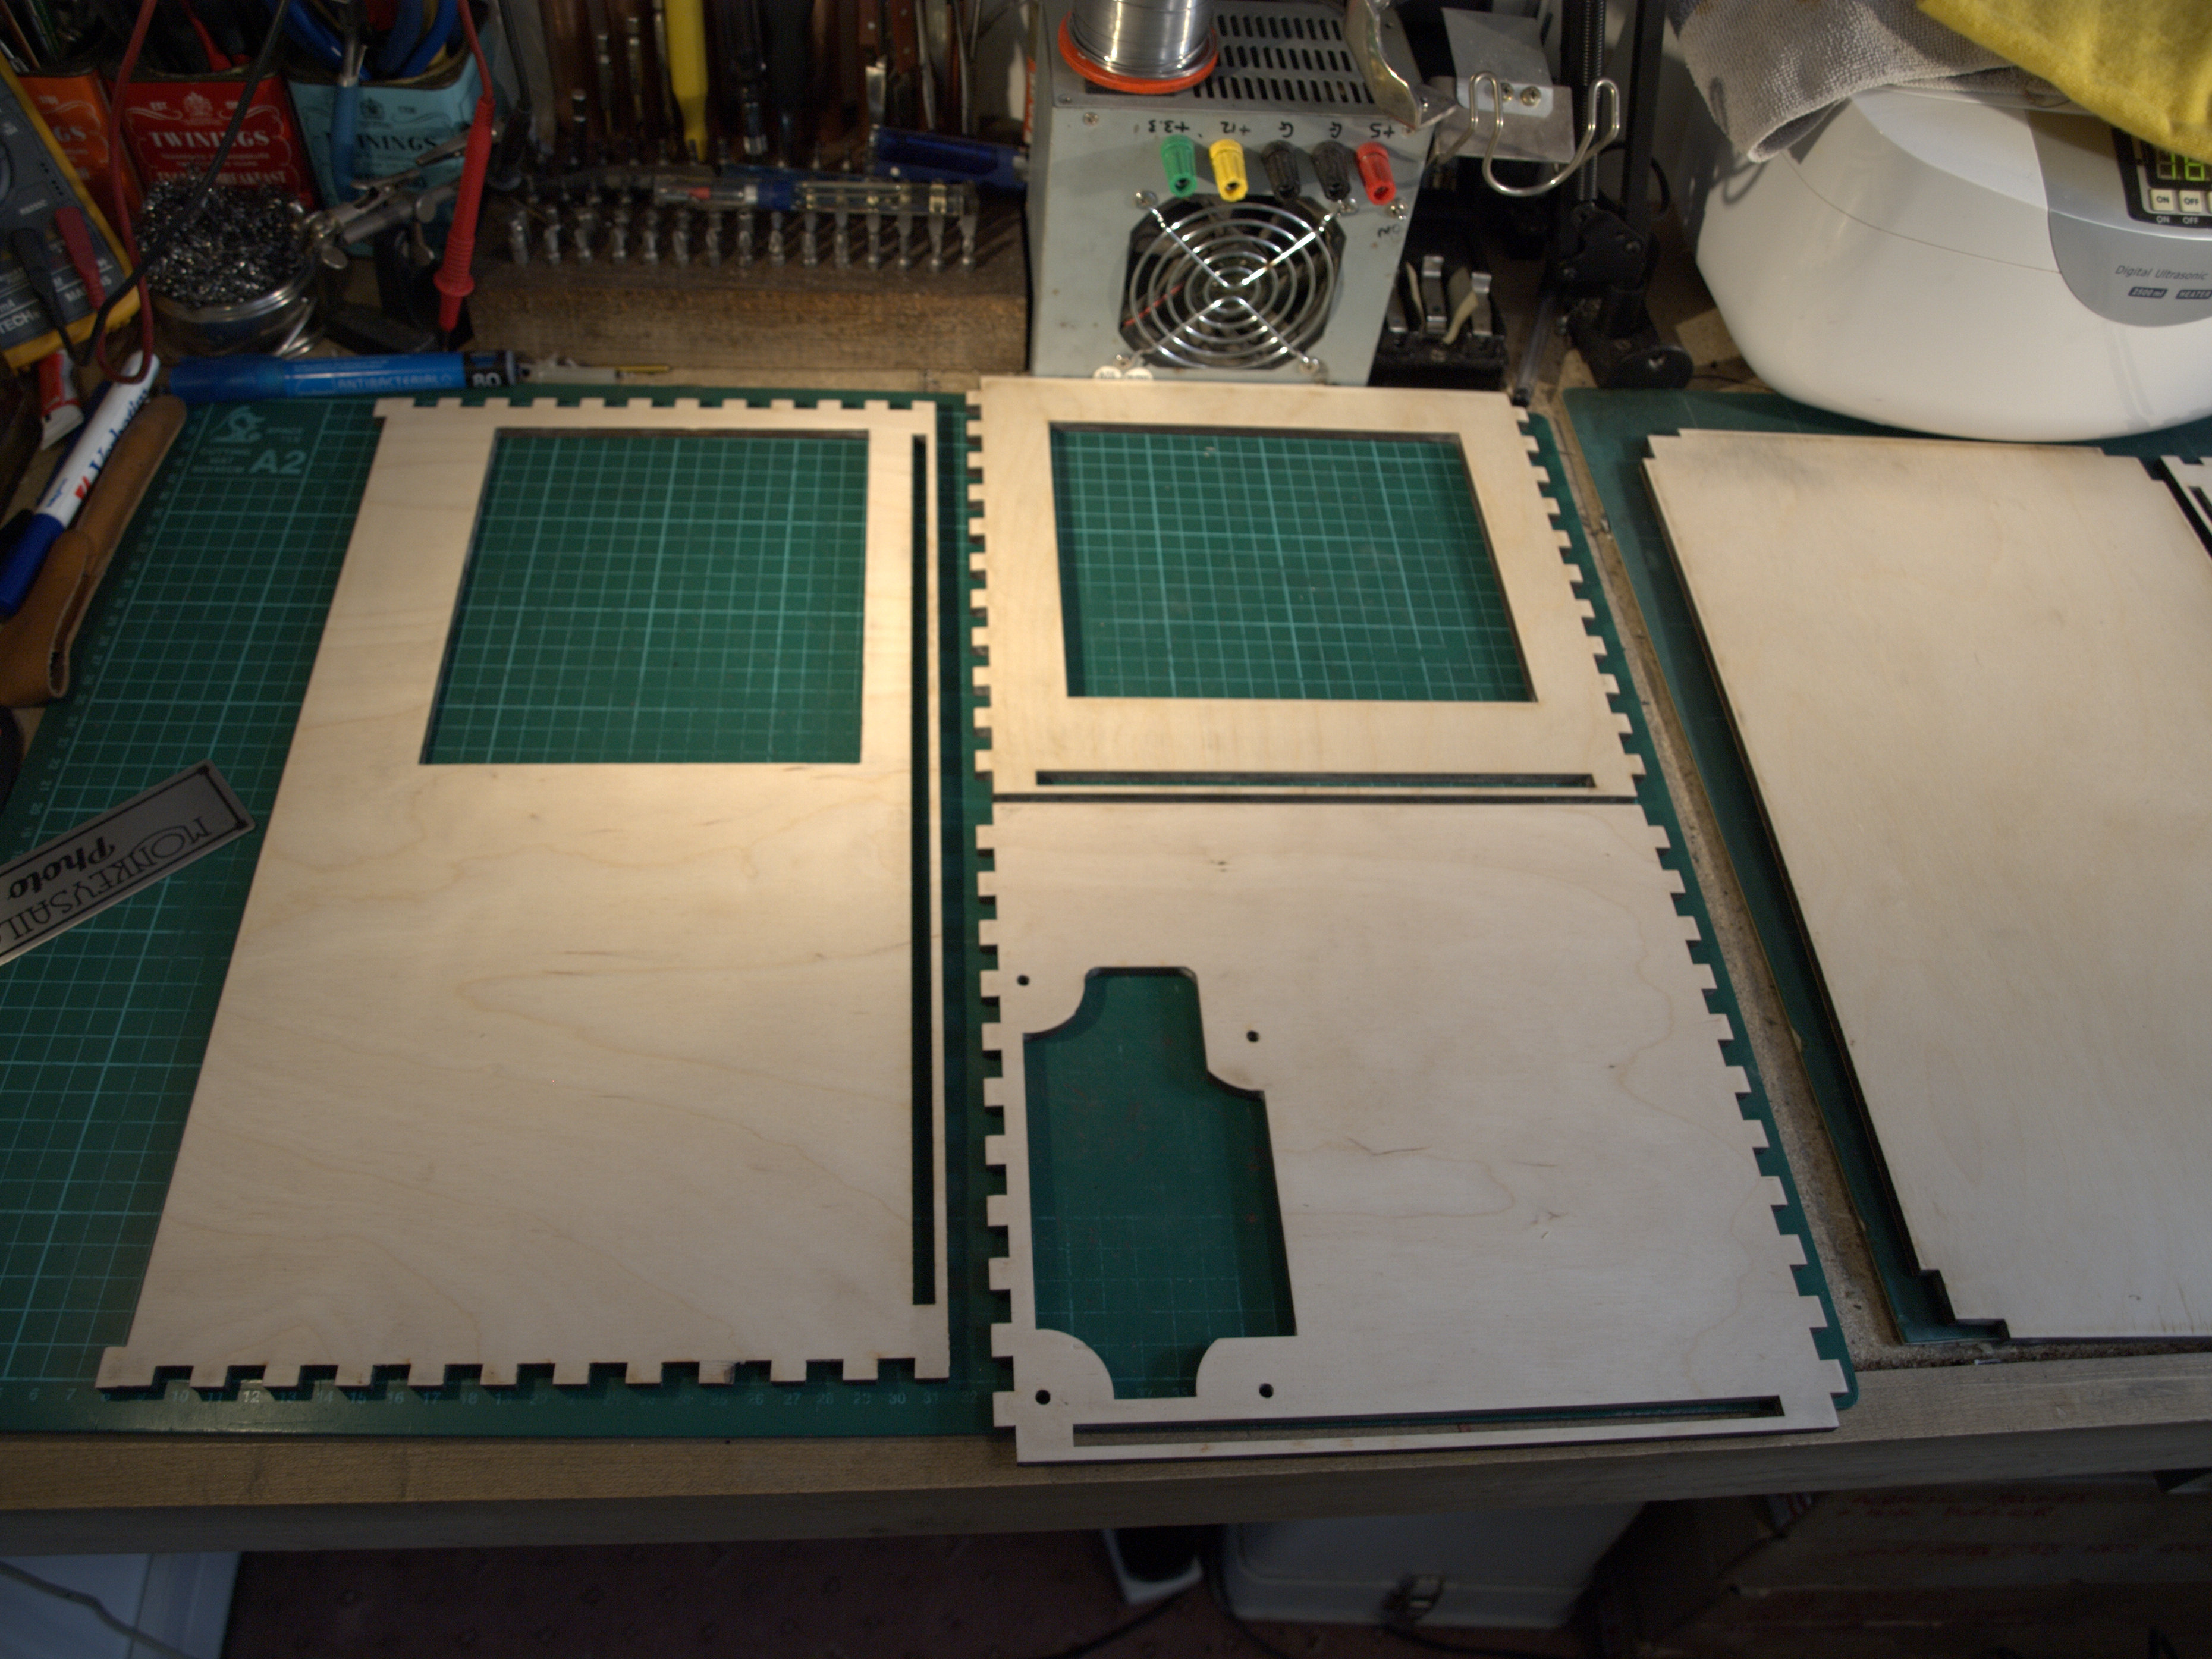
With the agitator, timer, and menu system,the Photo Lab project plans grew larger than my original idea for a chemical warmer, but I was confident I could make it all work. At one point I realized that although I had set my sights on a photographic processor, my system would be great for warming any liquids. With a little modification, it could be used to control hotplates, furnaces, and fish tank heaters for other projects.
Downloads
Download the code, schematics, and templates.


