YouTube player

This year for April Fool’s Day, I decided to build something out of the ordinary. What I did was connect a super annoying car horn to a Raspberry Pi for internet control. Then I can place it in a friend’s (or enemy’s) house and trigger it from over the internet. We can even connect a webcam to see our subject try to figure out where the noise is coming from.

The build is powered by a Raspberry Pi and the WebIOPi framework. We also can use a webcam and motion to watch our prank victim get scared.

You can control the project from any web browser and this is what the interface looks like:

screen

This build will only take about a half a day and less than $75 in parts.

Let’s get started with the build!

What will the next generation of Make: look like? We’re inviting you to shape the future by investing in Make:. By becoming an investor, you help decide what’s next. The future of Make: is in your hands. Learn More.

Project Steps

Writing Image to SD Card

To start this project off, you will need to install the Raspbian image onto the Raspberry Pi’s SD card. You can find out more about this here.

Setup Wifi

Next you need to SSH into the Pi and perform a couple of tasks. First you need to plug in the WiFi dongle and setup WiFi.

To setup WiFi we need to input the following commands:
sudo nano /etc/network/interfaces

Once the nano document is open, replace the text that is there and input the following text:

auto lo

iface lo inet loopback
iface eth0 inet dhcp

allow-hotplug wlan0
auto wlan0

iface wlan0 inet dhcp
wpa-ssid "ssid"
wpa-psk "password"


Then replace “SSID” with your network’s name and “password” with the network’s password.

Finally press ctrl-X and then Y to save the document.

After that is done, unplug the ethernet cable and reboot the Pi.

Install WebIOPi

When the Pi has rebooted, install WebIOPi by using the following commands:

wget "http://sourceforge.net/projects/webiopi/files/WebIOPi-0.7.1.tar.gz"
tar xvzf WebIOPi-0.7.1.tar.gz
cd WebIOPi-0.7.1
sudo ./setup.sh
sudo update-rc.d webiopi defaults

Finally reboot the Pi to start WebIOPi.

Creating the Custom Interface

Now we are going to create the custom interface for us to control the horn.

First we will create the folders for the project:
sudo mkdir horn
cd horn
sudo mkdir html
sudo mkdir python

Then we will create the python file:
cd python
sudo nano script.py

Then copy this into the python file:
import webiopi

GPIO = webiopi.GPIO

HORN = 11 # GPIO pin using BCM numbering

# setup function is automatically called at WebIOPi startup
def setup():
# set the GPIO used by the horn to output
GPIO.setFunction(HORN, GPIO.OUT)

# loop function is repeatedly called by WebIOPi
def loop():

# gives CPU some time before looping again
webiopi.sleep(1)

# destroy function is called at WebIOPi shutdown
def destroy():
GPIO.digitalWrite(HORN, GPIO.LOW)

Then press ctrl-X and then Y to save the document.

Now we will create the html file by issuing the following commands:
cd
cd horn
cd html
sudo nano index.html

Then paste the html code from my GitHub page.

Then press ctrl-X and then Y to save the document.

Configuring WebIOPi

Now we need to configure WebIOPi.

First we need to edit the configuration file.
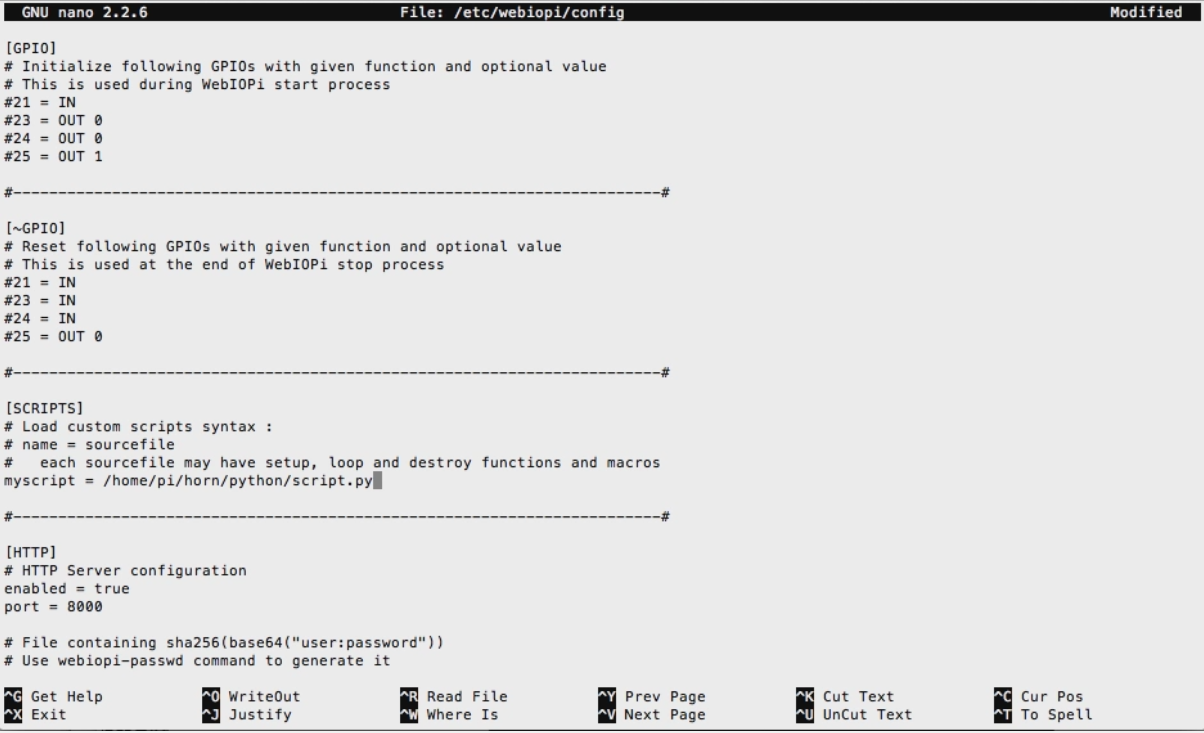
sudo nano /etc/webiopi/config

Then find [SCRIPTS] and add the following line:
horn = /home/pi/horn/python/script.py

Now find the [HTML] section and add the following line:
doc-root = /home/pi/horn/html

Finally find the [REST] section and add the following lines:
gpio-export = 11
gpio-post-value = true
gpio-post-function = false

Finally press ctrl-X and then Y to save the configuration file.

Now reboot the Raspberry Pi.

Installing and Configuring Motion

Now we need to install motion and configure motion so we can watch our prank victim get startled.

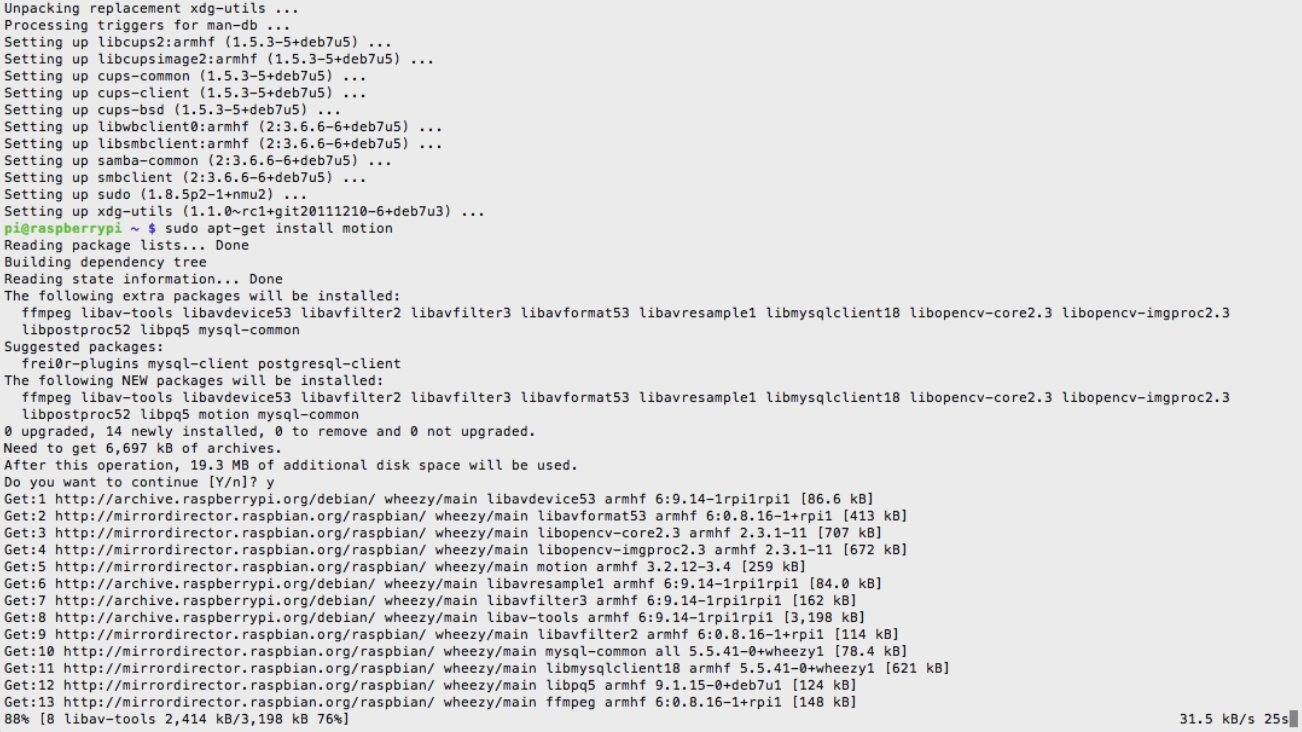
First we need to install motion with the following command:
sudo apt-get install motion

Next we need to edit the motion configuration file:
sudo nano /etc/motion/motion.conf

In that configuration file find the line that says:
Daemon = OFF Change OFF to ON.
Then find the line that says:
webcam_localhost = ON
Change that from ON to OFF.
Then save this document.

Now edit the following configuration file to start motion as a daemon:
sudo nano /etc/default/motion

Once in that configuration file, change:
start_motion_daemon=no
to
start_motion_daemon=yes

Then save that document, plug in the webcam, and reboot the Pi.

Hardware

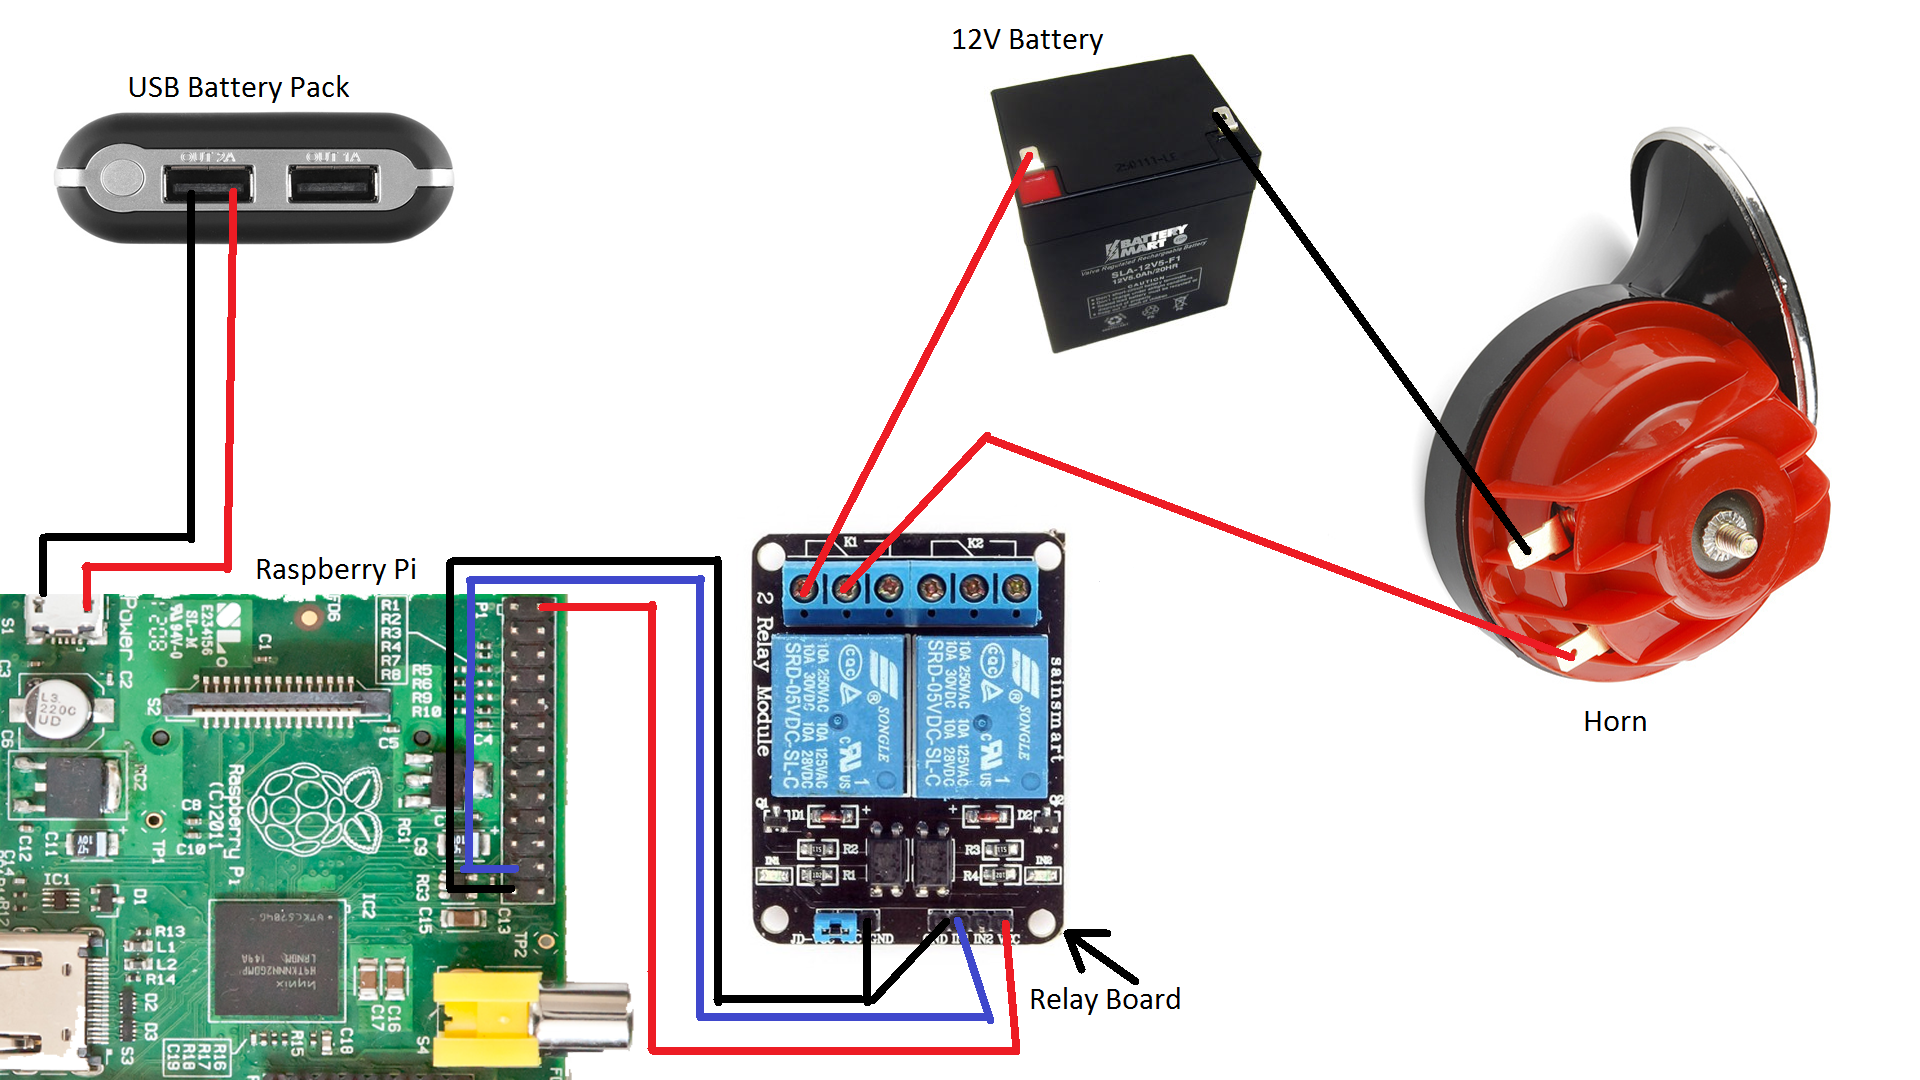
Now it’s time to connect everything together according to the above diagram.

First solder two wires to the the horn’s wire terminals. Connect one end to the negative terminal on the 12V battery. Connect the other one to the relay board. Now connect a wire from the positive terminal on the 12V battery to the relay board.

Then connect the ground pin on the relay board to the ground pin on the Raspberry Pi. Connect the VCC pin on the relay board to the VCC pin on the Raspberry Pi. Finally connect a signal wire from pin 11 on the Raspberry Pi to IN1 on the relay board.

Connect the USB WiFi adapter and webcam/Raspberry Pi Camera Module. Finally, power the Raspberry Pi up by connecting it to the USB battery pack.

Usage

You can control the project by visiting your Raspberry Pi’s IP address followed by :8000
For example, mine was:
http://192.168.2.22:8000

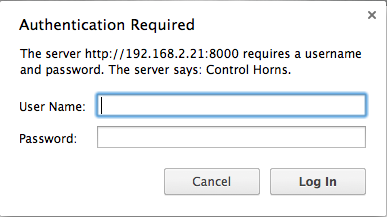
Then it will prompt you for a login. The default login is:

User Name: webiopi

Password: raspberry

Whenever you click on Annoy People, the horn will sound and drive your prank victim insane!