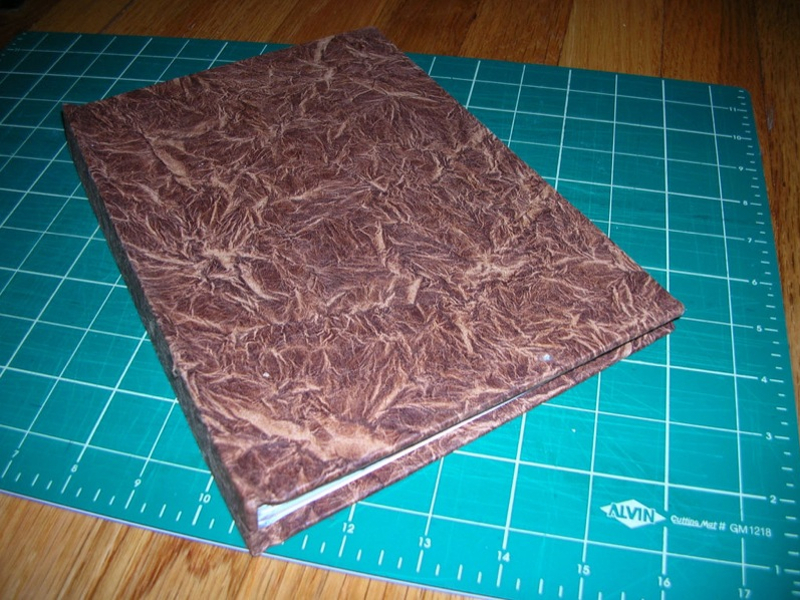
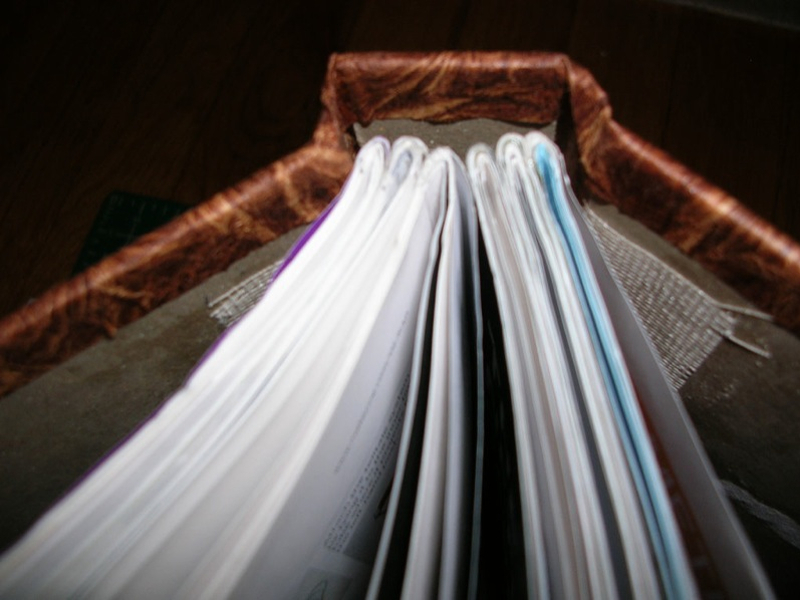
Magazines aren’t really built to last, but here’s how you can turn your copy of MAKE (or any other magazine or printout) into a durable hardcover that will withstand the test of time. Your hardcover MAKE will also lie flat on your workbench, making it easier to follow instructions for other projects.

What will the next generation of Make: look like? We’re inviting you to shape the future by investing in Make:. By becoming an investor, you help decide what’s next. The future of Make: is in your hands. Learn More.

Project Steps

Create the signatures.

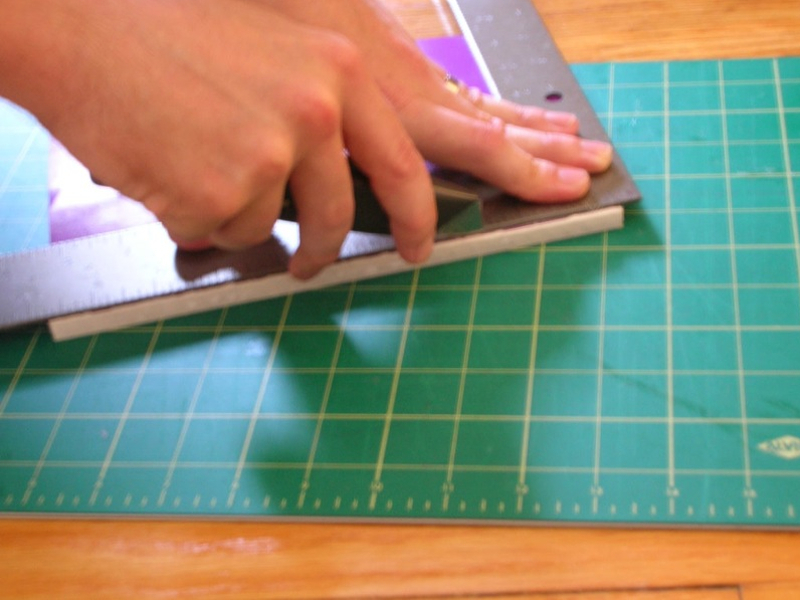
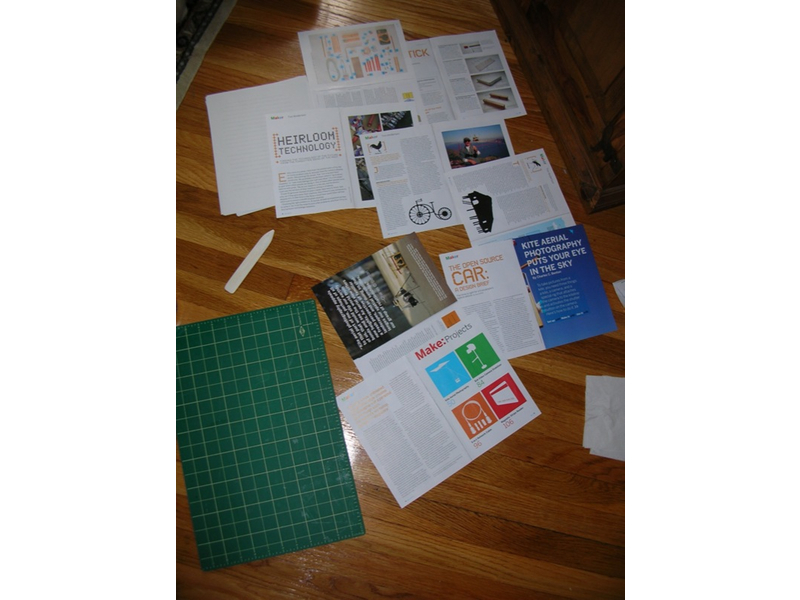
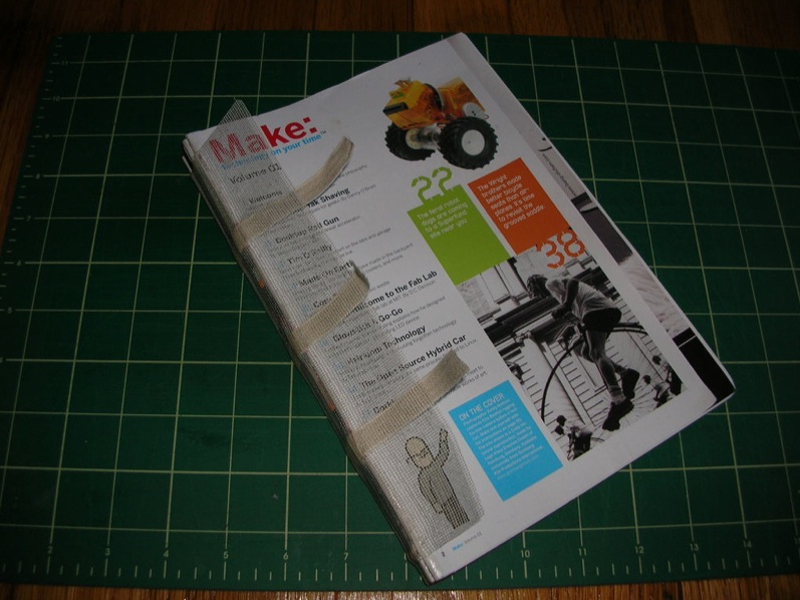
Peel away the existing cover, and use a utility knife and a heavy ruler to cut all the pages out 1/8″ from the spine, freeing them from the glue. Divide your loose pages into consecutive 32-page sections (signatures). Binding loose pages as joined signatures will strengthen the spine and keep pages from falling out. For MAKE Vol. 01, without the ads, I got 192 pages, or six groups. If your total page count isn’t a multiple of 32, you can fudge the signature sizes a bit, but each signature must have a page count divisible by 4.

Open the first group in half, such that pages 16 and 17 are facing. Pair these pages and set them aside, doing the same for the next facing pages (14 and 19) and the rest in the group. Just keep subtracting 2 from the left side and adding 2 to the right to determine which sheets to pair up. If you did it correctly, the last two pages you pair up will be 2 and 31.

Draw a vertical line 1⁄4″ from the right edge of page 16 (and all up-facing even pages). Cover the area to the left of the line with scrap paper. Brush a thin coat of acid-free, nontoxic adhesive (such as Yes) into the exposed 1⁄4″ gulley. Press the corresponding up-facing odd pages into the gully to glue together the pairs.

Return the pairs to the order they were in before being split in half. Align the edges of the pages and fold them along the spine. Repeat for each group and collate the finished signatures in their original order.

Stitch the signatures.

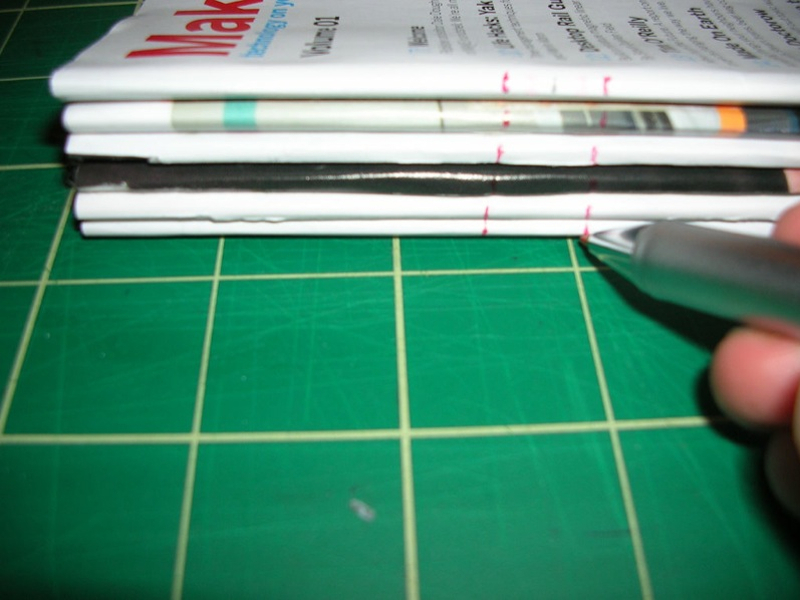
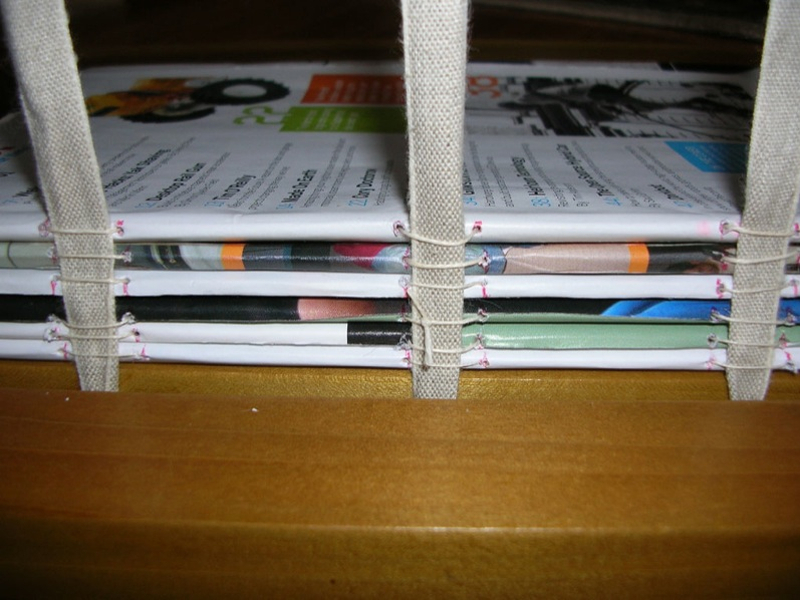
Sewing your signatures together around bookbinding tape creates the added durability of a hand-bound book. Measure and make two marks along the fold of the first signature, 1⁄2″ in from each edge of the signature. These two marks represent the kettle stitches, the stitches that connect one signature to the next.

Now measure and mark six more points on the fold: three pairs of points, 1⁄4″ apart, spaced evenly between the two kettle stitches. These represent the in- and out-point for sewing the sig- natures around three tapes, which will run behind the signatures.

Stack the remaining signatures and make the same marks, at the same measurements. Pierce the marks with an awl, making holes just wide enough to allow a needle to pass through snugly.

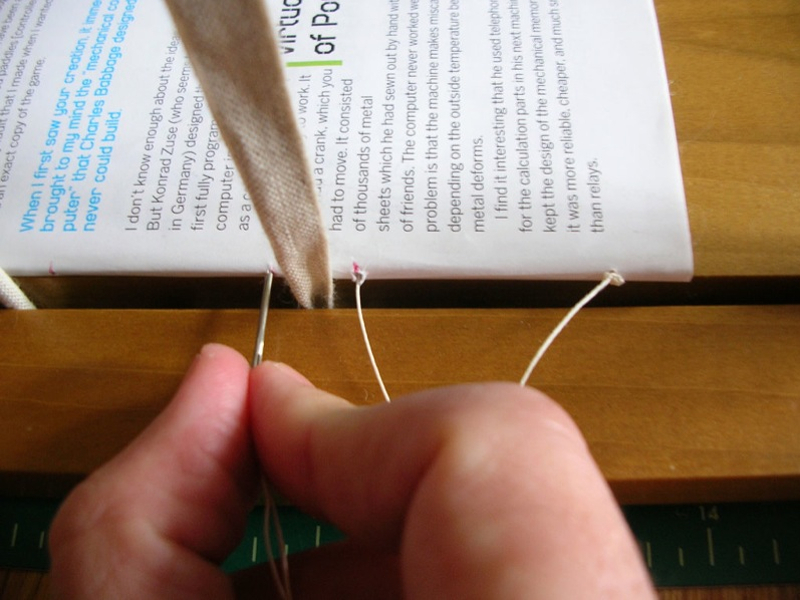
Using a heavy needle, enter the spine and pull about 30″ of thread through the foot (bottom edge) kettle stitch of the last signature. Exit the spine at the next hole and re-enter around the first tape.

Keep stitching around the tapes, and exit the spine at the head (top edge) kettle stitch. Using the same thread, enter the next-to-last signature at its head kettle stitch. Stitch around the tapes, and knot the thread around the foot kettle stitch of the first signature.

Continue in this fashion to stitch the remaining signatures together. If you run out of thread, knot a new 30″ length to the existing thread. The best place to do this is just before re-entering the spine around a tape. When you come to the last kettle stitch, knot the thread.

At this point, it’s a good idea to apply a bit of glue (about 1⁄4″) to the inside of the first and last signatures (use a piece of scrap paper to protect the portion of the page you don’t intend to glue), and put the work under heavy weights overnight.

Glue the spine.

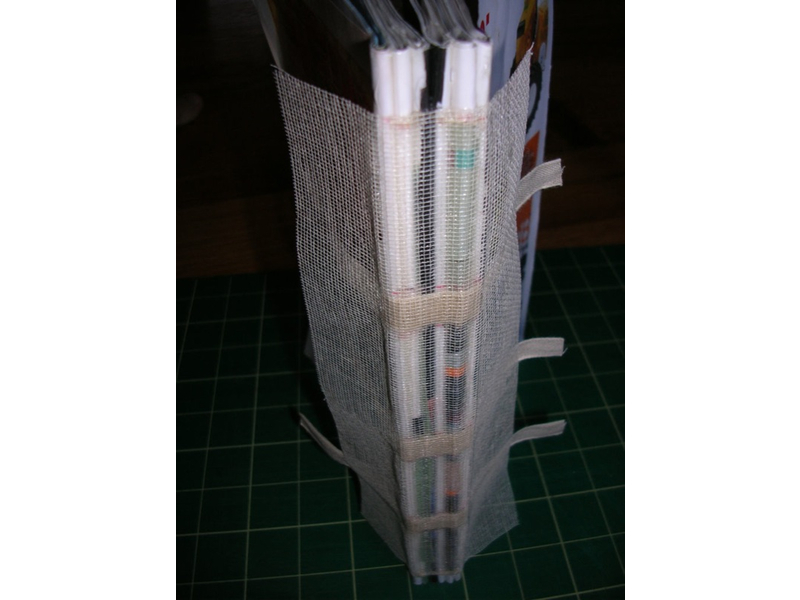
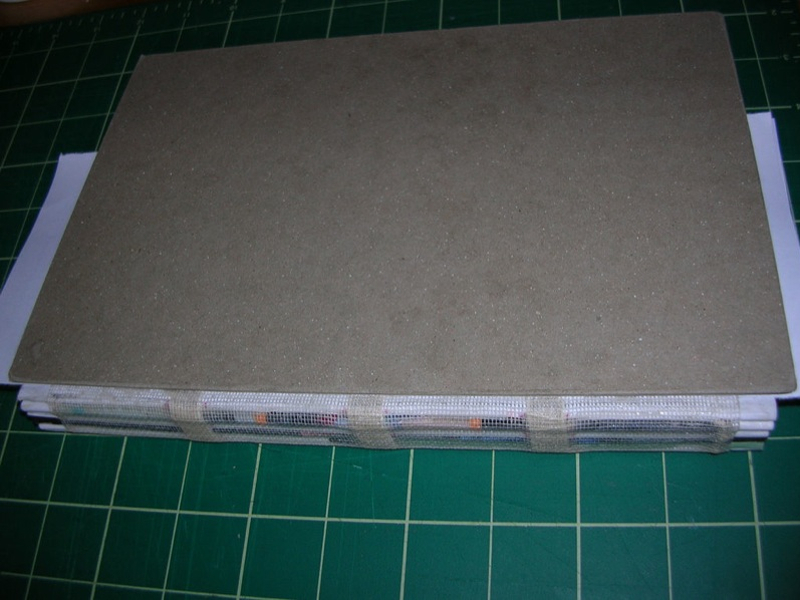
Next, attach the mull (a strong strip of cloth with a loose weave that allows paste through it) to the spine and tapes. (Connecting the cover boards to the mull, rather than directly to the signatures, allows for a flexible backbone. This is the key to lay-flat binding.) Keeping the pages aligned on all sides, sandwich your work in a press or vise.

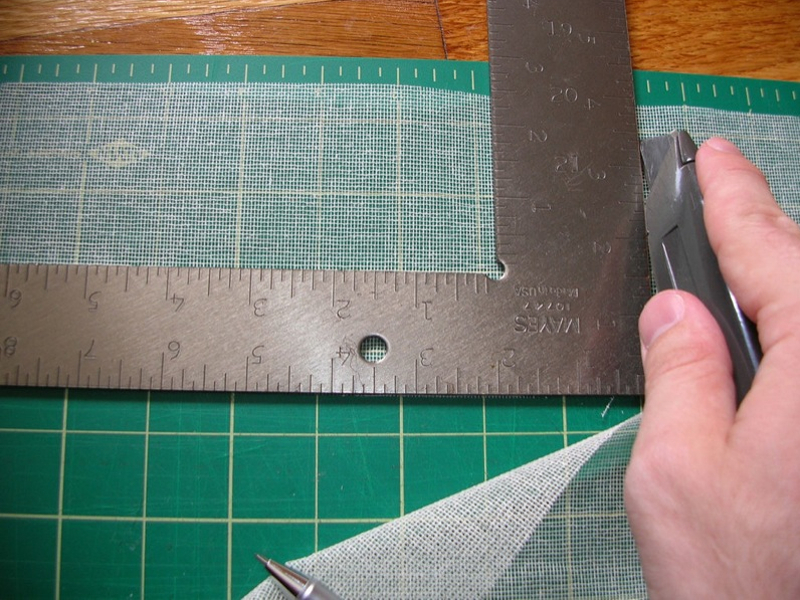
Cut a piece of mull that’s tall enough to cover your kettle stitches, and 3 inches wider than the width of the spine. Brush a generous amount of glue on the spine, from kettle stitch to kettle stitch, across the full width. Lay the mull flat and mark the spine area on it, 1″ in from either side. Brush this area generously with glue.

Position the mull symmetrically and rub it into the spine. Leave the book overnight under heavy weights or in a press.

Attach cover boards.

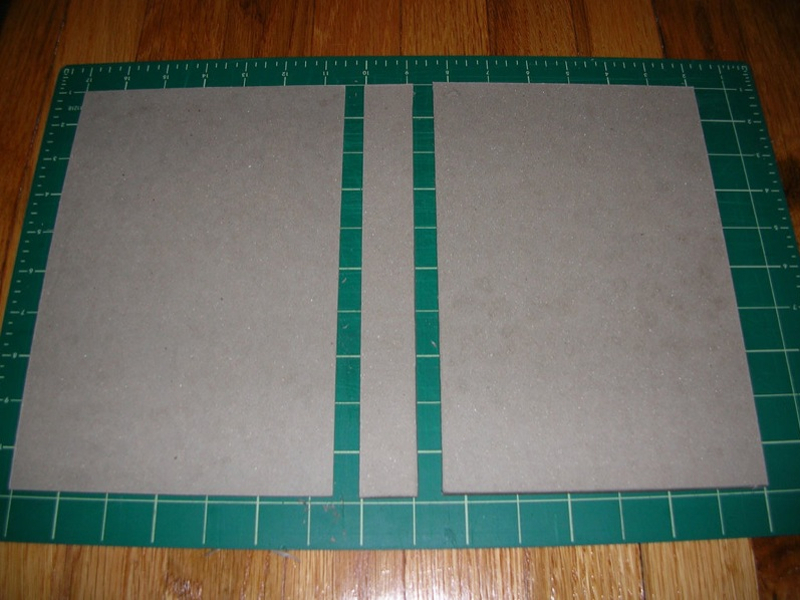
Cut three boards (1/8″ binder’s board) for the front cover, back cover, and spine. Allow 1/8″ additional clearance on the head, foot, and fore edges. Reduce the edge on the spine side of the front and back covers by 1⁄4″ (the thickness of two boards), to accommodate the hinge. Altogether, the covers should be cut to 1⁄4″ taller than the height of the book (1/8″ added to the head and foot) and 1/8″ narrower than the width of the book (adding 1/8″ and subtracting 1⁄4″).

Cut the spine to the same height as the covers and the same width as the signatures. Sand down the rough edges.

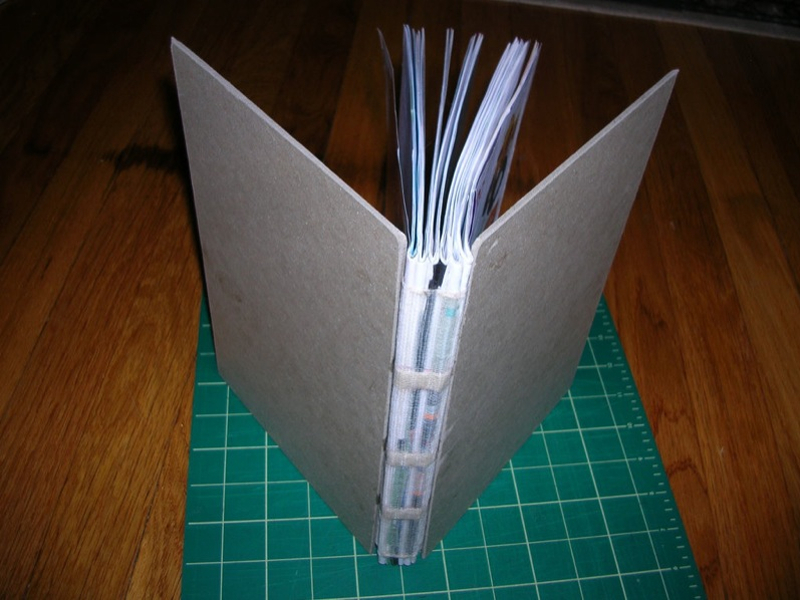
Place one piece of wax paper between the mull and the free ends of the tapes and another beneath the tapes. Brush the free mull edge with glue. Remove the top piece of wax paper. Press the front board against the mull, extending 1/8″ of the board over the head, foot, and fore edges.

Open the cover and rest it against a board for support. Rub the mull with cloth or paper, working the glue into the board. Brush the tapes with glue and press them to the cover board. Discard the second piece of wax paper, and place another clean piece between the cover board and the first signature. Repeat for the back cover.

Cover the cover.

You’ll now cover this skeleton with a single piece of decorative paper, which wraps around the front cover, back cover, and spine. To create room to slide the paper over the edges of the cover and spine, use your utility knife to slit the mull by 1⁄2″ where the covers meet the spine, at both the head and foot edges.

Lay your cover paper face down and mark the placement of your boards. Allow a 1⁄2″ (thickness of four boards) turnover width for all edges, and 1⁄4″ (thickness of two boards) for each hinge.

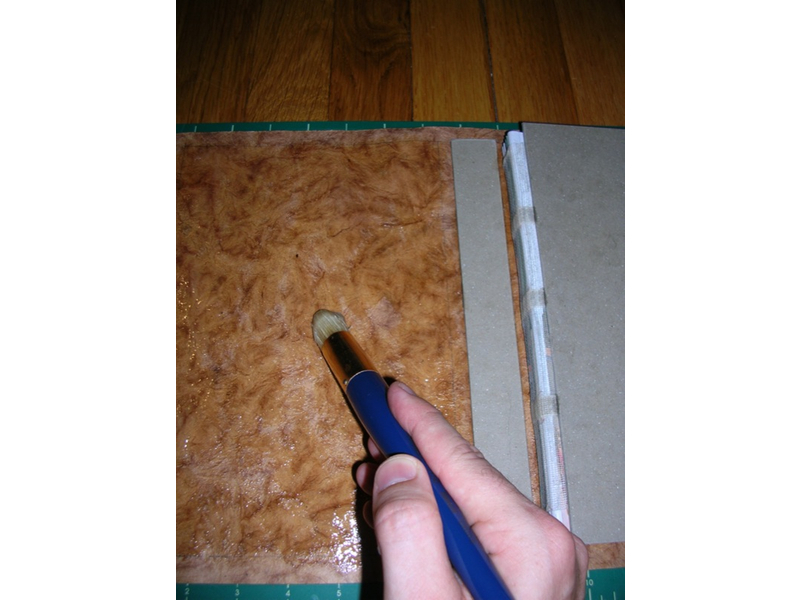
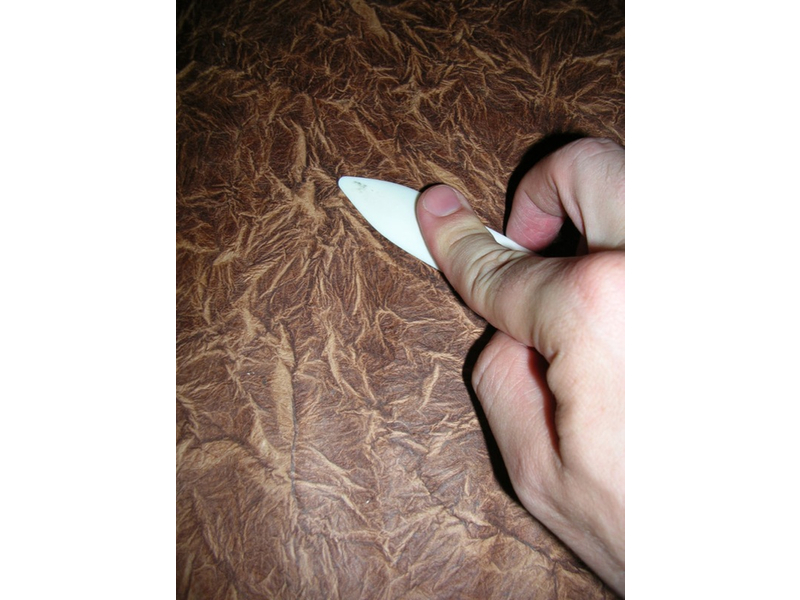
Brush the spine area of the paper with glue, position the board, and press firmly. Turn the paper over and rub to secure the spine and mold the paper over the edges of the board.

Brush the area you’ve marked for the front cover with glue, brush slightly into the turnovers and hinge, and press the board between your marks. Turn the book over and rub the cover to remove air bubbles or wrinkles.

Brush glue onto the area for the back cover. Lay the back cover board’s fore edge down on the paper, meeting your mark for that edge. Pinch the paper to the board on that edge, and press the remaining paper to the back of the book.

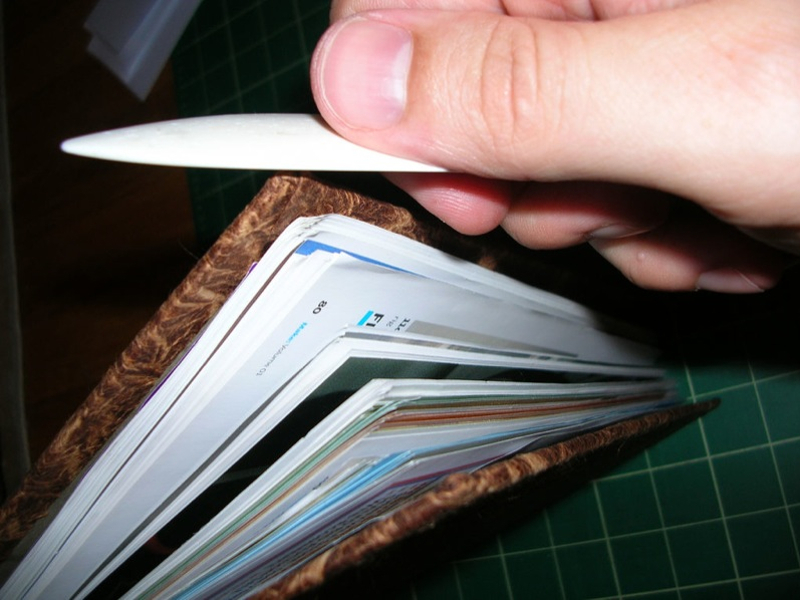
Rub the back cover, working the paper on into the hinge to seal the paper to your book block around the spine. Repeat for the hinge of the front cover.

Lay the book open, and brush glue across the length of the head turnover. Stand the book up on its foot edge and roll the edges of the head turnover over the top of the board. Repeat for the foot edge. Brush fore edges with glue, fold the turnovers, and smooth out wrinkles.

Lay sheets of wax paper between the cover boards and your block of signatures, and press under heavy weights overnight.
Finish up.

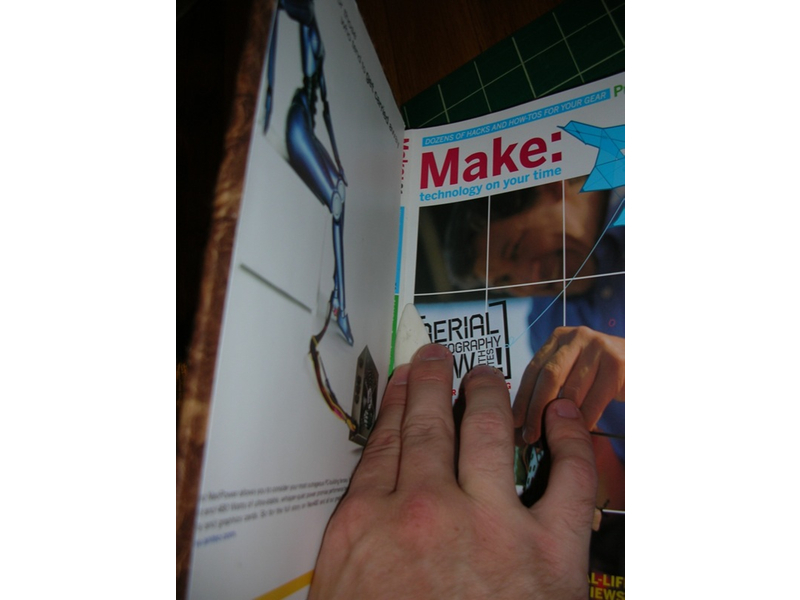
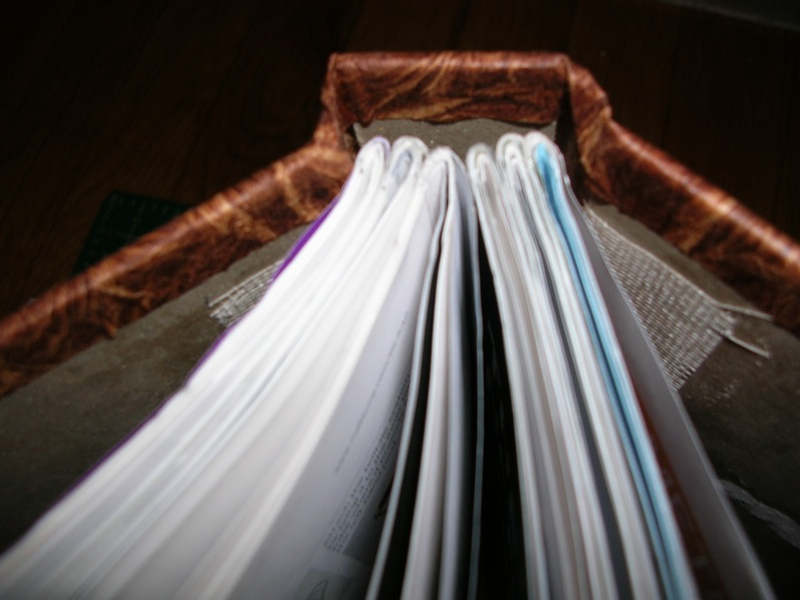
Pasting end sheets to the inside front and back covers reinforces the spine and finishes your book’s appearance. I used the original MAKE wraparound cover as my front end sheet. Trim it to leave an equal distance around each edge, and paste it to the board. Allow glue to run into the spine, covering the point where the cover meets the spine and extending into the first signature by a 1⁄4″ gutter. Repeat for the back cover board.

Put fresh pieces of wax paper between the covers and the book block, and then set under heavy weights to dry overnight. You’ll wake up to a long-lasting volume that will look unique, lie flat, and serve you well.

Conclusion

This project first appeared in MAKE Volume 05, pages 115-119.