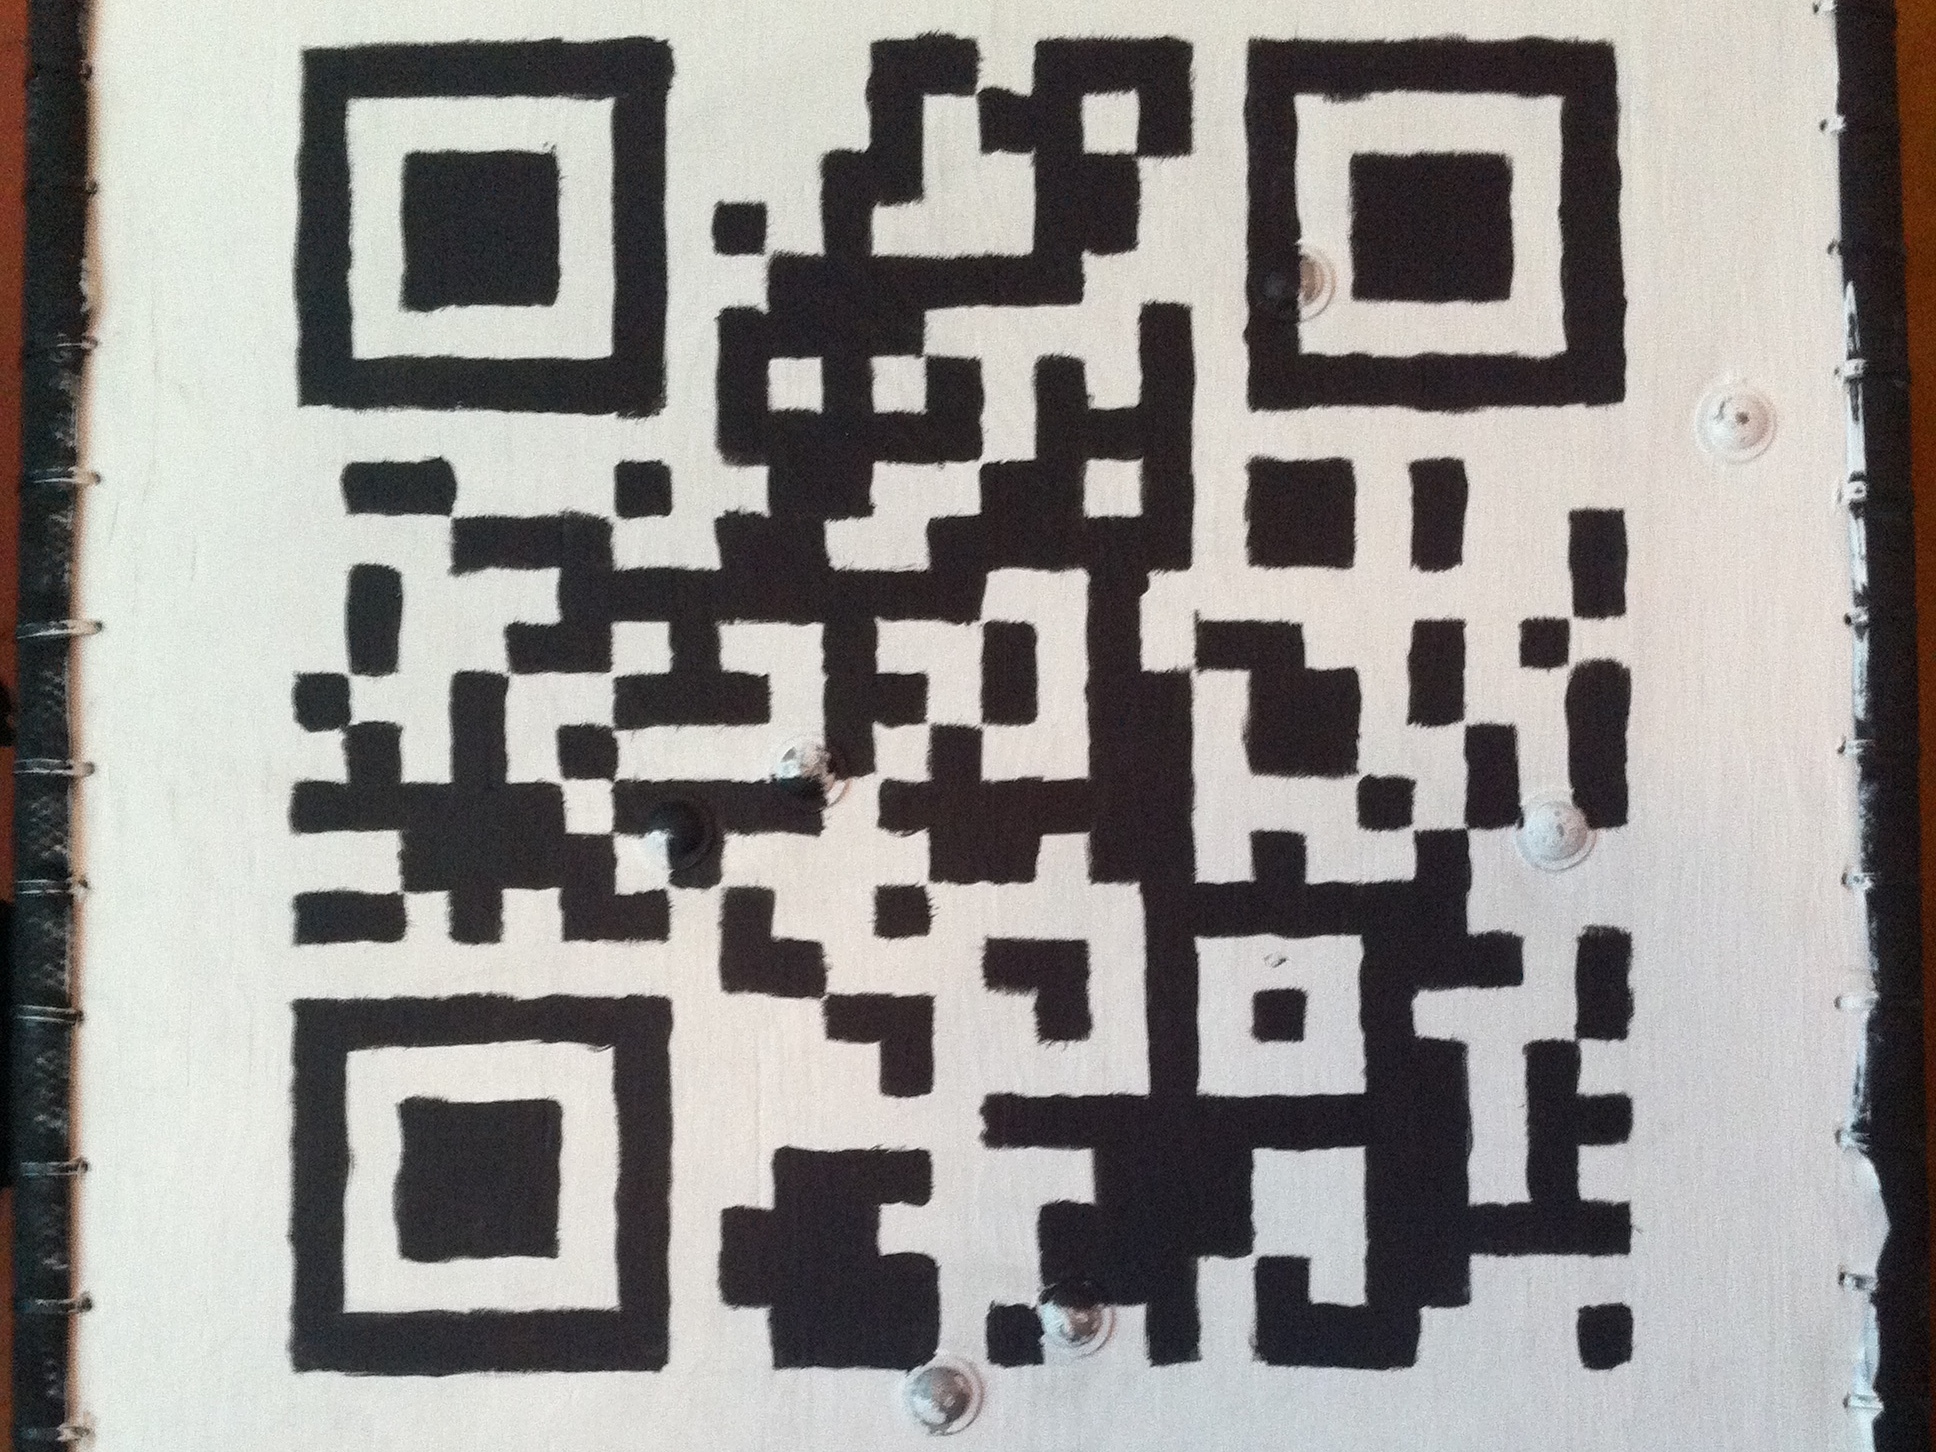
If you want to share something with the technological elite, there’s no better way than the QR code. Very dense and durable, it’s also “platform agnostic.” There exist several methods to make a code stencil, but they either require time or a laser CNC table.
Projects from Make: Magazine
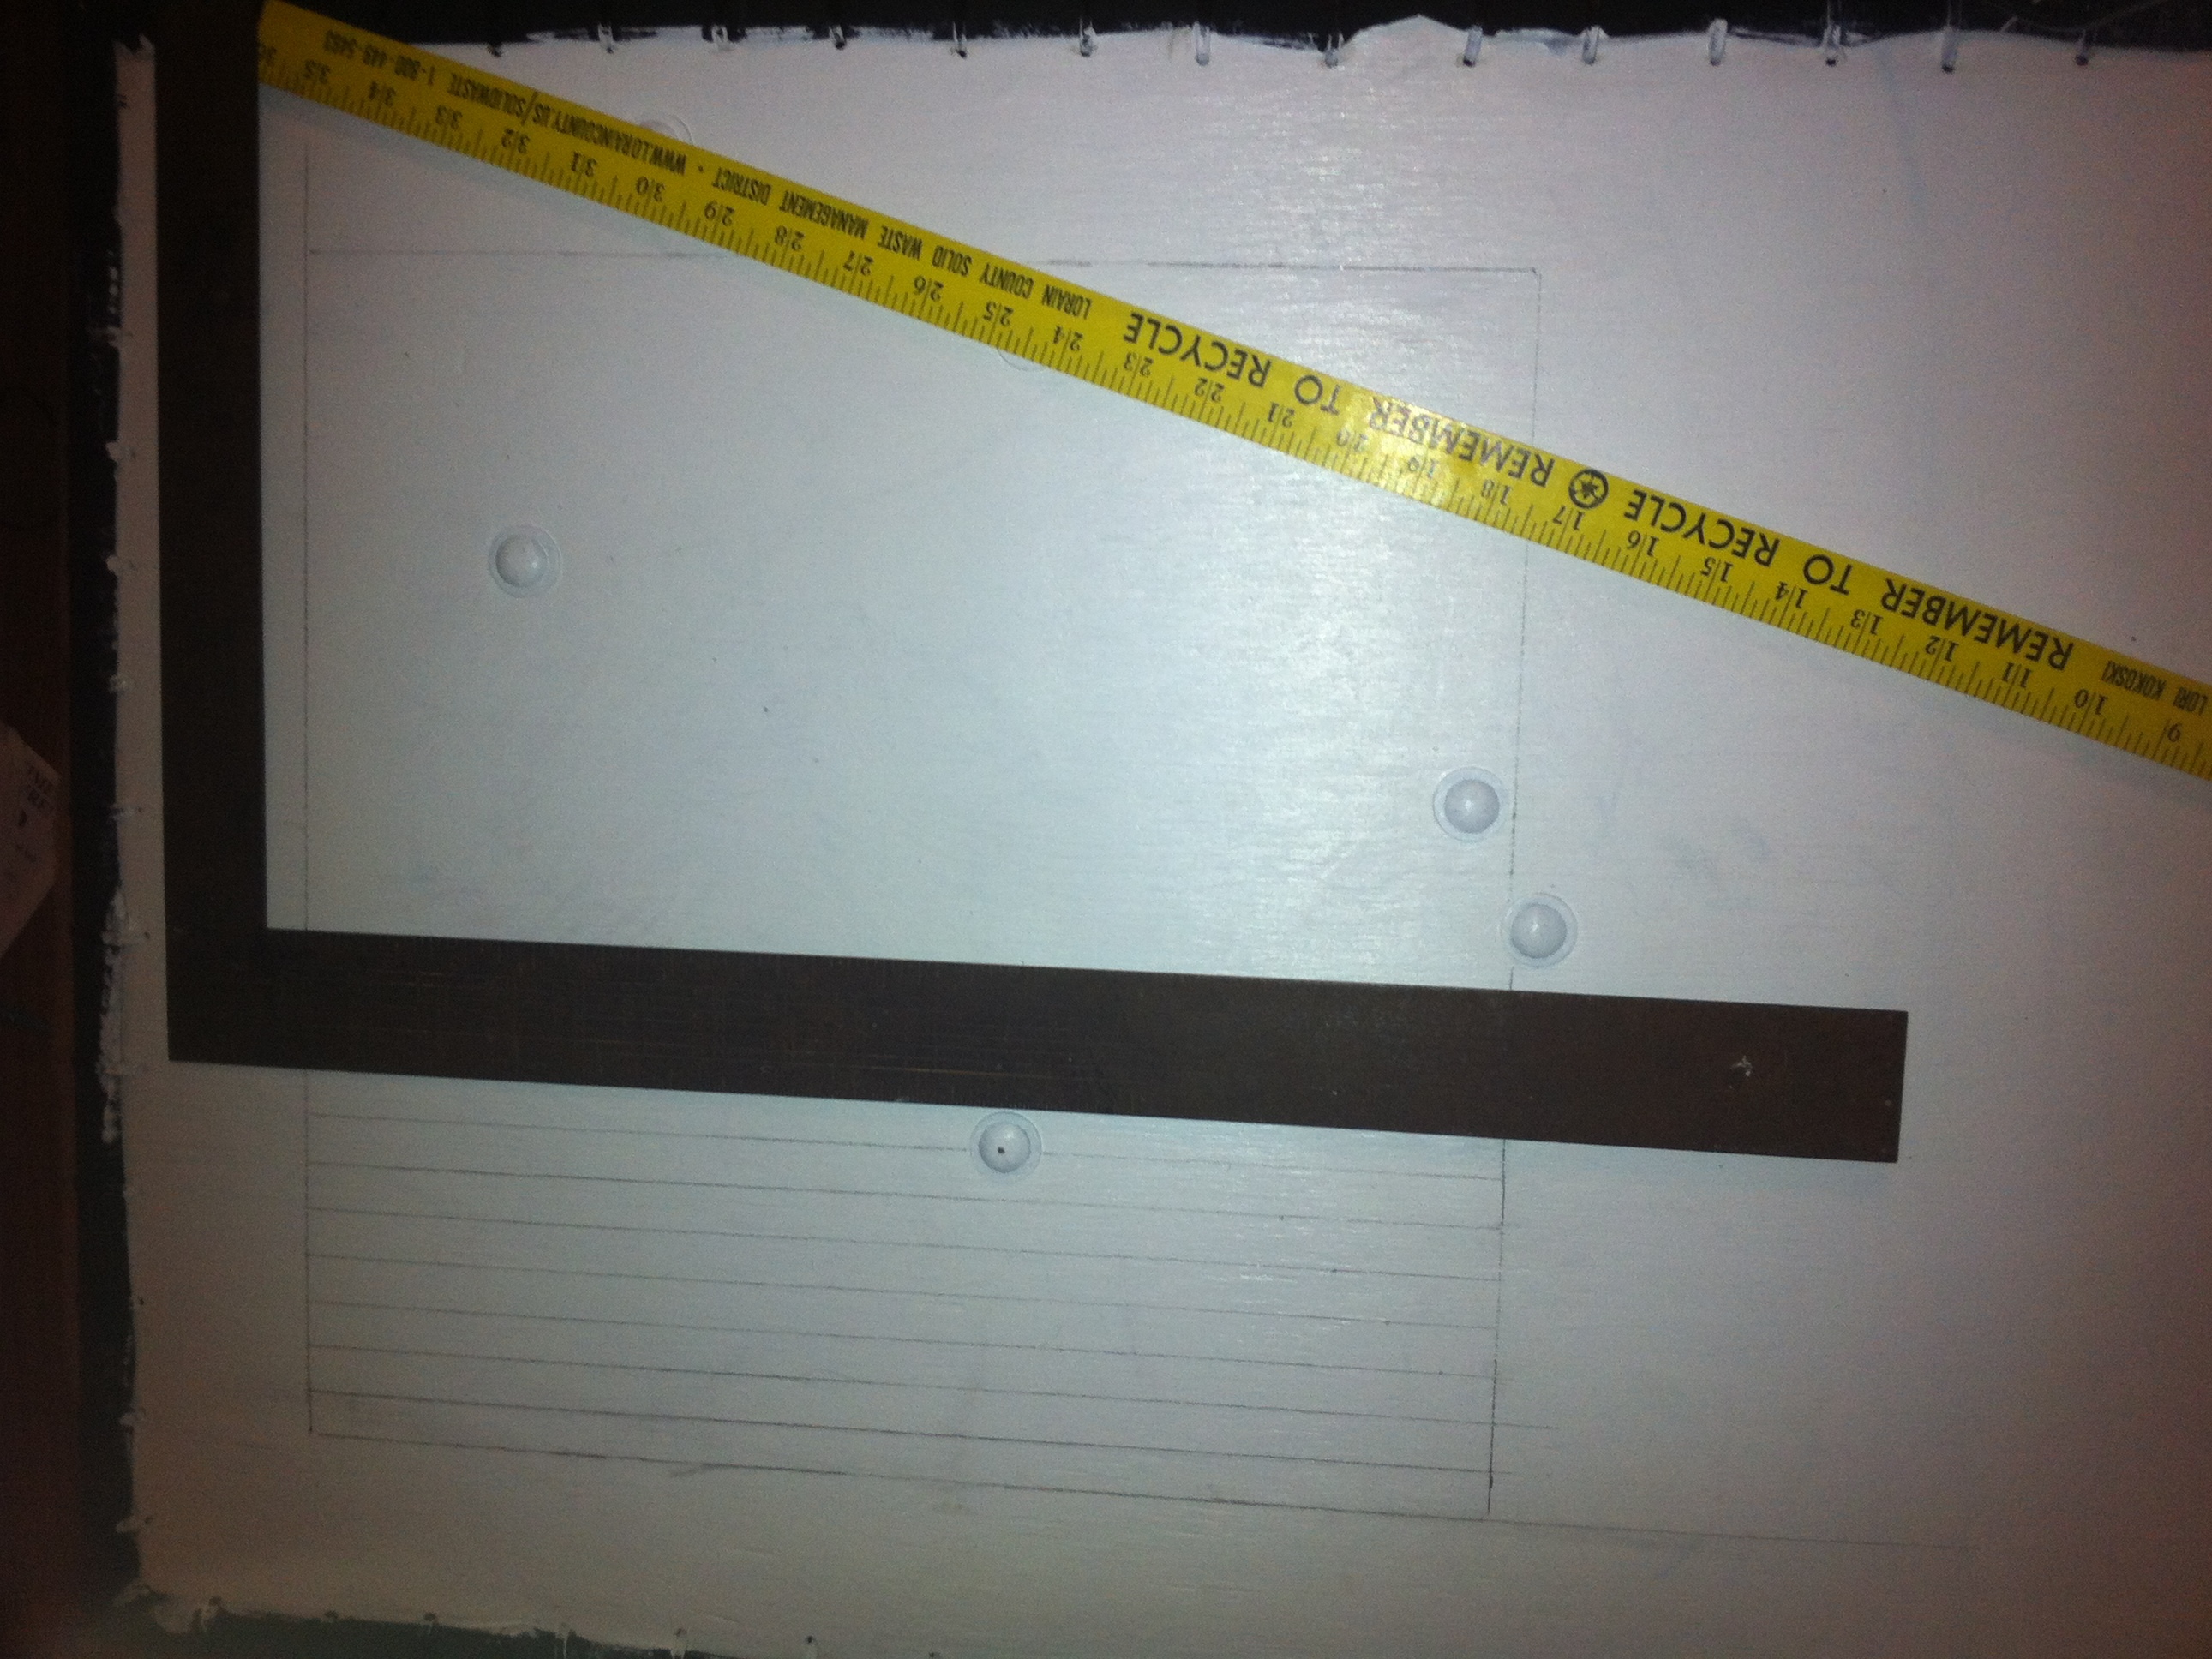
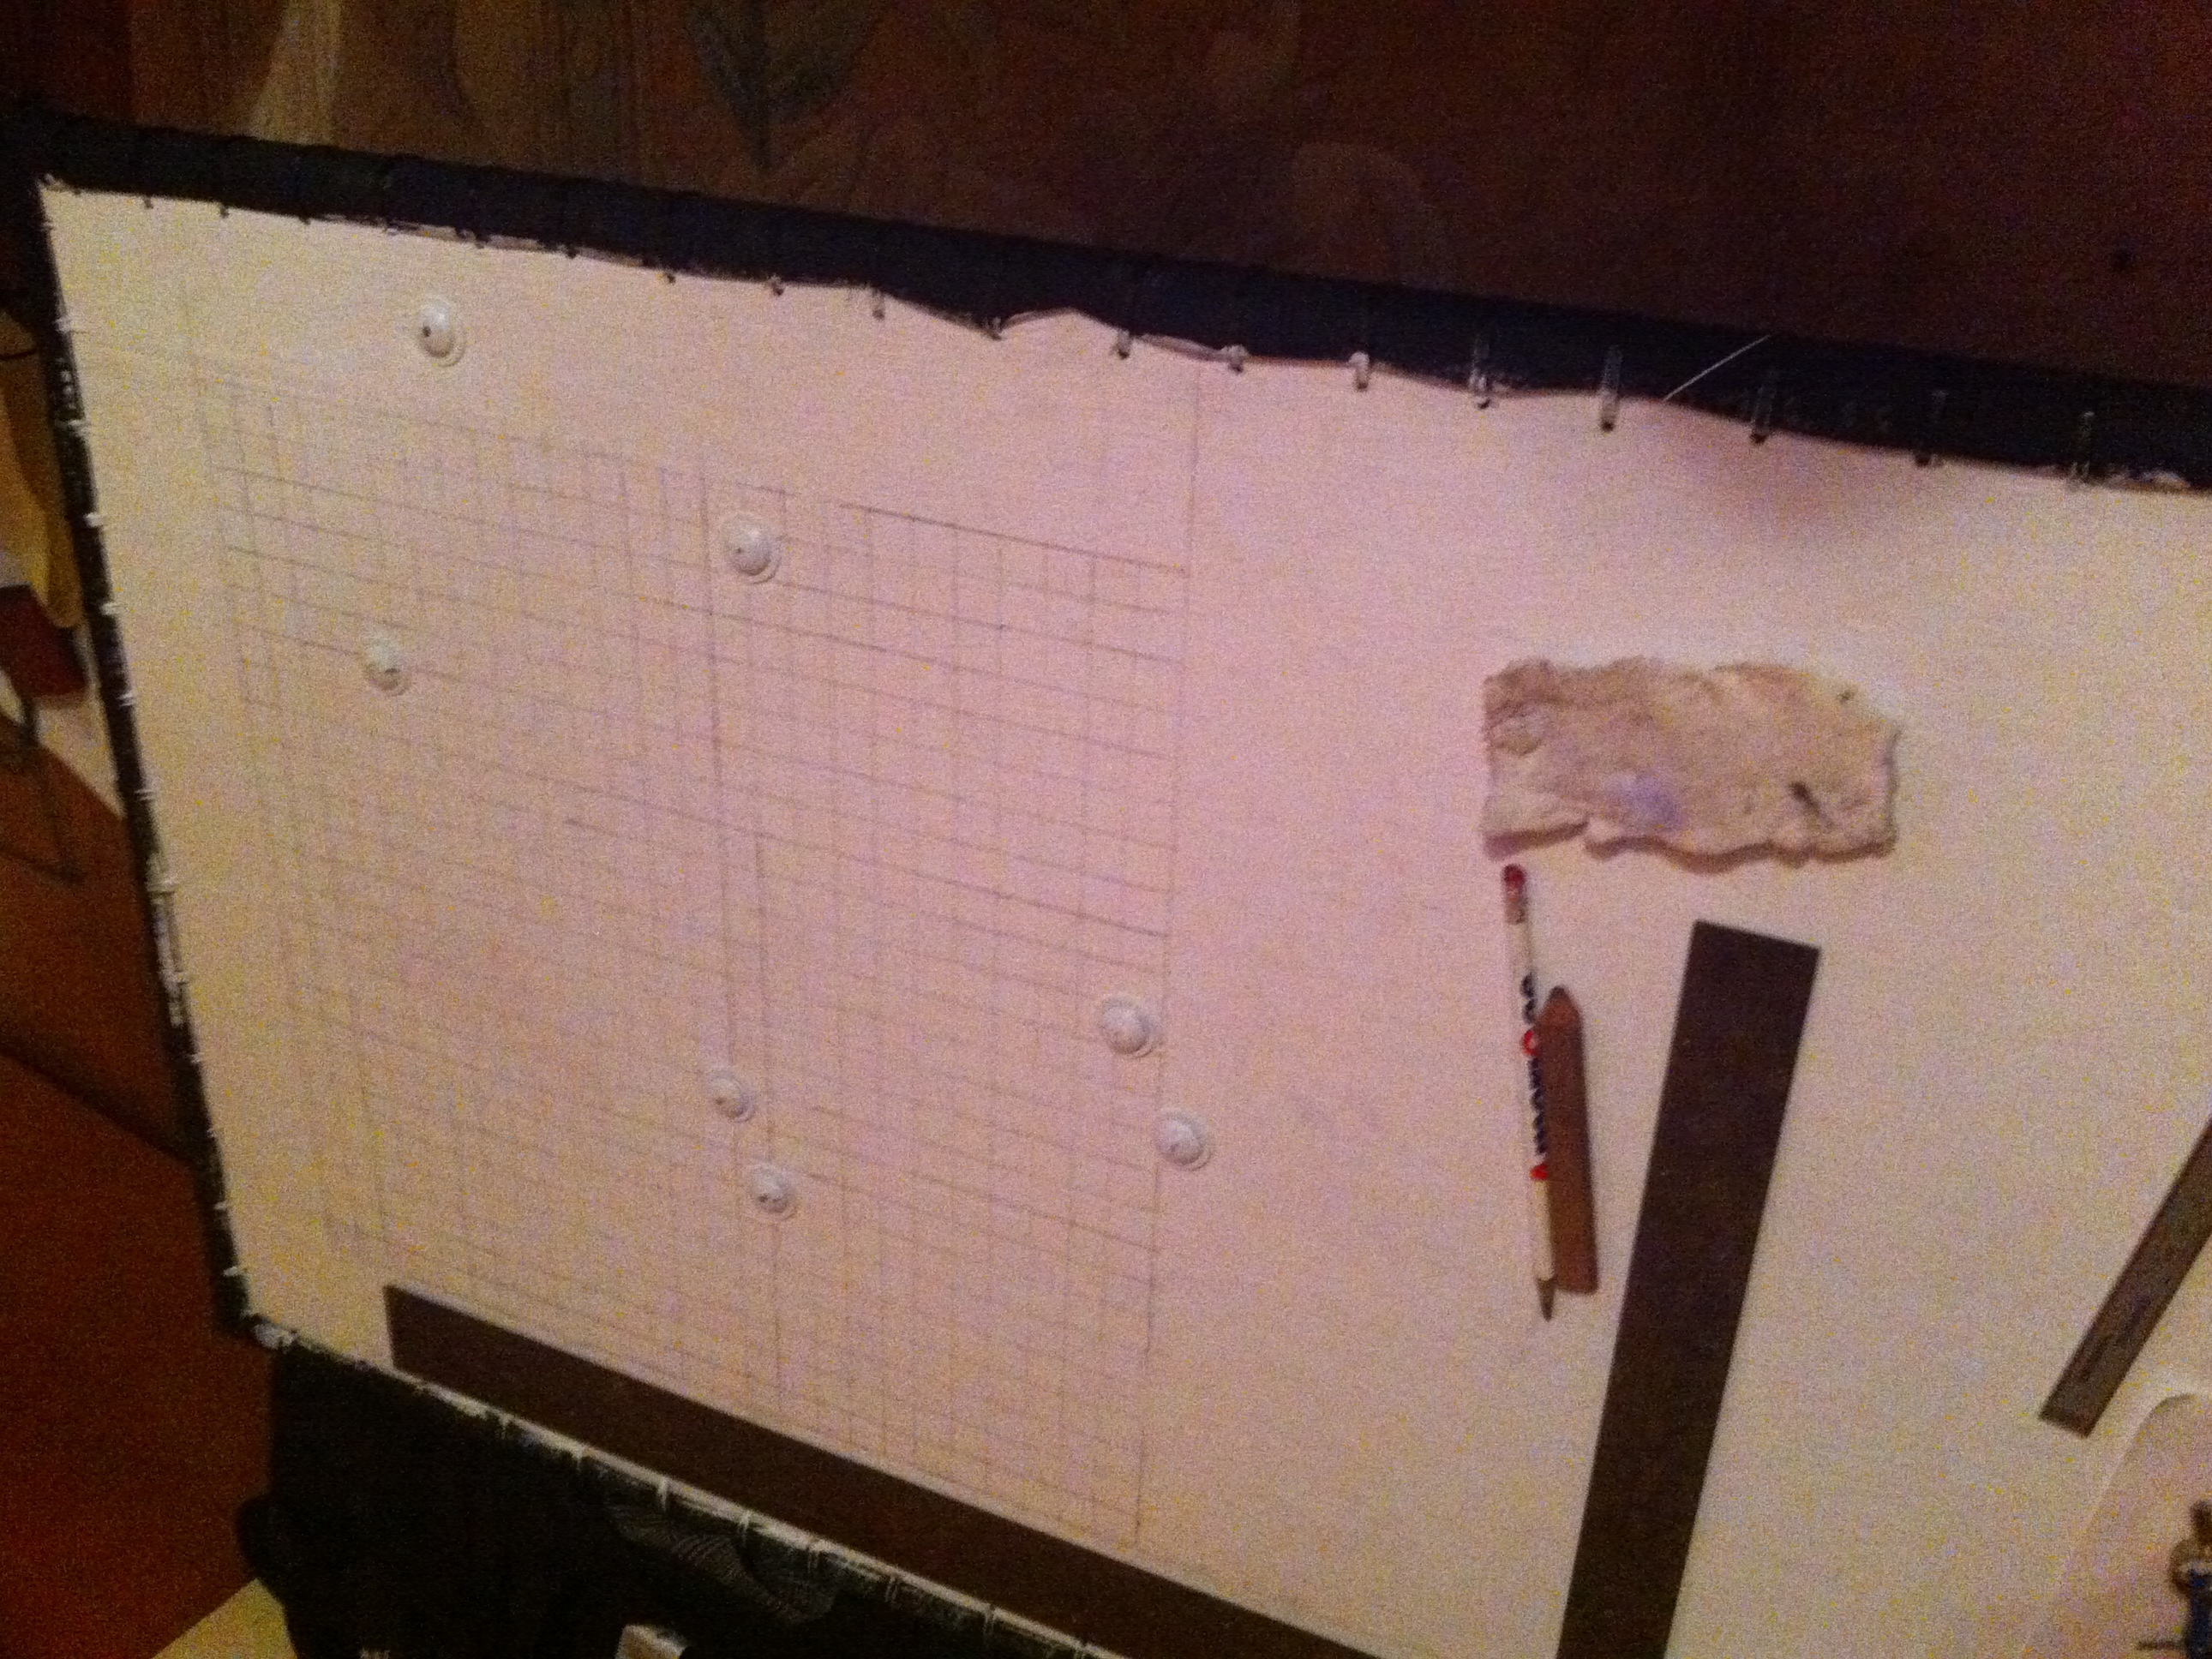
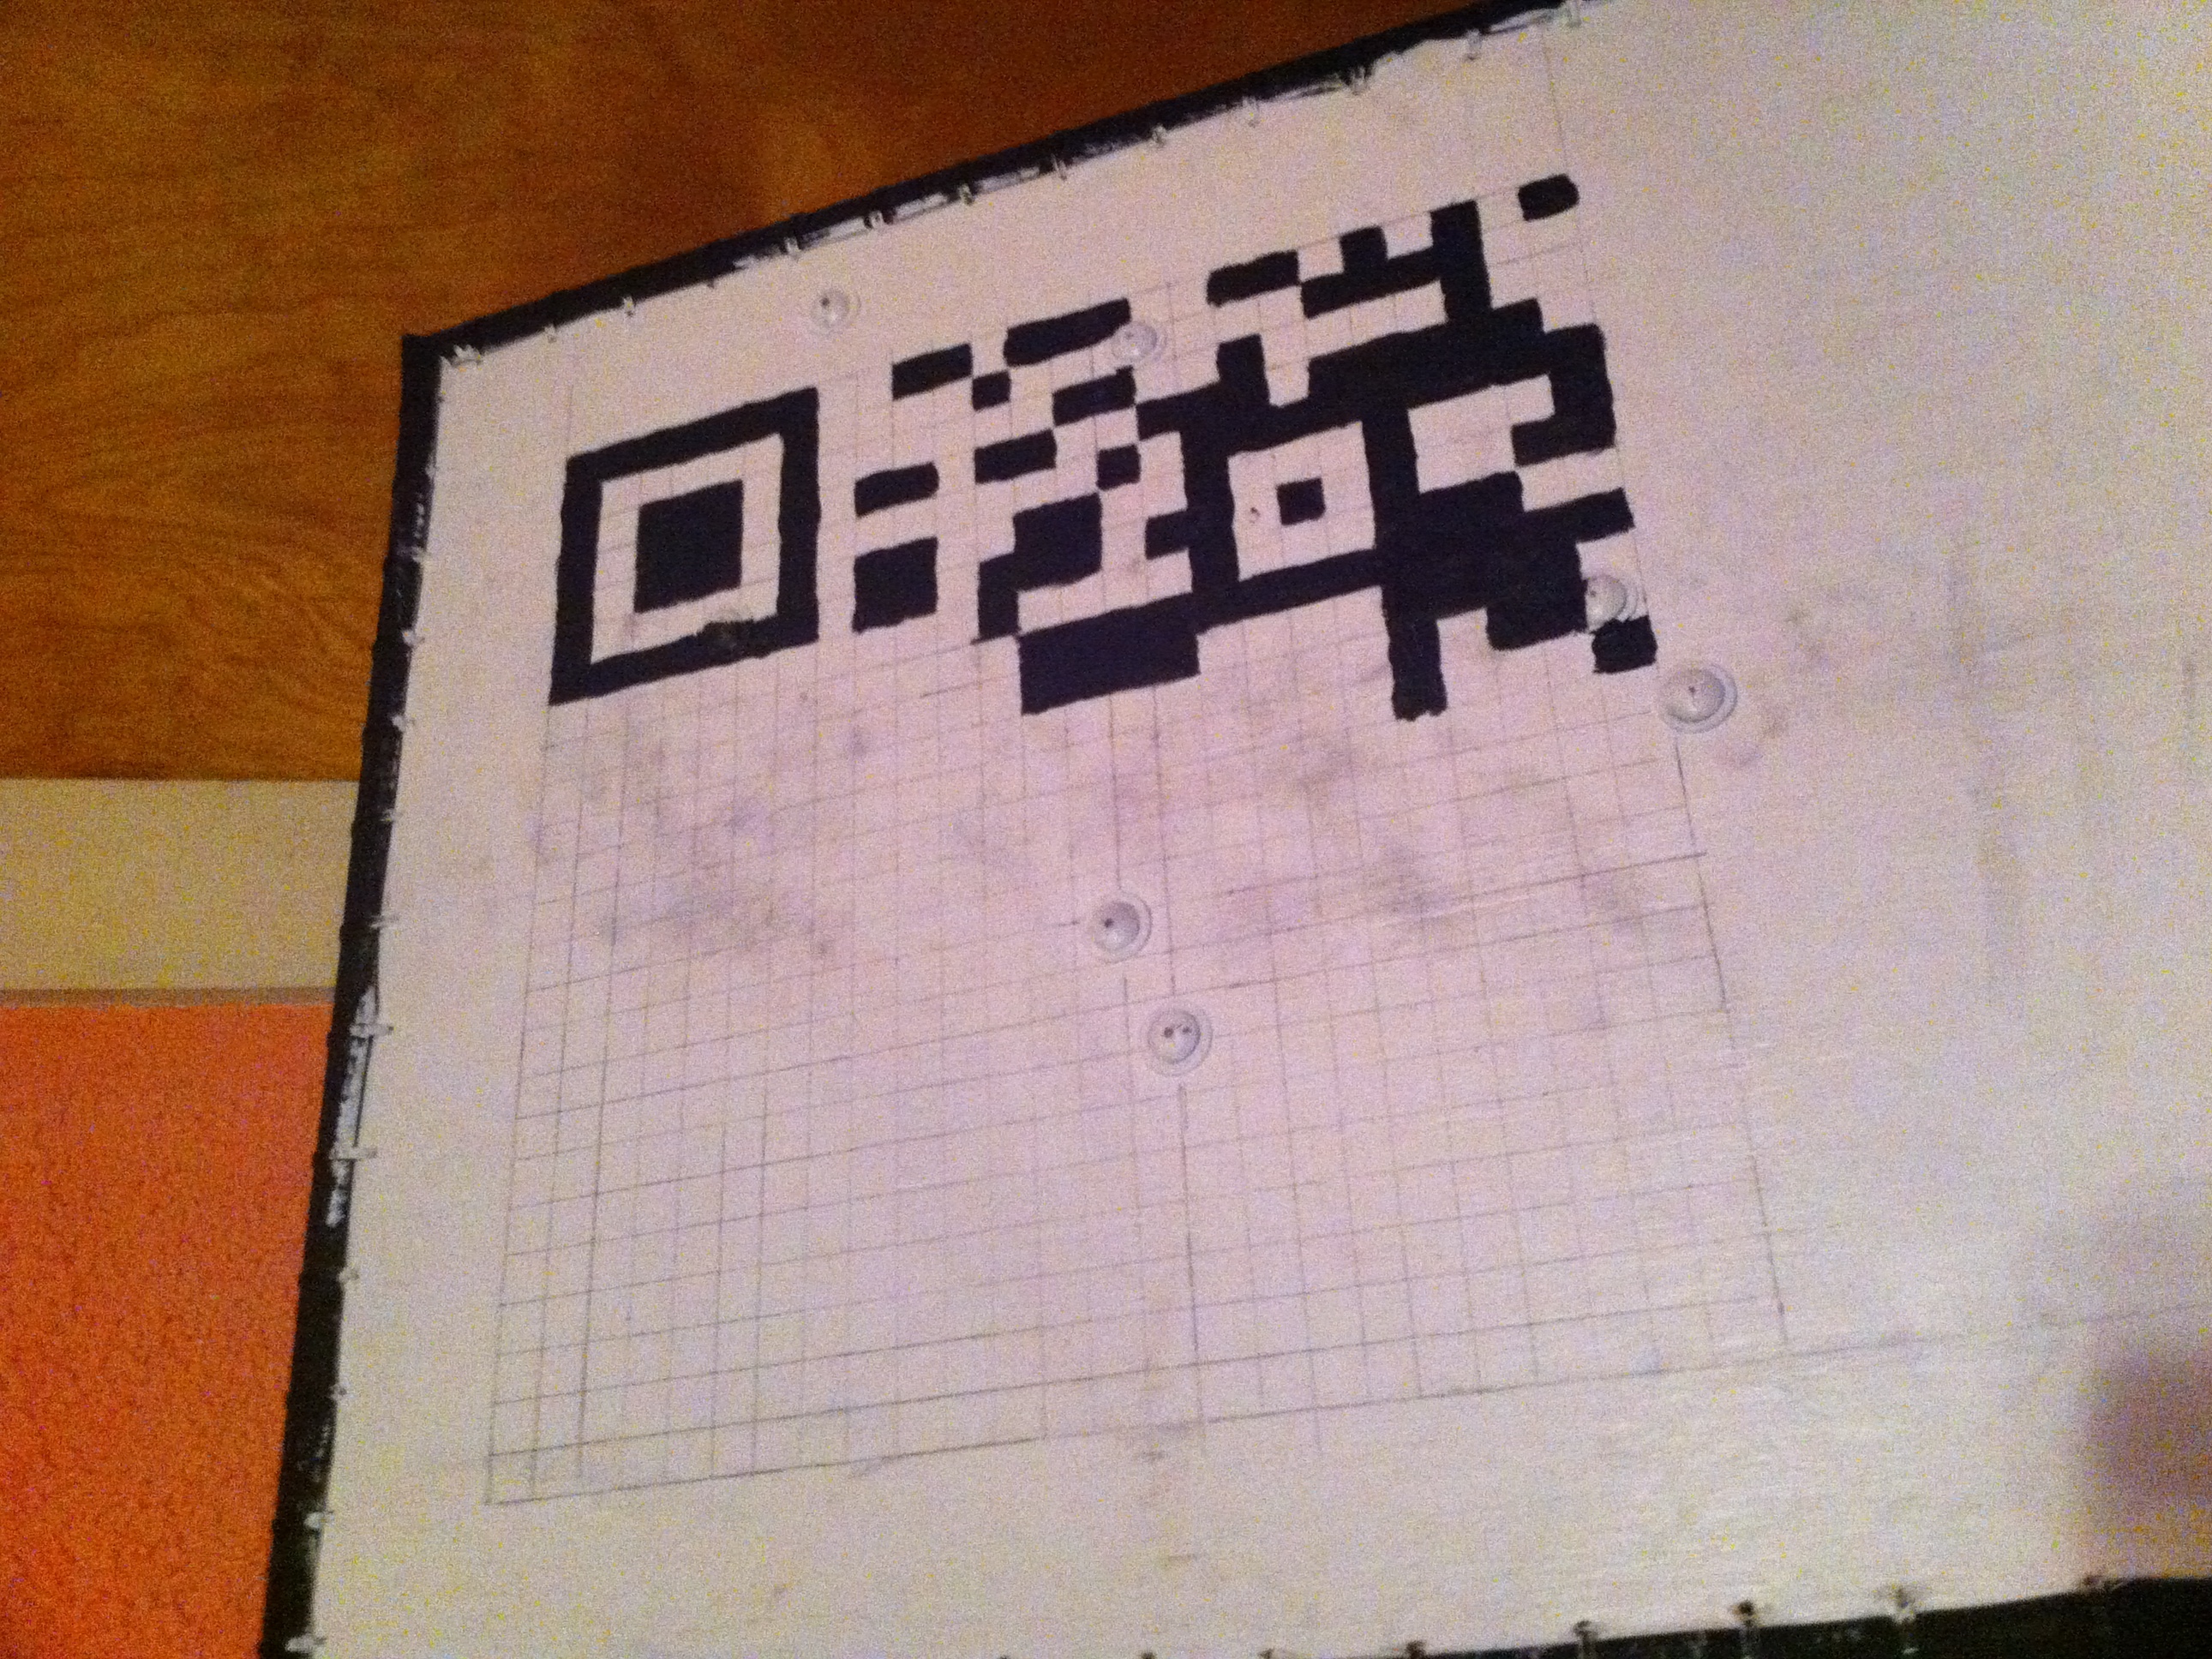
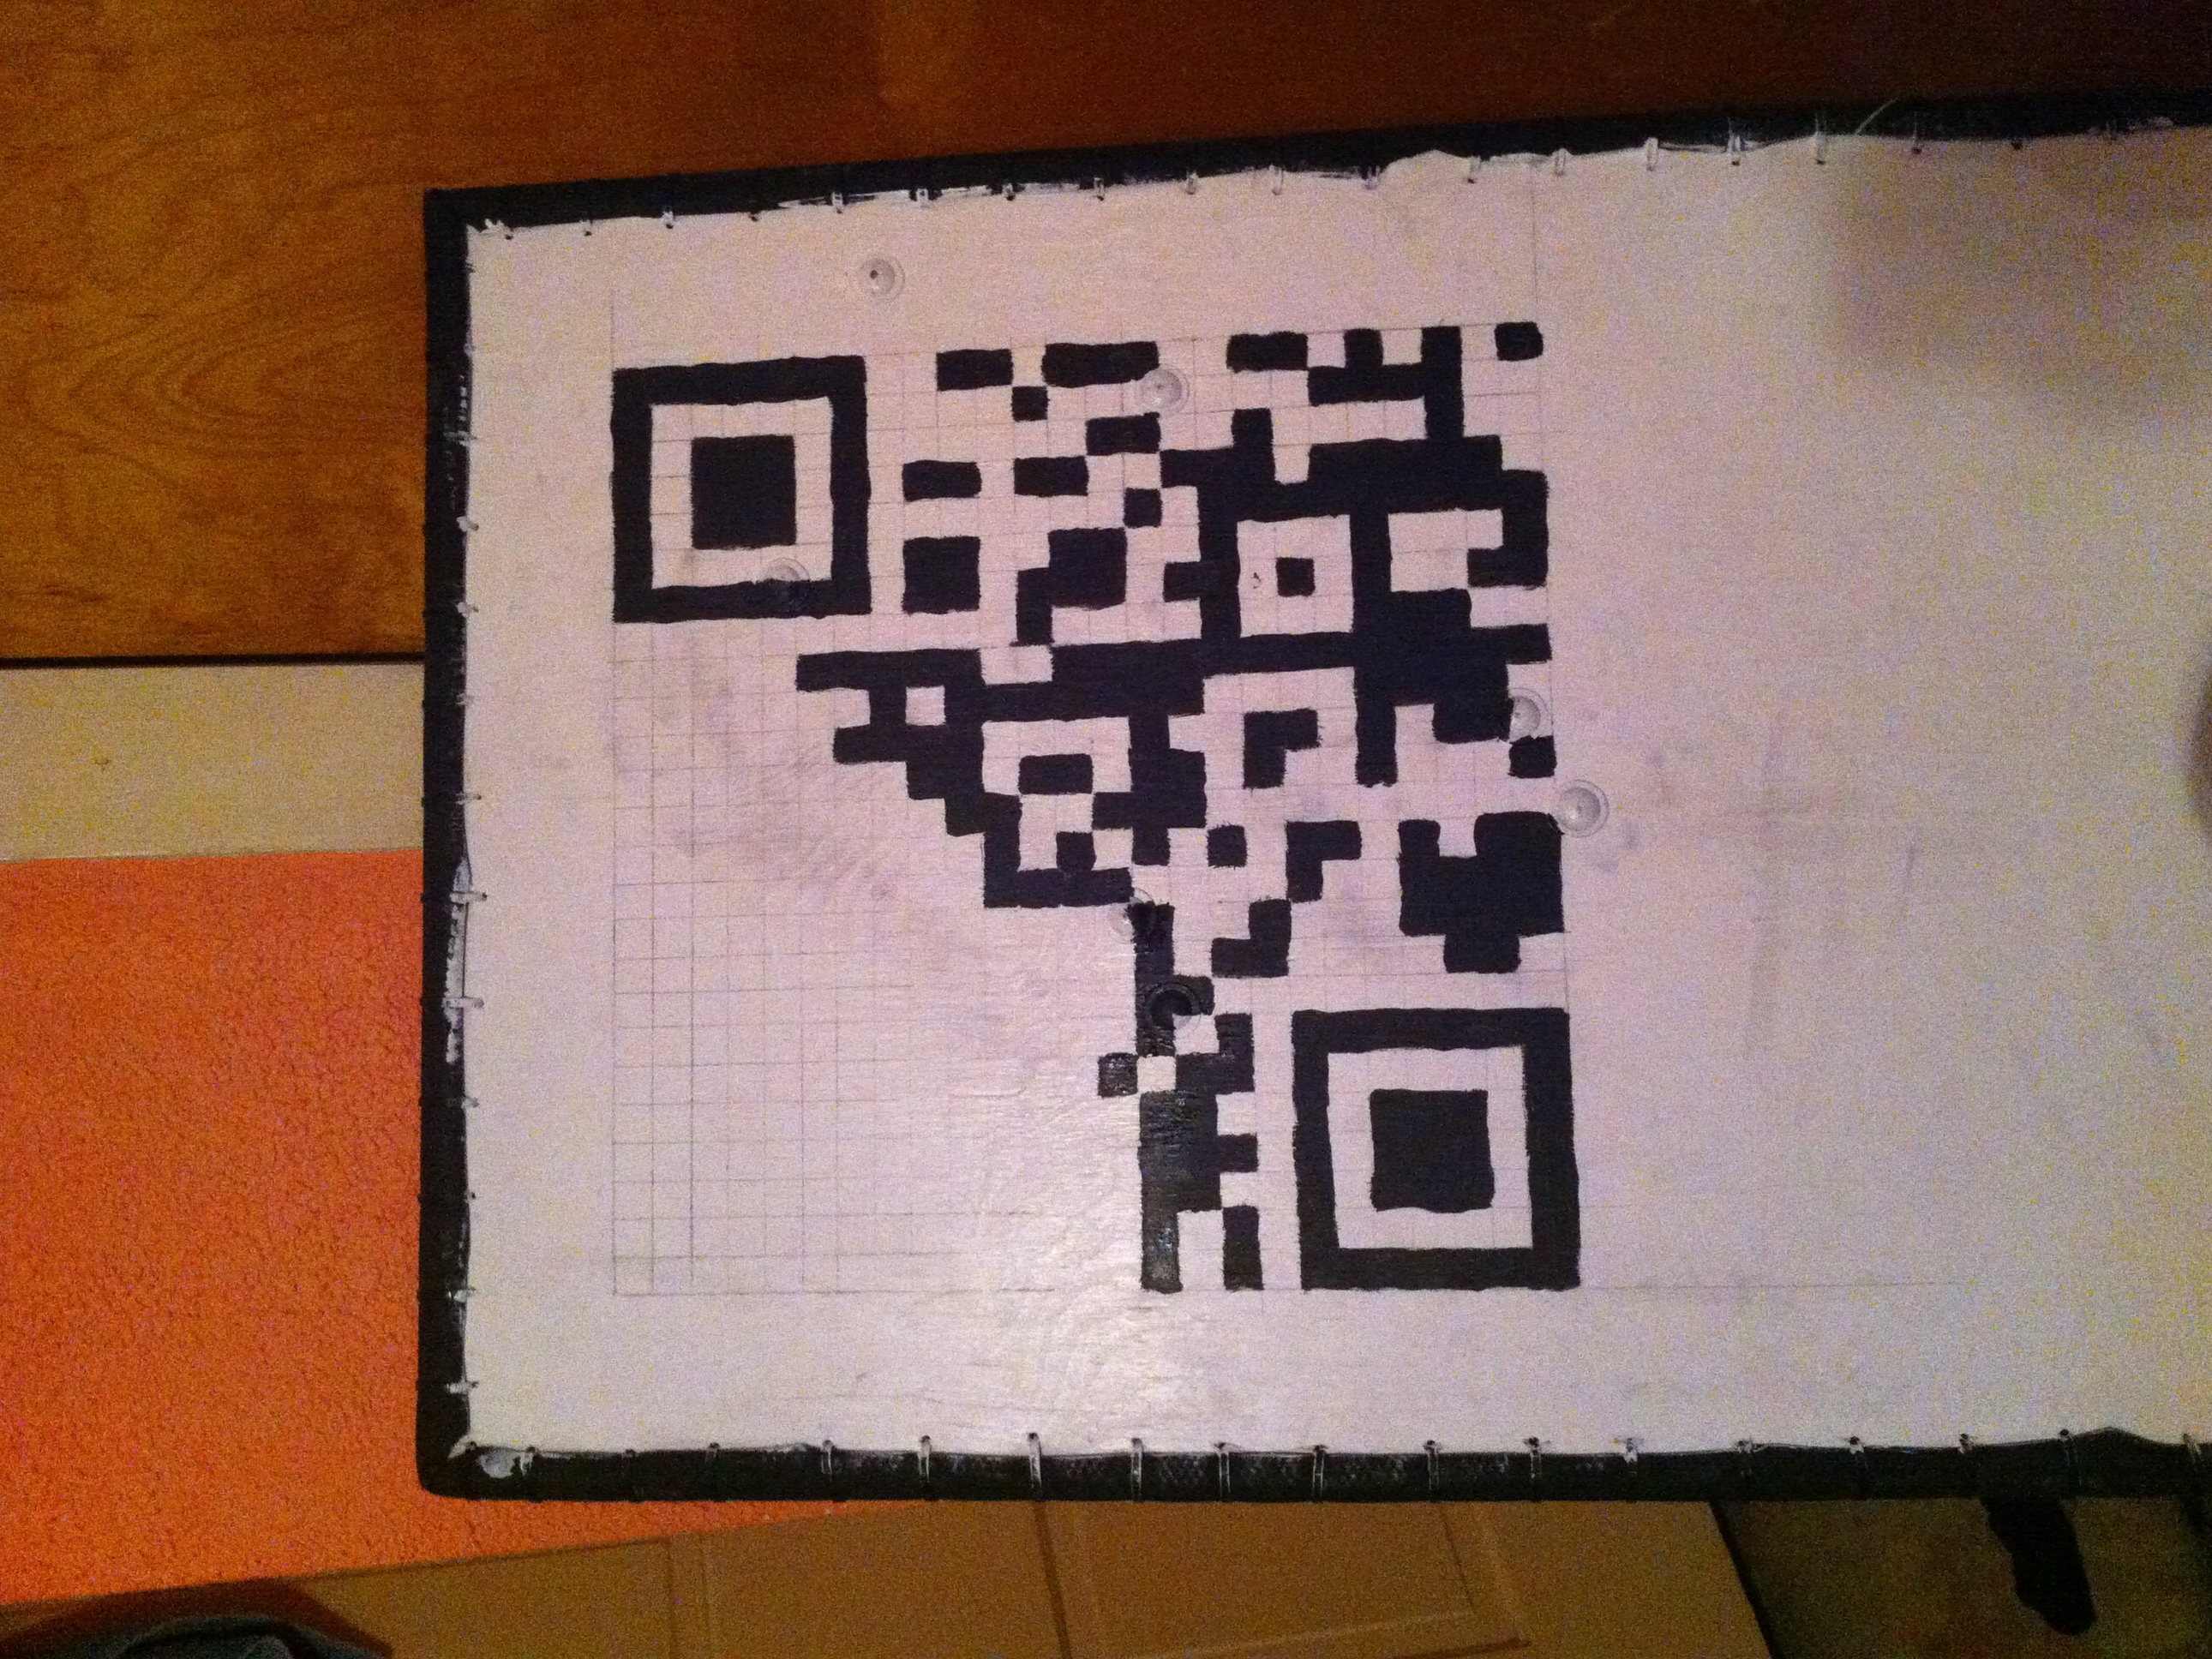
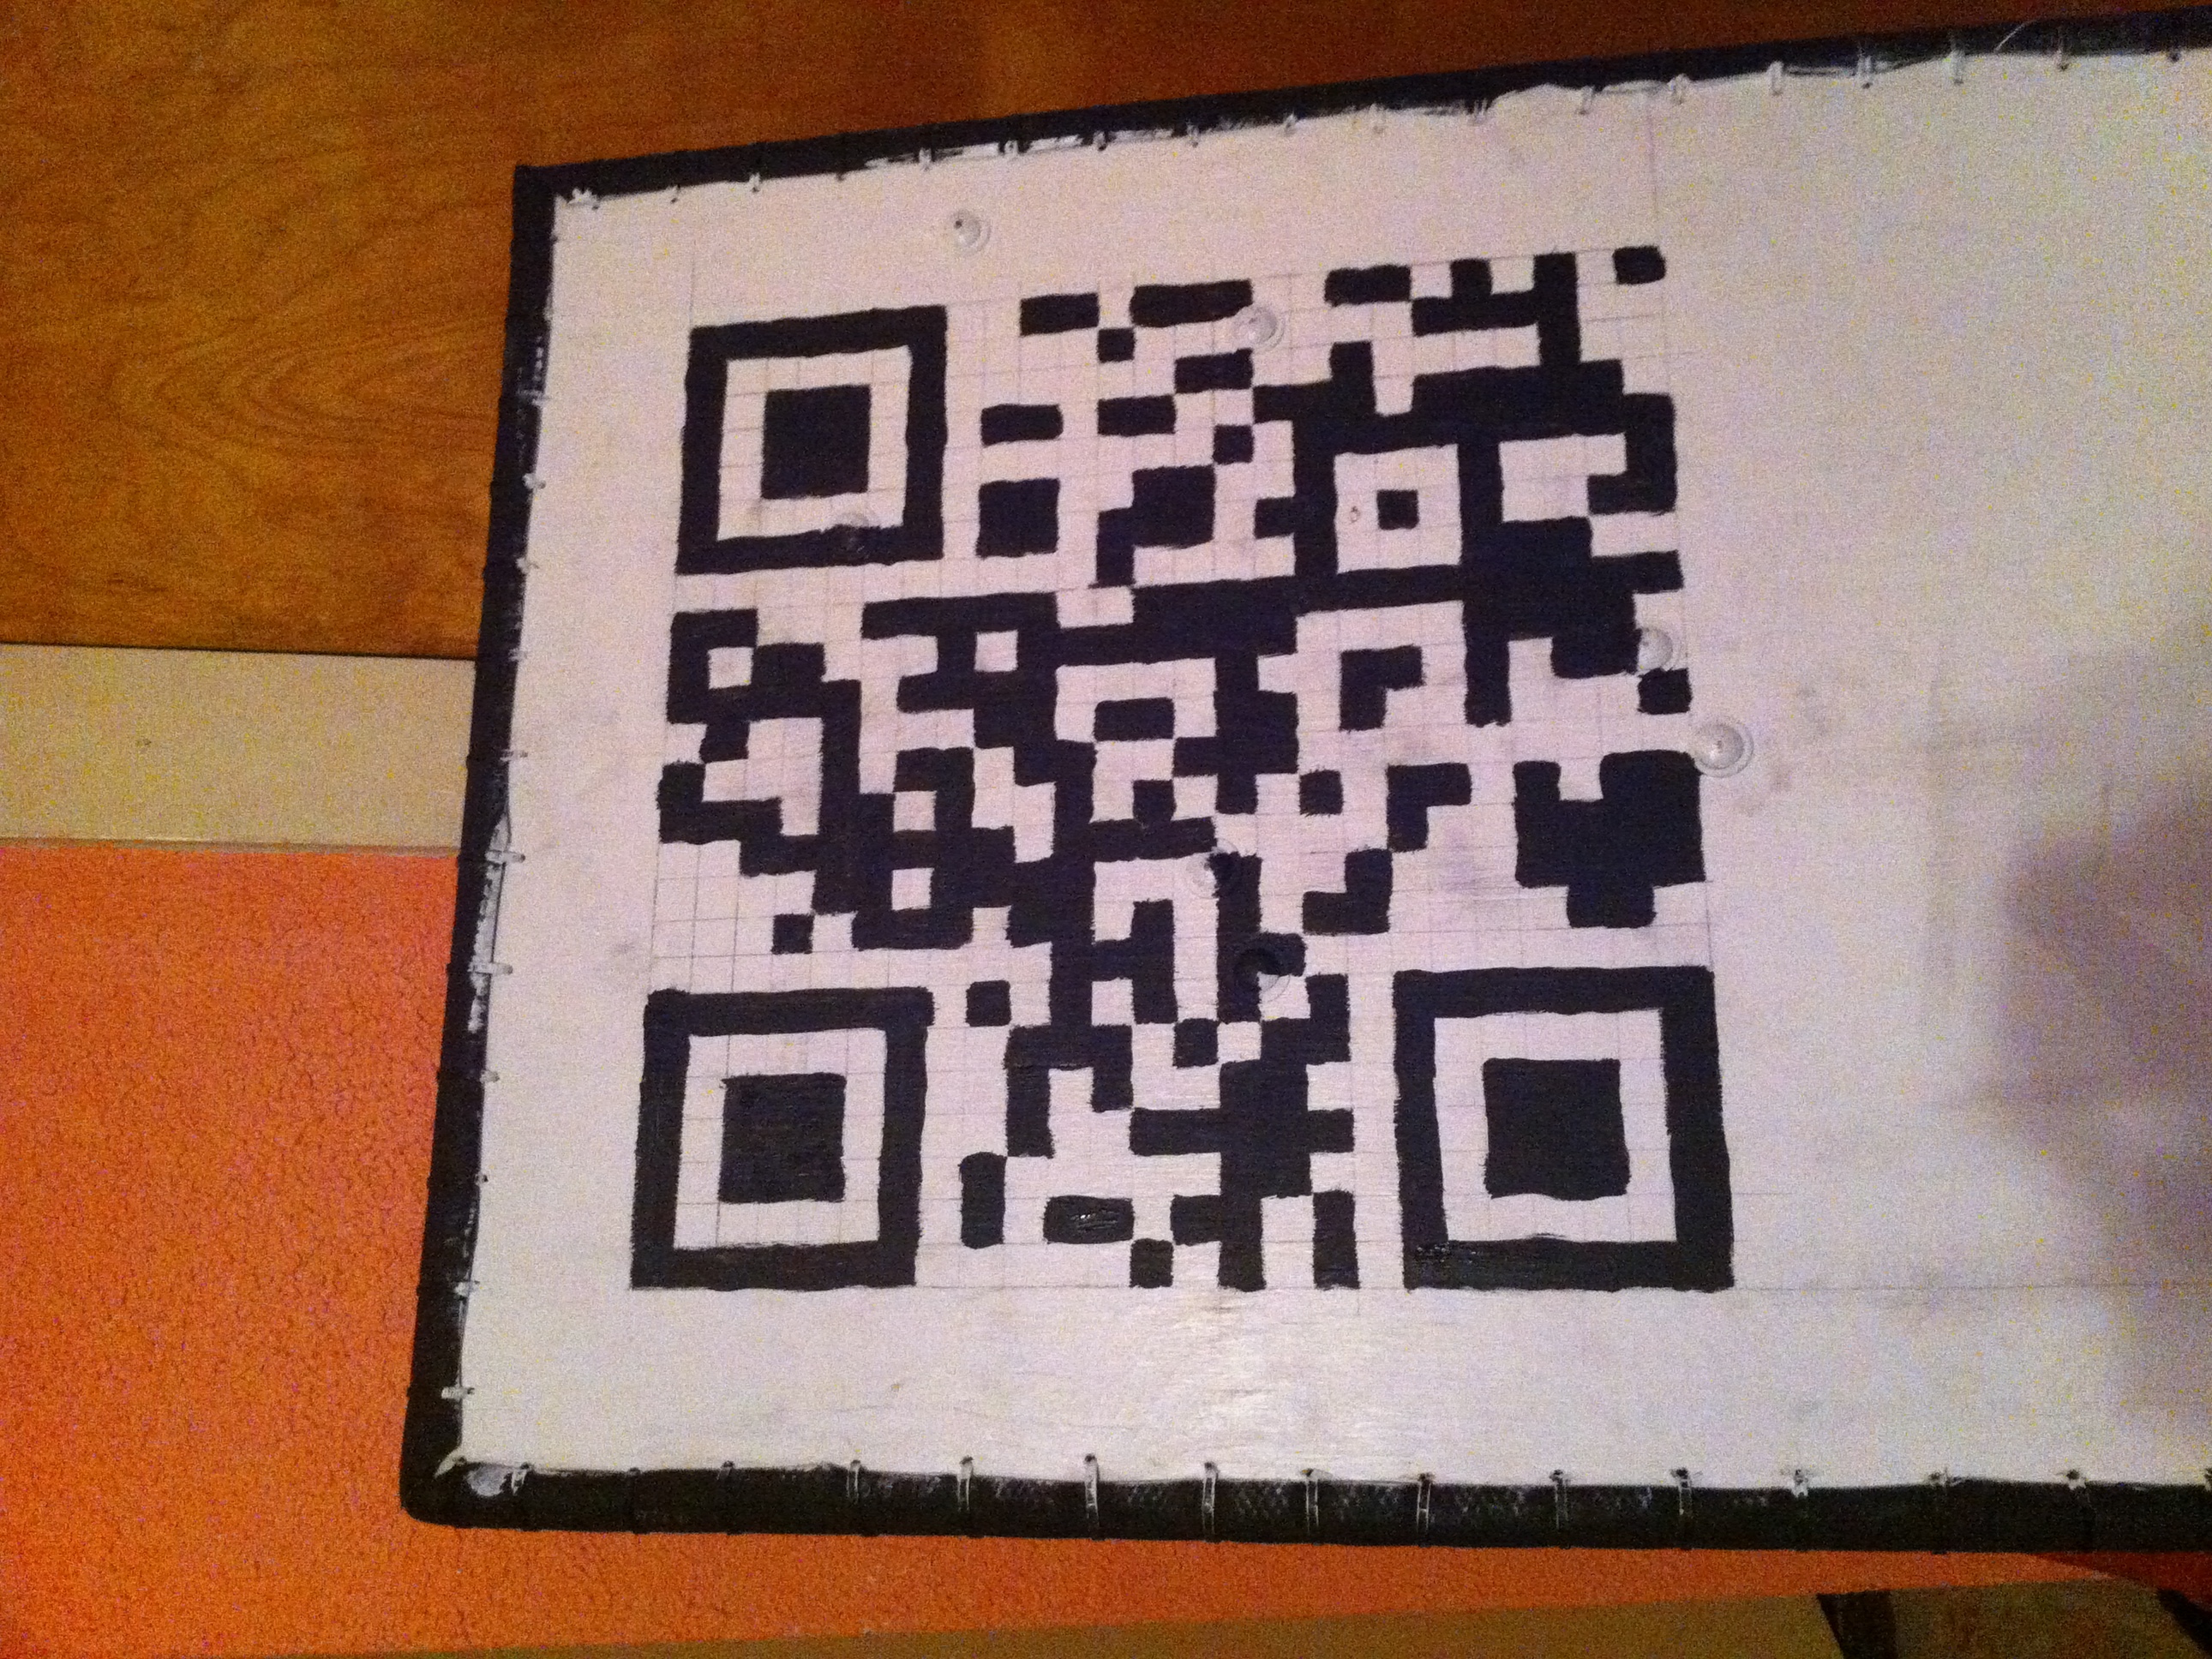
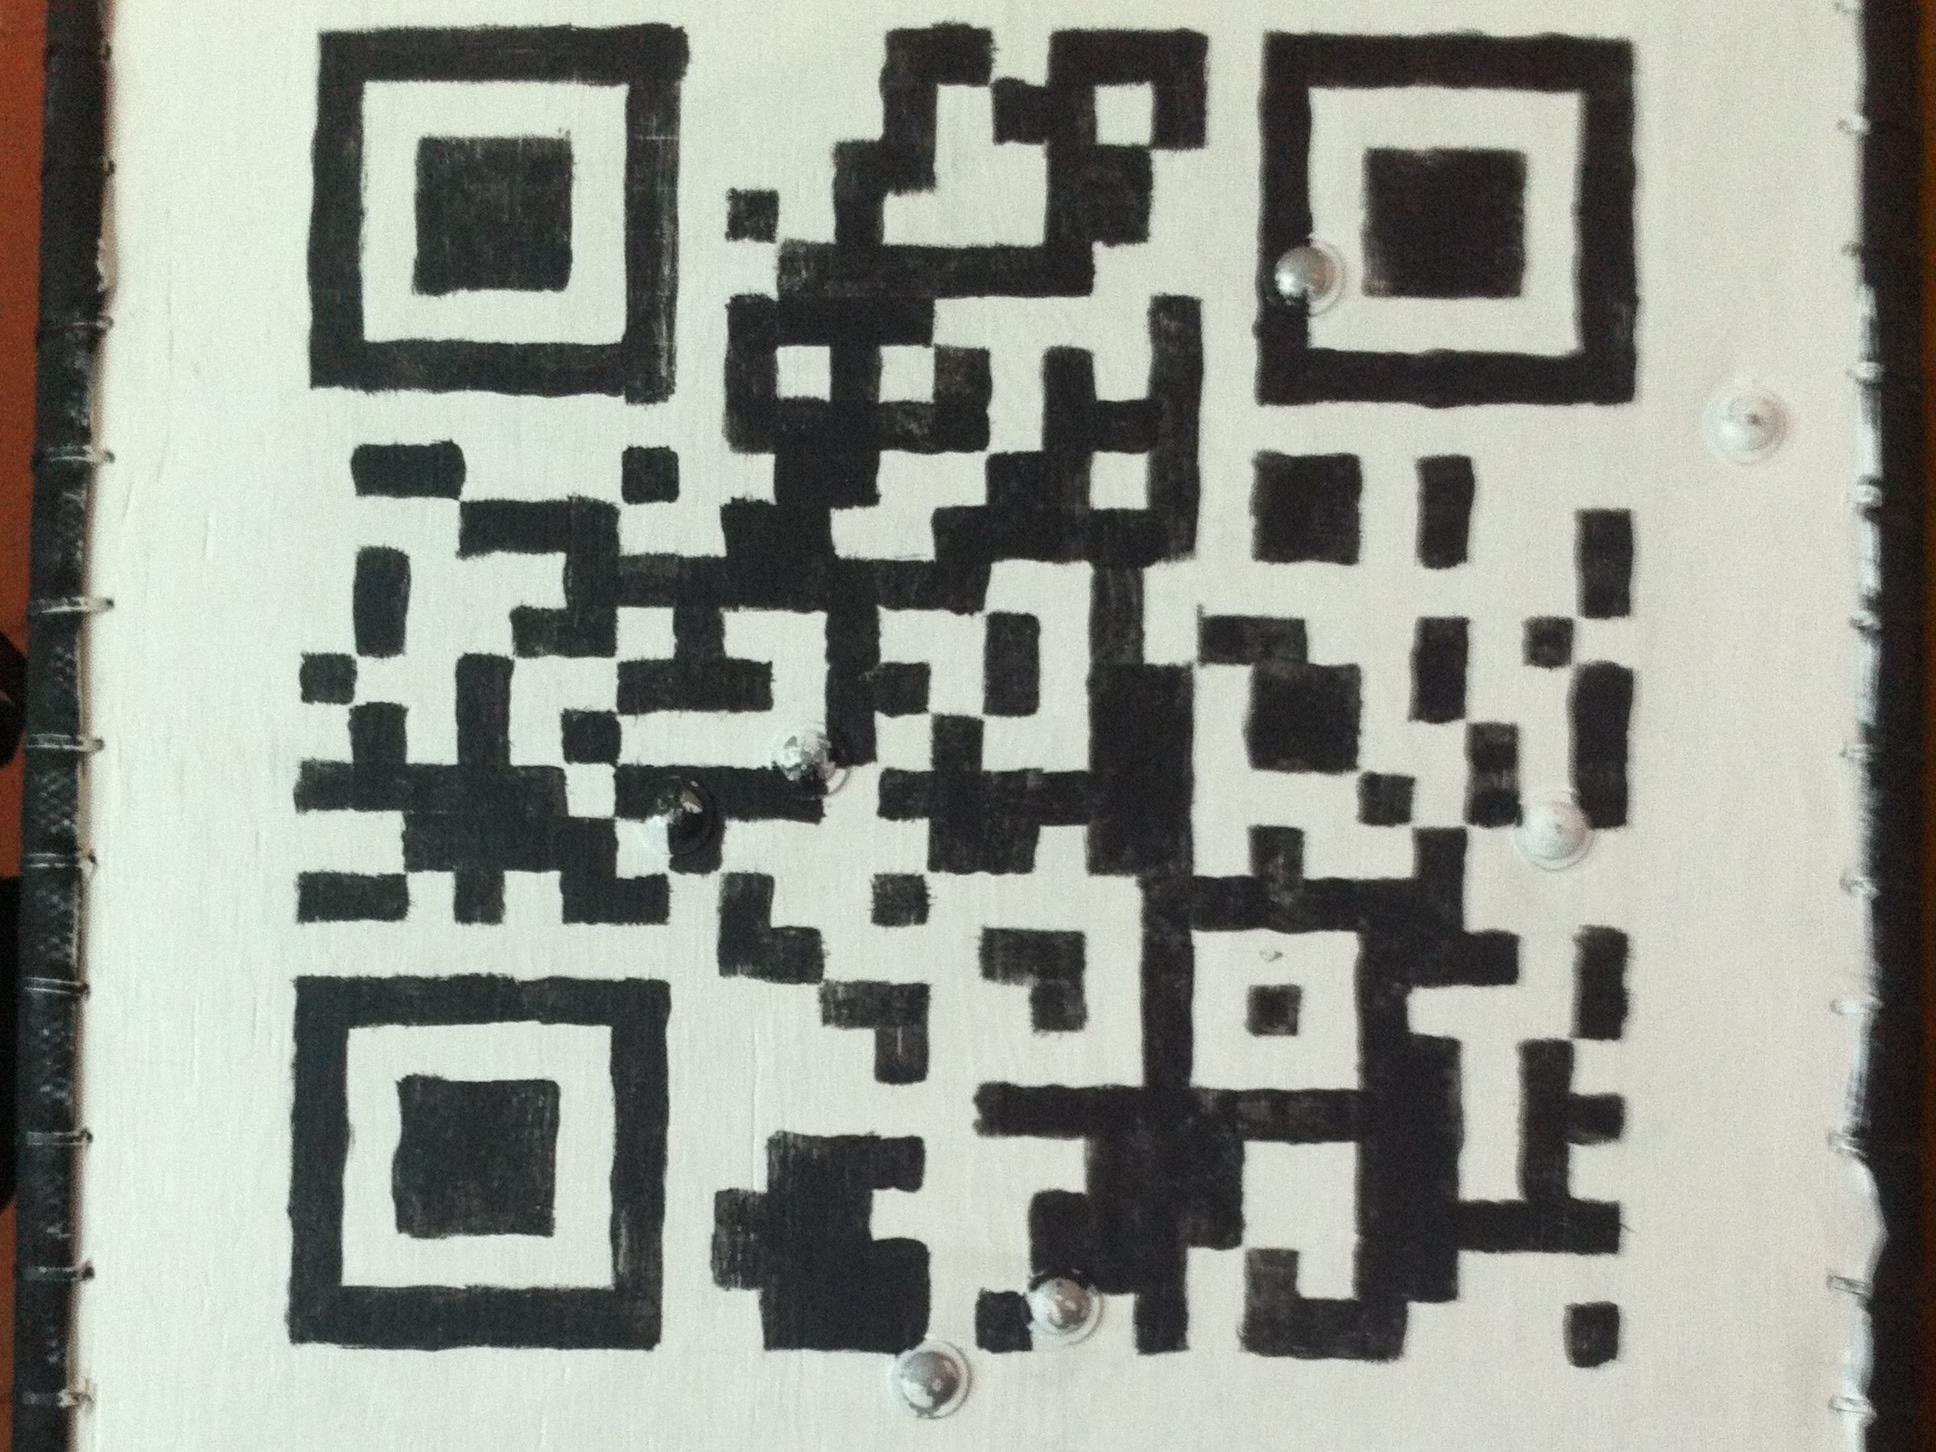
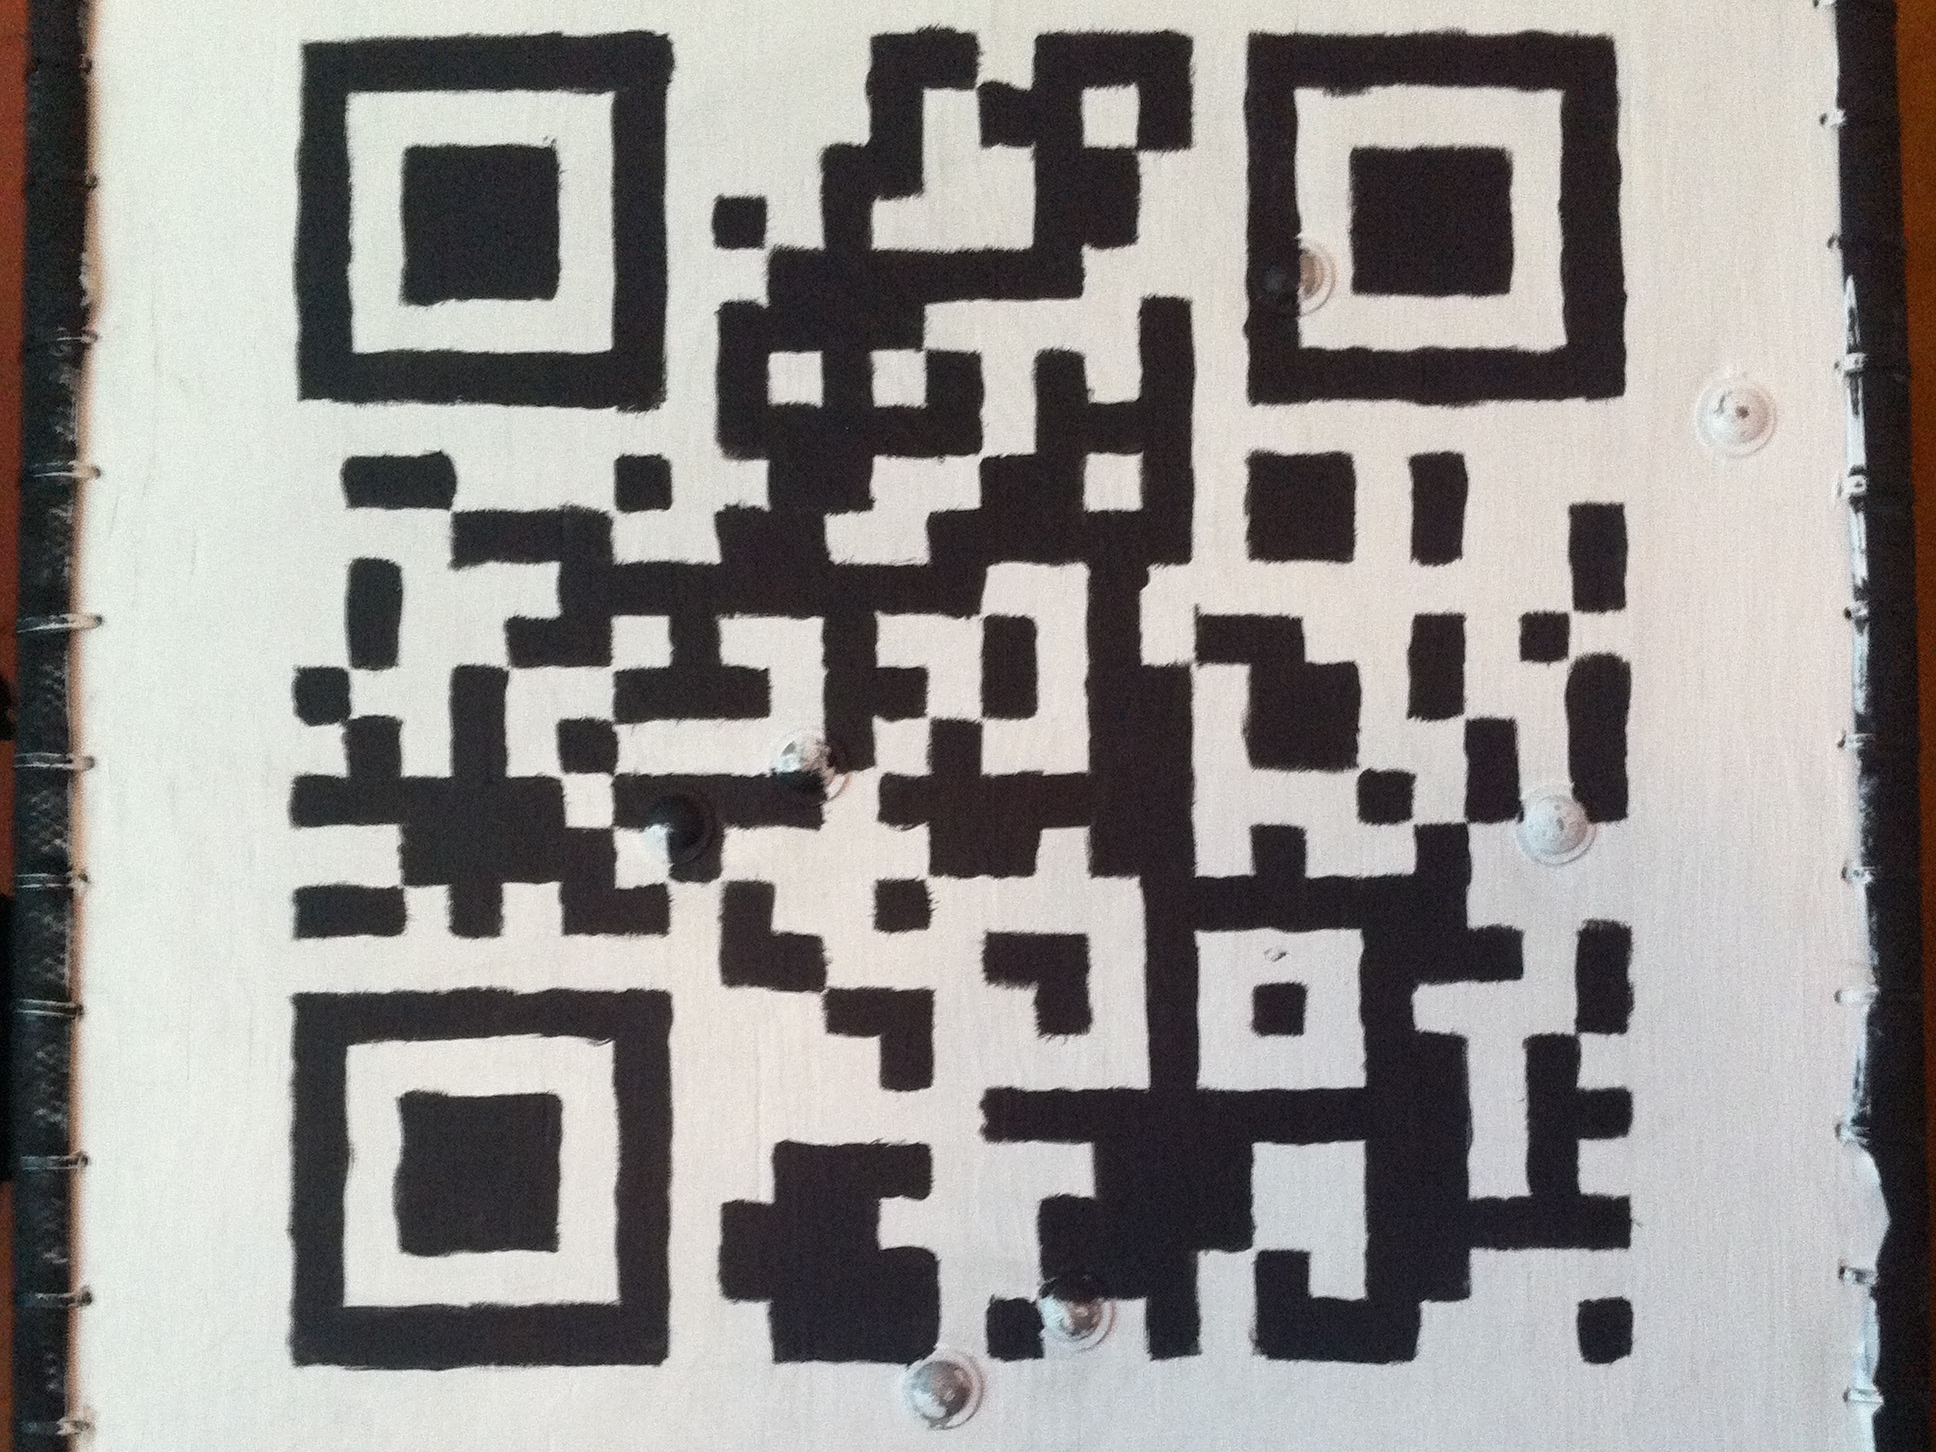
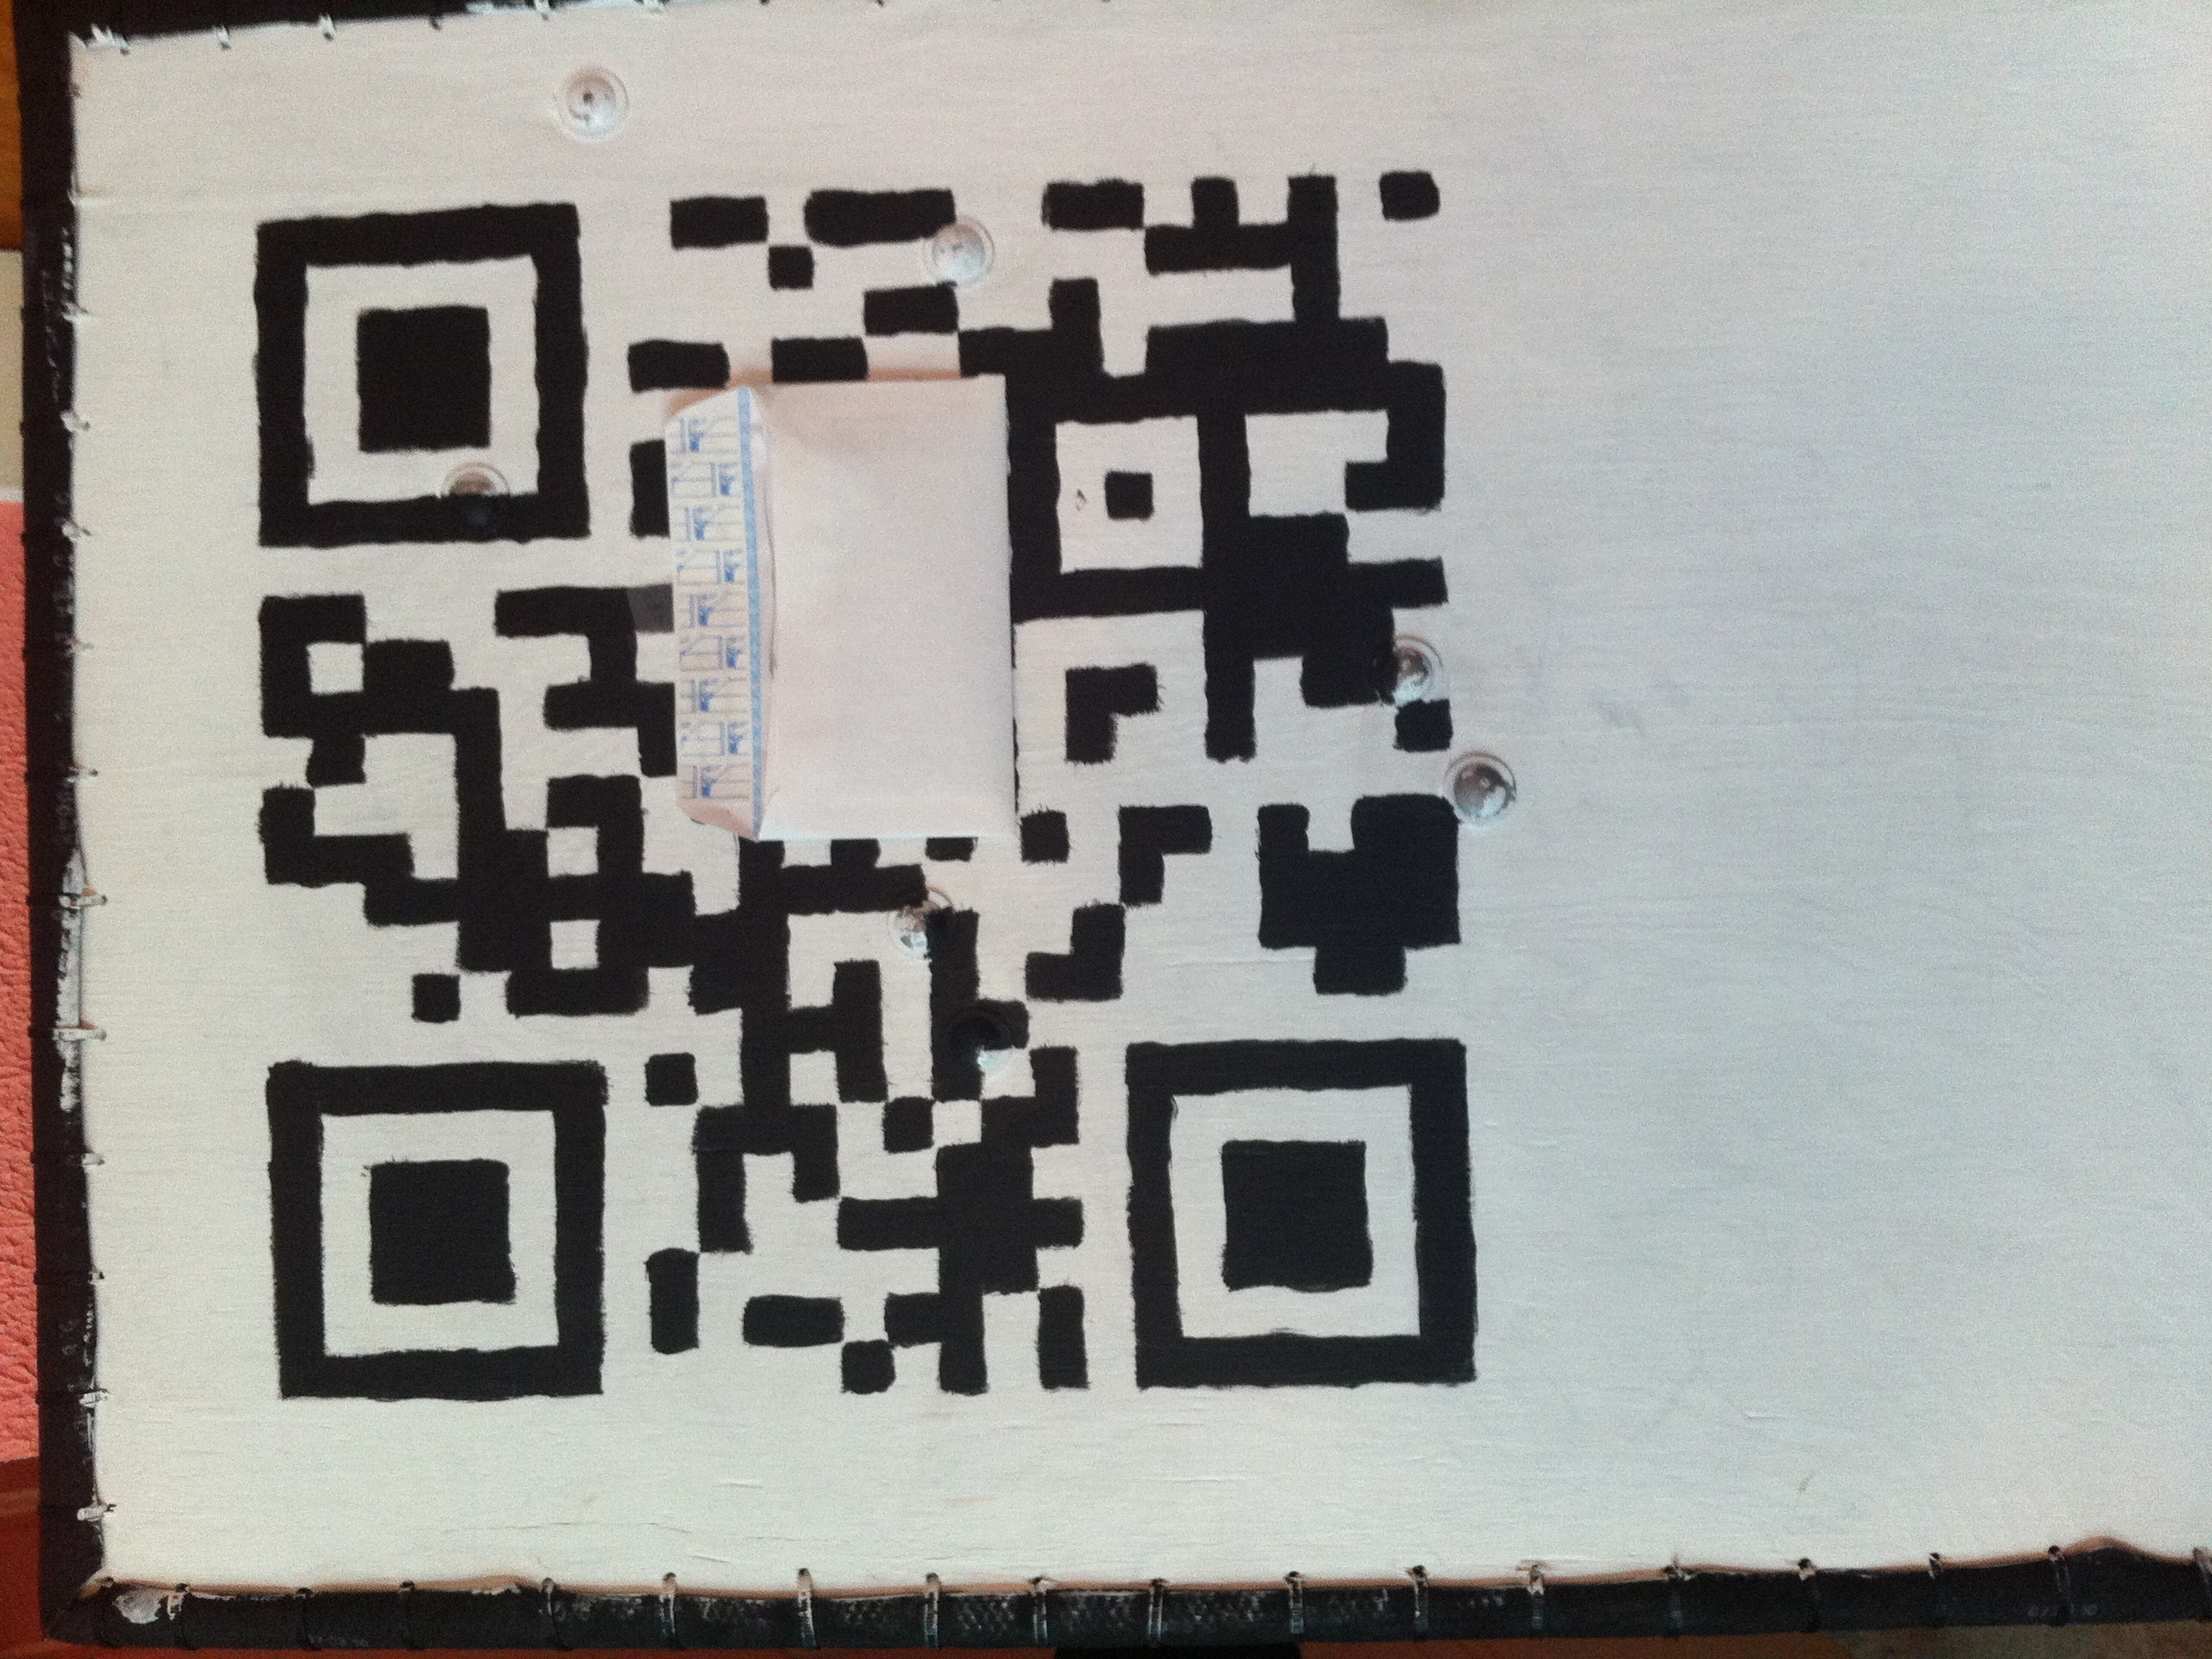
Painting a One-Off QR Code on a Large Surface
If you want to share something with the technological elite, there's no better way than the QR code.