[youtube:http://youtu.be/1rh-hq1zJ9o]

Whenever I upgrade a computer, I always try to salvage and reuse as many of the old parts that I can. One part I have collected a lot of over the years is the cooling fan. You find these in power supplies, on CPUs, and in tower cooling systems.

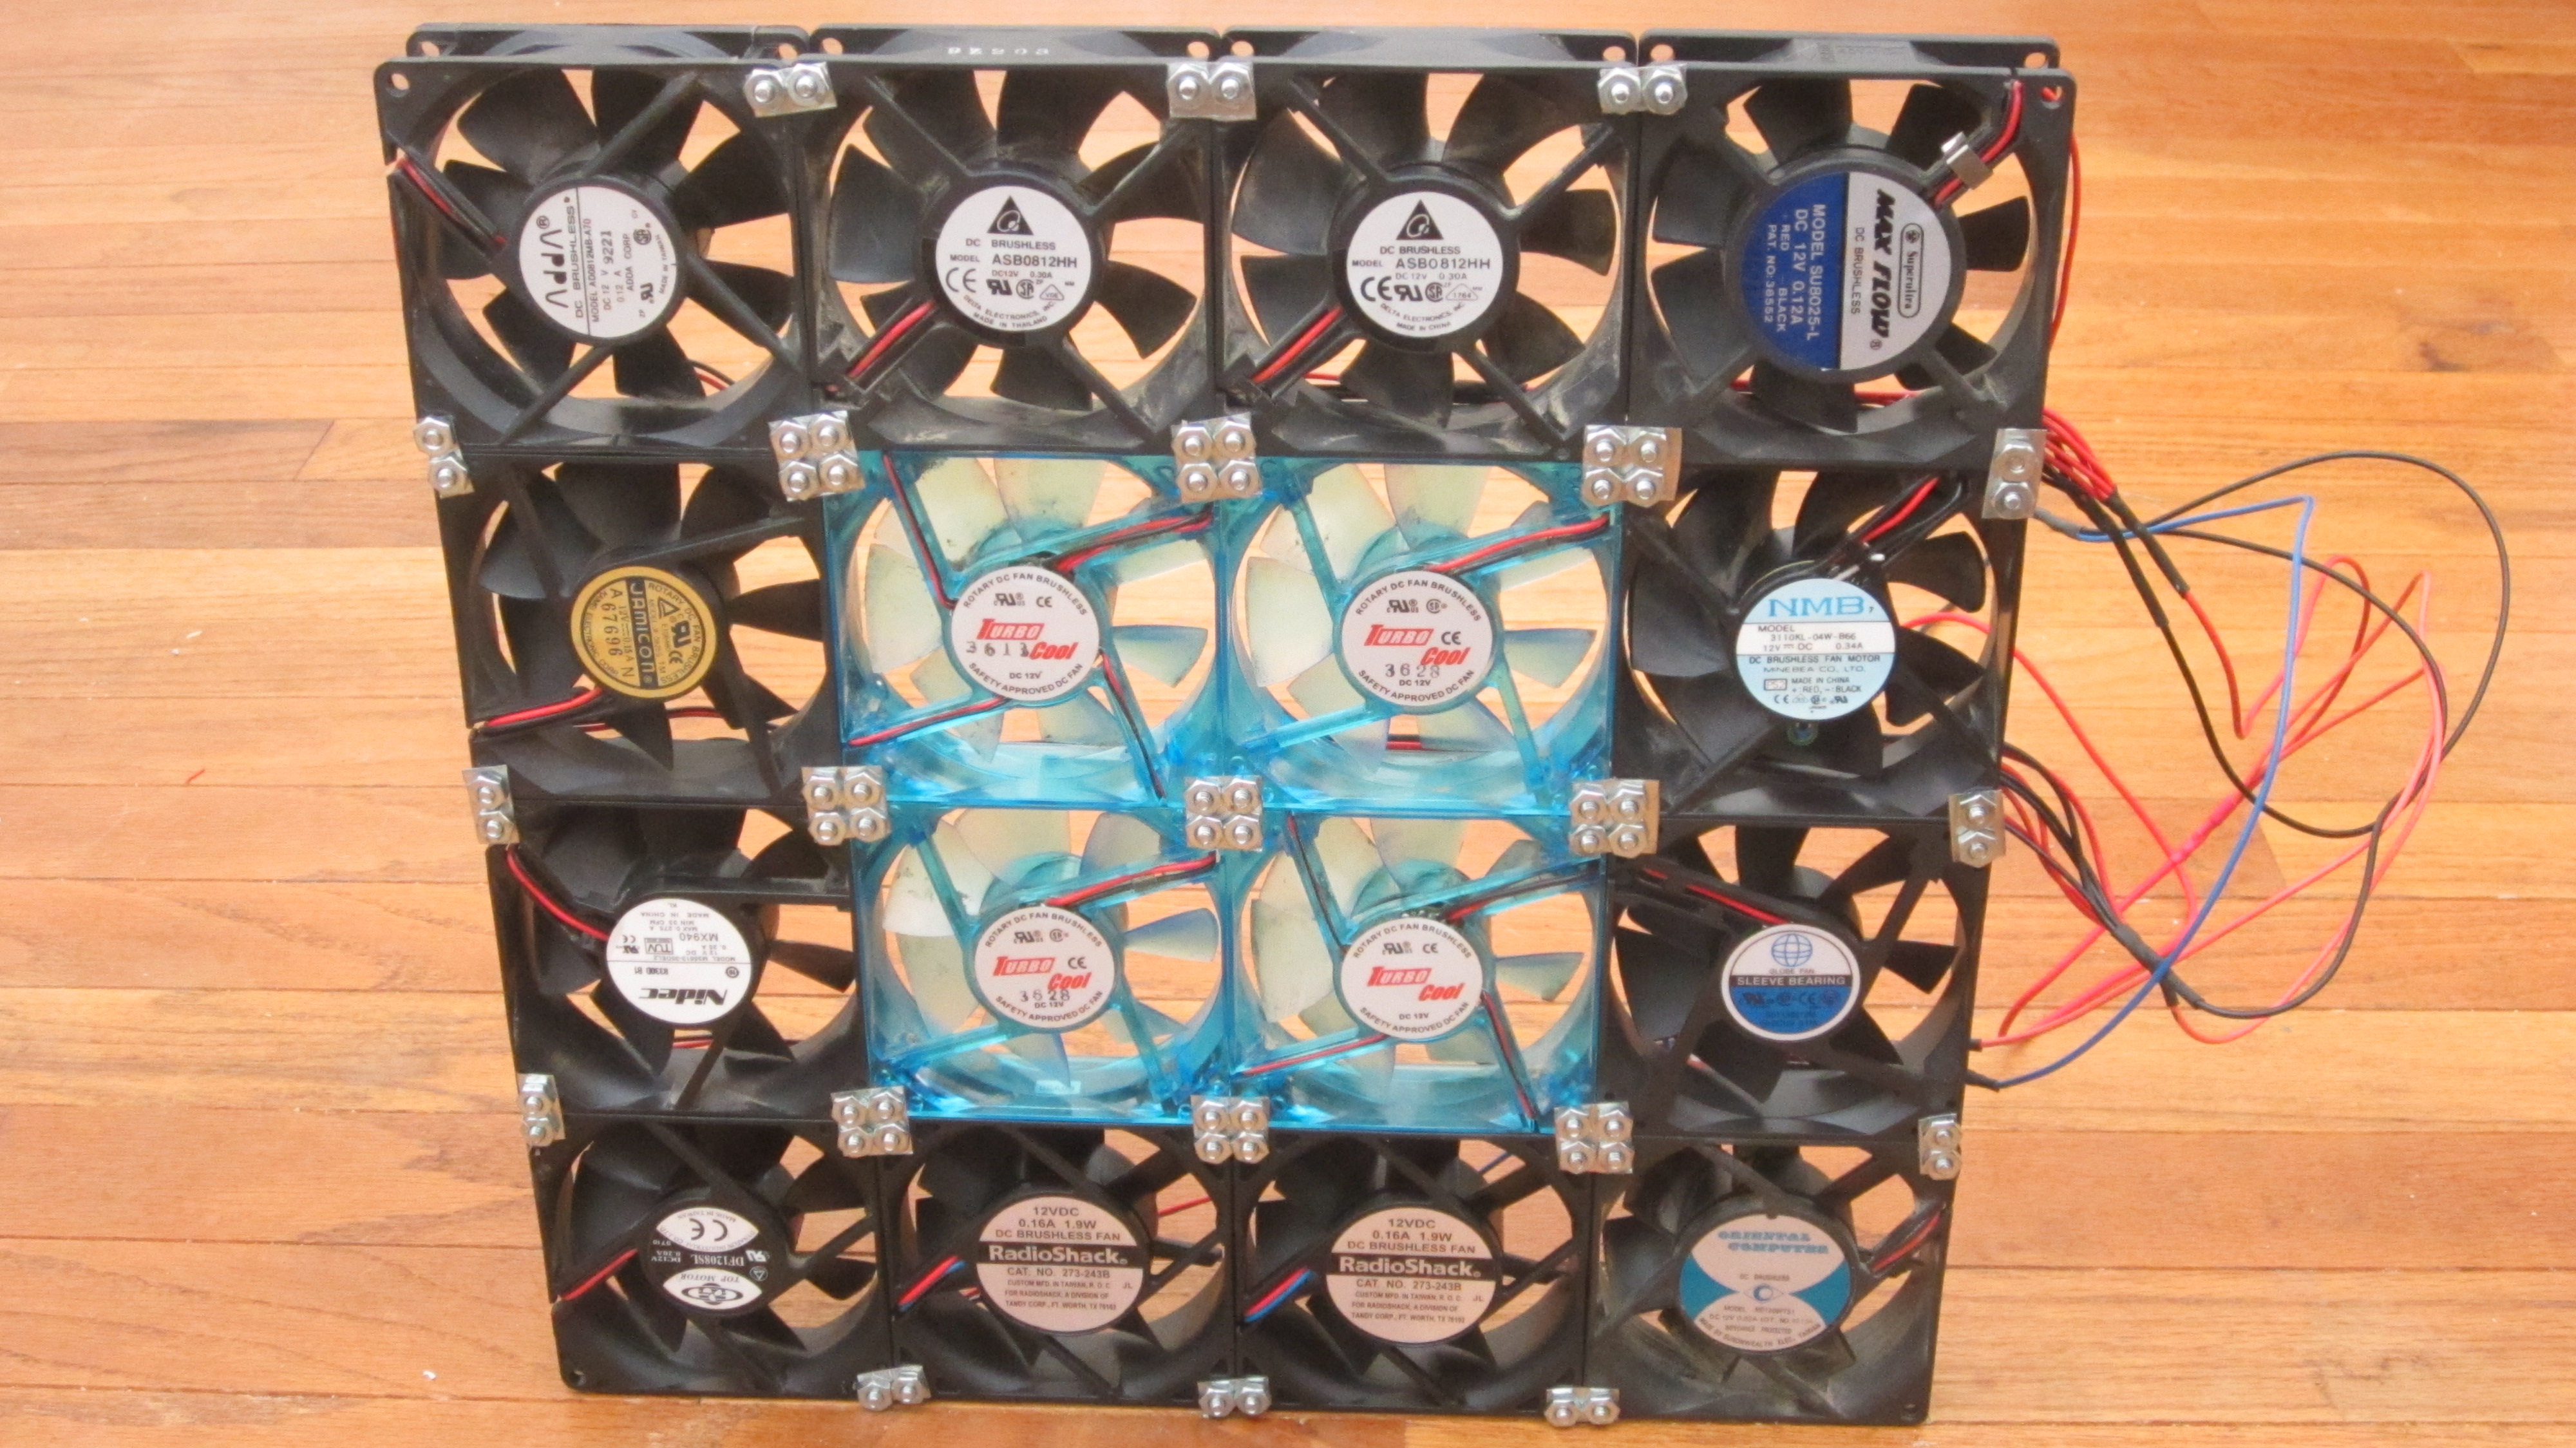
So what do you do with a bunch of small fans? You combine them into one big fan. In this project I take 16 PC cooling fans and mount them together to make a single 12 volt box fan. It is thin, light weight, strong, and quiet. It also stores easily. It can fit behind furniture or in a packed car. It can be powered by your computer’s power supply, an AC adapter, or a 12 volt car battery.

View this project on Instructables: instructables.com/id/PC-Box-Fan/

Project Steps

Collect the Fans

There are a lot of places where you can find PC cooling fans. There will be one or two inside the tower of a computer. There will be one or two in the power supply. There may also be a dedicated fan for the CPU, but this will often be a different size.

If you don’t have a bunch of computers to take apart, you can also purchase them online for $1-$2. Check Amazon, eBay, and the websites for big box stores.

PC fans come in a lot of different sizes. It doesn’t matter what size you use as long as all the fans are the same size. I am using fans that are 80mm x 80mm x 25mm.

Make the Brackets that Will Hold the Fans Together

There are a lot of ways that you could hold fans together. You could use glue, twist-ties, bent paper clips, zip ties, or magnets. In this example, I used metal brackets.

Here is an easy way to make some cheap metal brackets: Start by getting a thin piece of sheet metal. Then mark a grid on it with the lines spaced out as much as holes on the fan are when placed side by side. On an 80mm x 80mm fan, this will typically be 8.5mm (or about 5/16 inches) apart.

Use a nail to punch a small hole at the points where the grid lines intersect. Then drill out these holes with a drill bit that is slightly larger than the machine screws you are using. When drilling, make sure the plate is held firmly in place. If it catches on the drill bit, it can spin around really fast and give you a nasty cut. I also recommend wearing gloves. After drilling the holes, you may want to use a file or pliers to remove any sharp burrs on the back side.

Lastly, use a pair of tin snips to cut out square sections of four holes. These will be the brackets that hold the fans together.

Attach the Fans Together

Position four fans side by side. Fit a machine screw through the inside corner hole. Then place the bracket and tighten a nut on the top. Do this for all four fans. Continue adding fans until they are all bolted together. The holes on the outer sides can be left empty or held together with a half bracket (two holes). These can be made by cutting a four hole bracket in half.

Connect the Wires

Now you need to connect the wires of the 16 fans. I started by connecting the positive wires of one row. Then I connected the negative wires of that row. Insulate each connection with either heat shrink tubing or electrical tape. Repeat this for each row. Now you have several sections of grouped wires. Lastly, connect the groups of wires so that all the positive wires are connected together and all the negative wires are connected together. To test it out, connect the fan assembly to a large 12 volt battery; this should turn on all the fans.

Glue Down the Wires

You don’t want a lot of loose wires hanging around. The easiest way to deal with the wires is to use hot glue to hold them down to the body of the fan.

Pull the wires tight, then put a large drop of hot glue in a corner of the fan. Hold the wires down on the glue until it cools and hardens. For large bunches of wires, you may want to put another drop of glue on top of the wires to help hold them in place. Do this for all the wires. Be very careful to keep the wires away from the fan blades. If the fan blades rub against a wire, it will not blow properly.

Powering the Fan

A typical PC fan will run at 12 volts and 0.20 amps, so 16 fans combined will require 12 volts and about 3.2 amps. There are several ways that you can supply this.

The easiest way to power your fan is to hook it up to a large 12 volt battery such as a car battery. You can easily add a car power adapter plug to the end of the wires so that you can plug the fan directly into the cigarette lighter of your car or RV.

Another option is to use a computer power supply. You can hook it up to the power supply of your desktop and run the wires out of the back of your computer to the fan. You can also use an old power supply as a bench power supply to power the fan. I also have a project that show how to set this up: instructables.com/id/Computer-Power-Supply-to-Bench-Power-Supply-Adapte/

You can also use a 12 volt AC adapter. I had a few old laptop power adapters that were able to power it. Just make sure that the adapter can output 12 volts and 3.2 amps.

Enjoy Your PC Box Fan

Now you can enjoy your new PC Box Fan. It works great. It’s quiet. It is small enough to fit behind furniture or in a in a packed car.