I’ve posted a video of the gameplay to Flickr: http://www.flickr.com/photos/8190411@N07…
I have been slowly working on a series of automatons and robotic effigies of my coworkers as a way to exercise my creativity without cluttering the house with kid-unfriendly creations. My two main design criteria were low cost and uniqueness. Builds included a stand-up paddle-boarder; a duct-tape speed boat; a soda-can steam-powered jet ski; and a wheeled, obstacle-avoiding room-roamer with a cross-country skiing action. For my next trick, I thought it would be fun to try something climbing-related. You may have noticed the outdoor theme here. I work for REI, a large consumer co-operative charged with inspiring, educating and outfitting folks for a lifetime of outdoor adventure.
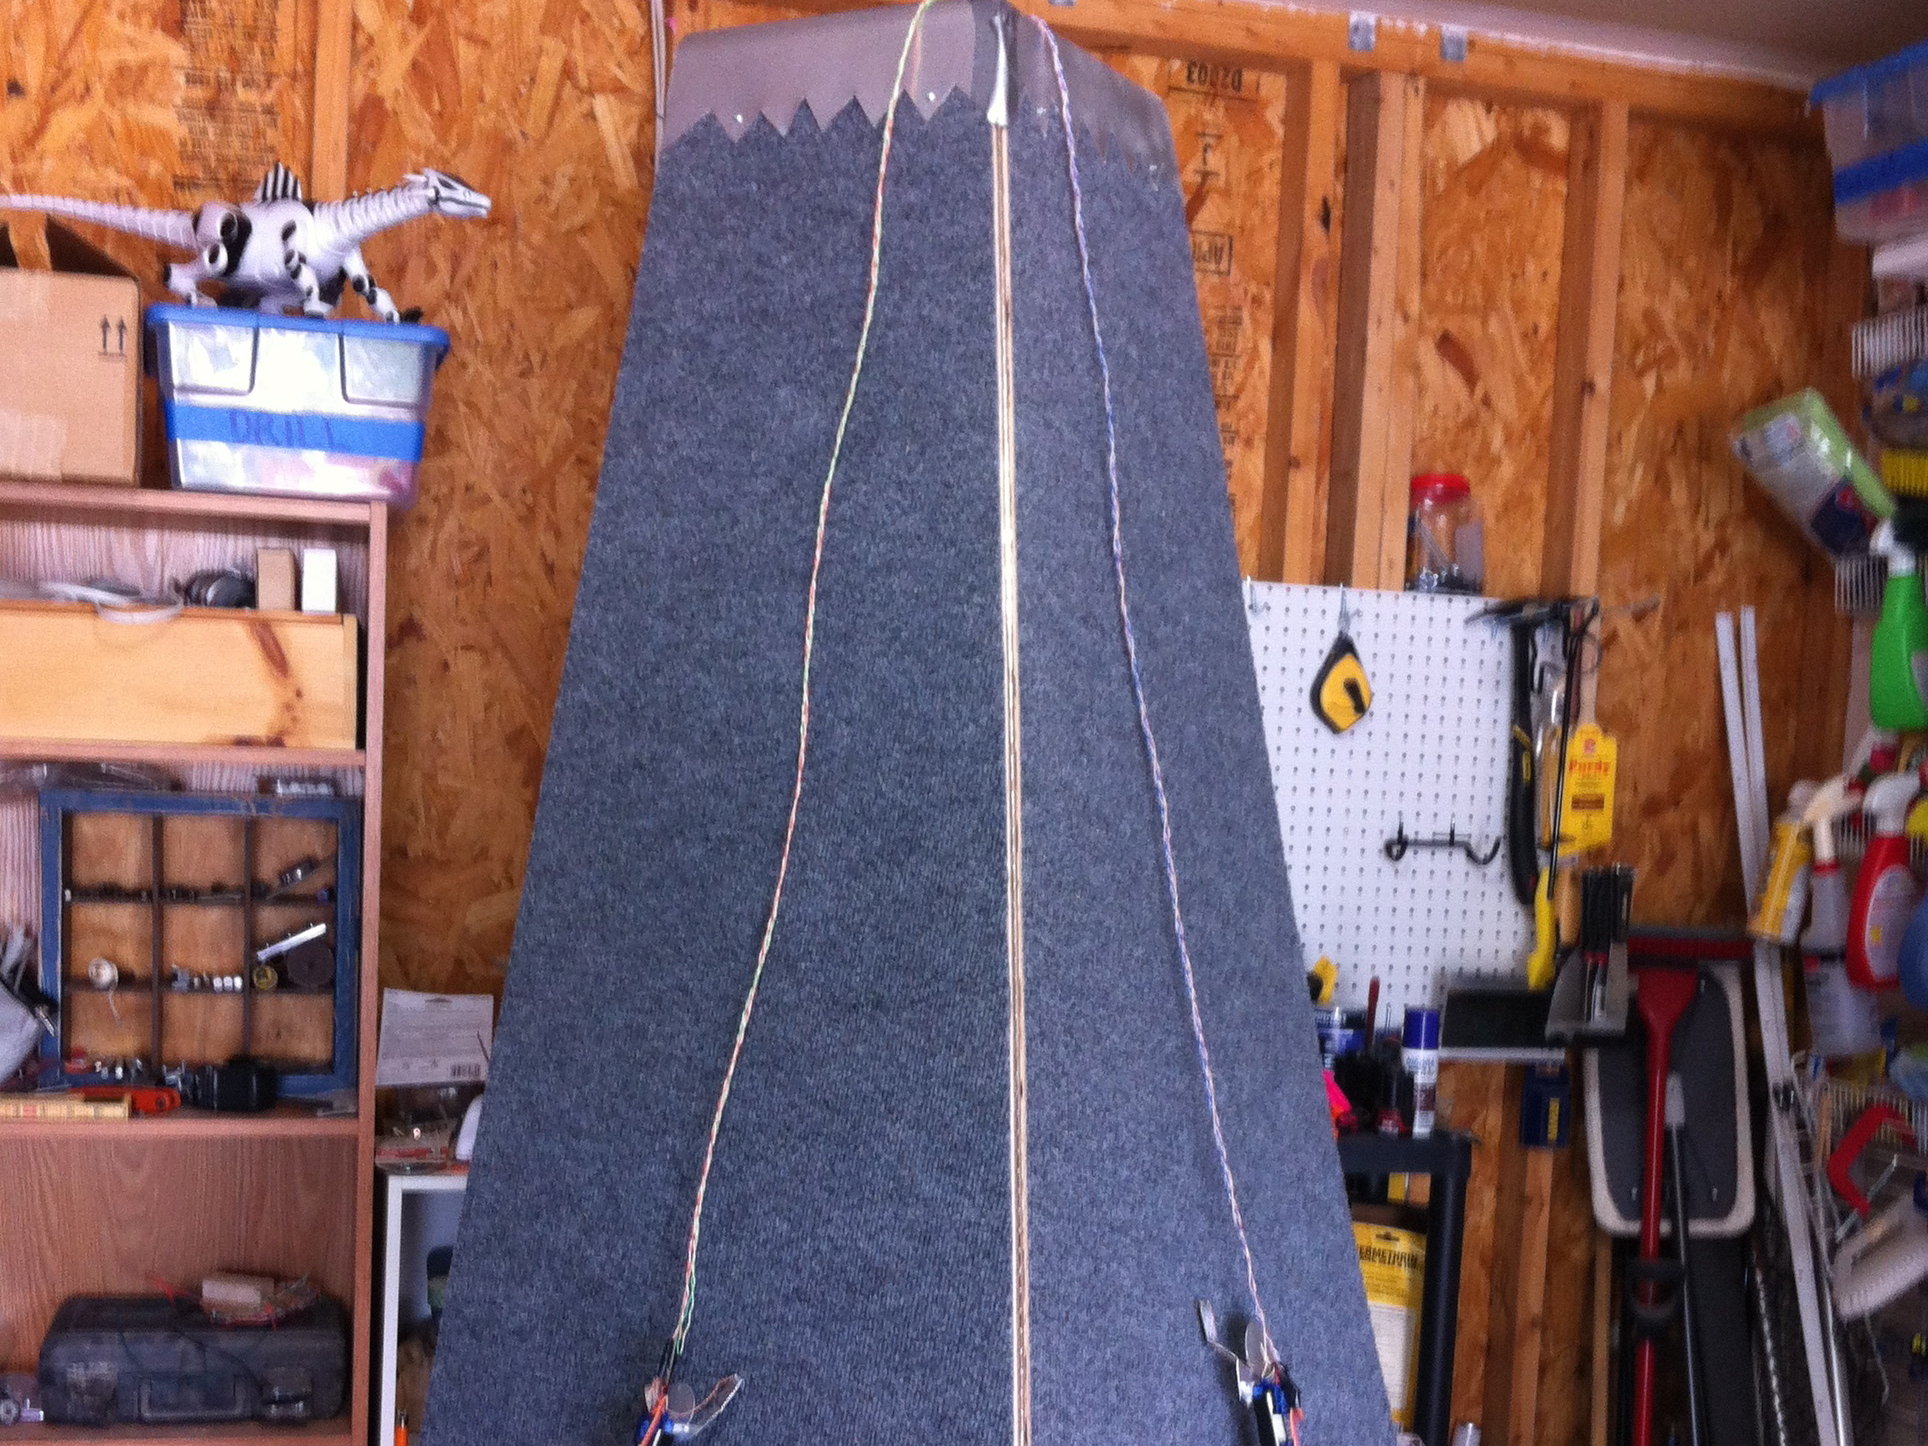
I knew it was going to be tricky to build a climber inexpensively. All the climbing bots I could find on the web used either magnetic wheels (not authentic enough for me) or enough servos to blow my budget ten times over. I thought perhaps I could reach my goal by tweaking the leg shapes of a bi-core walker, a popular BEAM design. Some experimentation later, I found I could coax a climbing action given a sloped and carpeted surface. I played around with carpet-covered sheet metal and super-magnets on the hands and feet, but the sheet metal was going to add too much time and cost to the project. I settled on sharp hands and feet moving up a carpeted plywood surface, as that perfectly matched the scrap materials I already had on hand.
Unfortunately, mounting batteries was going to be tricky, as the center of gravity was touchy enough with just the servos hanging out on the back. Cramming on tiny sensors and compact control circuitry also seemed like more work than I wanted to put into this project, especially considering that most of the other creations in this series took less than two hours. As such, I moved to a tethered design, but then had to decide how the tethers would affect the climbing action. It would be great if the tether hung like a tail, but I couldn’t keep the climber’s arms on the wall with the added weight.
Having decided that the tethers would be top-ropes, so to speak, the idea struck me that I could make a game of it, two climbers racing against each other. After that, it was just a matter of implementation and refinement.
One Arduino reads the pots and controls the climbers’ servos while the other Arduino handles the game mechanics: power, LCD, timing, music, and win detection.
The single button turns everything on or off with a Polulu Power Switch. Upon power-up, there is a brief title screen, a plea for gentility, and then the countdown begins. When the race starts, the control Arduino signals the climber Arduino to start mapping the servos to the pots.
Both climbers use the same three-dollar servos I ordered direct from Hong Kong. One climber is significantly longer than the other, but less stable. Rather than perfect each climber, I chose to leave them a little rough and hard to handle. In the future, I may add obstacles to the climbing wall, but I want to first see how things go with a blank wall.
My first versions of the sheet aluminum arms and legs terminated in digits crudely shaped with oversized tin snips. These held the carpet passably, but threw off the steering. I installed tacks in each hand and foot, making a world of difference in grip and control. I really wanted the hands to be holding ice axes, as ice axes were the reason for founding REI. Unfortunately, the added length messed up the geometry. Perhaps I’ll revisit the idea when the current climbers break. Yes, I don’t expect any of my parts to last long at the hands of enthusiastic players.
Anyway, the spikes are connected to ground, and the wall’s aluminum snow caps are each connected to a pin on the control Arduino. The winner is announced, either Mary or Lloyd (the names of the couple that founded REI), and the elapsed time is displayed. I considered storing high scores in the EEPROM, but they wouldn’t have meant as much without the players’ names, and text entry is another thing beyond the scope of this cheap and lazy project. As such, the winner has 30 seconds to scribble down their score on a chalkboard or tweet a picture of the display hash-tagged #peak97.
Until we can that pool table in the break room at work, this’ll be the next best thing :)


