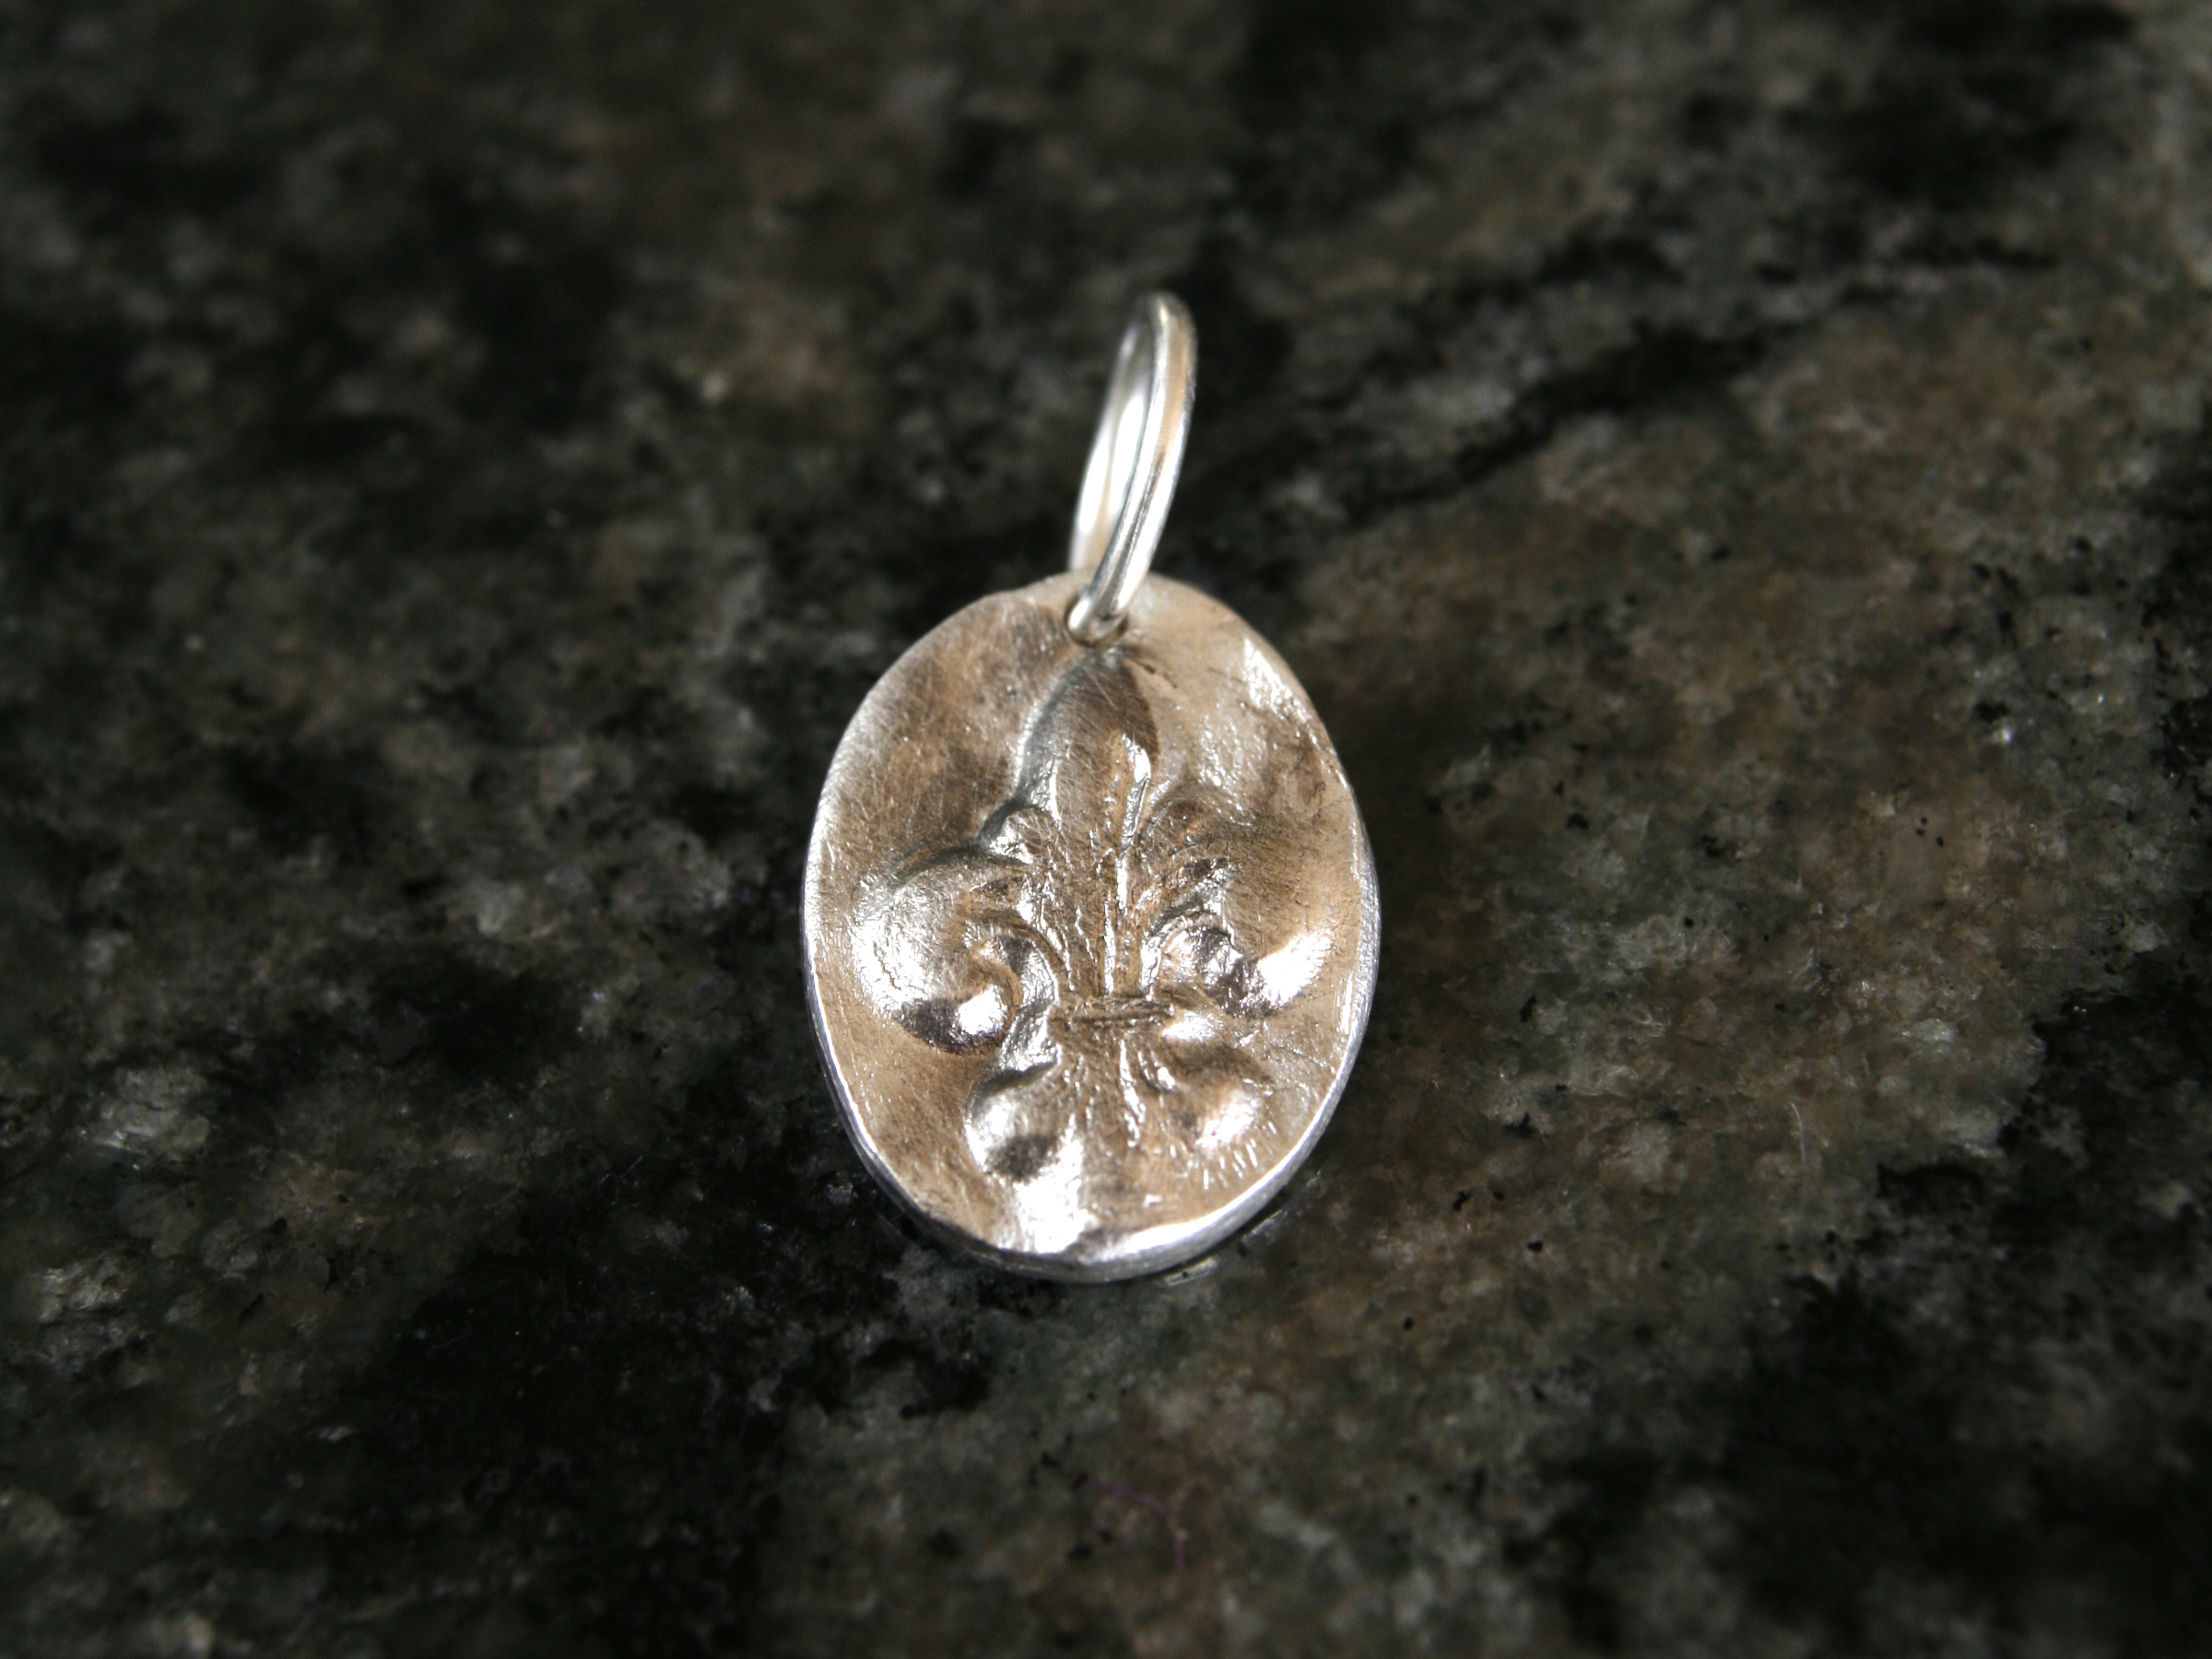
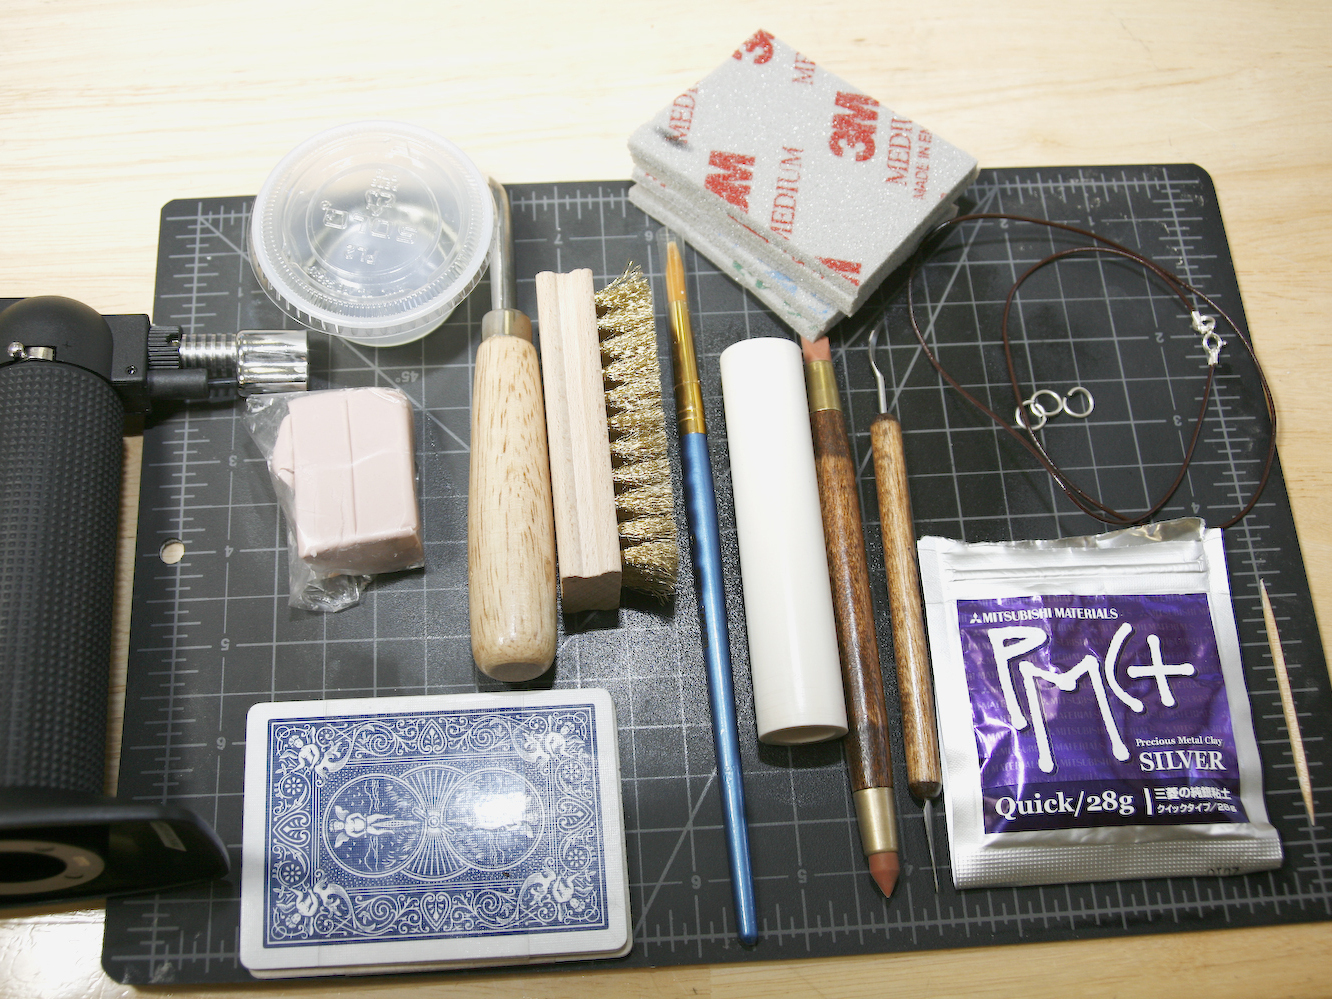
Precious metal clay (PMC), developed in the 1990s by the Mitsubishi Materials Corporation, is actually powdered metal suspended in a clay-like binding medium. It is a very user-friendly material. You can mold it, stamp it, shape it, file it, carve it, glaze it, and texture it while it’s in its clay-like form. After air-drying, the finished piece is fired either by a torch or in a kiln. During the firing process the binding medium burns off, leaving molecules of metal that have no choice but to fuse together. The finished product is a shiny sculpture of silver or gold! Let’s begin!

What will the next generation of Make: look like? We’re inviting you to shape the future by investing in Make:. By becoming an investor, you help decide what’s next. The future of Make: is in your hands. Learn More.

Project Steps

Think it through.

When working with PMC, think through the entire project before starting — this material, unlike regular clay, can be expensive to waste (thus the name precious!).

Before beginning your project, read through all the instructions and consider the following design questions:

1. What are you going to make? If making a pendant (as in this project) or earrings, how will the piece hang when worn?

2. Will you need to attach a jump ring for a chain or cord to go through? Or will the bail (loop) be integrated into your piece?

3. Will the piece have texture? Texture can be applied on both sides of your project if you roll out your piece 4–6 cards thick.

4. Are you are going to make a mold to help shape your clay? If so, follow the instructions enclosed with your Sculpey first.

Other things to consider: PMC works best when compressed or worked in toward the center of your piece rather than smeared out toward the edges. You want your finished piece to be smooth around the edges and comfortable to wear. Your piece will shrink 10%–12%, so size your piece accordingly. Rings should not be attempted for this first project; you will need to purchase additional items and you’ll need the shrinkage formula for rings.

Choose your patterns.

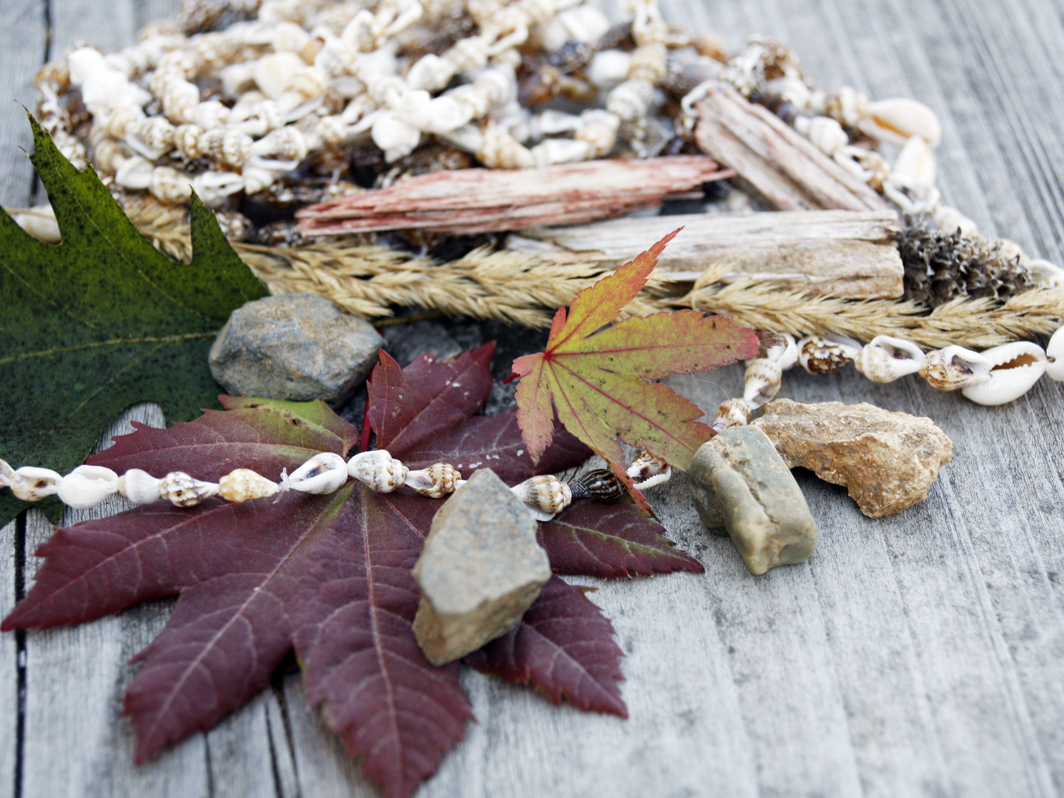
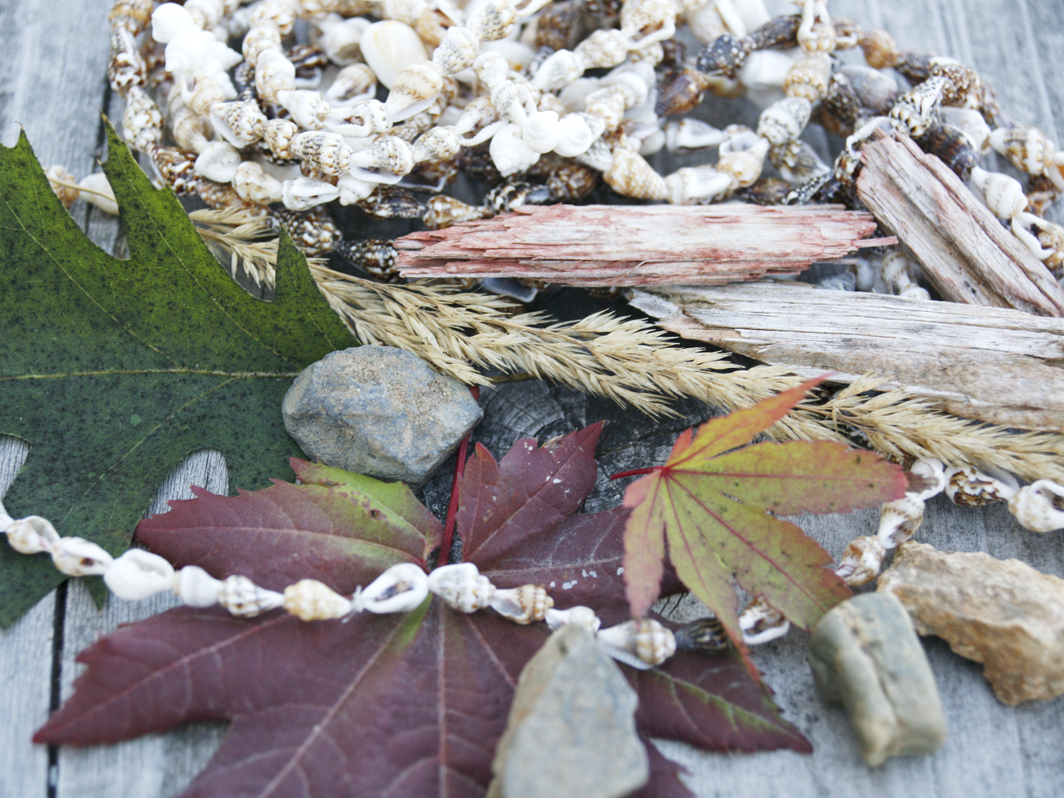
Before making molds for our 3 pendants, we need to choose 3 patterns. Almost anything with a relief pattern can be used to make a mold. Leaves, flowers, patterns on rocks, shells, small plastic toys, or rubber stamps can make wonderful and unusual patterns and shapes. I made one of my patterns with leftover clay and the others with rubber stamps. For this project you’ll make 3 small molds, each not exceeding ¾”, so your patterns should be no larger than ¾” across.

Make the molds.

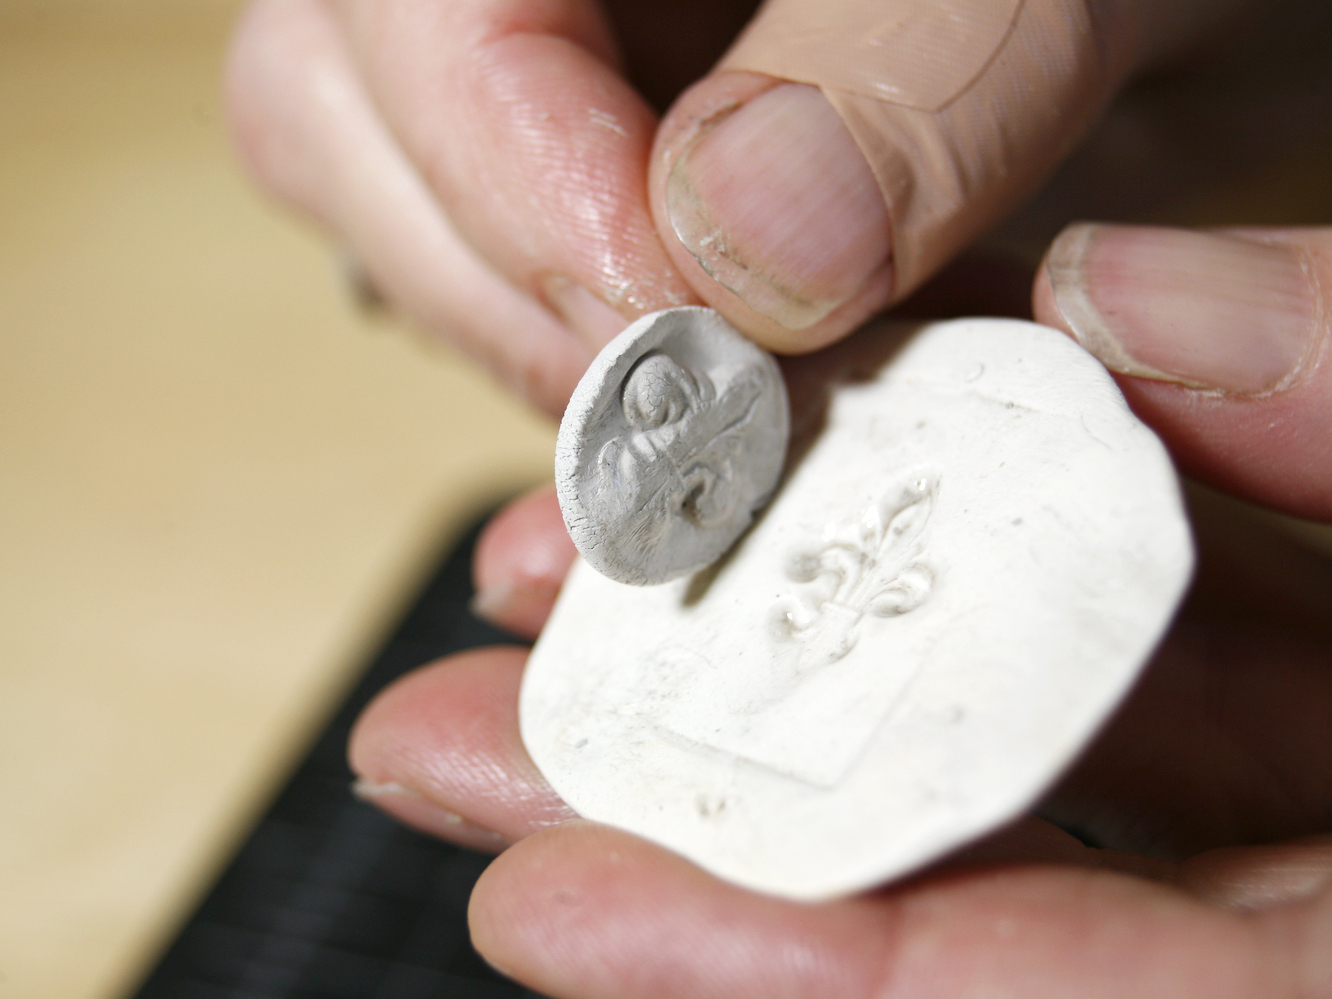
Pinch some Sculpey and roll it into a ¾” ball. Smash the ball down until it’s about 1″ thick and approximately the shape of your pattern. Now press your pattern gently into the clay, making an even impression. Remove your pattern. Make 2 more molds of the same size with different patterns.

Bake all 3 molds according to the manufacturer’s instructions. After the molds are done baking, remove them from the oven — they’ll be hot to the touch, so use caution.

Stick it on.

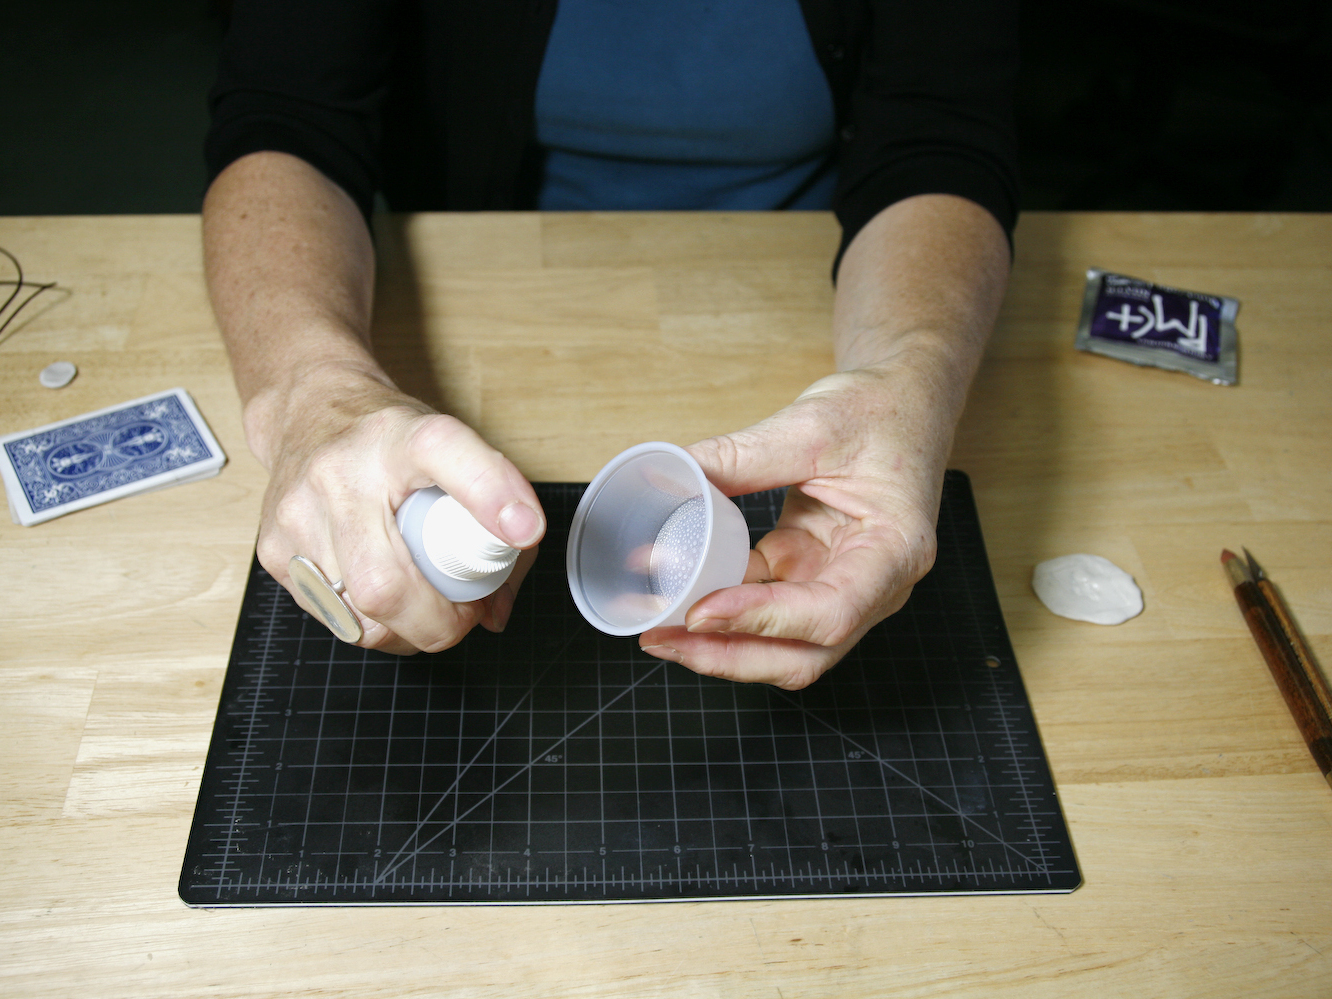
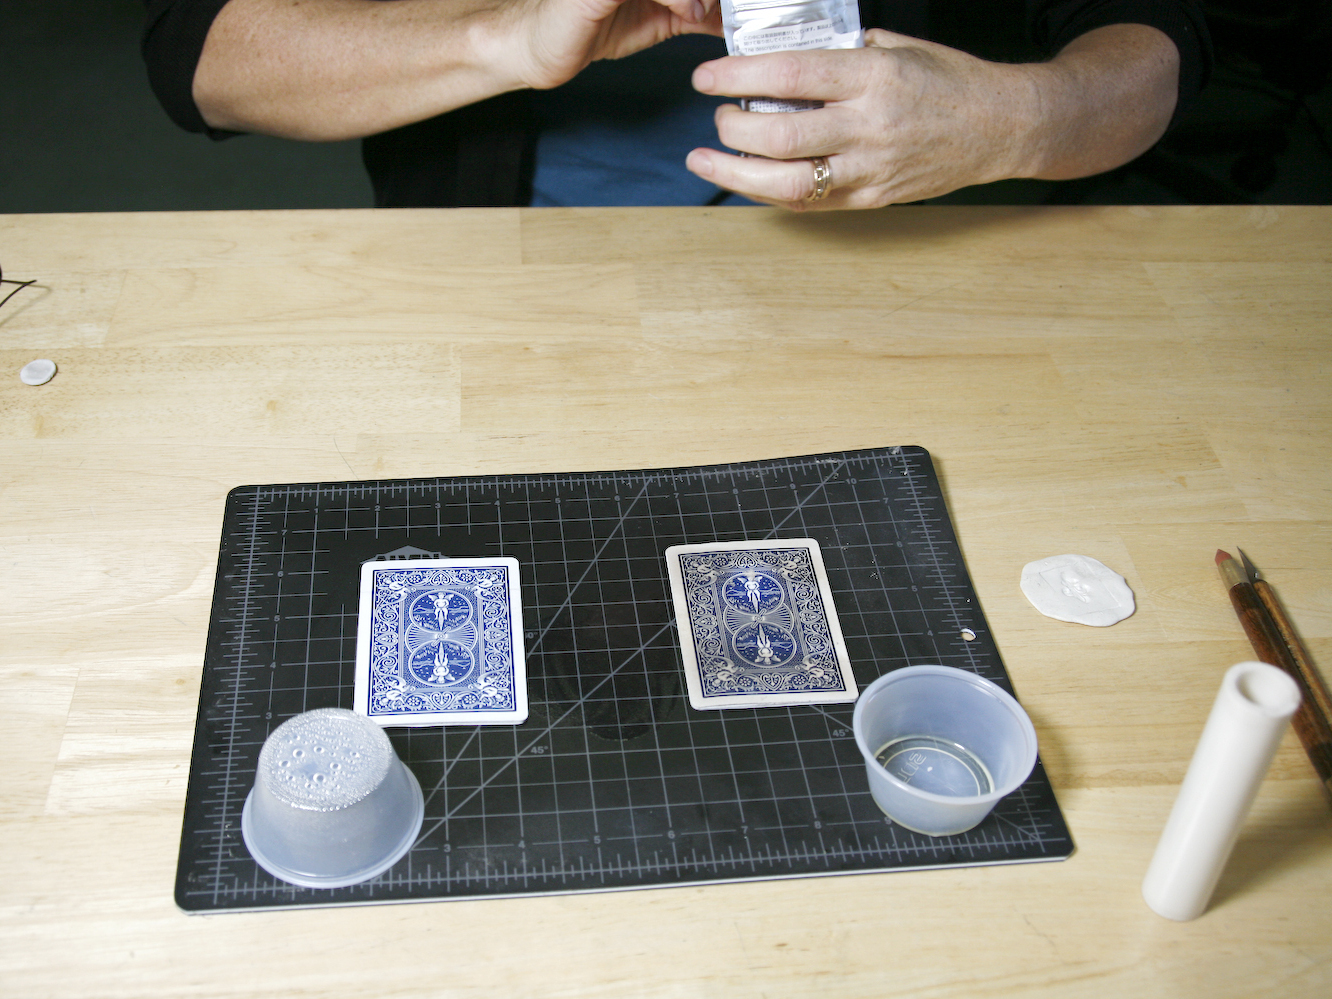
Create a microclimate for your nonstick work surface by misting your small plastic container with water. Place the plastic container upside down in the upper right- or left-hand corner of your work surface — this will house the metal clay until you need it.

Coat your PVC “roller,” work surface, hands, and any tools you may be using with olive oil. Then take out your PMC and put it under your plastic container.

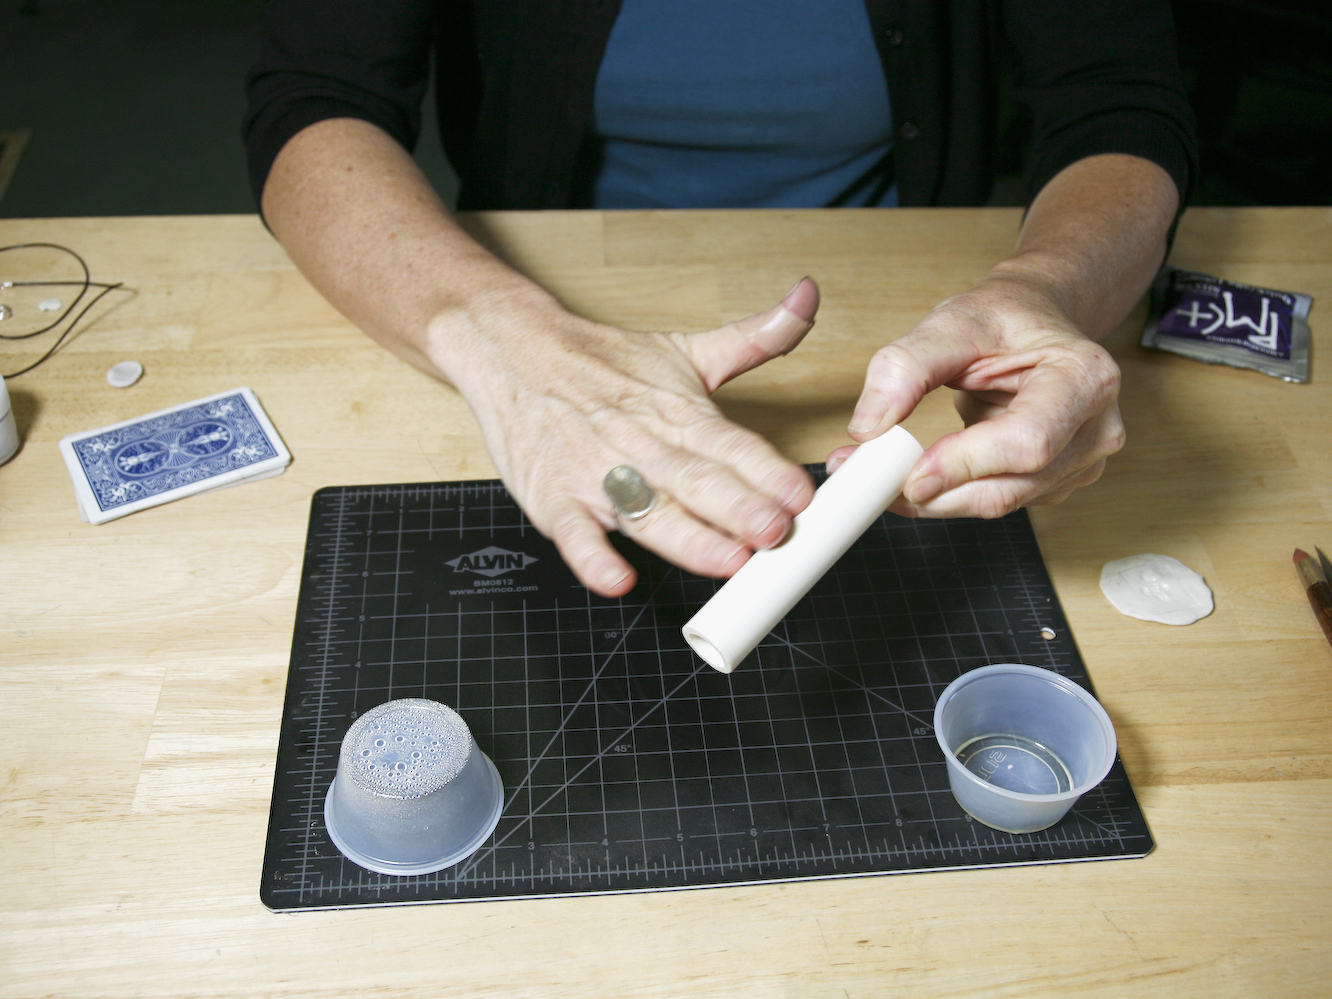
Place your 2 sets of playing cards 2″ apart in the center of your work surface.

Create your pendants.

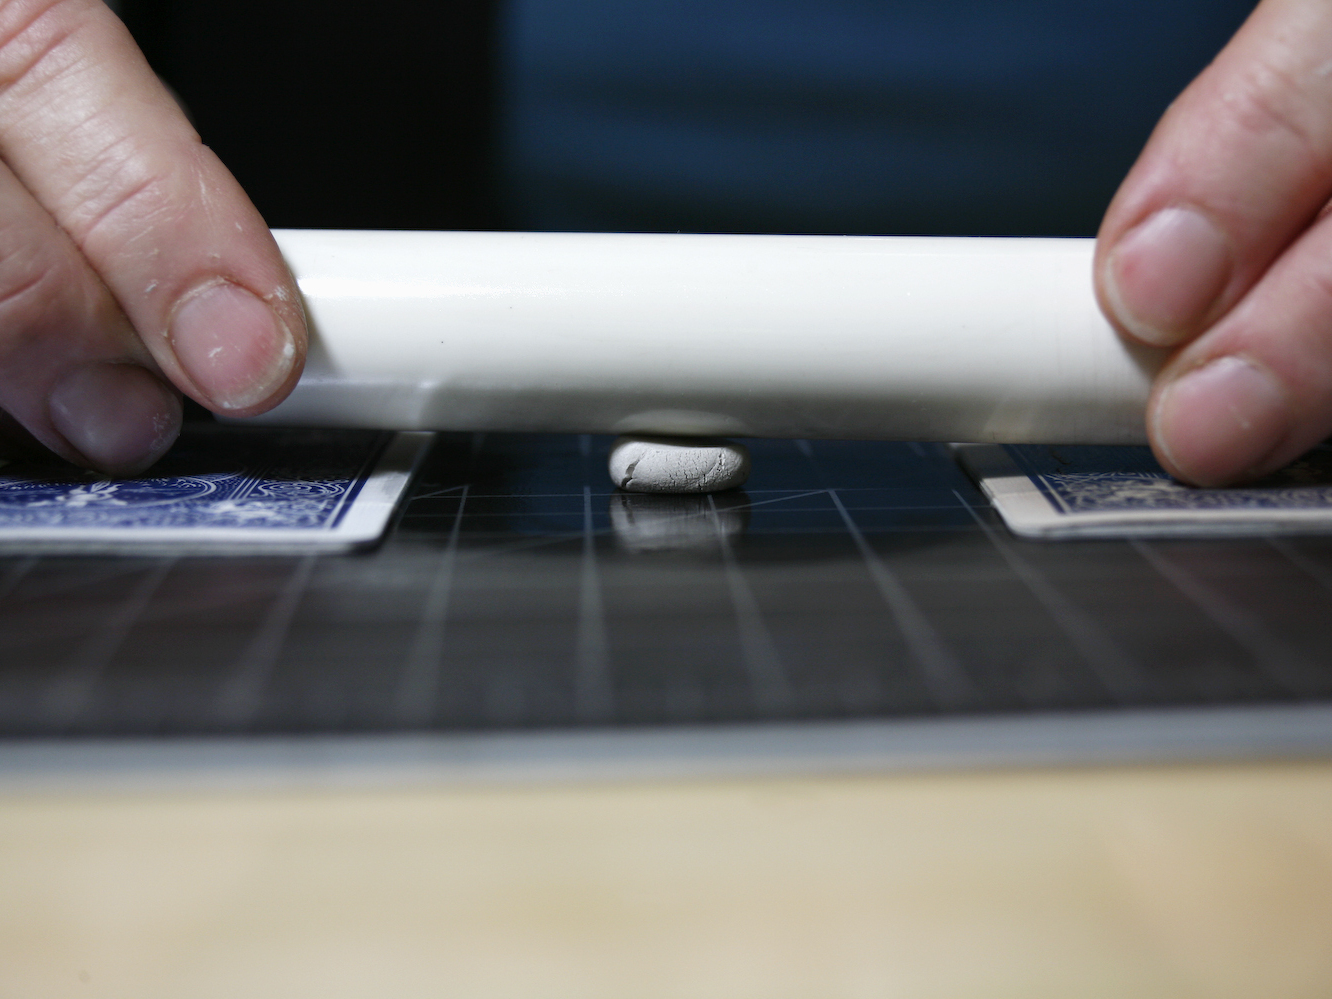
Take about ¼ of your PMC (leaving the rest safely inside its container) and place it between the 2 sets of cards on your work surface. Gently place the PVC roller on your lump of PMC and lightly push the clay down. Use a gentle touch to roll evenly, picking up the clay and turning it as necessary, to achieve the size you want. Stop rolling when the PVC roller lies evenly on both sets of cards (think of the PVC pipe as a level).

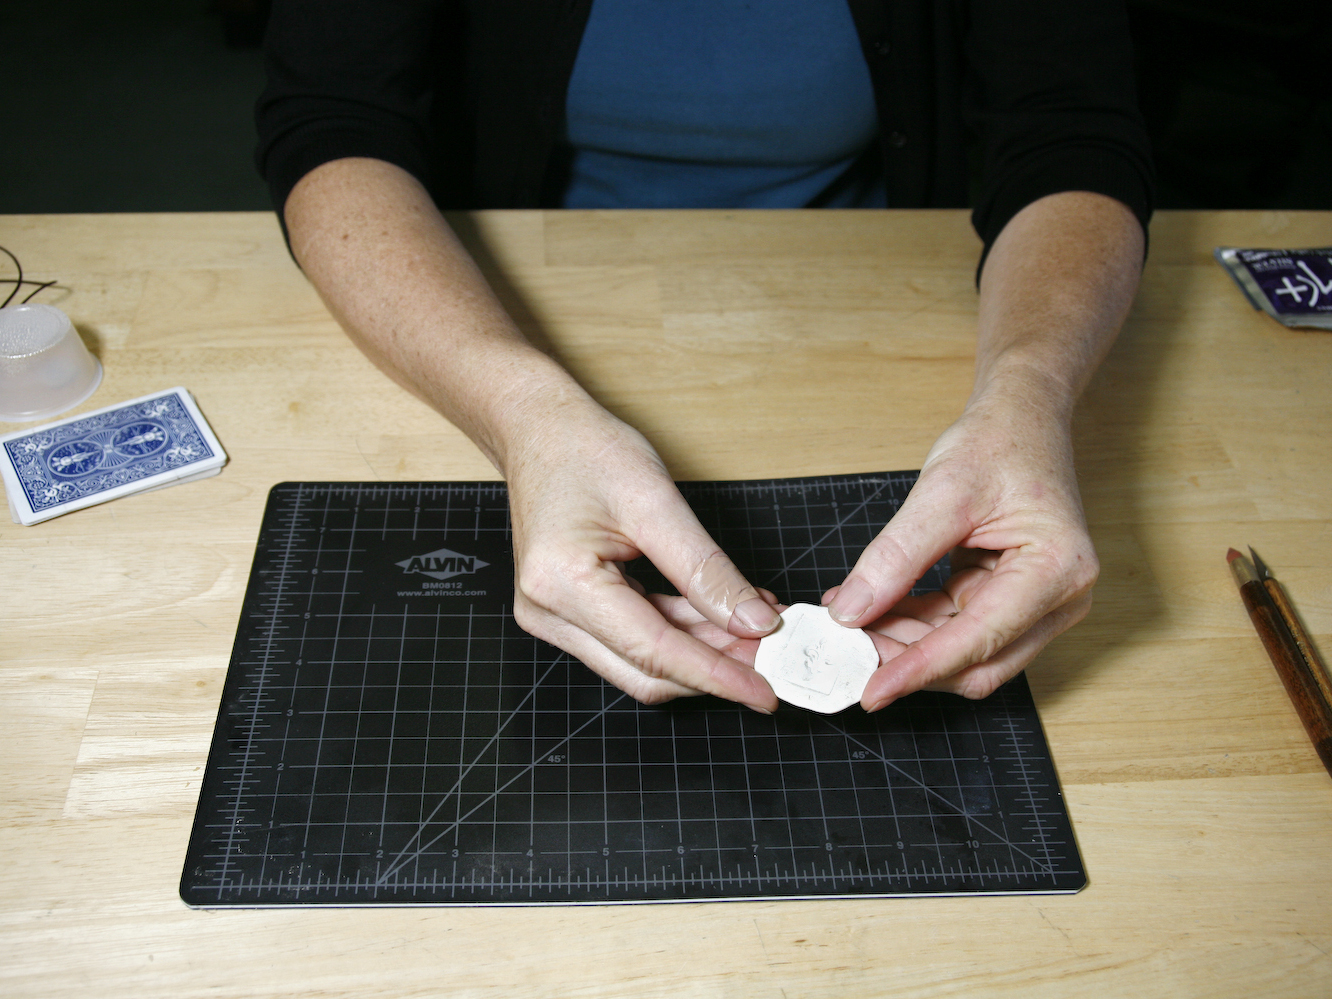
Pick up your PMC and gently press it into your mold. Make sure to apply enough pressure to get the details in your mold, but not enough to tear your clay. Then carefully remove your PMC from the mold.

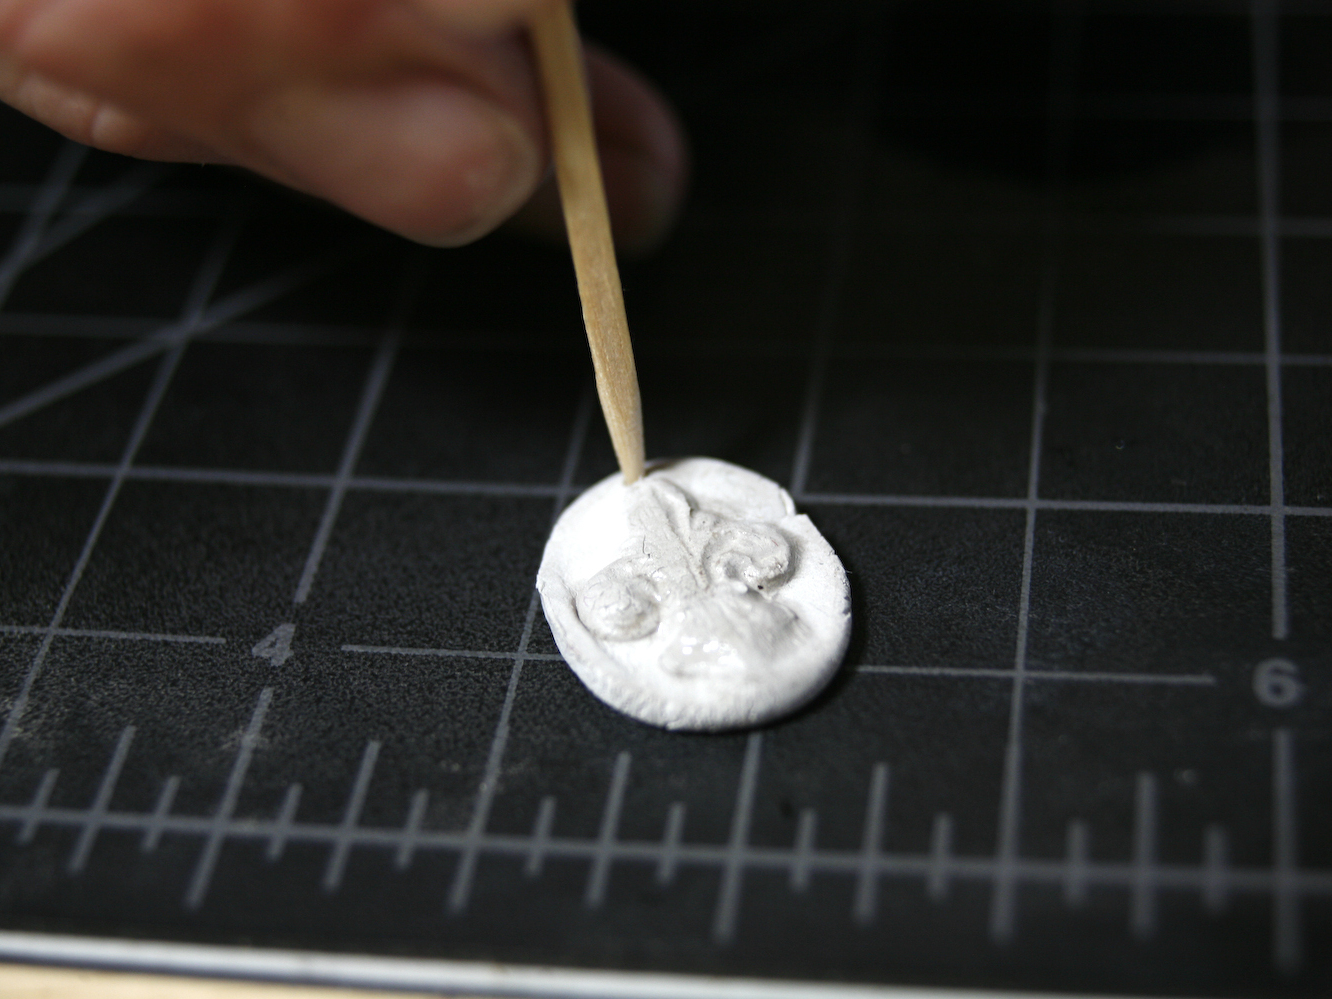
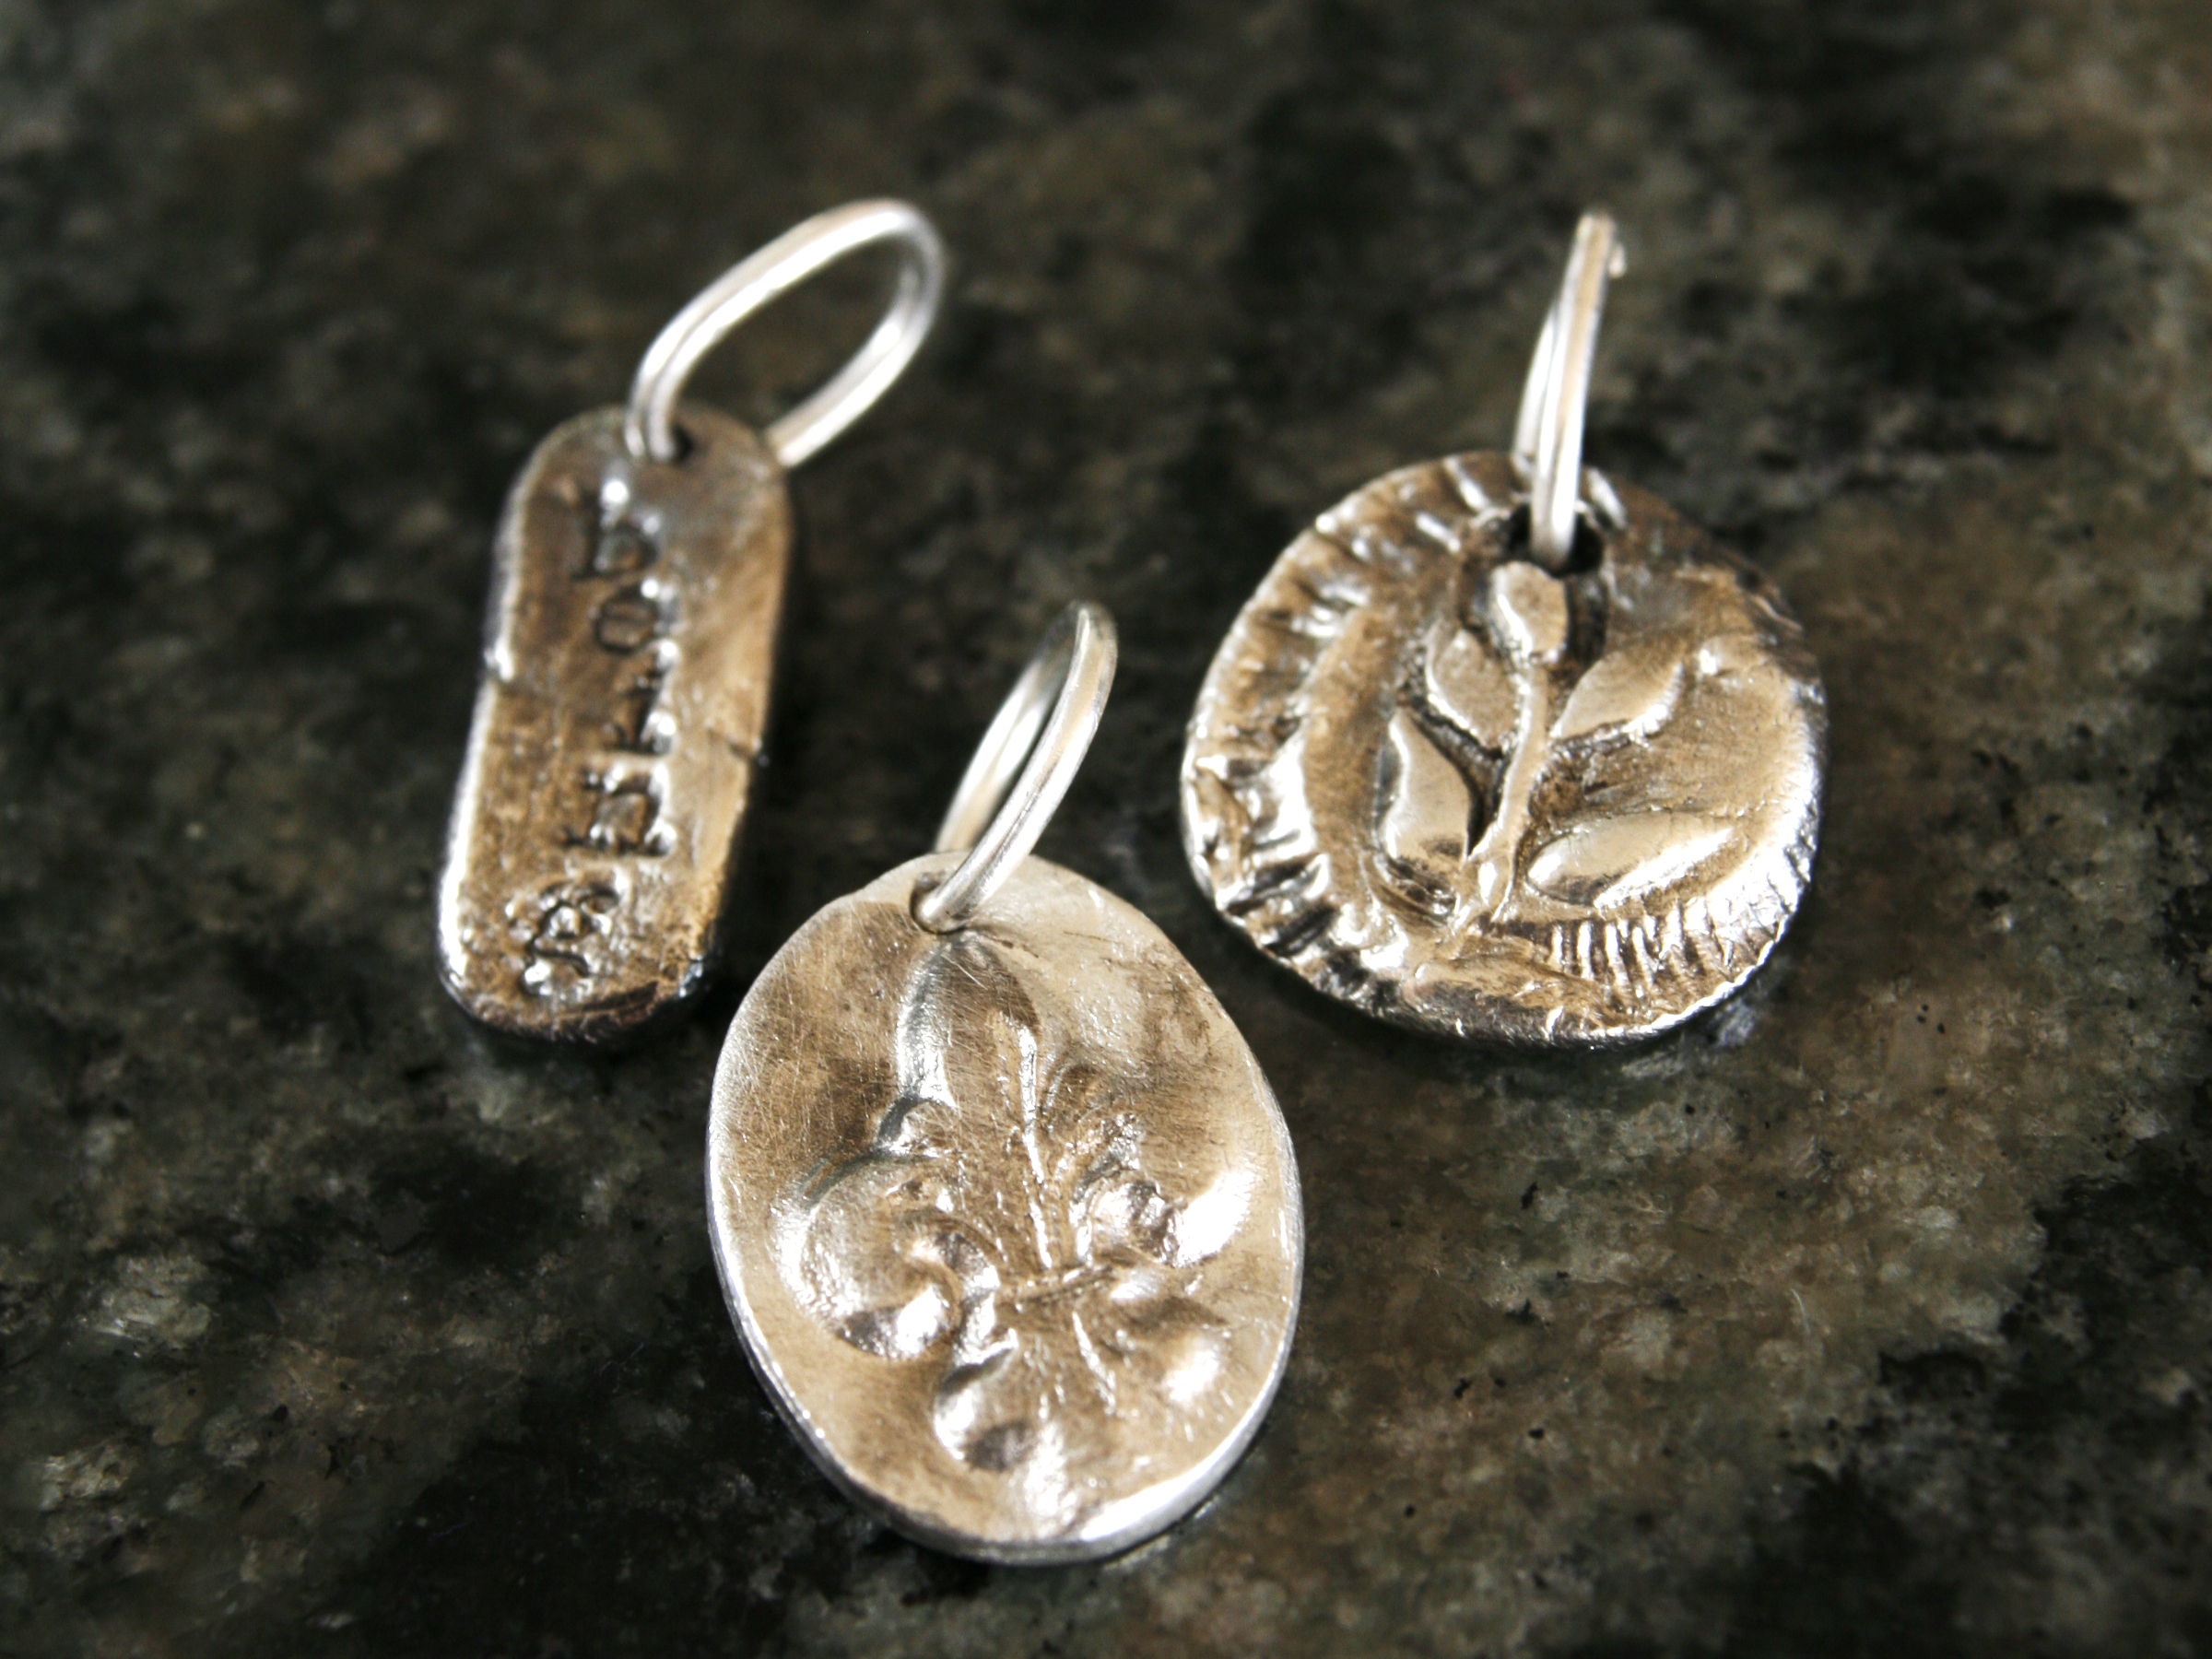
To create a bail (loop) to accommodate your chain, use a slim drinking straw as a form and simply bend your piece at 1 end around the straw. Then the bail for the chain actually becomes a part of your design. Or, if you’d rather attach your piece with a metal jump ring, as those shown in the opening photo, use a toothpick to place a hole about 2mm in from the outer edge. Not too close! Make your hole large enough for a jump ring to go through. Remember, the hole will shrink about 2%, but you can drill it out afterward with a small handheld drill and a 1.5mm bit, if need be.

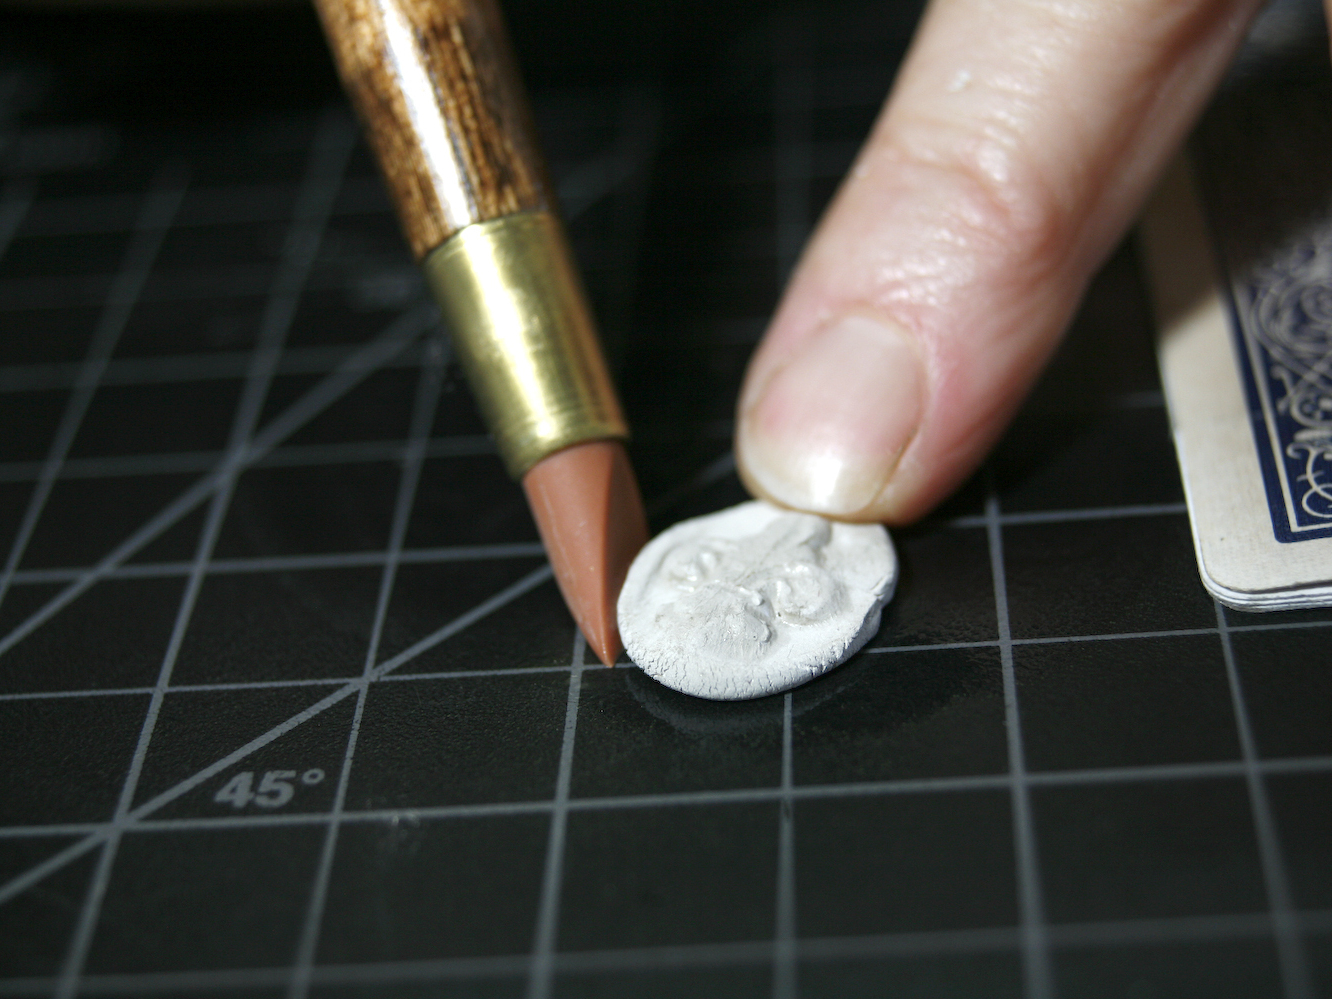
Check the edges of your piece. If there are any jagged edges that you don’t want to use as part of your design, gently work the rough the edges in toward the center of your clay pendant.

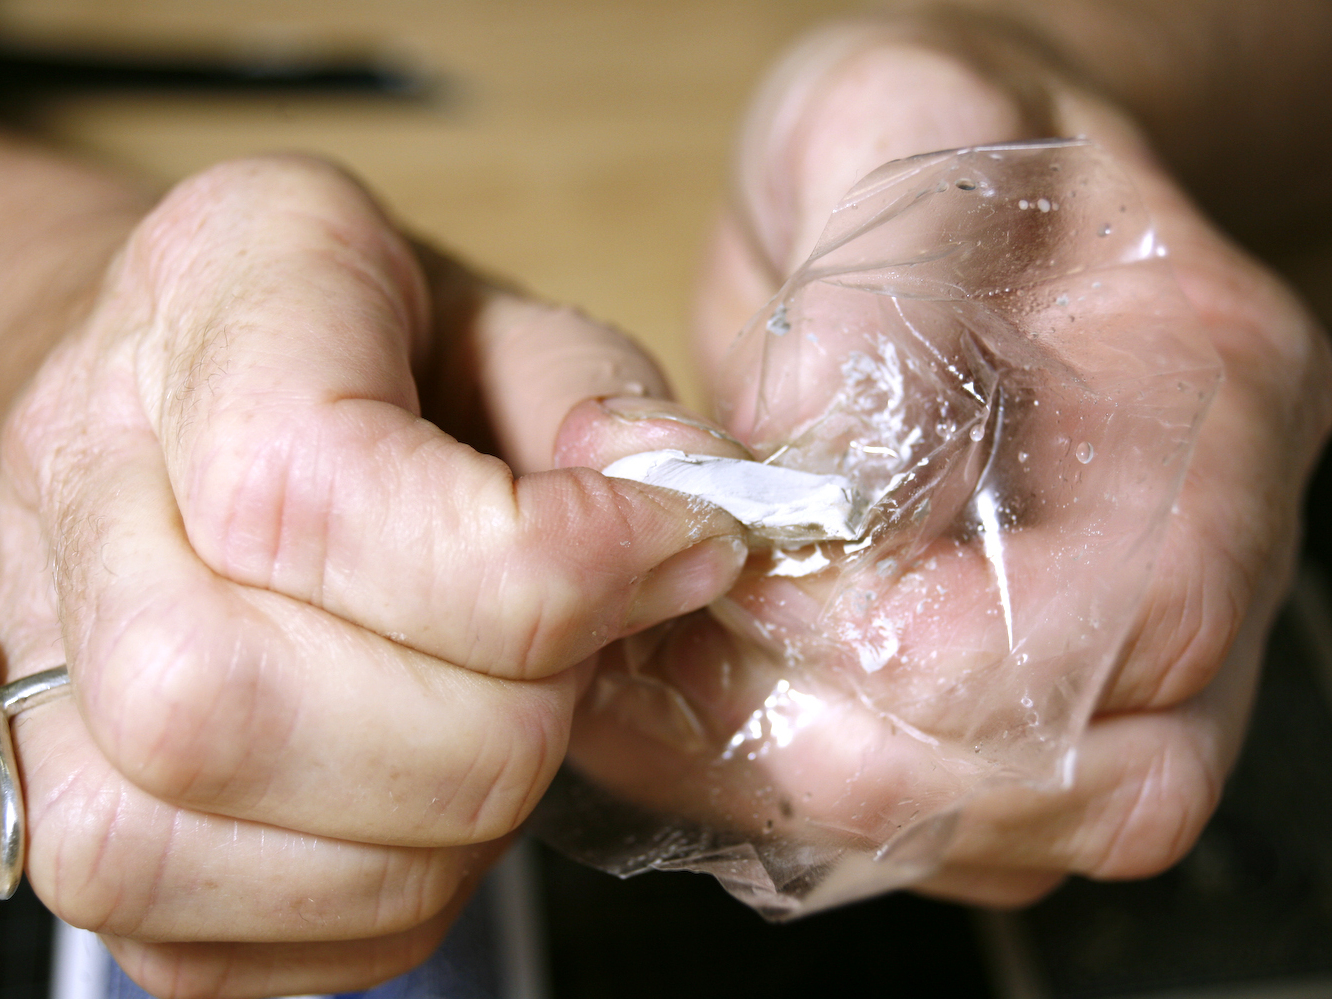
NOTE: If you find that your piece is beginning to dry out, simply cover it with a small piece of plastic wrap or put it back into the microclimate for about 10 minutes.

Dry the pieces

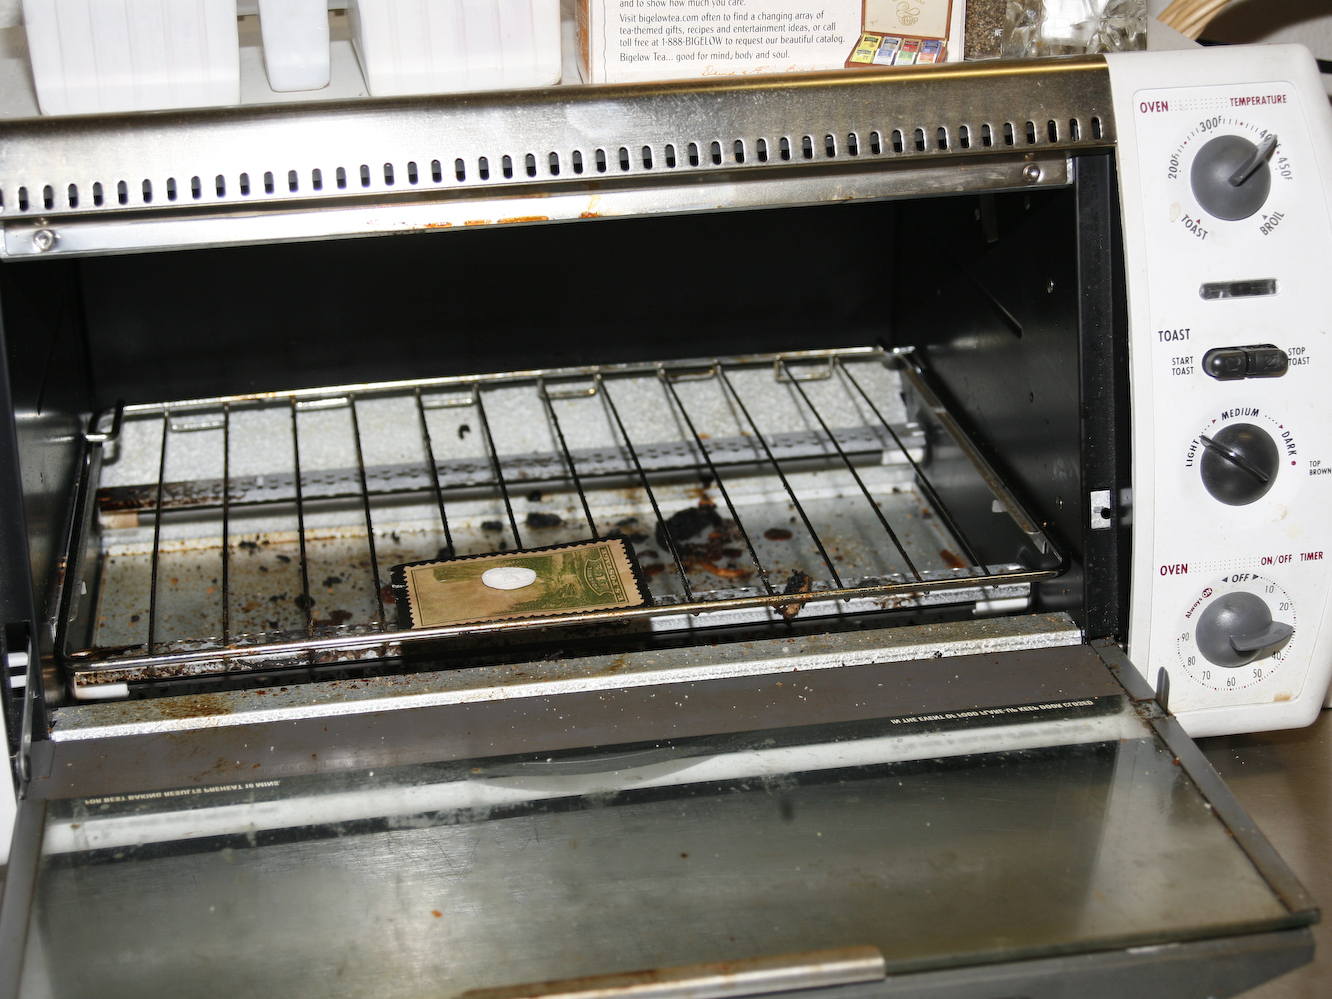
You can either air-dry your pieces overnight, or put them into an oven or toaster oven set to 275° for about 30–45 minutes. Use tweezers when removing your pieces from the oven — they will be very hot.

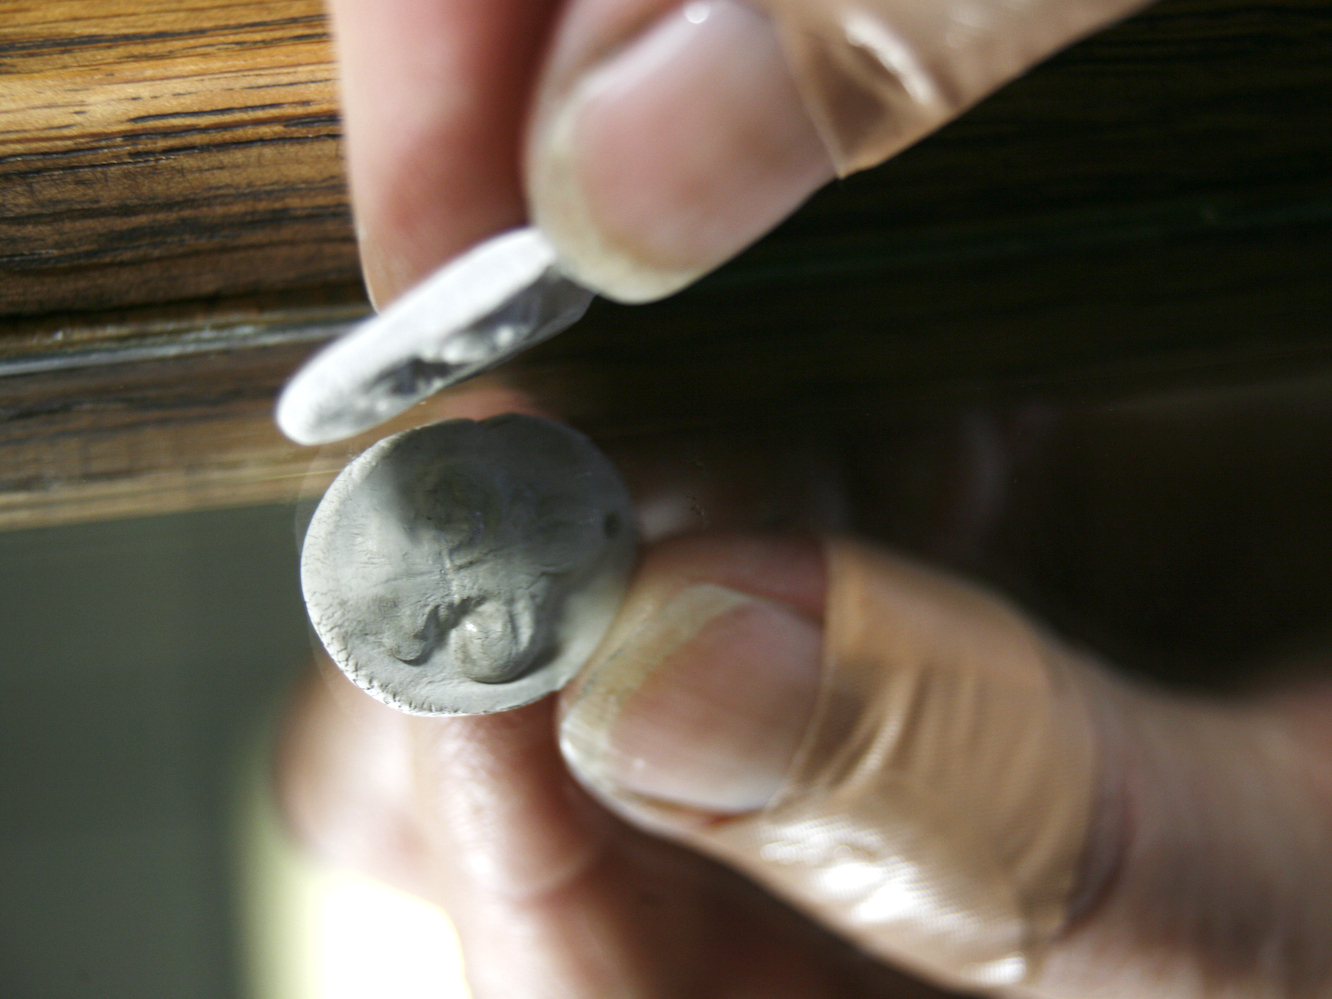
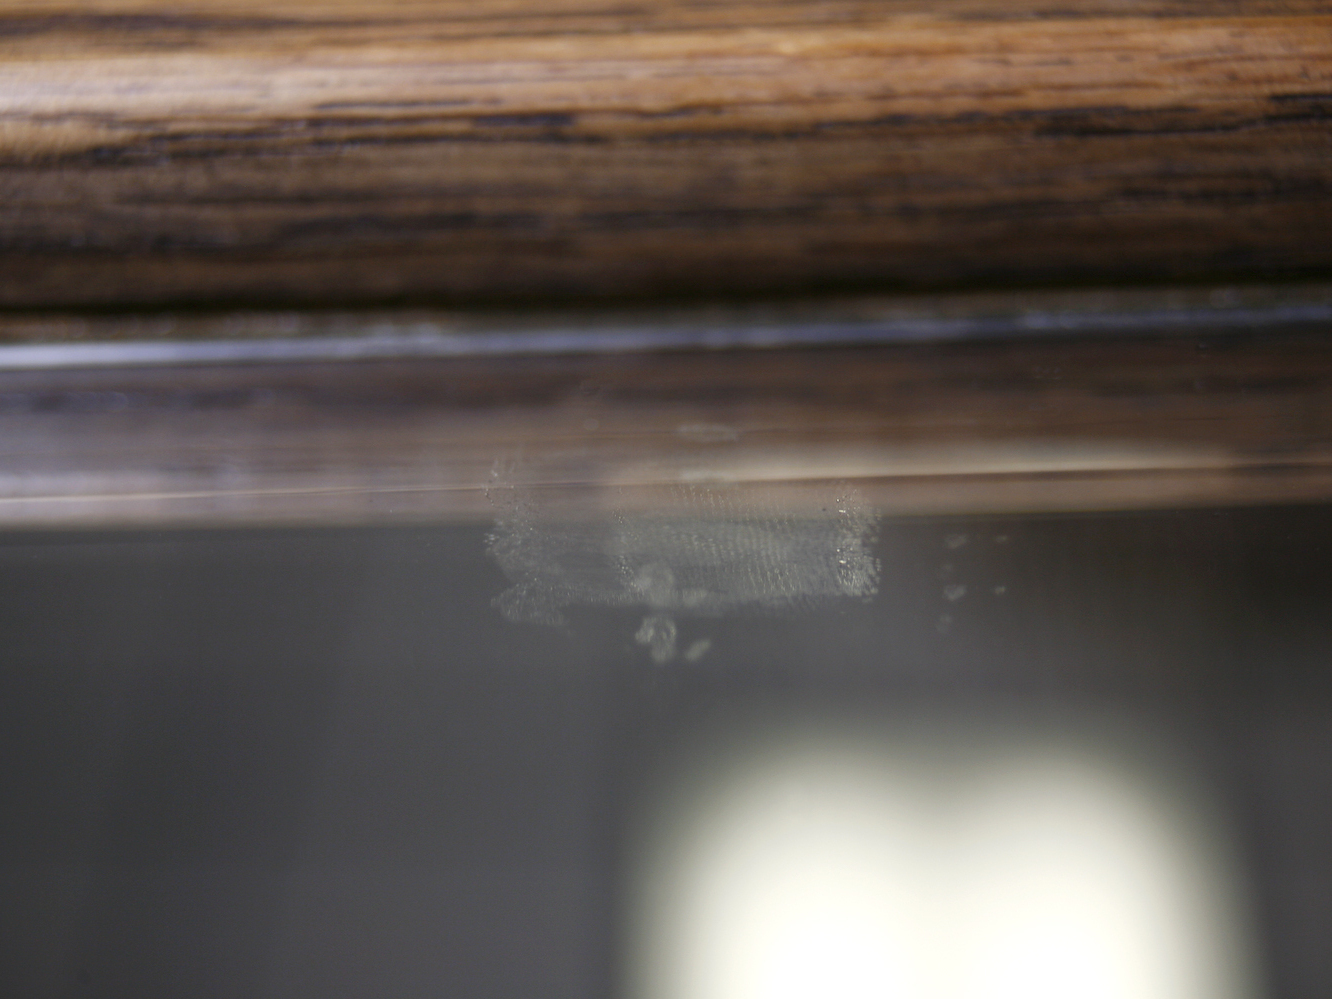
Check to make sure your pieces are completely dry by placing them on a small mirror. If there is any condensation under your pieces, there’s still moisture and they need more time to dry. No condensation indicates the pieces are ready to fire.

Prepare to fire.

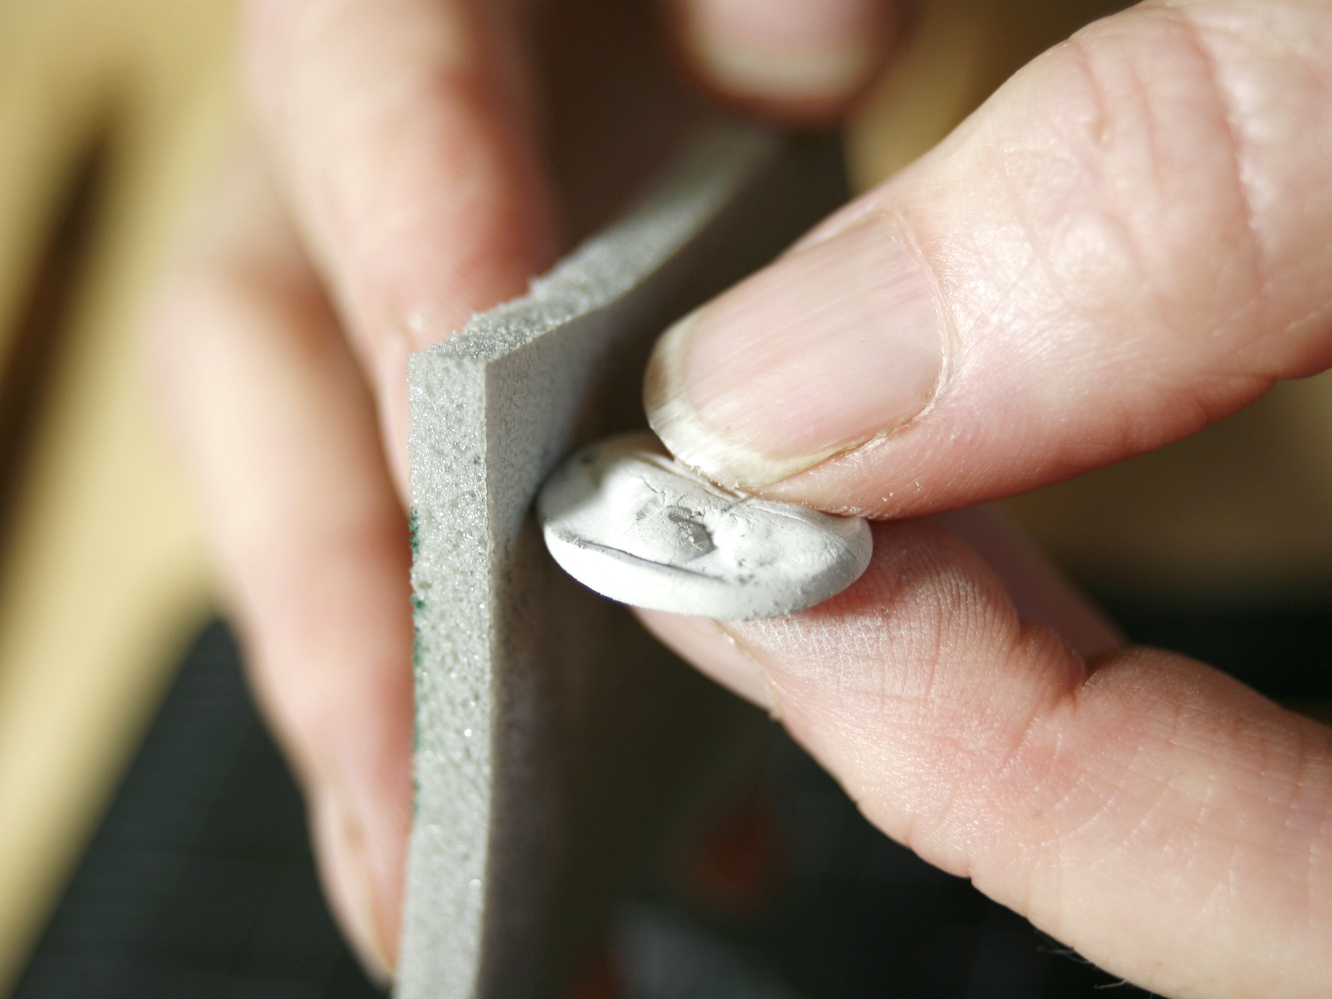
When your pieces are bone dry, they become very fragile! Use sandpaper to gently smooth out any rough edges. Handle your creation with a light touch, sanding the edges with extreme care while supporting the piece. Avoid handling the delicate areas of your pieces as much as possible.

Prepare a small glass jar with water to quench your piece after firing. Then dim the lights in your work area so that you’ll be able to see the color change.

CAUTION: Before firing your pieces, make sure you and your environment are protected! Tie your hair back and make sure your workspace is clean and safe by keeping flammables and loose clothing away from the area.

Ready, set, fire!

Now you’re ready to fire. Firing requires keen observation — it’s important that you keep the flame moving around the piece so it won’t burn or lose too much heat.

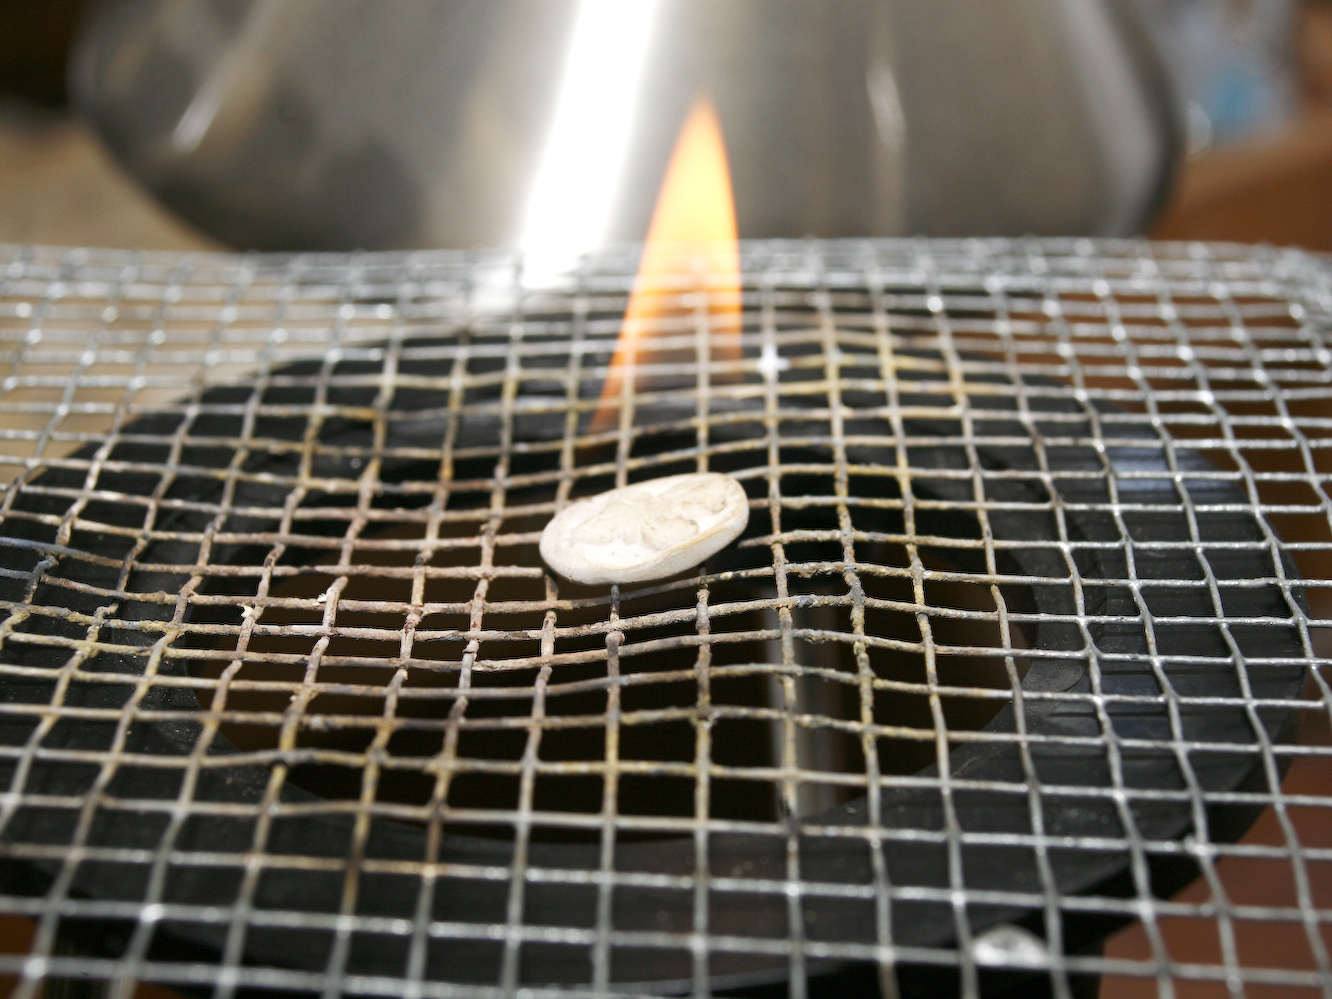
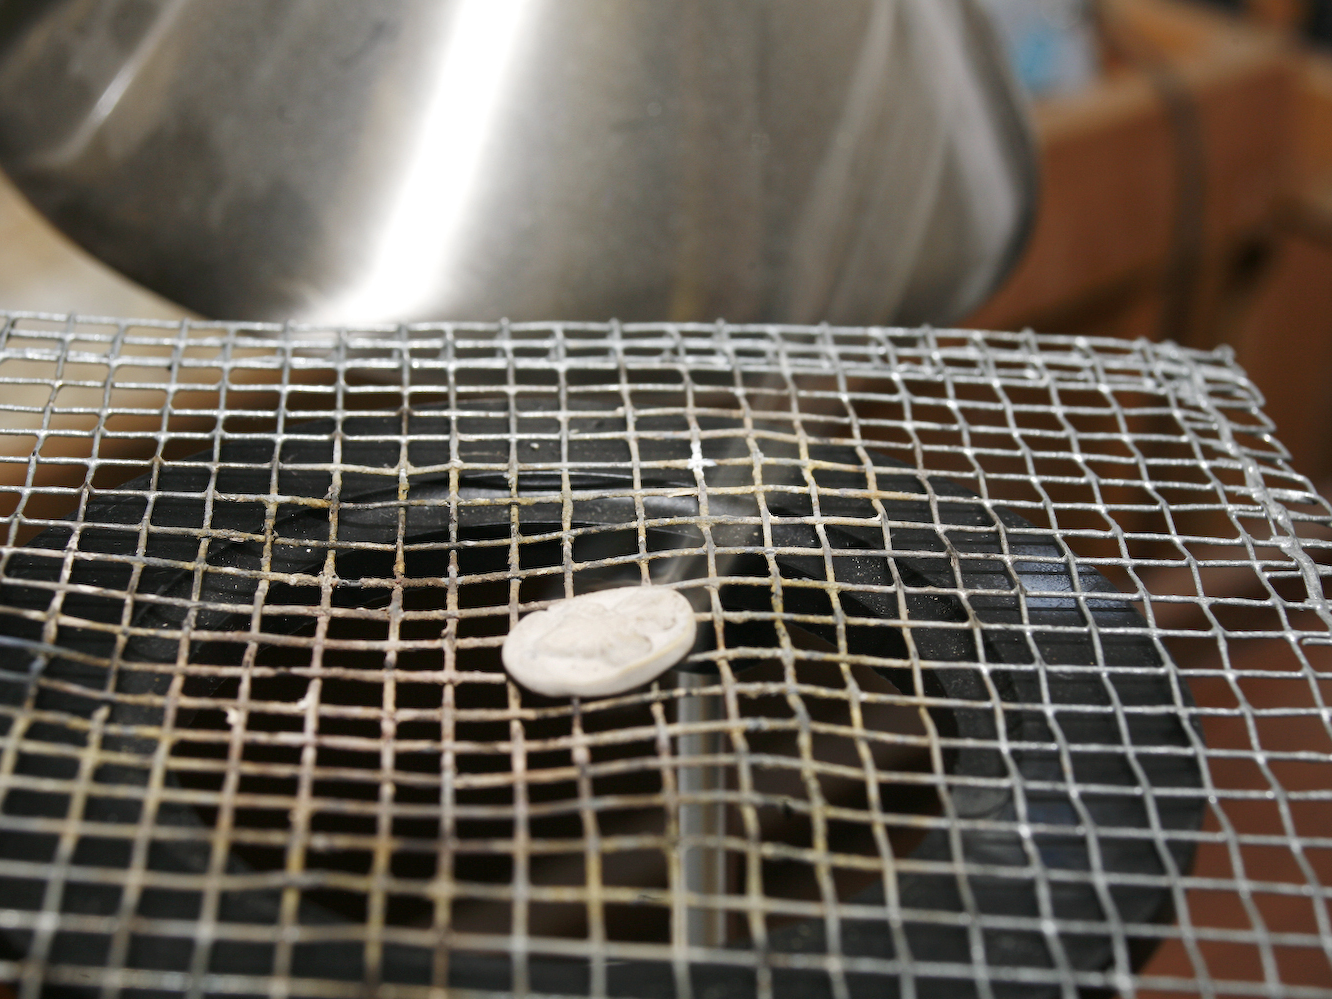
Place your item on a mesh screen or firebrick, on top of a fireproof surface. Turn on your torch according to the torch manufacturer’s directions. Hold the torch at a 45° angle, about 3″–6″ away from your piece. Remember to keep the torch moving — don’t keep the flame on one area! Slowly heat the piece, using an even, circular motion. The item will begin to smoke.

Continue moving in a circular motion until the piece catches on fire — this is the binding agent burning away. Once it’s on fire, keep your torch on, but redirect the flame away from your piece until the burning stops.

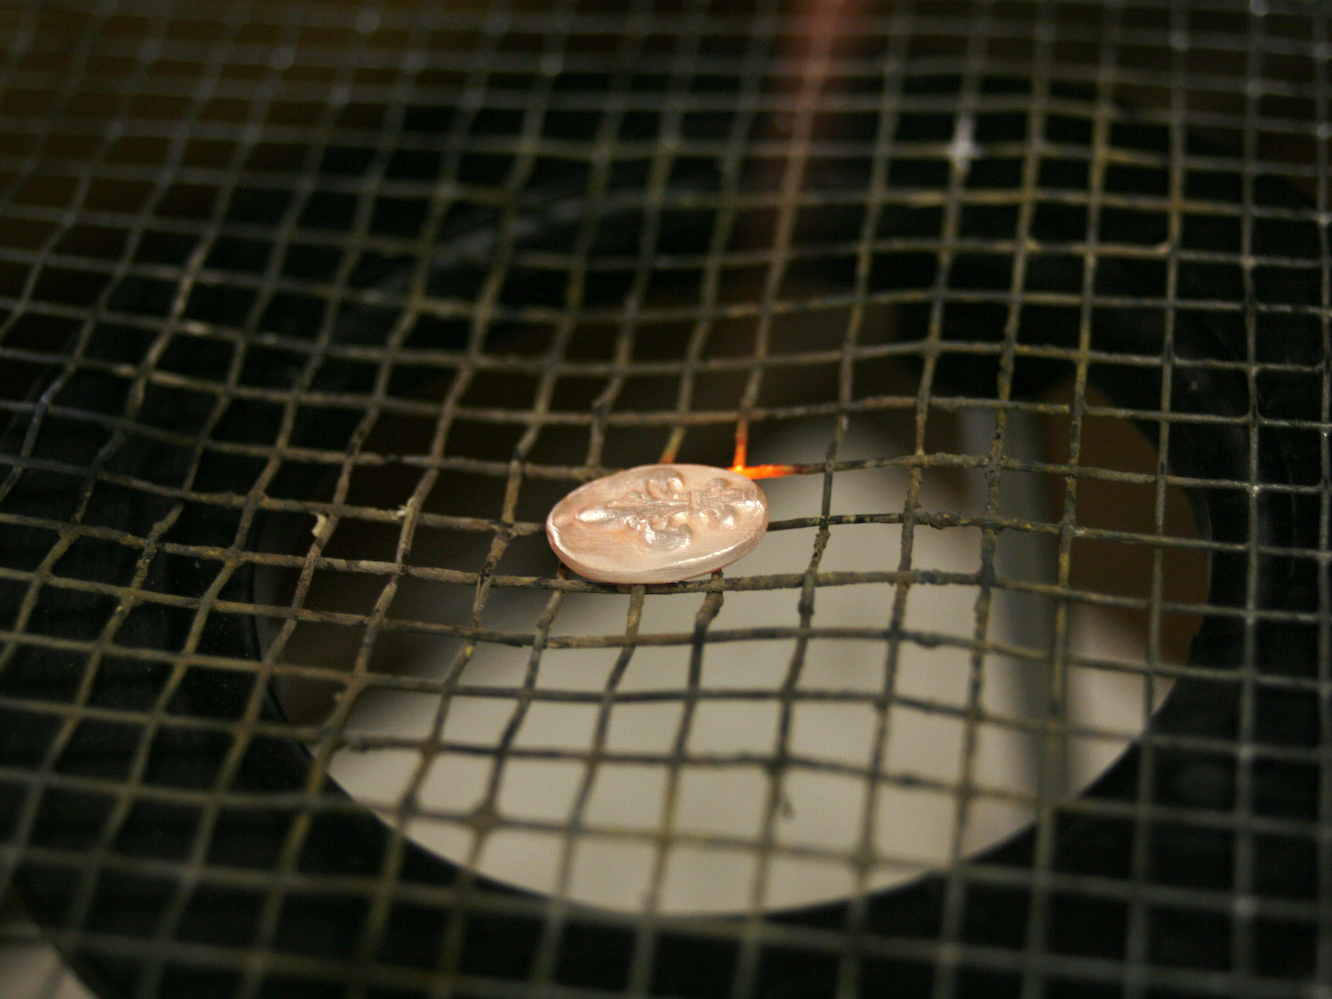
As soon as the burning stops, move in again with the torch, continuing the circular motion until the piece turns a peach color. Watch carefully so that your piece doesn’t get too orange. If you can’t see the color change, it may be because your lights are too bright. Set your timer for 3 minutes, slowly moving in and out as necessary, attempting to maintain the light peach color. You may notice your piece shrinking in size; this is normal. If your piece is too hot, it will melt by first turning a bright silver color. If this happens, remove the heat immediately. If the piece loses its color, bring it back to its peachy color and start your timer again.

When the firing is complete (the peachy color is held for 3 minutes.), turn your torch off and let your piece cool naturally. To quench your piece, use tweezers to gently pick up your item and place it in a jar of water. Be careful!

CAUTION: Don’t touch the piece with your fingers. Use tweezers!
Polish your pendants.

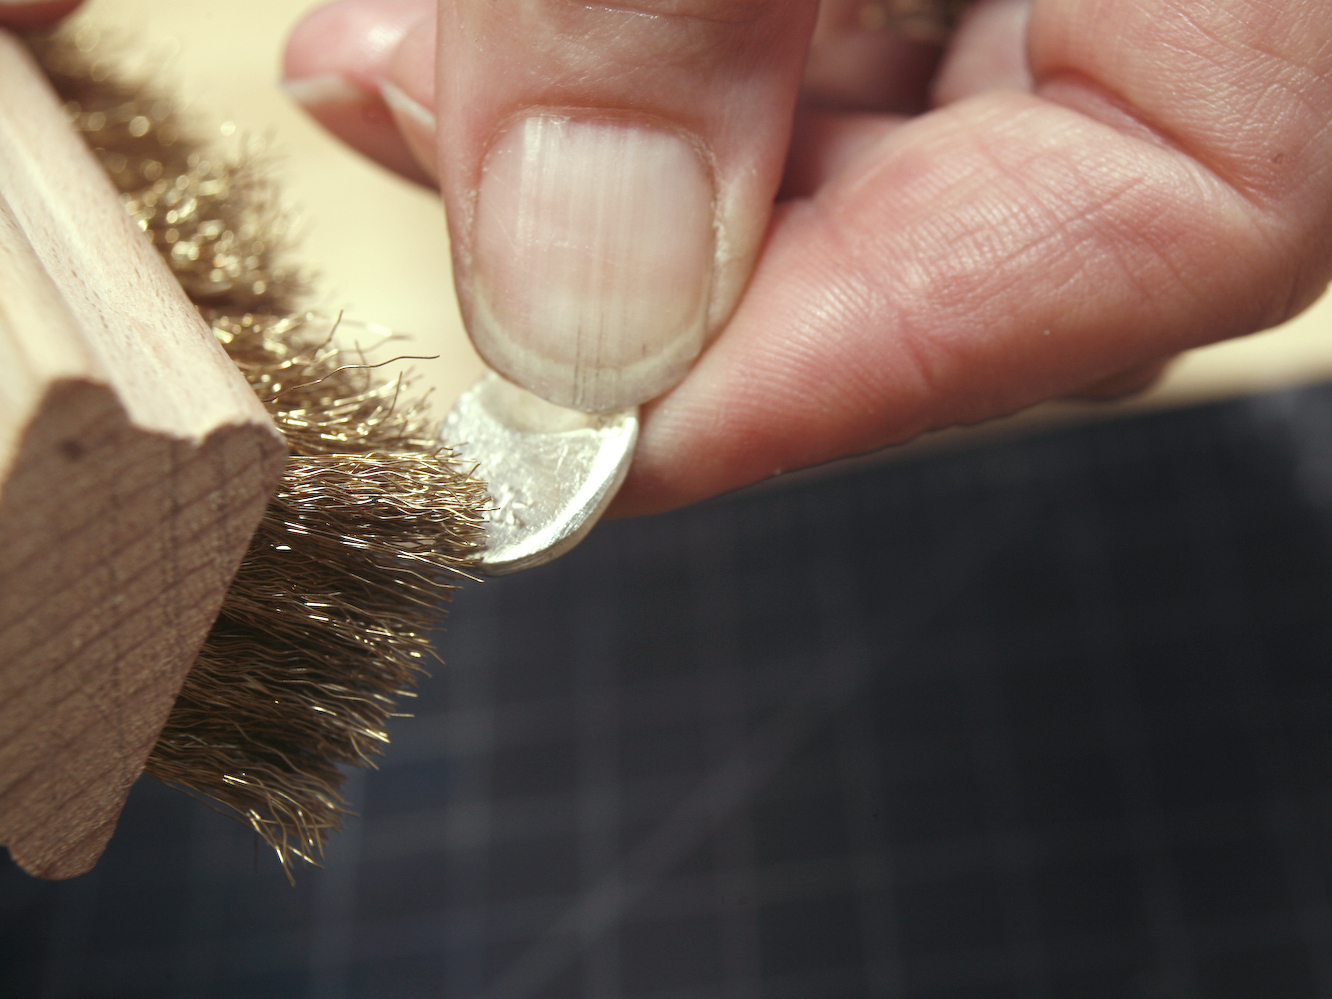
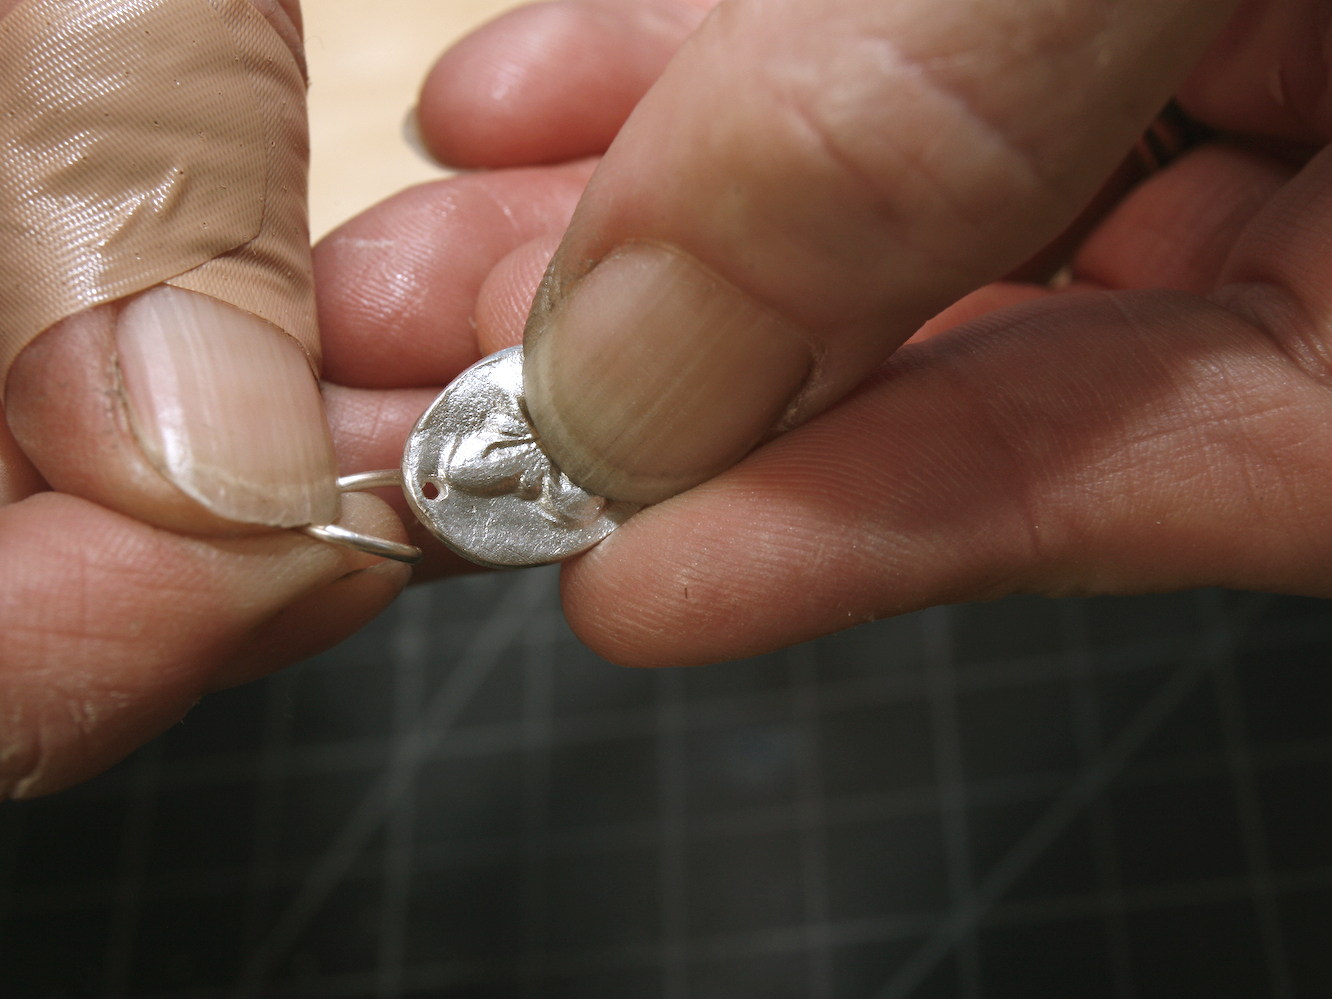
Once you’ve fired all 3 of your pendants, you’re ready to use your brass brush and burnishing tool to give your pieces a high polish. Support your jewelry while applying even pressure with your tools to get the finish you want.

Presto! Add a jump ring, slip on your cord, and show off your metallic creations.

If you want your piece to have an antique look, you can use a chemical acid solution found at jewelry supply stores. Just follow the manufacturer’s instructions. The solution can be painted directly onto the charm. The reaction with the air causes an oxidation process to occur. When the desired color is achieved, dip the charm into a baking soda solution made up of 2Tbsp baking soda to 5 parts water. Plain water will stop the oxidation process but the baking soda neutralizes the solution.

Conclusion

This project first appeared in CRAFT Volume 09, page 98.