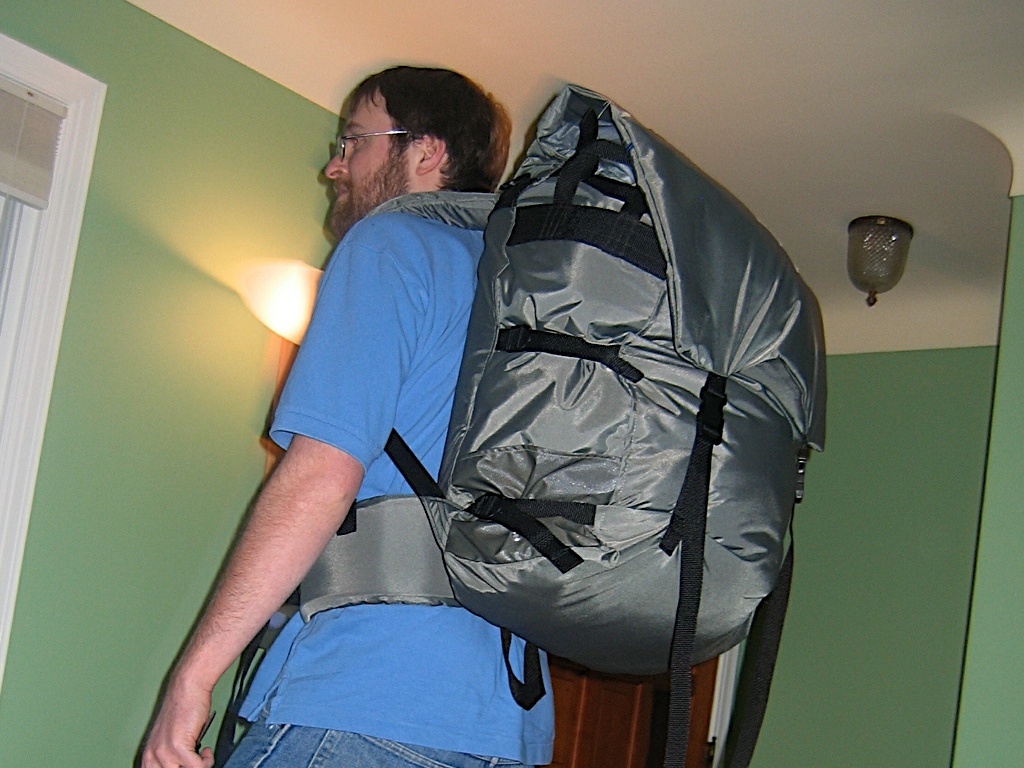
When tackling this project I had sewn some outdoor gear before but nothing this complicated. Shoulder/Hip straps were the most intimidating part, but once I got underway they went fine. Why did I decided to make a portage pack? Because I am often too cheap to buy a commercial or custom made item. The pack I made is about 4500 cubic inches.
This is not an ultralight pack, but I did lighten it up by using 400 Denier material instead of the usual 1000D stuff. I really wanted to see how it was to work with. I like it but will need to see how it holds up. My guess is that the fabric will last a long time. Also there are a few things I did that could be omitted to make a lighter and simpler pack. The first would be to make to top flap a single layer. That would cut the fabric weight of the flap in half and then also the weight of two zippers. The easiest way is to make something that is simple first, and use lighter materials second.
Traditional portage packs don’t have any frame, though some are now made that are more like regular internal frame packs. I didn’t want the time/hassle/expense of molding a sheet frame or doing composite or metal rods. Instead I used a folding camp chair and connected it into the pack. That way it protects my back from the pack’s contents and the foam and rods in it give the pack some semblance of a frame. Plus it saves weight since I usually carry the chair. Similar arrangements could be worked in to use tent poles, sleeping pads, etc. I used two straps to hold it in place, but in hindsight a sleeve would have been easier and probably worked better.
I decided to have a tumpline, some people like them, some don’t. It is removable too. I also included 4 grab handles to make it easier to pull out of a canoe or hang as a bear bag.
These instructions assume some sewing knowledge. If you don’t know how to sew the best way to learn is from someone who has experience. Most of the tips I will cover are going to be related to the unique materials and needs of outdoor gear.


