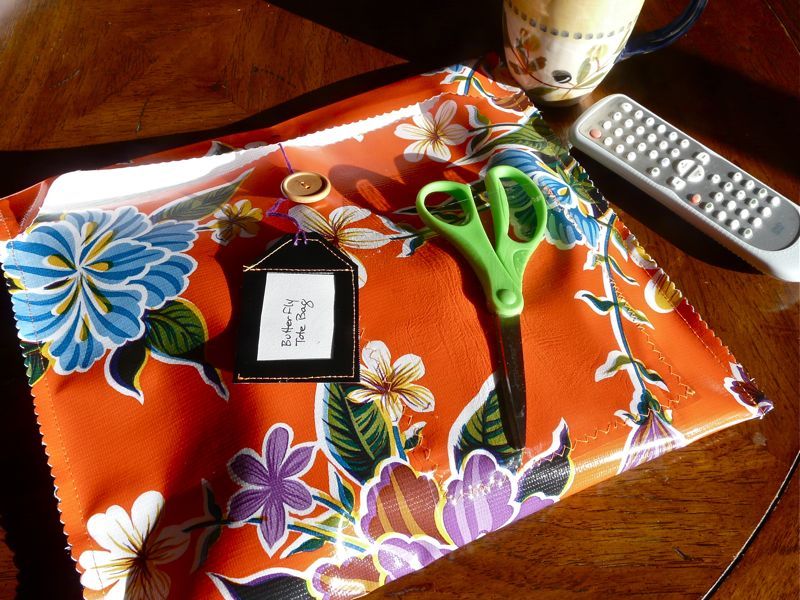
If, like me, you tend to accumulate projects-in-progress, you might want to stitch up a bunch of these easy oilcloth holders. They keep all the needed supplies together, neat and tidy, and they’re structured so little things can’t easily fall out. They store easily on a shelf or in a bin, and when you’re ready to craft, you can read the handy hanging tag to find the project you want.
Materials
1/2 yard oilcloth or tablecloth vinyl See note below.
Scrap of 8 mil clear vinyl (optional)
Downloadable tag pattern
Pearl cotton embroidery floss or baker’s twine
Chenille needle large eye, sharp point
Large sew-through button
Scissors
Pinking shears or decorative-edge scissors
Masking tape
Sewing machine
Thread
Materials Note: If you want to make a lot of Project Keepers on the cheap, watch your local thrift stores for vinyl tablecloths.
Step 1: Decide on the size you want your finished Project Keeper to be, and then follow the above diagram to cut a piece of oilcloth or vinyl. Size your Keeper a little generously, as the side seams will take away about 1" in width.
Step 3: Fold the rectangle almost in half, leaving about 3" at the top, as shown. Crease the fold well with your fingers. This step helps you identify the front panel of the Keeper.
Step 4: If you like, you can add a clear vinyl pocket to the outside of your Keeper. I like these pockets because I'm always trying to keep my craft tools with my WIPs (works in progress), but then I usually end up wanting those tools later for another project. I store scissors, hooks, needles, etc. in the outside pocket of the Keeper so I can find them easily. If you want to add a pocket, unfold the rectangle so it's a single layer again. Cut a scrap of clear vinyl to the pocket size you want. Tape it to the front panel of the Keeper with masking tape.
Step 10: Next, make the hang tag. Cut out the front and back pieces from black vinyl, following the shapes shown here. Cut a clear piece to fit between them as a window. Stack the three pieces together, with wrong sides together and the clear vinyl in the center. Tape them, and sew along 3 edges and the top as shown above. Leave one side open so you can slip in a handwritten label later.
Step 12: Thread a chenille needle with about 36" of embroidery floss or twine. Pass the needle up through the top of the tag from back to front. Then, pass it back down to form a small loop, as shown here.
Step 14: Thread the 2 ends of the floss together on the chenille needle. Bring the needle up through the flap, passing it from inside to outside. Center this stitch above the button.
Diane Gilleland (craftypod.com) is a big crafty geek, and author of Kanzashi in Bloom and All Points Patchwork. She loves her some English paper piecing and plastic canvas.
When you buy through links on our site, we may earn an affiliate commission.
Our websites use cookies to improve your browsing experience. Some of these are essential for the basic functionalities of our websites. In addition, we use third-party cookies to help us analyze and understand usage. These will be stored in your browser only with your consent and you have the option to opt-out. Your choice here will be recorded for all Make.co Websites.