Humble PVC drain pipe is cheap, widely available, easy to work with, and almost endlessly useful for making everything from patio furniture to elegant sculptures.

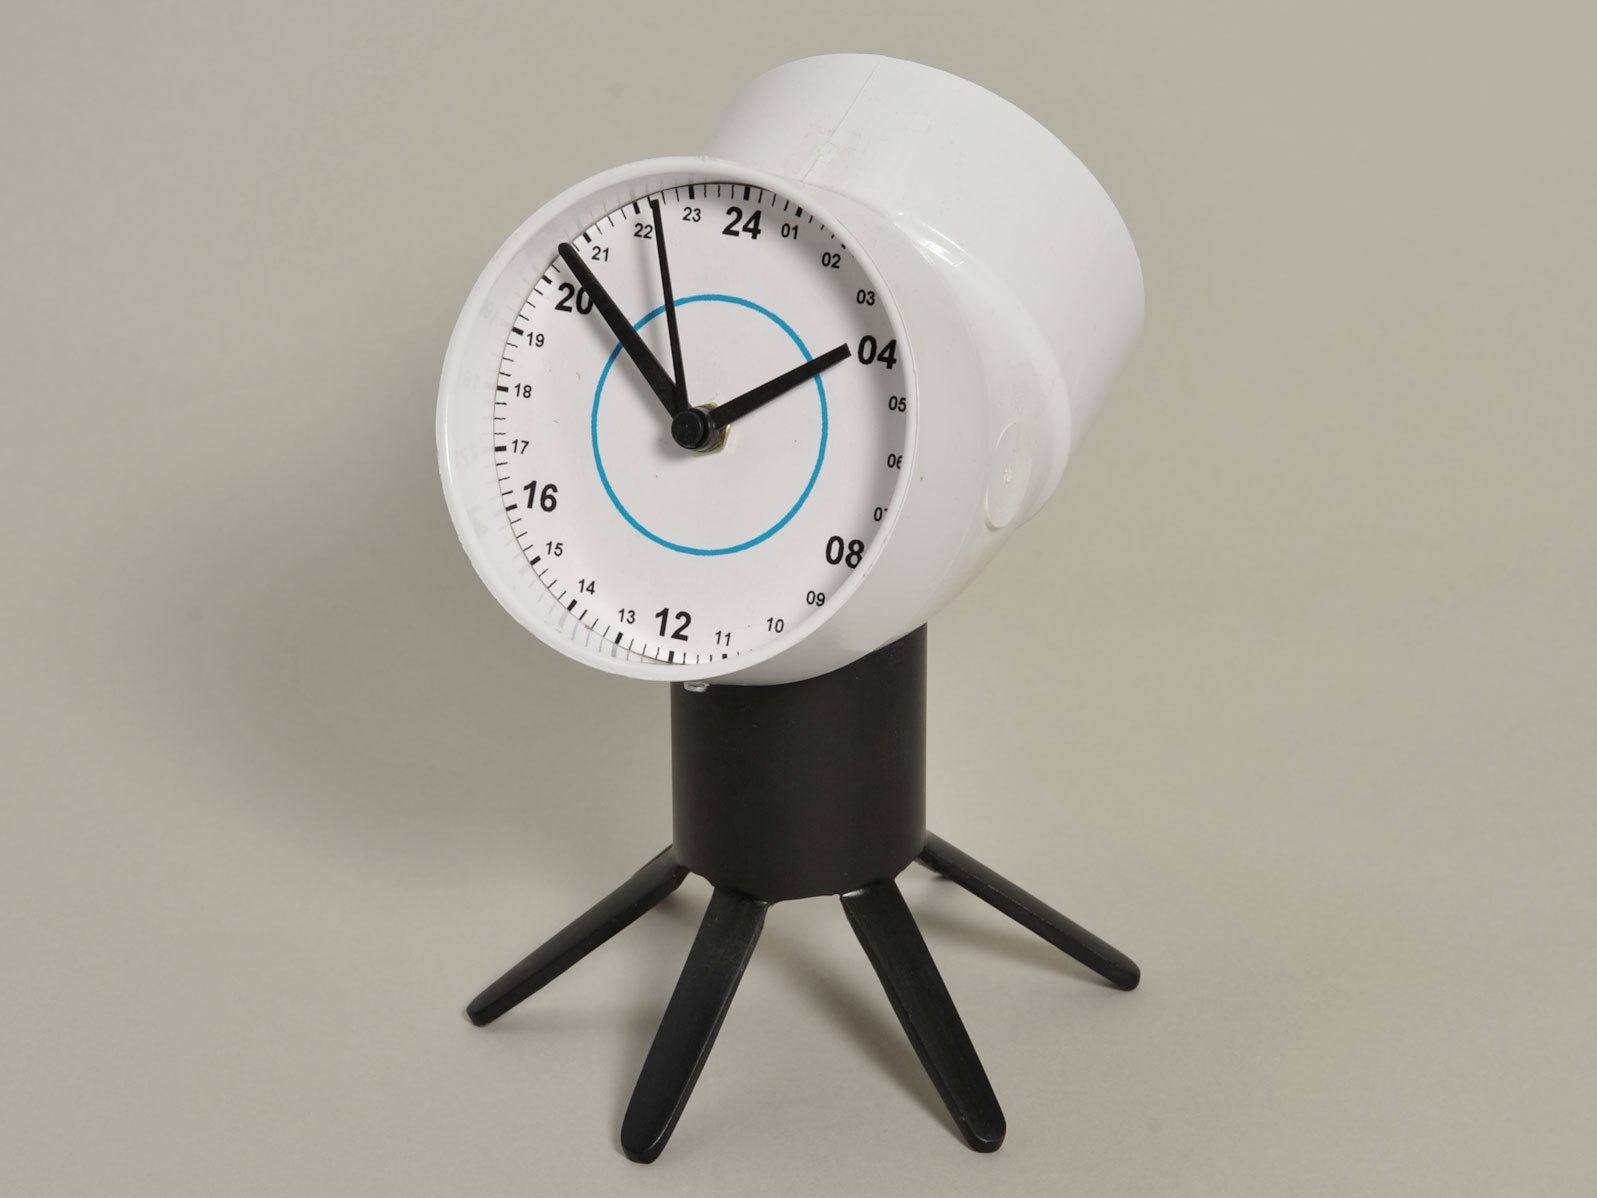
If you and a friend or relative live in different time zones, keep track with this two-faced clock. The housing is a 45° PVC elbow for 4″ ID pipe. Be sure to get the lighter one with 1″ walls. The clock movements are the ubiquitous AA-battery plastic boxes. Remove them from old clocks or buy them online.

The Two-Faced Clock is part of a series of four family-friendly projects that use 3″- or 4″-ID (inside diameter) PVC pipe. In a weekend you can easily make all four: a two-faced clock to help you remember friends in another time zone, a kids’ table with a dry-erase top and matching stool, a hanging planter, and an accent lamp that seems to float on light.

You can make them with handheld tools, but bench tools such as a band saw or table saw with a fine-toothed blade work best for making square and accurate cuts. PVC also bends easily when heated in boiling water, which opens up all kinds of new shapes and design possibilities.

If cutting pipe from a 10′ length, ask a friend to help support it. Use a face mask and ear protection for cutting and sanding.

Fill any dings with automotive body filler and/or glaze. Then sand the pipe parts with 180-grit sandpaper, prime, and paint. If you want to skip the primer, there are new spray paints that adhere directly to plastic.

What will the next generation of Make: look like? We’re inviting you to shape the future by investing in Make:. By becoming an investor, you help decide what’s next. The future of Make: is in your hands. Learn More.

Project Steps

Make spacers and face backing plates.

WARNING: PVC pipe tends to roll while cutting on a table saw, so hold it firmly and cut slowly. Gripper gloves help. For cutting off sections on a table saw, set the blade just slightly higher than the pipe wall thickness. Don’t use a ruler or tape to set blade height; instead, make trial cuts in a scrap of wood and measure the cuts. Always wear eye protection when using power saws.

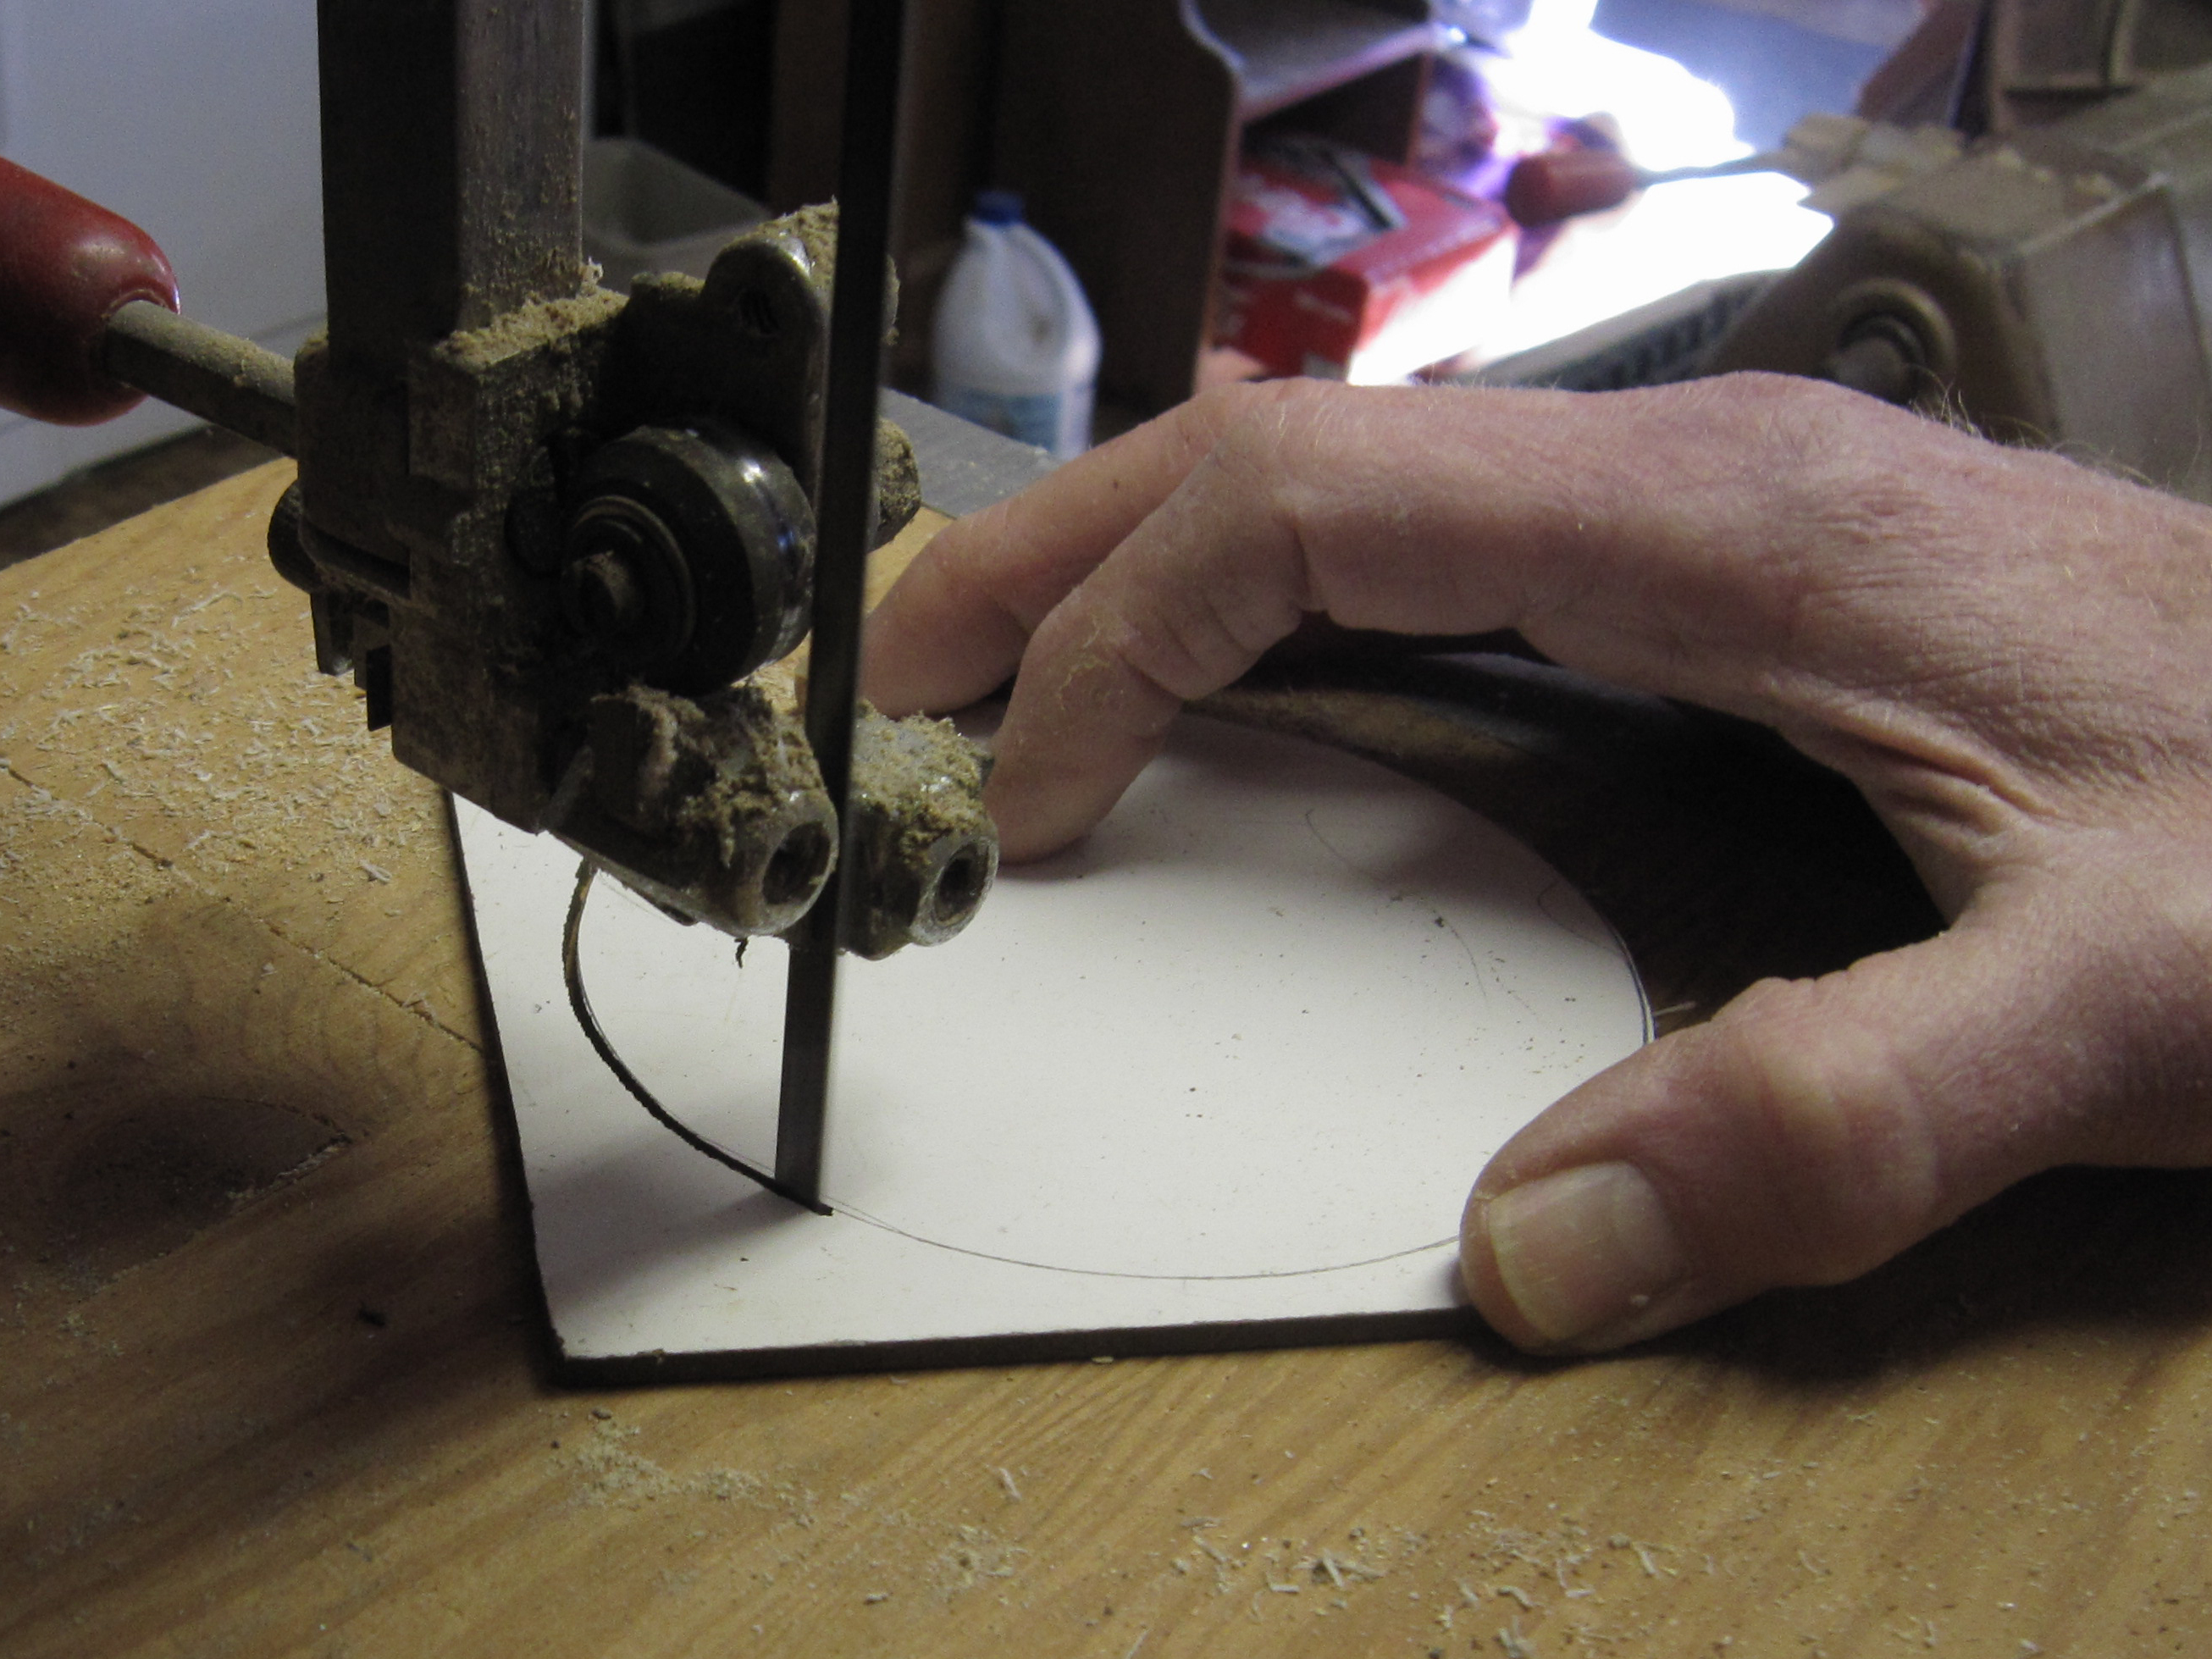
Cut two ¾” plywood spacers to slip-fit into the elbow ends and core them out with a jigsaw or band saw to clear the clock movements.

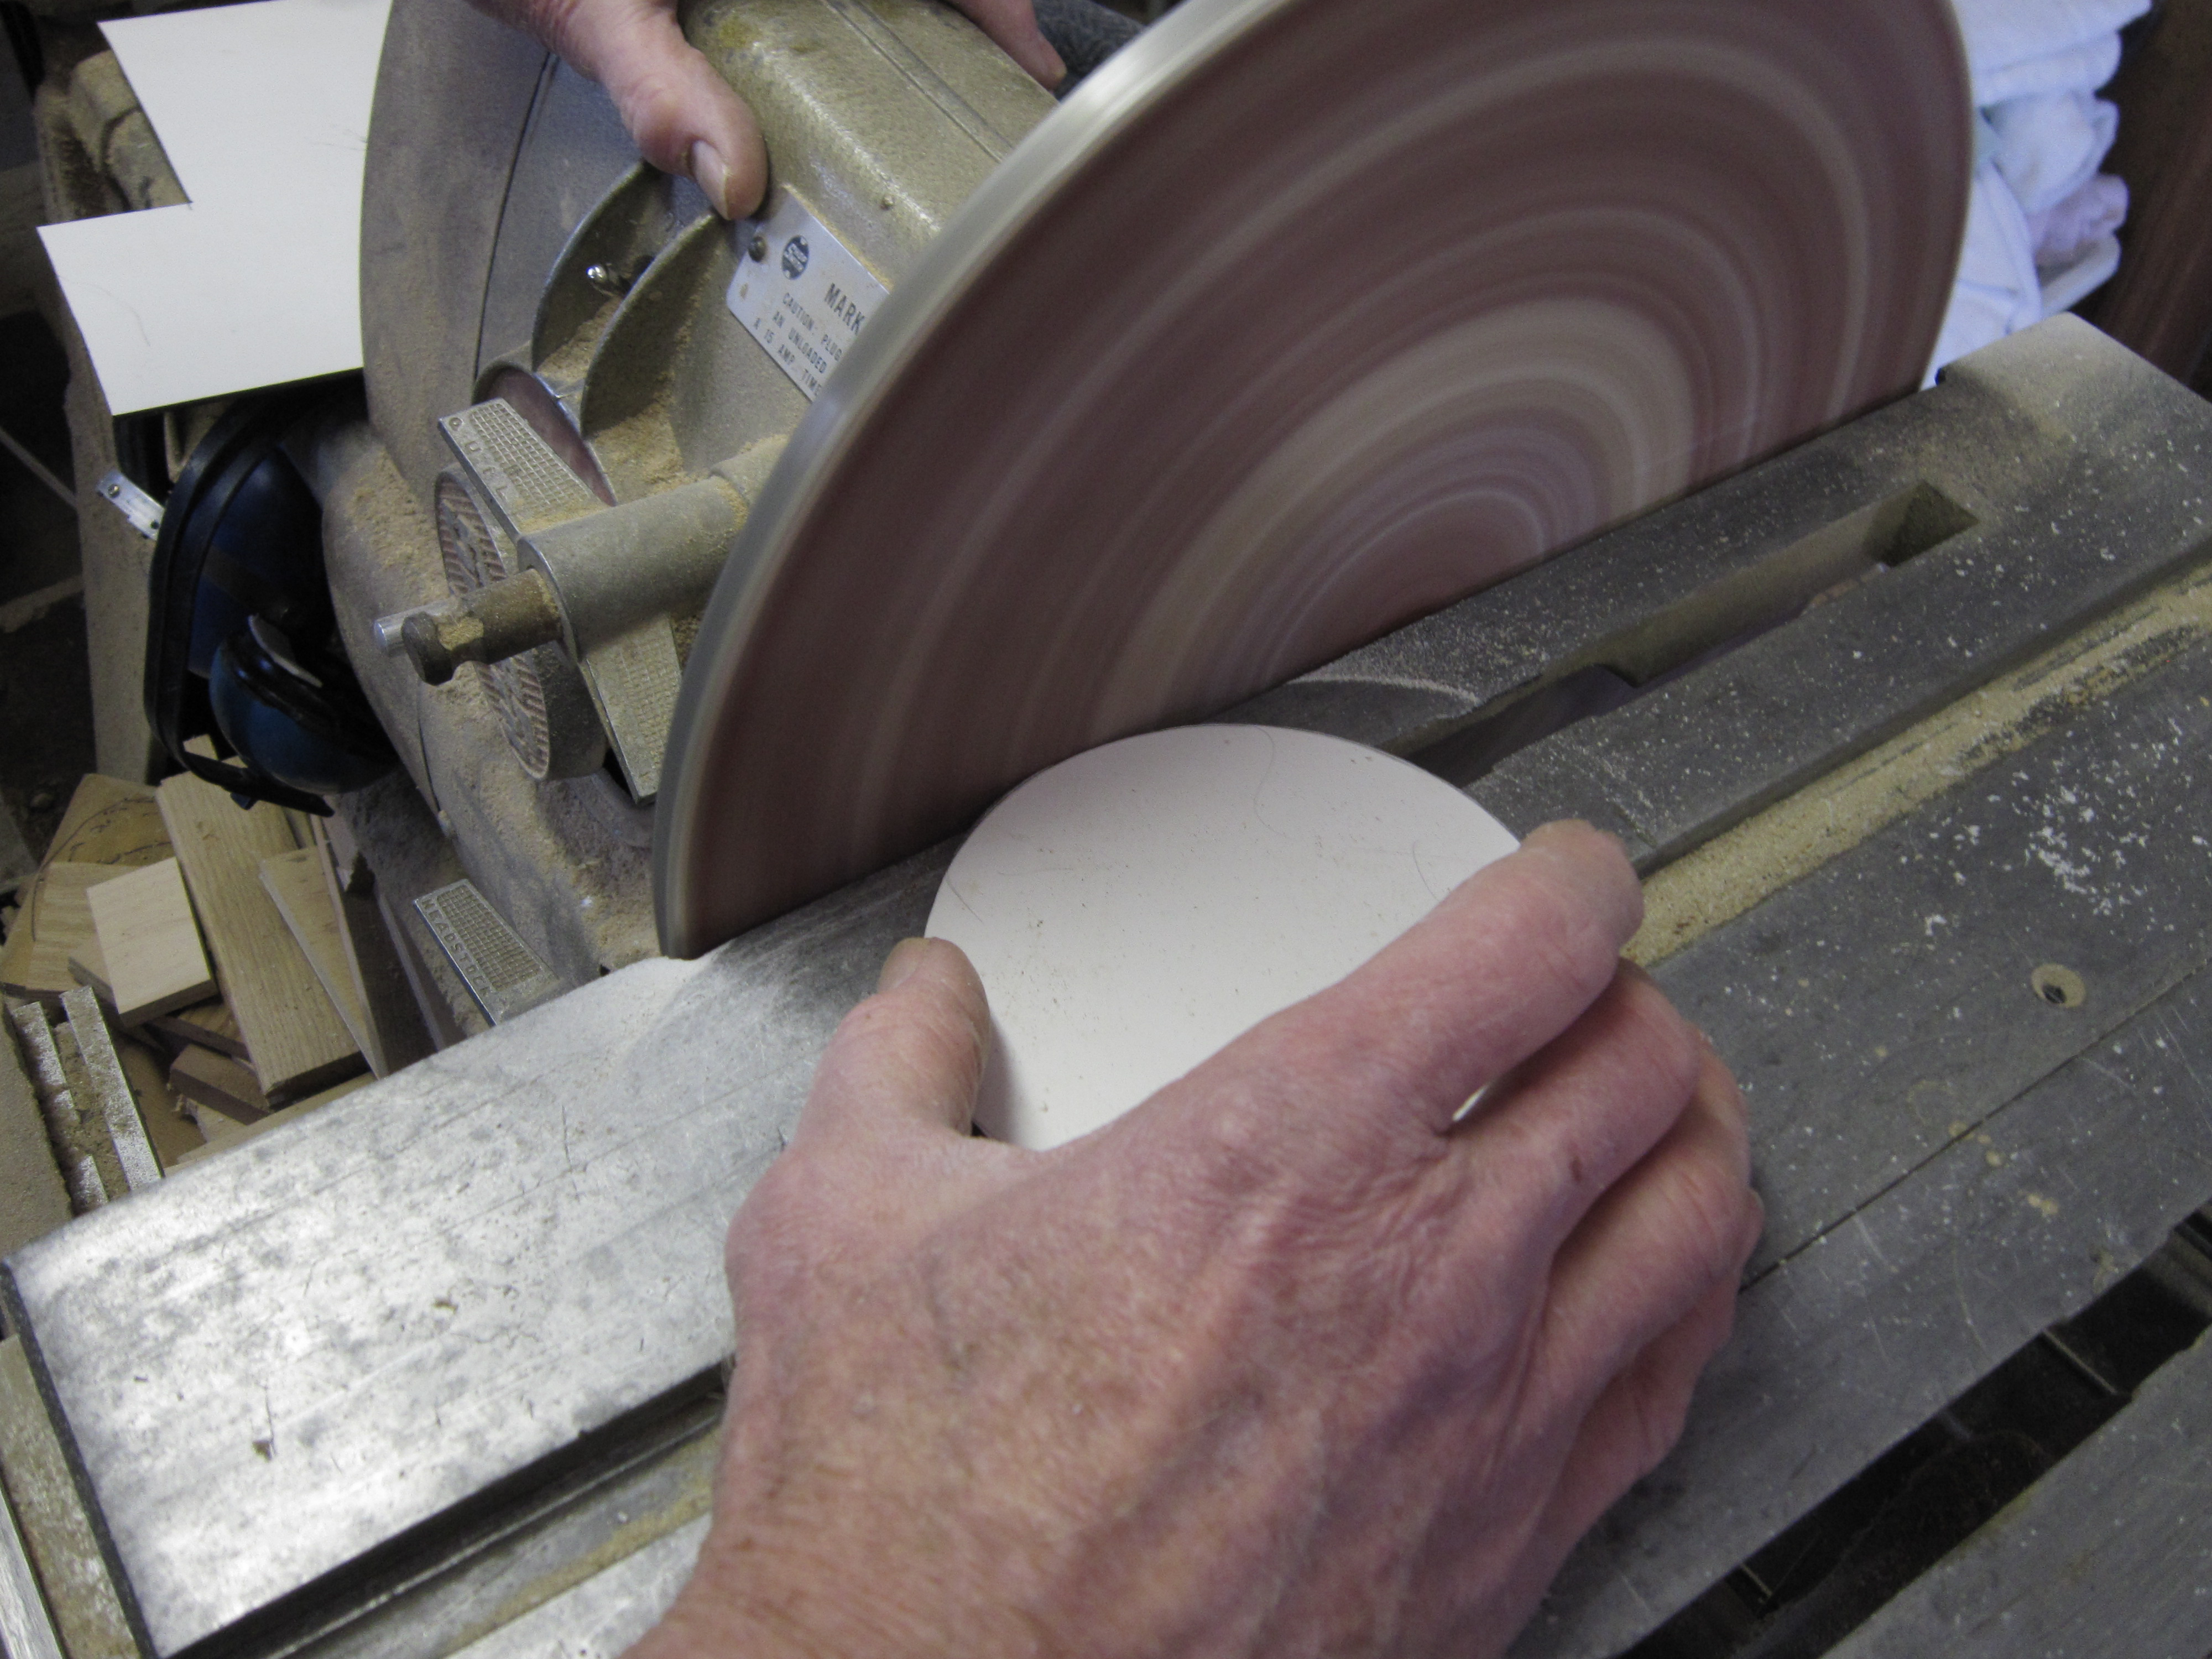
Cut 2 disks from dry-erase board to slip-fit on top of the spacers. Sand the edges.

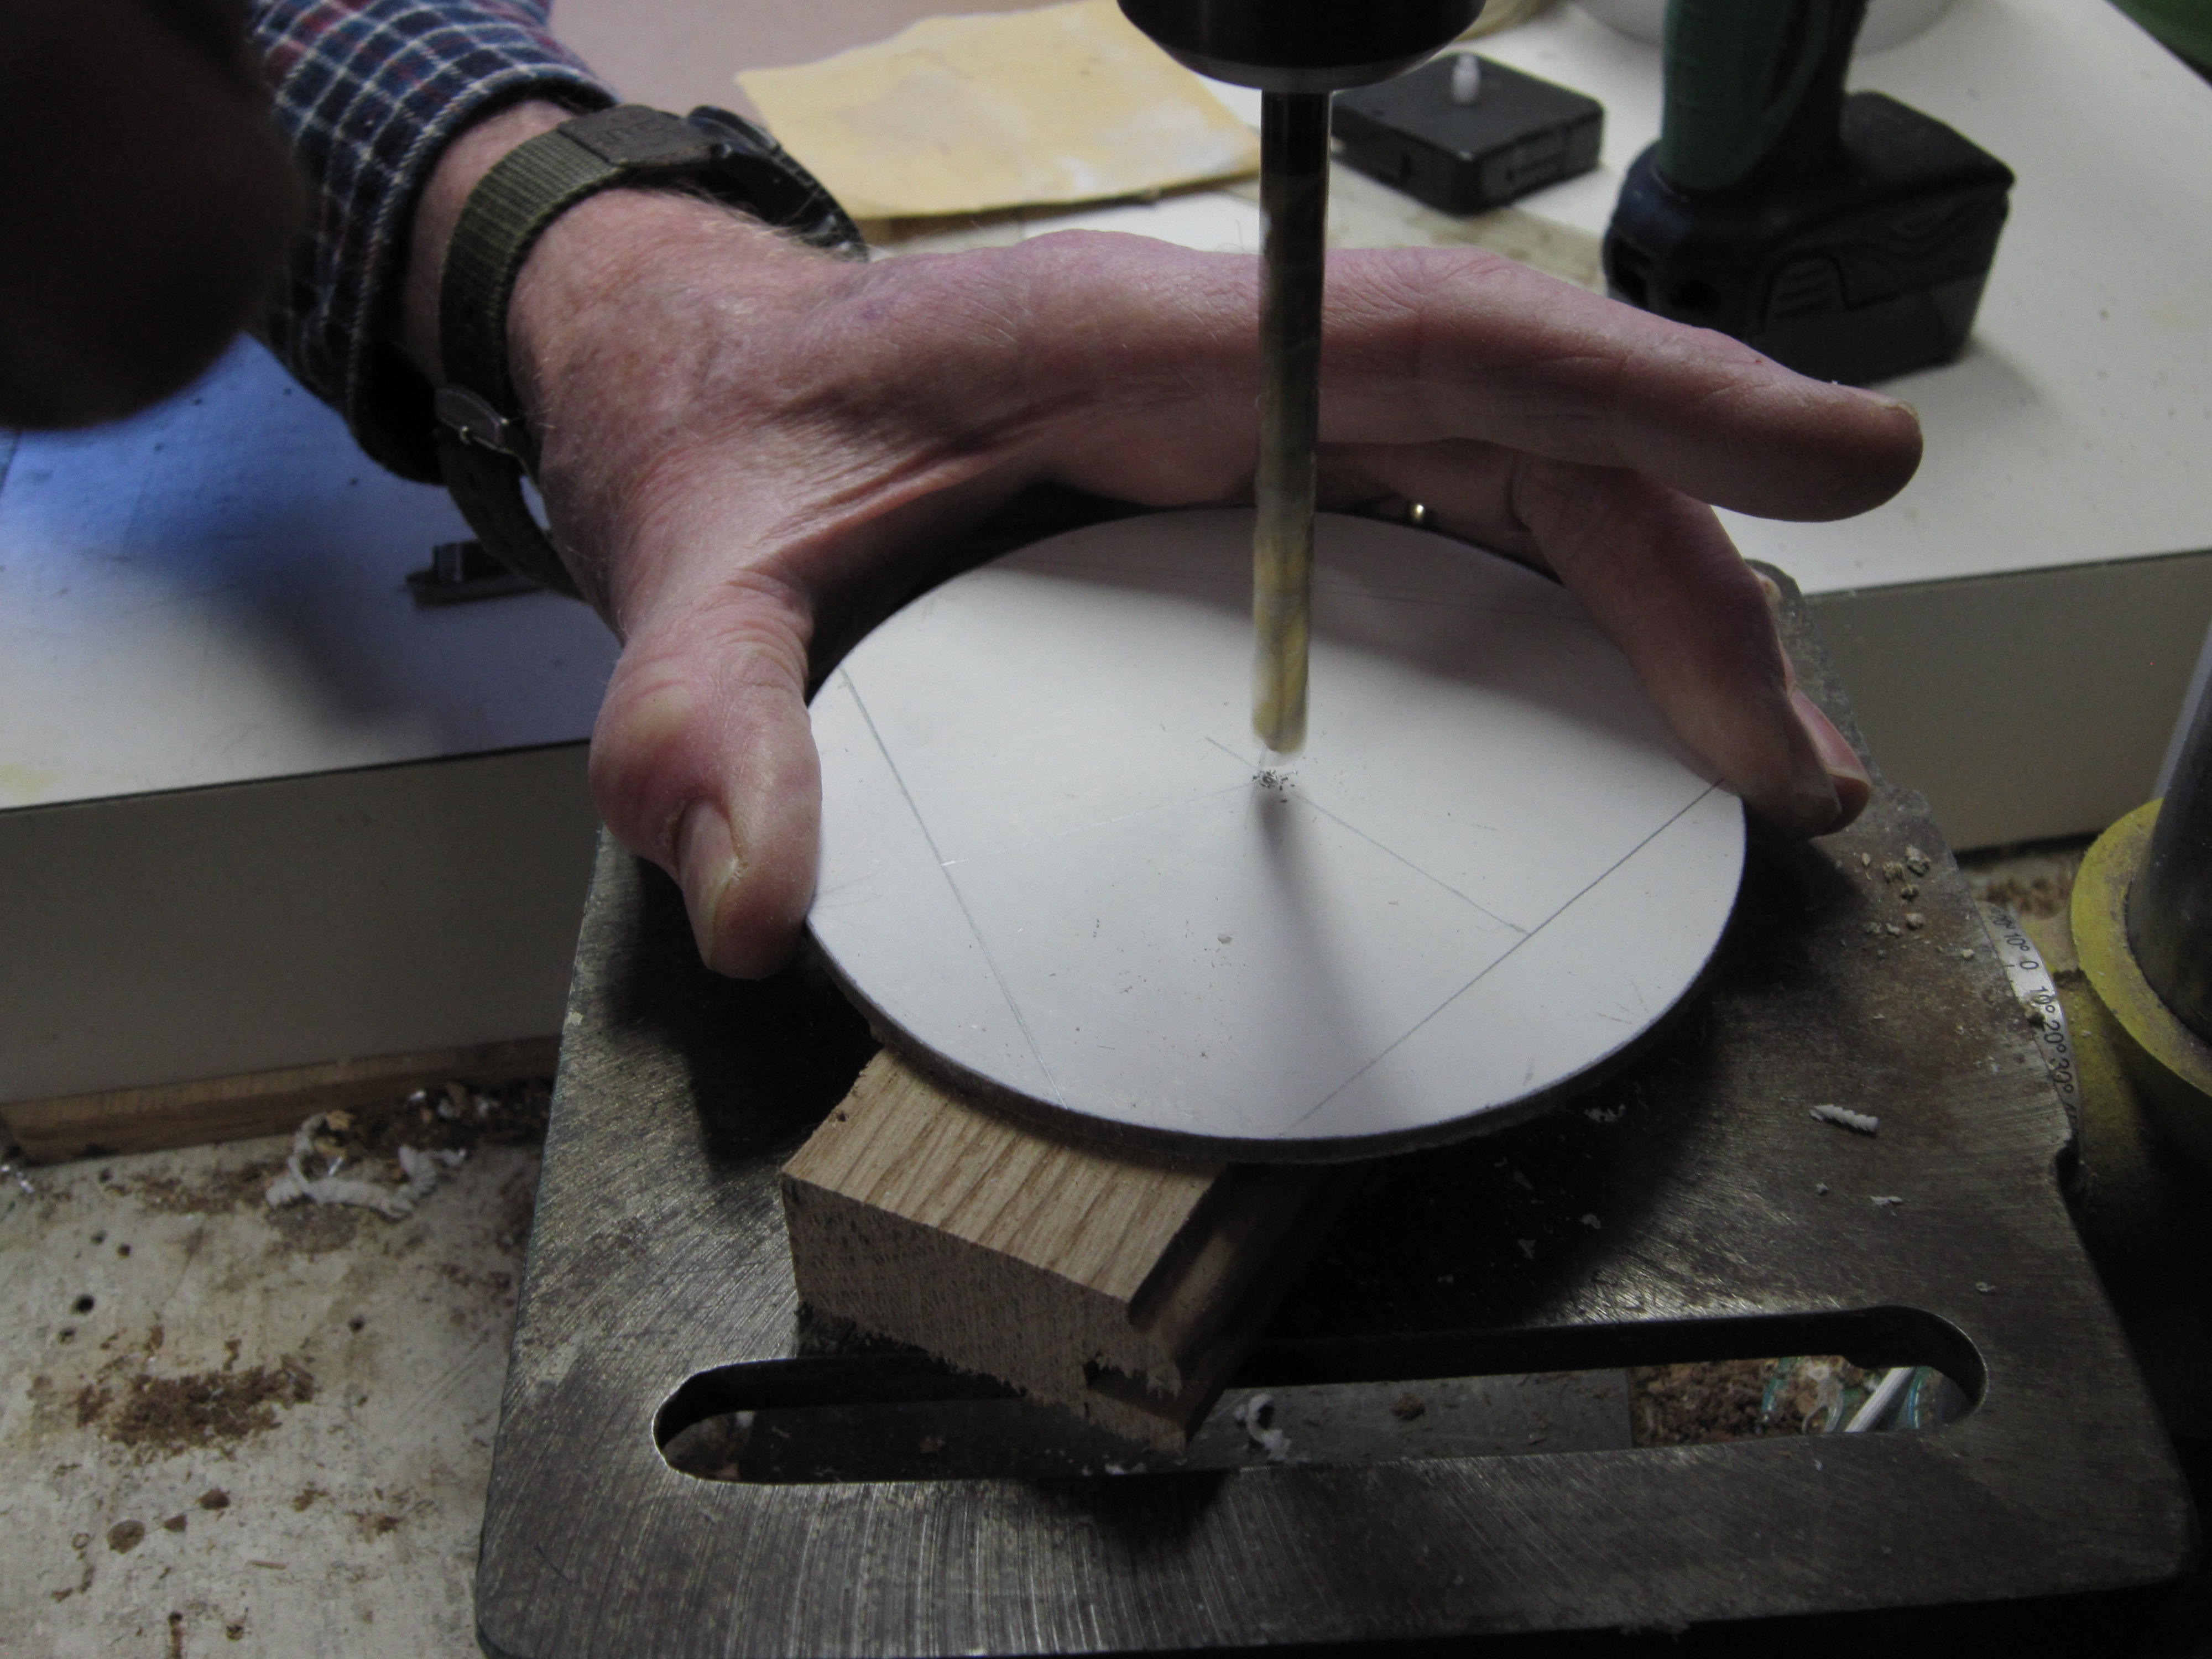
To drill the exact center of a disk, you can draw 2 chords, bisect them with perpendicular lines, and drill where the lines intersect.

Make the clock faces and assemble the clocks.

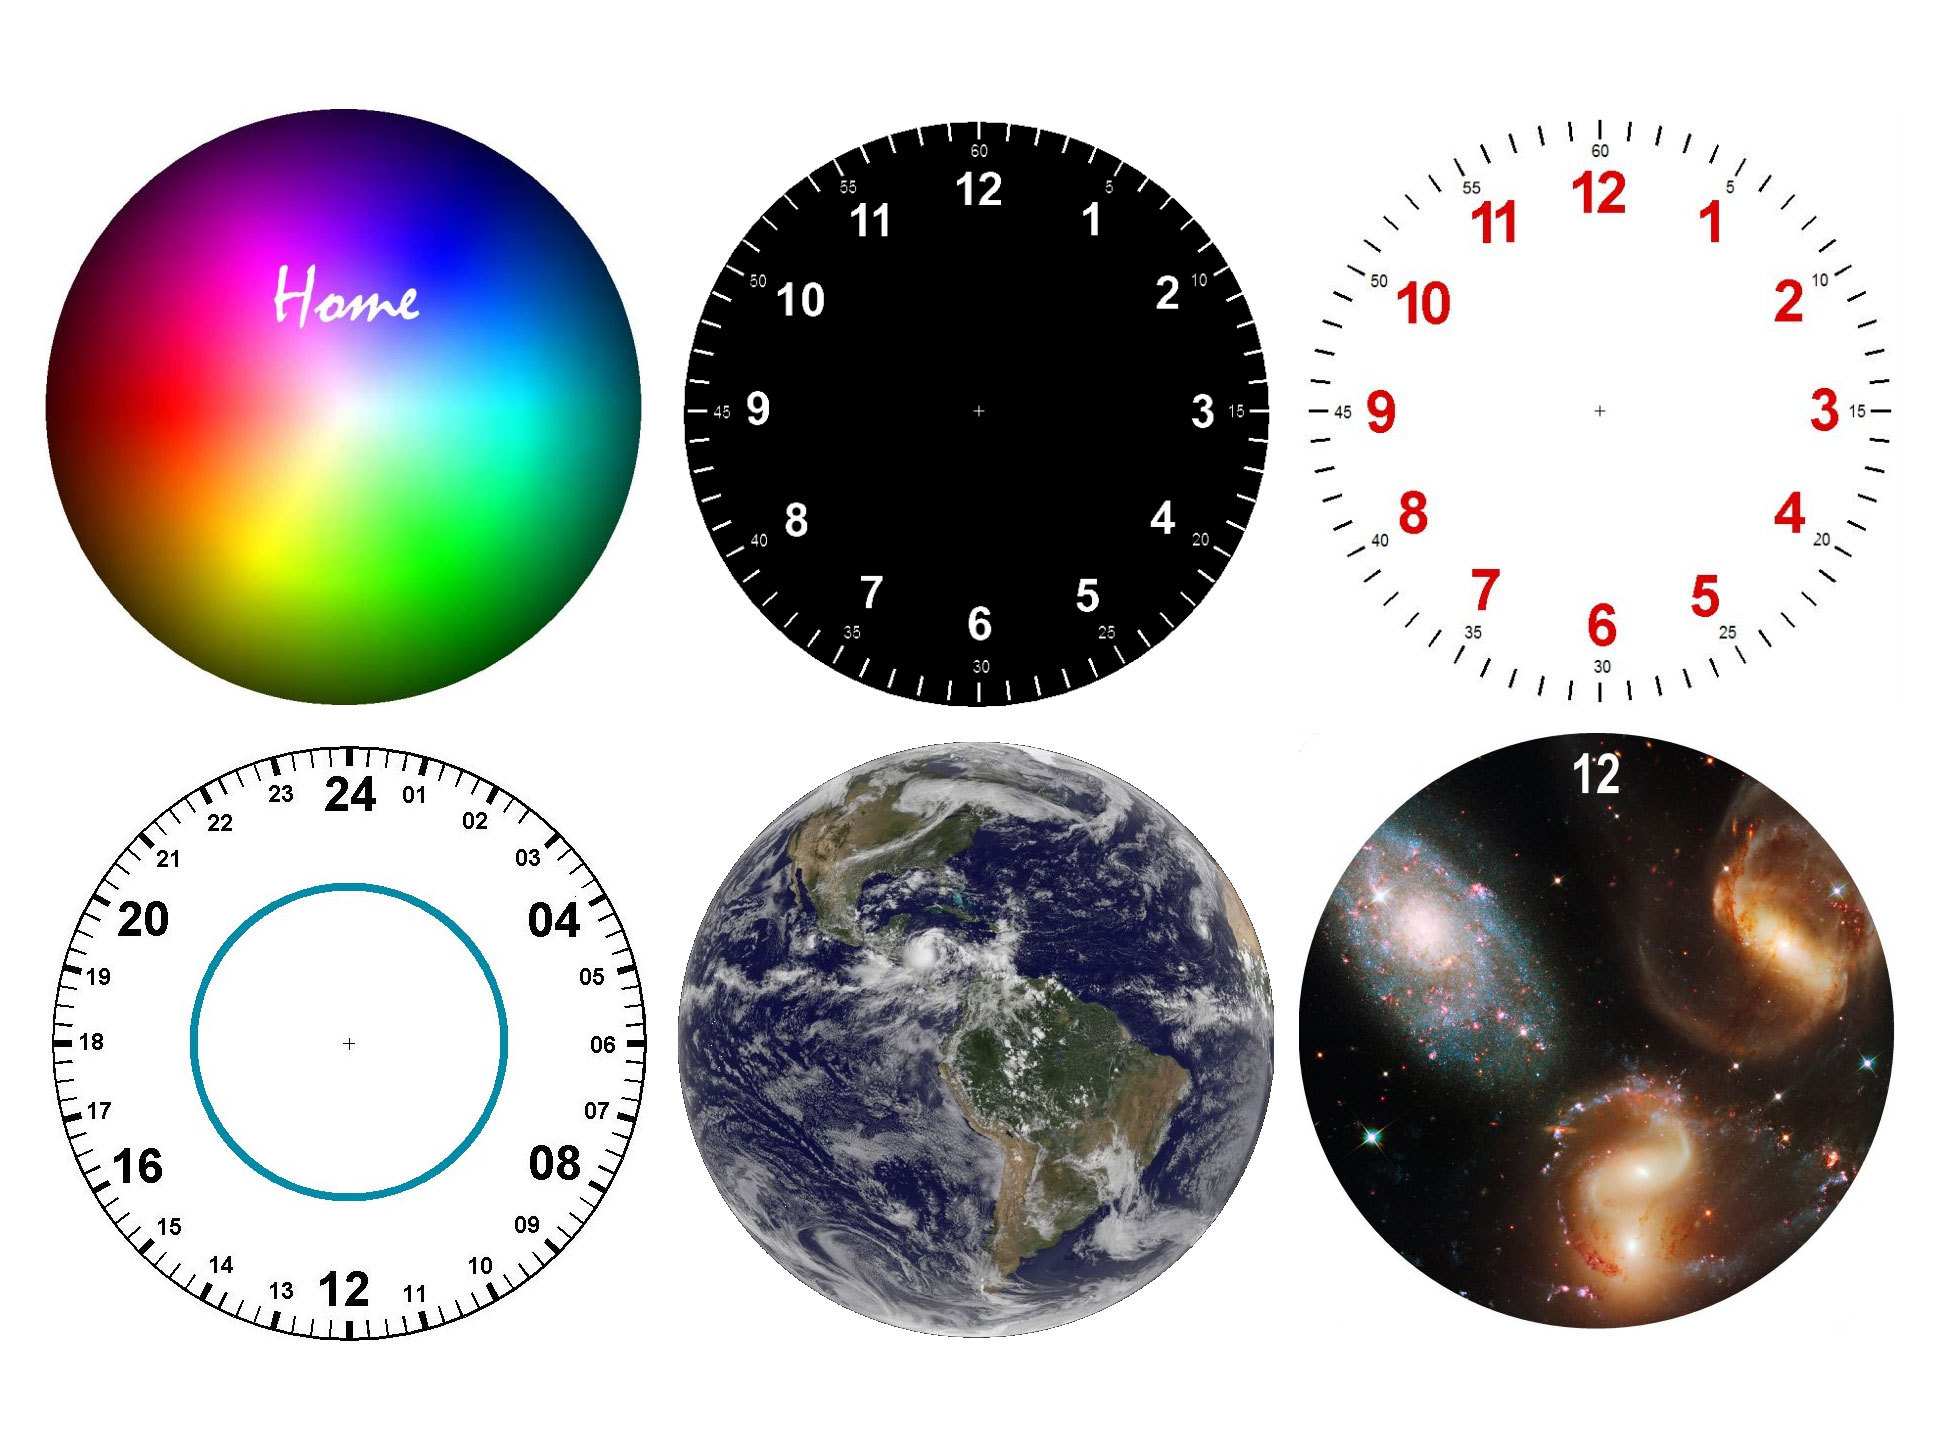
Use your imagination to design 2 clock faces, then print them on thick paper. Add names to the faces to match whichever time zone your friend or relative lives in.

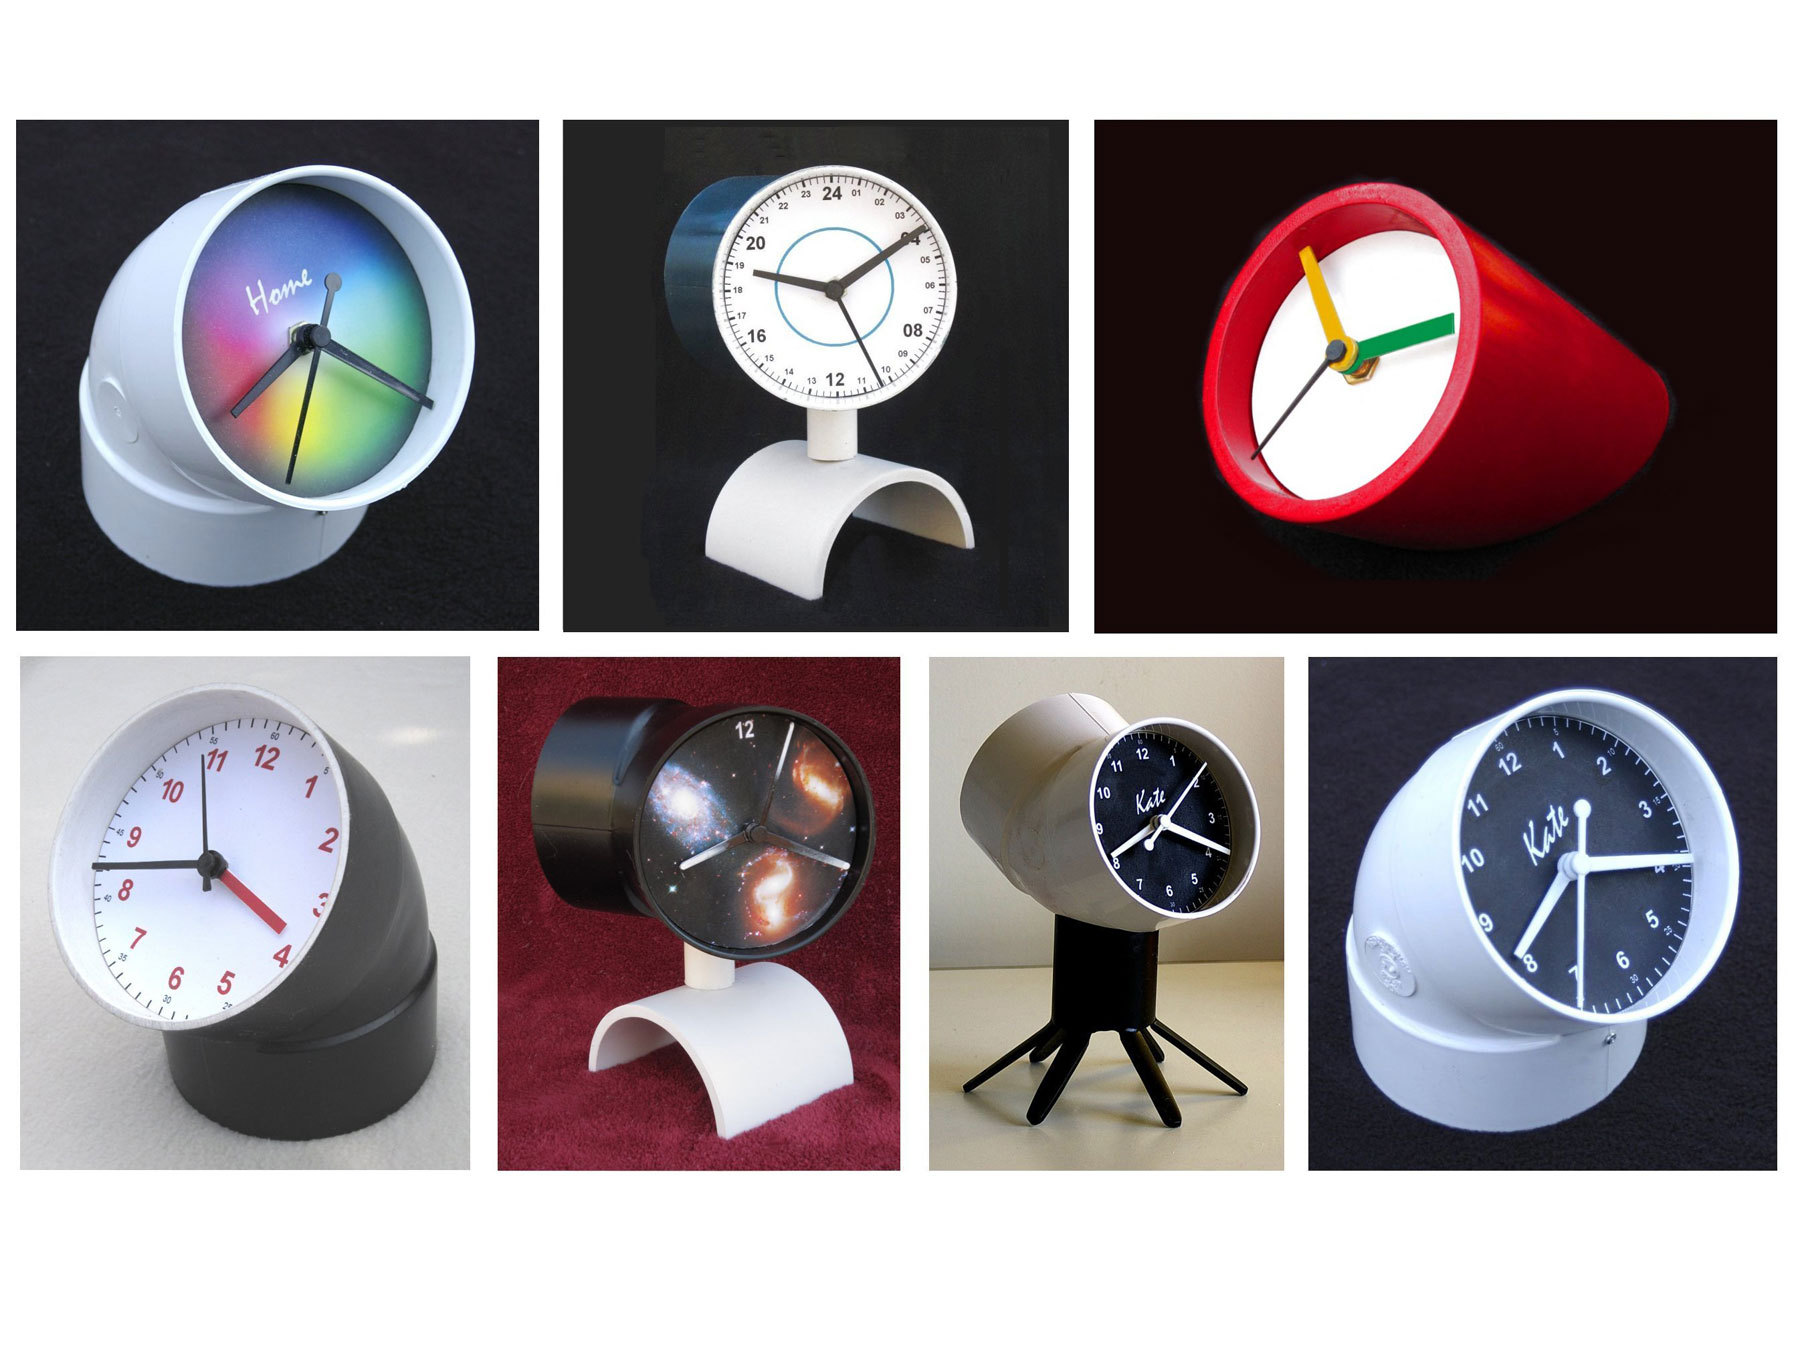
How about a NASA photo of the world? Or make 12-hour and 24-hour faces. Or a galaxy, with hands painted to resemble meteors? Here are a few that we designed; you can download them at makeprojects.com/v/30.

Glue the faces, backing plates, and spacers together. Add the movements, mounting nuts, and AA batteries.

Clip the hands to fit (if necessary), push them onto their respective spindles, and set their times.

Install the clocks.

Orient one face carefully (the seam on the elbow can help), then insert the assembly into the elbow. Affix it with one #6×½” sheet metal screw. Repeat for the other opening.

We left our elbow unmodified (including bar code label), but here are a few suggestions for other clocks and bases using PVC pipe.

Conclusion

For more PVC creations, try these other projects!

This project first appeared in MAKE Volume 30, page 96.