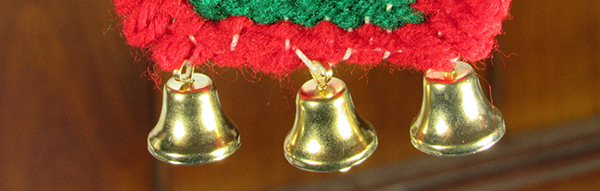
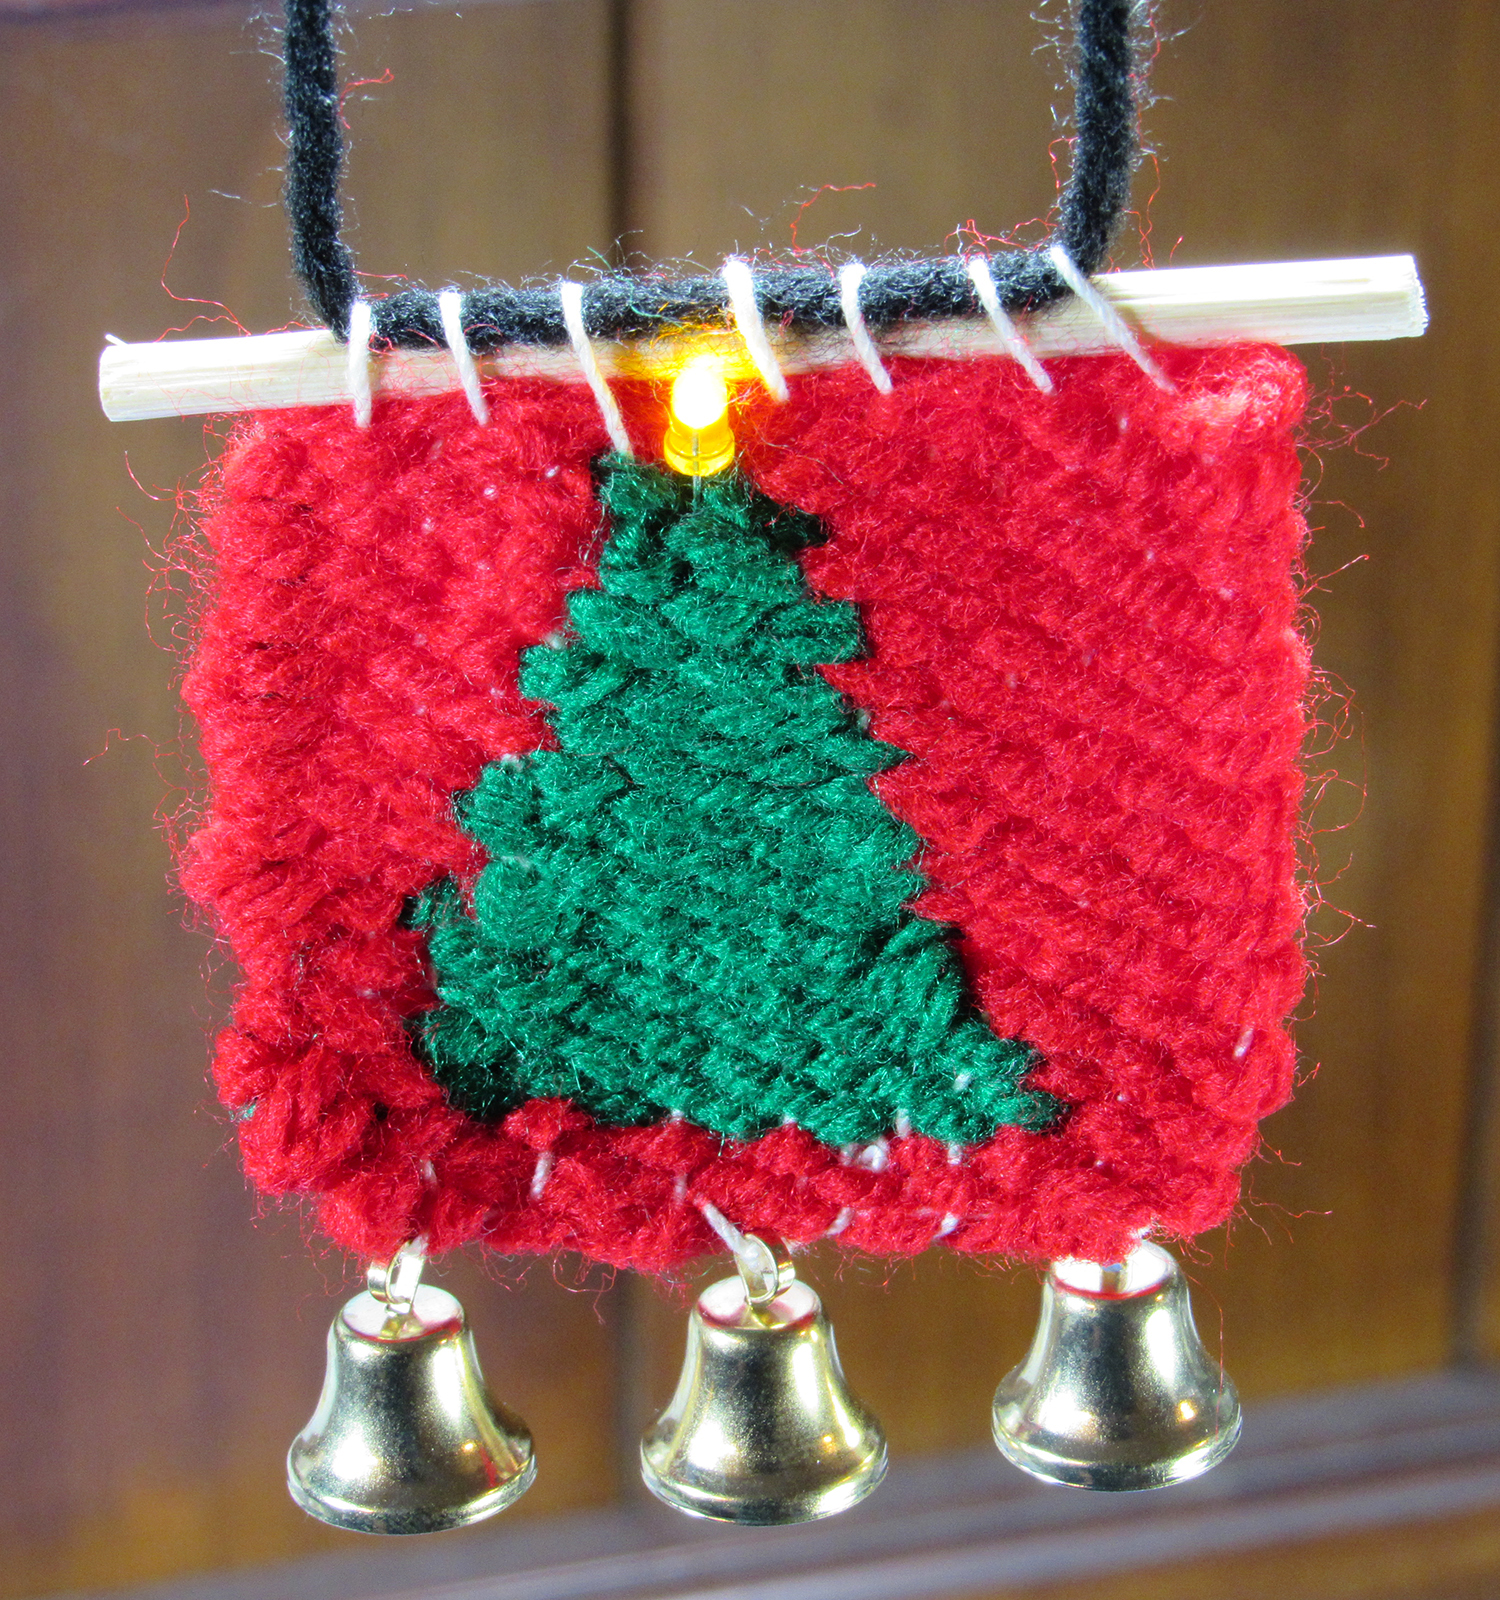
One of the most fun and satisfying projects in my book Fabric and Fiber Inventions is the little cardboard loom. With just some scraps of board and bits of yarn, you can make really interesting weavings. While the pieces in the book are coaster-sized, I decided it would be fun to make a mini-loom and create a tiny weaving that could be worn as a necklace or hung as an ornament in a window or on the tree. For a festive touch, I added an LED light at the top and miniature bells instead of fringe!

Making the loom takes only a few minutes, and it’s a great idea if your kids are looking for a last-minute homemade gift to make. You can turn out a weaving in under an hour. If you’re careful, you can even re-use the loom for several projects. I made a Christmas tree design, but if you have some left-over yarn it also looks nice with just stripes of different colors and textures. Kids can draw the the design right on the loom to make it easier to follow. Here’s what to do:

Project Steps

Make the Loom

Cut a piece of cardboard a little larger than the size of your finished weaving. Then mark and cut notches along the top and bottom of the loom. You will use an odd number of notches; the more you have, the more detail you can put in your design. Think of it as having a bigger number of pixels to play with!

I used a loom that was 2 inches square, with notches about 1/8 inch apart. For younger makers, a 3X3-inch loom with notches 1/4 inch apart will be easier to manage.

The notches hold your warp thread in place. These were too close to use regular yarn, as I did in the book, so I used a thinner thread meant for crocheting lace. To string up the loom, take the warp thread and make a knot a few inches from the end. Slide the thread through the first notch on the bottom, with the knot in the back of the loom. Bring the thread up and through the first notch at the top, keeping it fairly tight. Then wrap it around the back of the tab and around to the front through the next notch over. Bring the thread down to the next notch on the bottom and repeat, ending with the thread at the bottom. Make a knot as close to the back of the loom as you can, and cut the thread leaving a tail of a few inches. You can tape the loose ends to the back of the loom to keep them in place while you work.

Weave the Design

To make the tree design shown, weave the tree separately first, then fill in with the background color. To weave, thread the yarn through a large-eyed needle (see my book’s Amazon page for a video on how to thread a needle!). Insert the needle wherever you want to start your design, then bring it over and under the warp threads, coming out at the end of that row. leave a tail on your yarn. For the next row, leave a space and then repeat, going under where you went over on the row before. Use a fork to push the rows tightly together, then continue for as many rows as you want.

Weave the Background

When you’re done with the tree, insert the needle through a few stitches to anchor it. Clip the end close so you can’t see it. Next, thread your background color on the needle and weave as you did before, working your way around the center design.Where your new color meets the original color, you can insert the needle through one stitch of the design color to connect them.

Remove the Weaving from the Loom

Keep weaving until the loom is packed with stitches, to hide the warp threads. Then untape the ends of the warp threads and pull them out of the loom. You should now be able to remove all the warp threads by pulling the loops off the tabs. Bend the tabs if necessary. Slide the weaving down so the loops on the bottom disappear and all the slack is at the top. Choose the side that looks best to be the front. Insert a skewer, dowel, or stick through the loops at the top. To hang your ornament, you can insert a cord through the loops as well (which helps with any remaining slack) or tie it to the ends of the dowel.

Finish the Bottom -- and Add Bells and a Light!

To hide the ends of the warp thread that are hanging off the bottom, thread them onto a smaller needle and weave them into the back of the bottom row of stitches. I slid some miniature bells on before tying the threads together in the middle and hiding the ends behind the yarn.

To add an LED to your design, poke the wires right through the weaving, making sure they are separated by a stitch or two. Slide a battery between them, throwie-style. Then just tape the battery on. If you have kids or pets around, make sure the battery won’t come loose, as it’s dangerous if swallowed. You can secure it by crisscrossing it with some yarn that you sew so it is only visible from the back. Then hang your mini-weaving and enjoy!