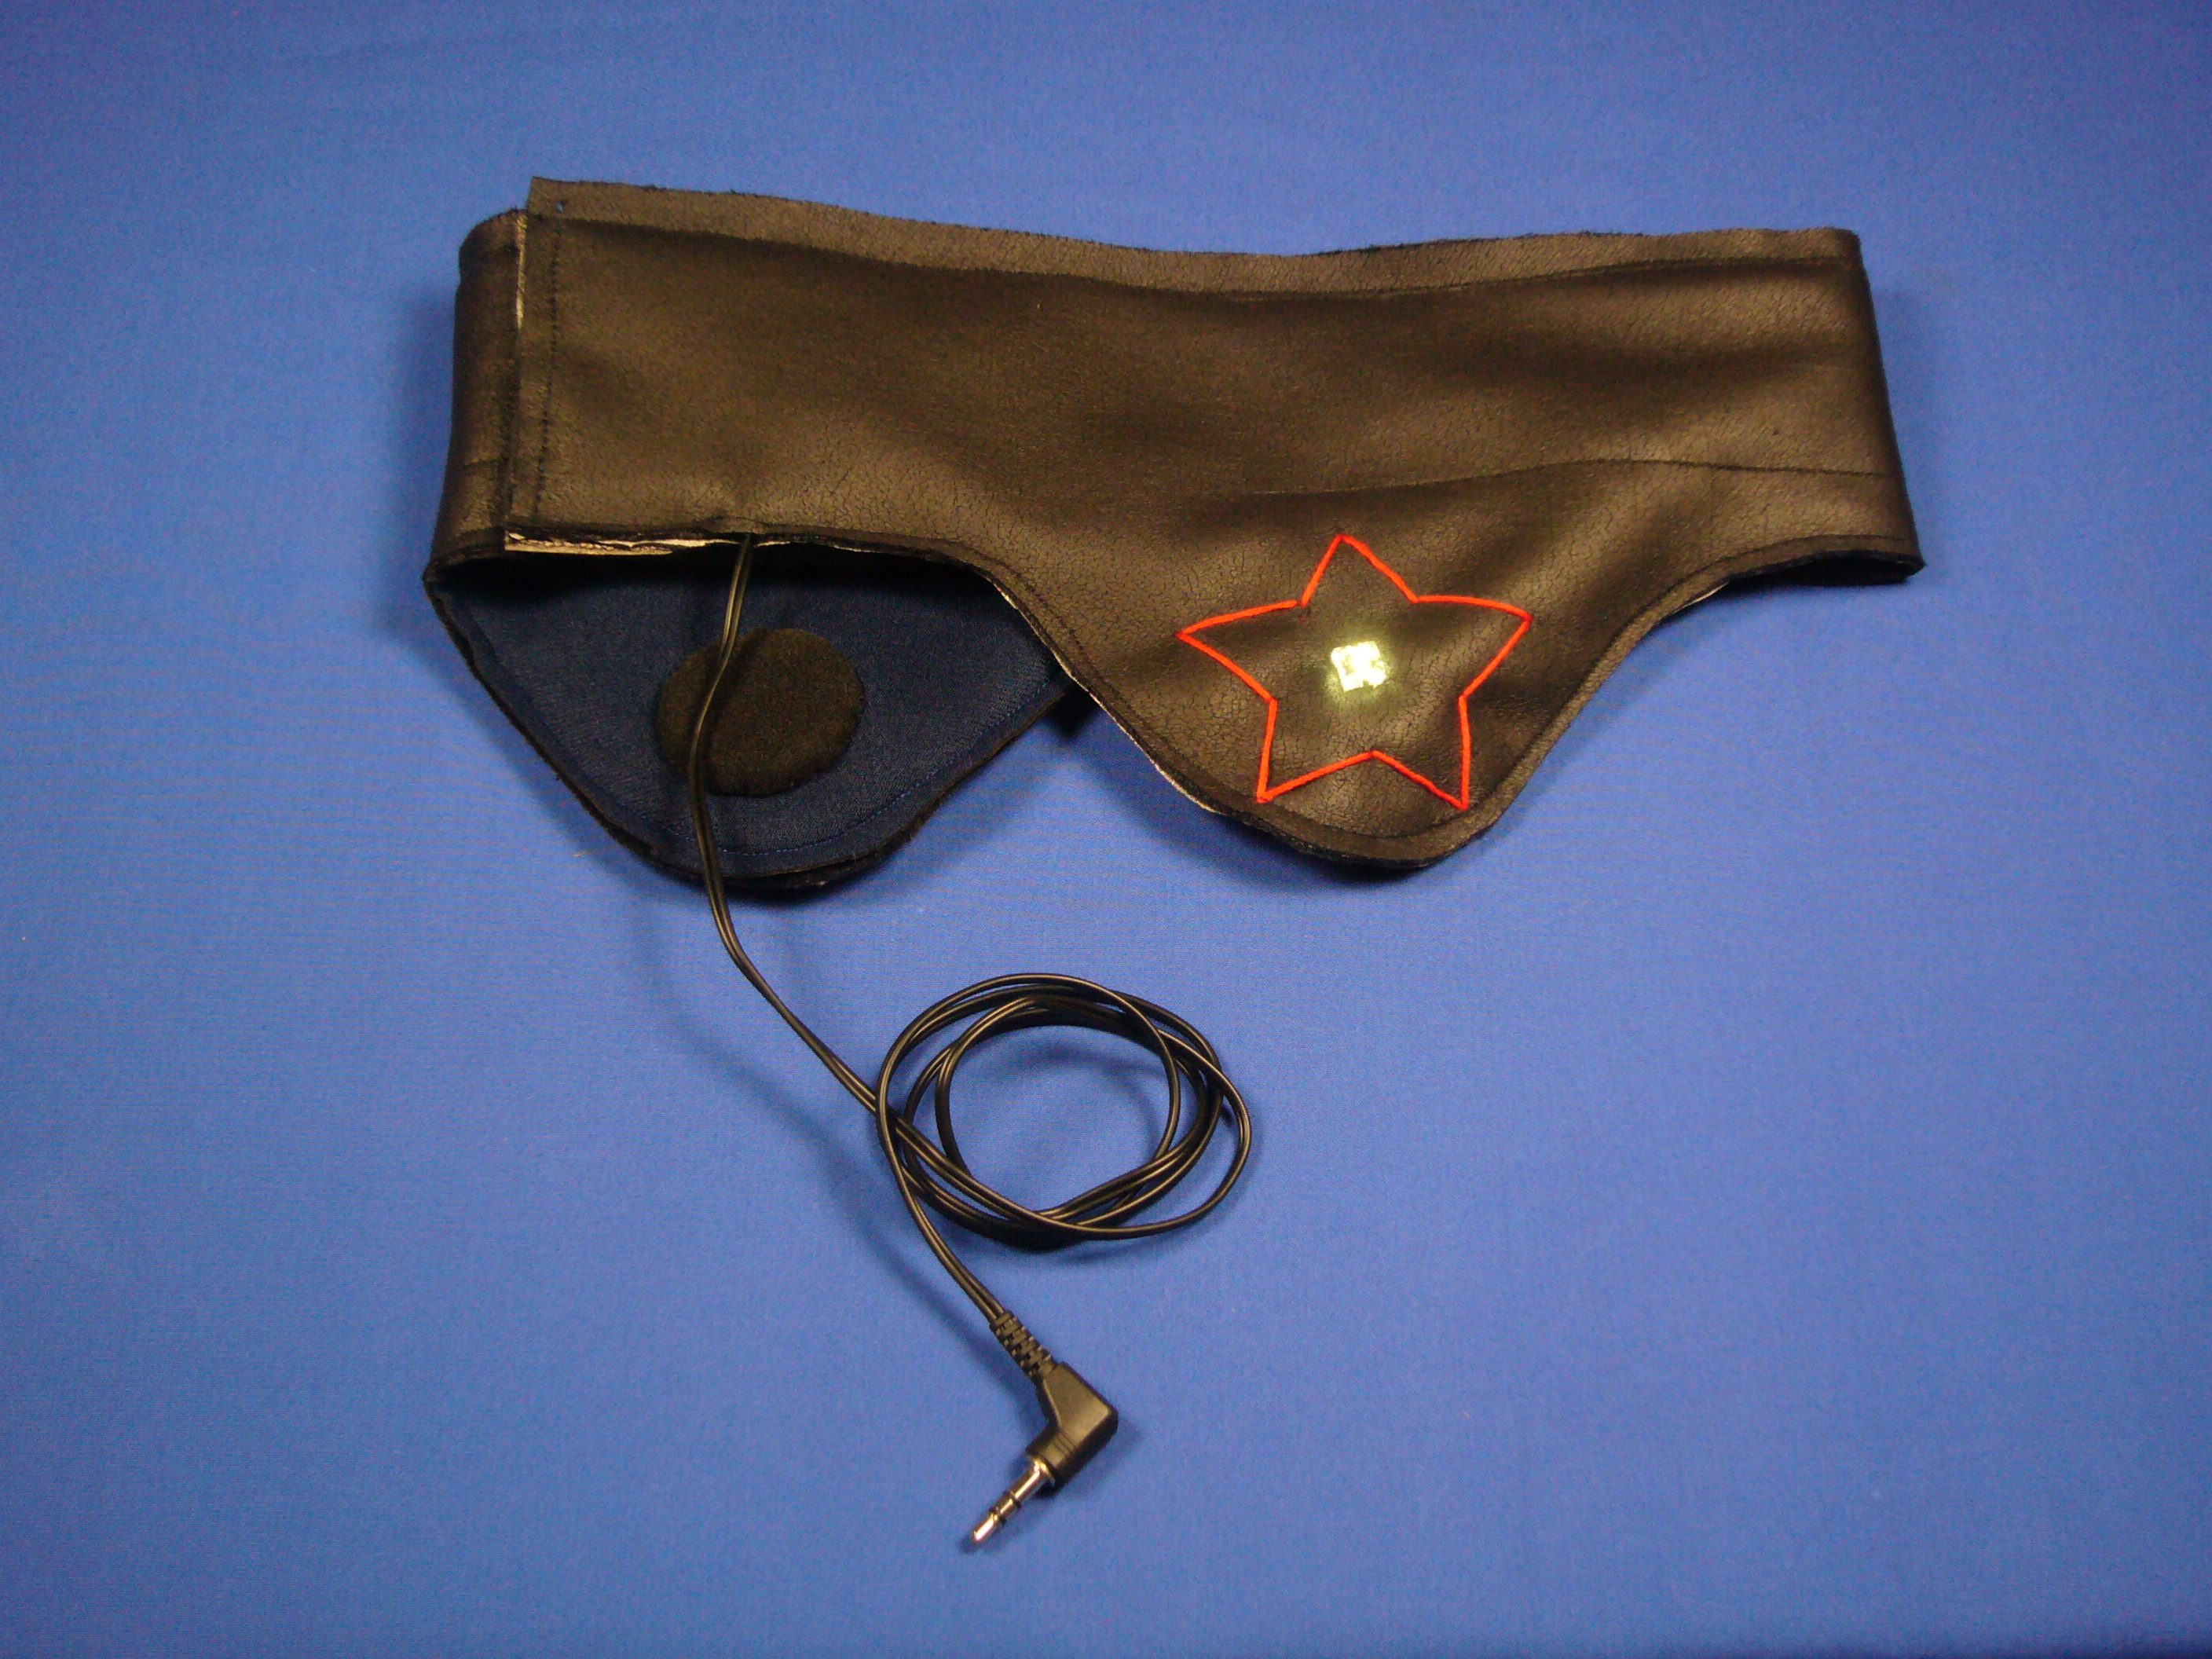
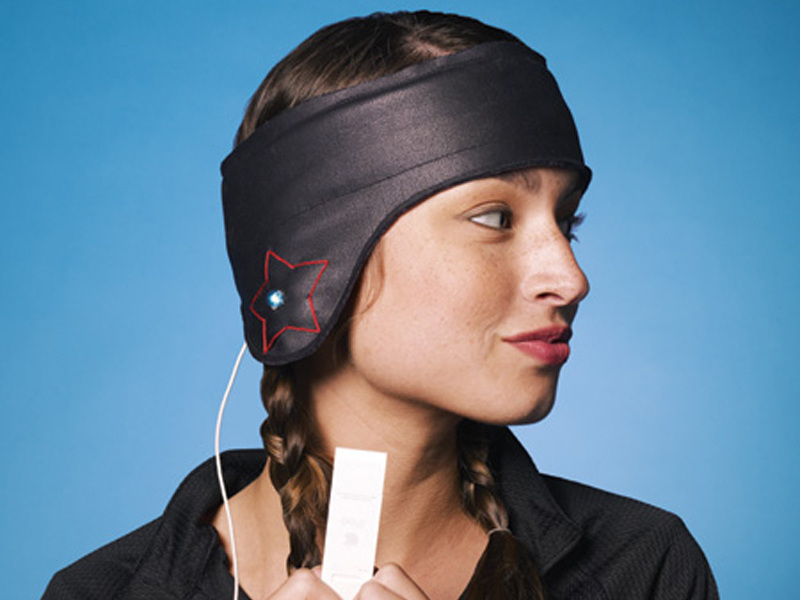
The Rock Star Headphones require you to hack into an existing set of headphones and incorporate it into a new design. The Rock Star will also have two square LEDs sewn onto the exterior of the earwarmers. The LEDs have both an aesthetic function and a practical, safety function: making the wearer visible for jogging or biking at night. The circuit incorporates a soft switch made from conductive hook and loop, so the LEDs turn on only when the headphones are worn.

What will the next generation of Make: look like? We’re inviting you to shape the future by investing in Make:. By becoming an investor, you help decide what’s next. The future of Make: is in your hands. Learn More.

Project Steps

Cut the template.

Download the templates from Documents and print them out.

Using a marking pen, trace Template A onto the interior of the suede. Repeat for the inner neoprene lining. Cut out the template.

Then trace Template B onto the neoprene, and cut the template out. Set aside. This will be the battery pocket piece.

Sew the circuit path.

Trace the positive and negative conductive paths onto the interior of the suede. Place a bobbin of conductive thread in the sewing machine, and a spool of regular thread the same color as the suede in the spool pin.

Machine-stitch both conductive paths along the traces, making sure that the conductive thread is at the bottom of the fabric. Leave about 5″ of loose thread at the beginning of the path. Knot and cut the extra thread at the end of the path. The upper conductive path will be the positive path. The lower conductive path will be the negative path.

Replacing the conductive thread bobbin with ordinary thread, machine-stitch the loop pieces (soft side) of the hook and loop horizontally to the top and bottom right corners of the suede. The loop pieces should be sewn on the top of the suede.

Thread a sewing needle with the loose conductive thread from the negative path. Sew through the loop piece several times, making a connection between the negative path and the bottom loop. Knot and cut the conductive thread. Repeat for the upper loop piece, sewing the positive path to the upper loop.

Cut two 1″x4″ pieces of neoprene. Place the bobbin of conductive thread back into the machine.

Machine-stitch a 4″ conductive path lengthwise about 1/4 ” from the edge. Machine-stitch a 2″ conductive path about  1/4″ from the opposite edge. Repeat for the second piece of neoprene.

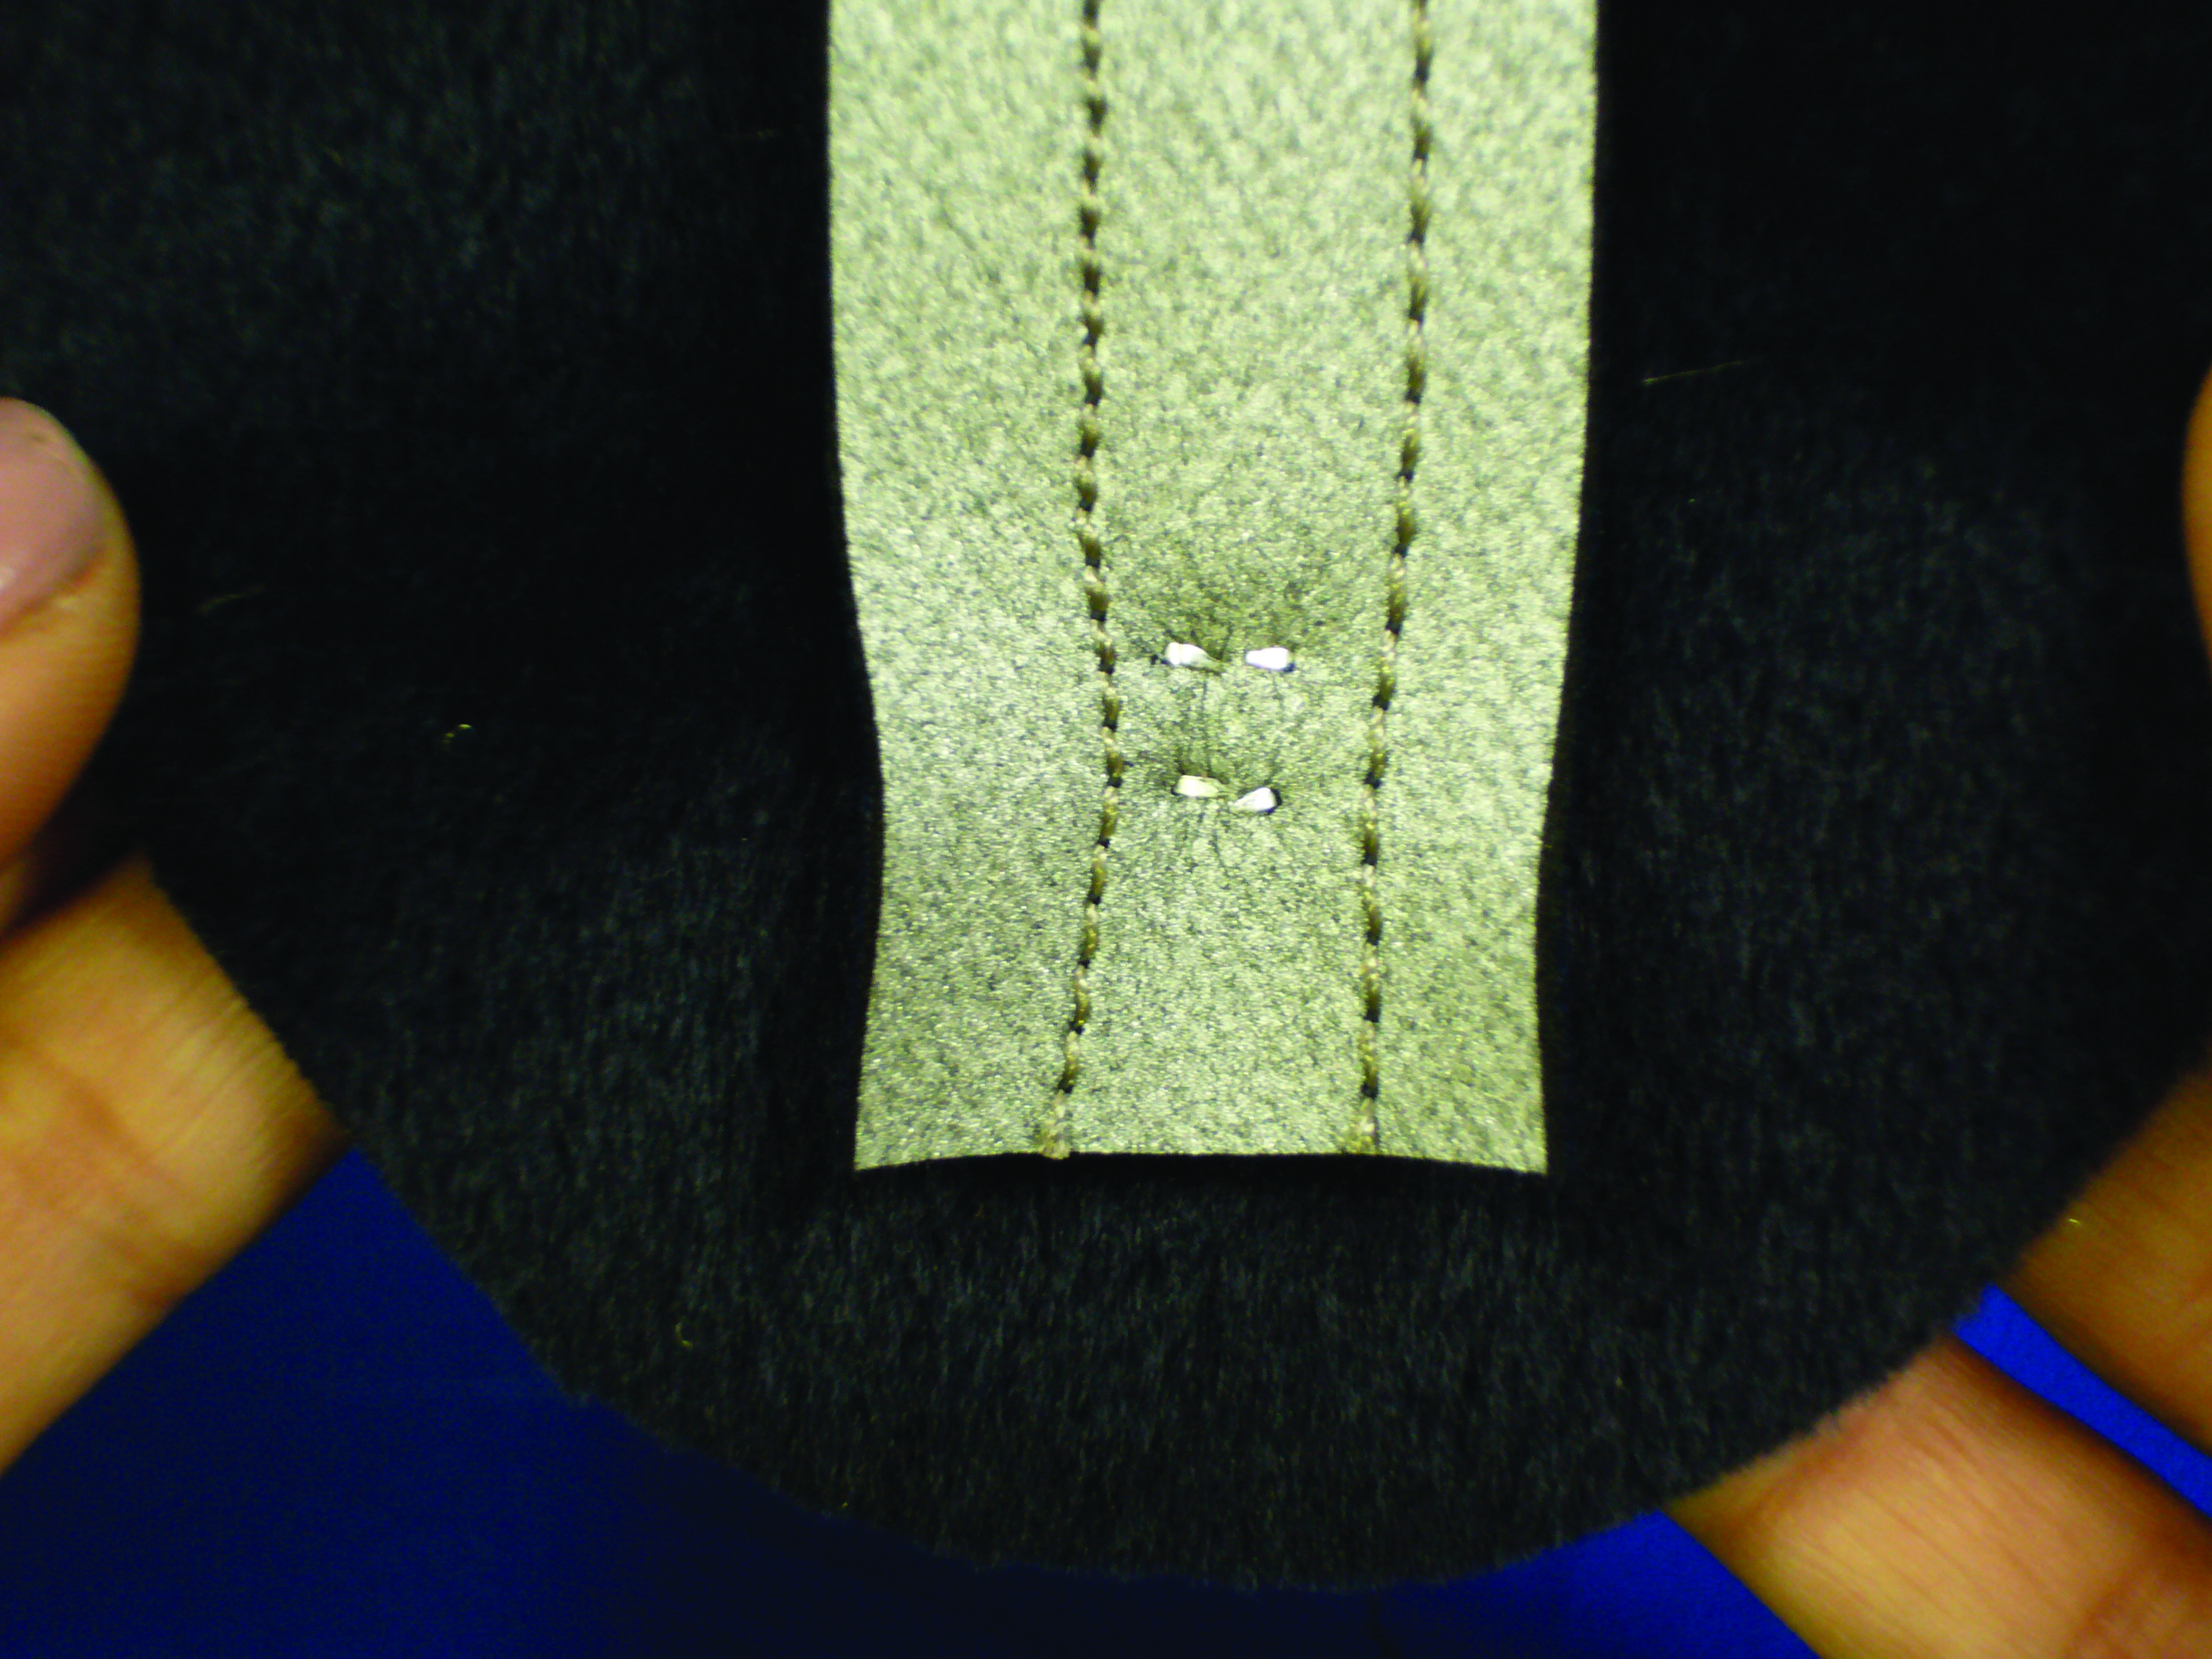
Pierce the leads of an LED with the positive leads facing up through the front of the suede at your desired location.

Place the suede piece wrong side up. Grab one of the neoprene pieces. Pierce the leads of the LED through the neoprene in between the 2 conductive paths. The best way to determine which are the positive and negative leads is to refer to the datasheet or wire them temporarily using alligator clips. The conductive path on the neoprene should be facing up. Using needlenose pliers, bend the leads flush to the fabric. Repeat for the opposite side.

Using conductive thread, hand-sew the positive lead of the LED to the long conductive path on the neoprene. Using a separate piece of conductive thread, sew the negative lead of the LED to the short conductive path on the neoprene. Make sure that the conductive threads from the positive and negative LED leads never touch.

Using conductive thread, hand-sew the long conductive path on the neoprene to the upper positive conductive path on the suede. Using a separate piece of conductive thread, sew the short conductive path on the neoprene to the lower negative conductive path on the suede. Repeat for the second LED.

The positive lead of the LED should now be connected via the neoprene to the upper positive conductive path terminating at the positive loop piece and vice versa, with the negative lead connected via the neoprene to the lower negative conductive path terminating at the negative loop piece.

NOTE: In this example, we have used high-flux LEDs. High-flux LEDs have 4 legs — 2 positive (anodes) and 2 negative (cathodes). You can substitute the high-flux LEDs with typical LEDs. If you are using typical LEDs, curl the negative LED lead (the shorter one) into a loop. Mark it with a black marker to help you distinguish the negative lead from the positive. Then curl the positive lead.
Sew the battery pack.

Take the cellphone battery, and solder a female snap to the positive lead and a male snap to the negative lead.

NOTE: Some cellphone batteries have a third signal lead, typically coated in blue. If you can’t distinguish the positive and negative leads (typically positive is red and negative is black), use a multimeter.

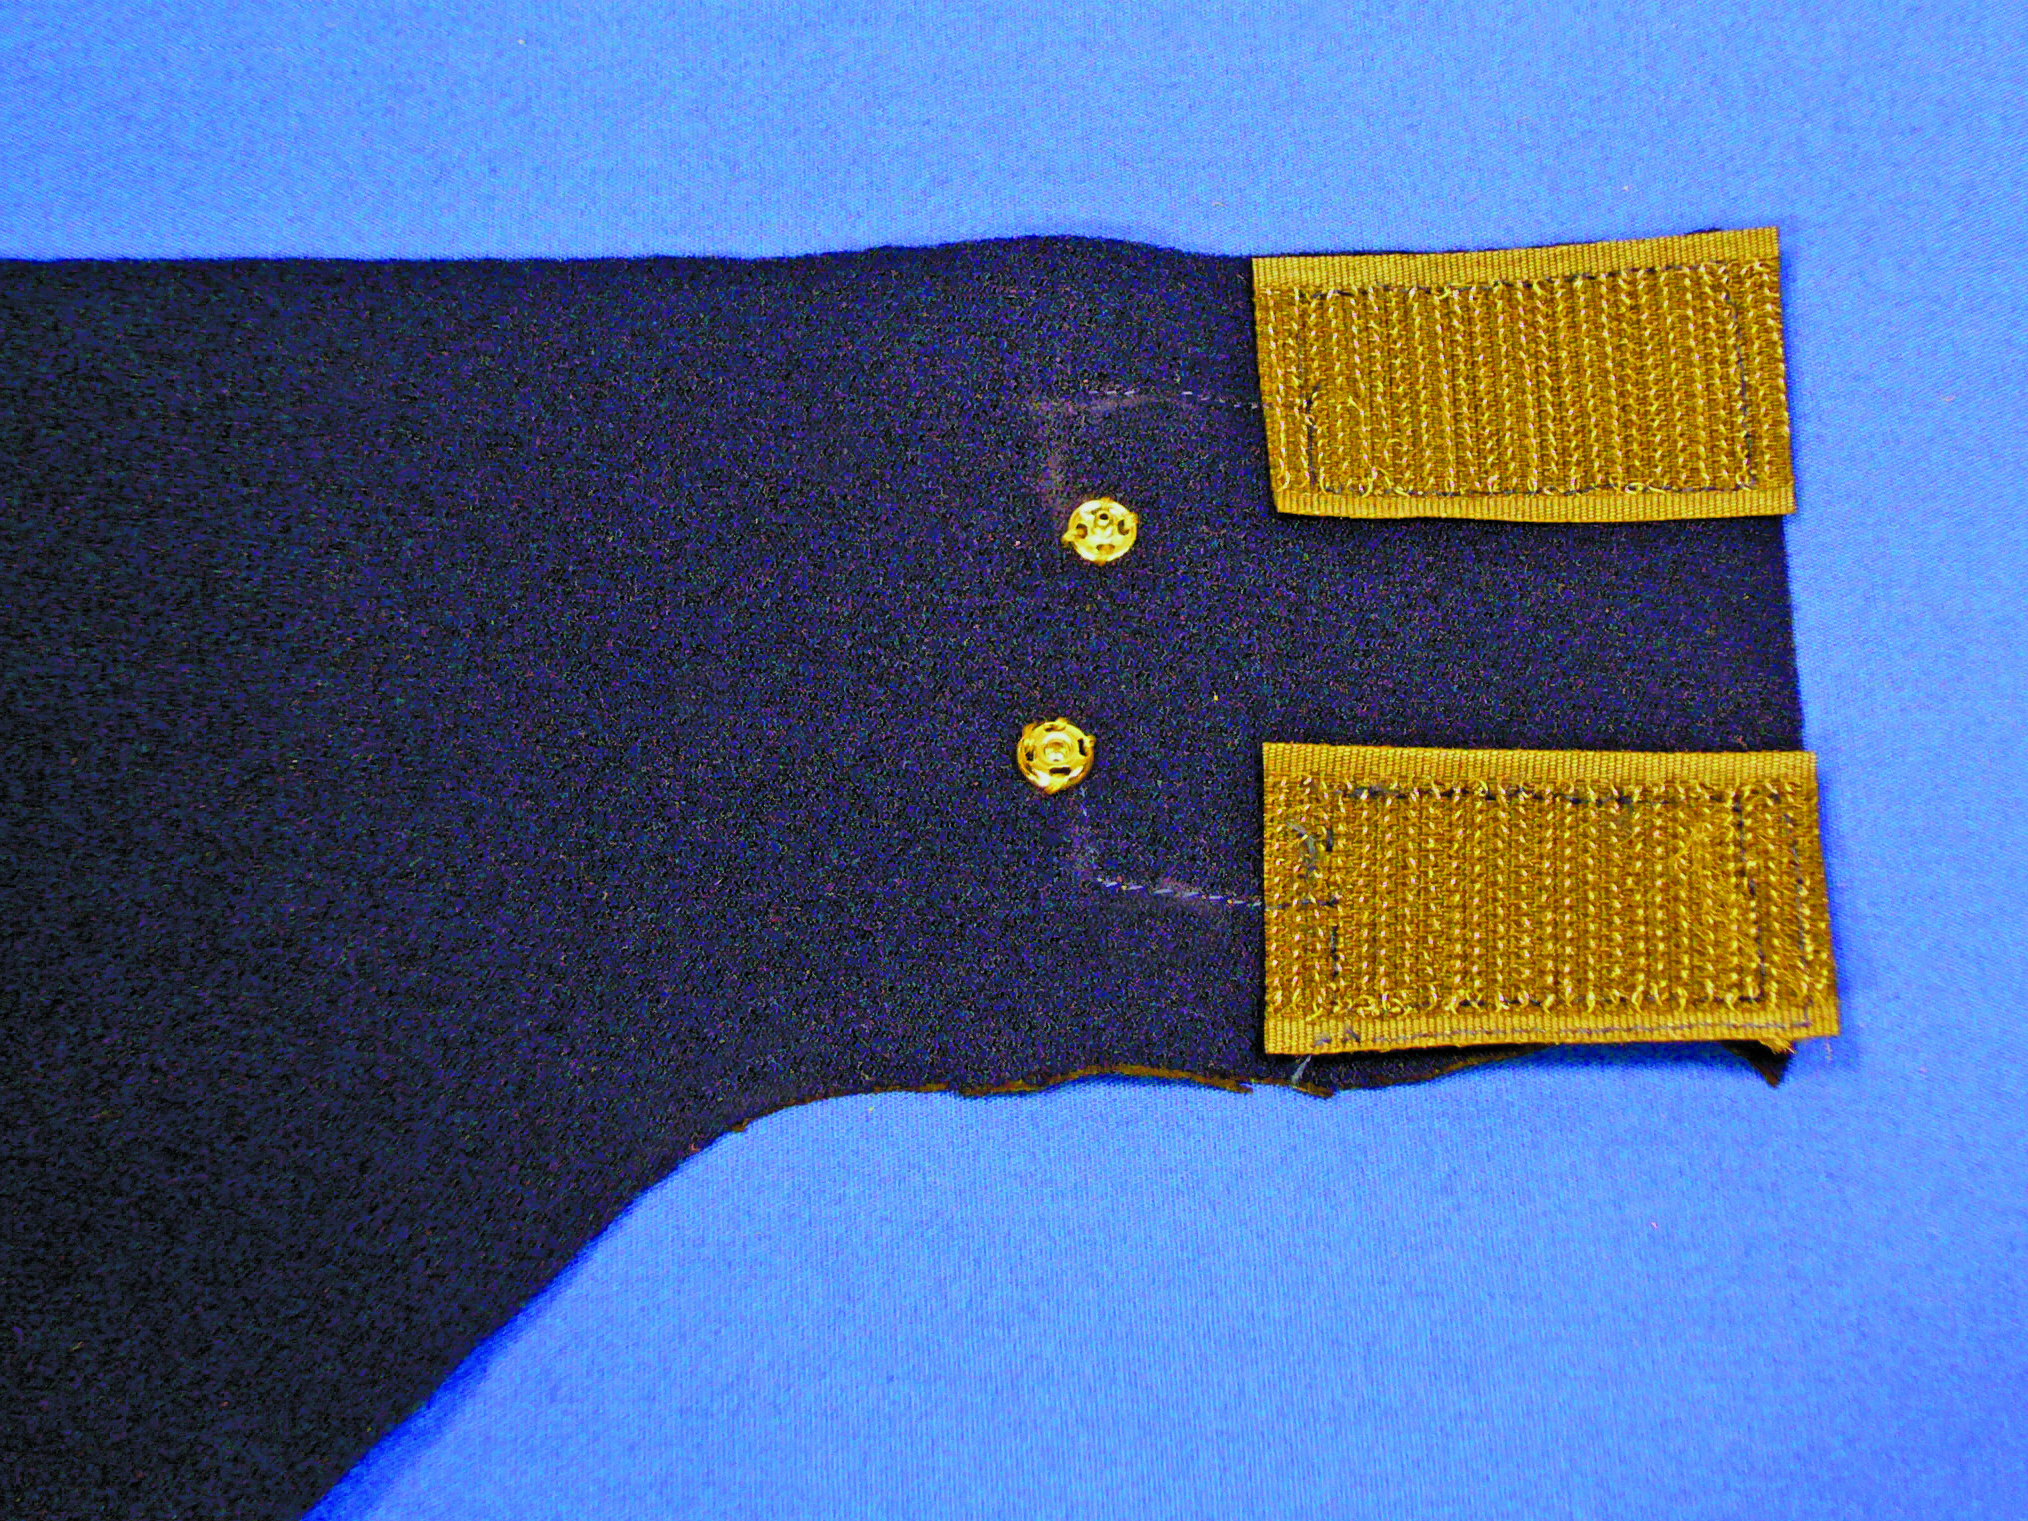
Place the neoprene right side up with the ear flap facing down. Using ordinary thread in the bobbin, machine-stitch the hook pieces (prickly side) of the hook and loop horizontally to the top and bottom right corner of the neoprene. Using conductive thread in the bobbin, sew a path about 1″ to the left and 1″ down (making an “L” shape) from the upper hook piece. Using conductive thread, end the path by sewing on a male snap.

Using conductive thread in the bobbin, sew another path about 1″ to the left and 1″ up (making an “L” shape) from the lower hook piece. Again using conductive thread, end the path by sewing on a female snap.

Fold the battery pocket piece along its hemlines. Machine-stitch the pocket piece next to the hook pieces, covering the conductive paths and snaps.

NOTE: The path must be connected to the hook piece. Begin the path inside the hook piece.

Embroider the headphones.

Personalize your headphones by embroidering custom designs. For those not particularly skilled in the craft of embroidery, you can’t go wrong with a simple five-point star.

Using a tracing pen, trace a five-point star on top of the suede. Using embroidery thread, embroider the star. Repeat for the opposite side.

Sew the headphones.

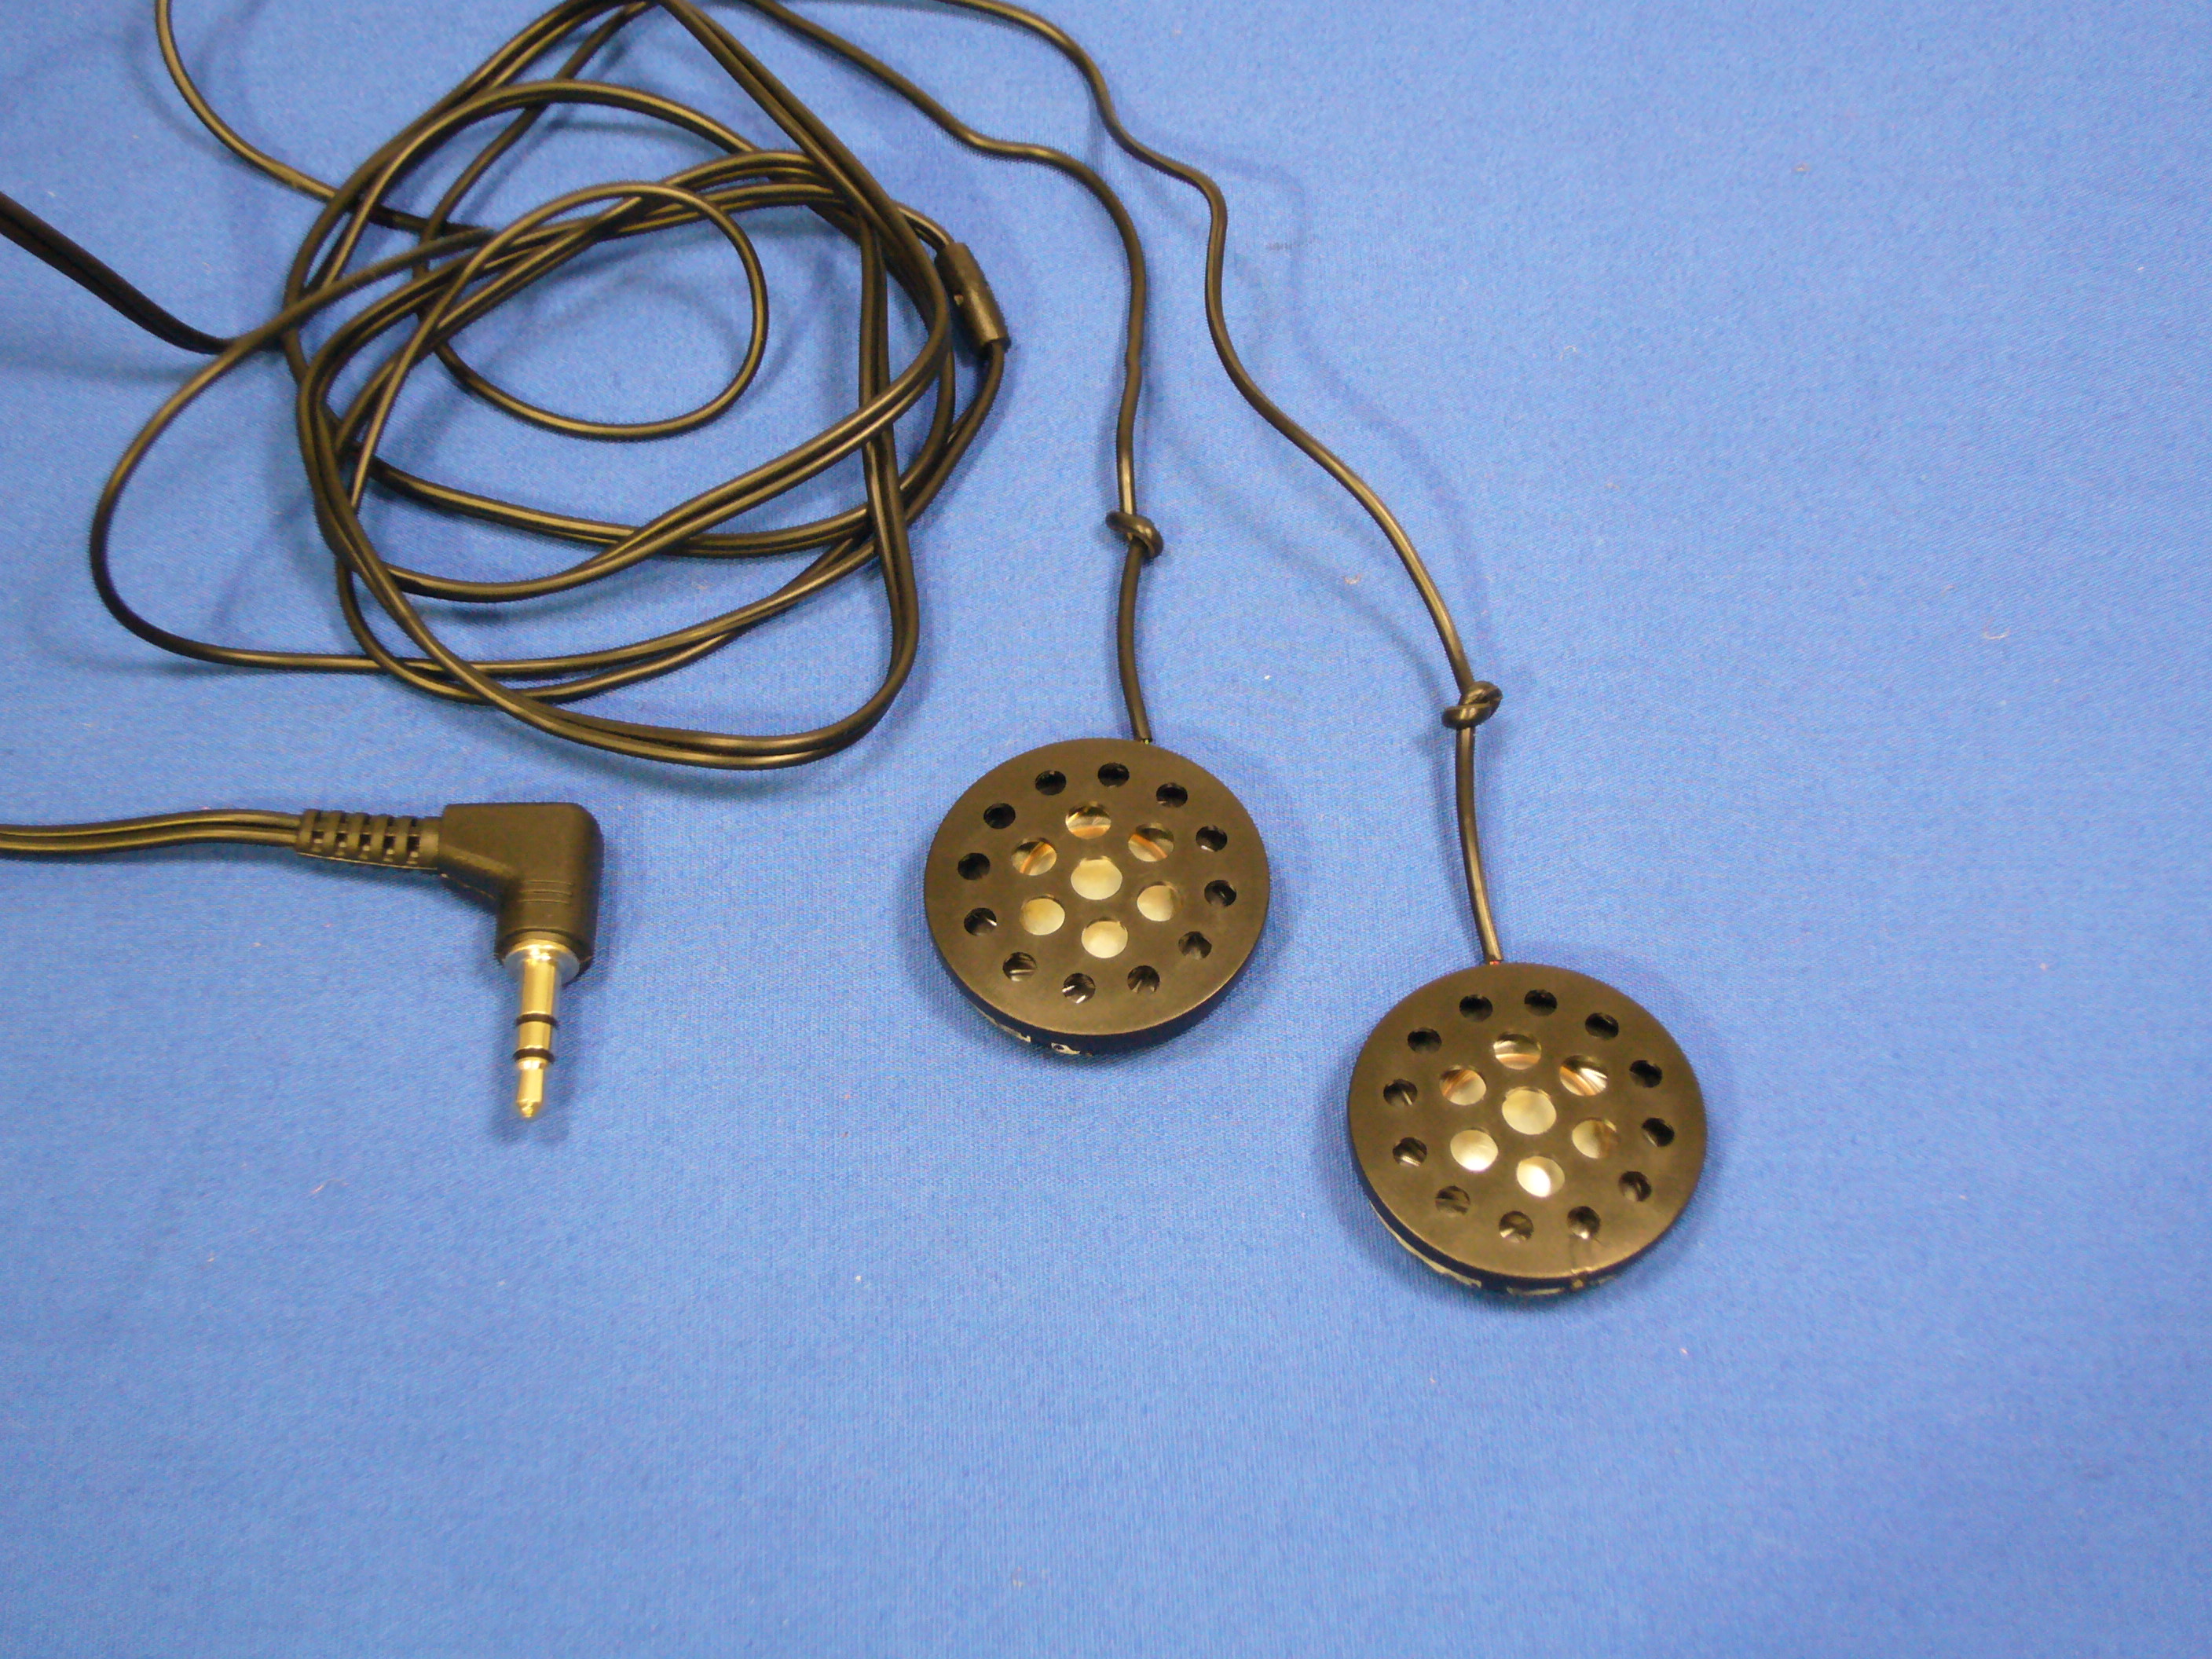
Using needlenose pliers, carefully deconstruct the headphones until you have the 2 speakers loose from their housing.

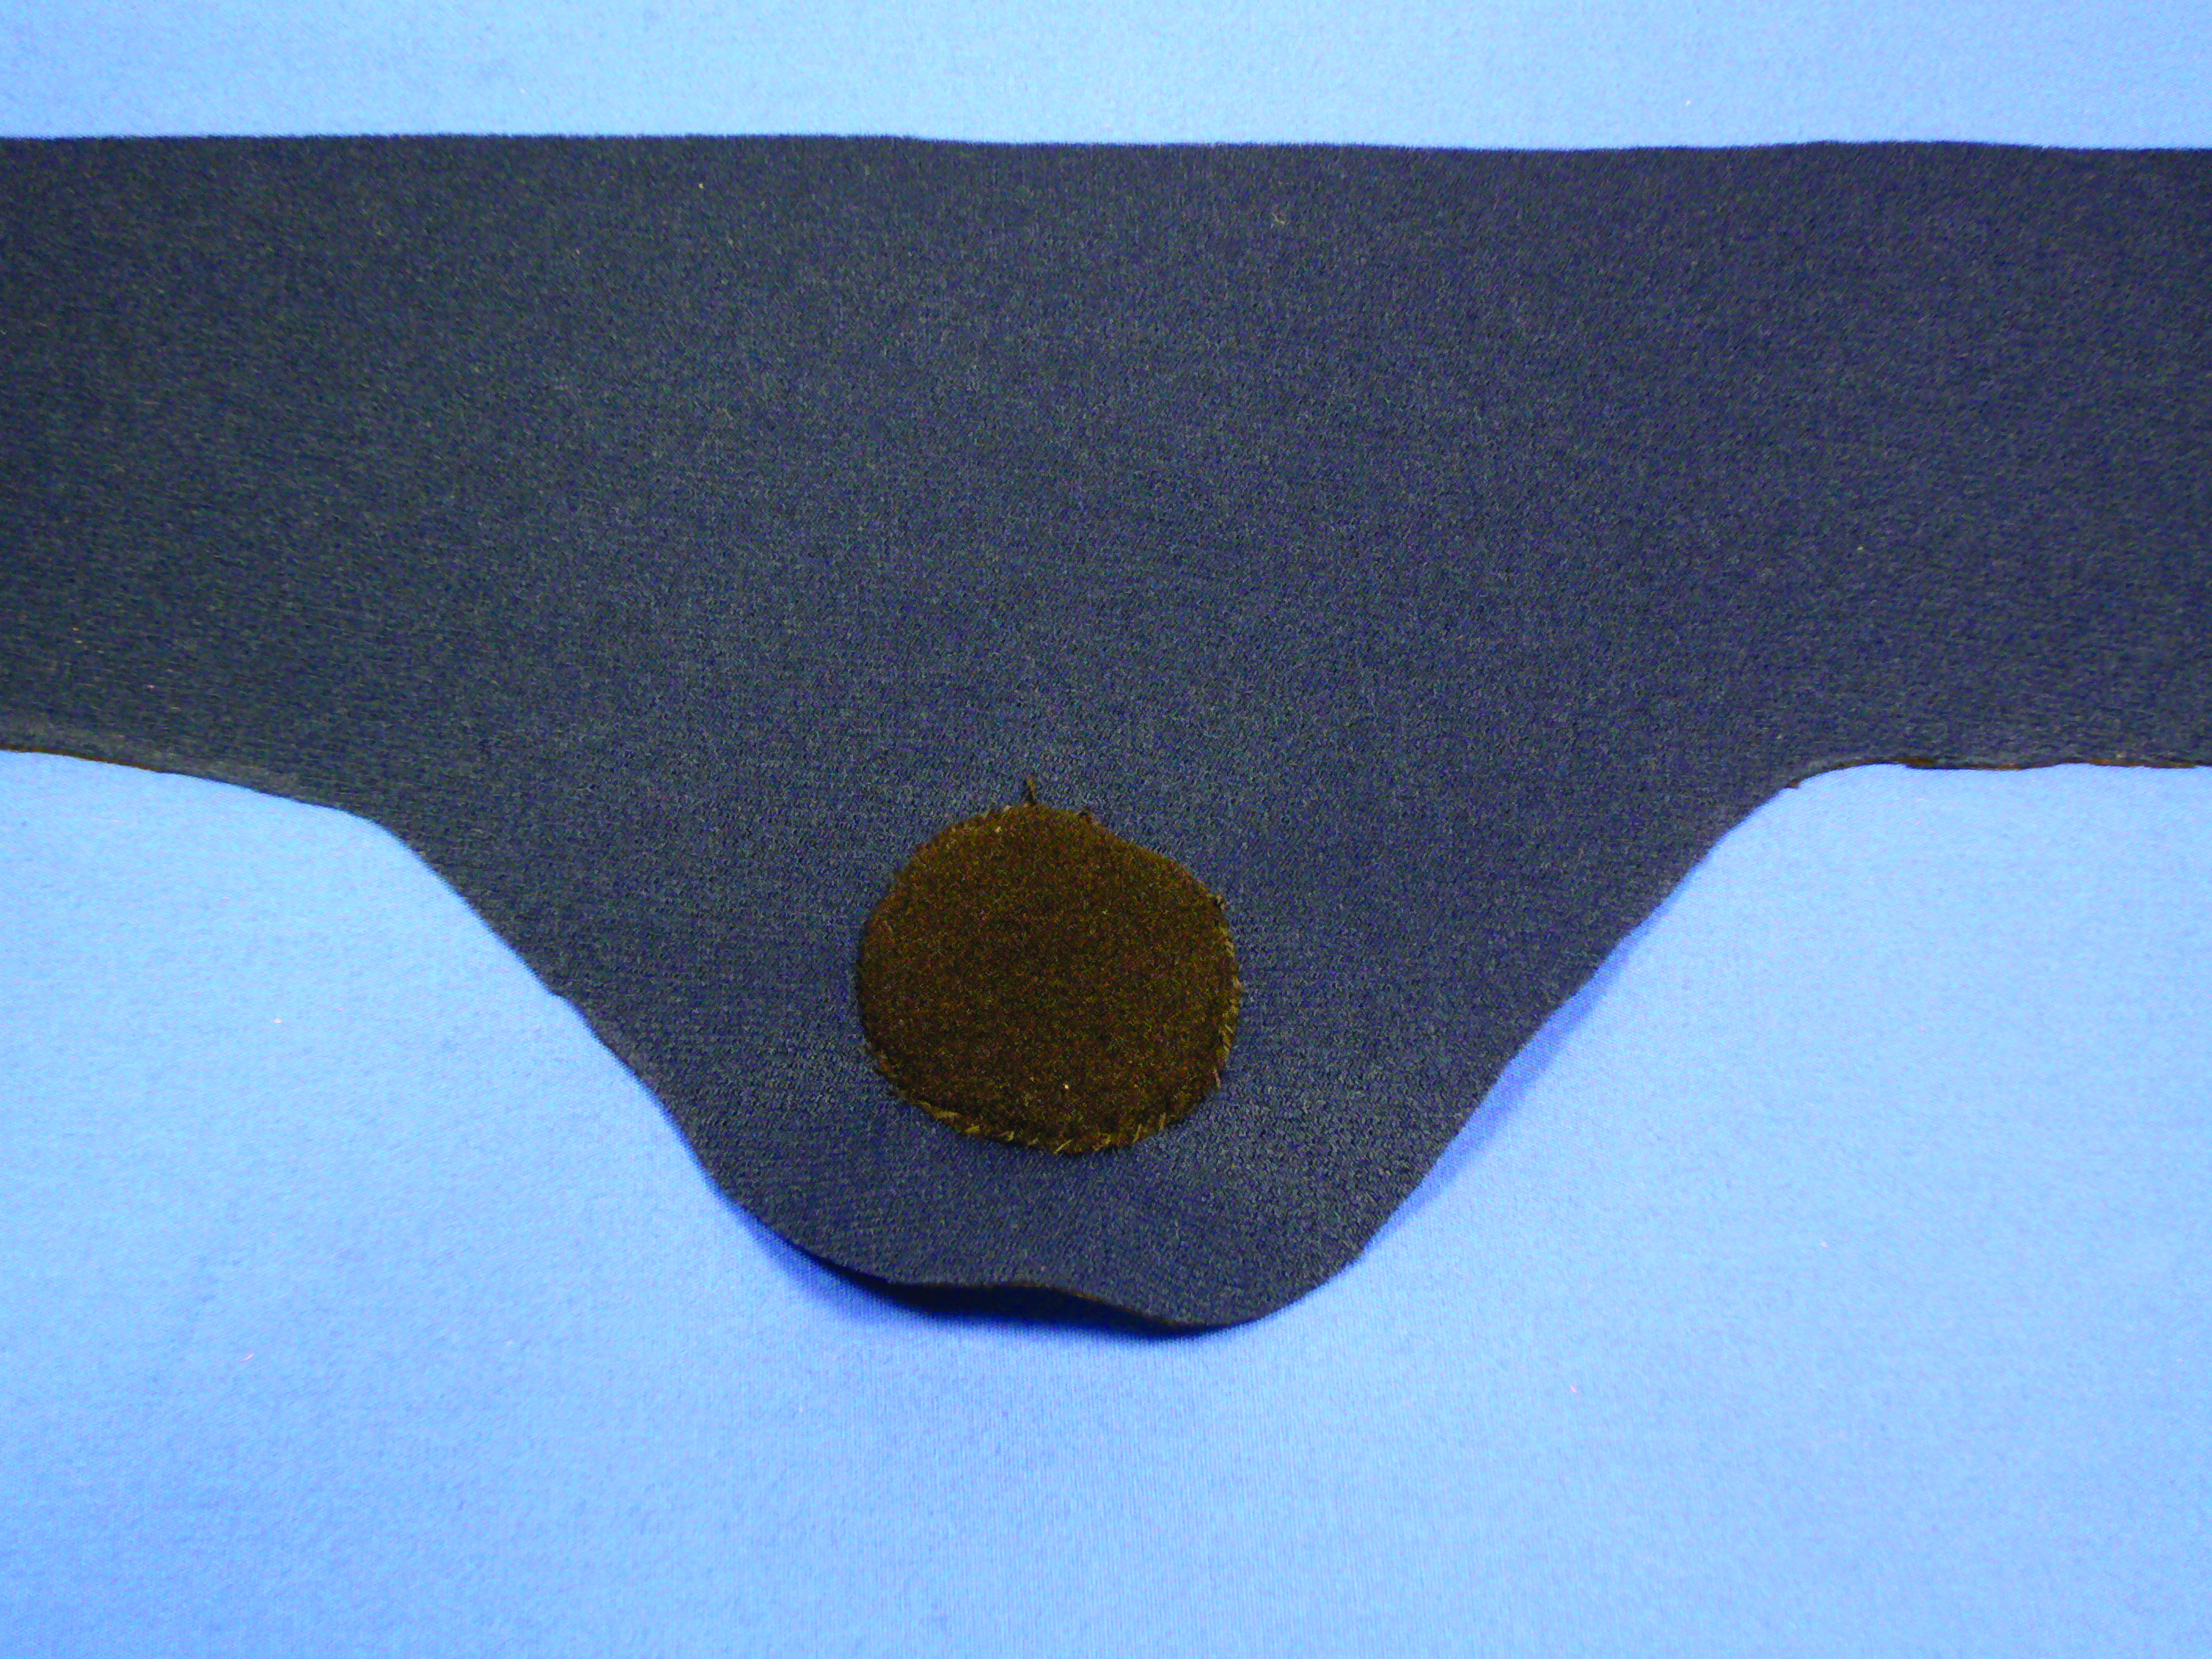
Take the earpiece covers and place the neoprene piece right side up. Using ordinary thread, hand-stitch one of the earpiece covers to the center of the curved ear flap. Repeat for the other side.

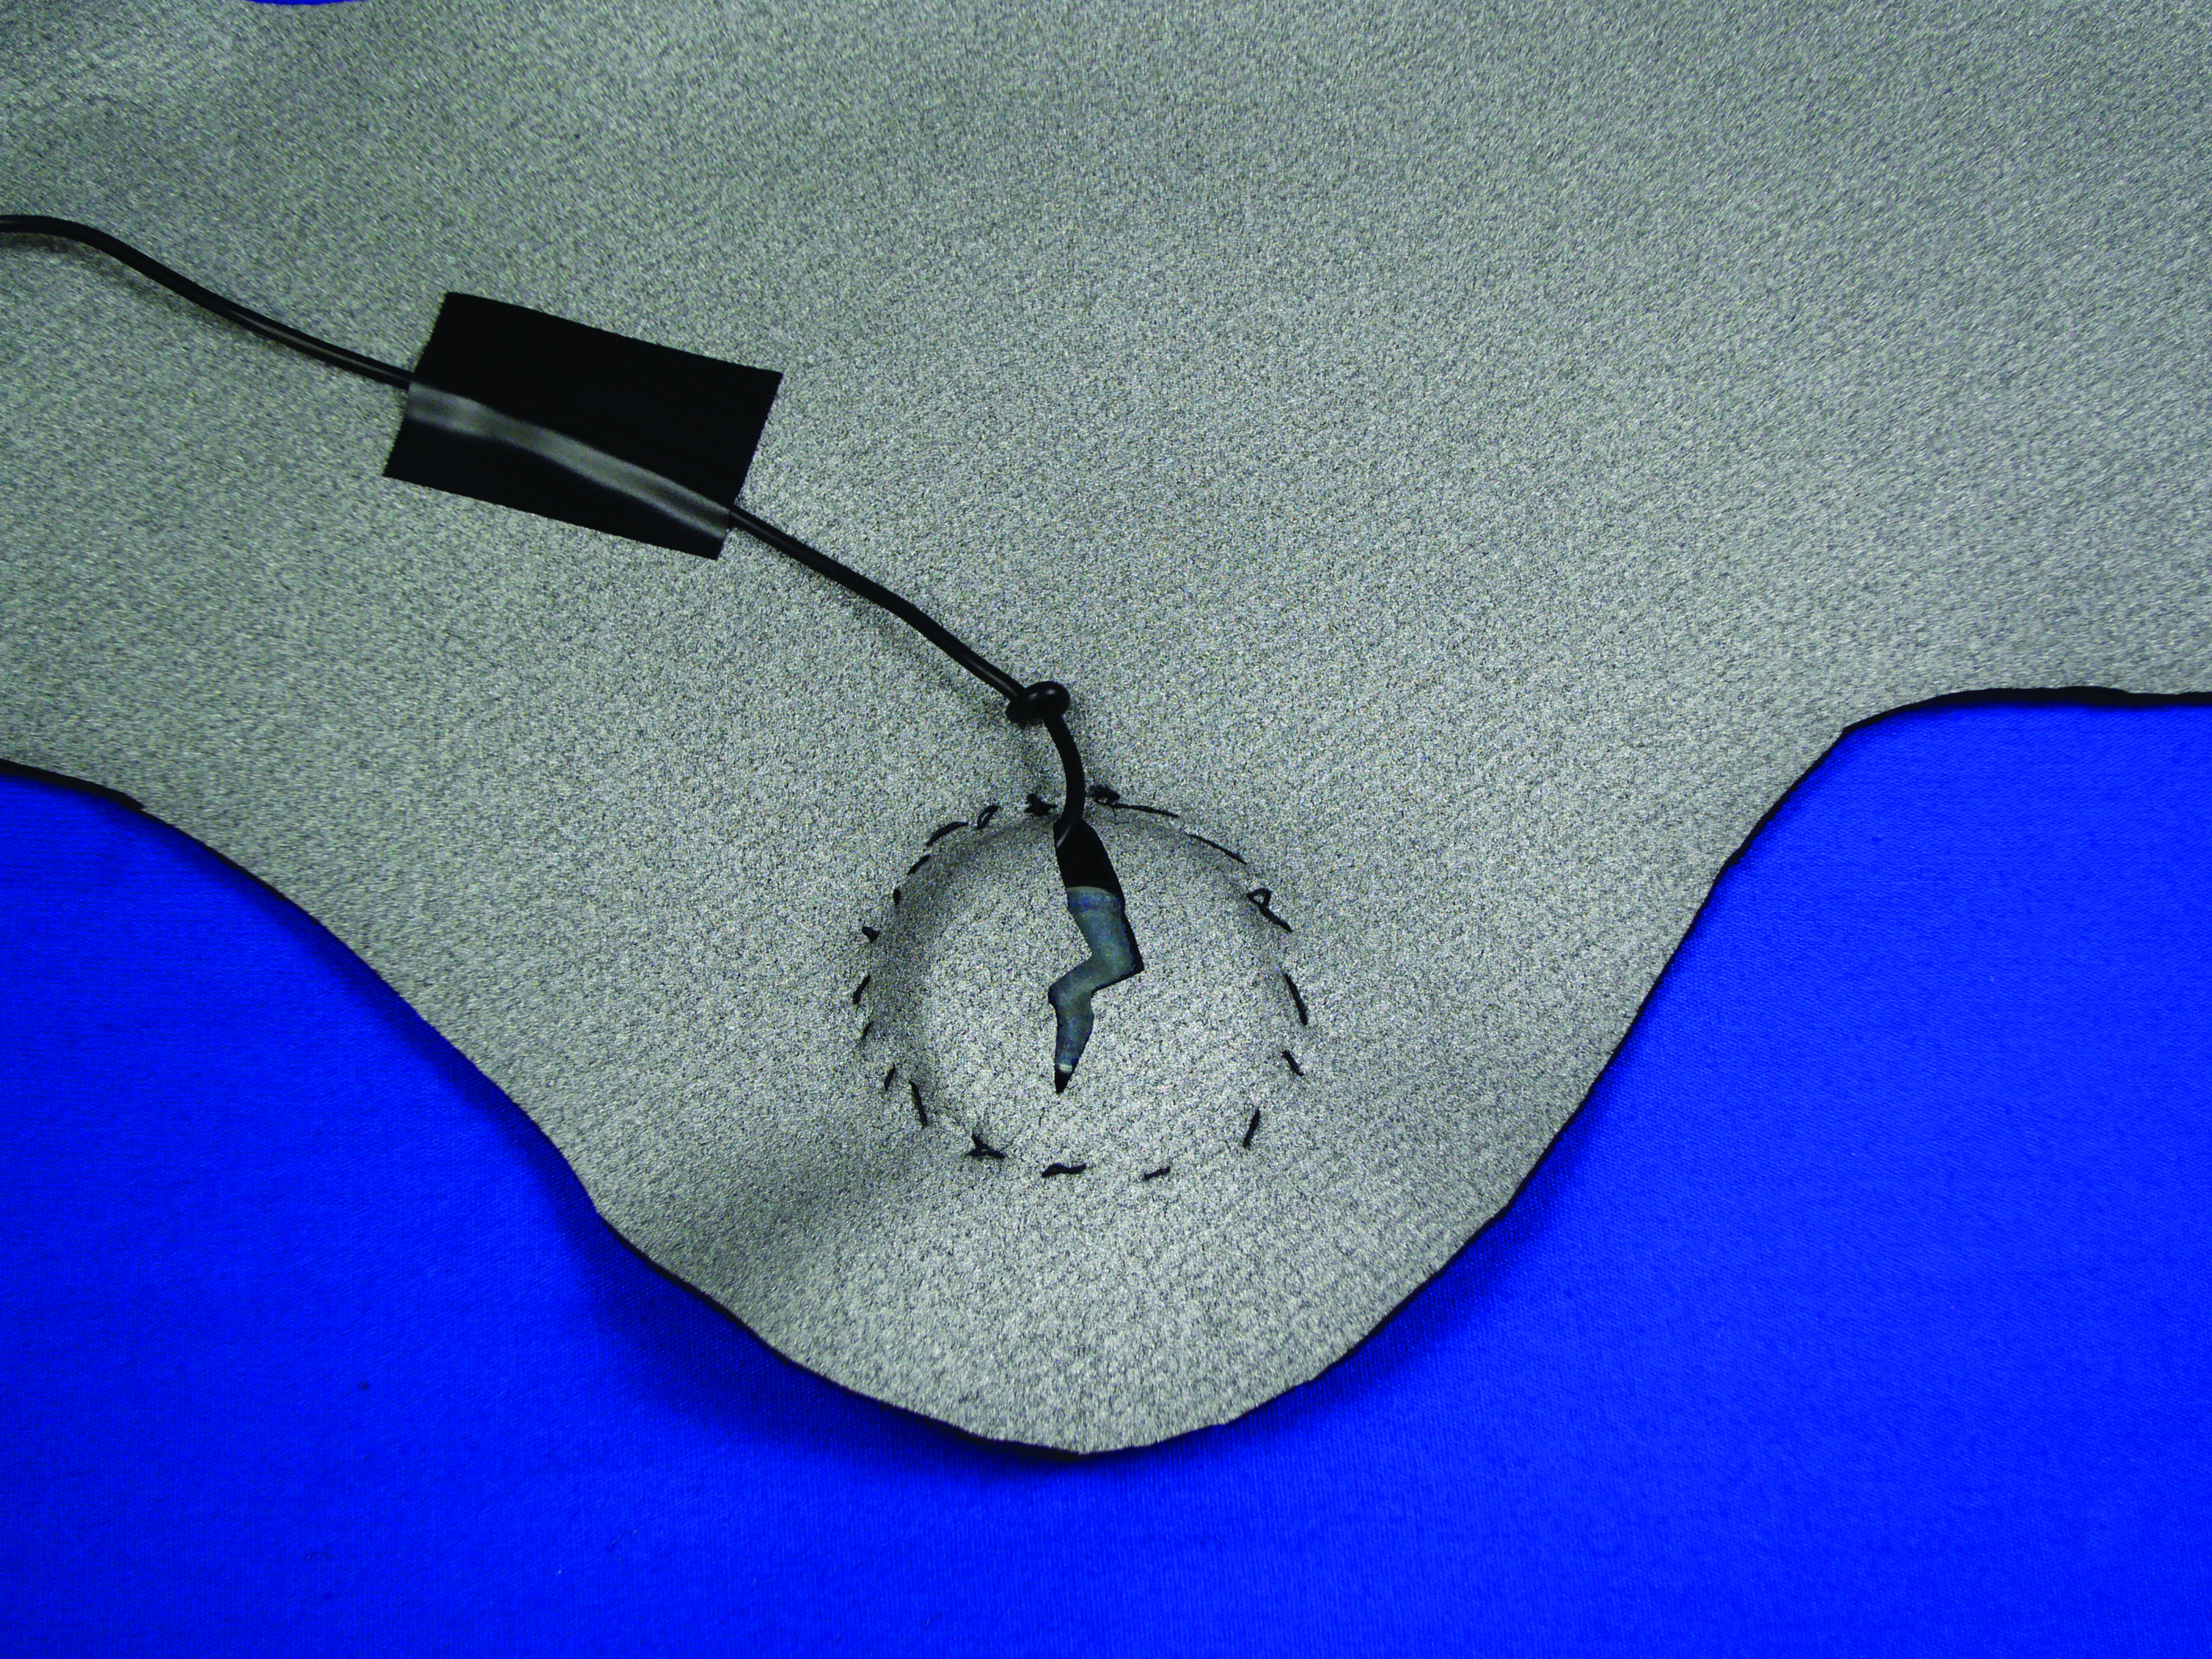
Turn the neoprene over, placing it wrong side up. Using a utility knife, slice down the center of the back of the earpiece cover, being careful not to slice through the earpiece cover itself. Repeat for the second earpiece cover.

Slip the headphone earpieces into each slot. Adjust the wires so that the audio plug is located near the hook and loop, and extending from the bottom of the neoprene. You can temporarily hold the wires in place with tape. Once you have positioned the wires appropriately, use ordinary thread to hand-stitch sections of the wire in place.

Pin the neoprene lining to the upper suede piece. Machine-stitch the 2 pieces together, making sure to sew over (not through) the wires extending from the audio plug.

Snap the battery into place, grab your MP3 player, and begin rockin out to your favorite tunes — nice and toasty!

Conclusion

This project first appeared in Fashioning Technology by Syuzi Pakhchyan.