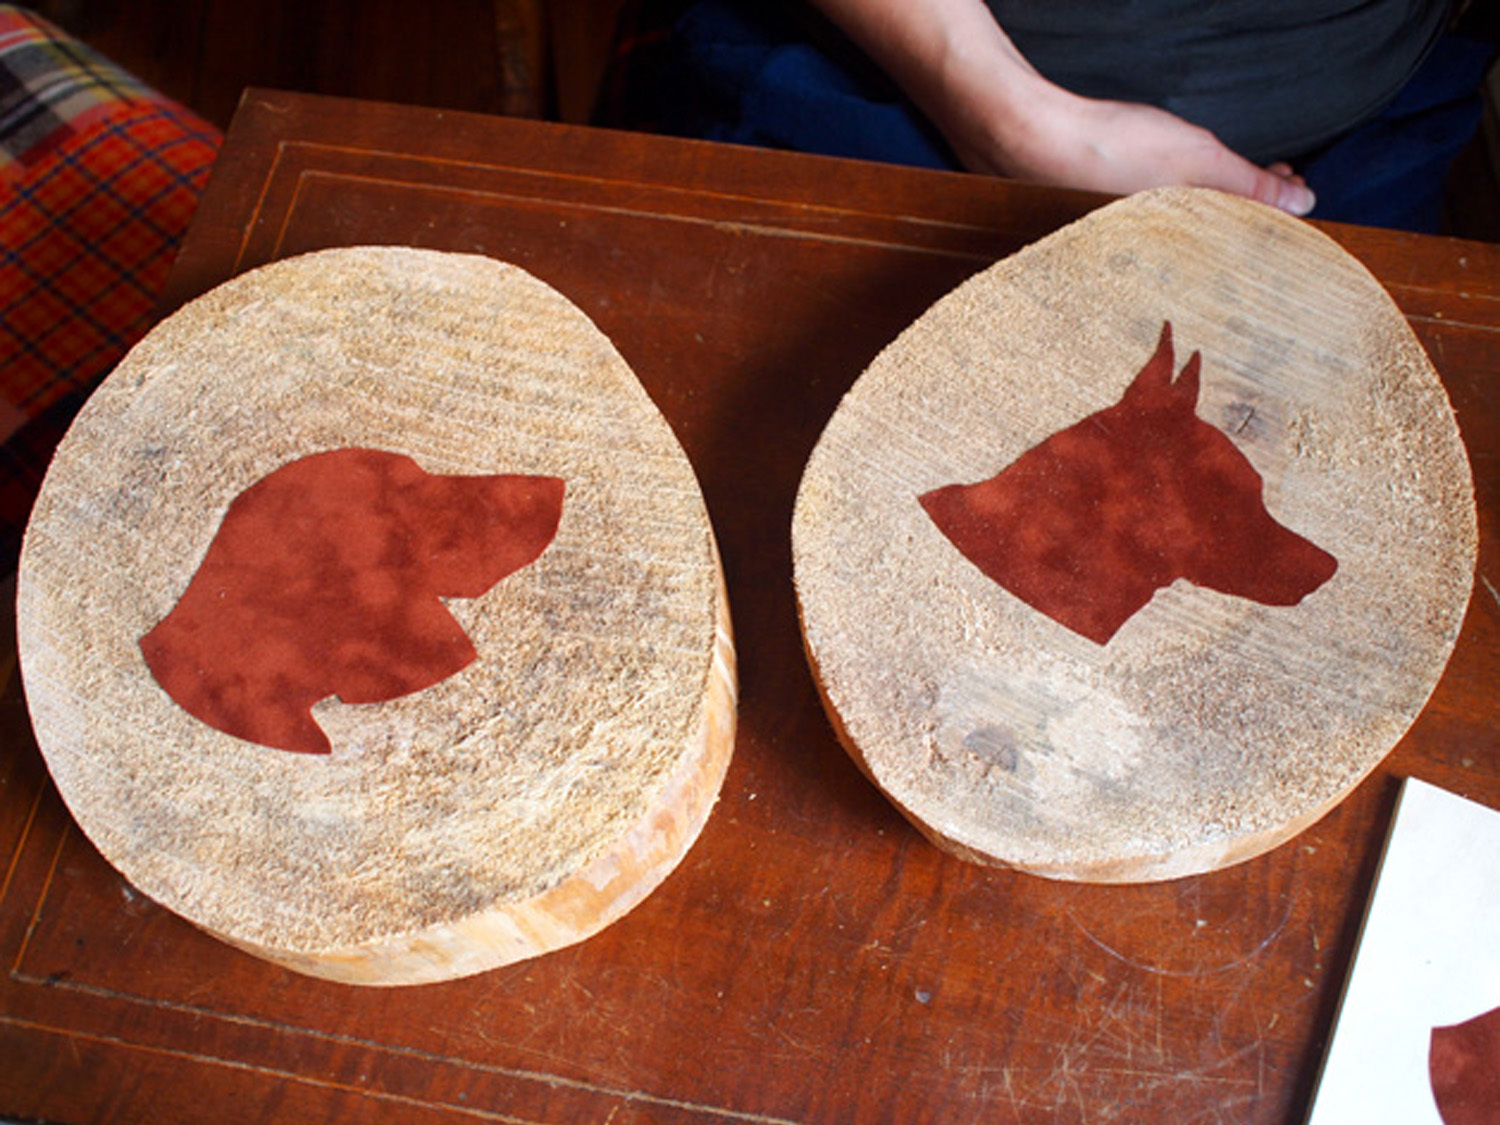
This project was my first time using both Adobe Illustrator and the Silhouette machine, so this is an easy and basic way to begin using these tools to create your own silhouette piece.

YouTube player

What will the next generation of Make: look like? We’re inviting you to shape the future by investing in Make:. By becoming an investor, you help decide what’s next. The future of Make: is in your hands. Learn More.

Project Steps

To get started, back light your subject by placing it in between you and your light source. Take a photograph that shows a clear silhouette of your subject. To accentuate the silhouette further, adjust the brightness and contrast in Photoshop.

There are many ways to get the silhouette of your subject, but in this project we are using Adobe Illustrator. Drag your photo into Adobe Illustrator and lock your layer. Pick your favorite writing implement and trace your silhouette in a new layer.

Use the pencil tool in a bold color to trace the perimeter of your subject, clicking intermittently to create anchor points. If you make a mistake hit Edit > Undo and it will take you back one step. To clean up, hit the direct select tool to zoom in to see the anchor points.

Choose one anchor point at a time to move them around to where you want. Anchors also have handles helping you change the curvature of the line.

To preview your silhouette, zoom out and toggle the visibility on the photo layer. You can then go back and fix whatever lines you need.

Make sure your silhouette is a closed shape so that your knife can cut all the way around.

Click on the eye of your photo layer again and you have your silhouette to print out. To print, cut and load your flocked paper onto the carrier sheet and into the cutter. Try different settings on your cutter depending on the thickness of your paper to make sure it will cut all the way through.

Peel the silhouette out of the flocked paper and clean up any lines with small scissors.

To add your silhouette to a wood piece, first sand down the surface so it will properly adhere. In a well-ventilated space, wearing protective eye wear, spray adhesive onto the back of your wood, place your silhouette down, and press.

You can simply trace and cut the silhouette, bypassing the cutting machine altogether. You can put your silhouette on anything from a simple wood piece to a small rock.

Conclusion

Additional photography by Becky Stern.