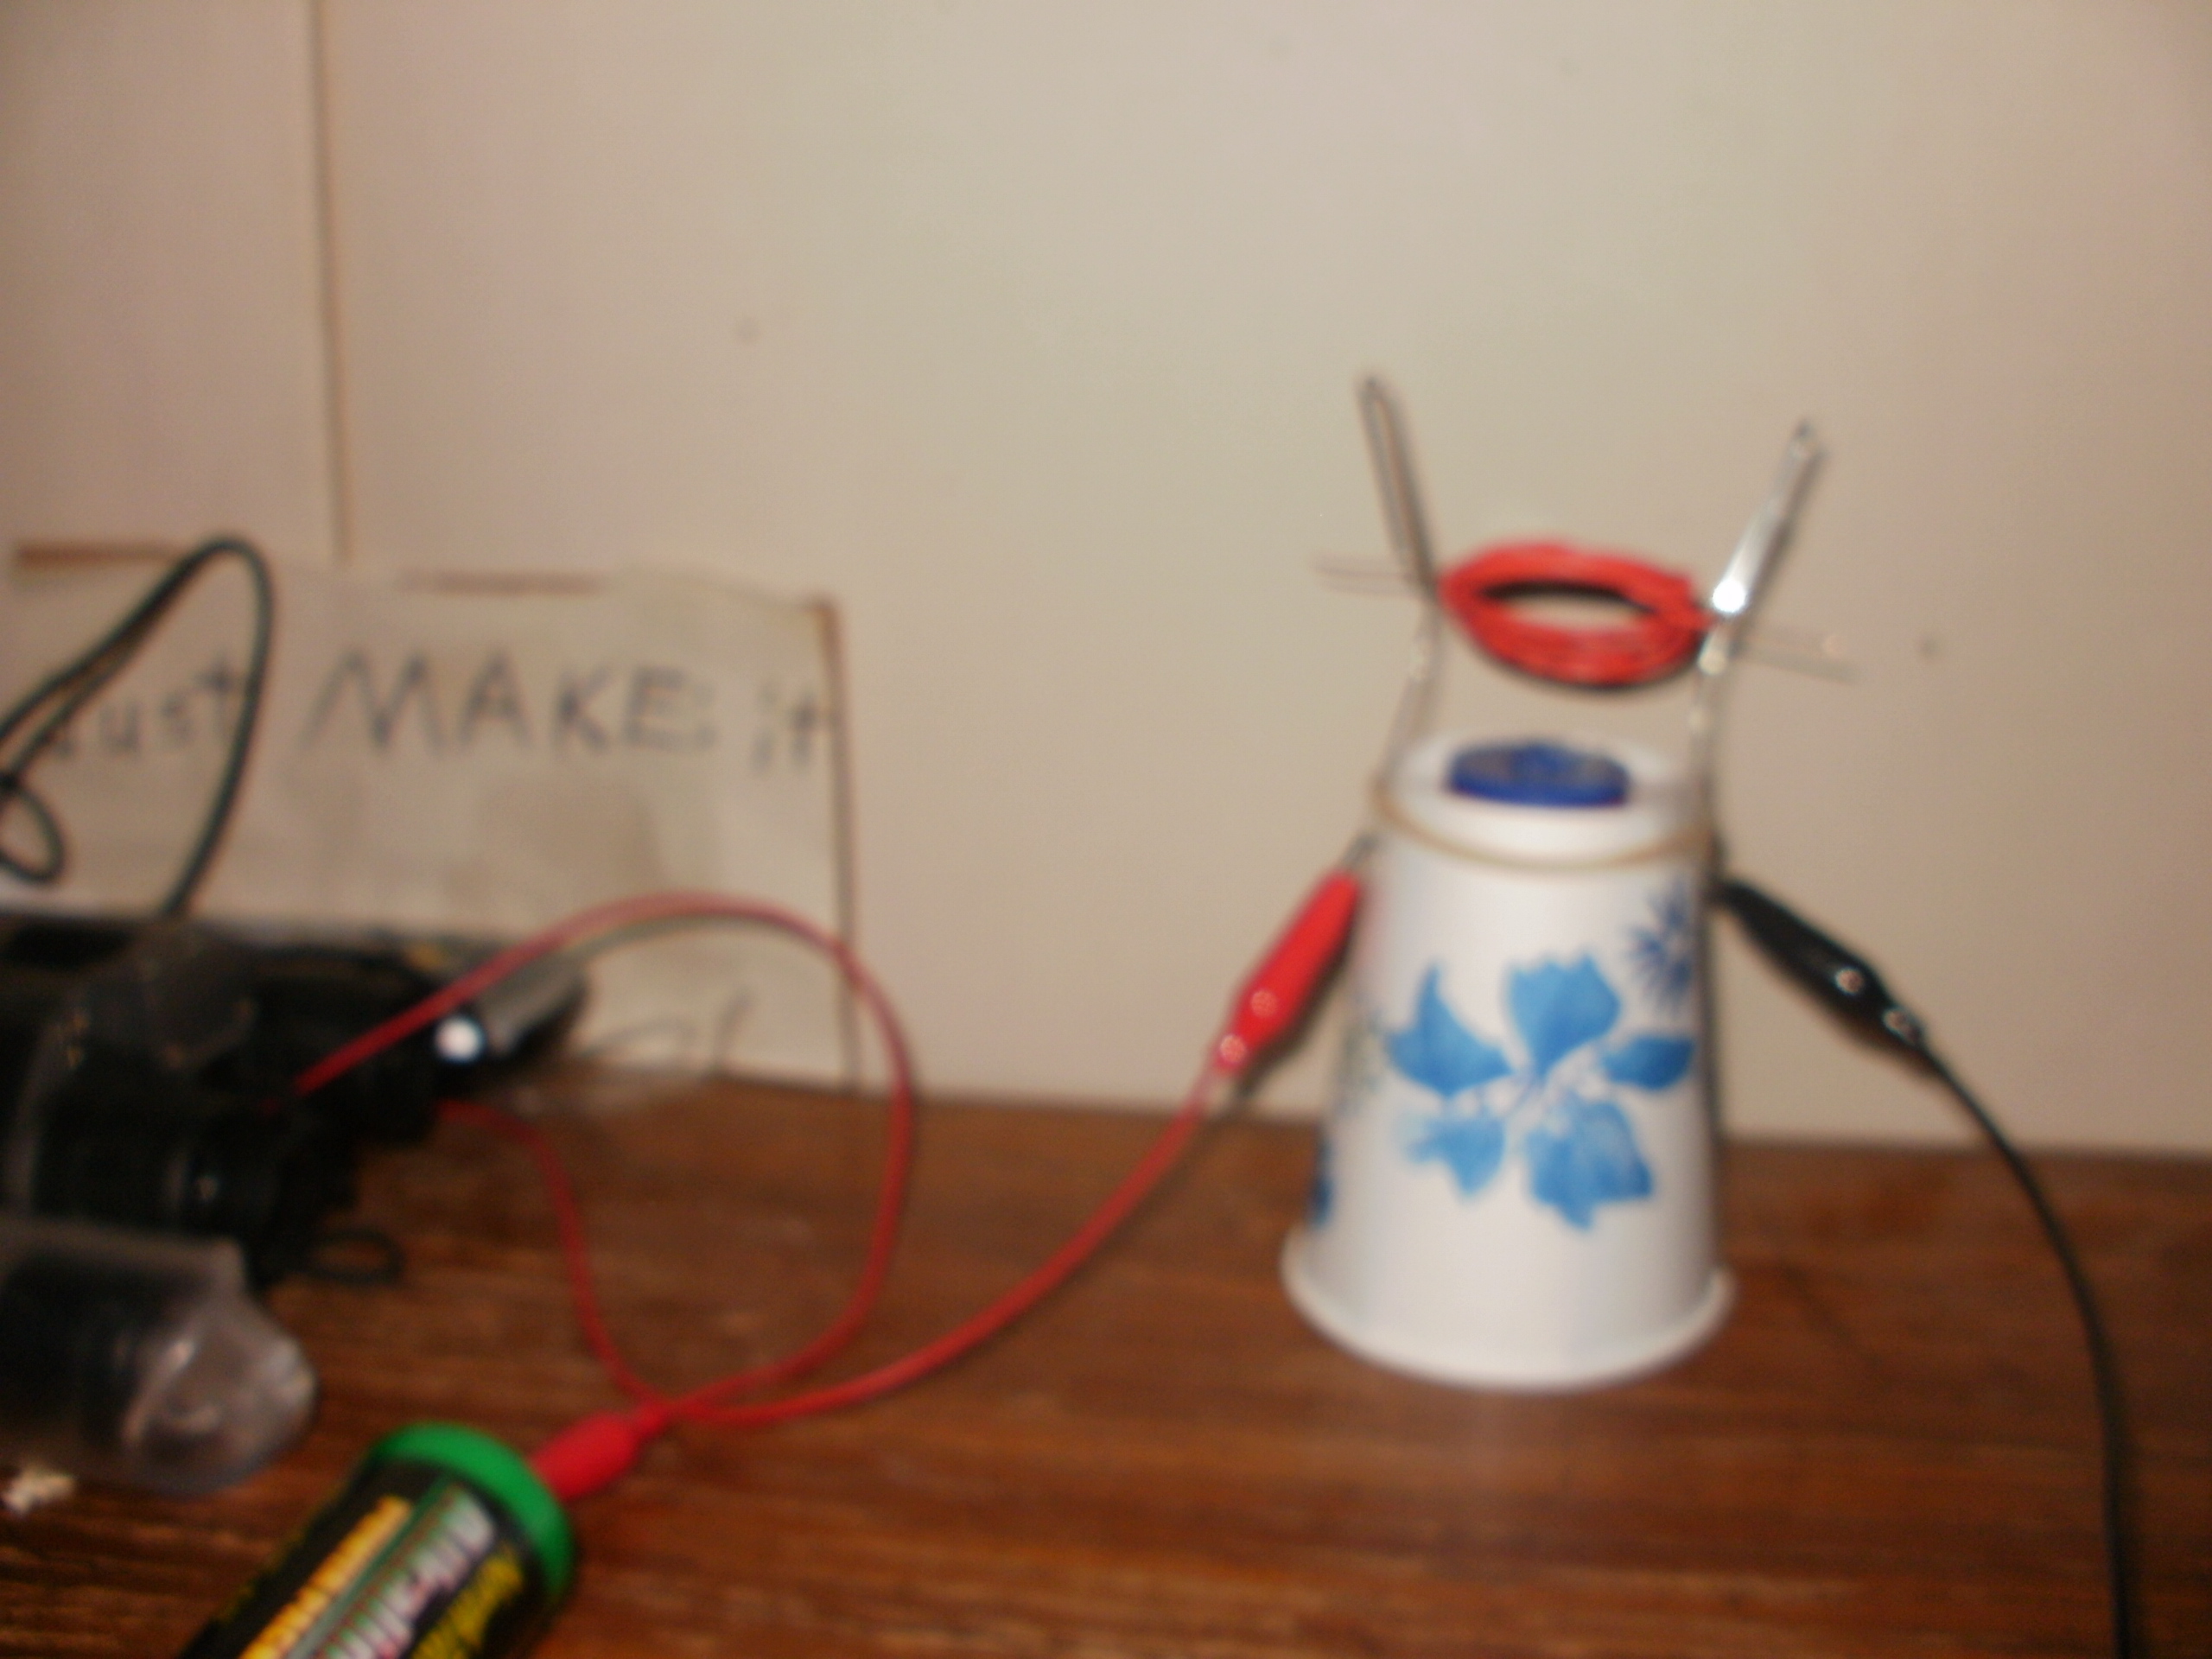
Everybody thinks that you could just buy a motor at a hobby shop, but here’s how to make your own, preferably for science fairs.

What will the next generation of Make: look like? We’re inviting you to shape the future by investing in Make:. By becoming an investor, you help decide what’s next. The future of Make: is in your hands. Learn More.

Project Steps

Coil the wire

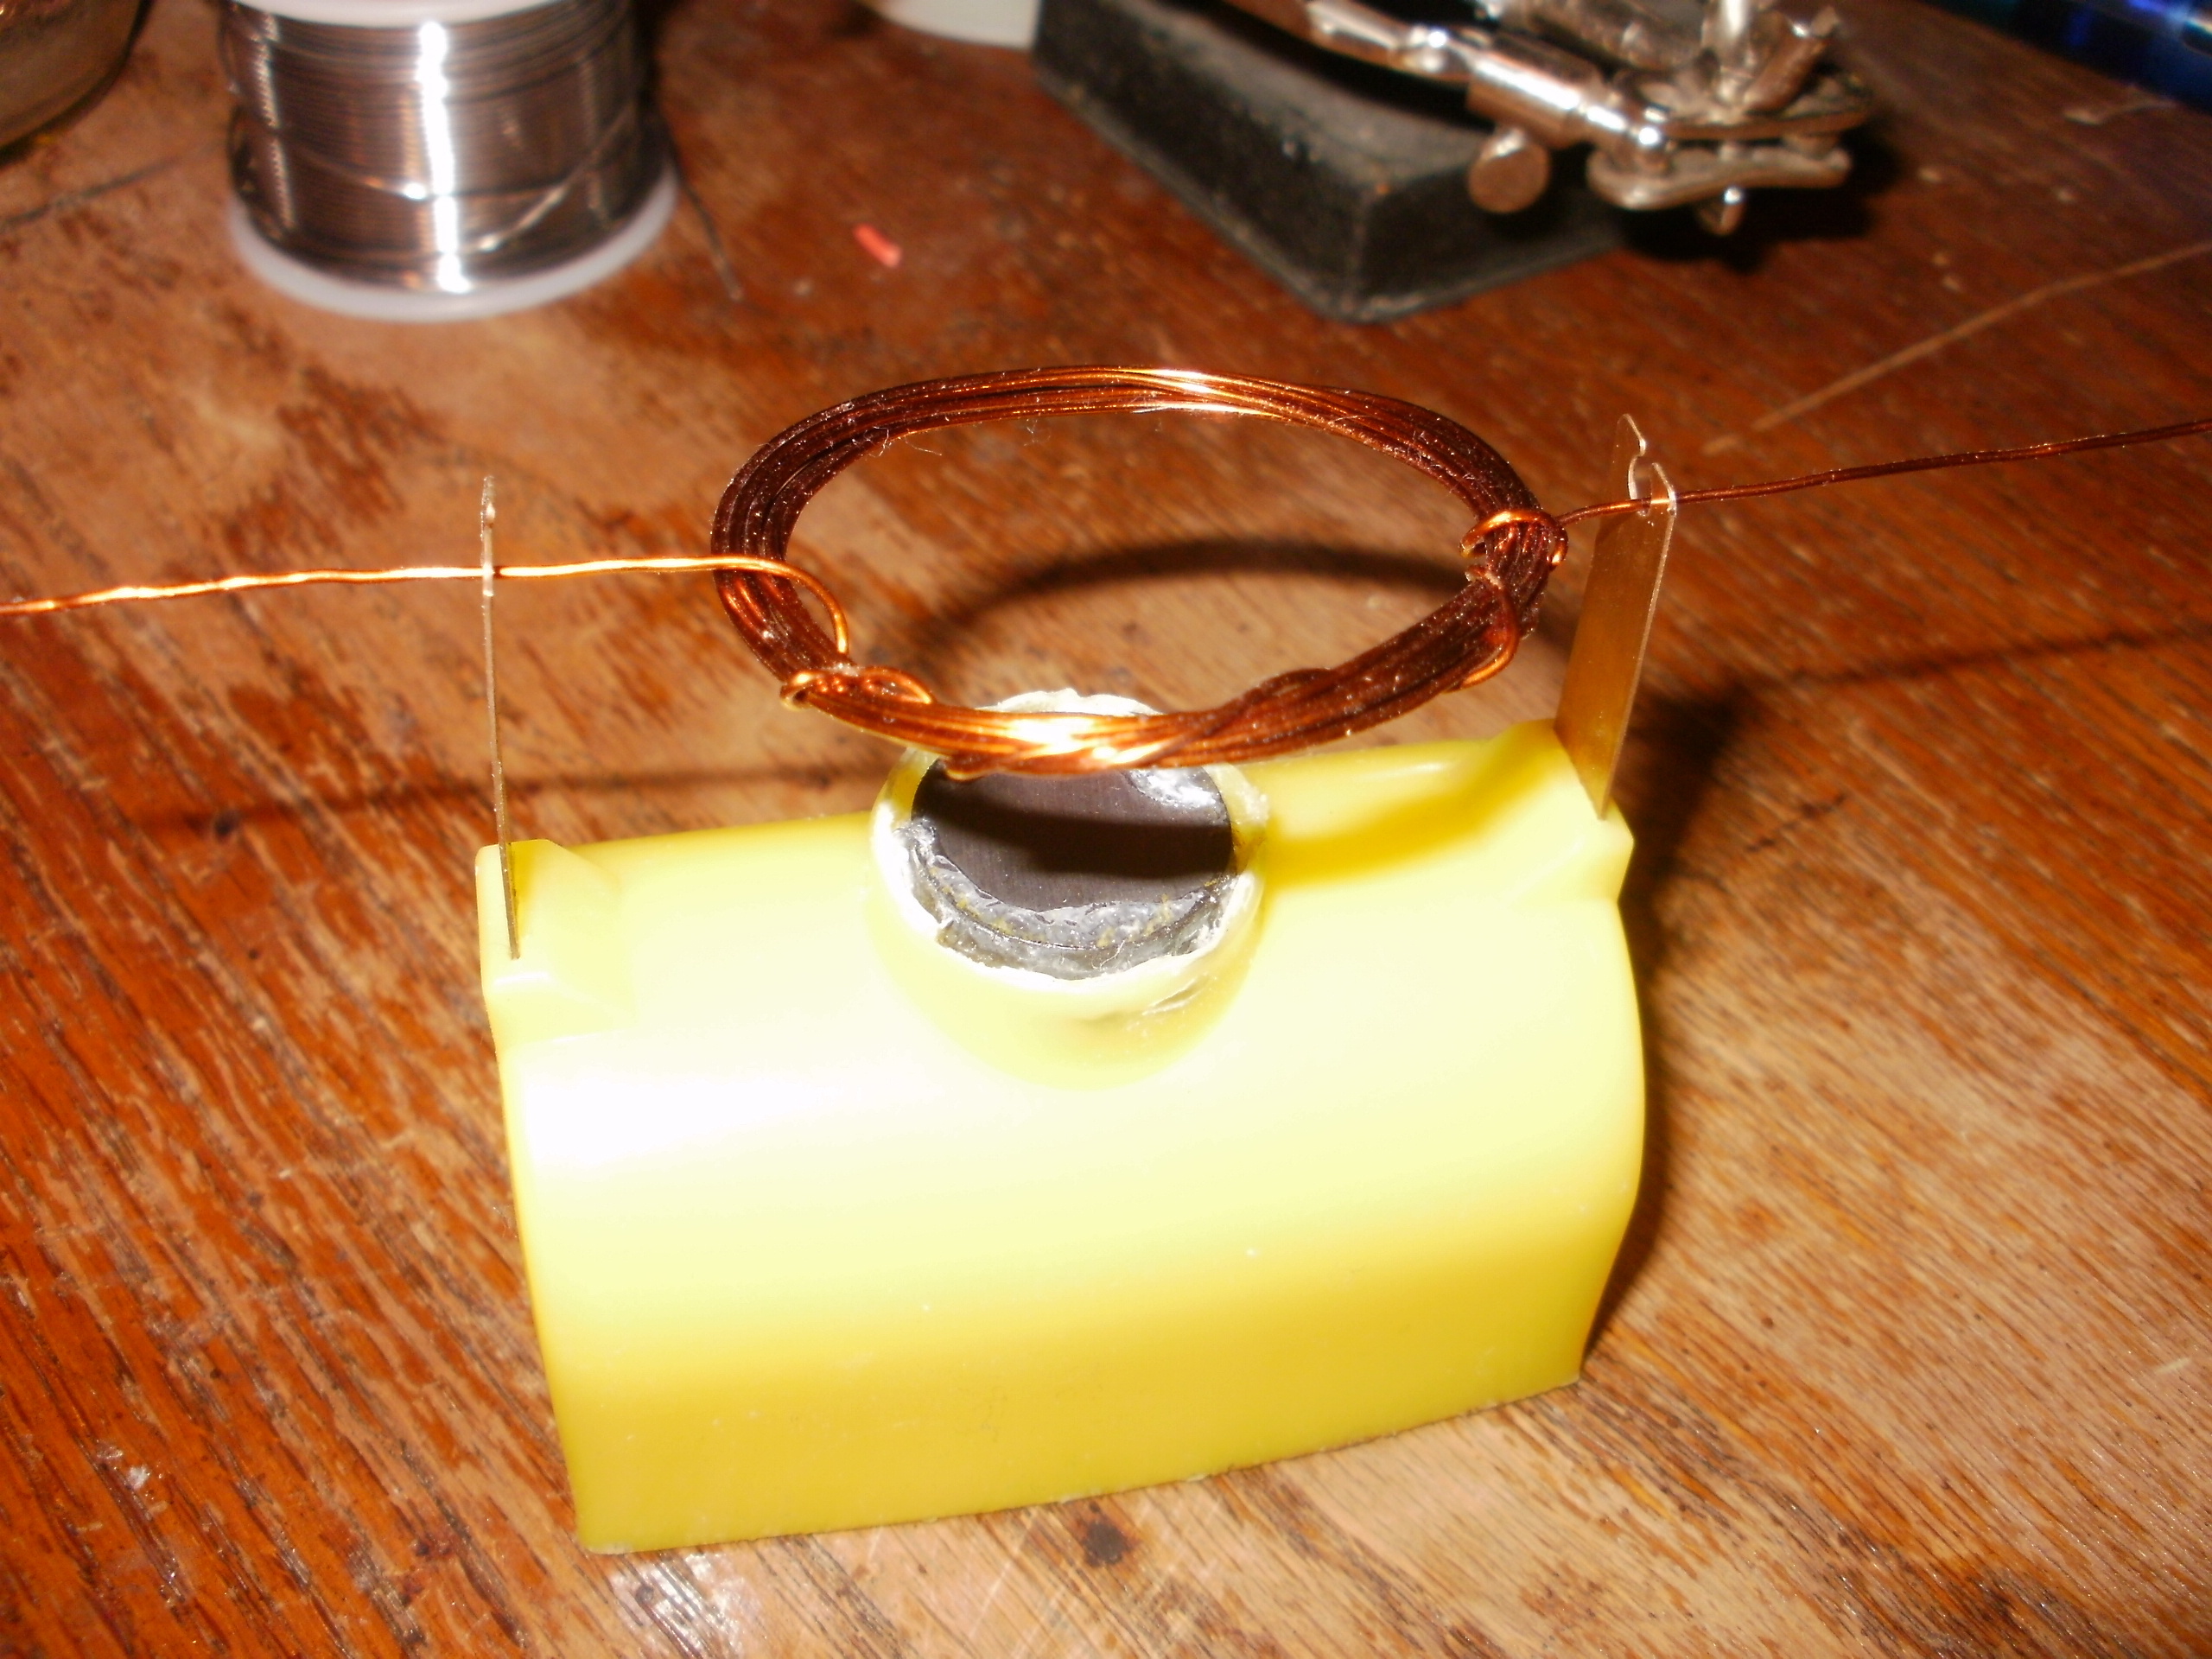
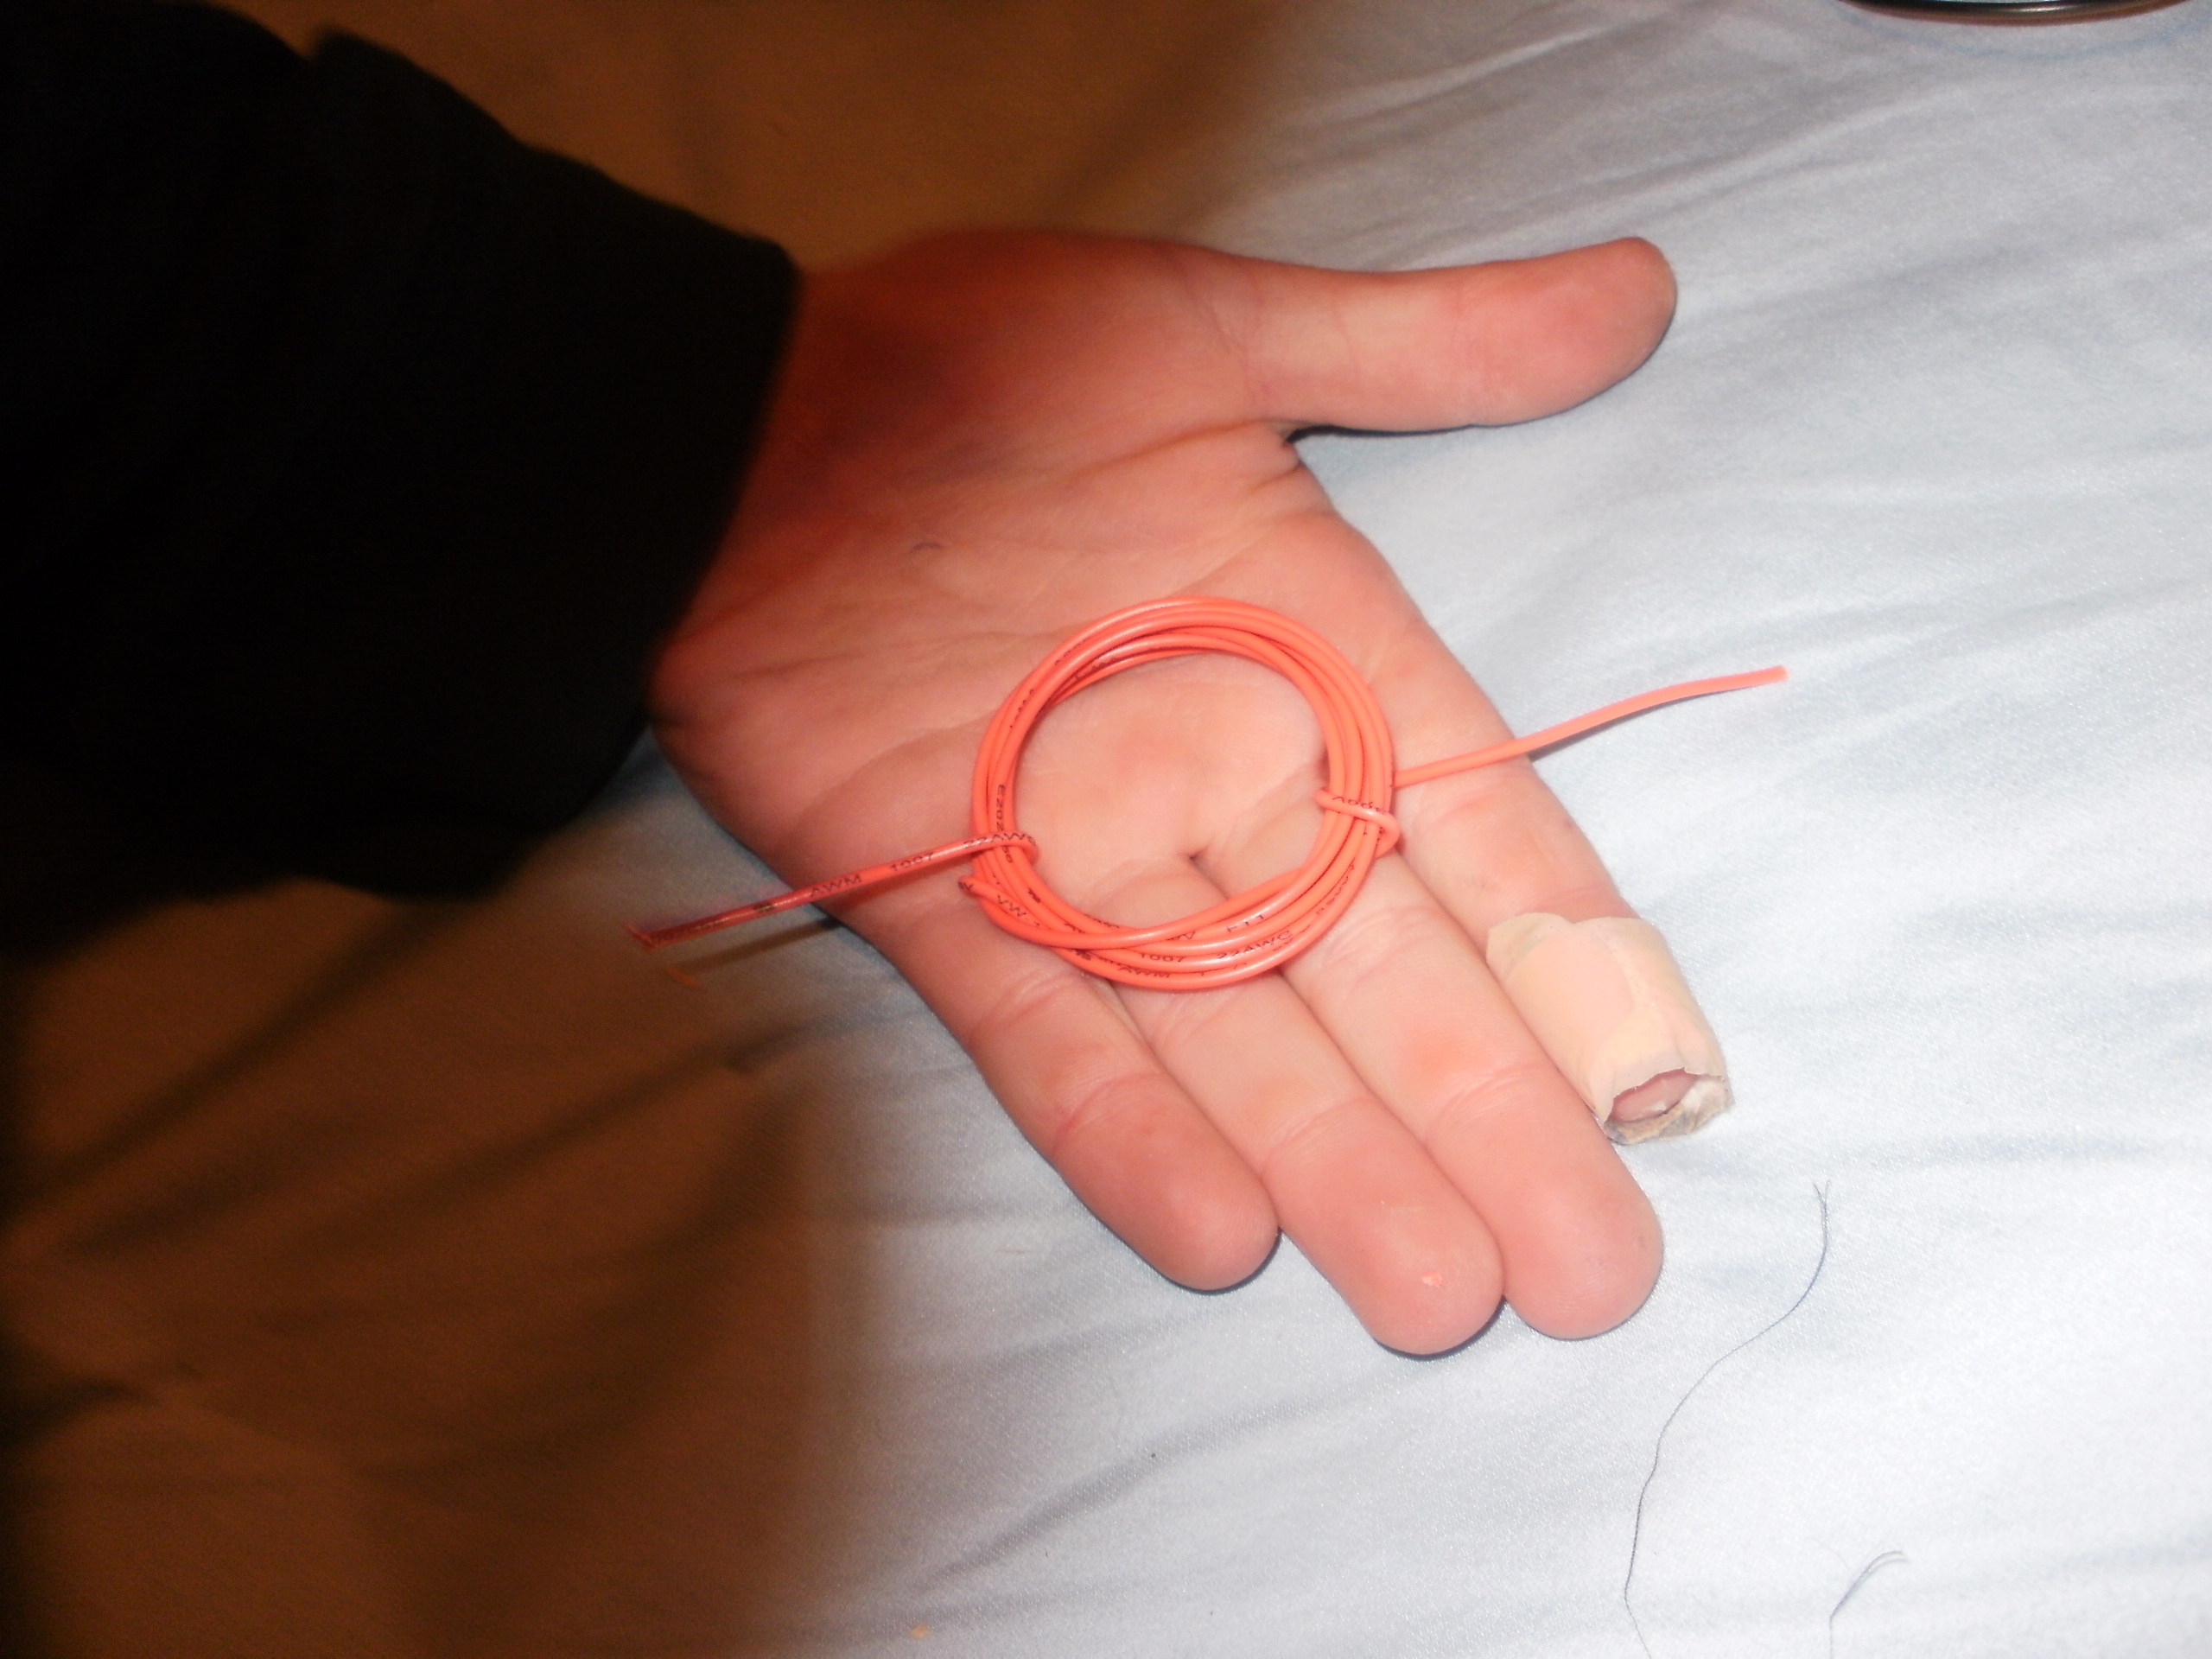
Coil the wire around the D-cell battery about 10 times. Remove the coil and wrap the ends around two sides of the coil to hold it in place. Leave 1 inch of wire lead on each end.

Strip and coat the ends

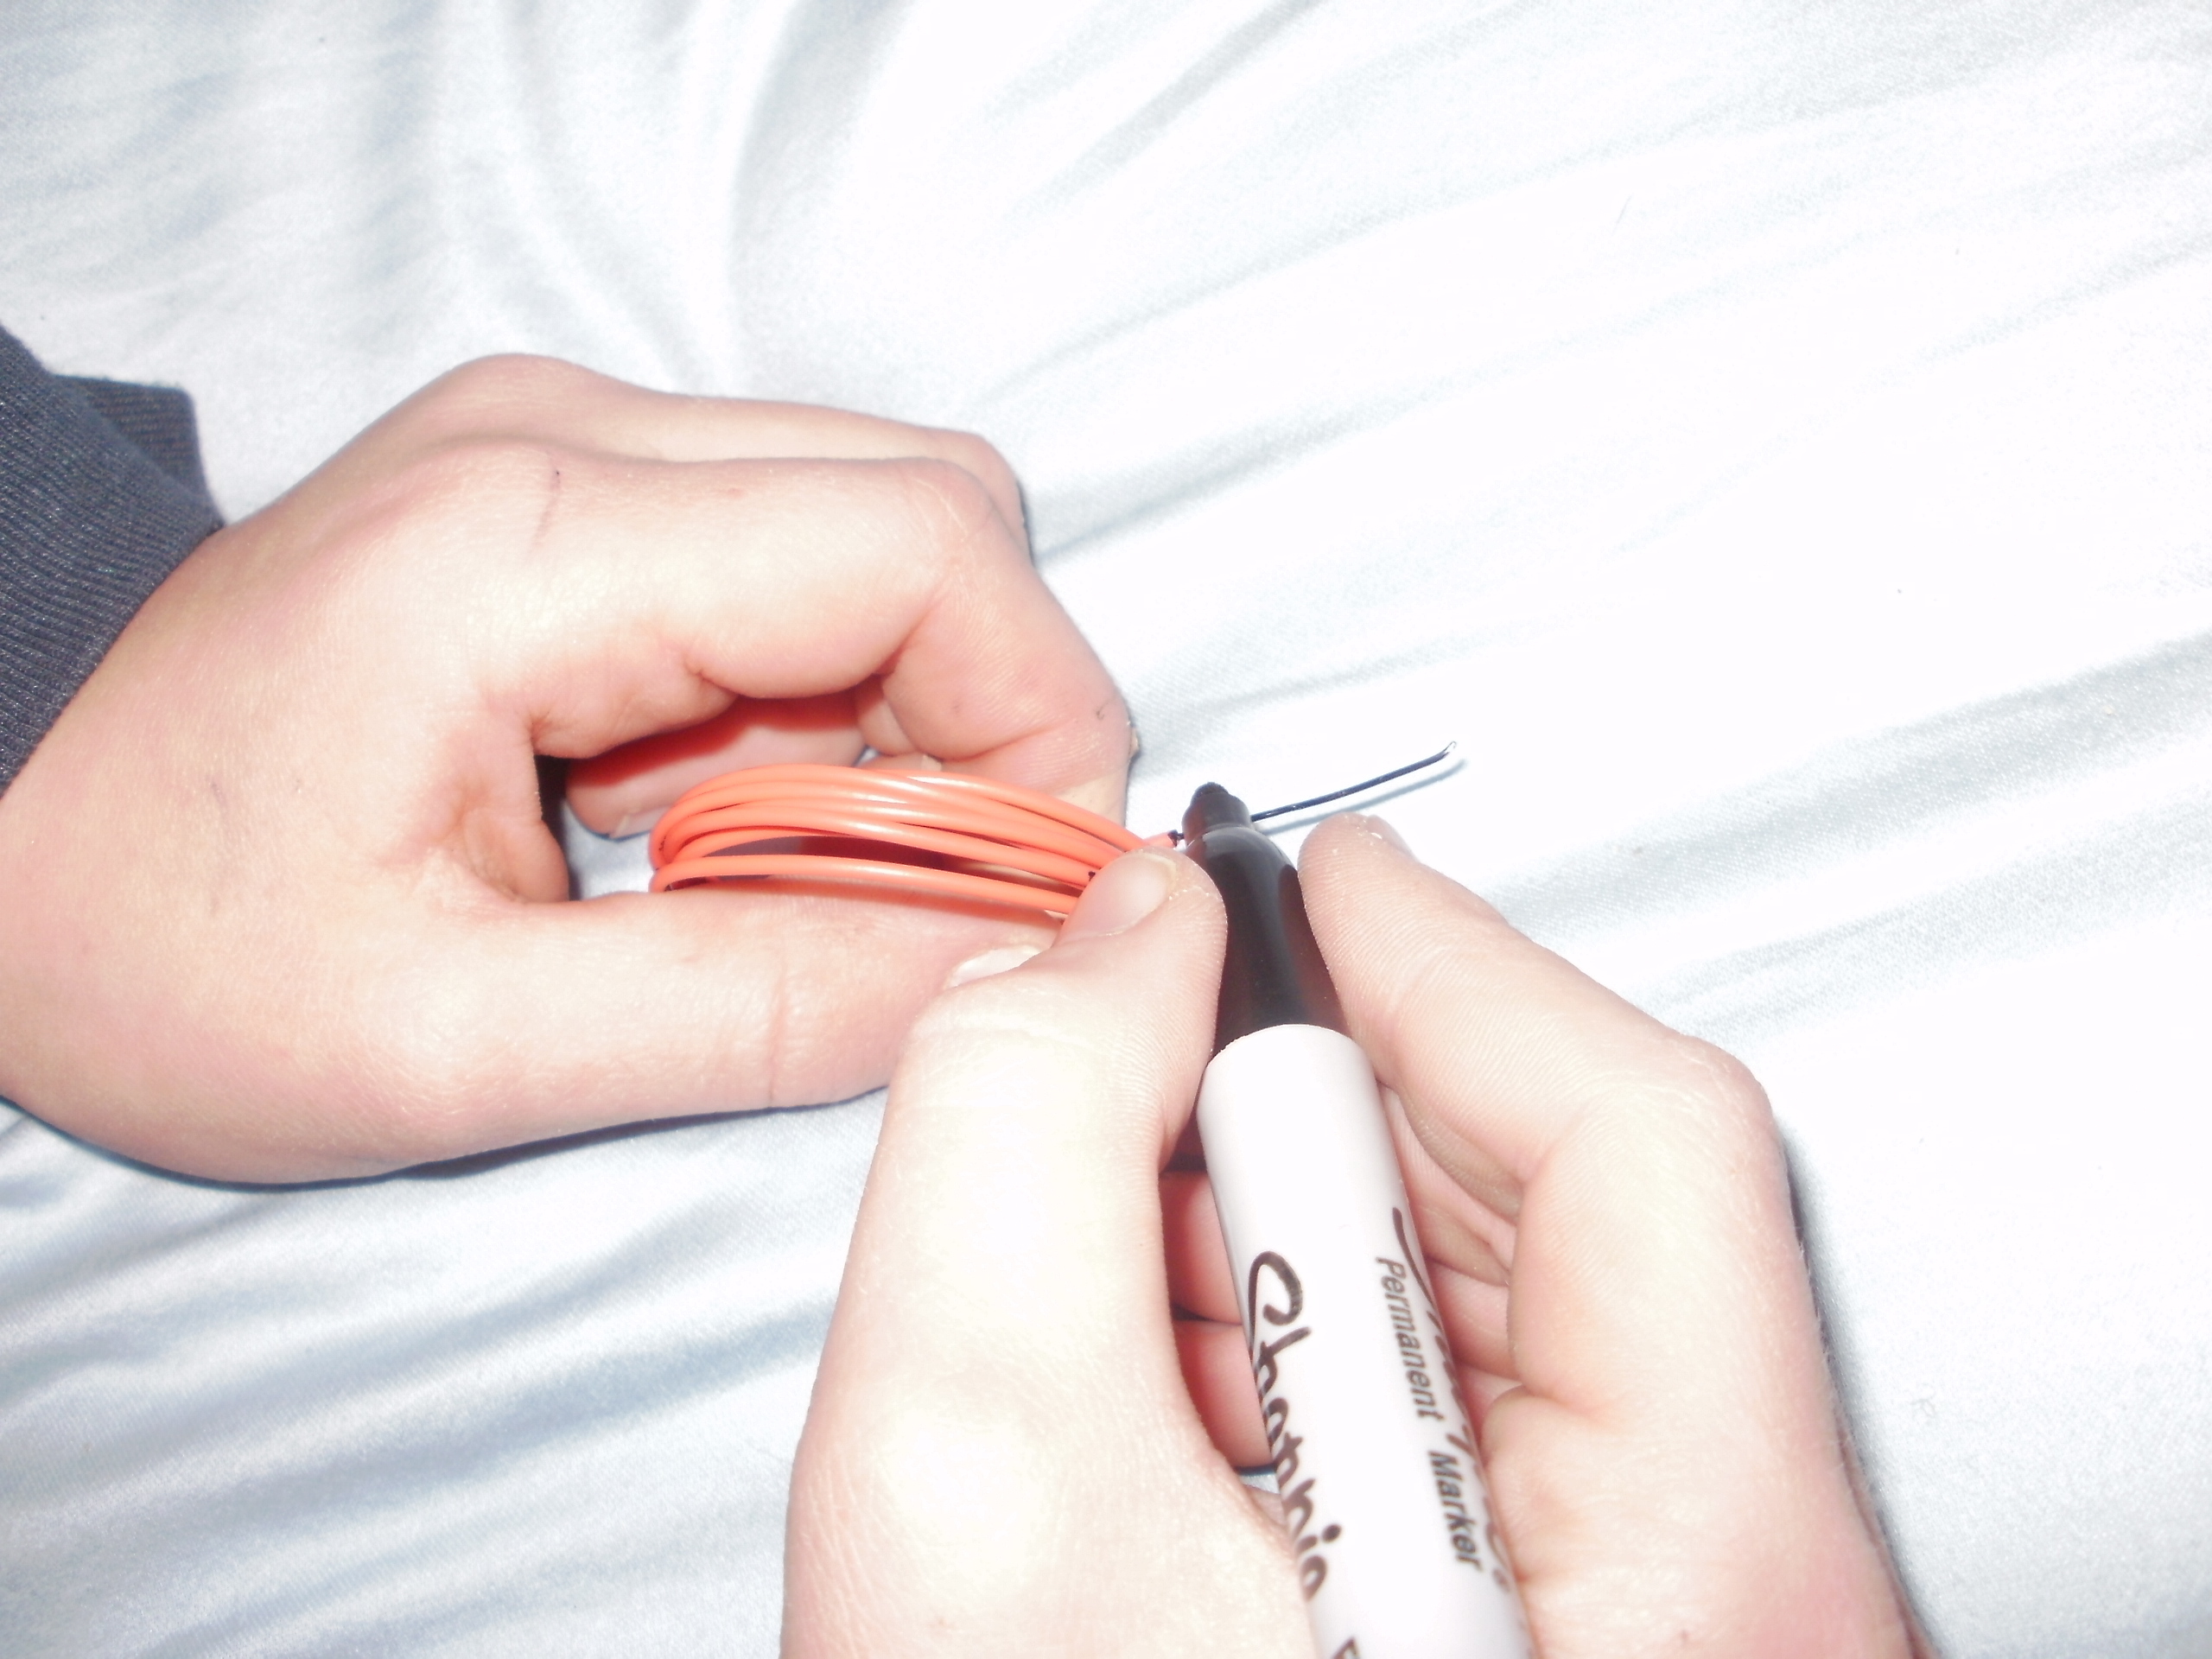
Strip both ends of the wire coil leads. Hold the coil vertically and coat one half of one lead with a permanent marker two times.

Place the magnets

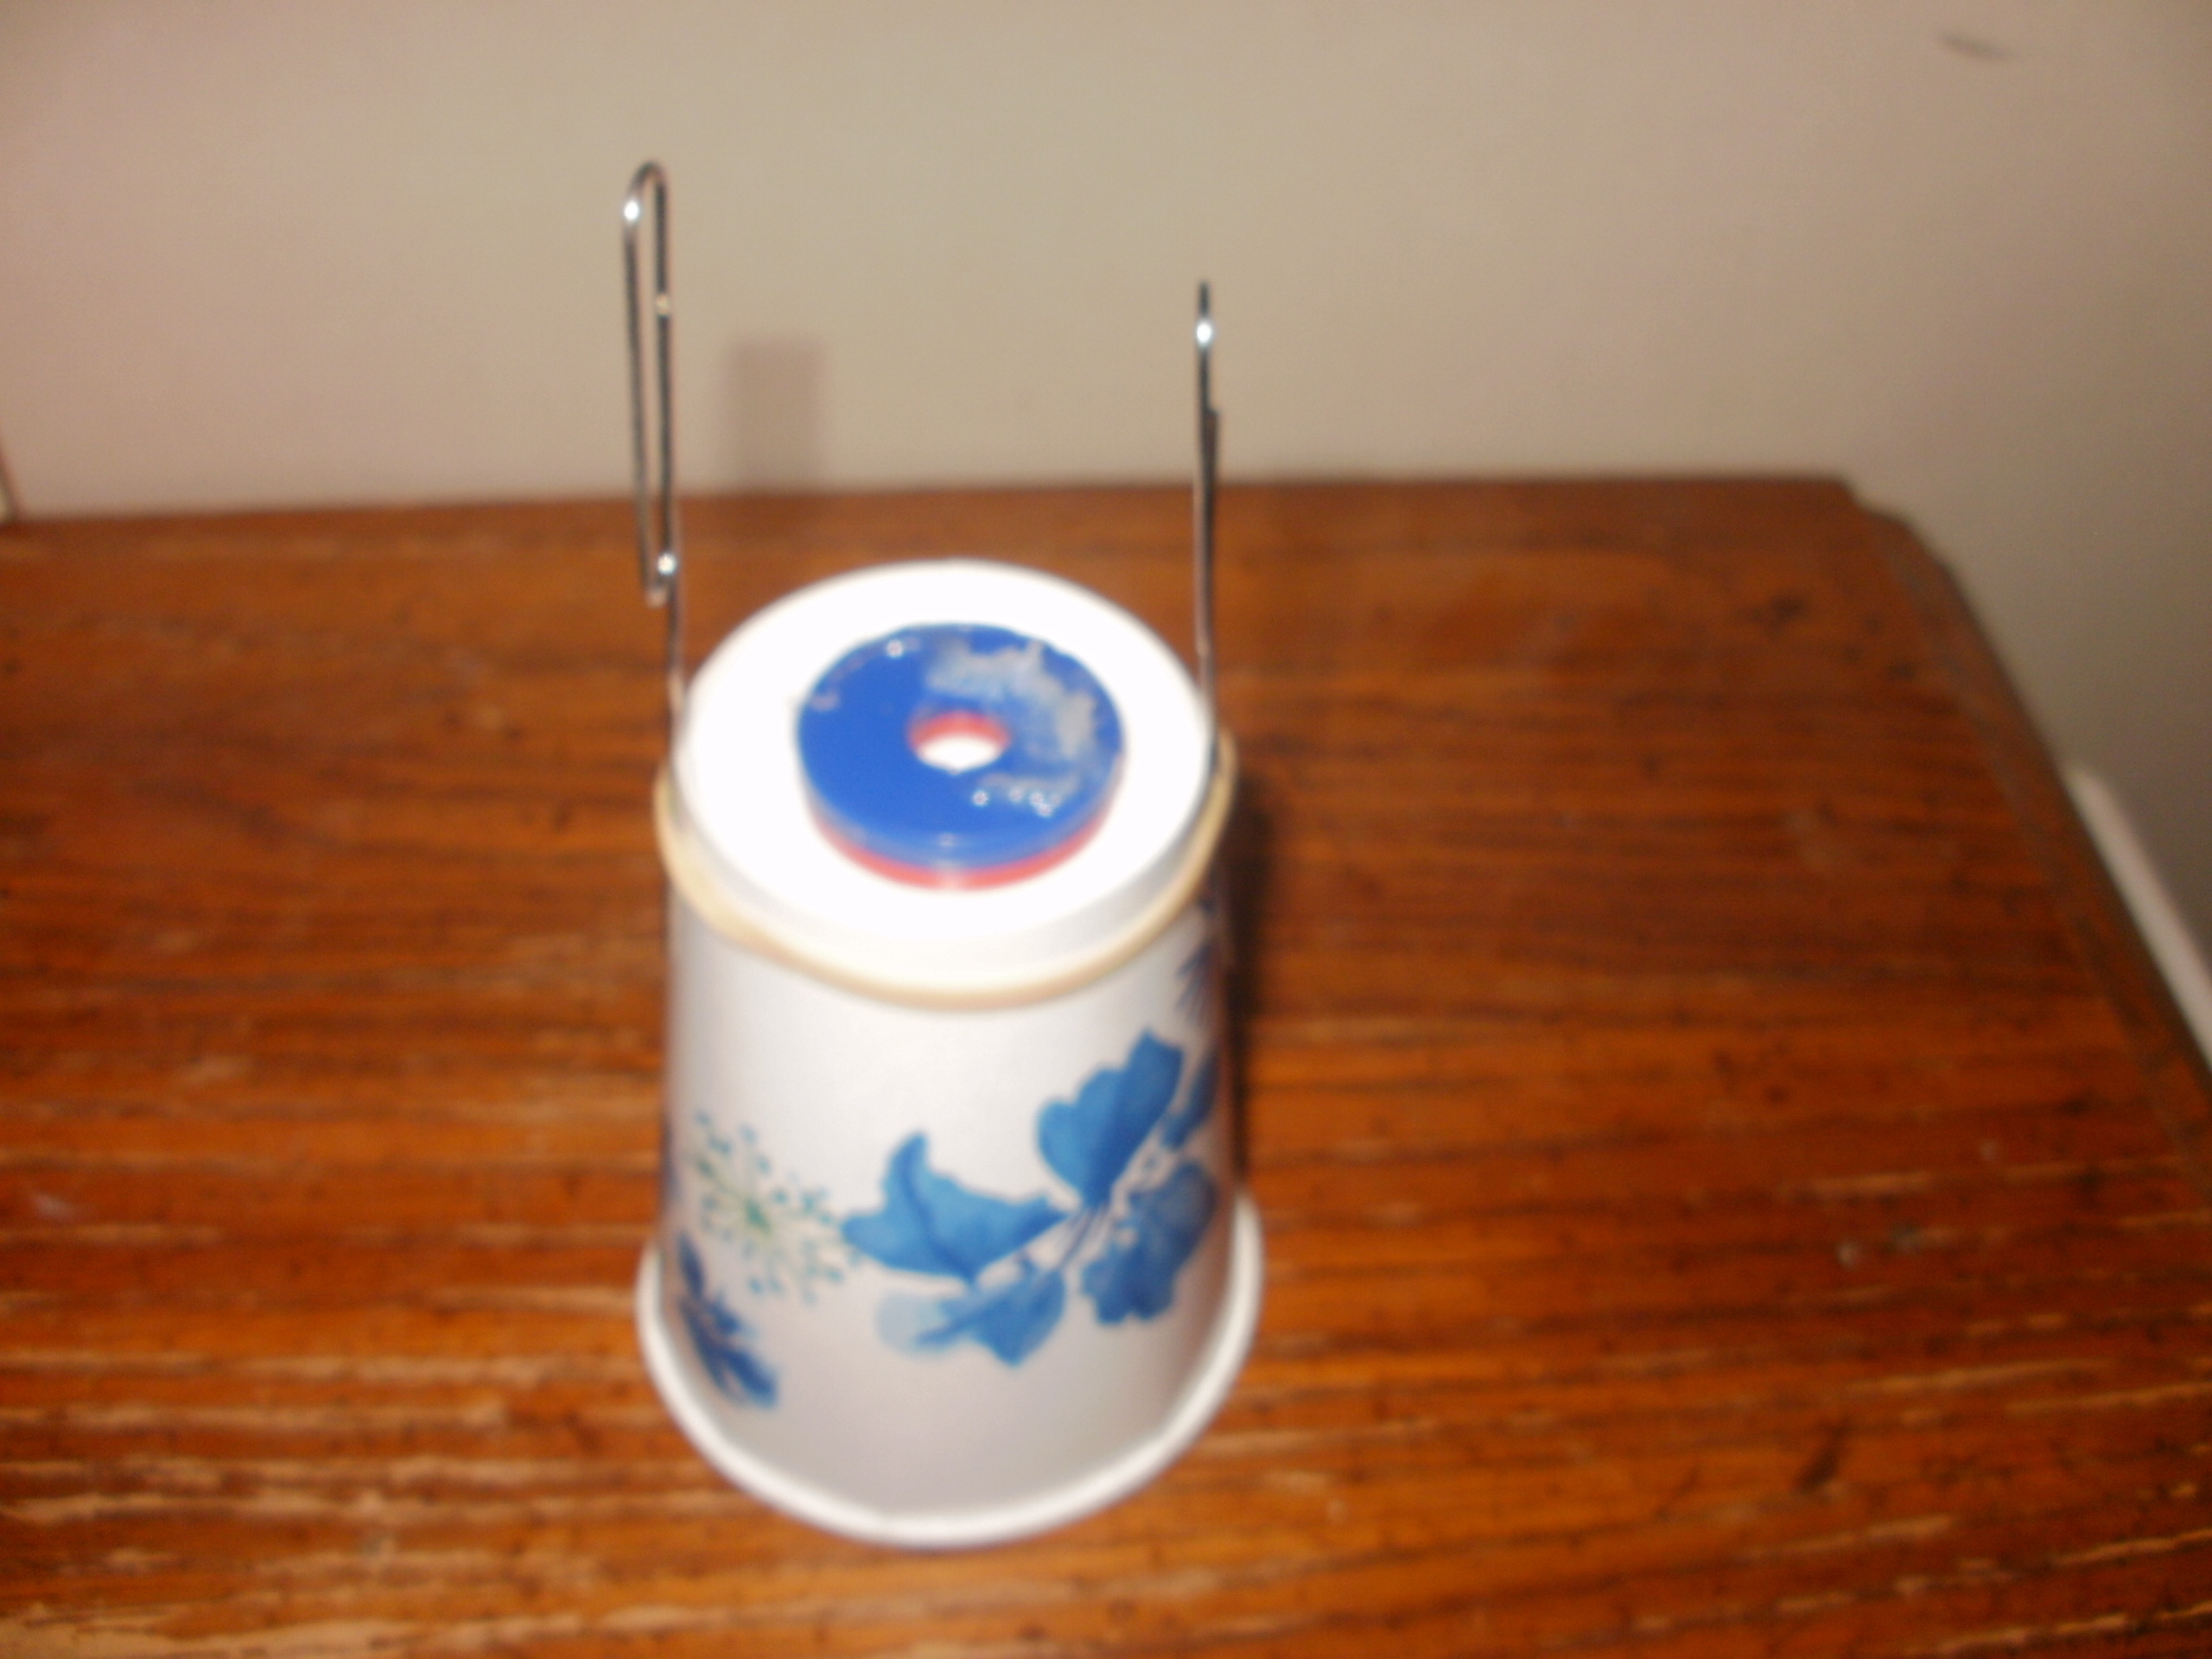
Turn a plastic cup upside down and place one disk magnet on top while putting the other inside the cup, against the roof, to hold both magnets in place. South to north!

Straighten the paper clips

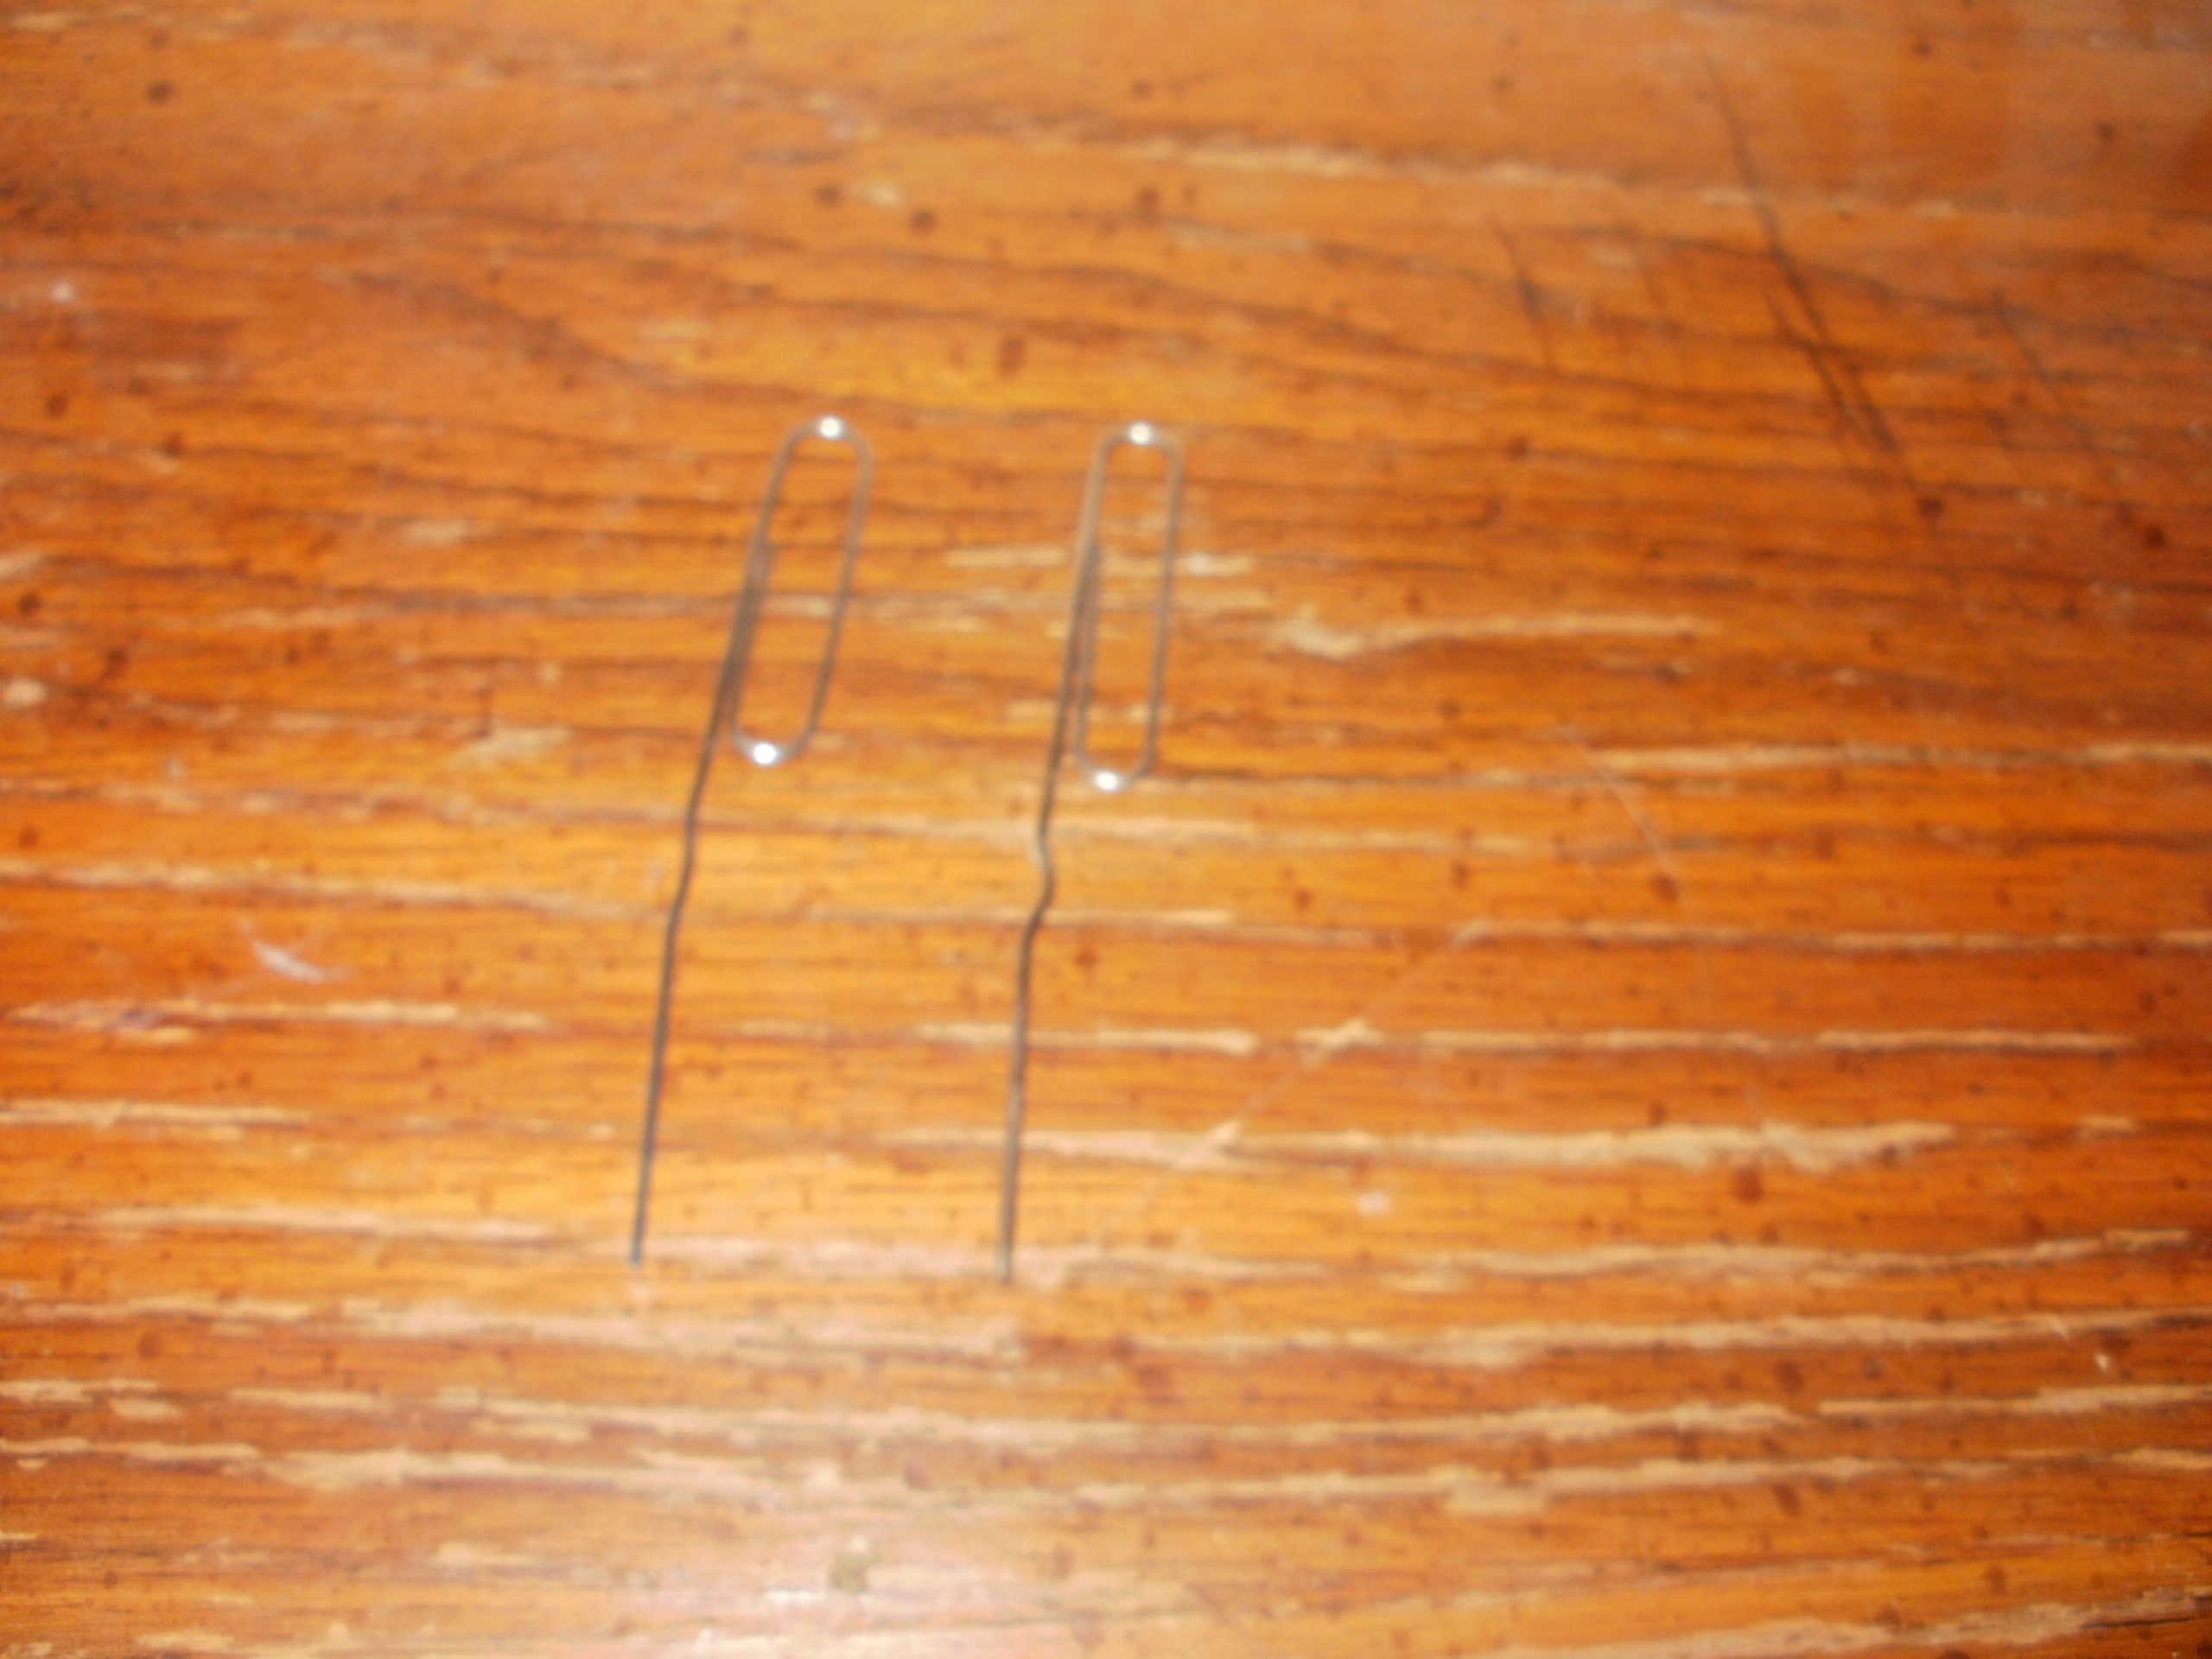
Straighten the outside ends of both paper clips make the letter “P.” Attach the paper clips to the cup using 2 large rubber bands to build a place for the wire coil.

Balance the coil in the paper clips

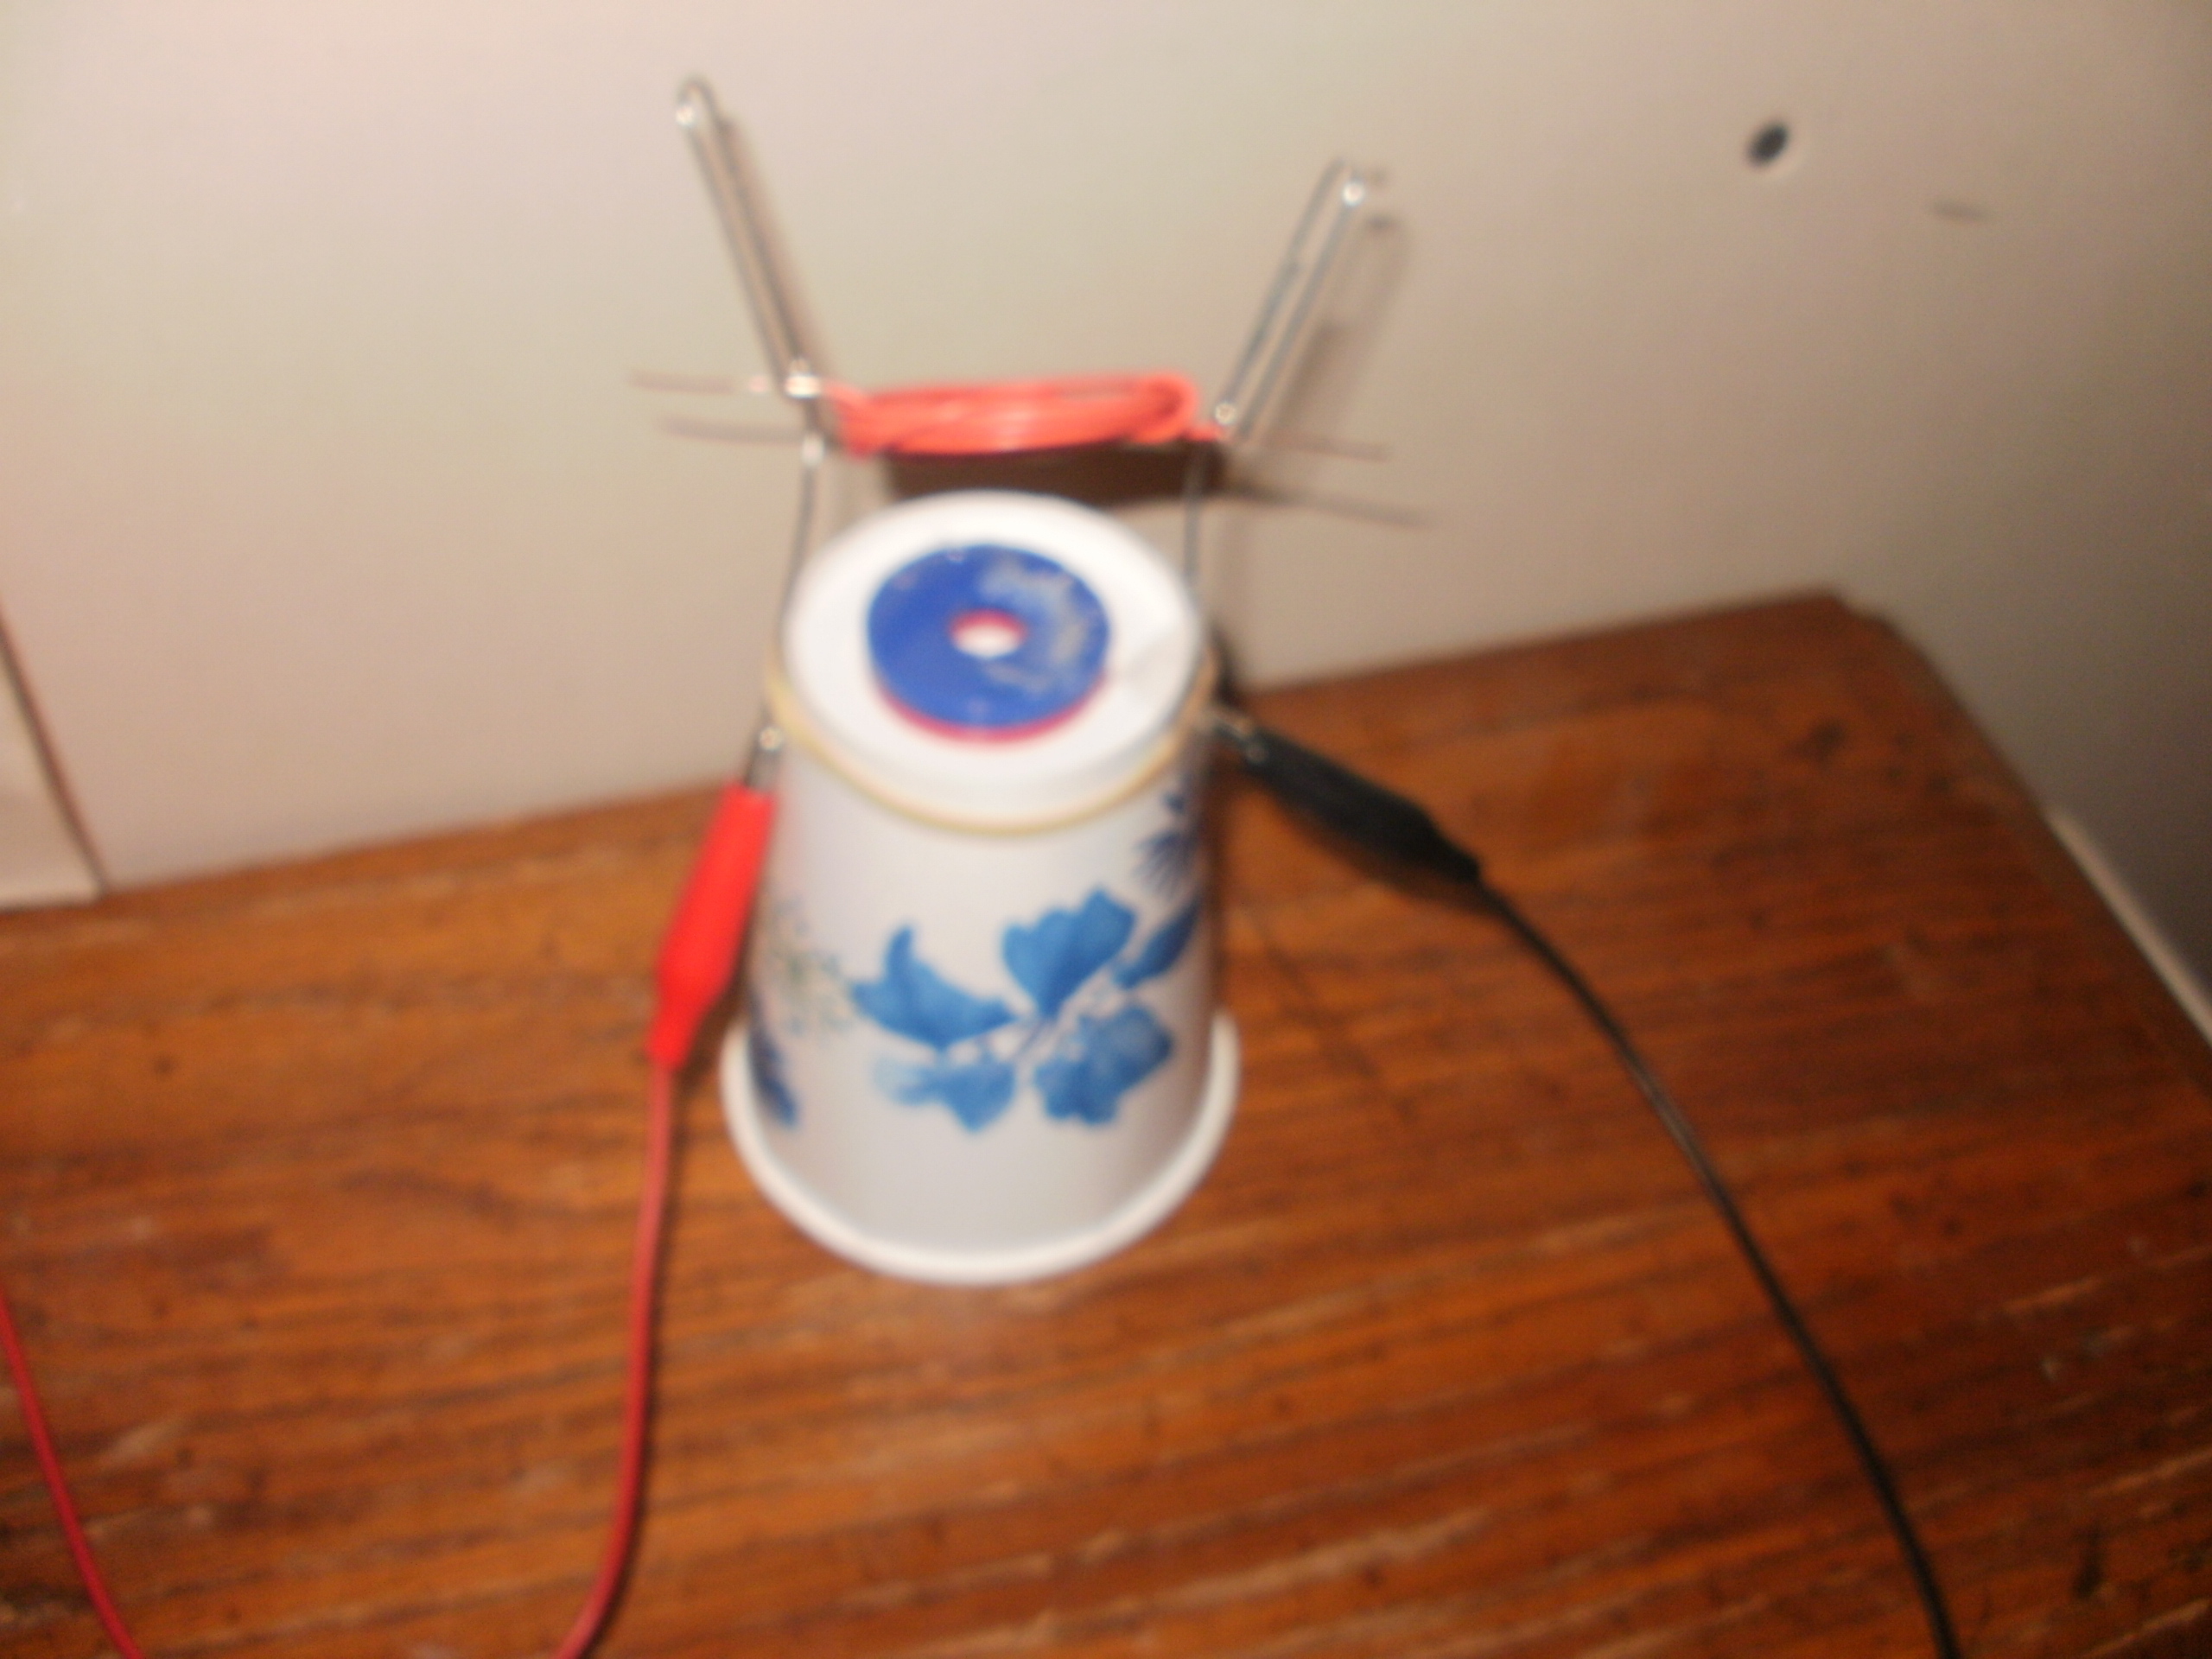
Balance the coil inside the paper clip cradle loop. Adjust the height so the coil just misses the magnets when it spins. Attach an alligator cable clip to each paper clip just above the rubber band.

Connect the battery

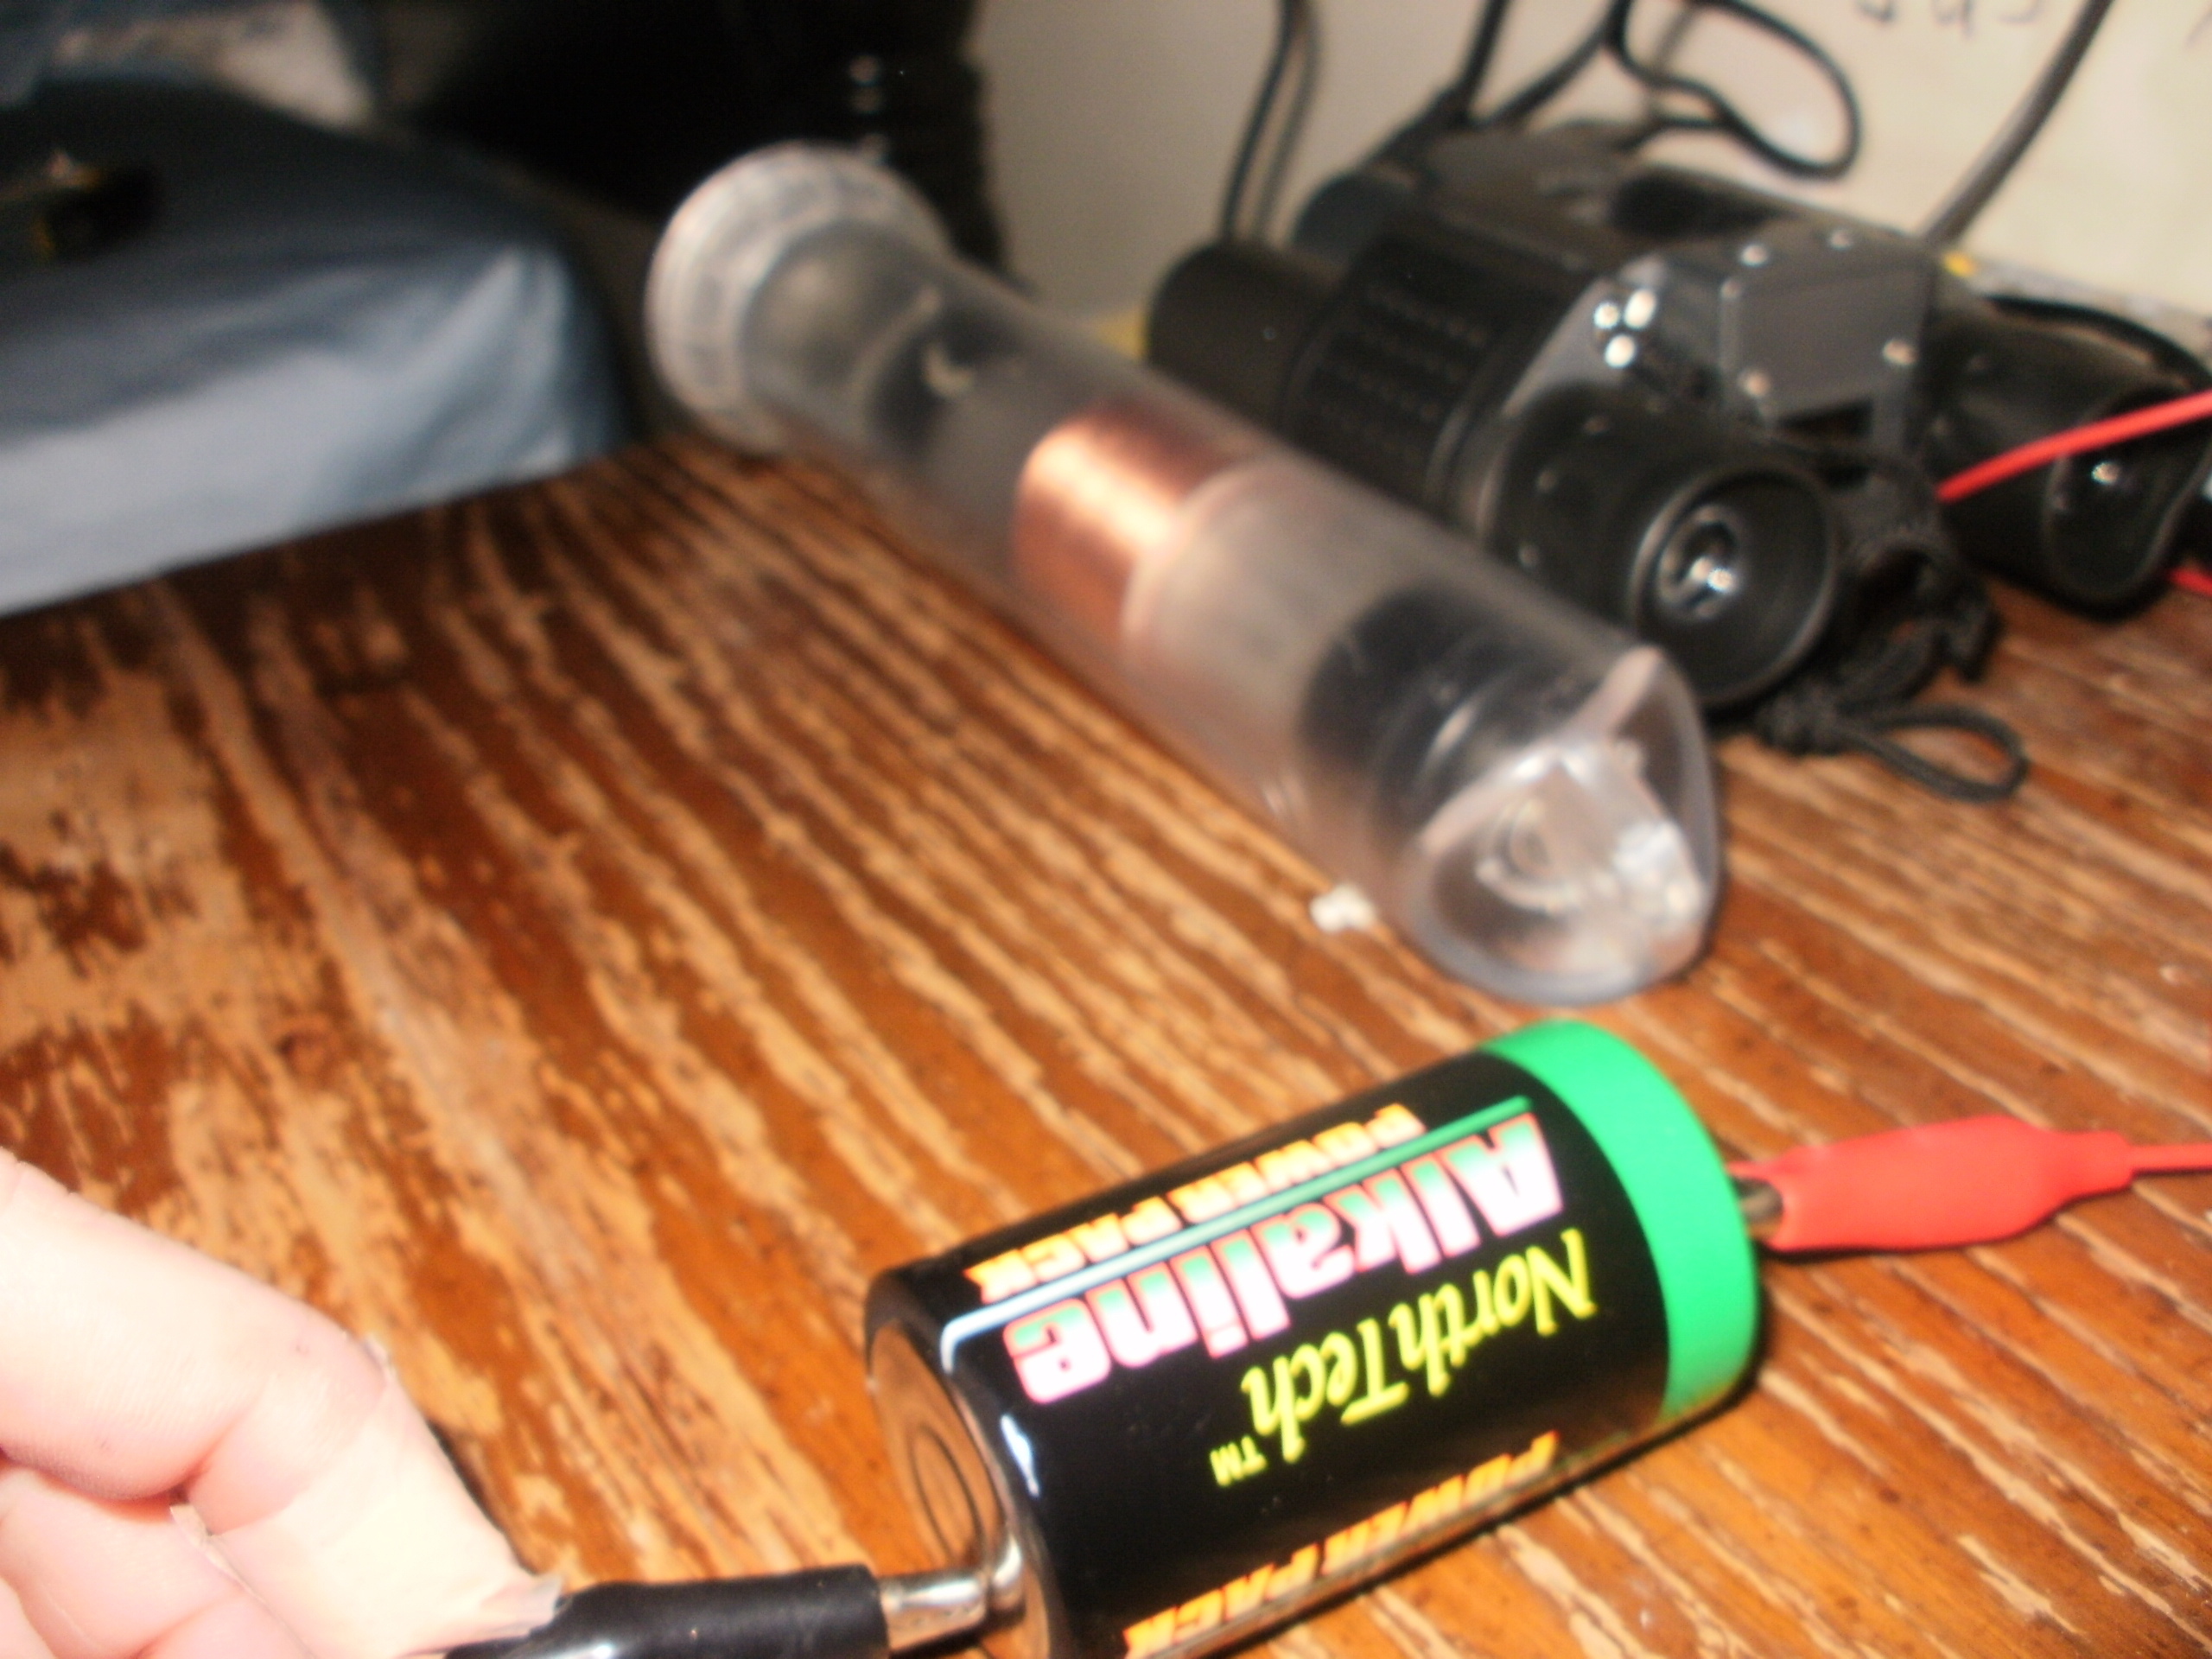
Connect the D-cell battery to the coil using the other two alligator clips. Be sure one end is connected to the positive side and the other the negative side of the battery. Give the coil a gentle push and it will start spinning!

Adjust the coil

Adjust the balance of the coil and the distance between each paper clip cradle. Experiment until you have a working motor. Happy making!