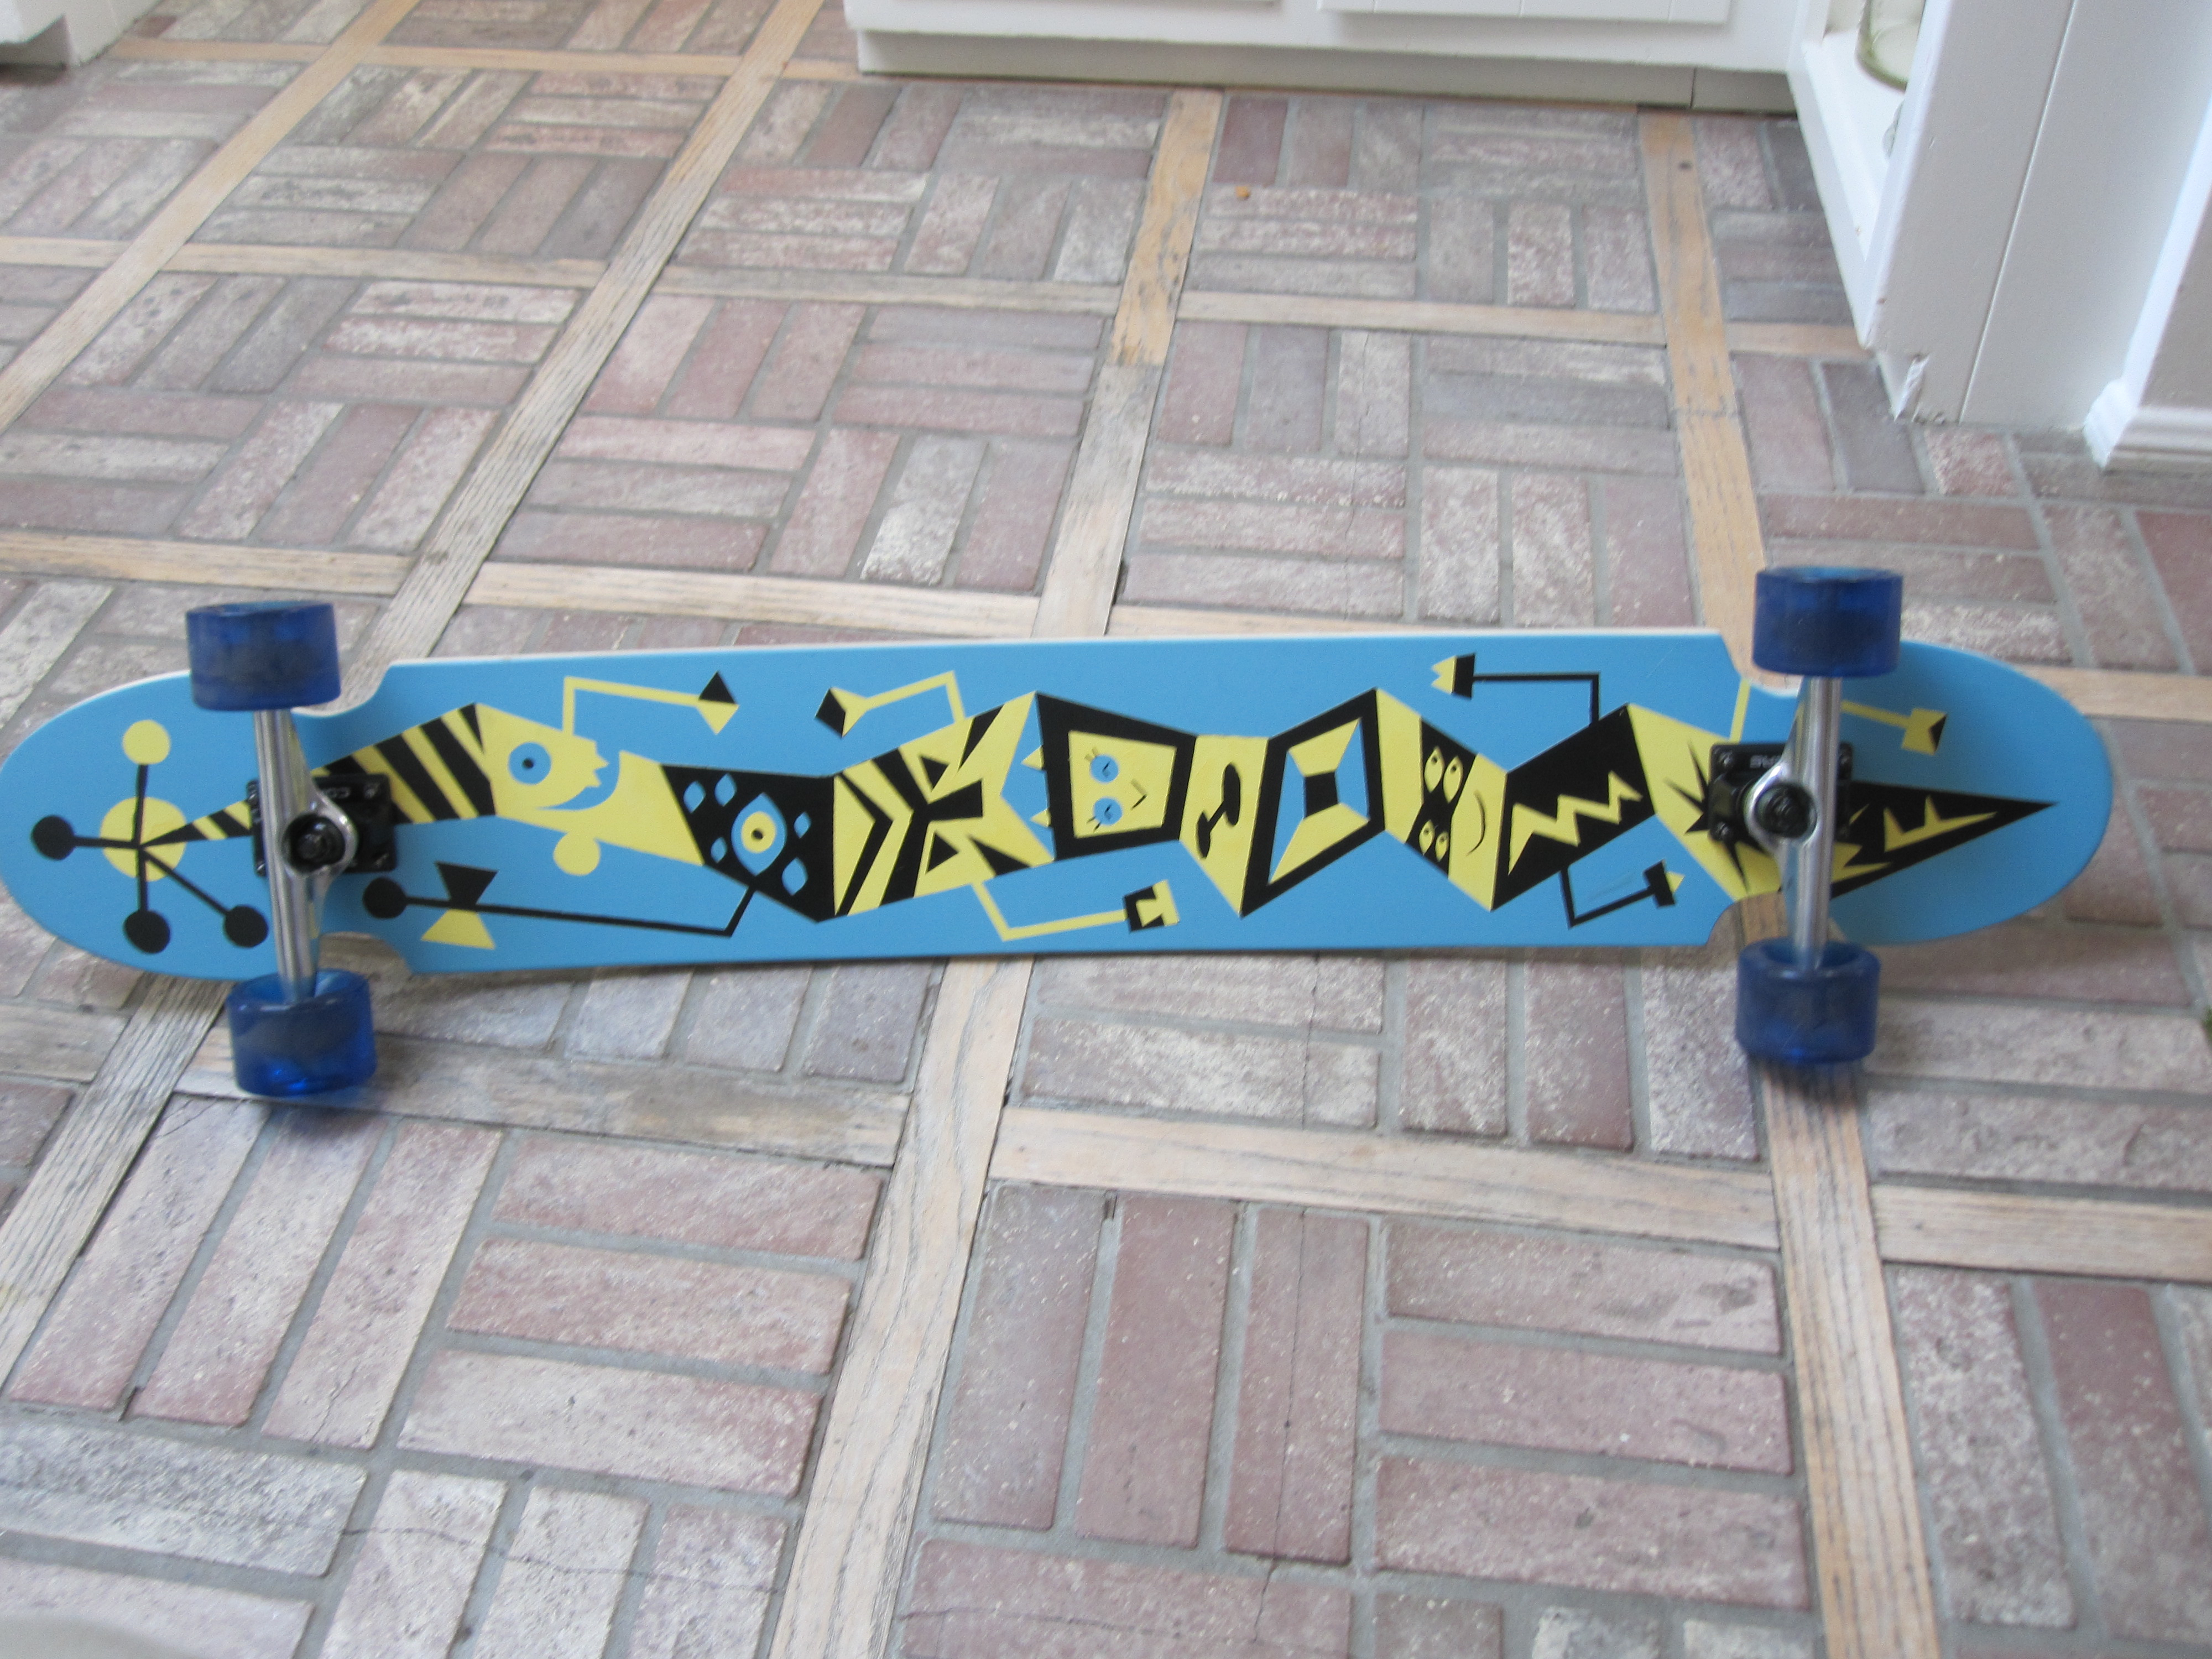
Last year my 13-year-old daughter asked for a skateboard, so I gave her my 20-year-old board (which wasn’t seeing much use). She liked to ride it along the bank of the Los Angeles River, and I would ride with her on a Razor scooter. But after a while, I started to miss having a skateboard, and I thought it would be fun to make one.

I put it off for a few months, until I saw a video of Lloyd Kahn, the well-known maker and former geodesic dome guru, cruising down a gently sloped street (makezine.com/go/kahn). He’s 75 years old, and his skating skills are top-notch. This was the inspiration I needed to get off my butt and make my own longboard.

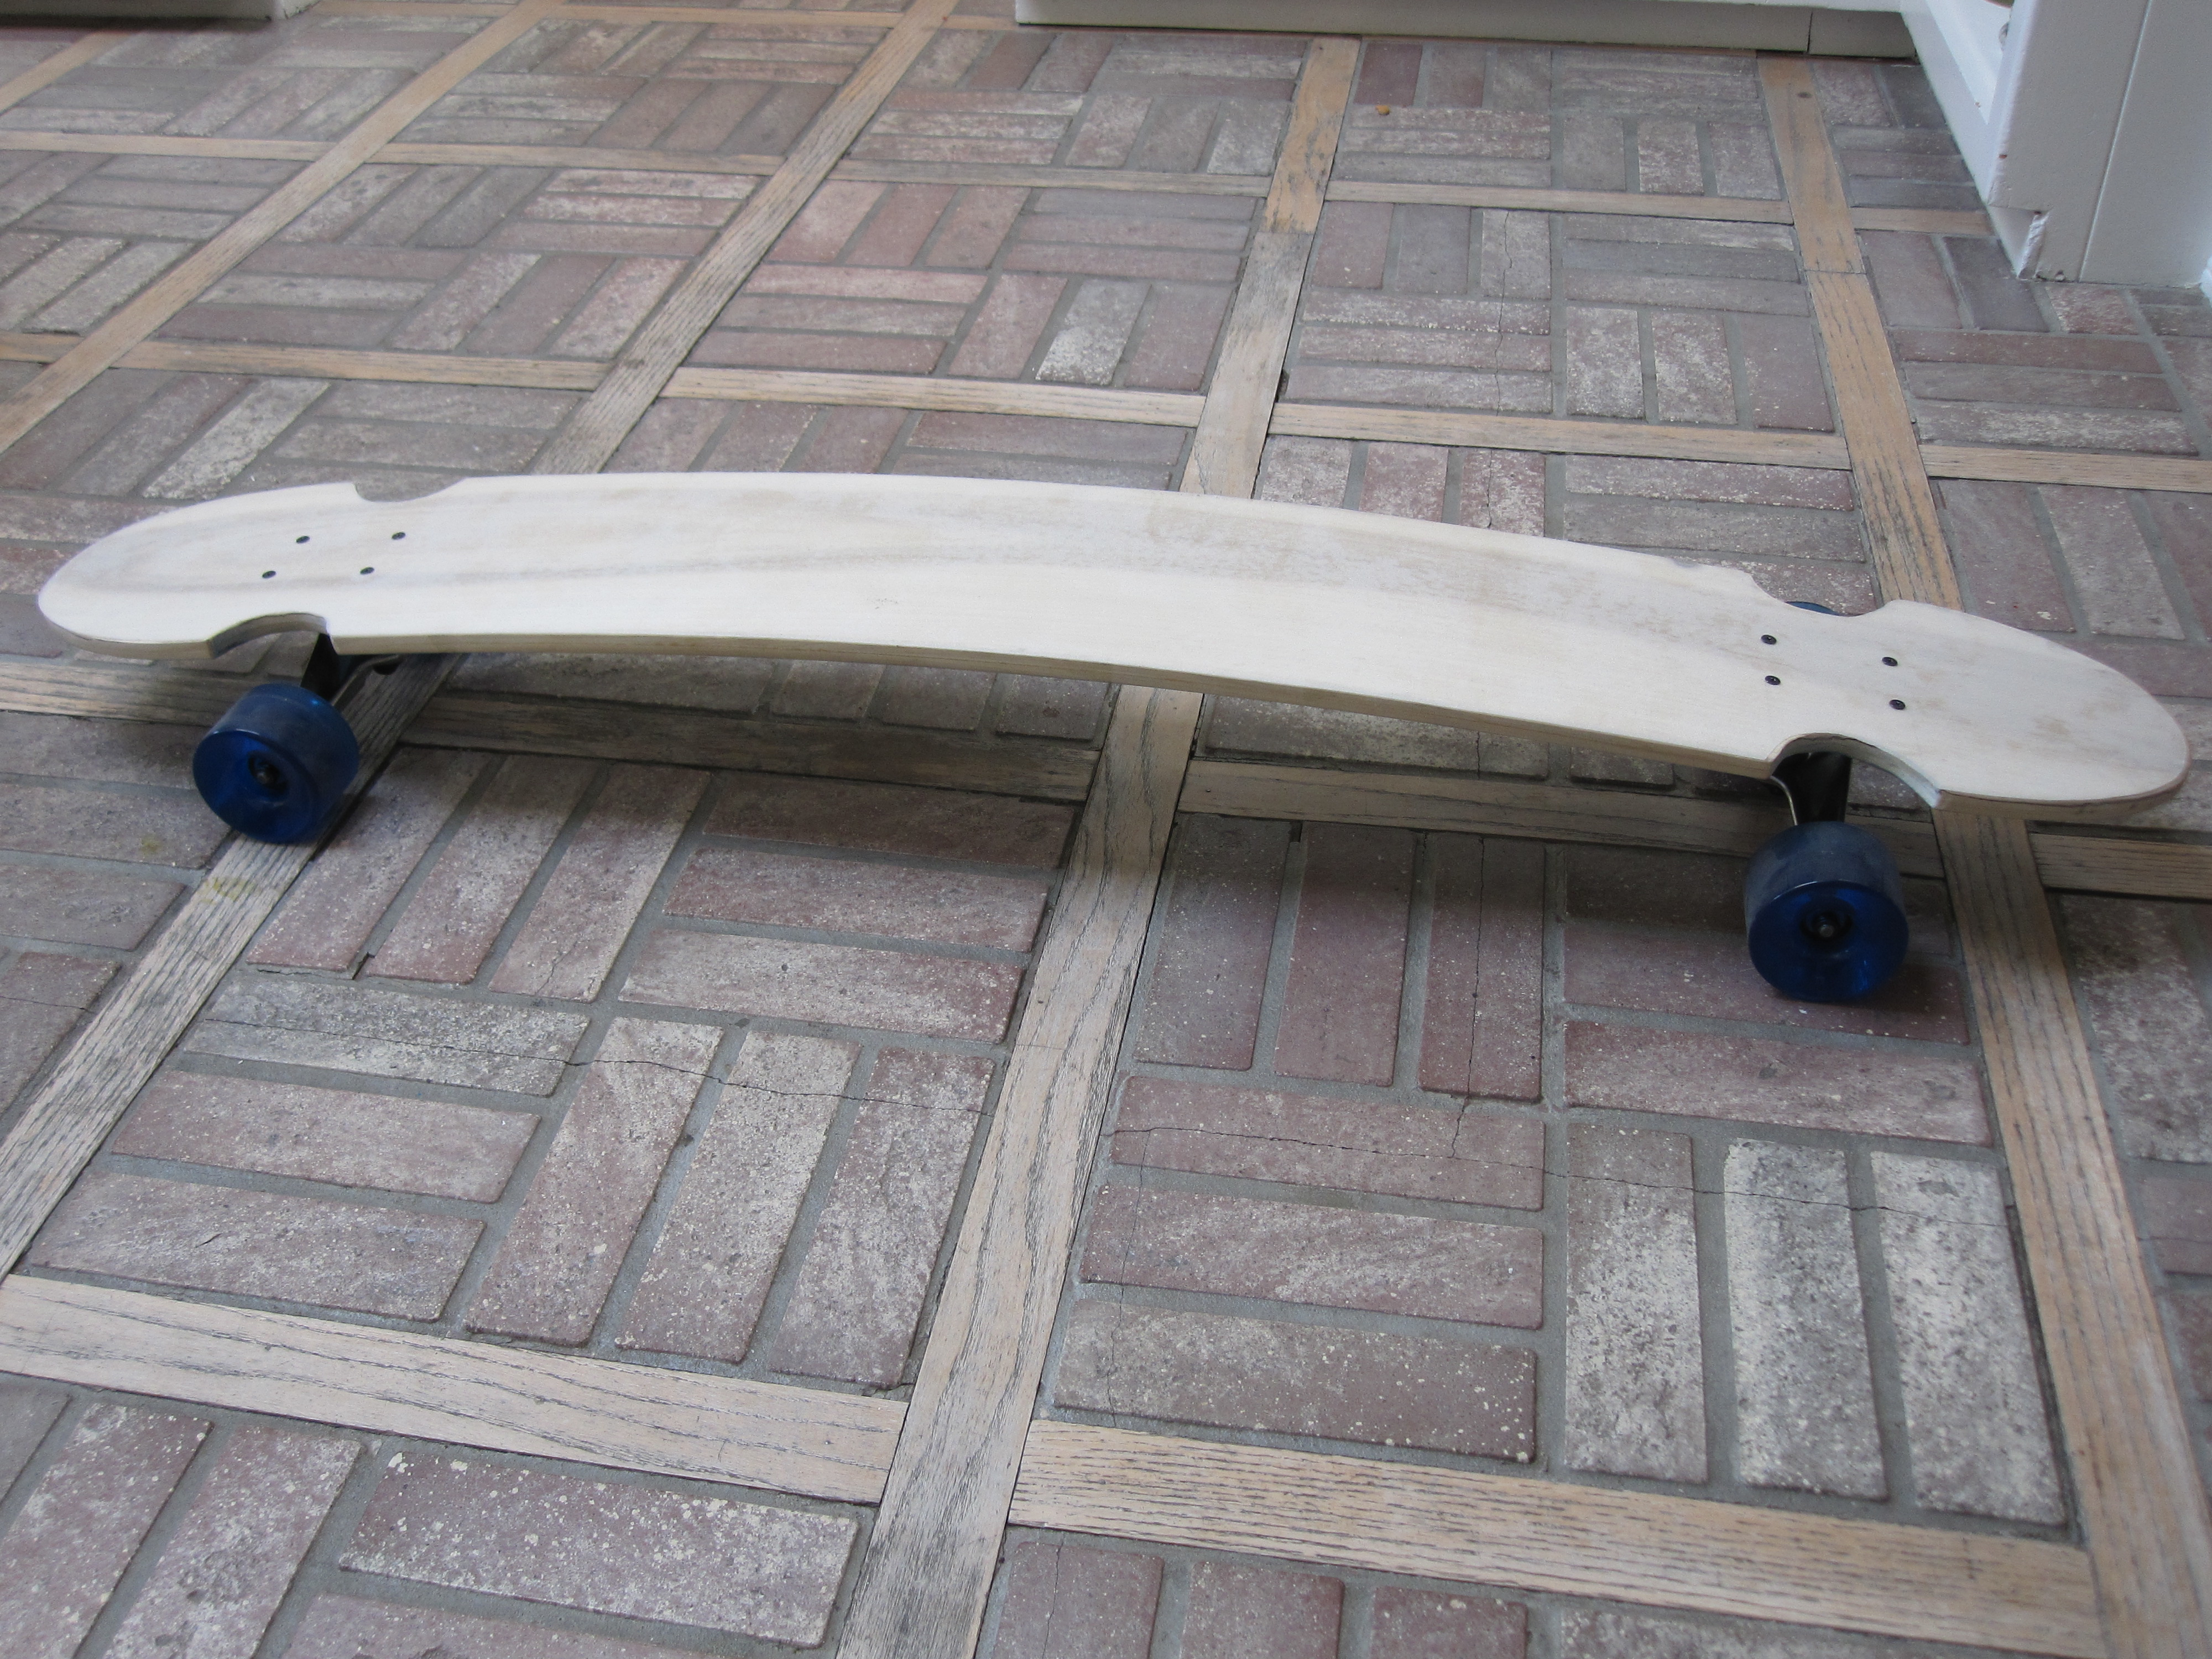
I went online to look for plans. There are many plans and kits available, but they seemed overly complex for what I was setting out to do. I simply wanted a 4-foot-long board that wouldn’t sag too much when I stood in the middle of it. My solution was to make a board with a hump in it.

Here’s how I did it.

What will the next generation of Make: look like? We’re inviting you to shape the future by investing in Make:. By becoming an investor, you help decide what’s next. The future of Make: is in your hands. Learn More.

Project Steps

Glue.

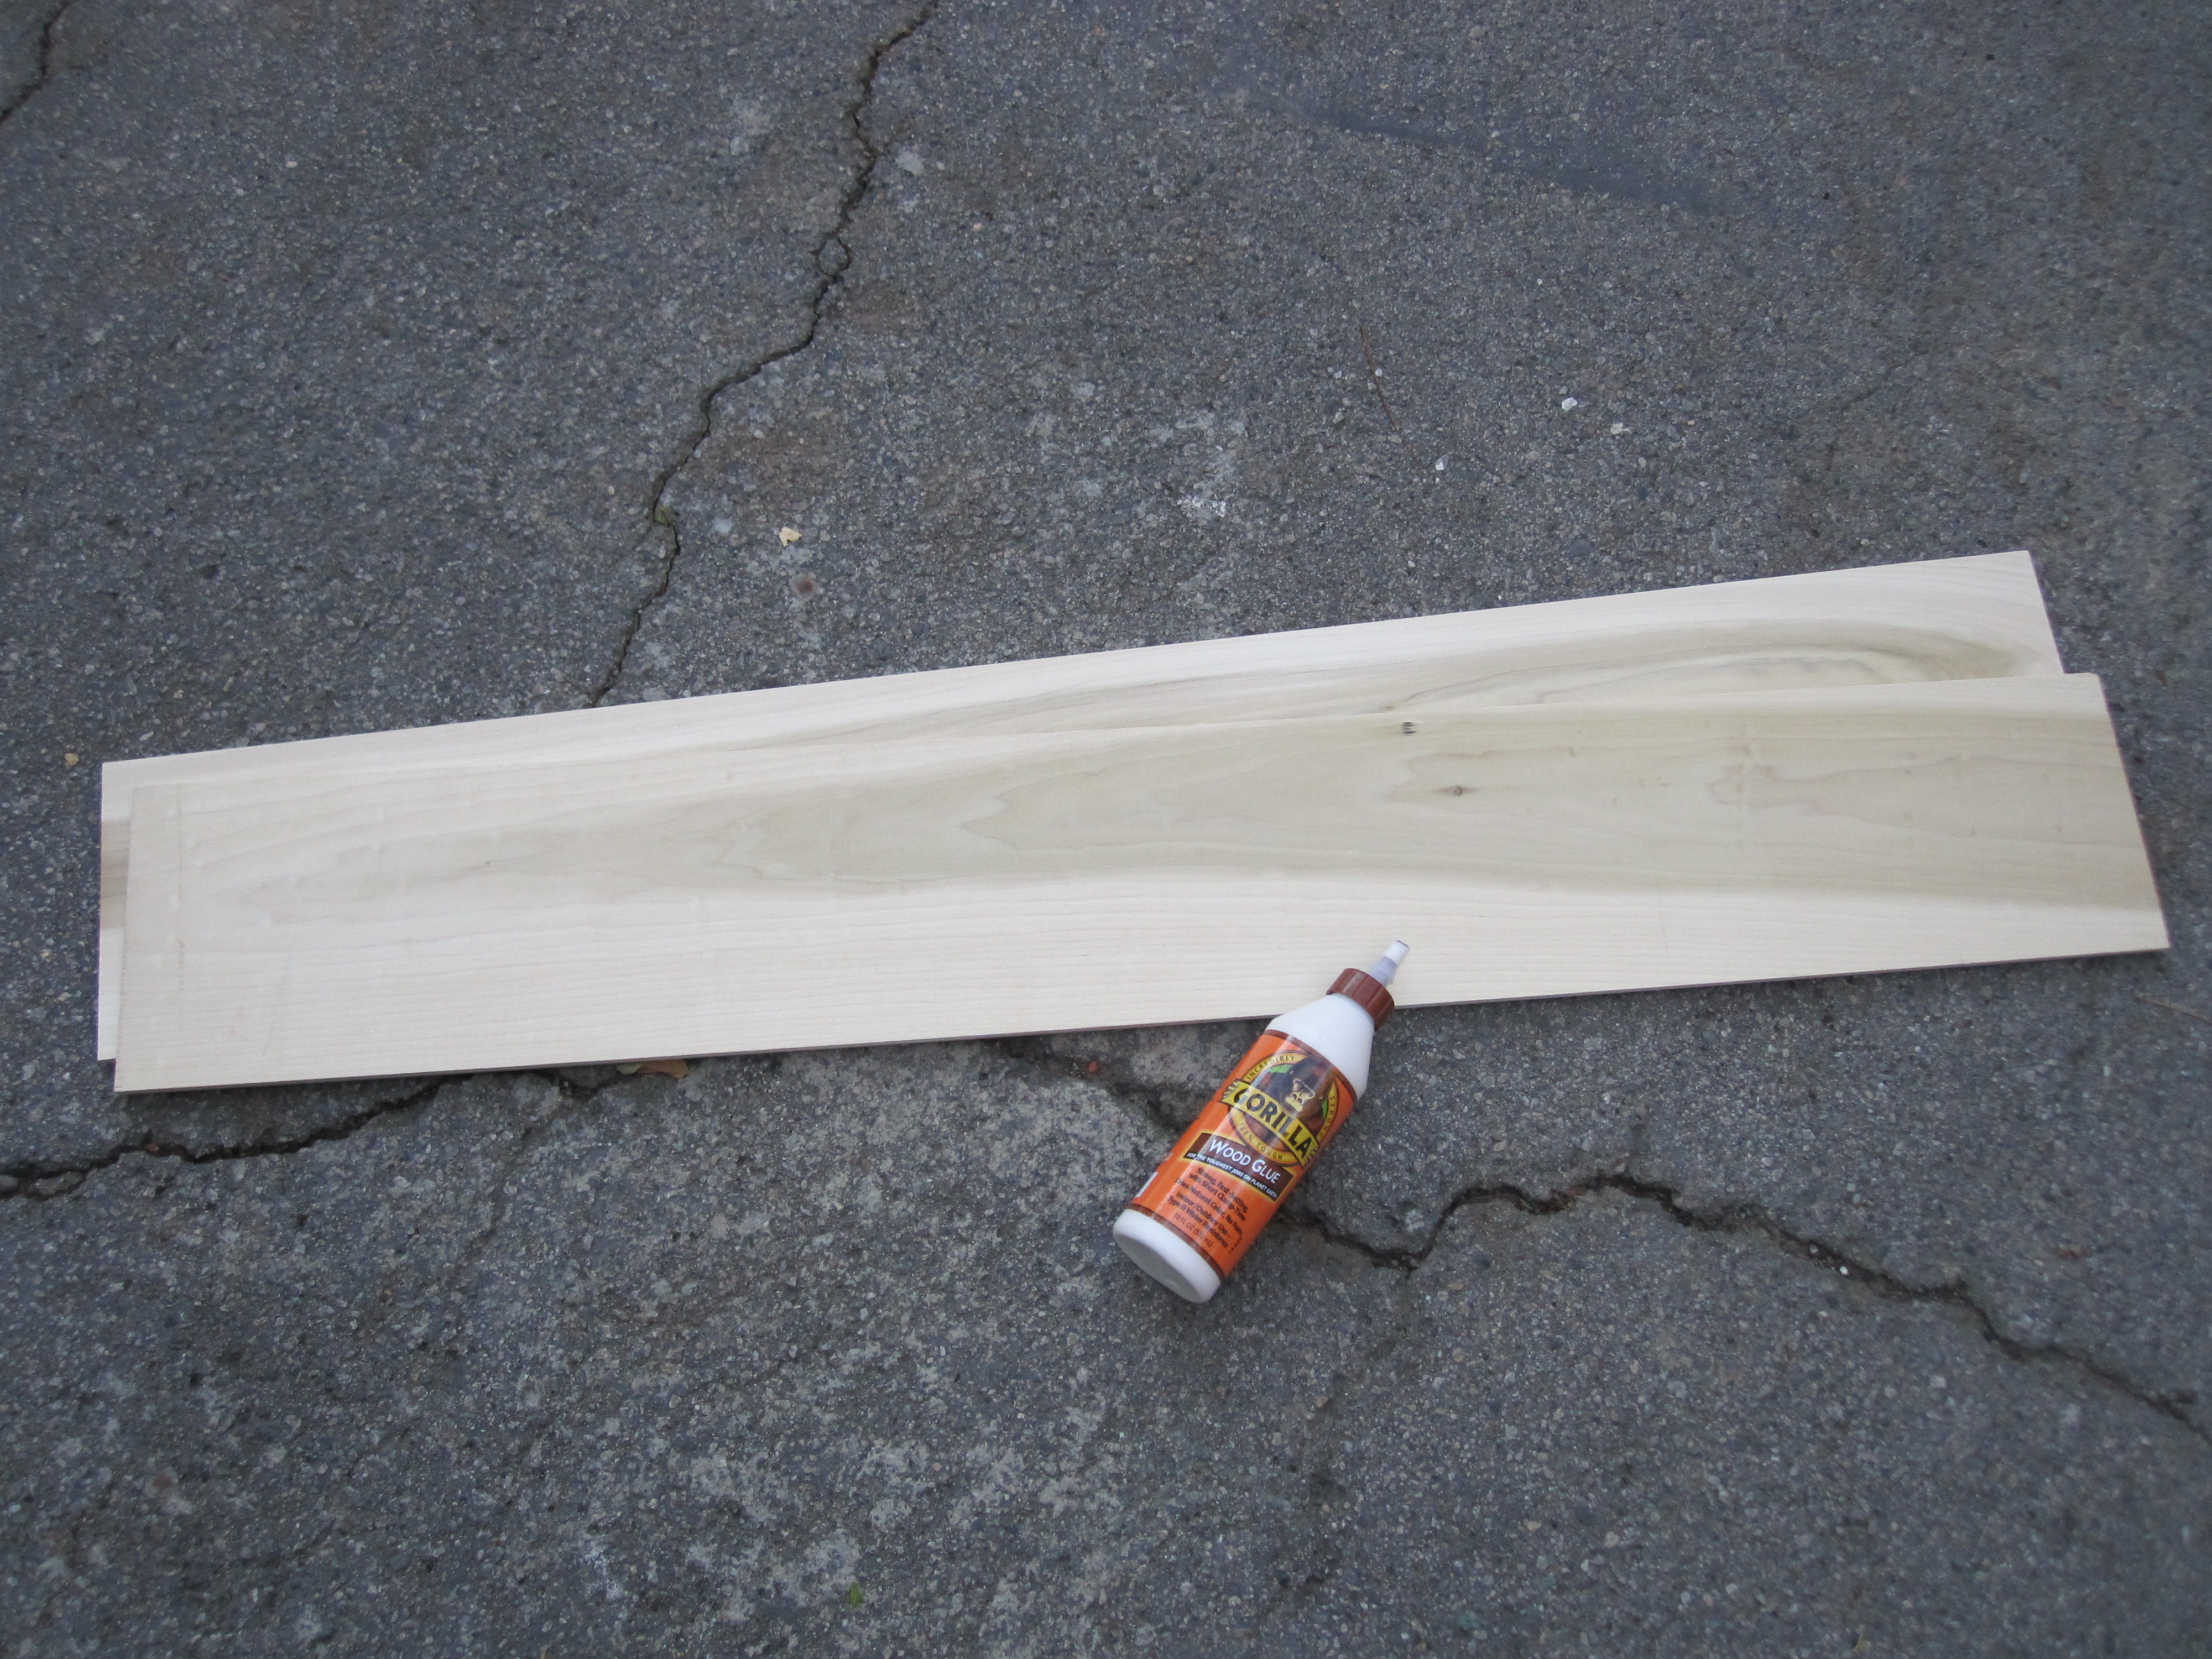
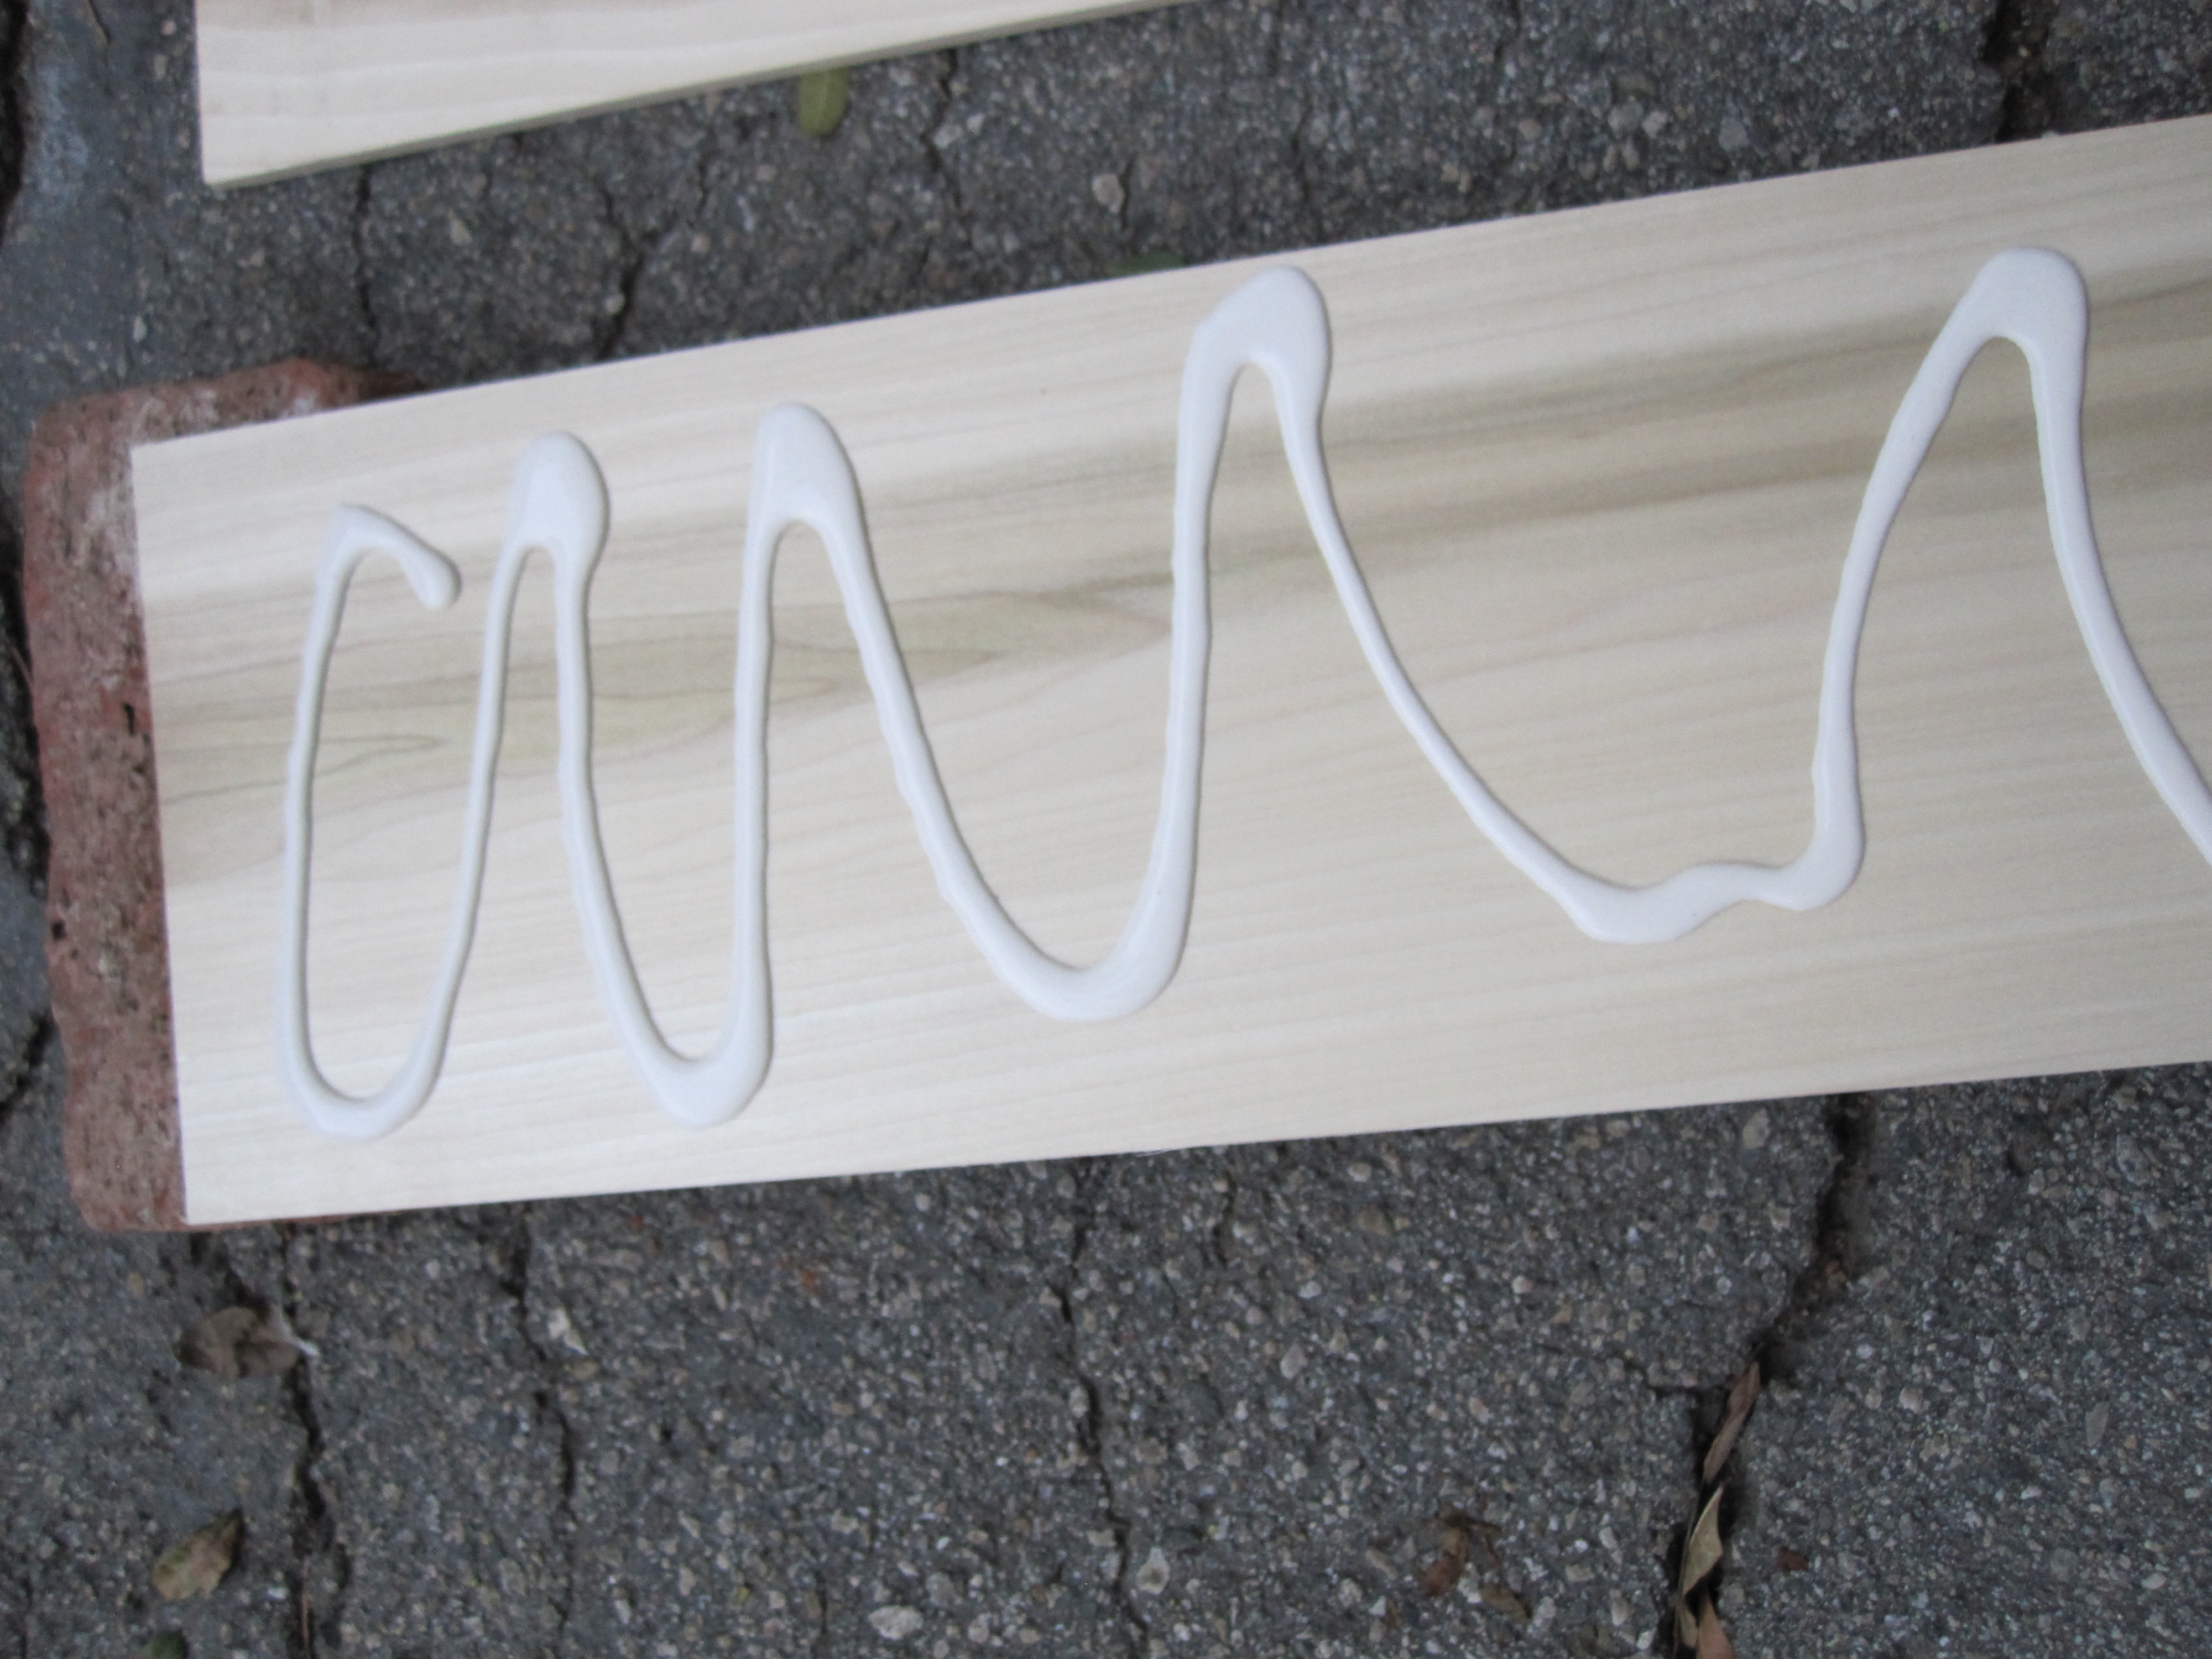
Squeeze a liberal amount of Gorilla Wood Glue (alternately, Titebond III also works well) on one side of two 48″x8″ lengths of 1/4″ Baltic birch plywood.

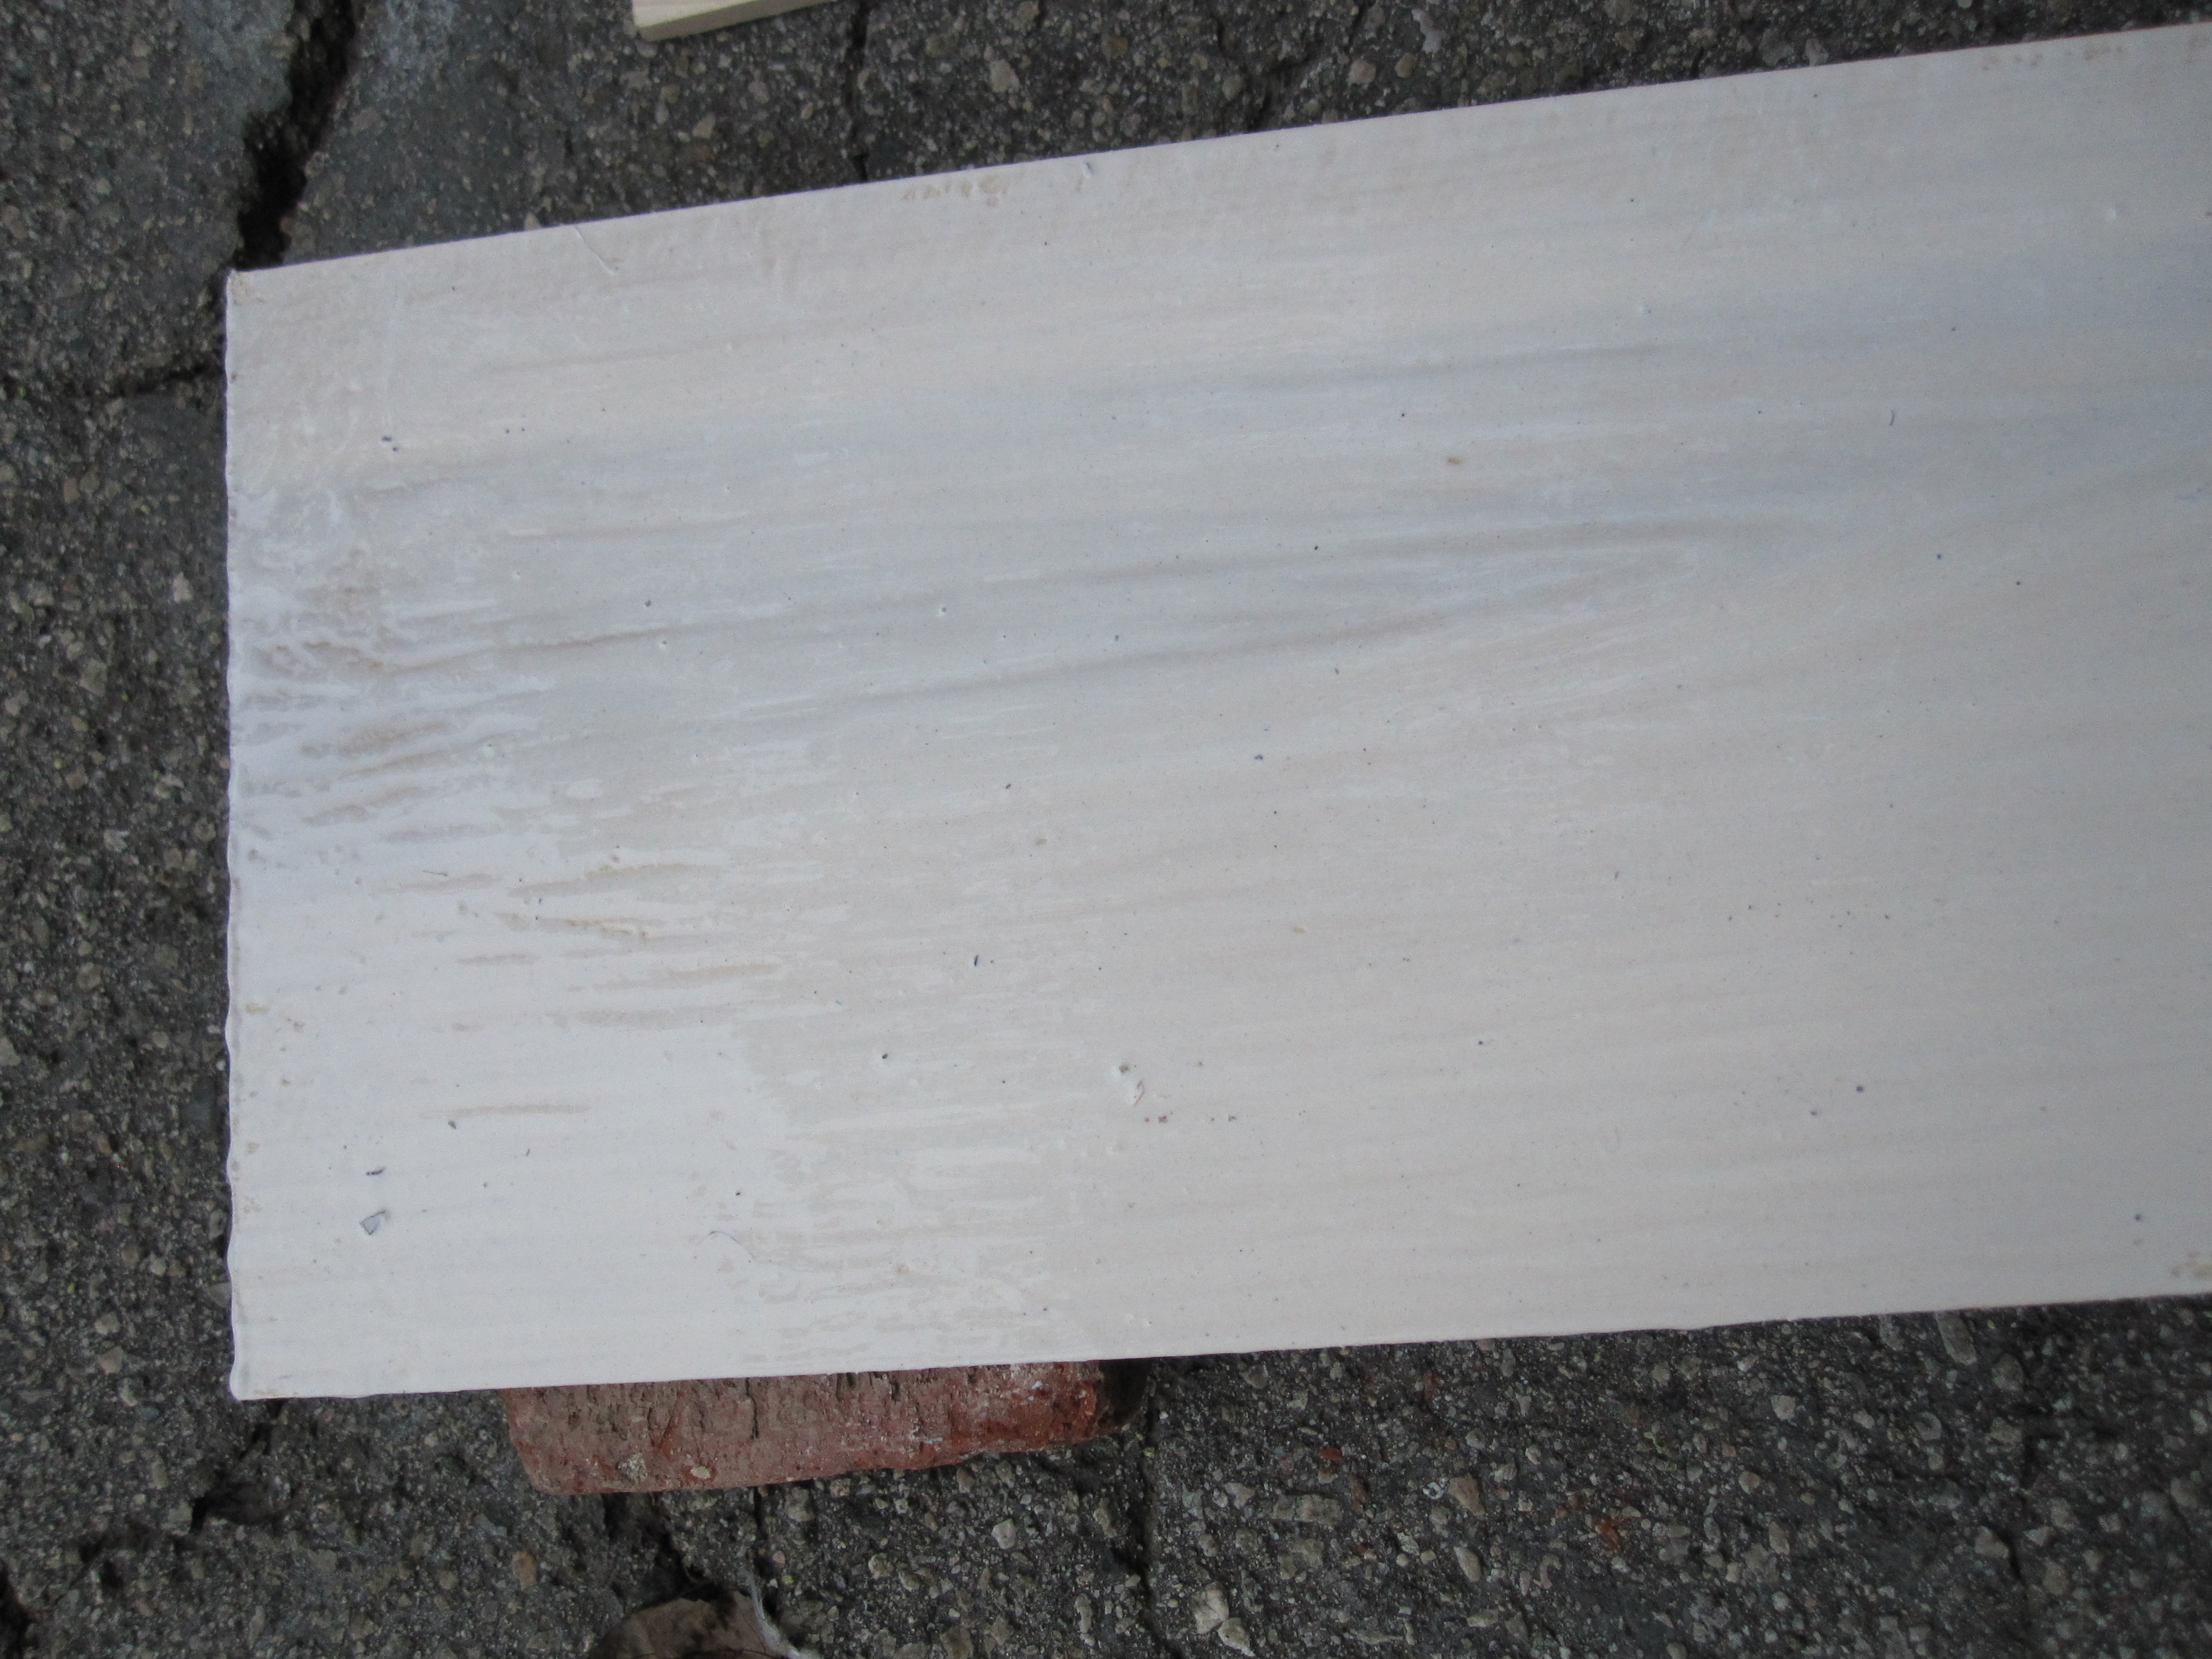
Then use a paintbrush to spread the glue in an even layer.

Stick the glued sides of the 2 boards together.

Bend.

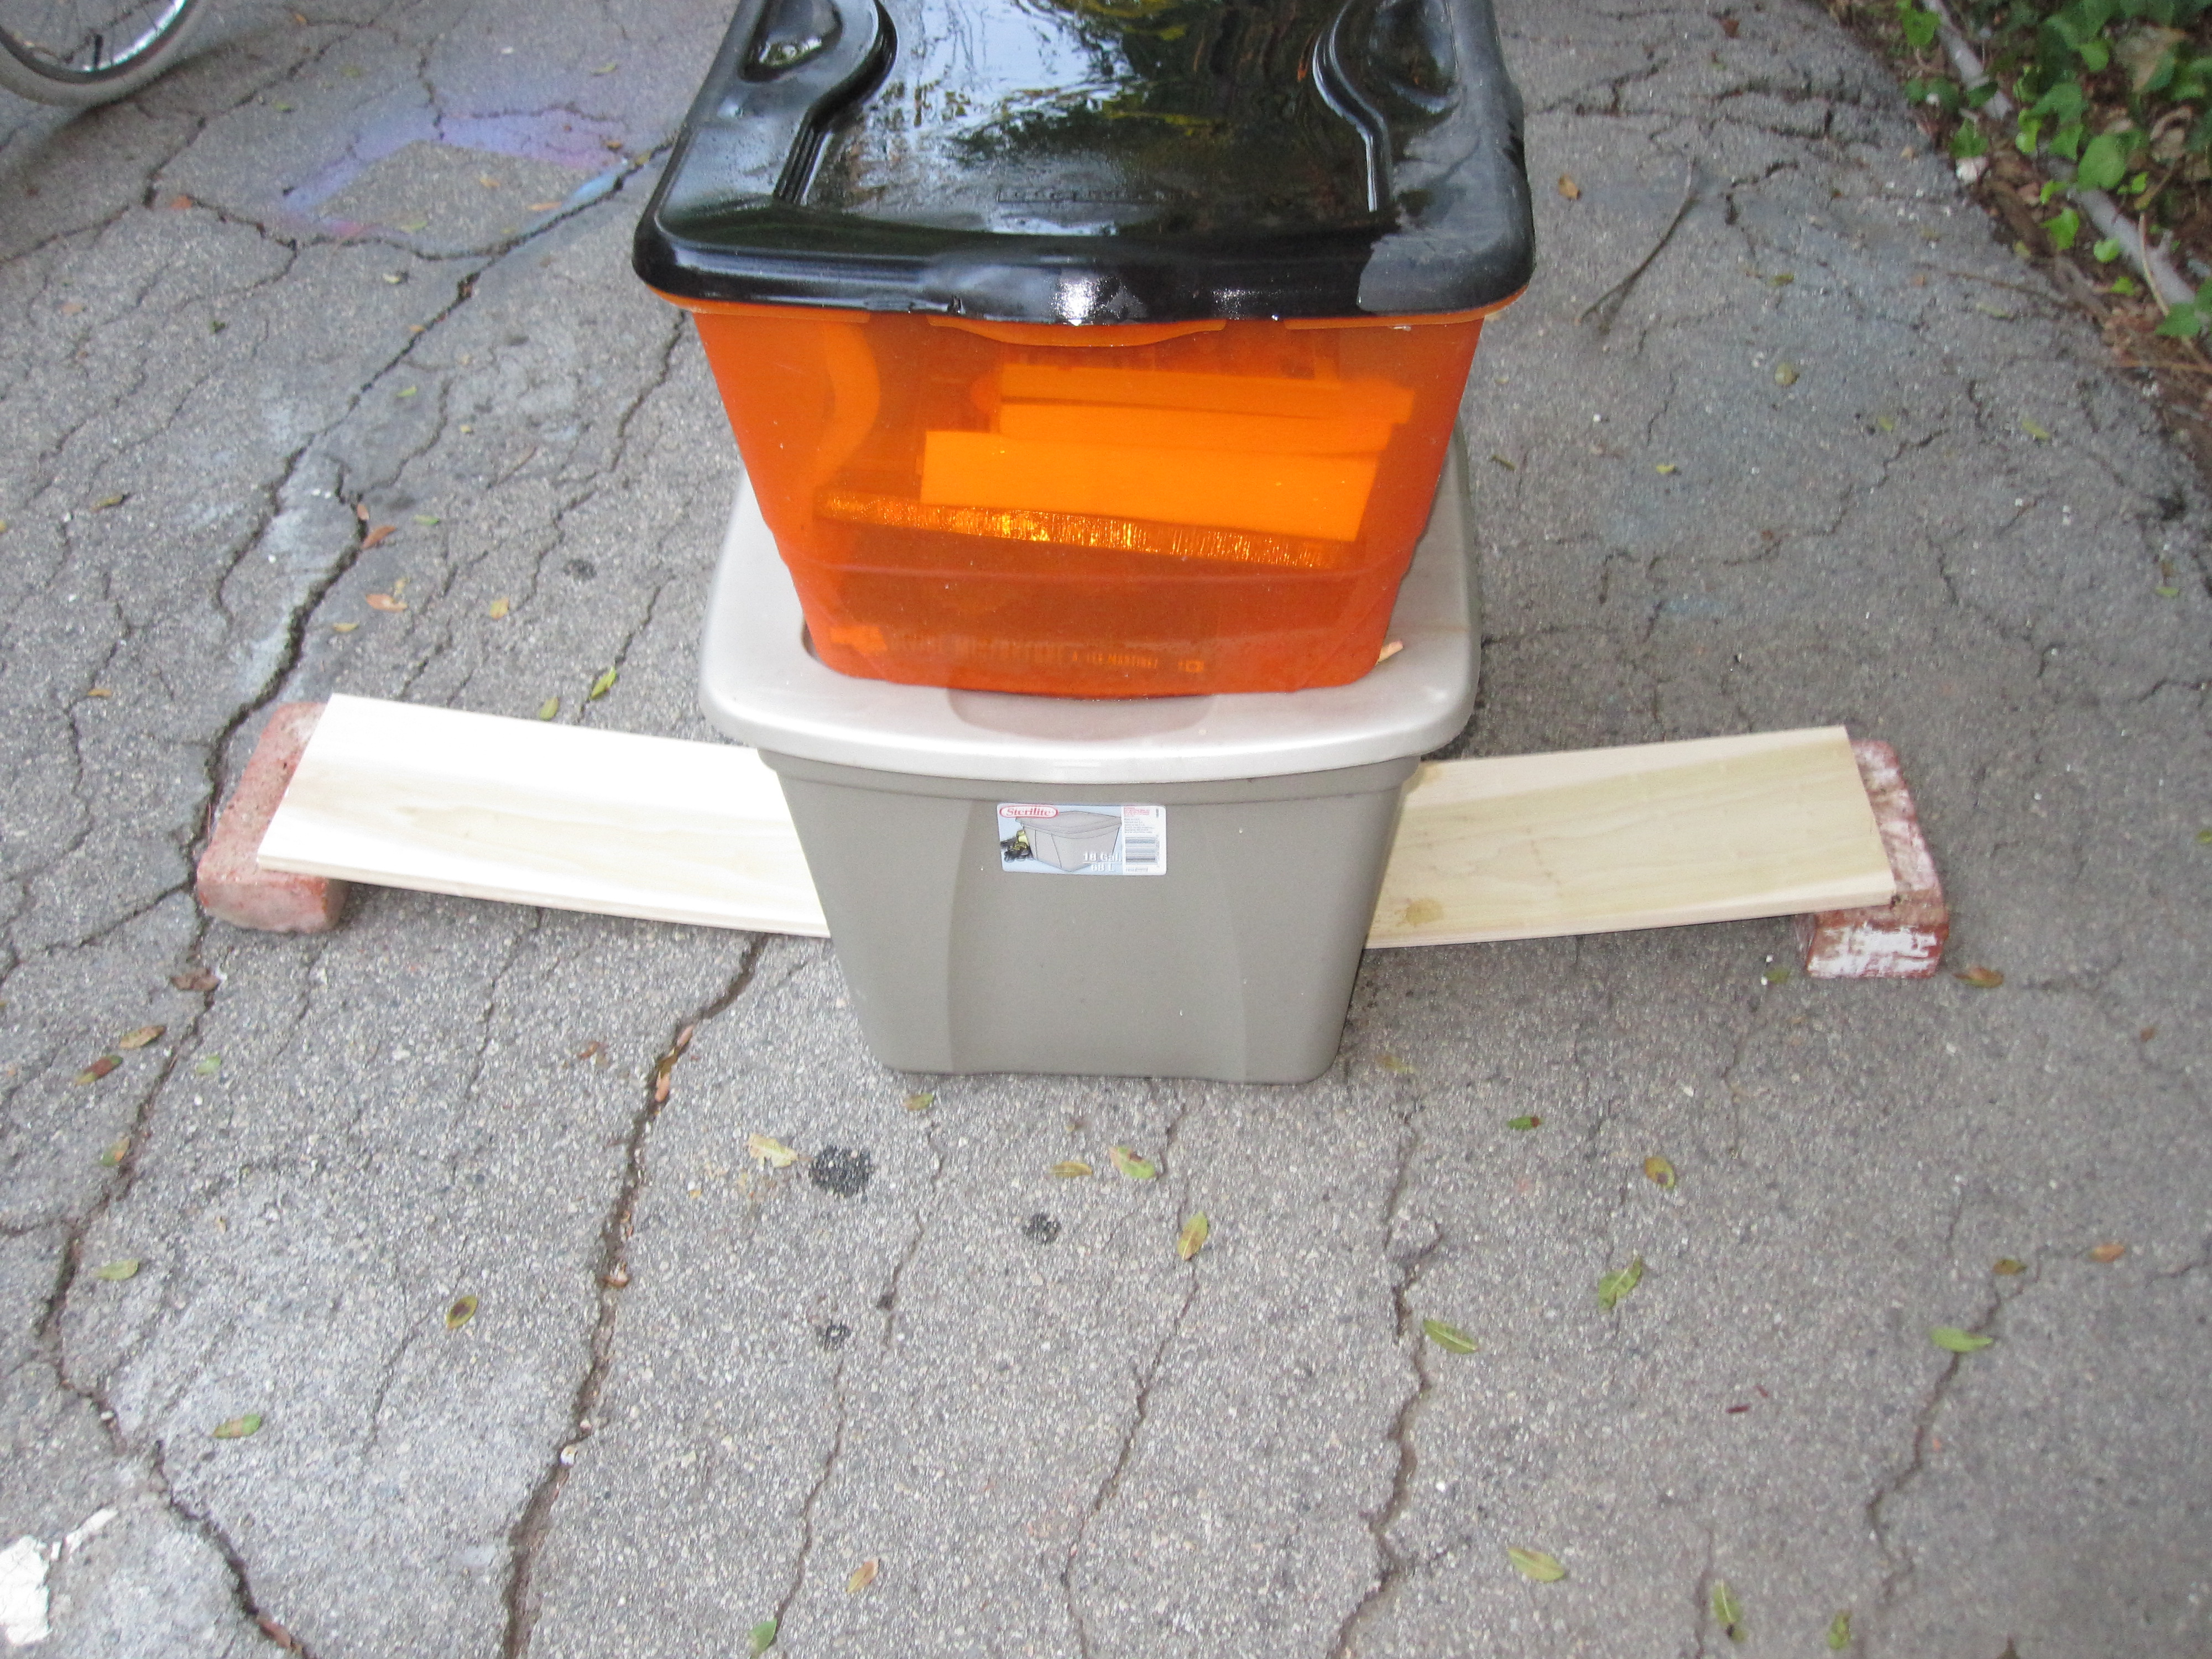
Suspend the board between 2 bricks placed at its far ends.

I set a couple of heavy boxes of books in the middle of the board so that it sagged in a U shape.

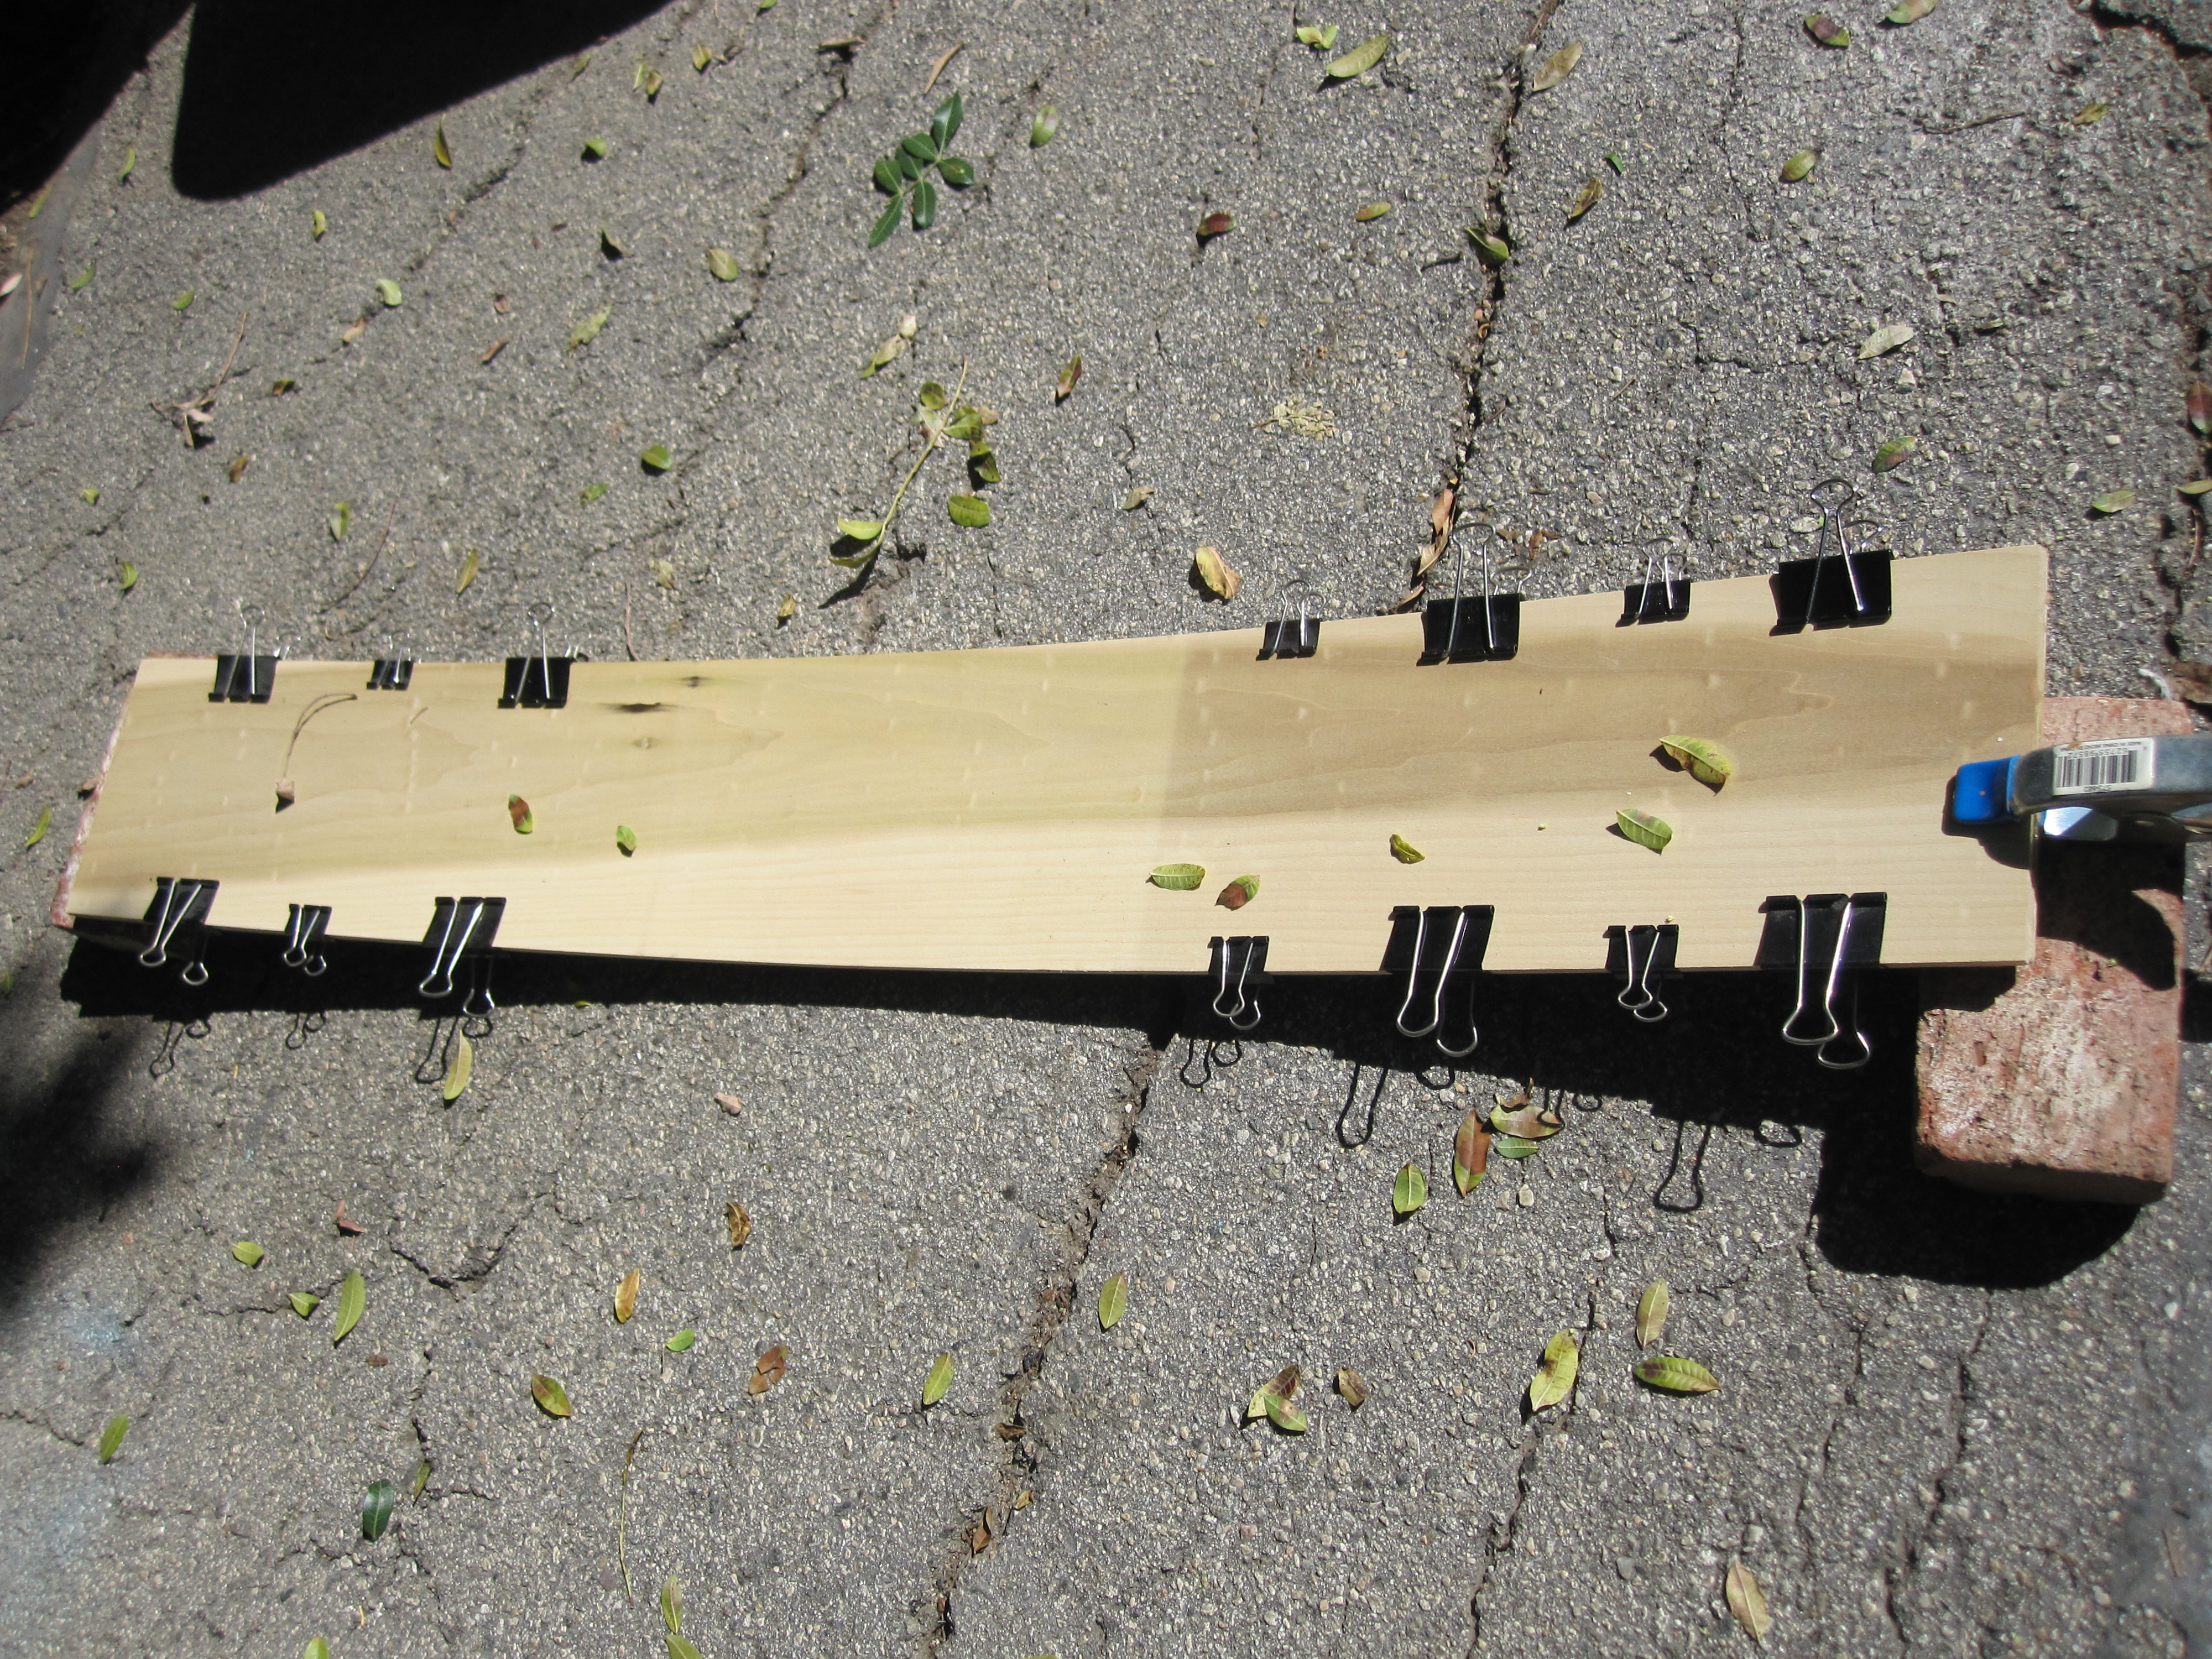
Clamp.

Using multiple clamps, pinch the boards together. Do not disturb the setup for 24 hours.

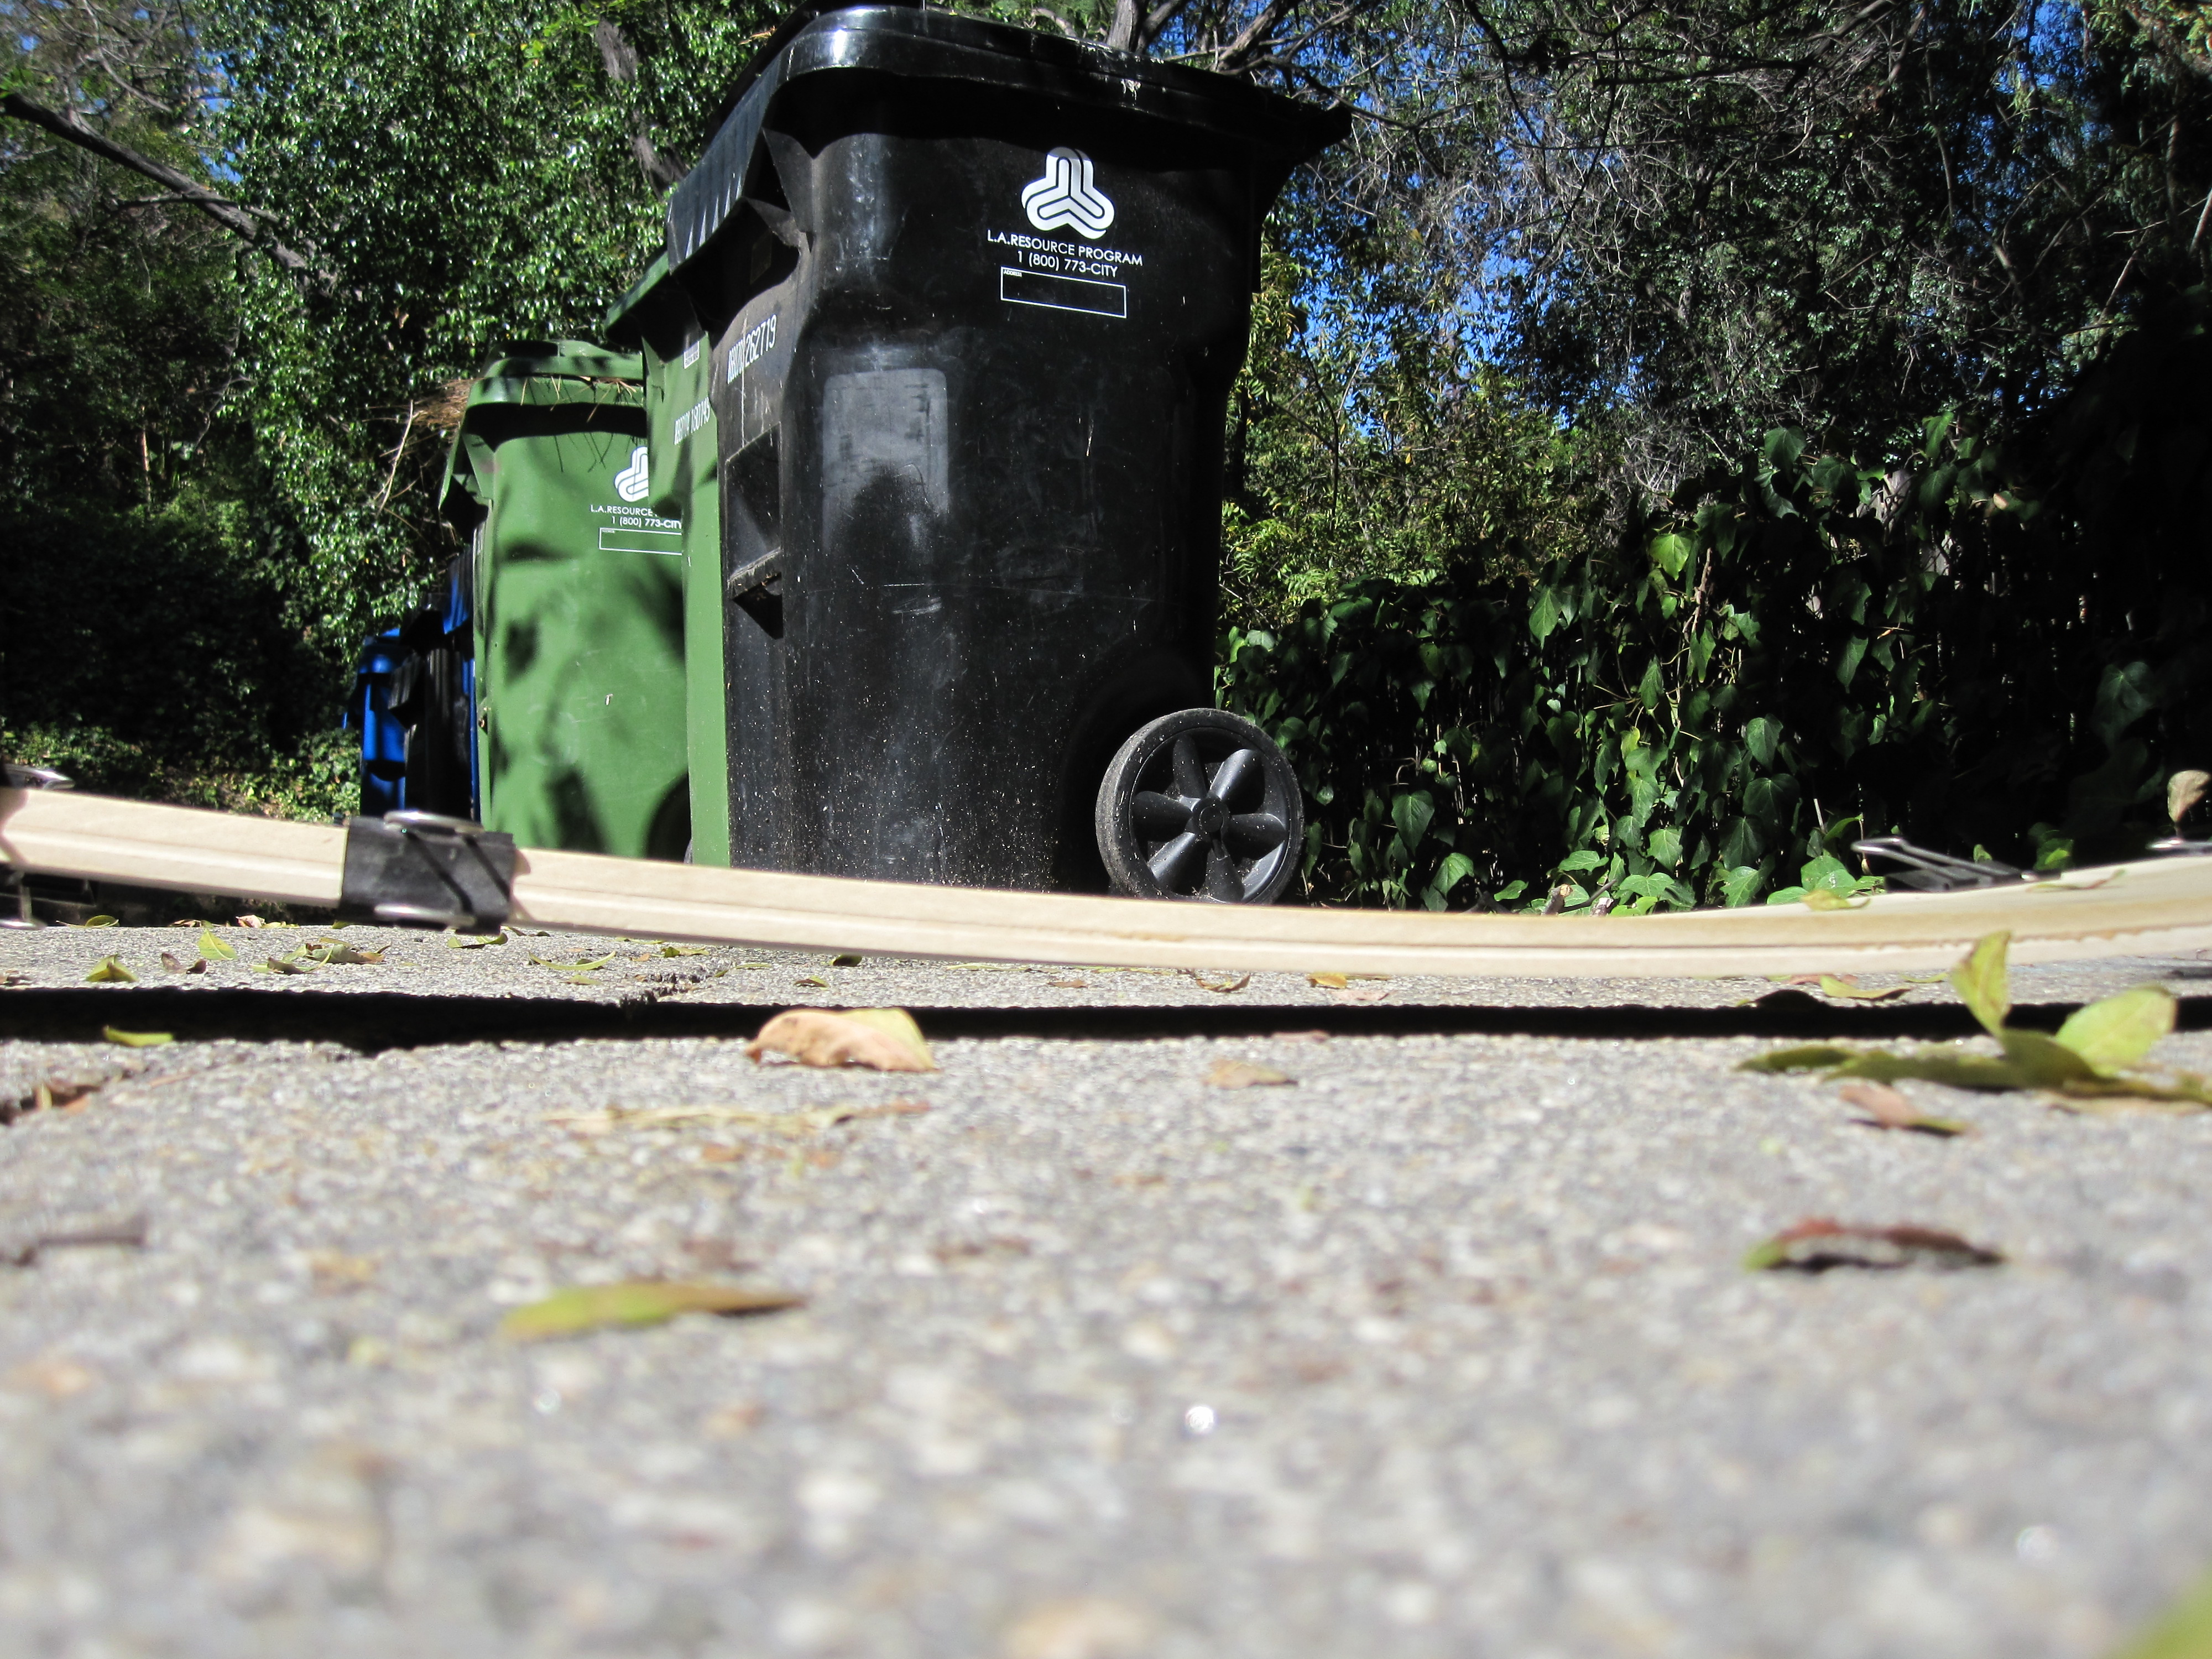
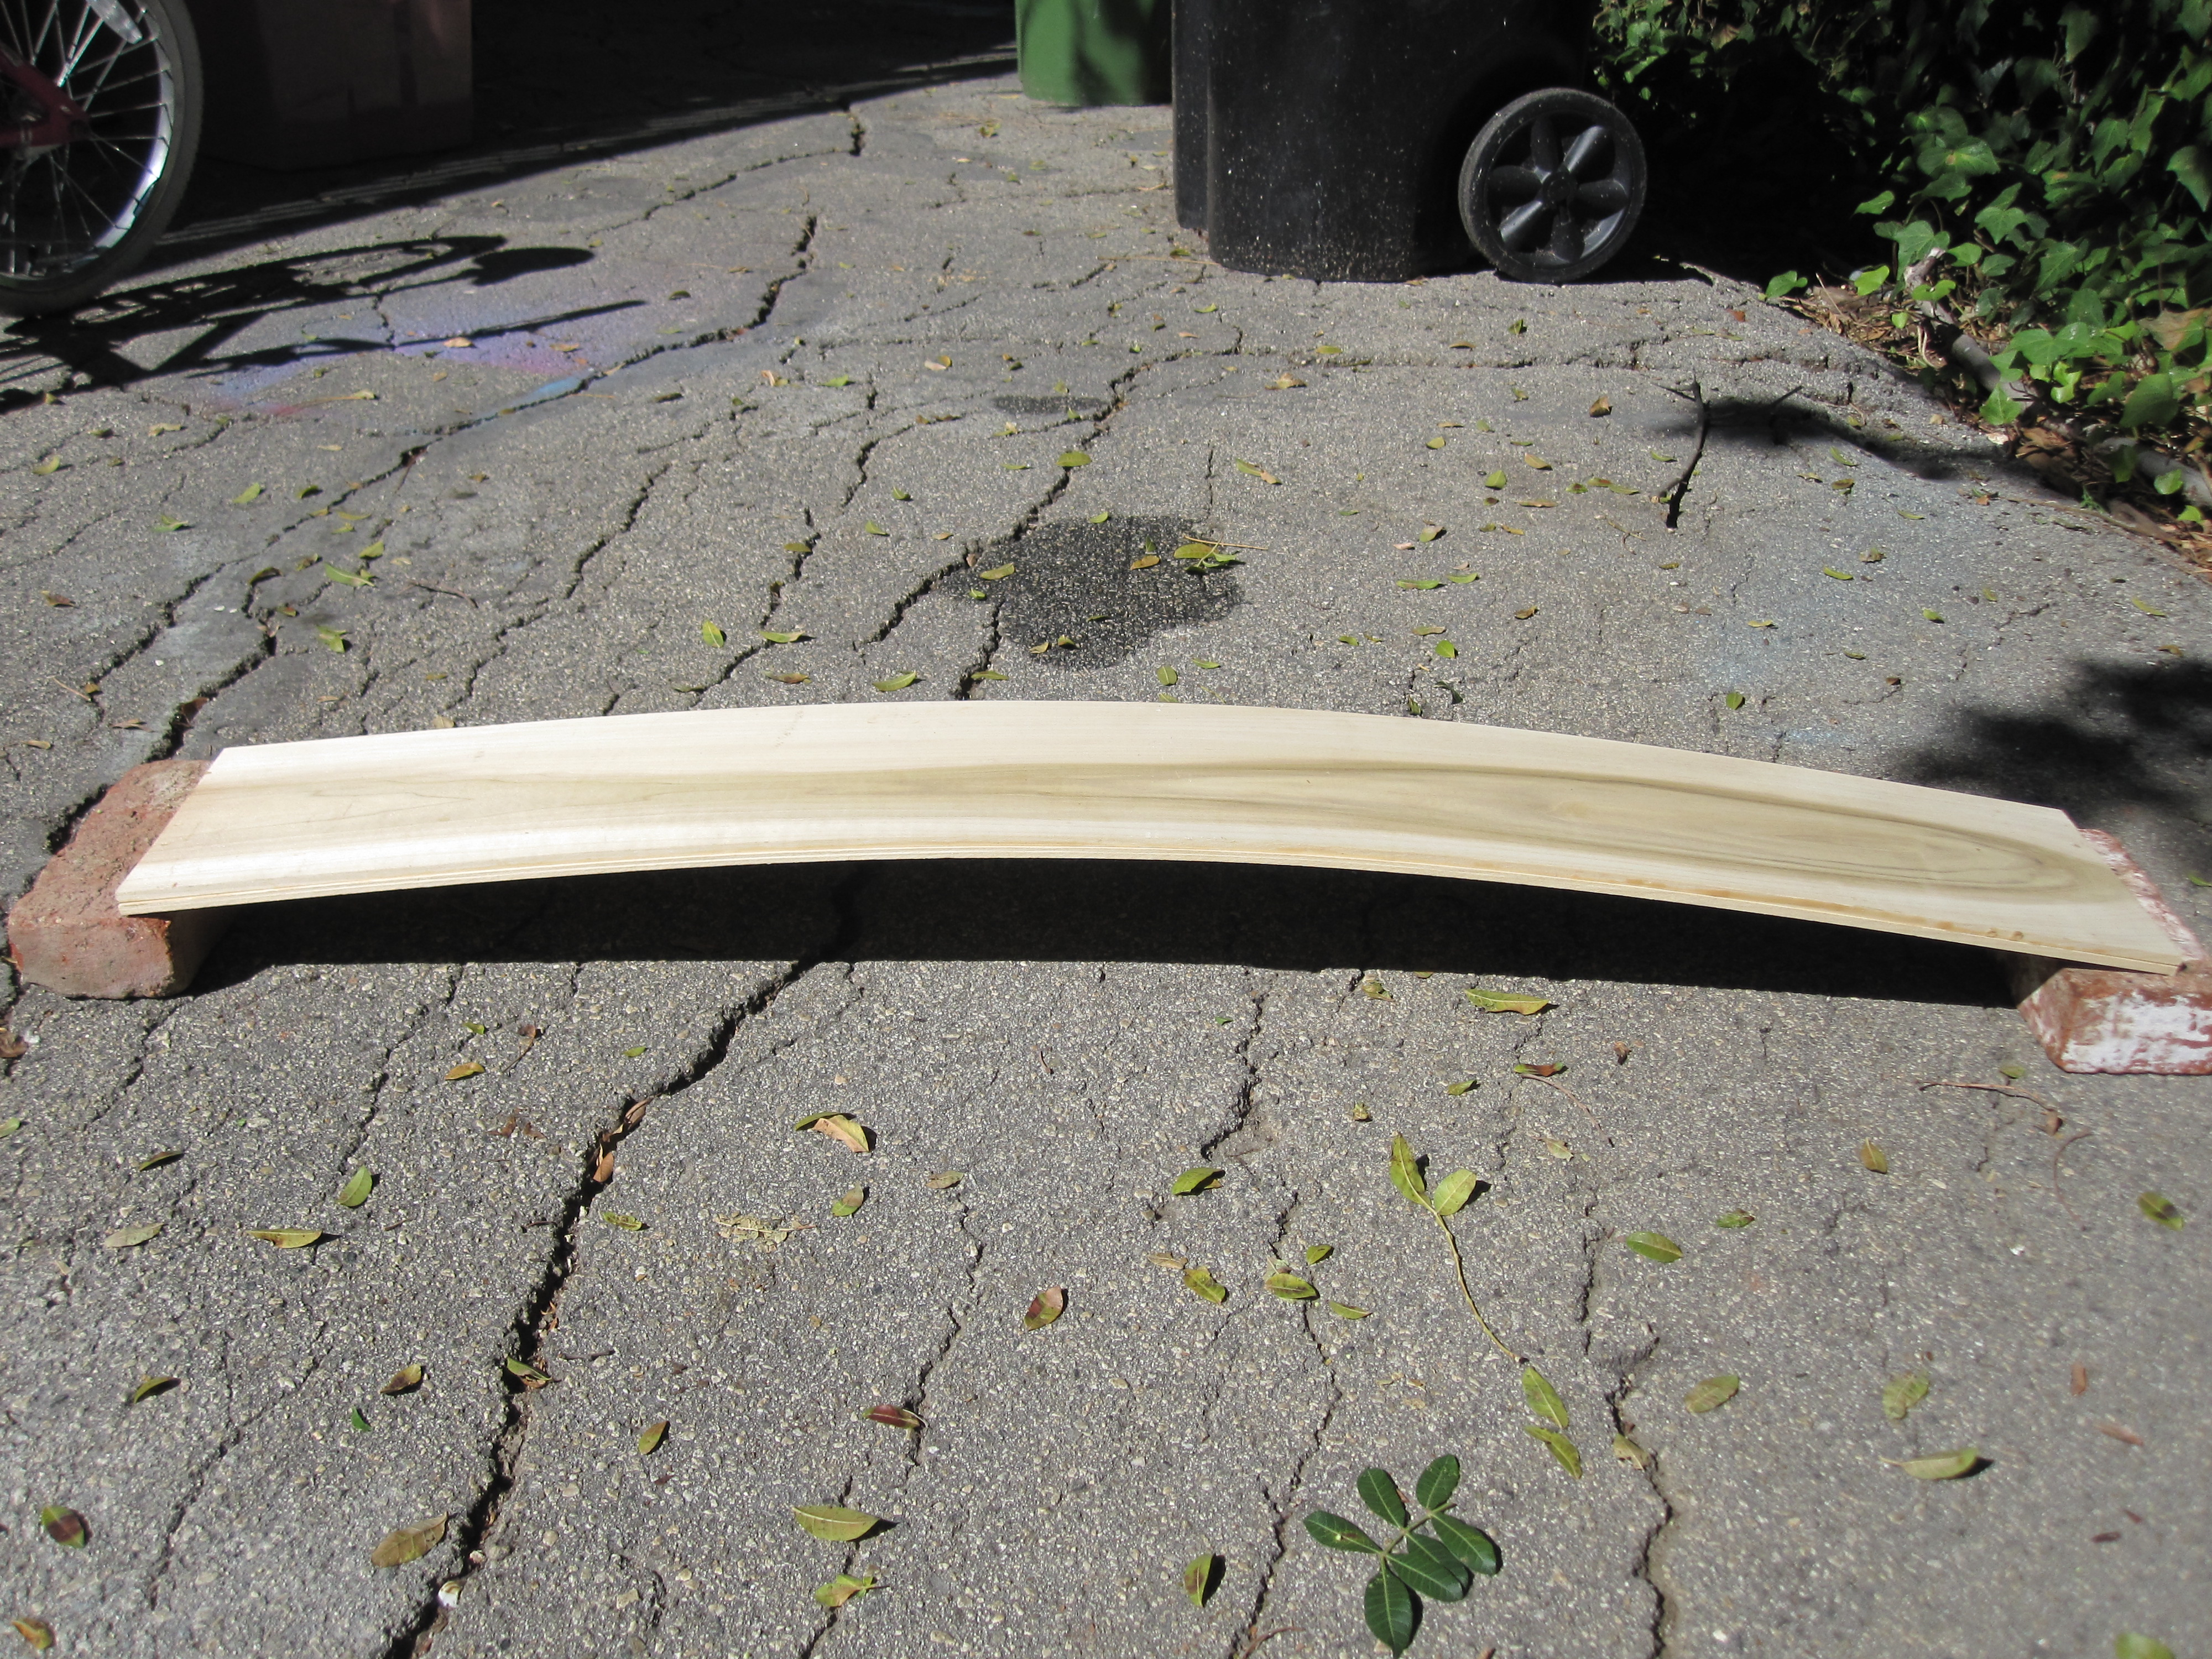
The next day when I removed the boxes of books, the 2 pieces of wood stayed bent. I flipped the boards over, stood on the hump and bounced up and down a bunch of times to make sure it could support my weight without breaking. It passed the test.

Mark.

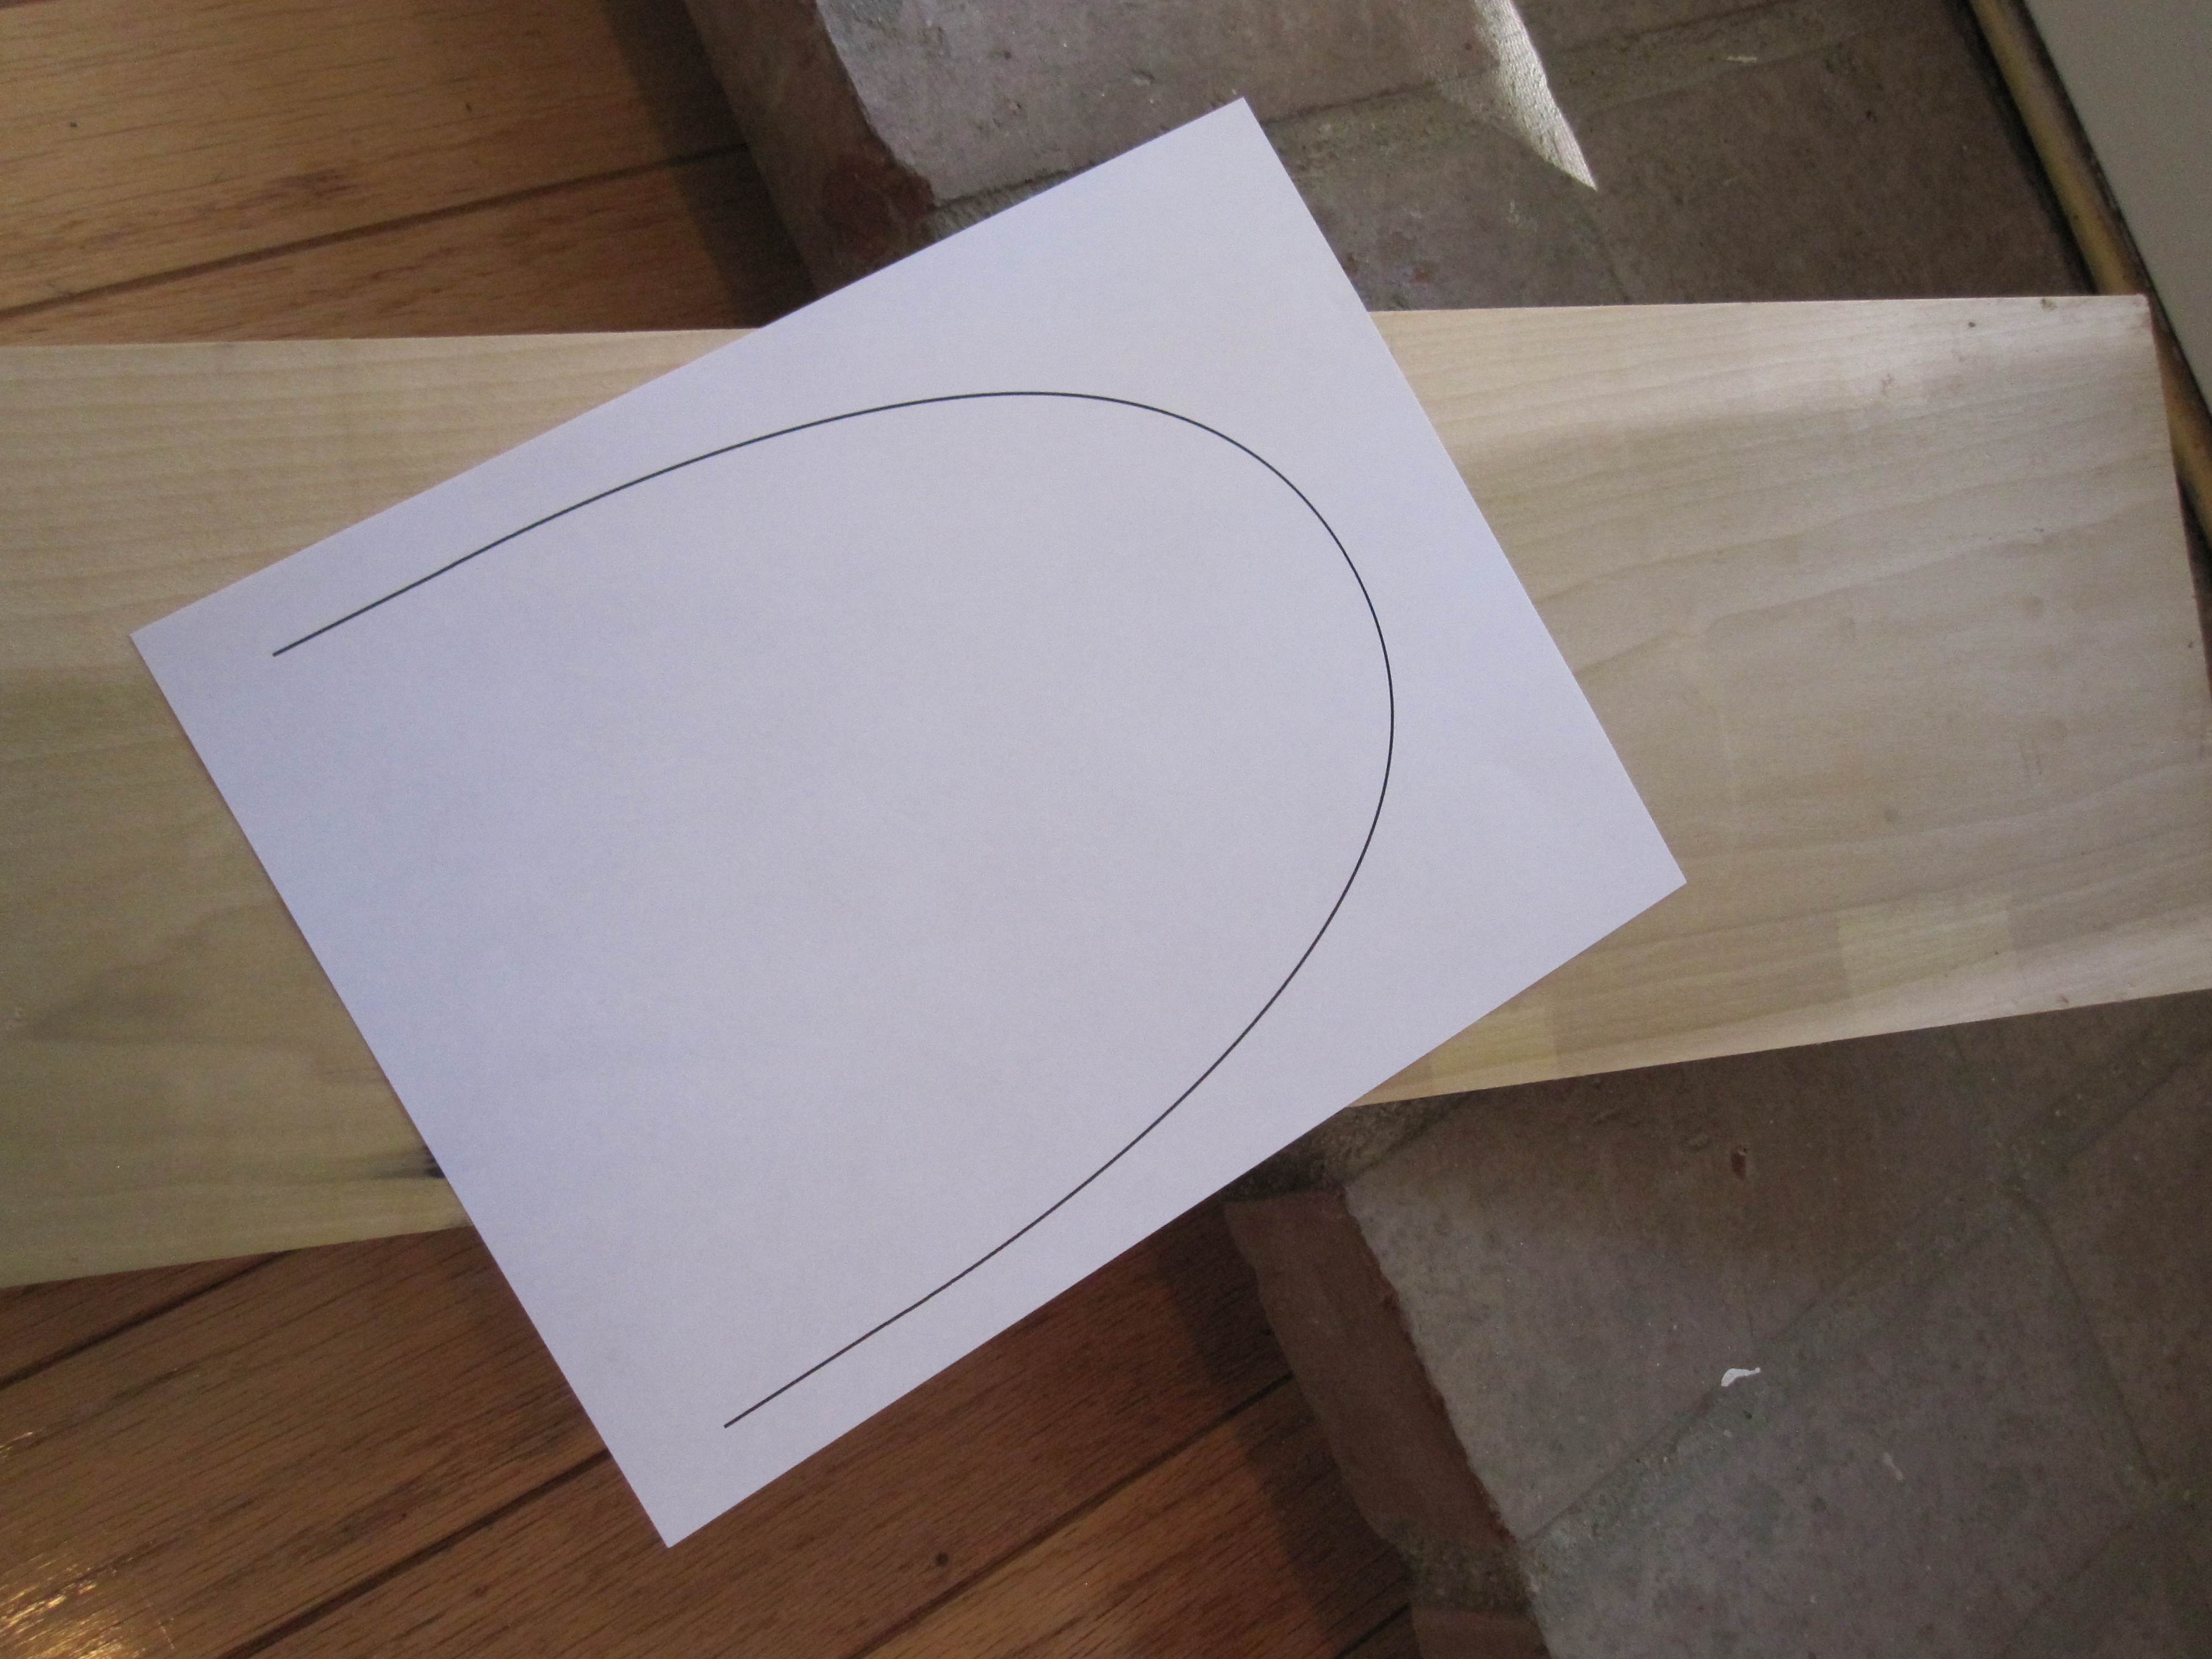
Next, you need to draw a template of the end of the skateboard. Naturally, it helps if you have a board on hand for reference. I drew a template using Adobe Illustrator.

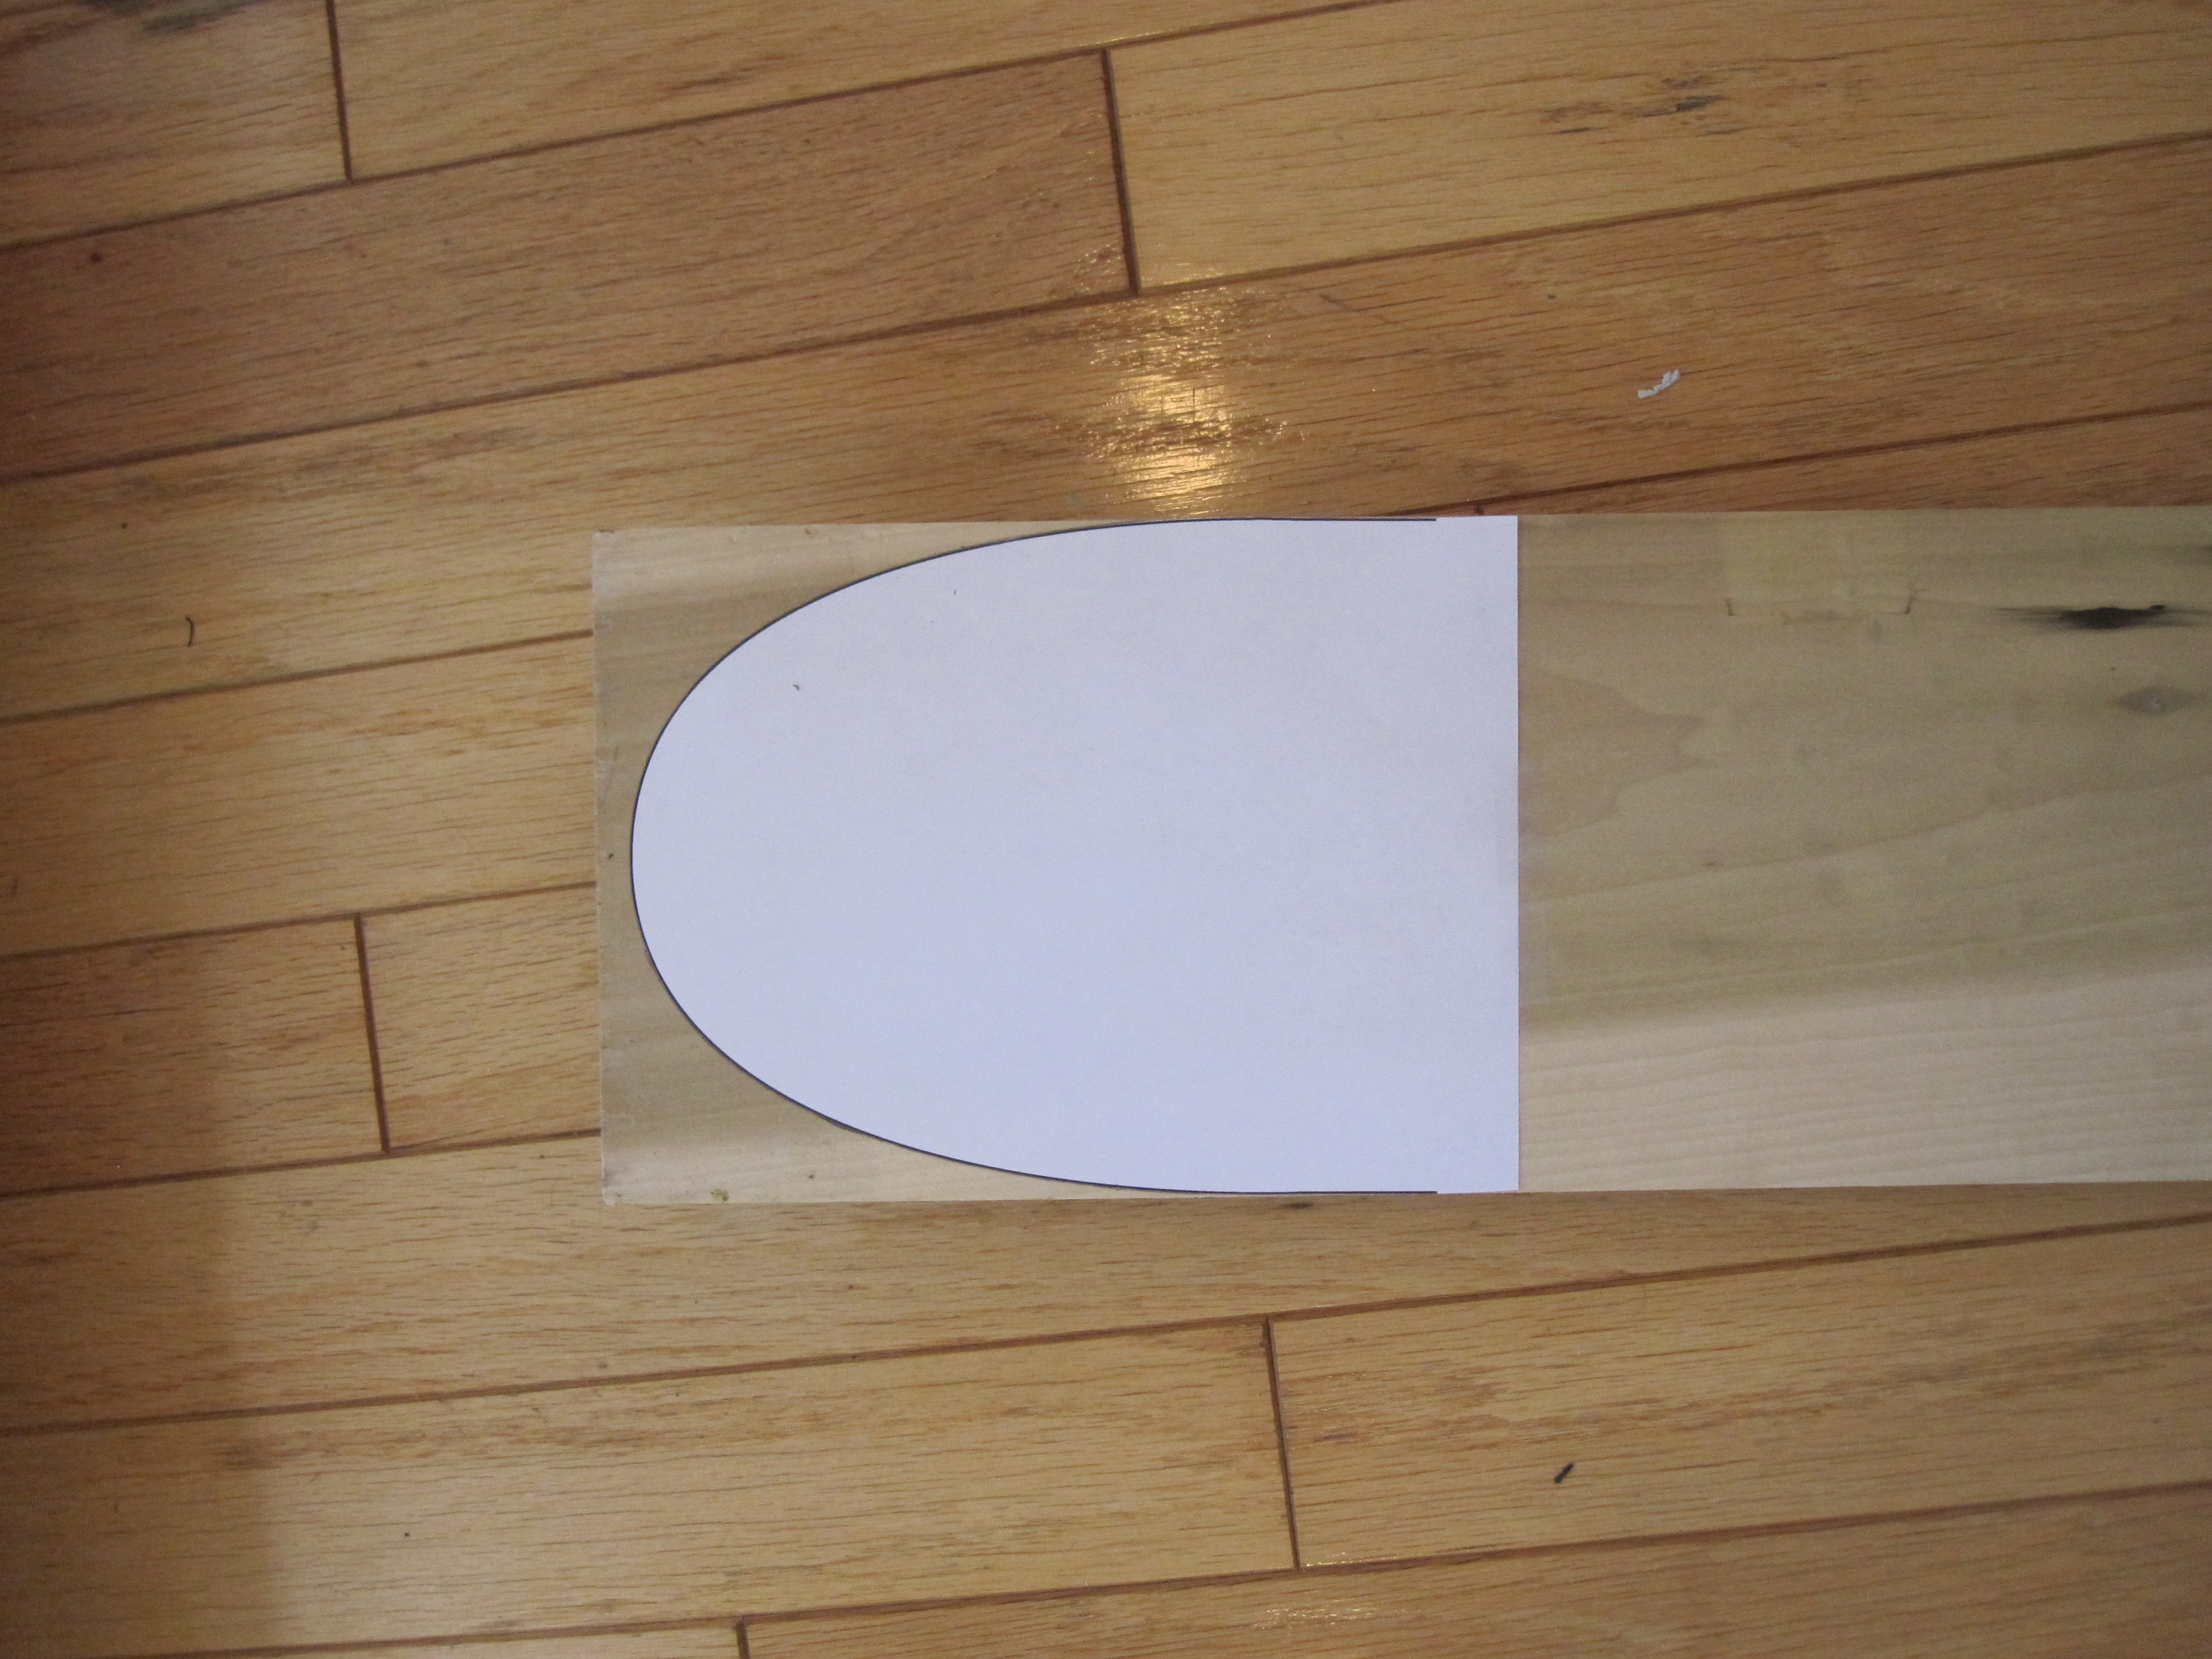
Cut out the template, and tape it to one end of your new board.

Then use a pencil to transfer the shape to the board. I used the same template on both ends.

Cut and sand.

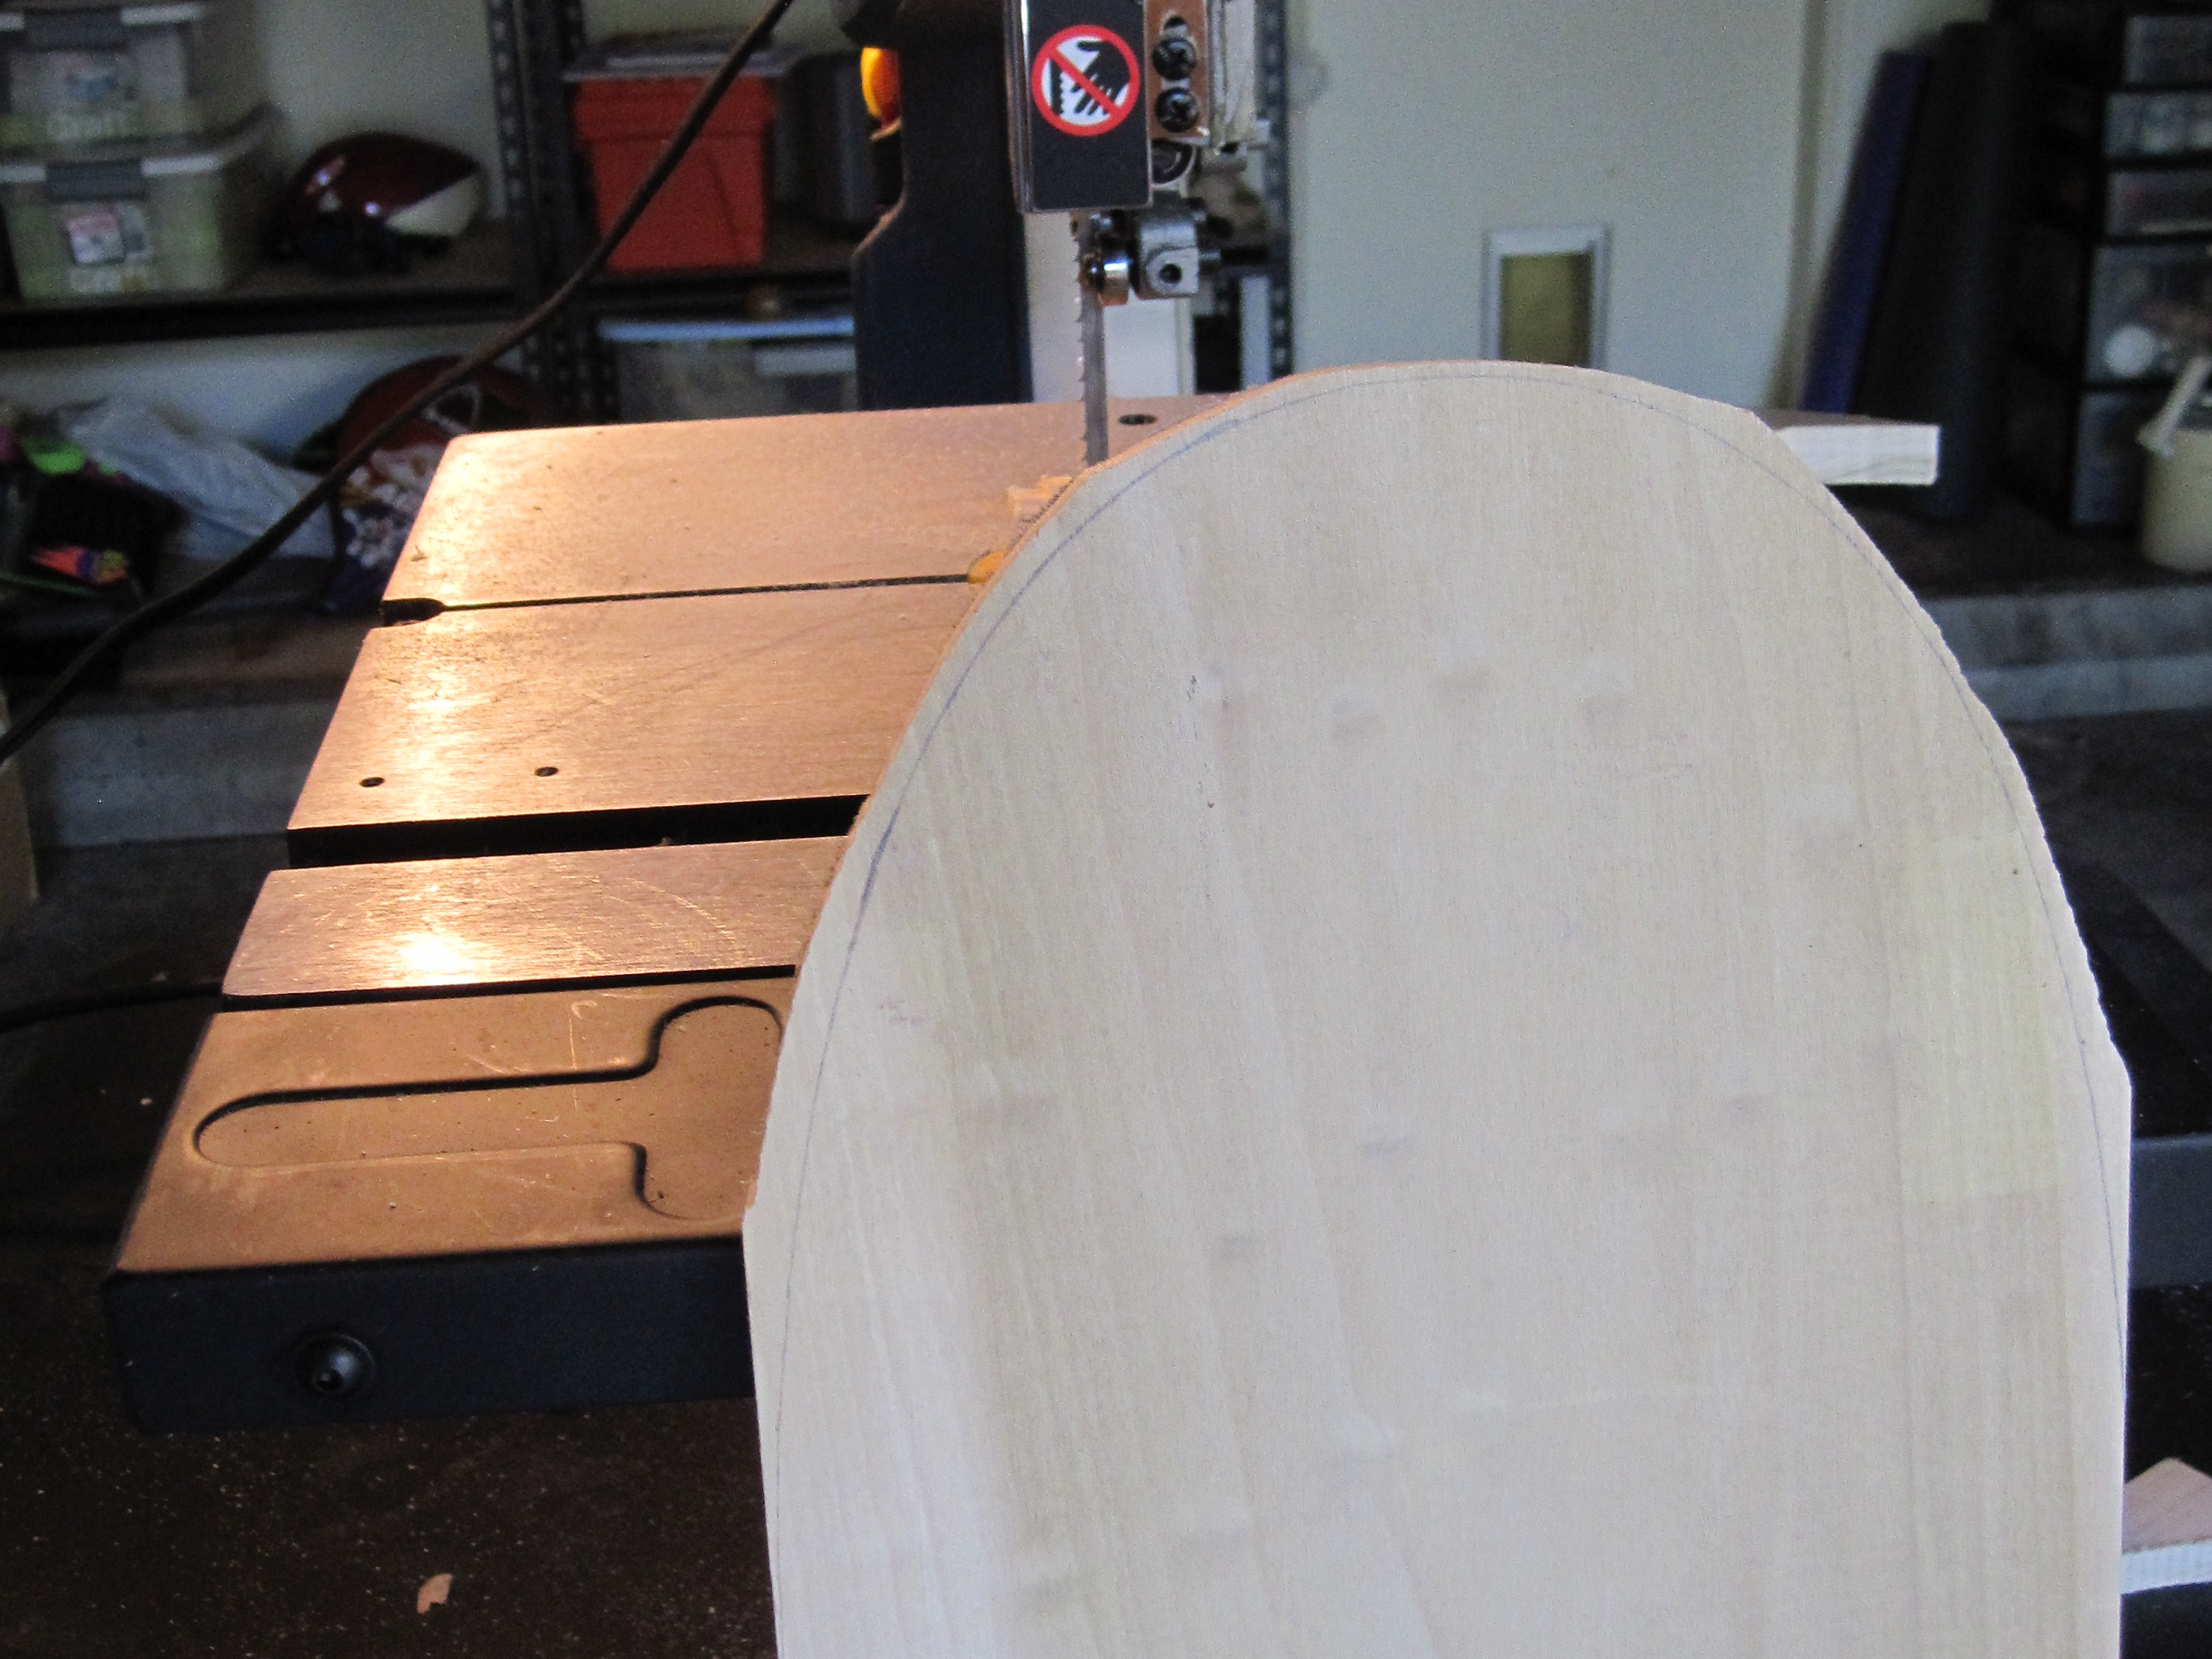
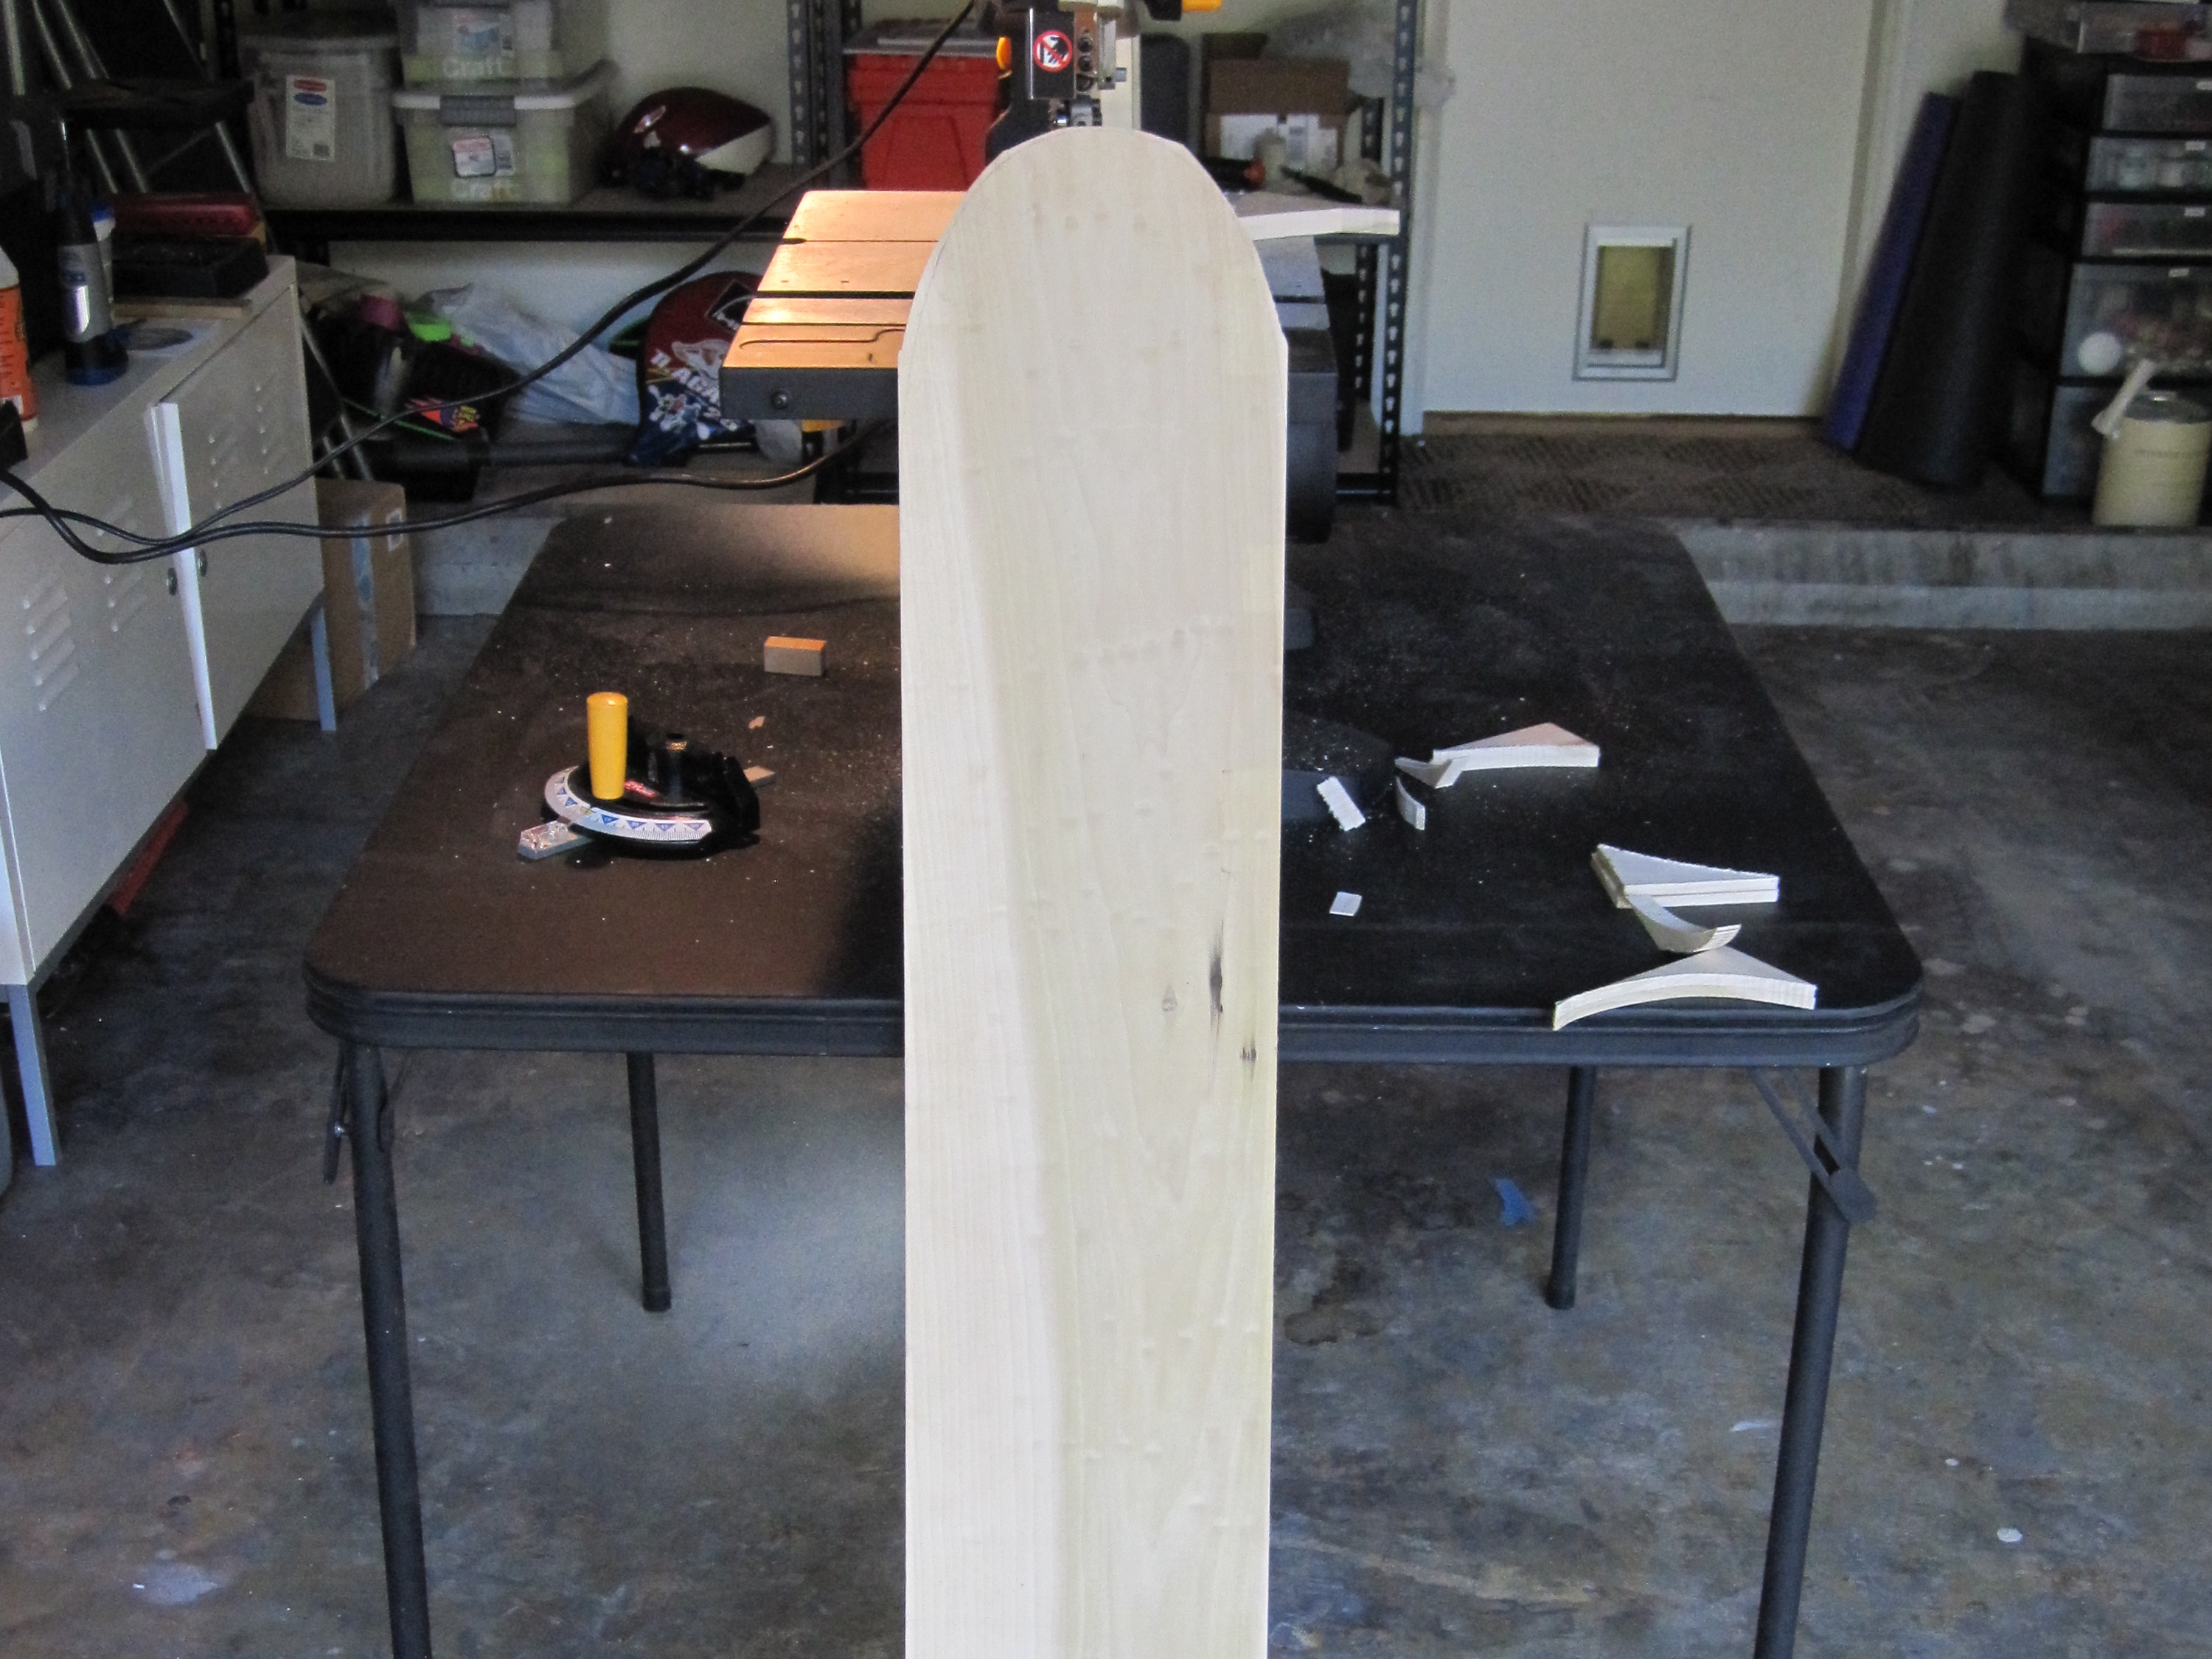
Cut out the rough shape of the skateboard using a band saw.

Then sand the edges.

Add trucks and wheels.

Next you need to add the trucks and wheels. I bought a set from Amazon for about $35.

Install them on the board and test it out in on the pavement.

I discovered that when I leaned into the skateboard, the wheels came in contact with the wood. The skateboard would come to a screeching halt, sending me sprawling.

So I used the band saw to cut some clearance arcs for the wheels. This did the trick. Now I could make turns without having to worry about the wheels jamming into the wood.

Finish.

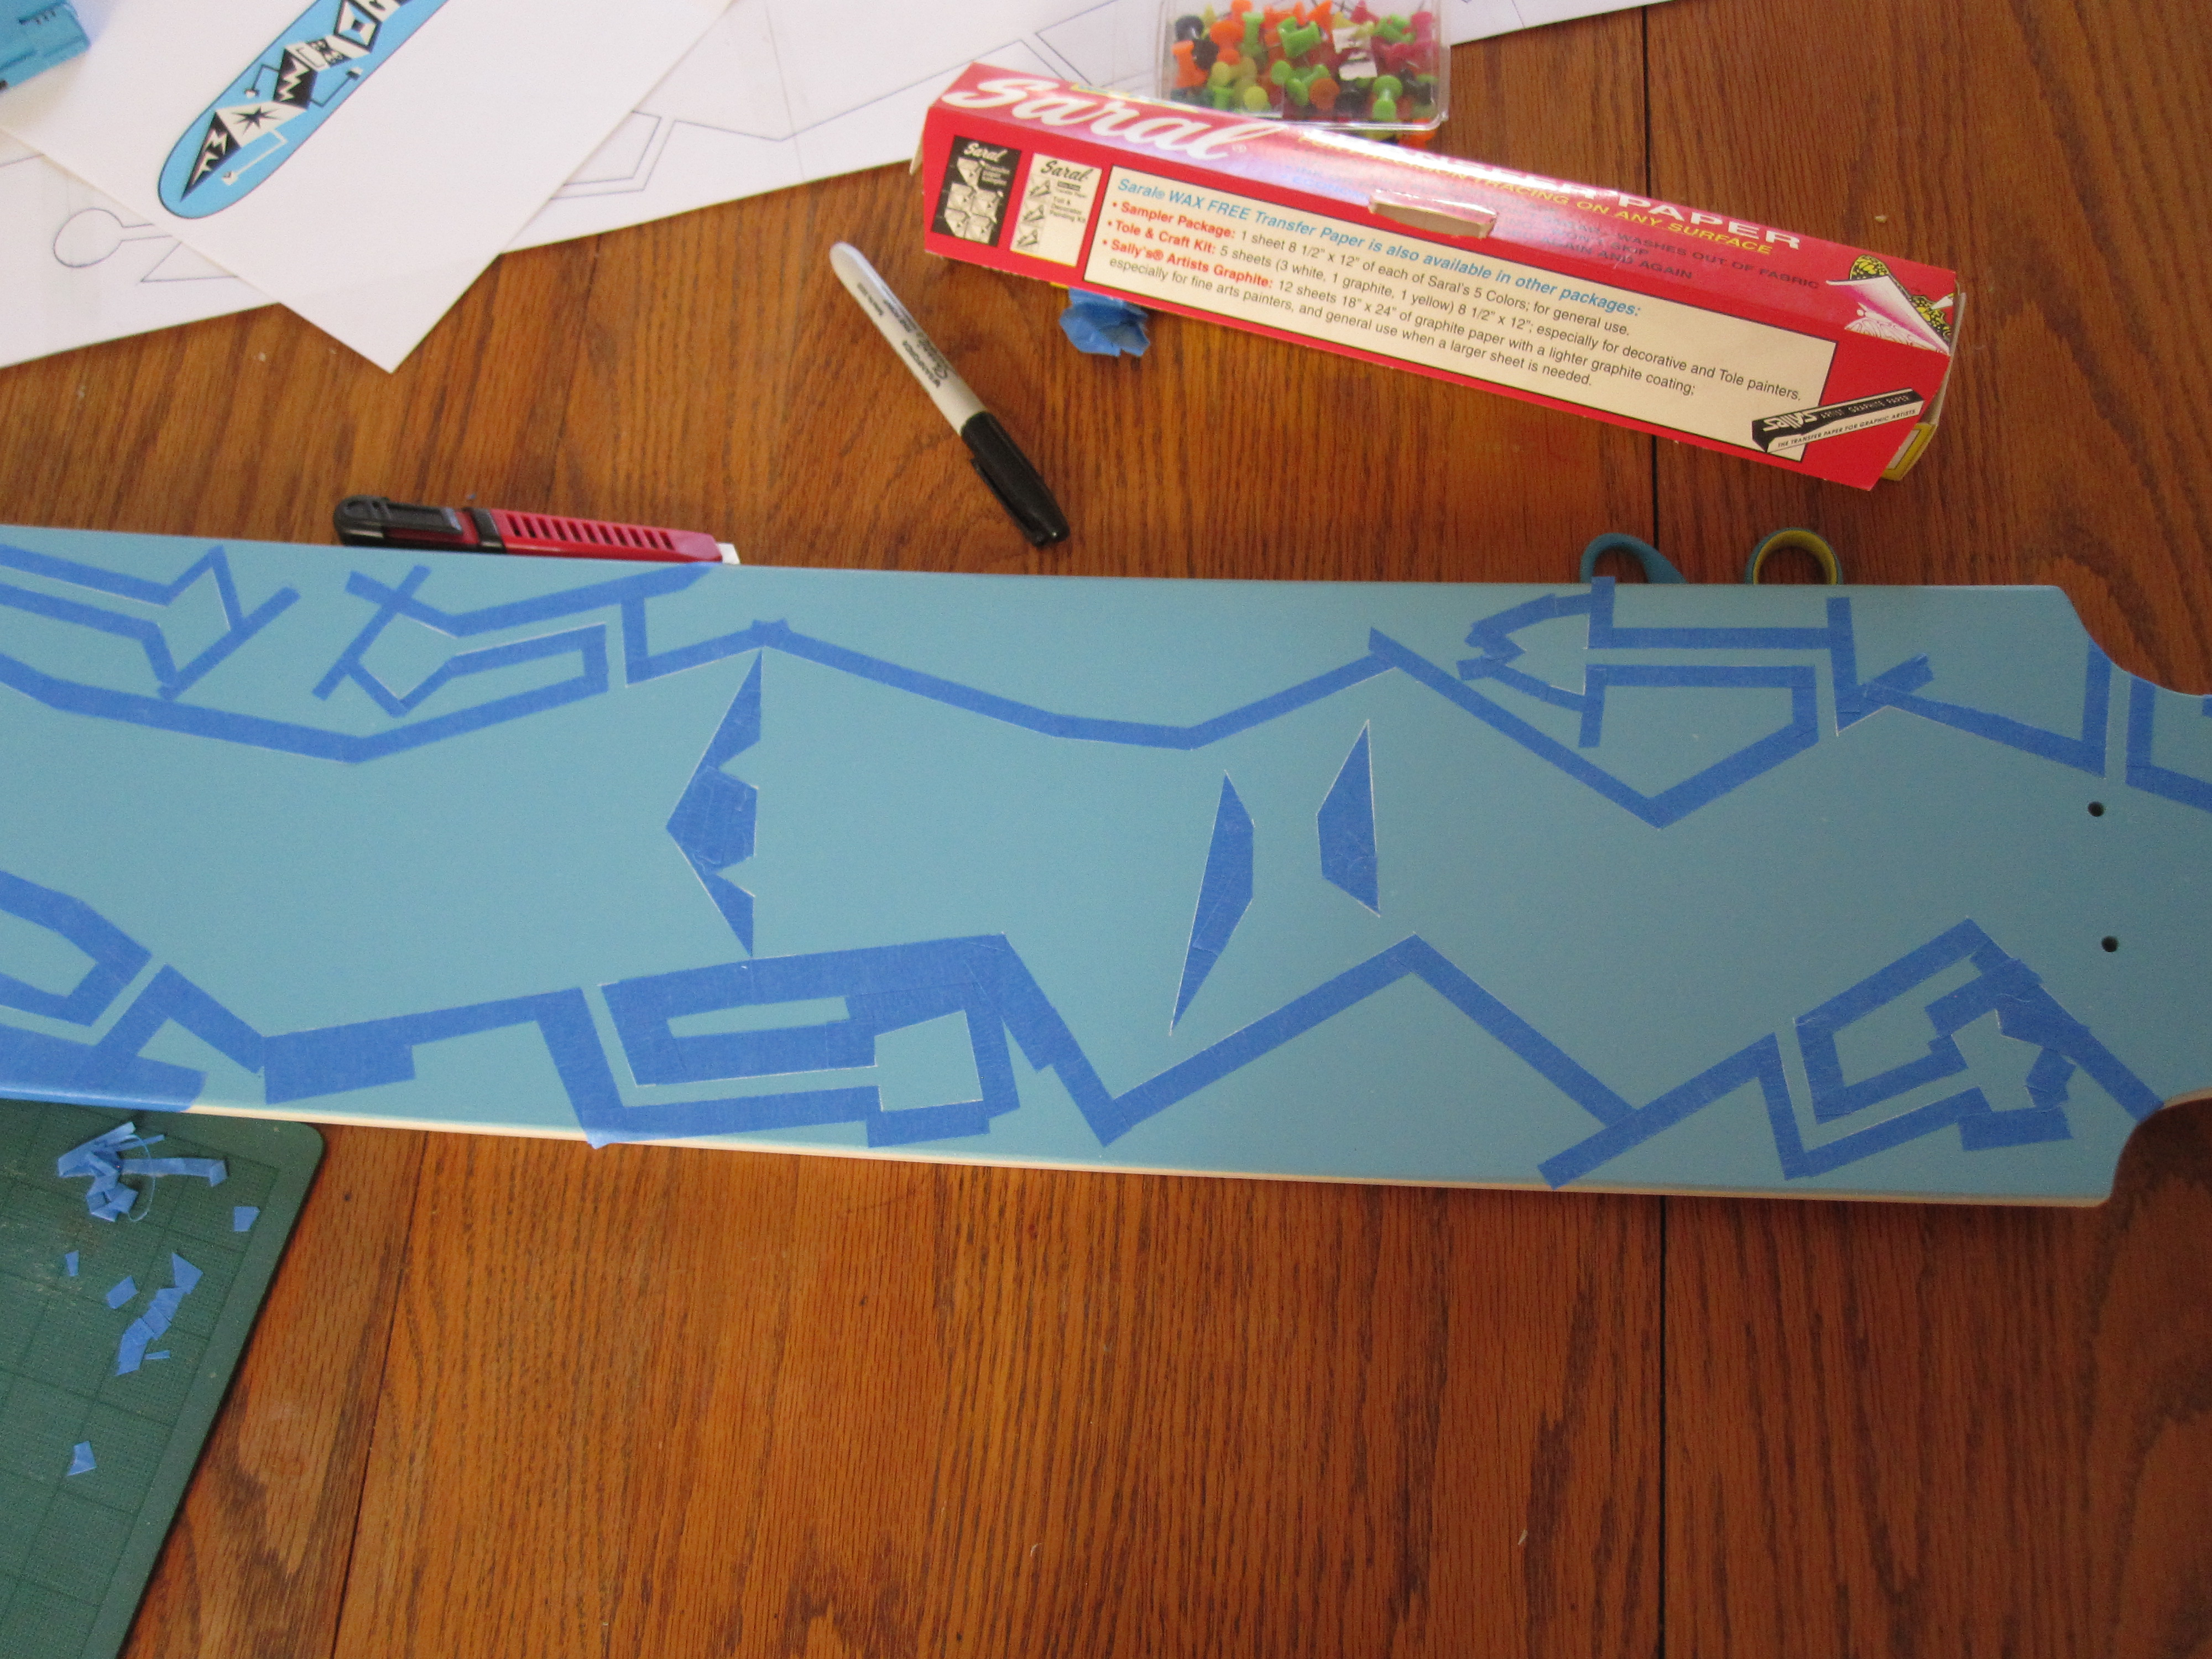
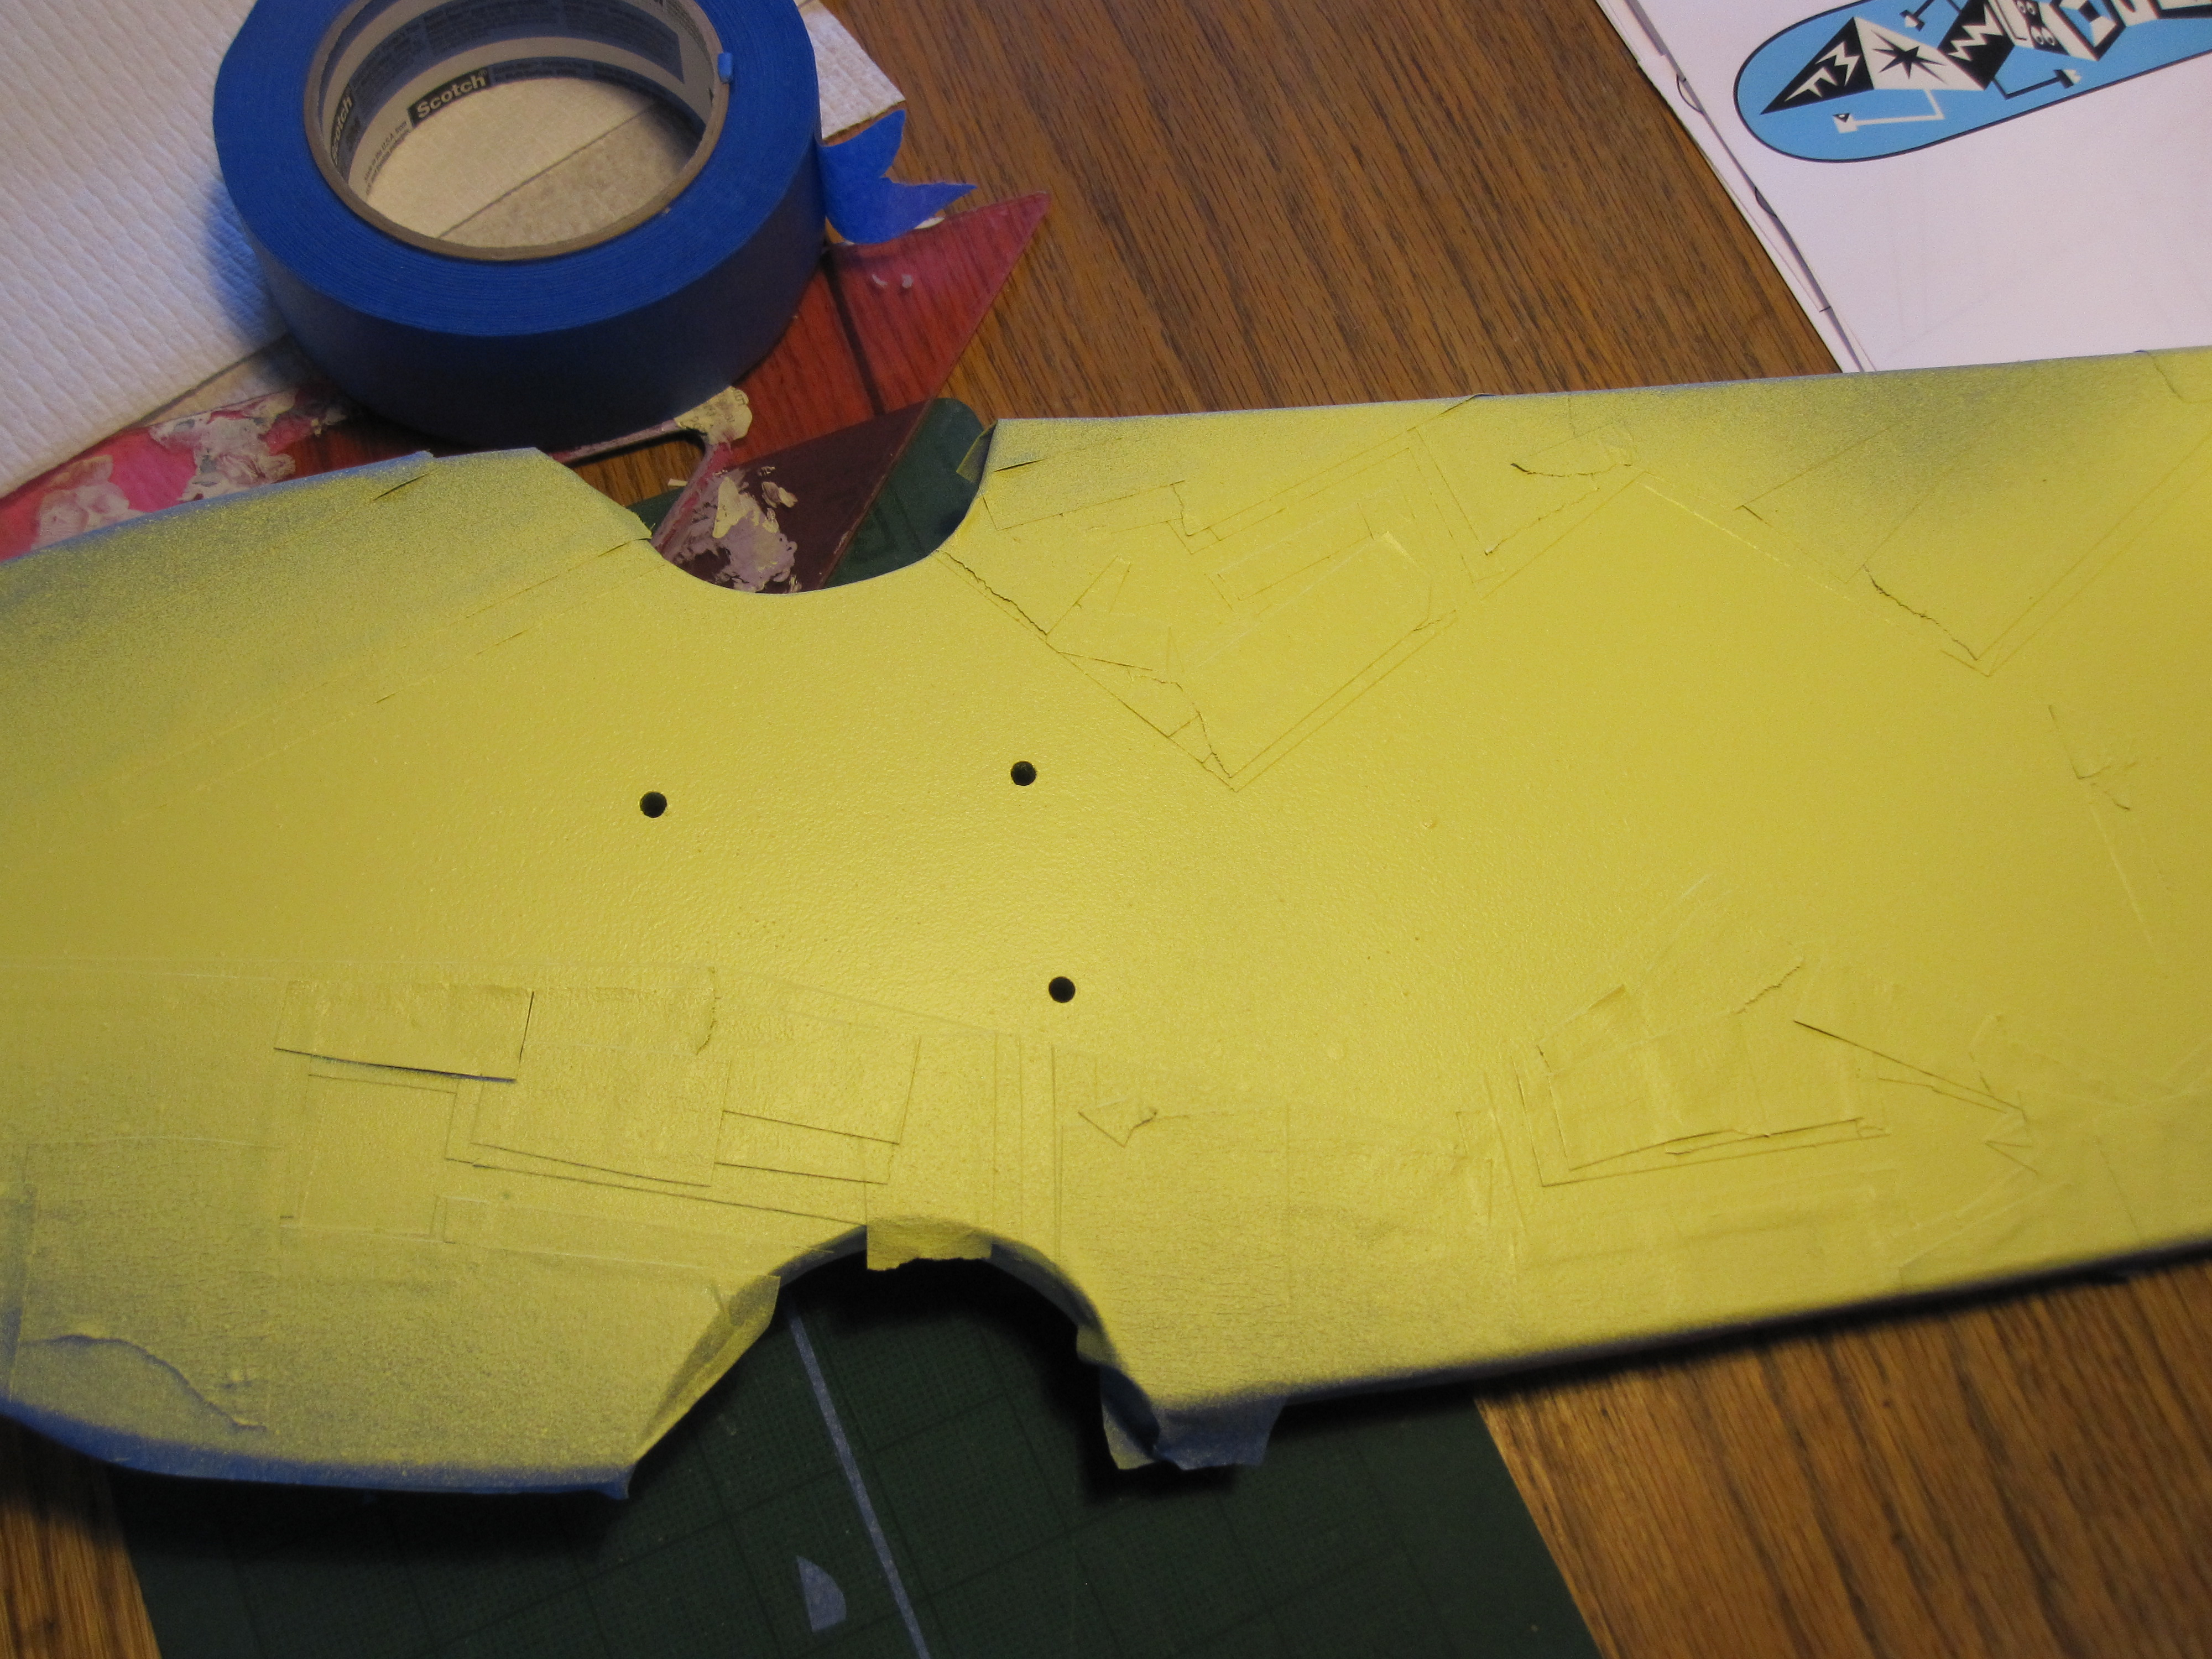
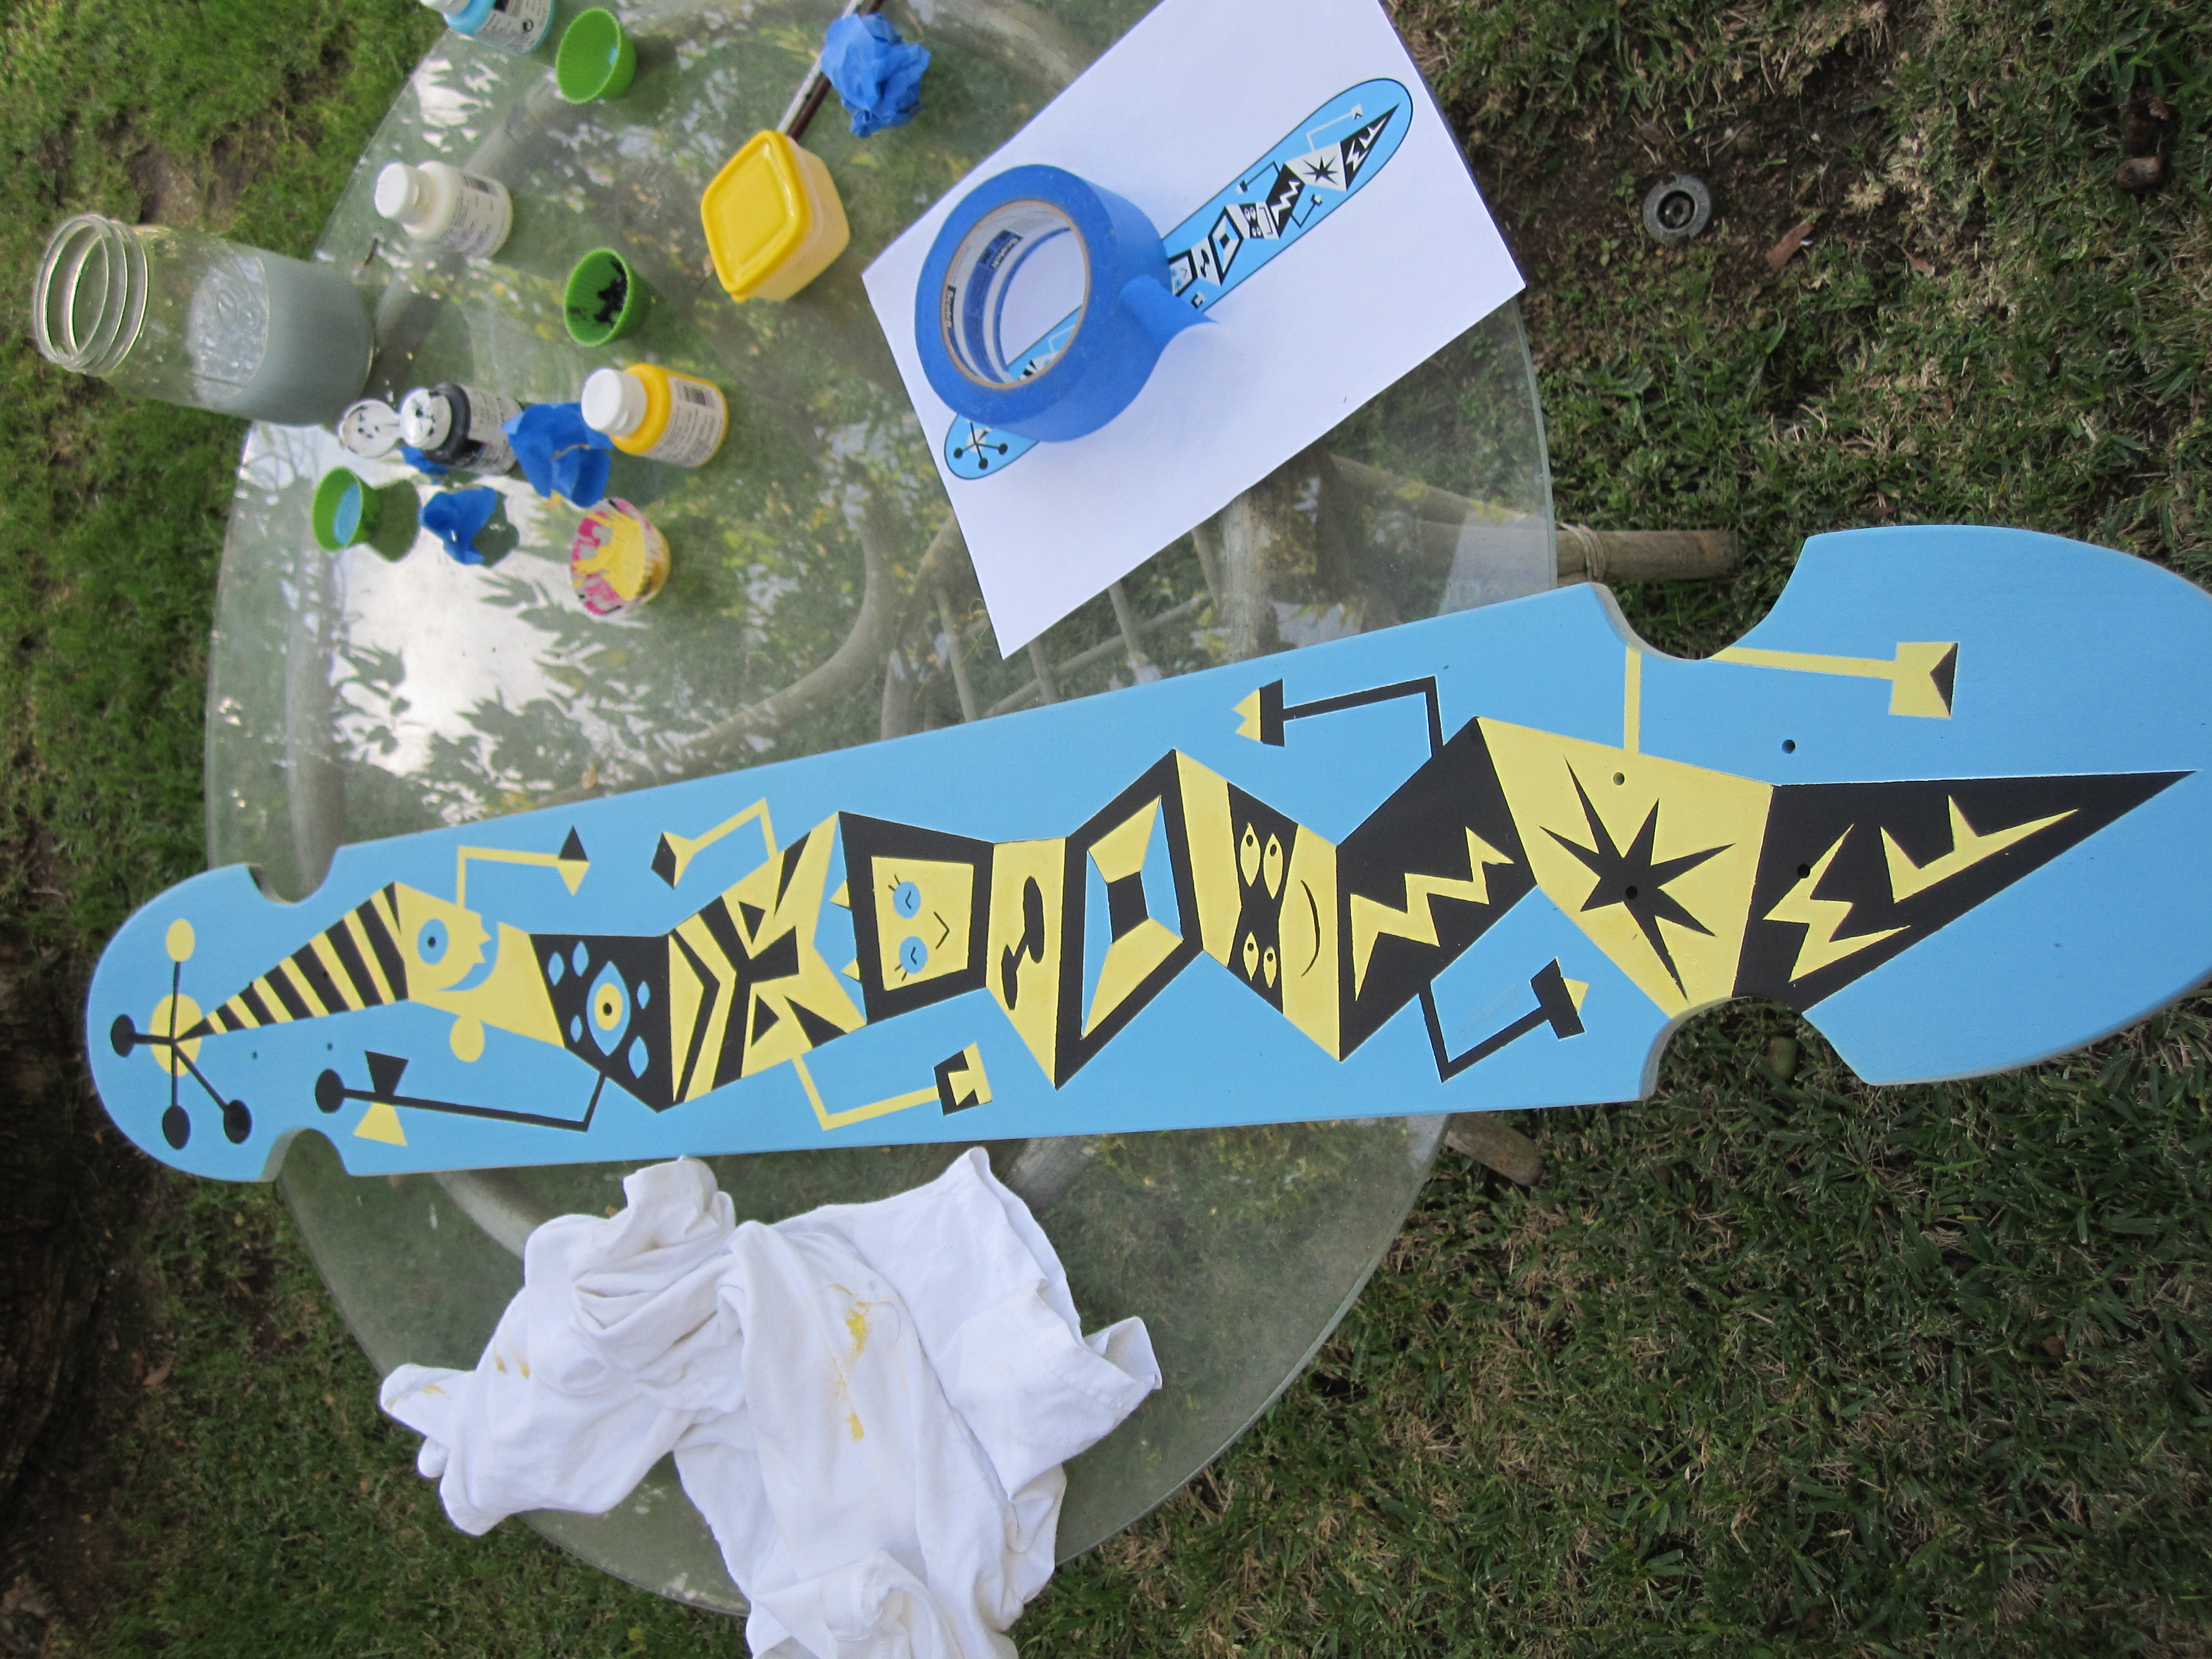
I painted a design on the bottom of the skateboard and sprayed on several coats of polyurethane.

Finally, you will need to add grip tape. I added clear grip tape to the entire top surface of the skateboard. (I found out that I don’t like clear grip tape, because it gets dirty really fast. Next time I’ll use black grip tape.)

Conclusion

After installing the trucks and wheels, I invited my daughter to go skateboarding with me along the bank of the L.A. River again. She took her skateboard and I took my new one. My board worked beautifully. I couldn’t have been more pleased with the way it handled. My daughter asked if she could try it out.

“I love this!” she said, as she glided smoothly down the paved embankment. “Can we trade?”

It looks like I’ll be making another longboard soon.

This project first appeared in MAKE Volume 26.