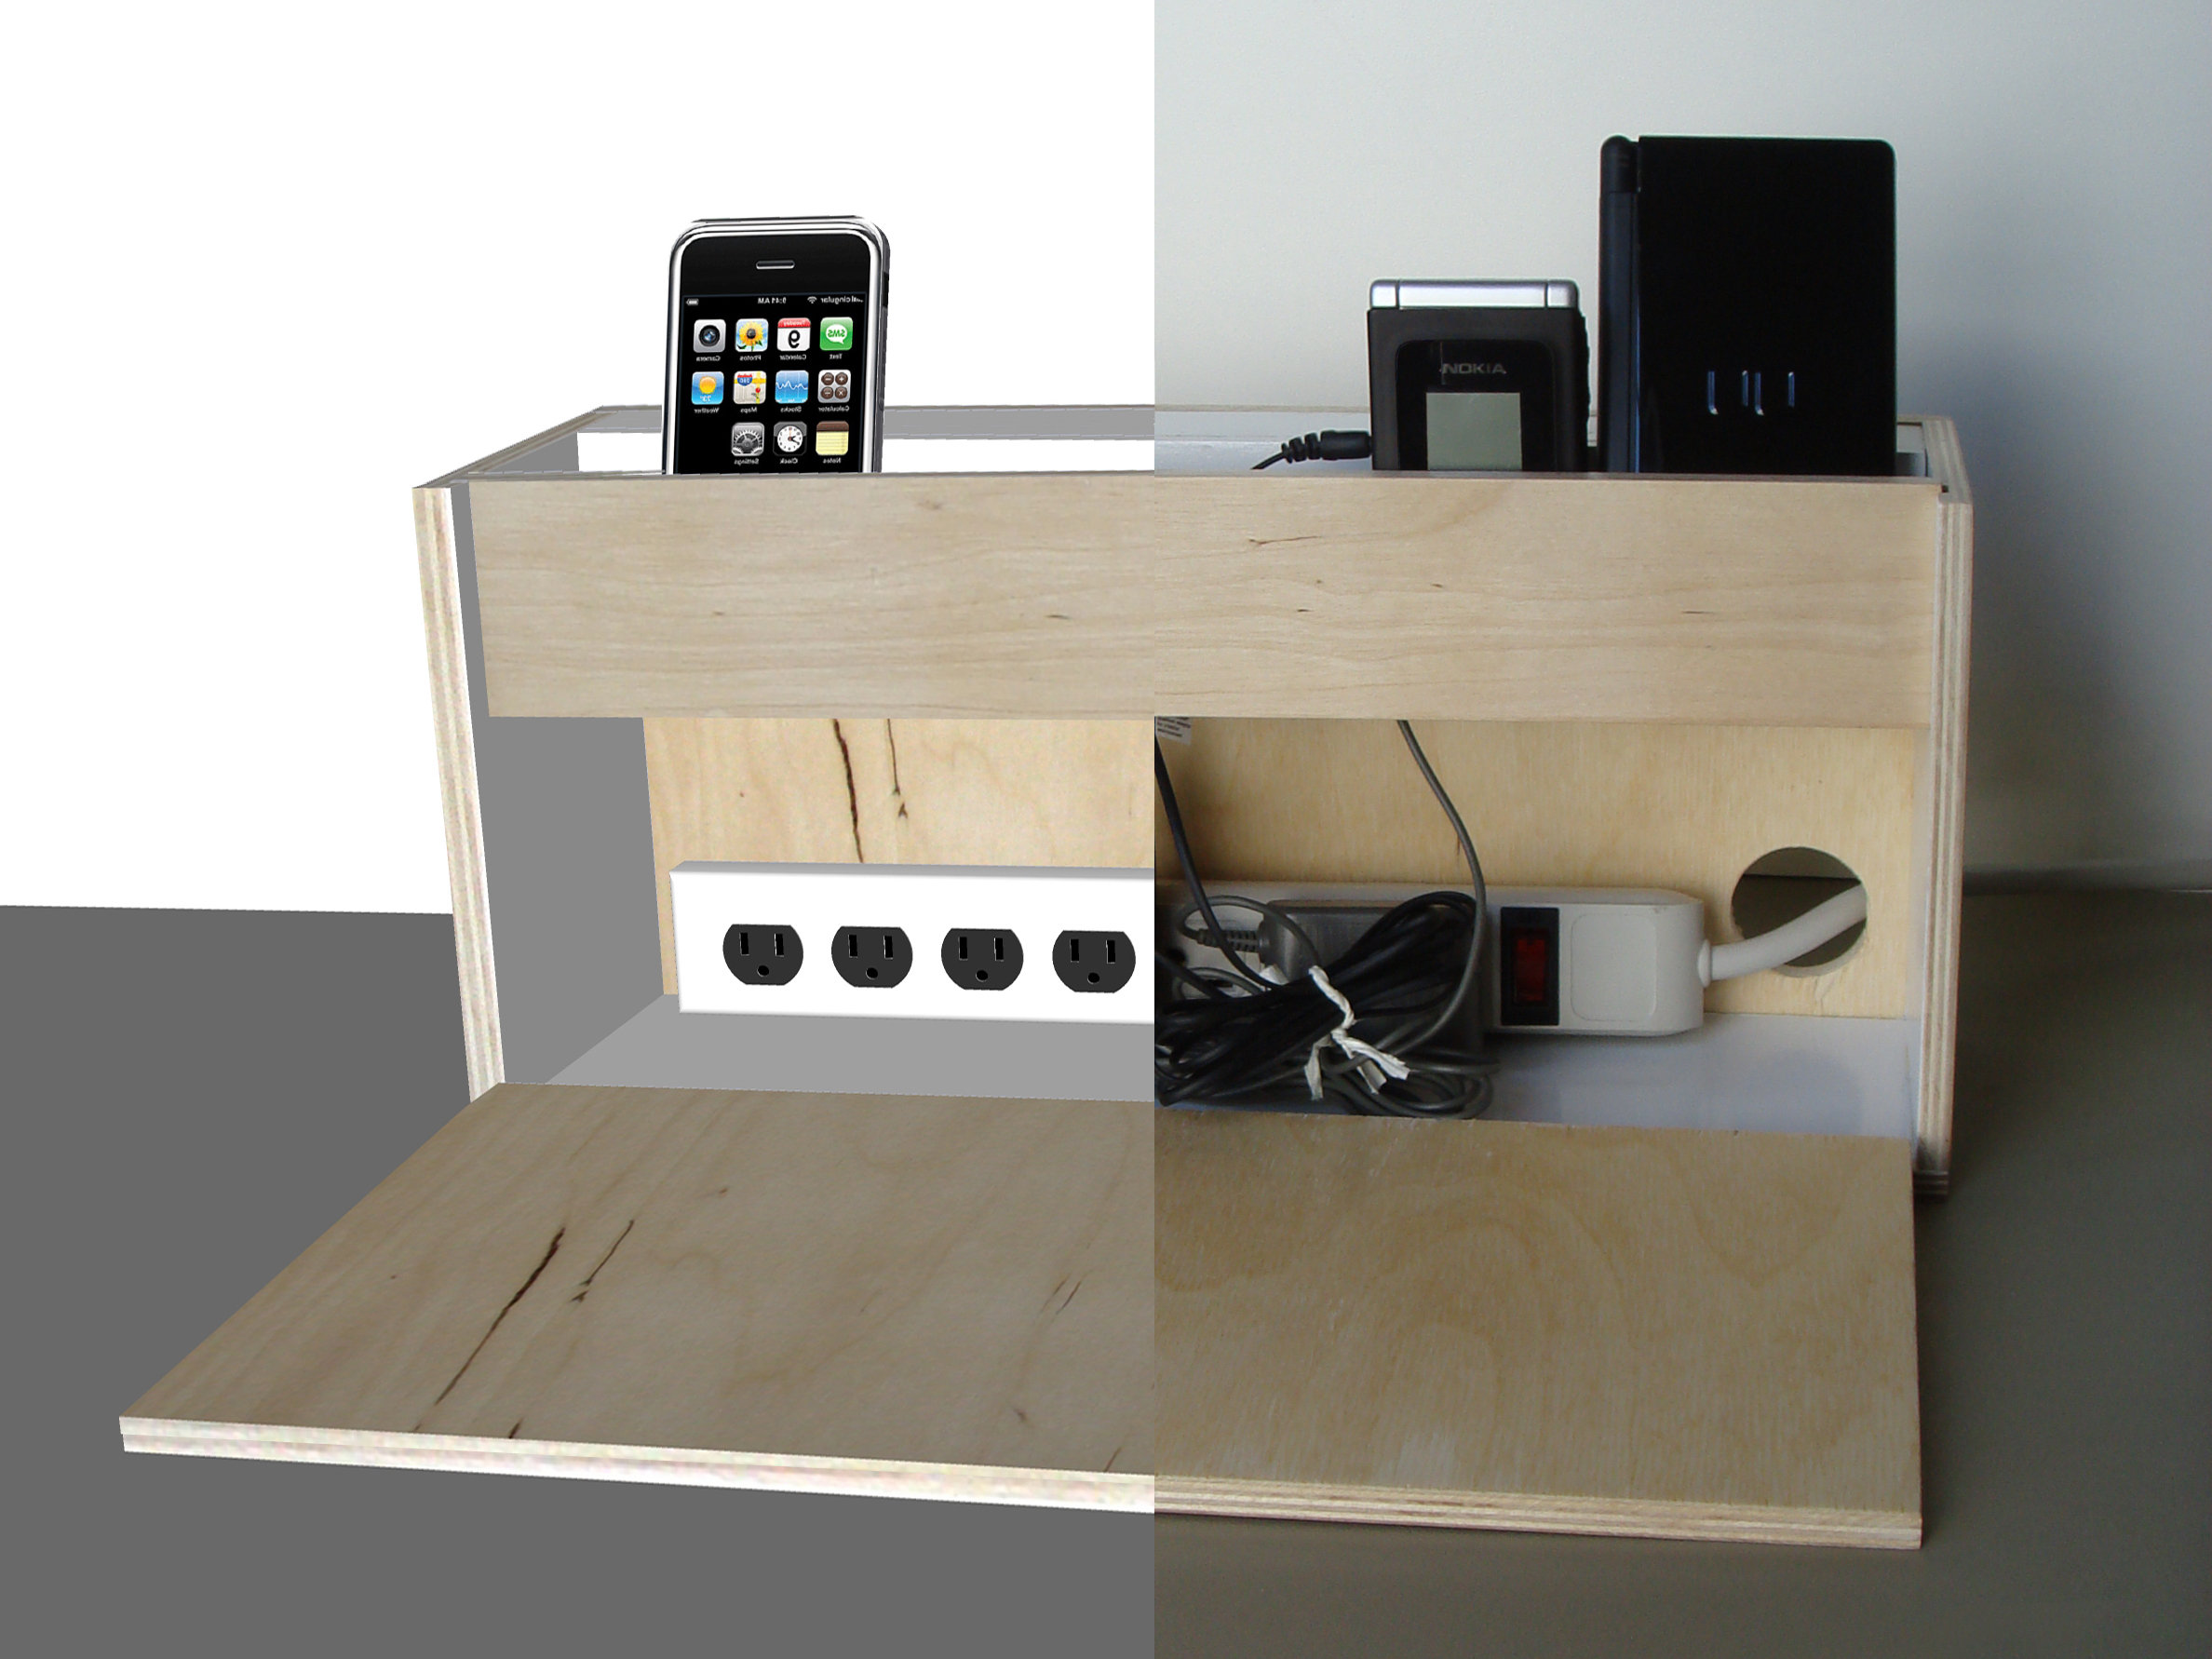
For decades, computer-aided design (CAD) applications were expensive tools used only by a limited circle of designers and engineers. Now Google has offered CAD to the masses, with SketchUp, a free program that’s intuitive to use. In this tutorial we’ll be modeling a charging caddy: a box to house a power strip and chargers, with a compartment on top for your cellphone and other handhelds.

Project Steps

Set up SketchUp for your design.

Before you start modeling, you’ll need the real-world dimensions of the objects you’re working with: the power strip, chargers, and the thickness of the material. I’ll be using a 10″ power strip and 3/8″-thick plywood. Feel free to modify the dimensions and design of this charging caddy to accommodate your needs.

Go to sketchup.google.com to download and install the appropriate version of SketchUp. Launch the program and learn how to navigate and use basic tools by going to Menu → Help → Self-Paced Tutorials → Introduction. It may also be helpful to keep a print- out of the Quick Reference Card handy (Help → Quick Reference Card) to identify tools and hot keys.

The man in the modeling window is there as a scale reference for architecture. Change this template by going to Window → Preferences → Template (or SketchUp → Preferences → Template on the Mac), and selecting Inches (Woodworking)-3D from the drop-down menu. Start a new project (File → New), now at woodworking scale, with a precision of 1/16″. Delete the framing square (if you see one) with the Eraser Tool. Open up the Large Tool Set, if it’s not already open (View → Tool Palettes → Large Tool Set).

Create the concept model.

Many tools in SketchUp can be broken into 3 simple steps:

Click to start.

Move to create.

Click to finish, or type the dimensions and press Enter.

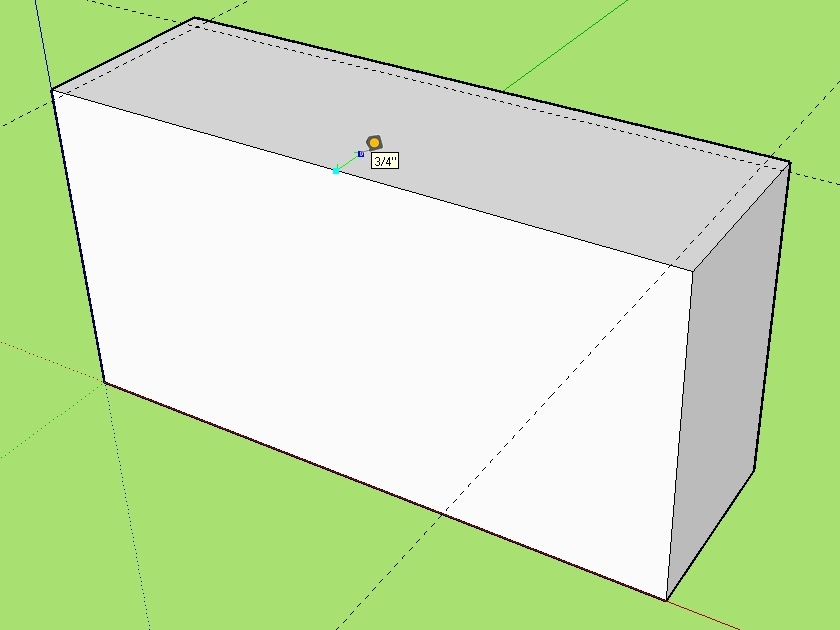
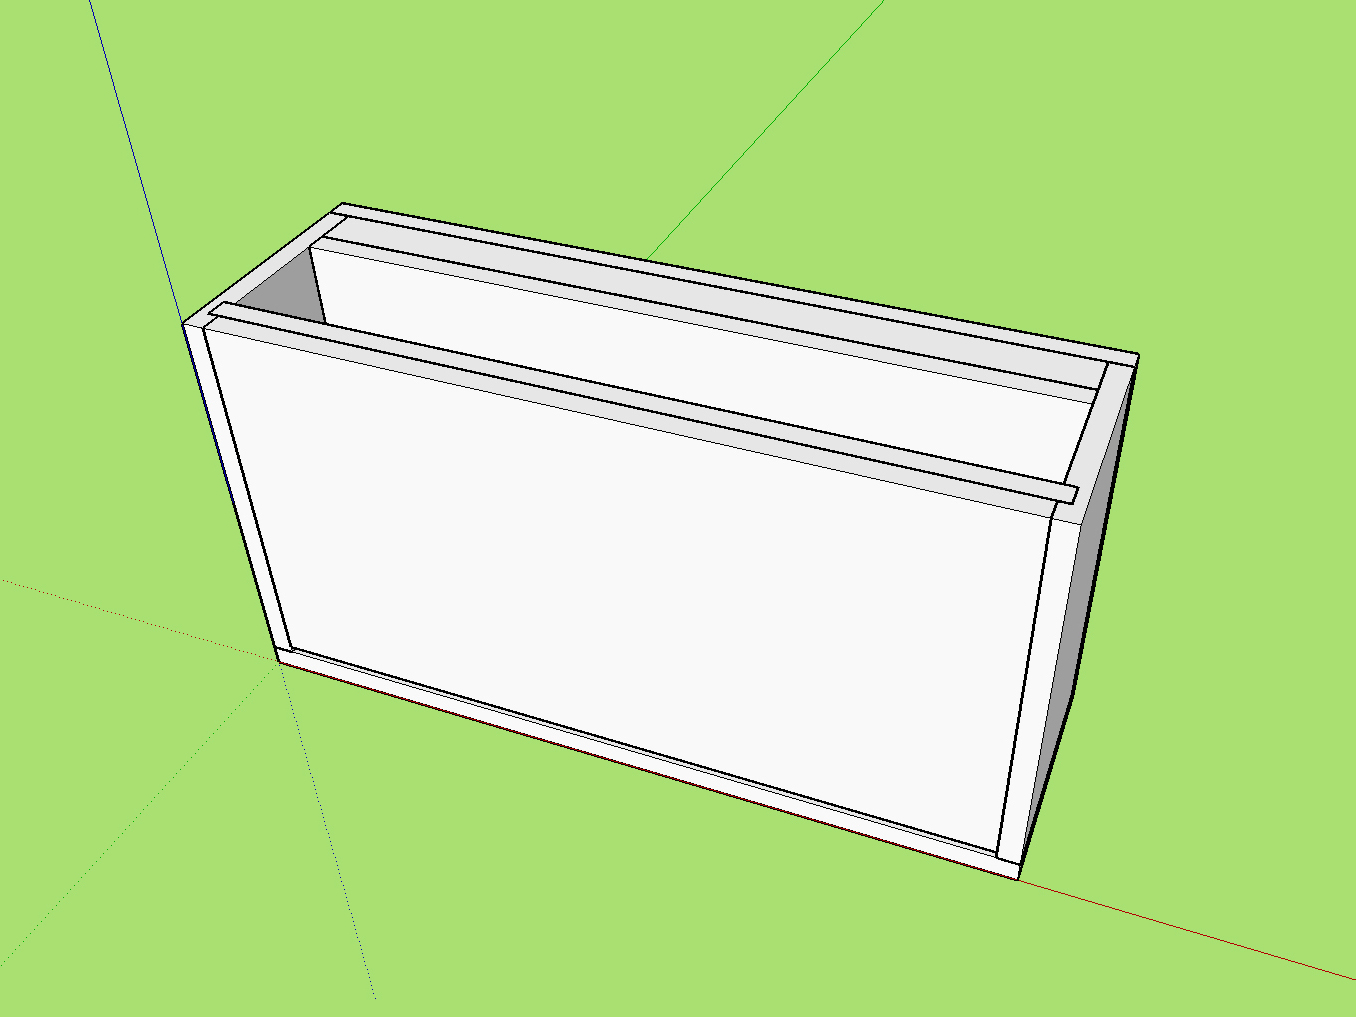
Select the Rectangle Tool, click at the origin, and move to create a rectangle. Type the dimensions 13 1/2″, 4 1/4″ (you’ll see them appear in the lower right), and hit Enter. Select the Push/Pull Tool, click on the surface, move the mouse upward, type the dimension 7″, then press Enter.

To create guidelines, select the Tape Measure Tool. Move the tool over the top middle edge of the left wall (a cyan dot indicates the midpoint), then click and move the mouse perpendicularly toward the middle of the box. (A red line appears, to confirm alignment with the red axis). Type in 3/8″, hit Enter, and a dotted guideline will appear. Repeat on the opposite side and the backside. Create a 3/4″ guide off the front edge.

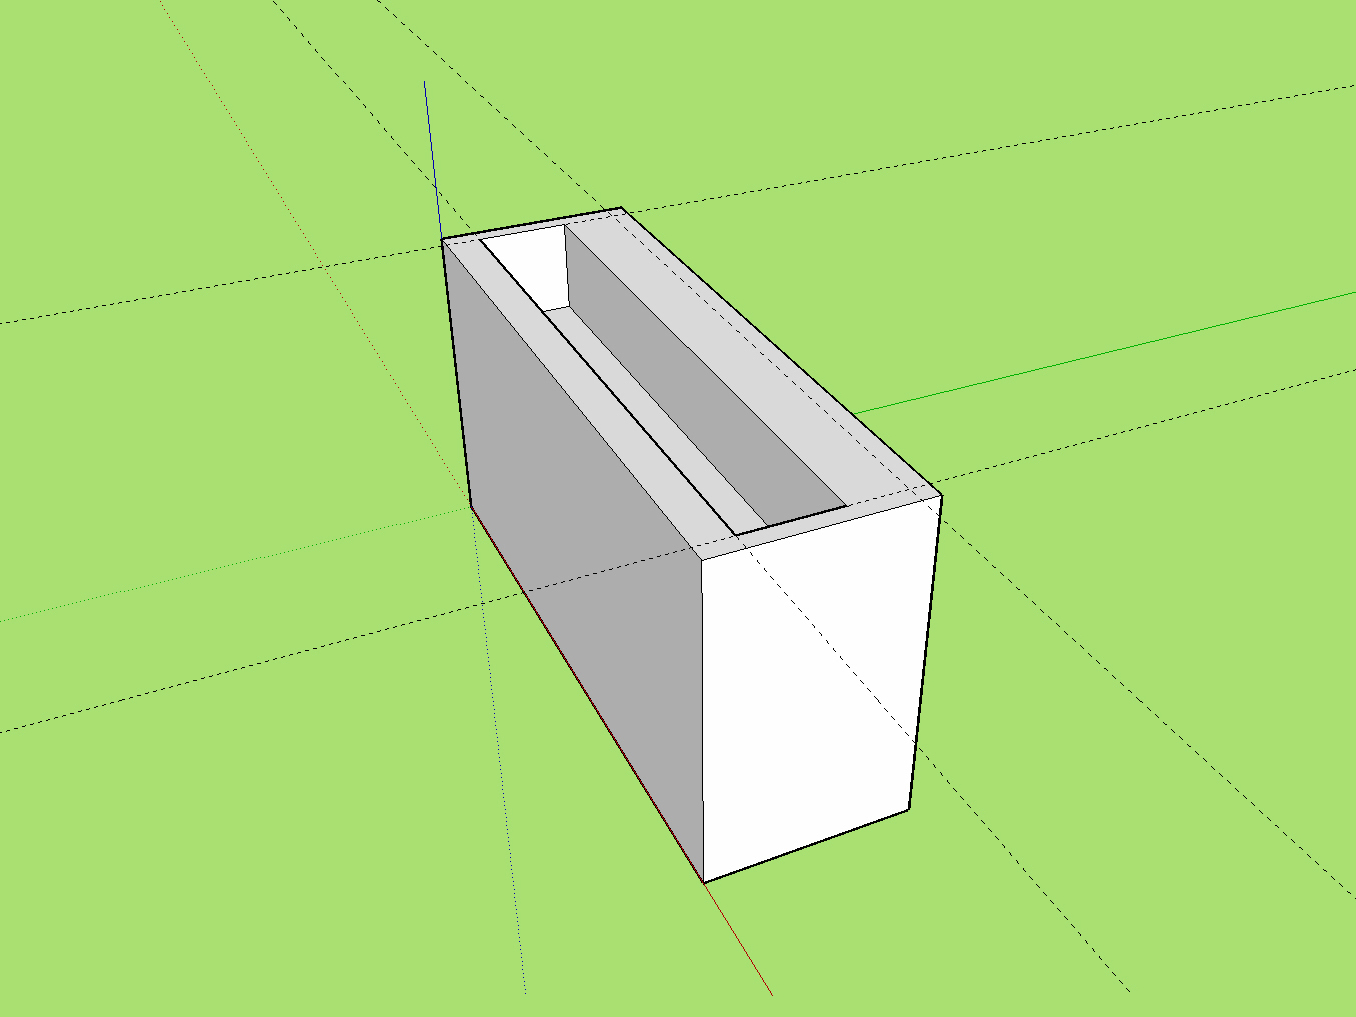
Draw a rectangle on the top surface of the box starting at the intersection of the front and side guidelines with the dimensions 12 3/4″, 2″. Use Push/Pull to create a 2″ recess.

Set up the concept model for reference.

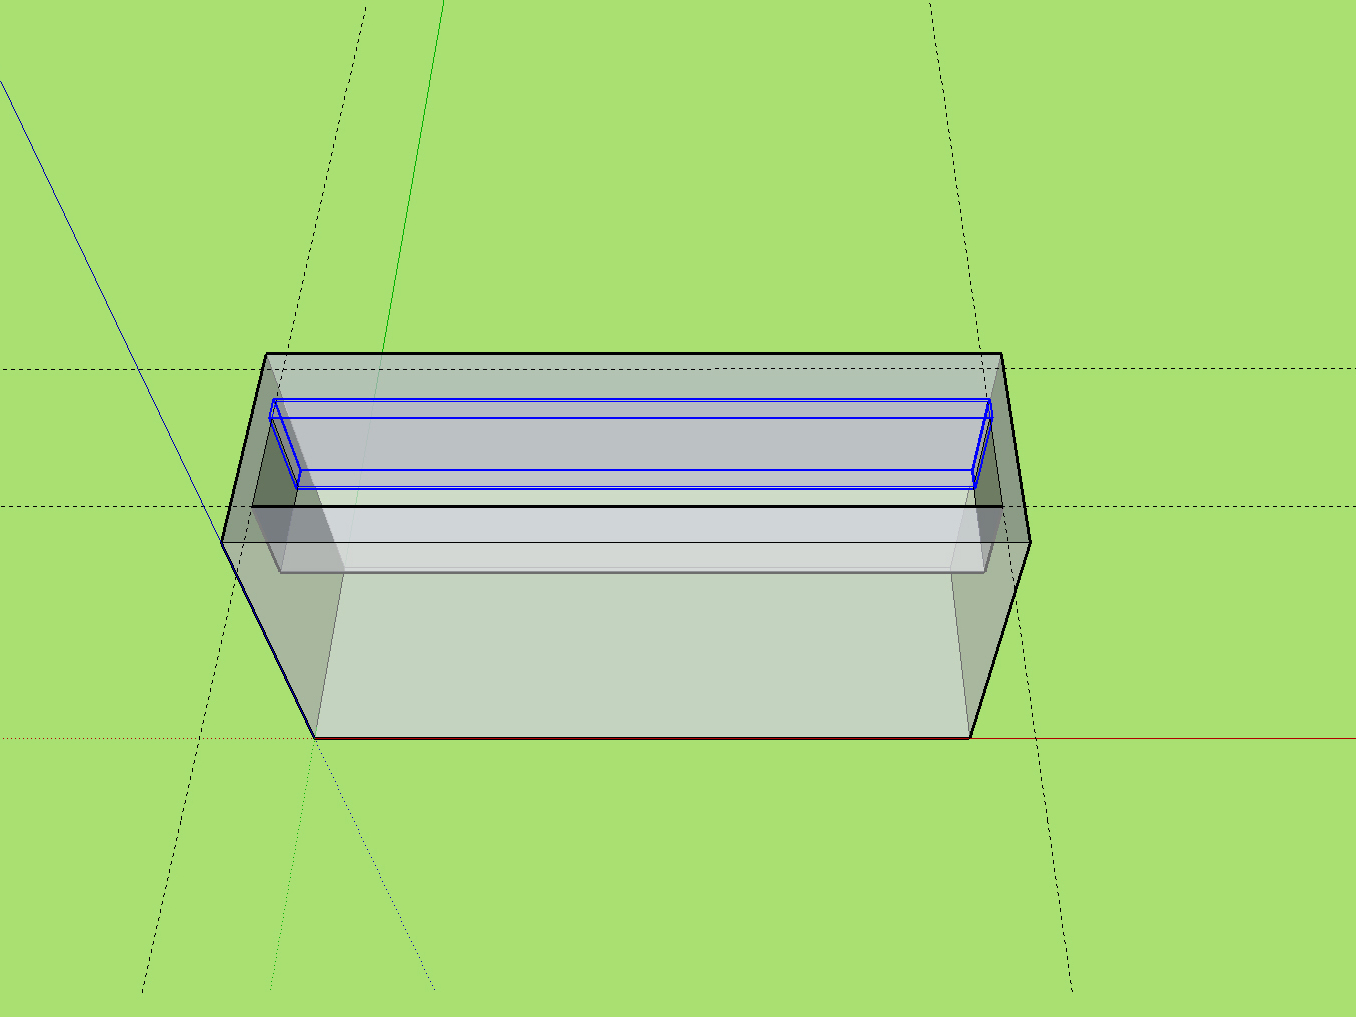
Select the entire model by triple clicking, then right-click (Ctrl-click) and choose Make Group. Groups are one way to keep pieces distinct from one another; you can use the reference points of groups without accidentally changing their geometry.

To be able to see and access all those reference points, work in X-ray mode (View → Face Style → X-ray).

For organization, all the construction geometry will be on a separate layer. Go to the Layers Window (Window → Layers). Click the + (or Add) button, and name the new layer “Construction.” Click the radio button next to Construction to make it active.

Do the construction geometry.

Get comfortable with snapping and inferring to reference points. Select the Rectangle Tool — don’t actually draw one, just move the mouse over the outside and inside points and edges of the model. The tool will automatically snap to and indicate endpoints, midpoints, and intersections. If you hover over any of these points for 2 seconds and move the mouse along an axis, it will stick to (infer) that axis.

You’ll be using this as a shortcut to accurately dimension your boards and make sure they’re all appropriately aligned.

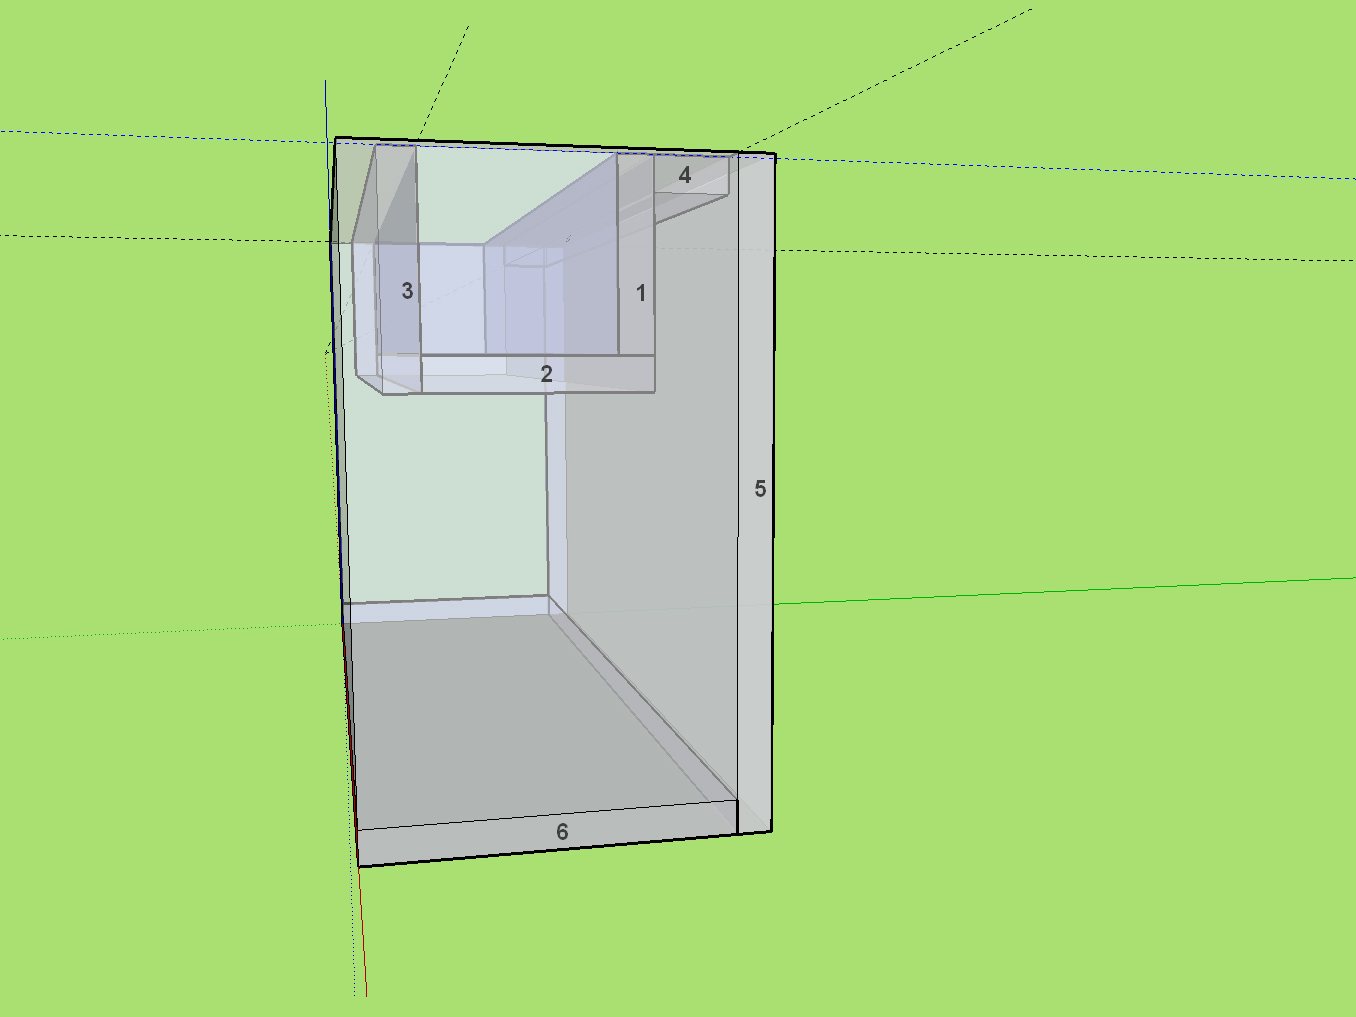
For board 1, use the Orbit tool to orbit to the top and draw a rectangle on the back wall of the compartment, snapping between opposite corners. Use the Push/Pull Tool to push that rectangle in 3/8″. Choose the Select Tool and triple-click the board (selecting all connected geometry), then right-click and choose Make Group to make it a group.

For boards 2–6, repeat what you just did: use the Rectangle Tool to draw the board, the Push/Pull Tool to make it 3/8″ thick, and the Select Tool to triple-click it, then right-click to make it a group. Use the image to see how the boards are arranged. Create them in order, so you can refer to points on the previous board. Continually use the Orbit Tool to access reference points. Note that boards 5 and 6 are wider than the compartment.

By this stage, the concept model is no longer needed for reference, and you can fill in the rest without it. Go to the Layers window and uncheck Visible for Layer0. Then go to View → Face Style and uncheck X-ray mode.

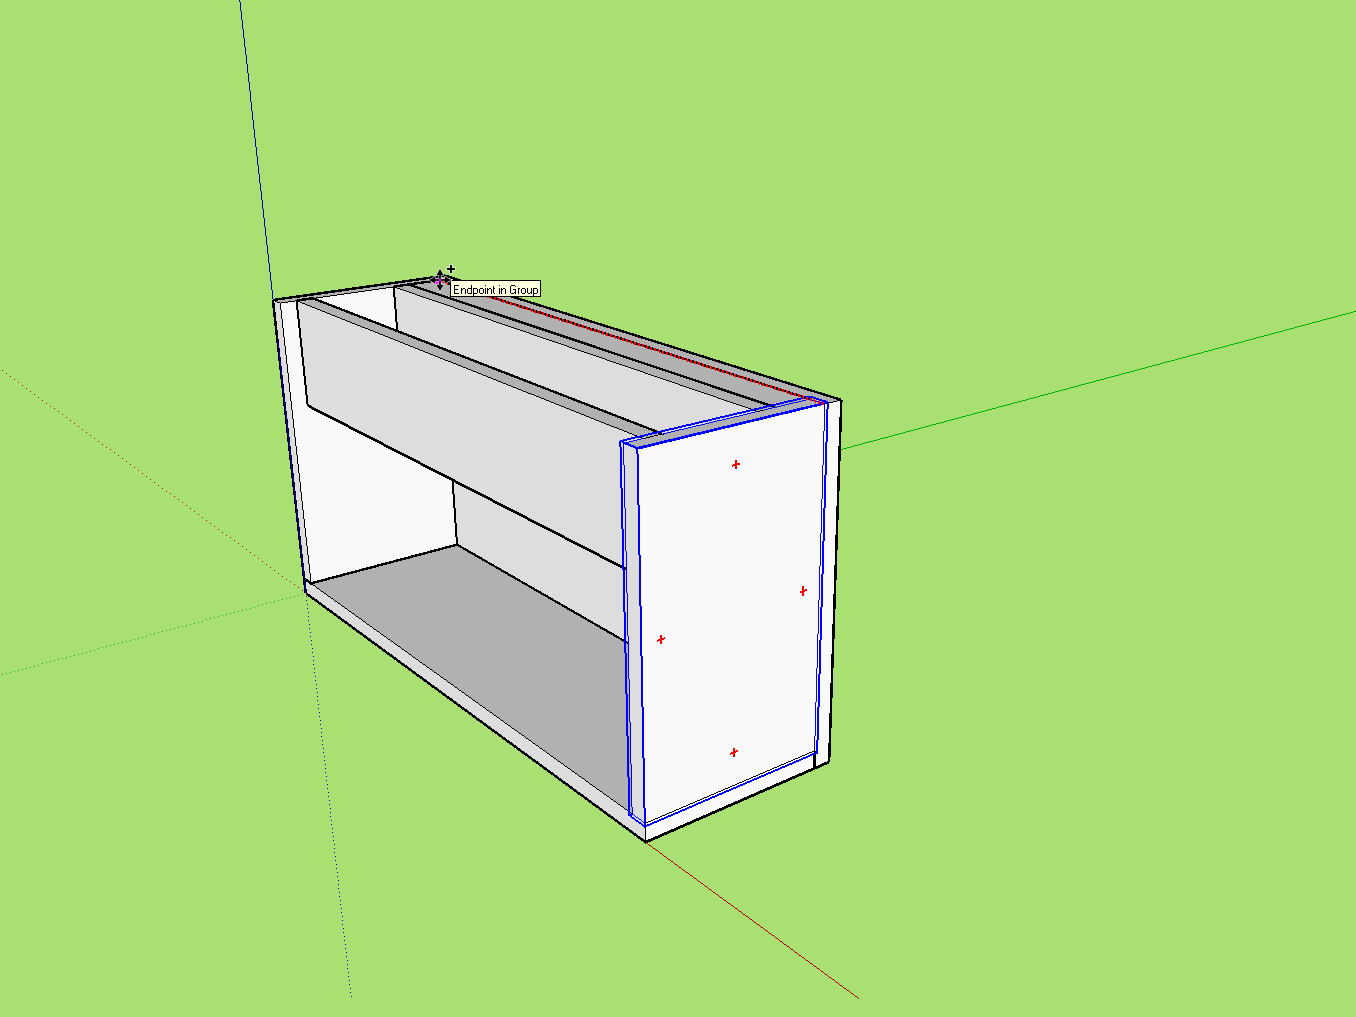
Orbit to the right side and draw a rectangle from the top inside corner of the backboard to the top front corner of the bottom board. Push it in 3/8″, triple-click, and right-click, except this time choose Make Component (components are used instead of groups whenever copies are needed). Name it “side wall.”

Using the Move Tool, click an endpoint on the sidewall and press Ctrl (Option) to drag a copy and snap it into place on the left side.

Create the last board (the front door), and make it a group. All boards are drawn.

Adjust the boards.

Now a few boards need adjusting. Orbit to the bottom, right-click the bottom board, and choose Hide. Double-click on the front door board. To make room for hinges, use Push/Pull to move the bottom surface up 1/8″. Click the background with the Select Tool to exit the group. Hide the front door and sidewalls. Double-click on the front board of the cellphone compartment. This board extends into the hidden sidewalls. Pull it out 3/16″ on each side. Exit, and hide the edited piece.

Double-click on the cellphone compartment floor. Extend each side 3/16″, then orbit to the front surface of the floor, and push it in 3/16″. This is the clearance for the charging wires. (The front compartment wall is removable for jacks to fit through.)

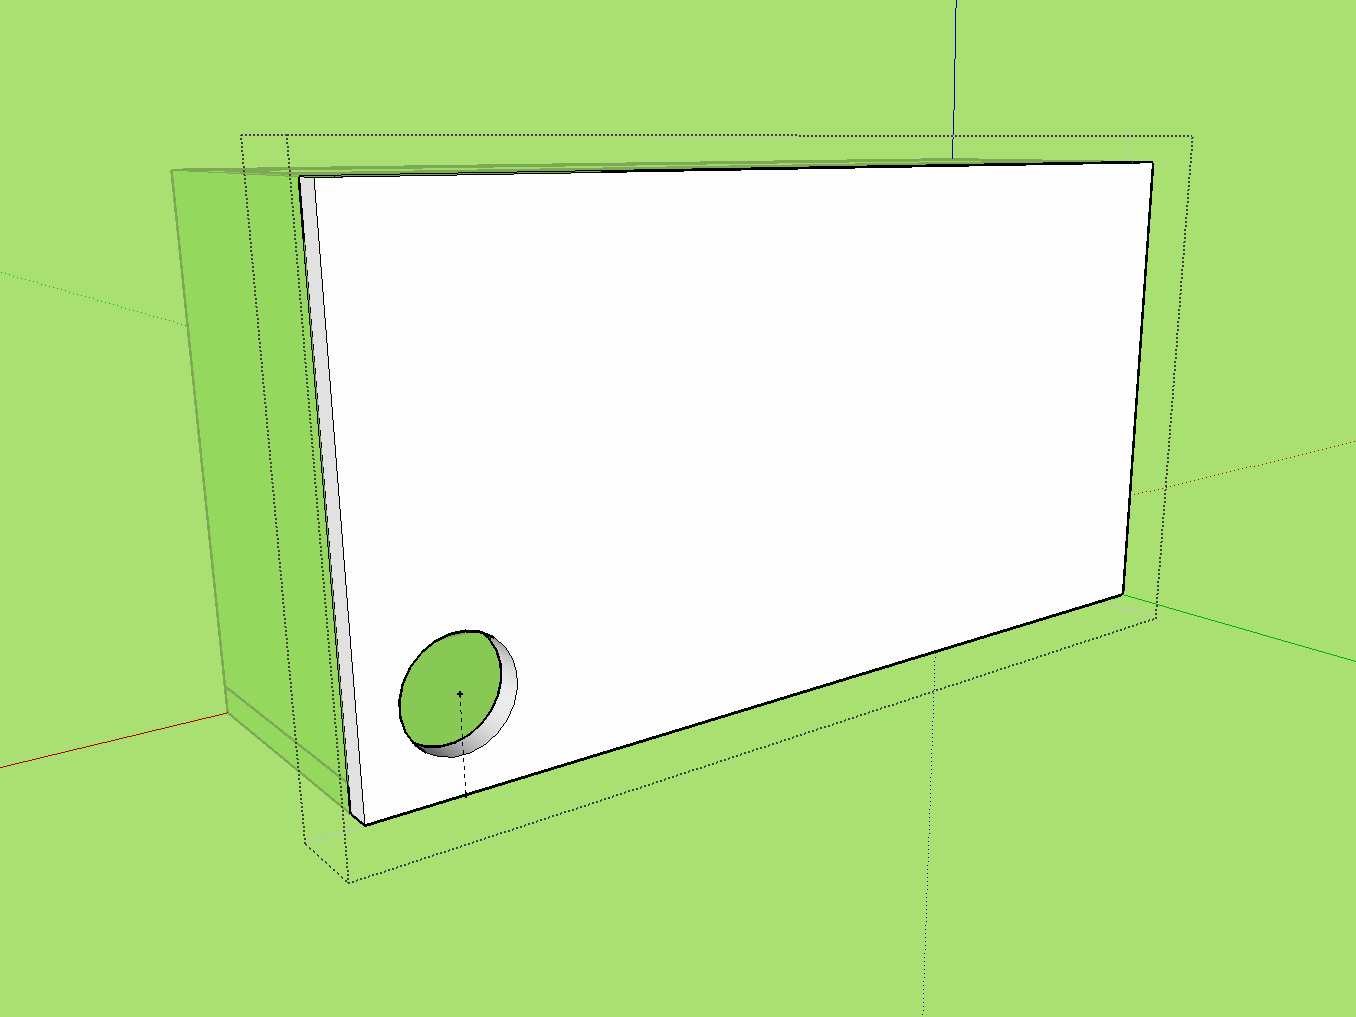
To reveal hidden geometry, go to Edit → Unhide → All. Orbit around and double-click on the back wall to edit it. Use the Tape Measure to draw 2 guideline segments 1 1/4″ over, and then up, from the bottom corner. Draw a circle with a 3/4″ radius out from this point. Push it in 3/8″ to create a hole.

Add grooves.

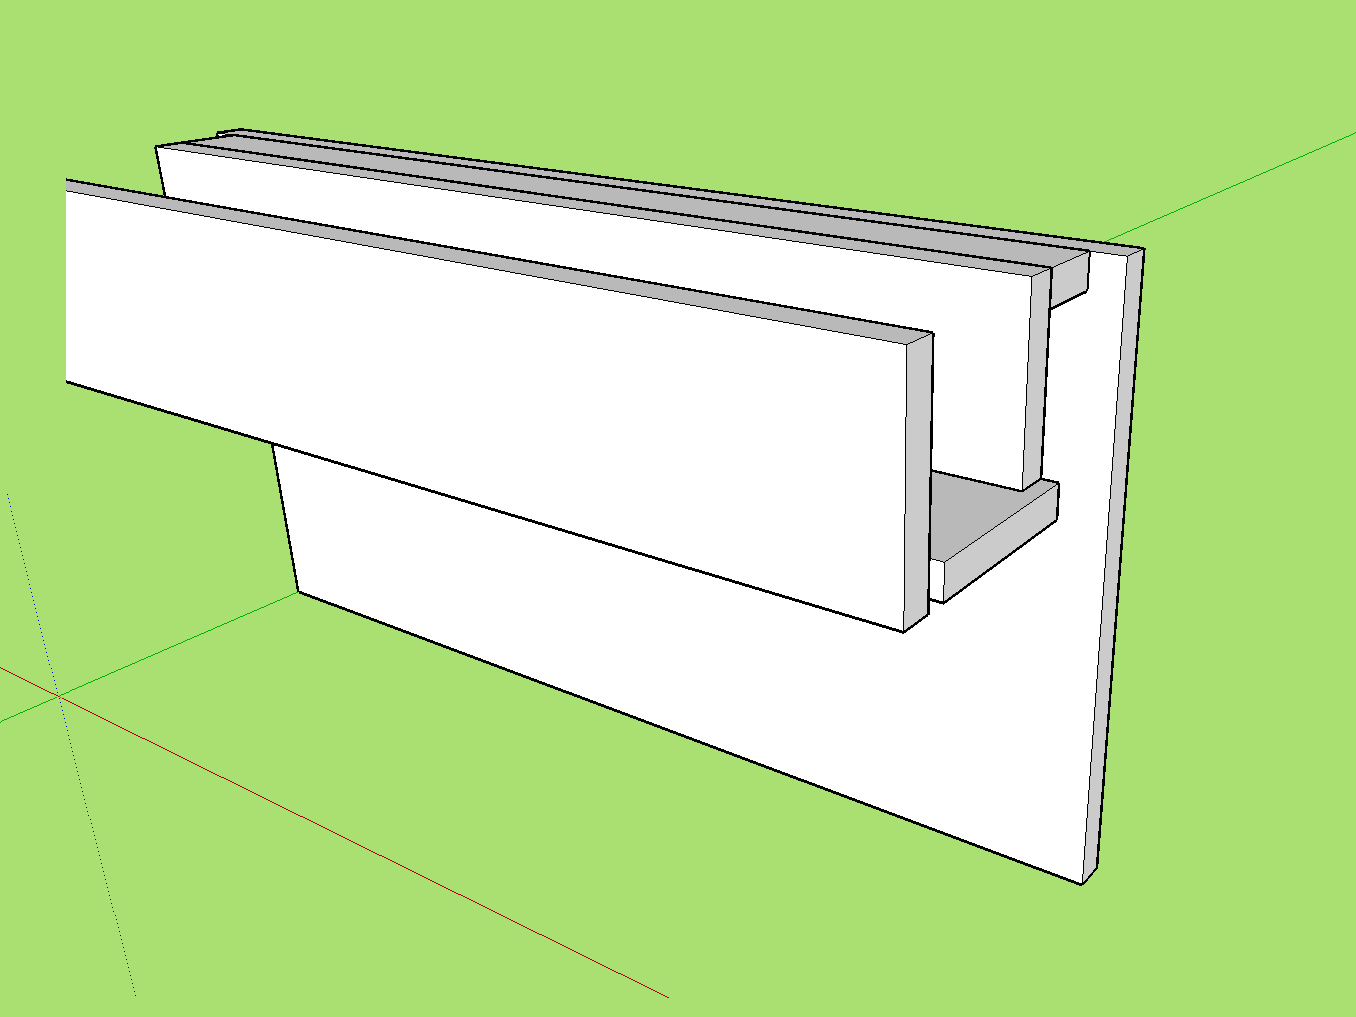
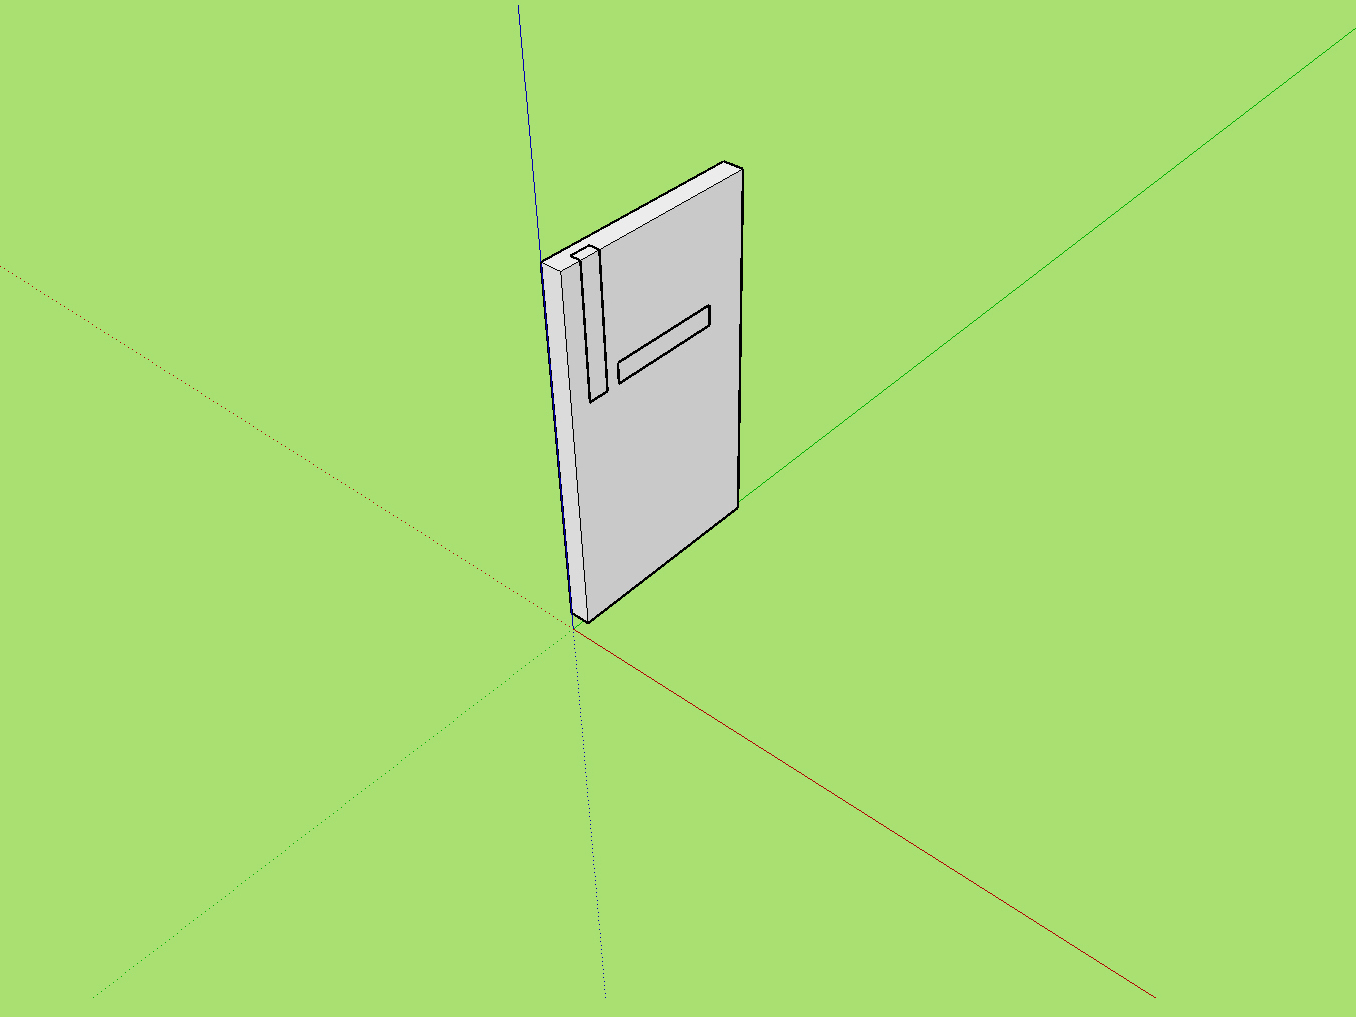
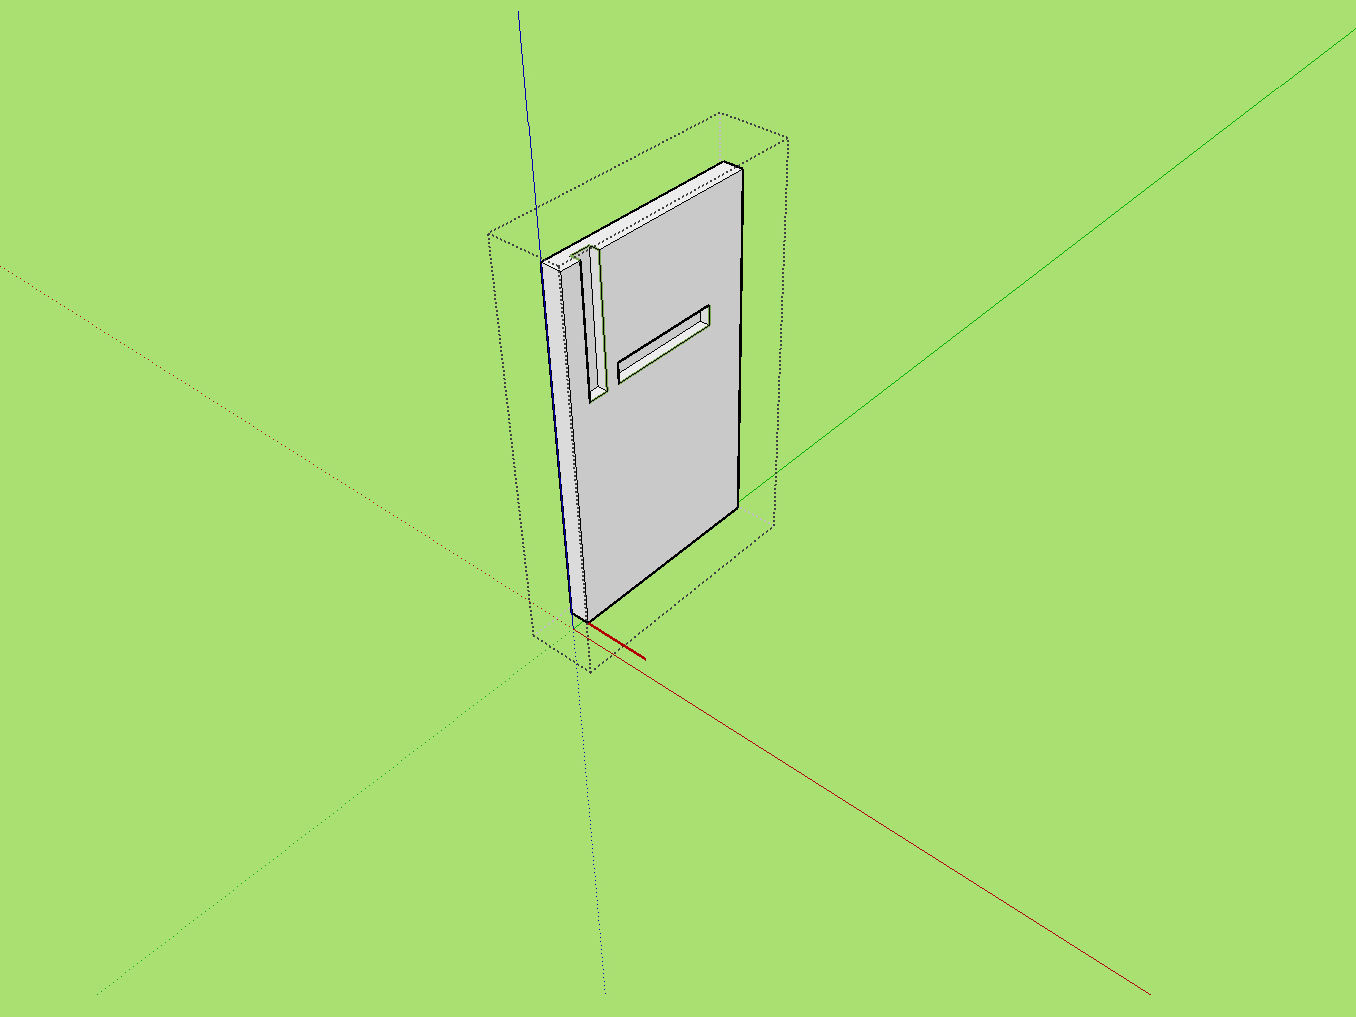
Hide everything except the front and floor of the cellphone compartment and the left wall of the caddy. Using the Select Tool and holding the shift key, select the compartment’s front and floor pieces. Right-click and choose Intersect with Model. Hide them both, and you’ll see 2 outlines remaining on the wall.

Double-click on the wall. Draw 2 rectangles tracing the outlines on the inside wall. Push them both in 3/16″. Exit and hide the wall. Using the Eraser Tool, click and drag over the remaining outlines to erase them. Go to Edit → Unhide → All.

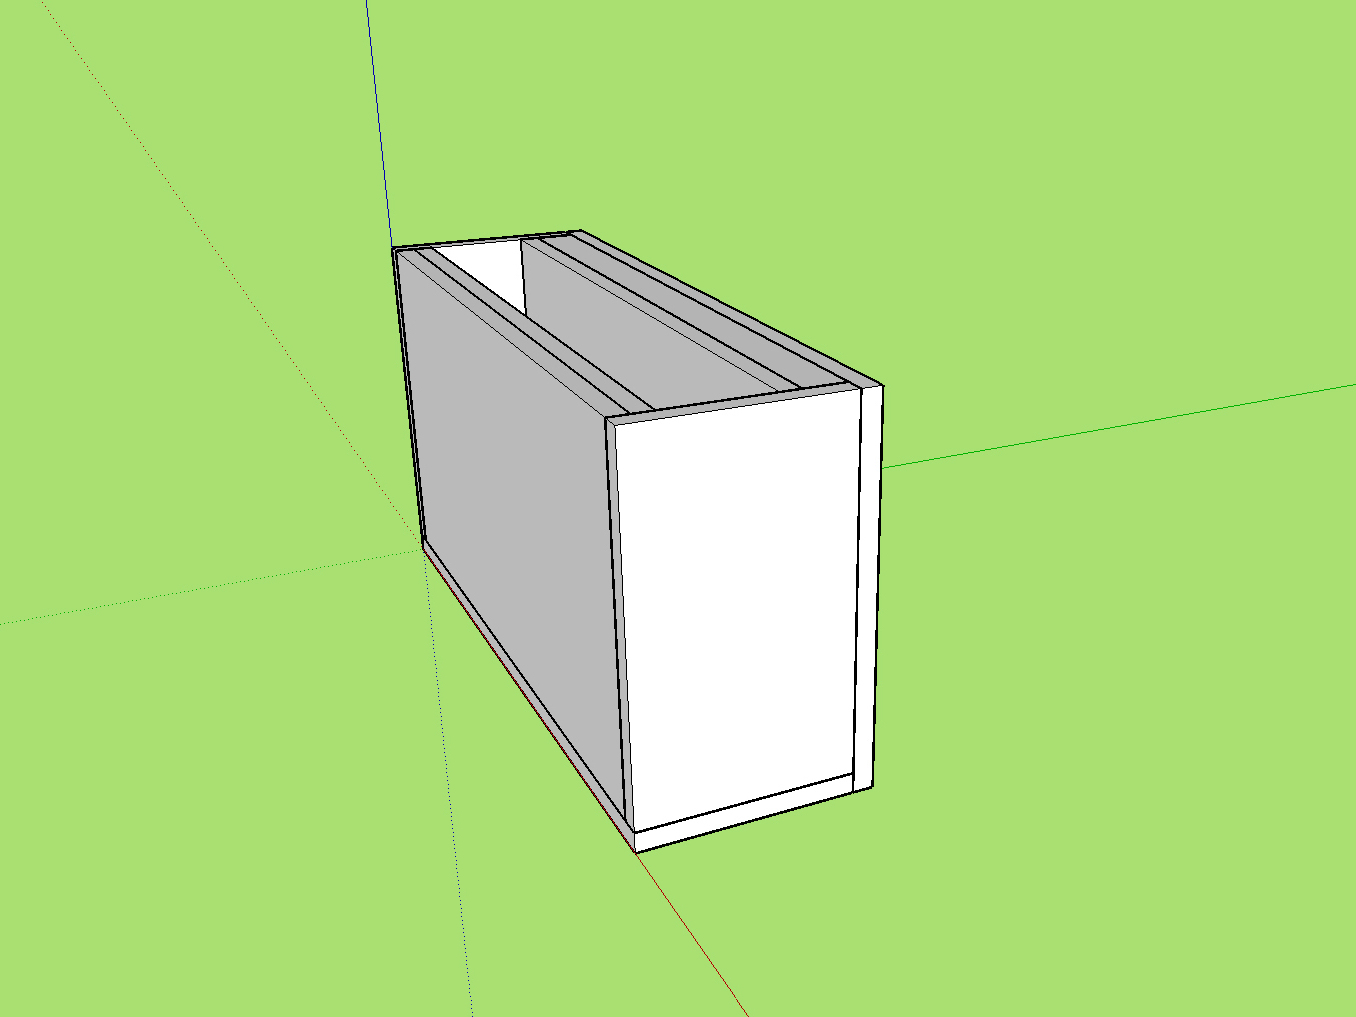
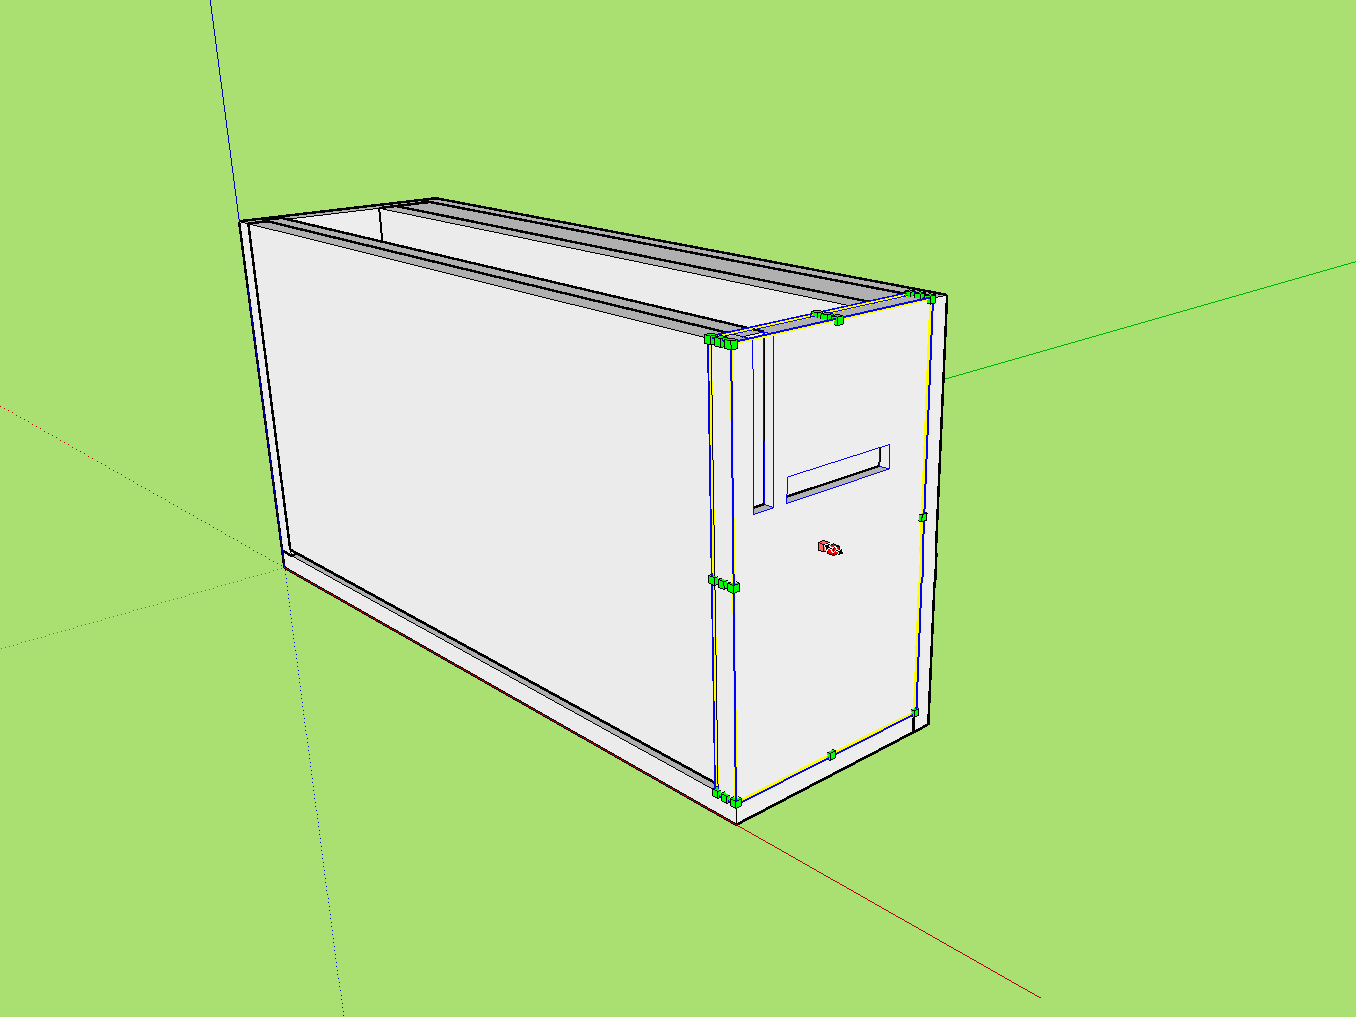
Now fix that right wall, with a slightly more advanced technique. Using the Scale Tool, click on the right wall. Hover over the green cube in the middle of the surface and it will turn red. Click and drag the red cube, and watch the values in the lower right box. Drag it to –1.00, or type in –1.00. Use the Move Tool to put the wall back into place. Your design is done!

Extras.

Select the Dimension Tool, and click on 2 endpoints to measure the distance between. This is one of the primary steps to measure the parts when you’re ready to build.

Try changing the appearance. Go to Window → Styles and click on the drop-down menu to browse through the different style sets.

You can download SketchUp models of power strips, cellphones, and much more from SketchUp’s 3D Warehouse, as well as tag and upload your own files (File → 3D Warehouse).

All in all, I was quite pleased with my final product. And now you’re ready to design and build your masterpiece!

Going further.

Go to http://craftzine.com/09/101 and you’ll find:

The SketchUp file used in this tutorial

A video of this tutorial and a way to create a wall-mounted version of the caddy

Tips on using your SketchUp model for building

Ideas on how to make this charging caddy more efficient

Google also has a variety of online resources. Their video tutorials are a great way to master the basics and gain an understanding of more advanced techniques.

Conclusion

This project first appeared in CRAFT VOLUME 09, pages 131-135.