A 'legendary' coin
I used Onshape to design a ‘legendary’ coin for dual extrusion 3D printing.

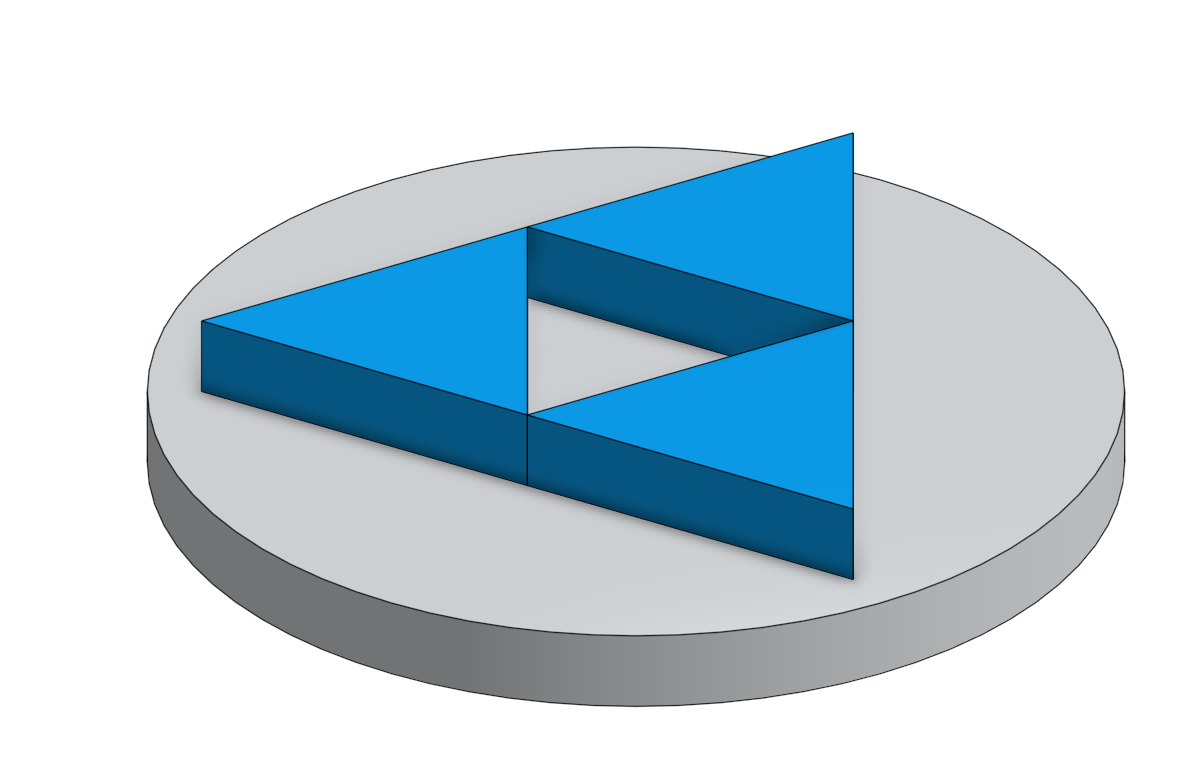
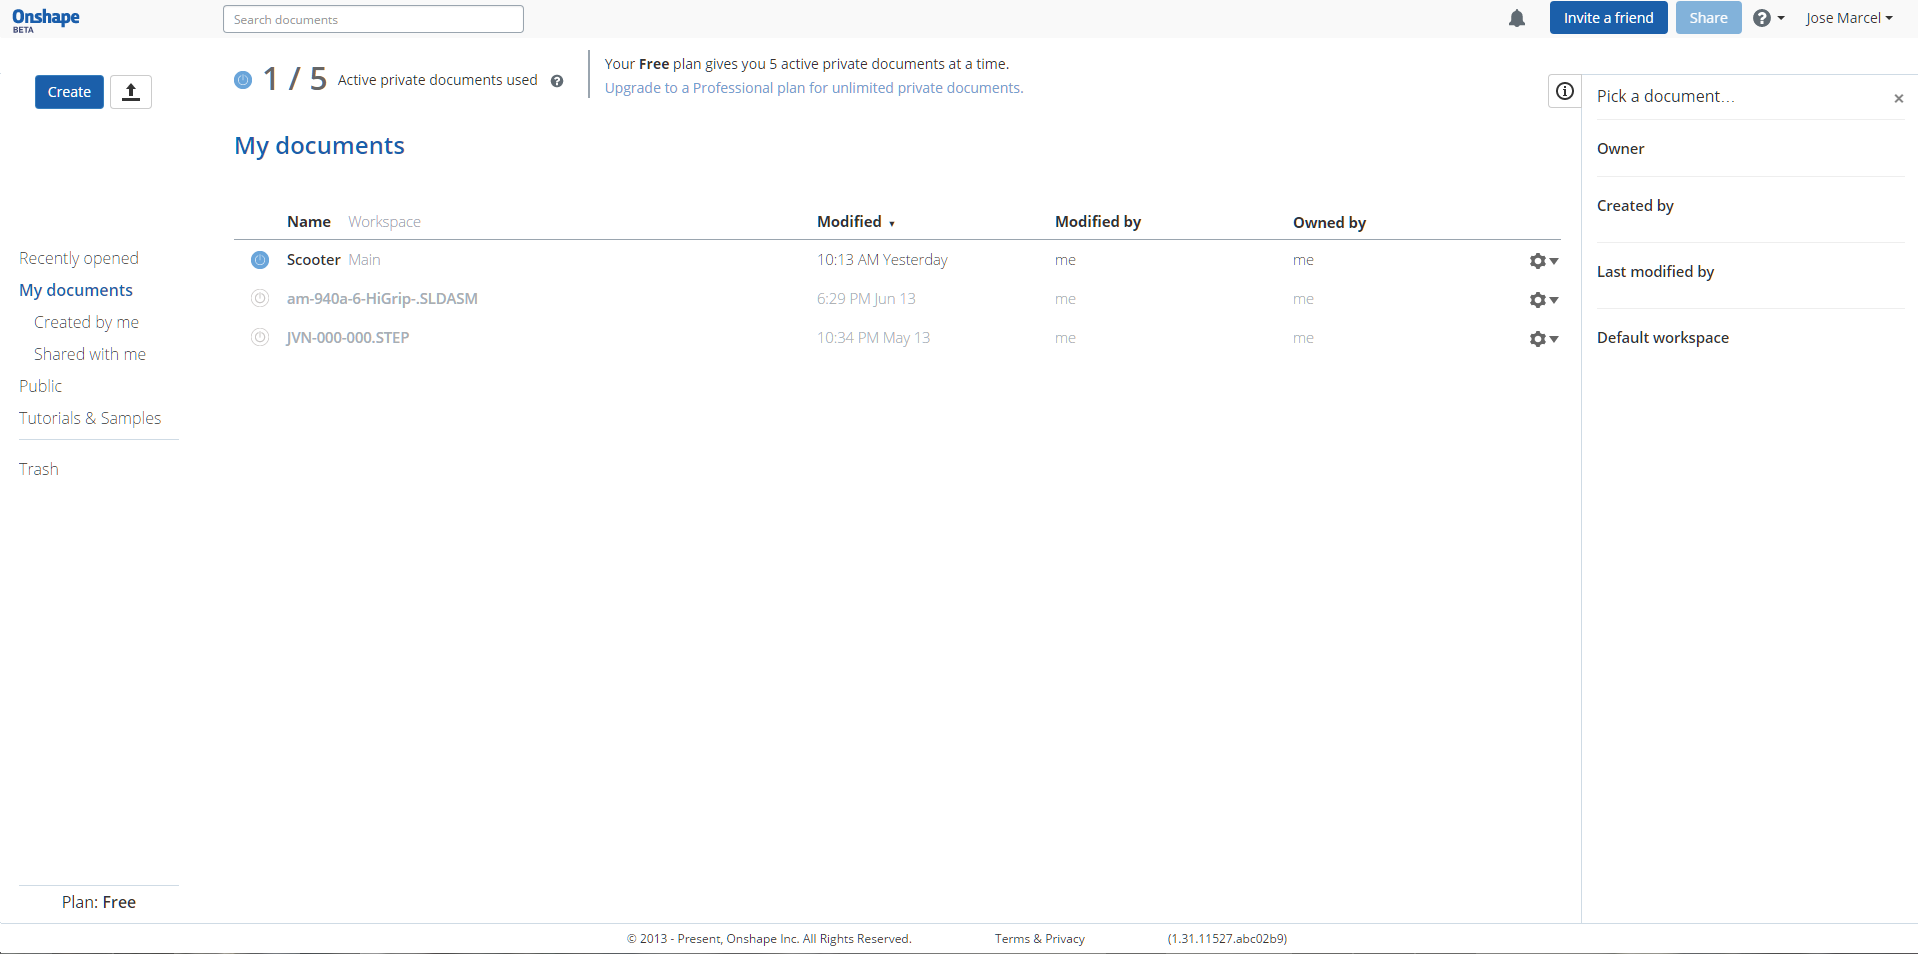
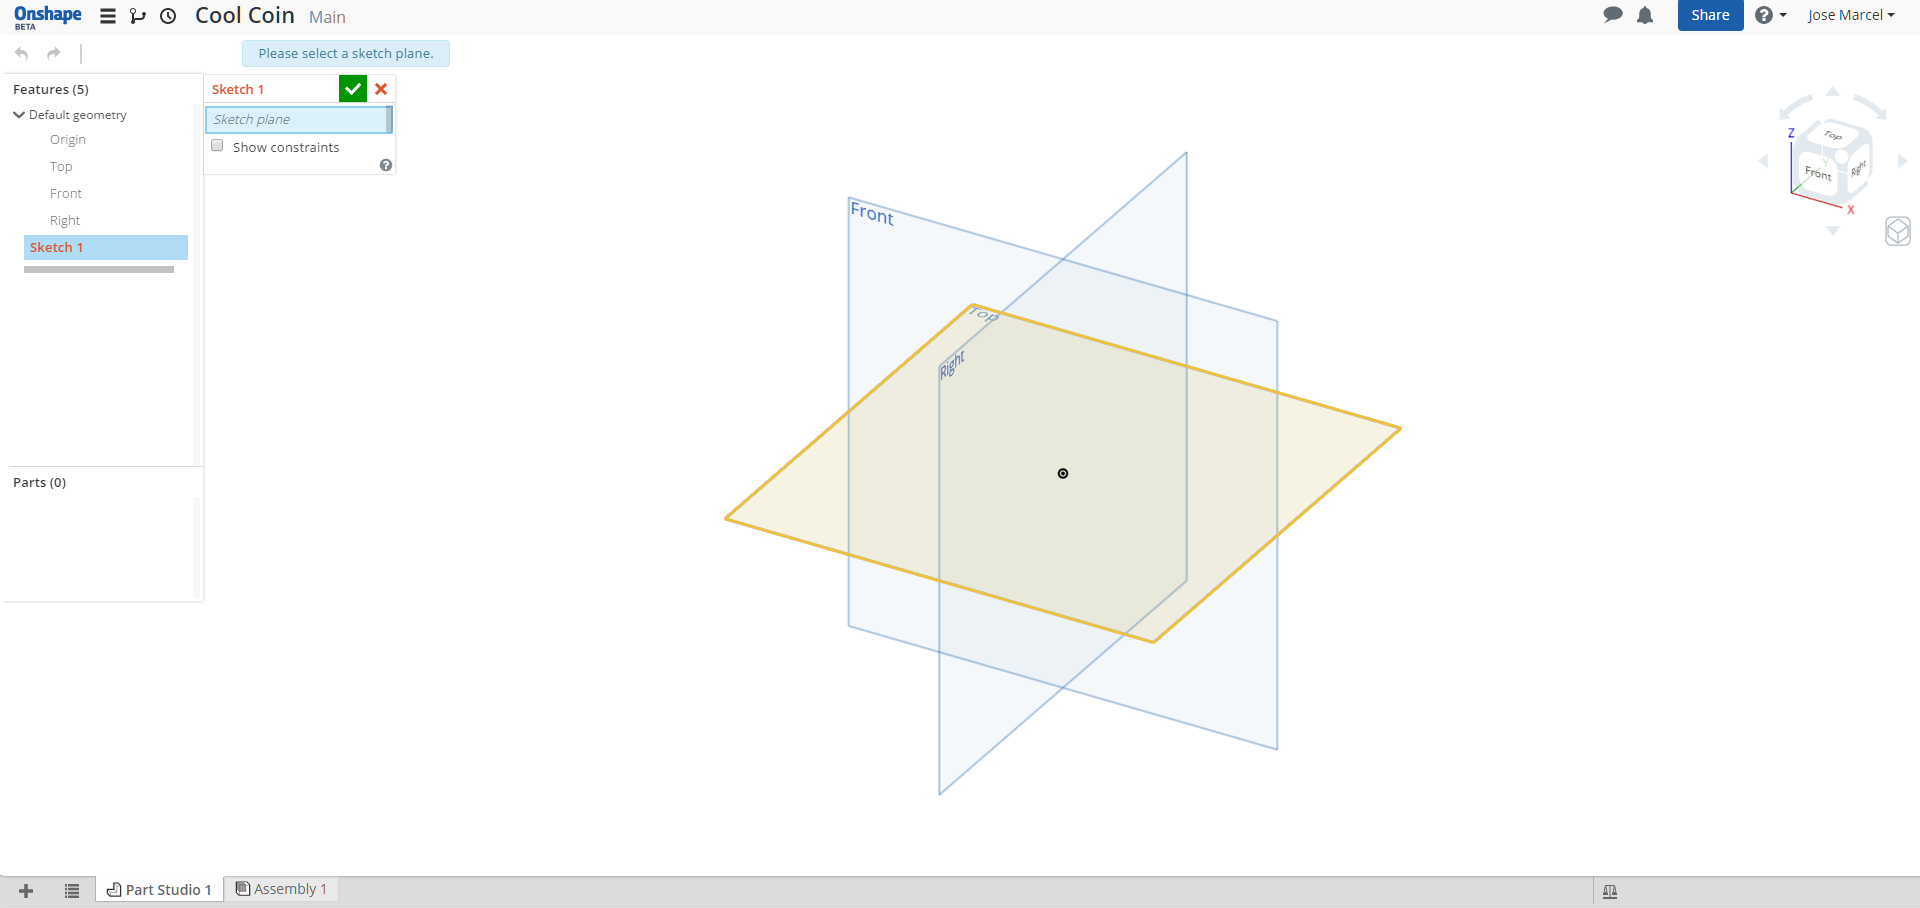
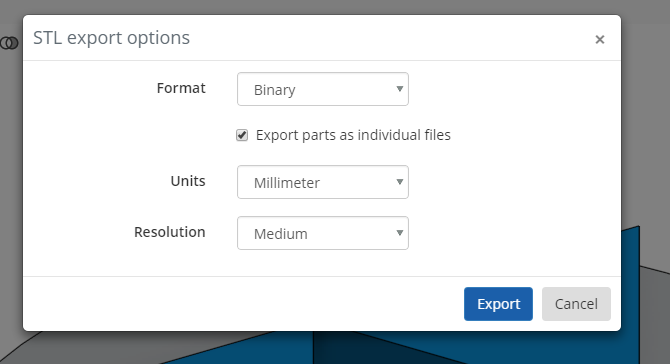
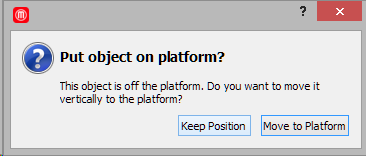
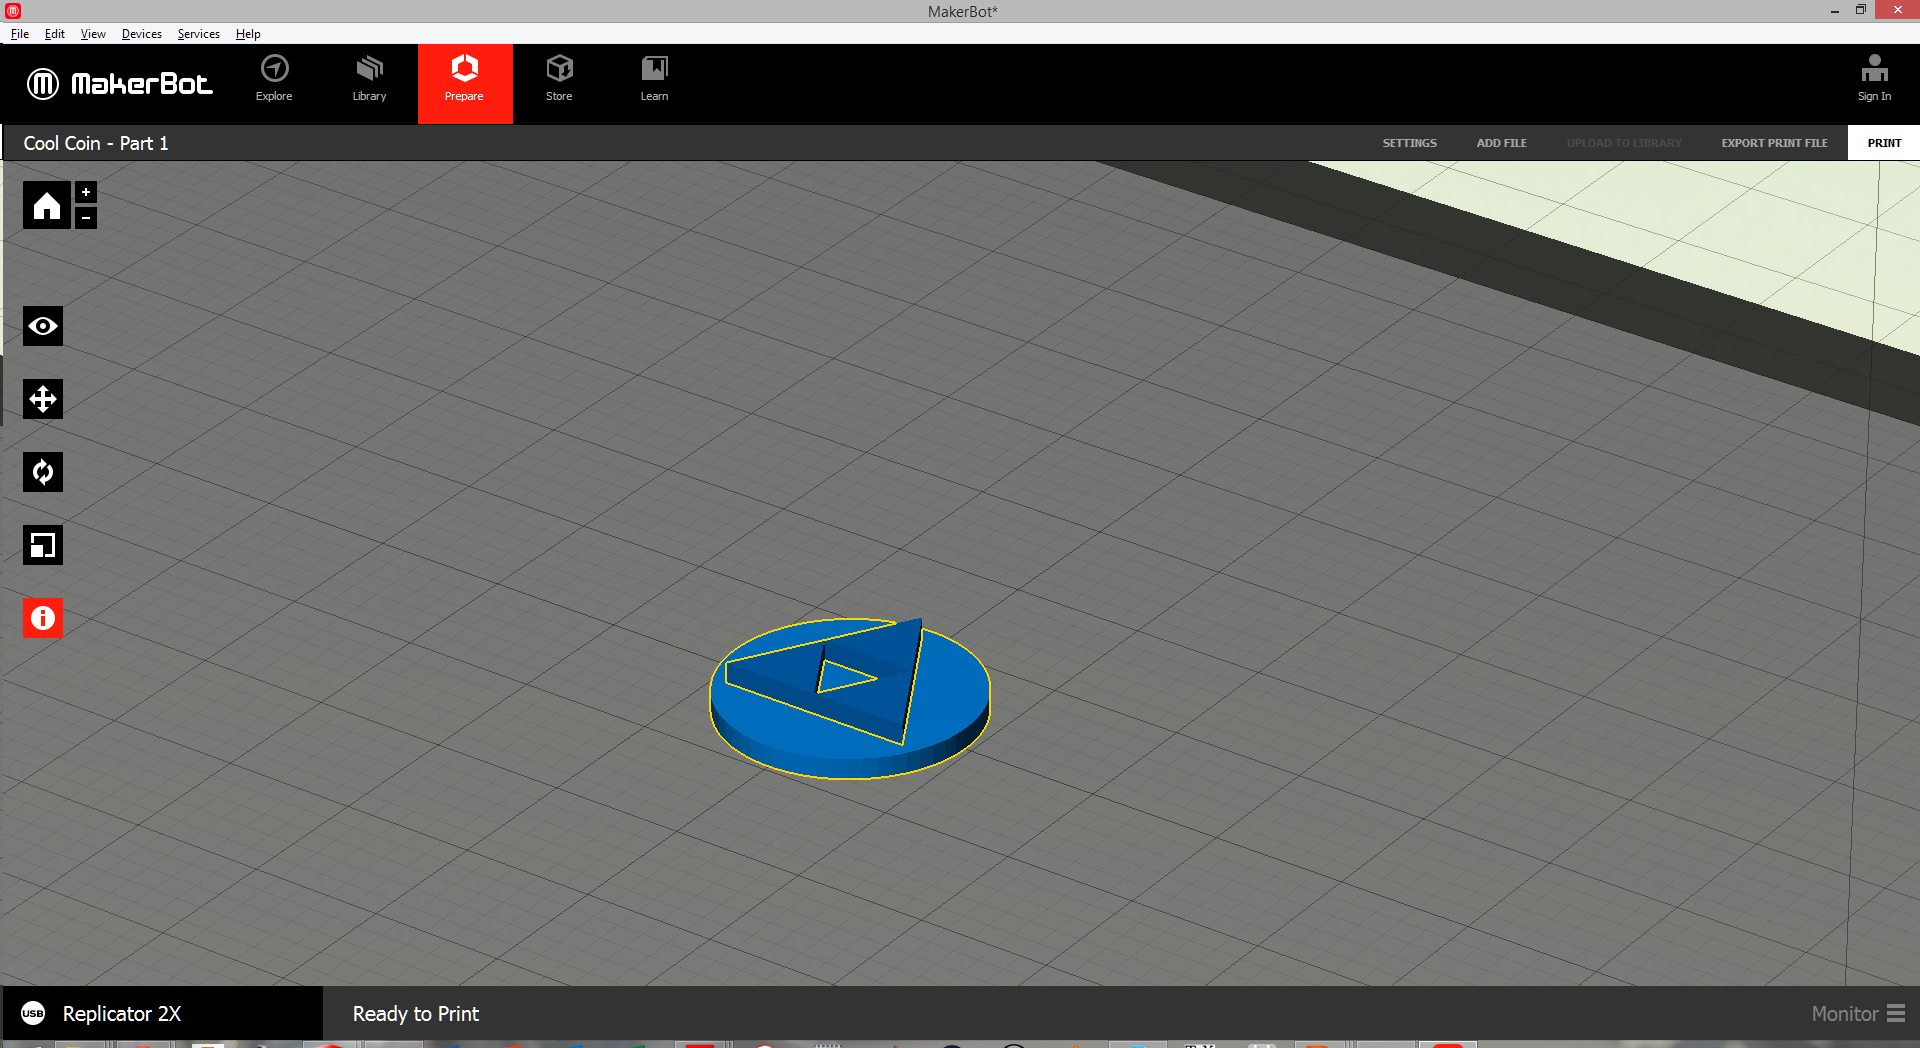
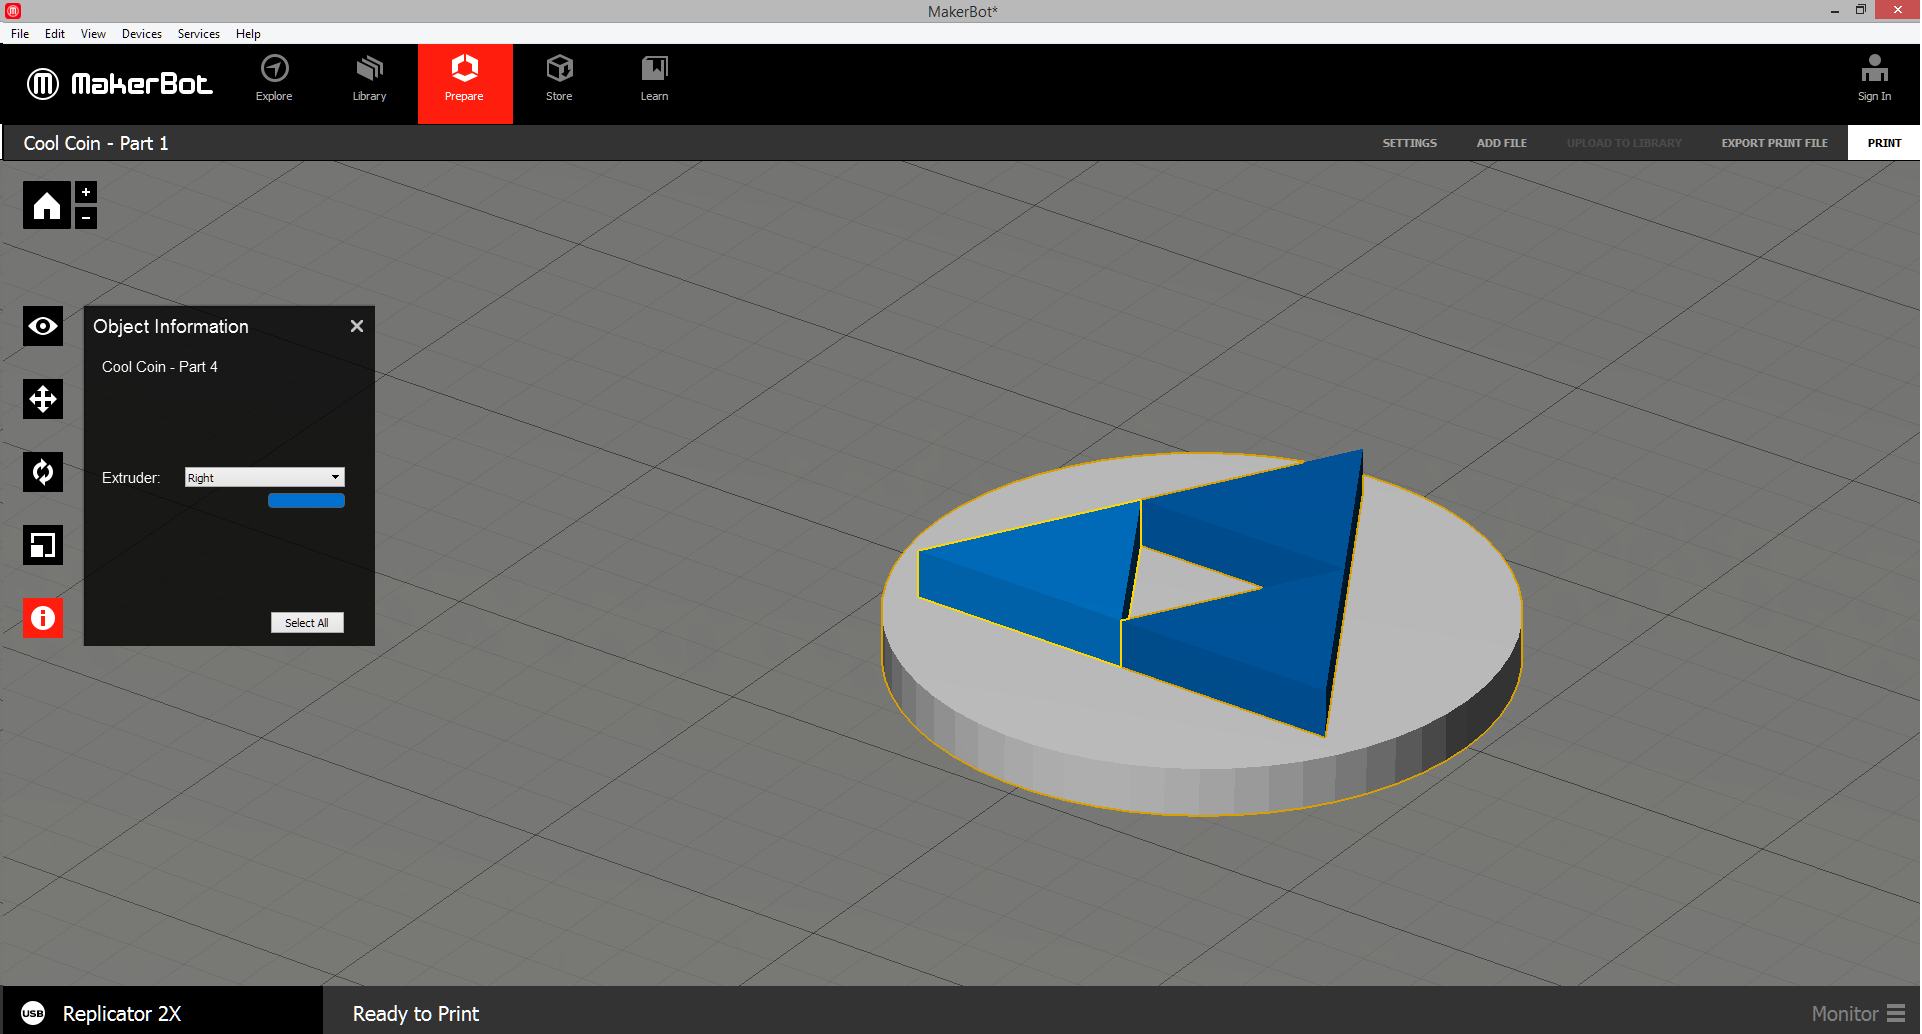
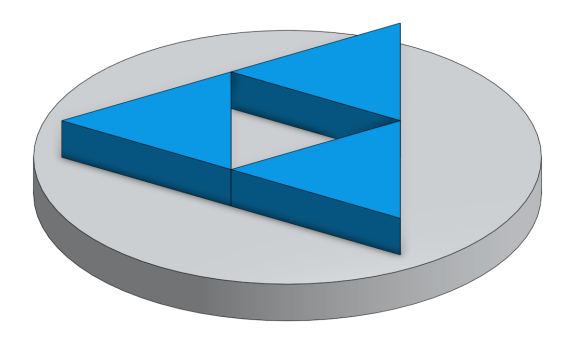
3D printing is pretty neat. Dual extrusion 3D printing is super neat. Modeling with CAD is pretty neat. Modeling with a cloud-based, version controlled, and free to use CAD program like Onshape is super neater. So, why not use both super neat things to make something awesome? Follow this guide and learn how to design parts in Onshape to be printed with a dual extrusion 3D printer like the MakerBot Replicator 2X.

Project Steps

Sign Up for Onshape Beta

You will need an account to start designing with Onshape.

Decide What to Make

I made a simple coin with a ‘legendary’ Triforce symbol.

Log In and Make a New Document

Documents in Onshape are like folders for related parts and assemblies.

Design the Parts: First Color

The trick here is that the printer needs individual part files so that you can select different colors for each.

I started the base of my coin by sketching a ½” diameter circle and extruding to make a 1/16″ thick disk.

Design the Parts: Second Color

When adding new features, make sure they are set to “New” and “Solid.”

I used the polygon tool to sketch the triangles and extruded them out by 1/16″. Each of the triangles on my coin became a separate part.

Other than creating two more files to manage, this did not cause any issues.

Export the Parts as STL Files

Right click the part studio tab on the bottom left corner of the screen and select “Export to STL.” Make sure to export the parts as individual parts and choose the appropriate units for your 3D printing program. Onshape packages the STL files into a .zip archive folder. You will need to extract the STL files before proceeding.

Load the STL files Into Your 3D Printing Program

Your program will probably warn you about parts being off the platform. Ignore this. The parts should already be in the right relative positions. If you need to move, rotate, or scale the parts on the platform, make sure all the parts are selected.

Change the Part Colors as Needed

In the MakerBot Desktop software this is done by selecting the part and changing the color in the information menu.

Your Print is Ready to Go!

Print away and enjoy your new part!