SBPiCameraWOW
The Raspberry Pi camera is a must-have accessory for your Pi. This skill builder covers the hardware, software, and highlights a few command-line arguments for raspistill to get going with the camera.

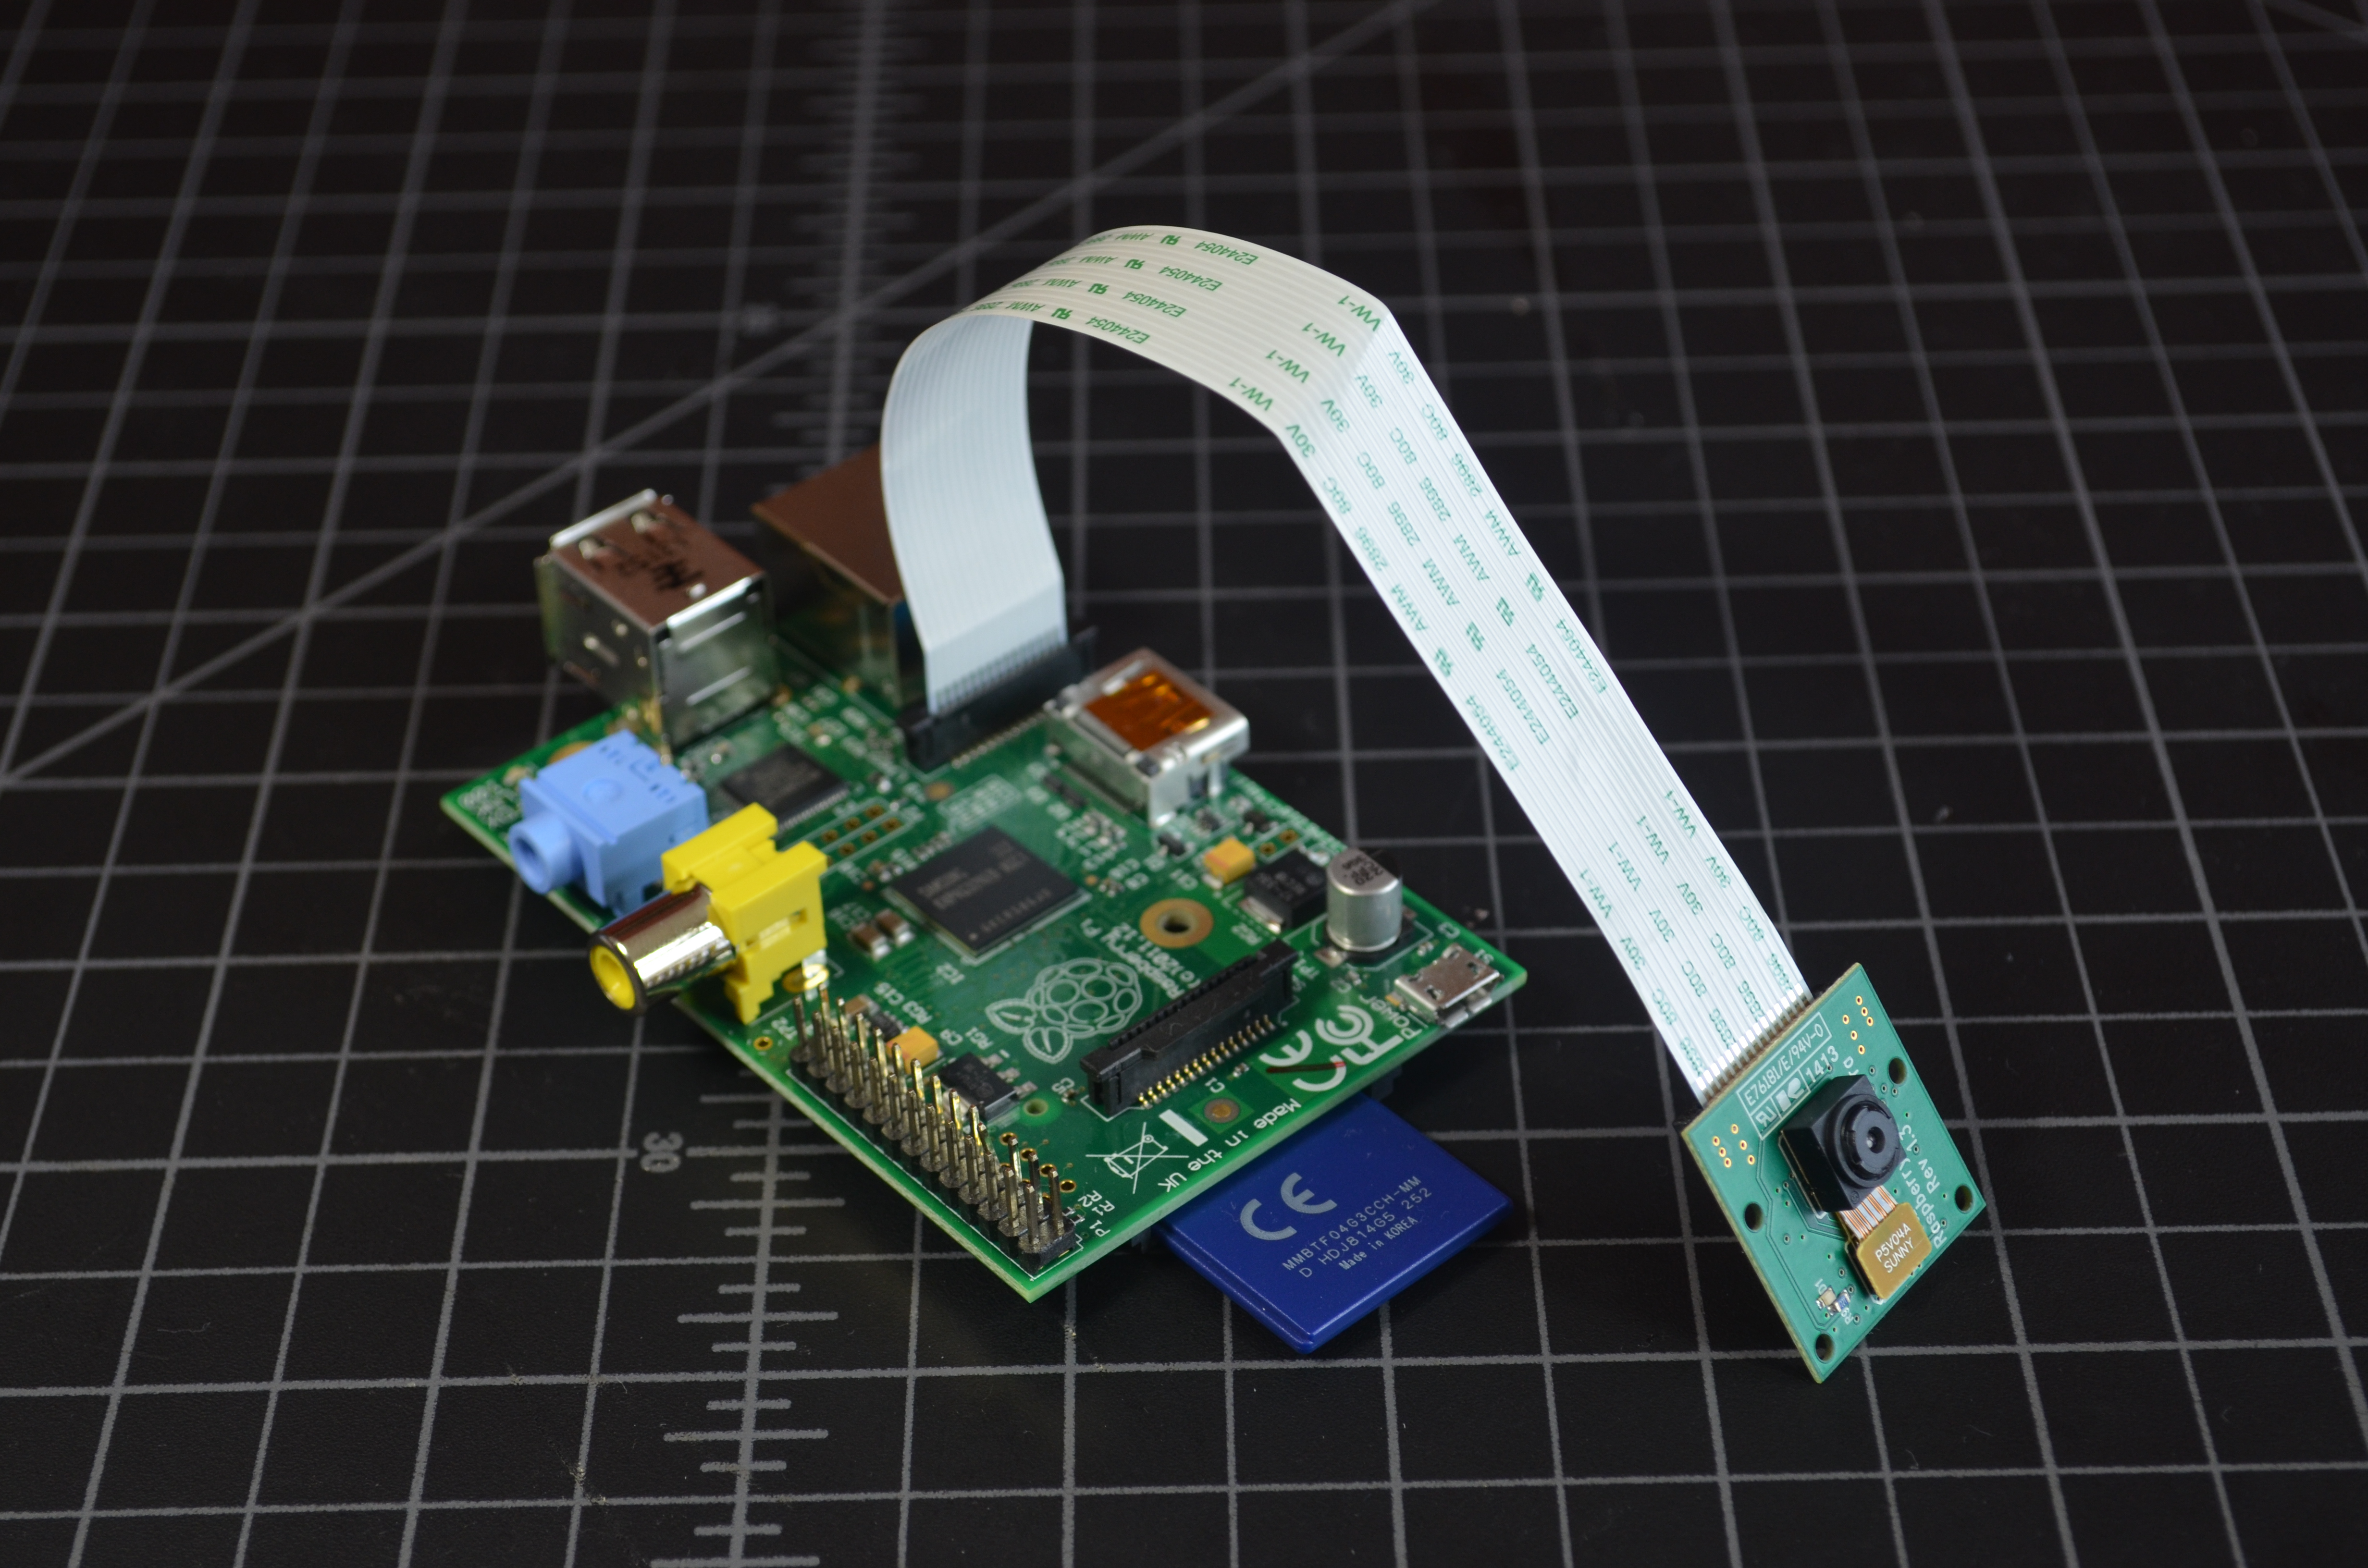
Currently there are two slightly different camera modules that connect to the Pi’s on-board CSI (Camera Serial Interface) connector. The Pi Camera Module is the baseline; it’s a 5-Megapixel includes an IR filter in it’s optics. The Pi Noir camera lacks the IR filter –making it ideal for low-light projects– and boasts a black PCB, not green.

Project Steps

Hardware Setup

Disconnect all cables from your Raspberry Pi, most especially the power.

Orient your Pi so the USB and ethernet connectors are farther away from you than the SD card slot and power connector.

While holding the Pi in place, pinch the sides of the CSI connector and gently pull up, away from the board.

Hold the camera module so the exposed metal connections on the ribbon cable are facing you. Inserted the cable into the CSI connector and secure it by pushing down on the sides of the connector.

If the ribbon cable is difficult to seat in the CSI connector, try this trick. Position the cable in the connector, gather enough slack in the ribbon not to crimp it, and delicately hold the cable in place against the ethernet connector. With your other hand, push down and secure the cable in the CSI connector.

Linux Setup: Update and Upgrade

Ensure your Pi has an internet connection and perform an update and upgrade.

Update your package list from the repository: sudo apt-get update

Upgrade your system packages based on the updated package list:

sudo apt-get upgrade

Note that upgrading can take a long time.

Raspi-config

At a command prompt run raspi-config:

sudo raspi-config

Navigating raspi-config is done with arrow keys, tab, and enter.

Arrow the selection bar down to “Enable Camera” and hit Enter.

Arrow right to highlight “Enable” and hit Enter. (Image 2)

Tab twice so that the red highlight is over “Finish” and hit Enter. The program will prompt if you want to reboot now, select “Yes” and press Enter.

Basic Imaging with raspistill

Raspistill, is one of two still images capture programs from the Foundation. Open a terminal and try a demo to see the camera and its filters:

raspistill -d -t 40000

-d is the demo option and -t is timeout in milliseconds.

The demo doesn’t save any of the images shown on your monitor. Save an image by adding the -o option and a filename of your choice:

raspistill -o image1.jpg

The images accompanying this step use the filter option -ifx and a corresponding filter name.

raspistill -o image2.jpg -ifx sketch

raspistill -o image3.jpg -ifx emboss

raspistill -o image3.jpg -ifx negative

Now that your camera is setup and you’re taking snapshots, check out what others are making and see how you can expand your skills.