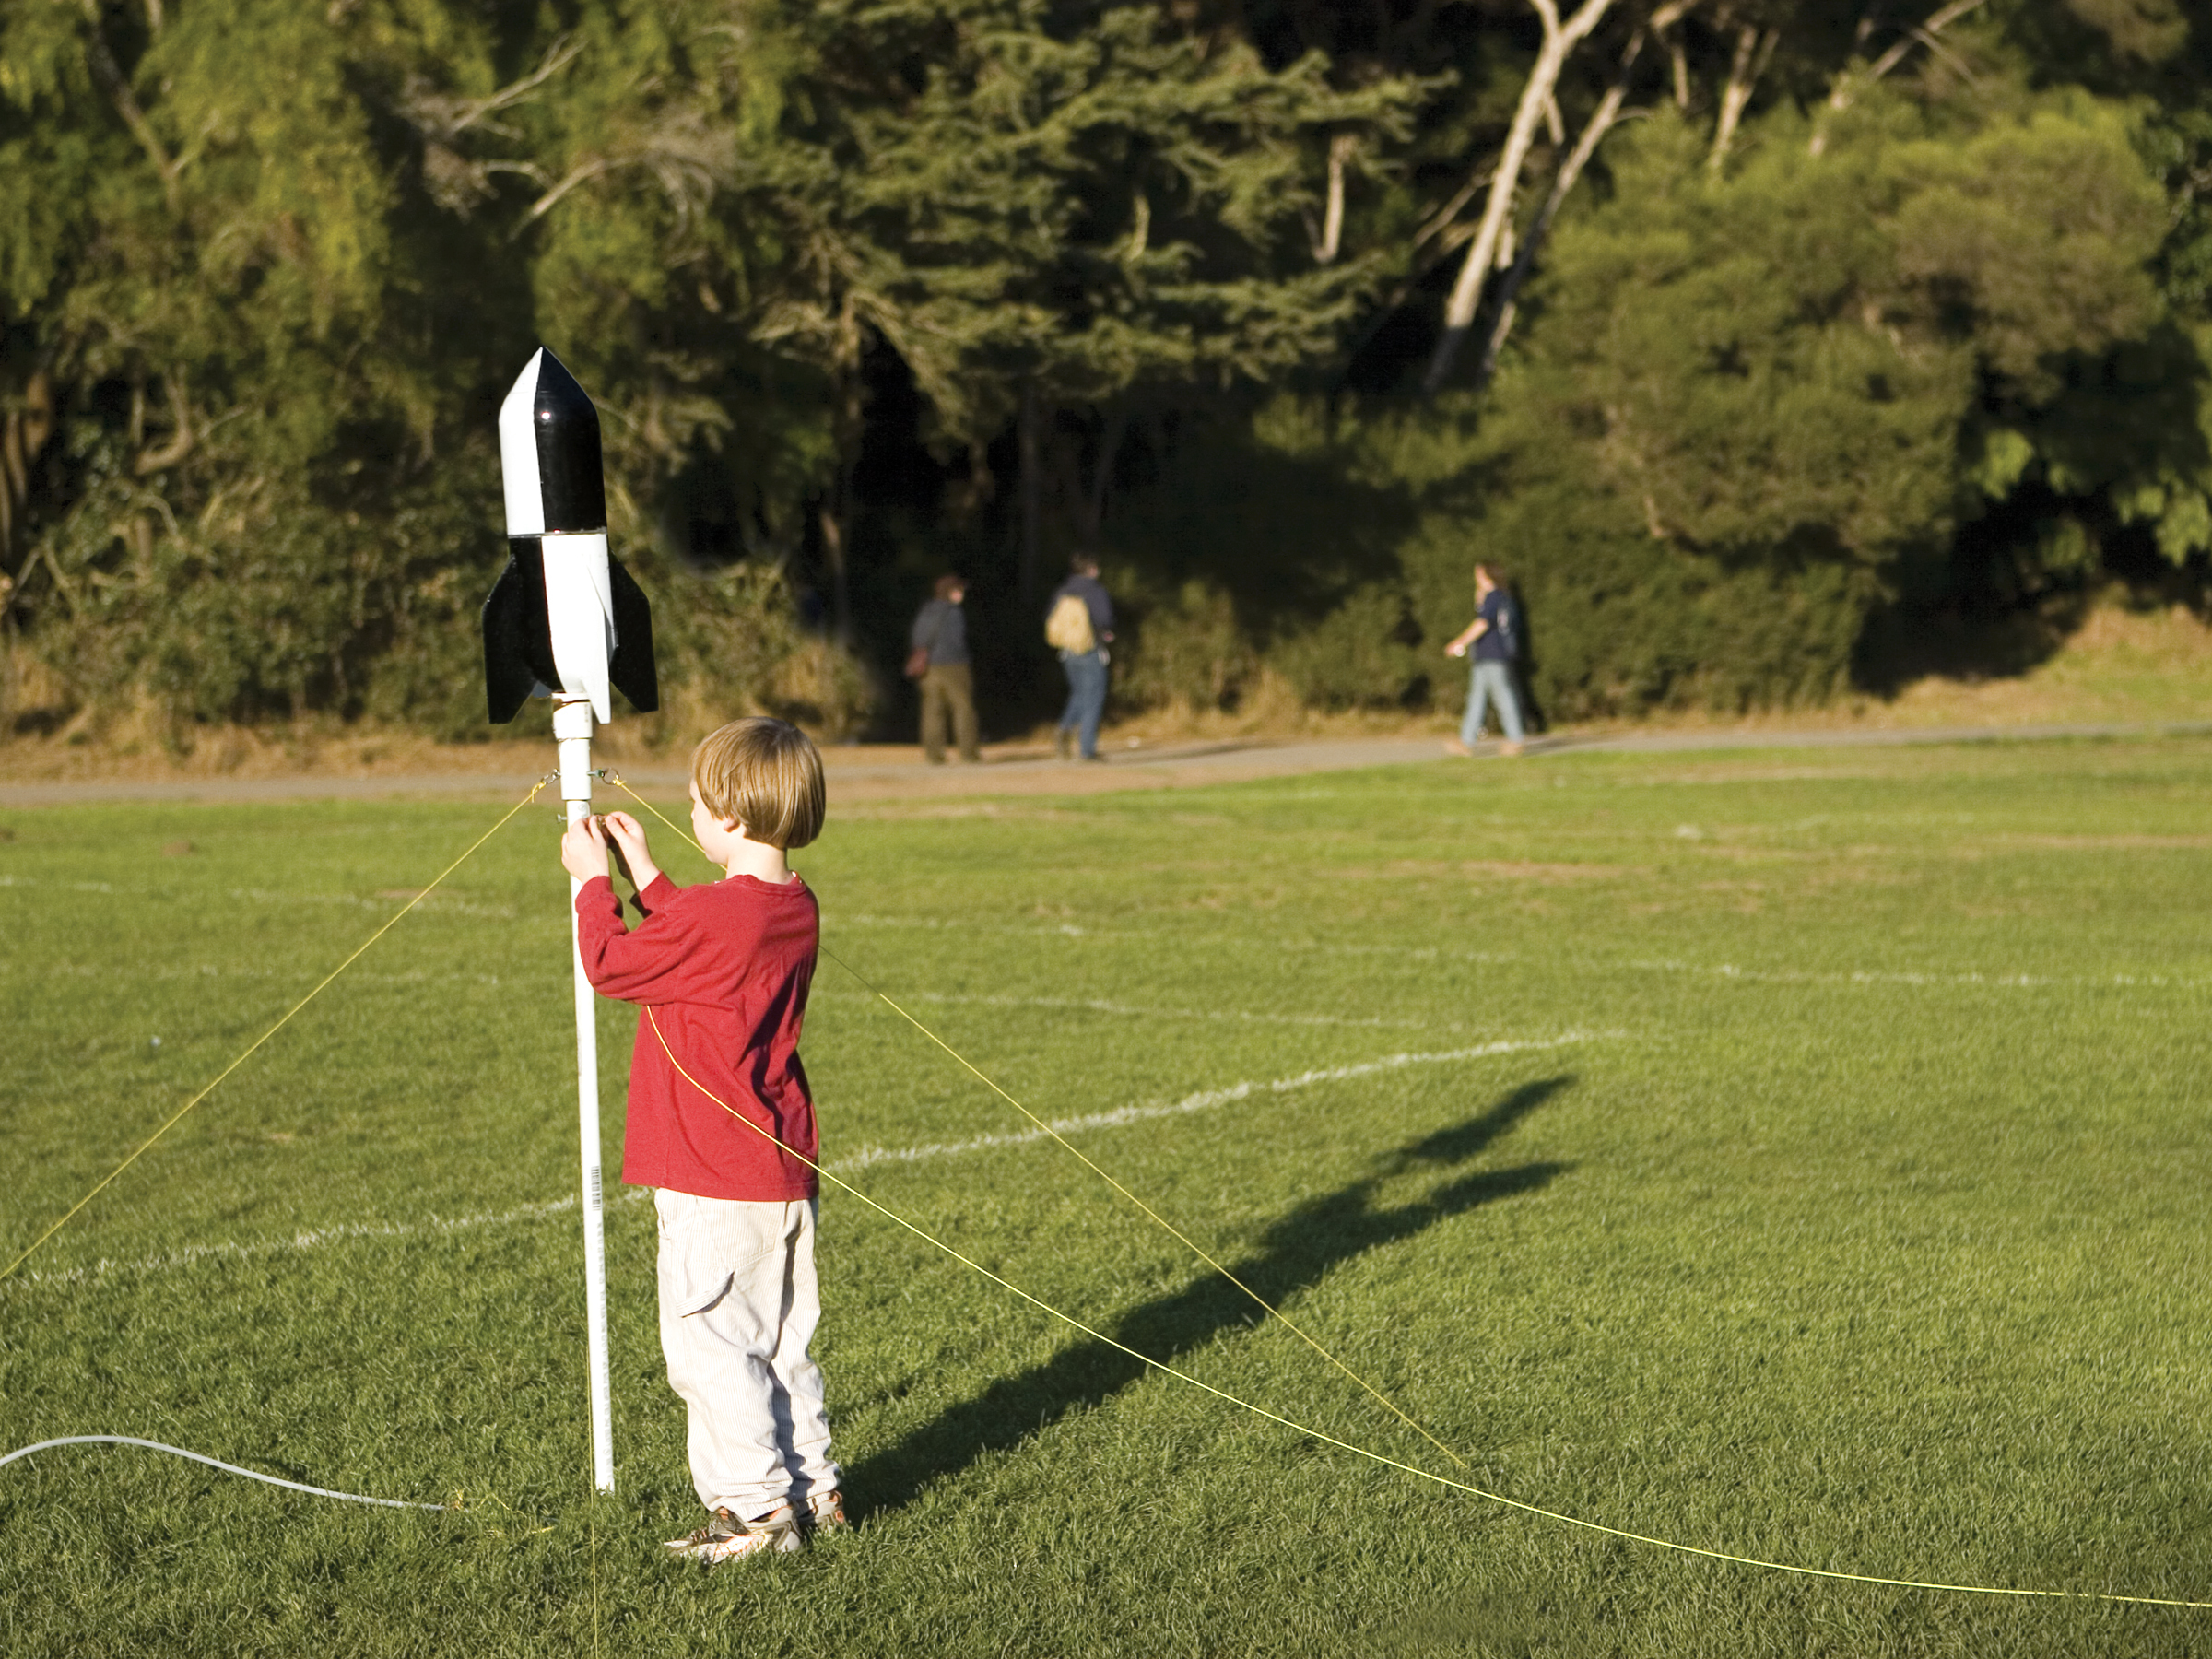
I’ve been a big fan of model rocketry since I built my first Estes Alpha back in third grade. Nothing is more exciting to a 9 year-old proto-geek than launching a homemade rocket. But flying those one-shot solid-fuel rockets can burn a hole through a young hobbyist’s wallet faster than they burn through the atmosphere, and with today’s larger, high-powered rockets, locating and traveling to a safe and suitable launch site can require substantial planning and effort.

Instead, you can use 2-liter carbonated drink bottles to build an inexpensive, reusable water rocket. The thrill factor is surprisingly high, and you can fly them all day long for the cost of a little air and water. It’s the perfect thing for those times when you just want to head down to the local soccer field and shoot off some rockets!

Watch Steve and his 4-year-old son, Ivan, launching their soda-bottle rocket.

YouTube player

What will the next generation of Make: look like? We’re inviting you to shape the future by investing in Make:. By becoming an investor, you help decide what’s next. The future of Make: is in your hands. Learn More.

Project Steps

Build the launch tube.

Cut the launch tube. Use a hacksaw to cut the ½” PVC pipe to length. A 50″ tube will make a launcher that’s a convenient height for most adults to load from a standing position. The ½” Schedule 40 PVC pipe fits perfectly into the neck of a standard 2-liter soda bottle.

Install the O-ring. Mark the O-ring position by fully inserting the launch tube into the type of bottle that you plan to use for your rockets. Locate the O-ring roughly in the middle of the bottle’s neck. Use the edge of a file to cut a channel for the O-ring to occupy. Rotate the launch tube often while you work to maintain an even depth of cut, and be careful not to go too deep. Then slip the O-ring over the launch tube and seat it in the groove.

Build the release mechanism.

Assemble the release body. Cut a 4″ length of 1″ PVC pipe and press-fit it into the 1″ coupler. Cut squarely and deburr all PVC cuts with 120-grit sandpaper.

Cut the release spring slots. Insert your bottle’s neck into the release assembly and determine the distance of the bottle’s neck flange from the end of the bottle. Mark the flange location on the 1″ pipe coupler and use the hacksaw to cut a 3/16″ long slot on each side. These slots will hold the retainer/release spring.

Attach bolts. Drill three evenly spaced holes through the release collar and release body together, and thread the three eyebolts into these holes. Similarly, drill three holes in the lower release body tube to accept the three hex bolts.

Optional: Cut threads in these holes with a tap to accept the hex/eyebolts. If you won’t be tapping them, drill the holes just undersized, and the bolts will cut through the PVC just fine. Be careful not to strip these holes.

Make the retainer/release spring. Bend a piece of 1/8″ music wire 1½ turns around a piece of scrap ½” pipe clamped into a vise. The spring should be roughly V-shaped.

Make a retainer clip for the spring by drilling two holes in a scrap of ½” pipe. The ends of the compressed spring will fit into these holes. This keeps the spring closed above the bottle’s neck flange, holding the bottle in place.

Tie a 15′ trigger line to the clip. At launch time, you pull the clip off with this trigger line, which allows the spring to open and the rocket to take off.

Make the air hose.

Drill a 3/16″ hole in the center of the threaded ½” end cap, and press in the 3/16″ barb fitting.

Thread the end cap into the elbow fitting and tighten it with a wrench. Using PVC cement, solvent-weld the elbow to the bottom end of the launch tube. The end cap is tapered, so it should require no Teflon tape or adhesive.

Use a utility knife to strip the rubber from the tire valve to one inch from the end. Insert the valve into one end of the 3/16″ flexible tubing.

Optional: You can use a die to cut threads into the plain end of the valve stem, and then twist it into the tube.

Push the other end of the air tube onto the barb fitting.

Set up and test the launcher.

Stake down the stays. The launcher is installed in the field using three stays, each consisting of a 72″ length of light nylon cord. Stake one end of each line to the ground, and clip the other end of each stay to the eyebolts on the launcher.

Pressure-test the launcher. Now is a good time to ensure that all the launcher’s connections are airtight. Fill a bottle to the top with water (this way, if the bottle fails this pressure test, it will not explode). Quickly invert the bottle and slip it onto the launcher. A little Vaseline inside the neck will help the bottle make a seal against the O-ring. Squeeze the release spring into the slots in the release collar and clip it in place. Use the bicycle pump to pressurize the system to 70psi. If the pressure holds steady, all is well. Otherwise, fix any leaks and test again.

Assemble the rocket.

Water rocket designs range from a simple finned bottle to elaborate six-stage systems with rocket-deployed parachute recovery and on-board video cameras. Ours is a painted single bottle affair with wood fins and parachute recovery. Chute deployment is by the passive “nose cone falls off at apogee” method.

Cut 3 or 4 fins from a light, stiff material such as balsa, thin plywood, or Plastruct sheeting. Roughen the surface of the bottle, where the fins will attach, with some sandpaper and then glue the fins to the bottle with epoxy, or a polyurethane adhesive such as PL Premium. Sand the leading edges smooth.

TIP: Gluing on the fins at a slight angle will cause the rocket to spiral as it flies, adding stability to the flight.

Make the nose section by cutting off the neck and base of another bottle. Cut a 6″ circle of material from a third bottle. Make a radial slit on the circle, fashion it into a nose cone, and cement it in place atop the nose section.

Outfit the nose cone. When the cement is dry, turn the nose over and epoxy the 2″ eyebolt to the inside tip of the nose cone. This bolt serves as a place to anchor the parachute shock cord. It also adds extra mass to the nose section, which will help to pull this section off as the rocket decelerates, exposing the parachute.

Make the nose-stop. Cut the center from a 4″ deli container lid, leaving only the outer rim. Cement the rim onto the rocket’s lower “motor” section such that it allows the nose to sit loosely and straight on the rocket. This “nose-stop” will prevent the nose from being jammed on too tightly by the force of the launch, which ensures that the nose will separate off and deploy the parachute during descent.

Make a parachute canopy from a 36″ or so circle cut from a large trash can liner. For best results, use 12 or more shrouds made from kite string. Apply paper reinforcement labels to both sides of the chute, where the shrouds attach, to keep the chute from tearing. Tie the loose ends of the shrouds to a nylon washer or ring to make the chute easy to manage.

TIP: Ideally, a parachute’s shrouds should be a bit longer than the diameter of the chute canopy.

Epoxy a parachute-anchoring ring to the top of the rocket base and tie the parachute to the ring with a short cord. Cut a 4′ connecting cord and tie it between the nose cone eyebolt and the parachute-anchoring ring. This cord will keep both halves of the rocket together during descent.

TIP: Make sure the connecting cord is long enough to allow the parachute to completely pull out from the nose cone.

Conclusion

This project first appeared in MAKE Volume 05, page 78.