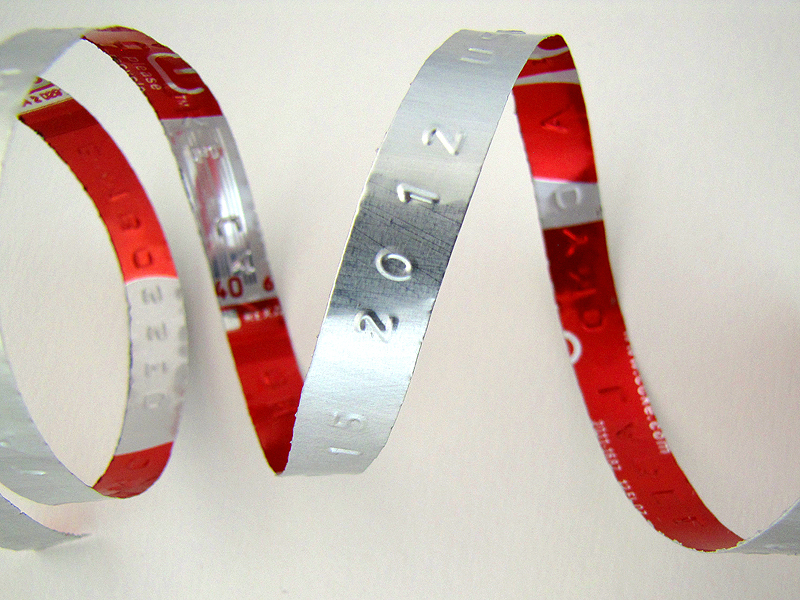
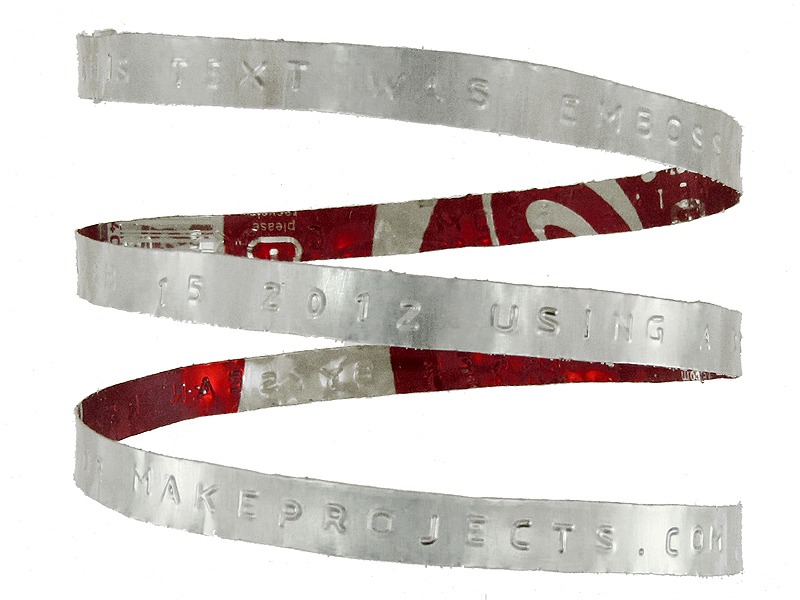
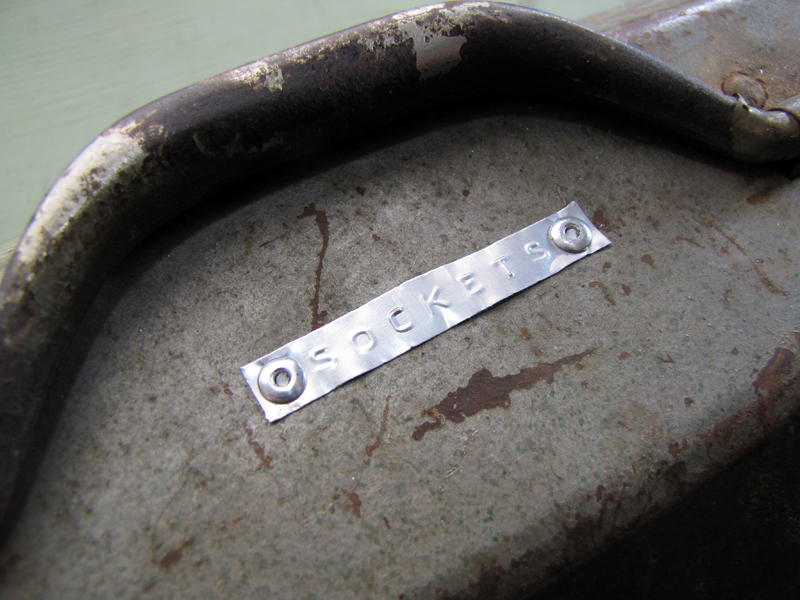
Positive response to the review of my antique Tapewriter label embosser got me thinking about lower-cost ways to make embossed aluminum labels. A comment from reader Rick Hyde (“Actually, the aluminum is so ductile that I bet any Dymo machine can emboss it.”) led me to wonder about feeding thin aluminum strip to one of the inexpensive “grocery store” label makers designed for plastic tape, and when I began looking for accessible sources of thin aluminum sheet metal my first thought was to use soda cans.

Experiment proved that yes, soda can metal embosses well enough in a plastic-tape embosser, but there were three problems:

  1. Cutting uniform strips of out of the side of a soda can was not easy.
  2. At 0.003″, soda can metal is much thinner than plastic embossing tape (0.011″), and does not advance reliably through the mechanism.
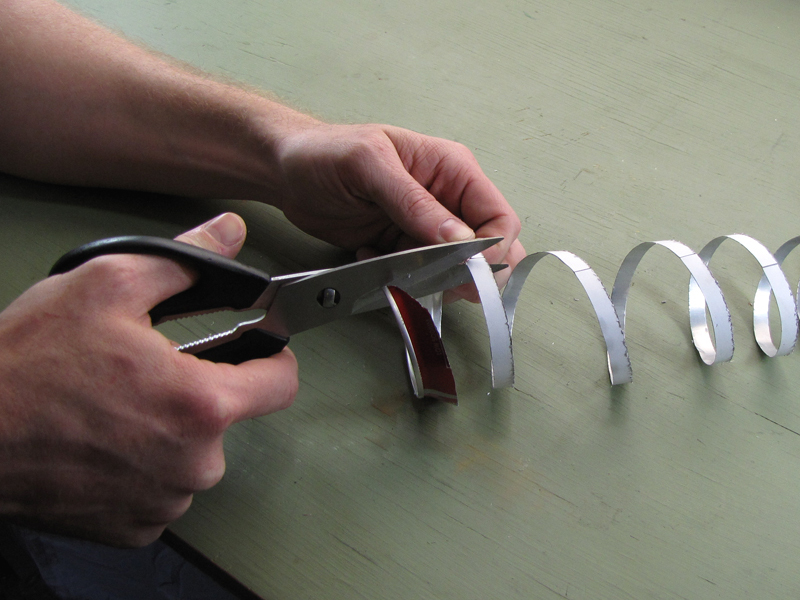
  3. Though the metal cut easily with scissors, doing so tended to raise burrs that interfered with smooth feeding.

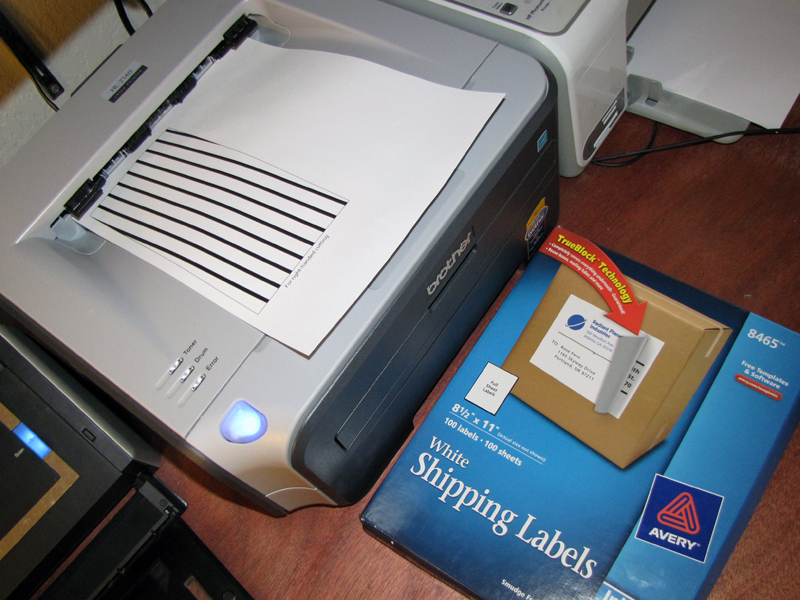
The first two problems were solved by using a spiral cutting template designed in software, printed onto an adhesive-backed label, and wrapped around the can before cutting. The template guidelines make it easy to cut a strip of uniform width, and the adhesive paper, if left in place during the embossing operation, brings the thickness up to 0.009″ and eliminates feeding problems.

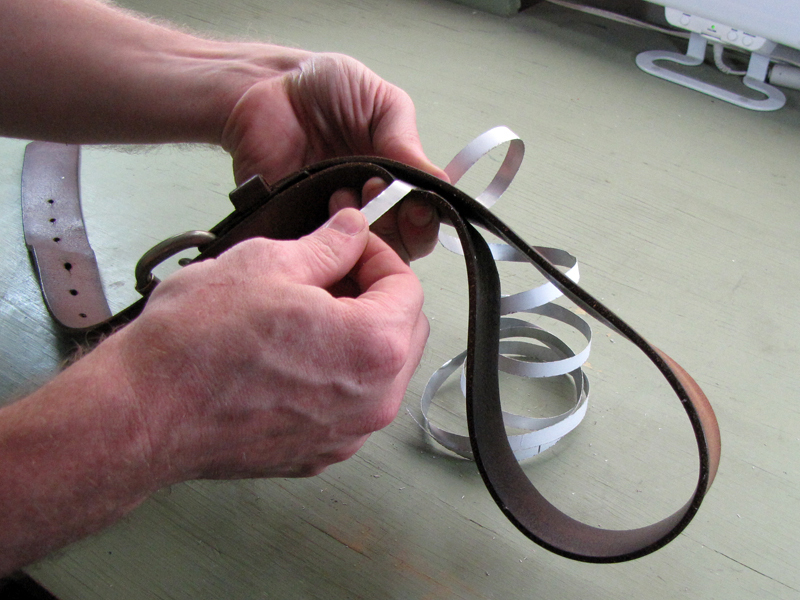
Finally, the burr-raising problem was solved by using nibbling shears, instead of scissors, to make the cut. A small burr is still produced, but it is easily smoothed by “stropping” the cut strip against a leather strap.

What will the next generation of Make: look like? We’re inviting you to shape the future by investing in Make:. By becoming an investor, you help decide what’s next. The future of Make: is in your hands. Learn More.

Project Steps

Prepare template

Print one of the attached .PDF templates onto a full-page adhesive-backed mailing label. If you want to operate the shears with your right hand, print the right-handed template. If you want to operate them with your left, print the left-handed template.

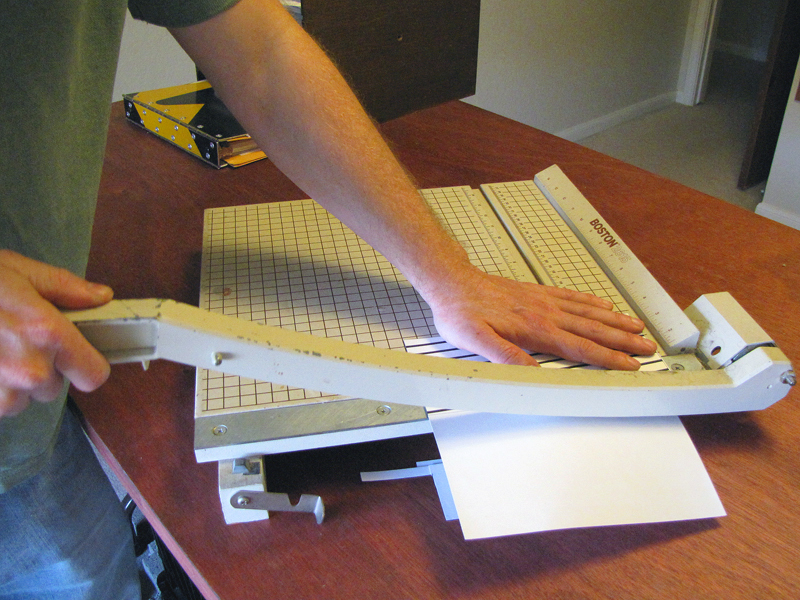
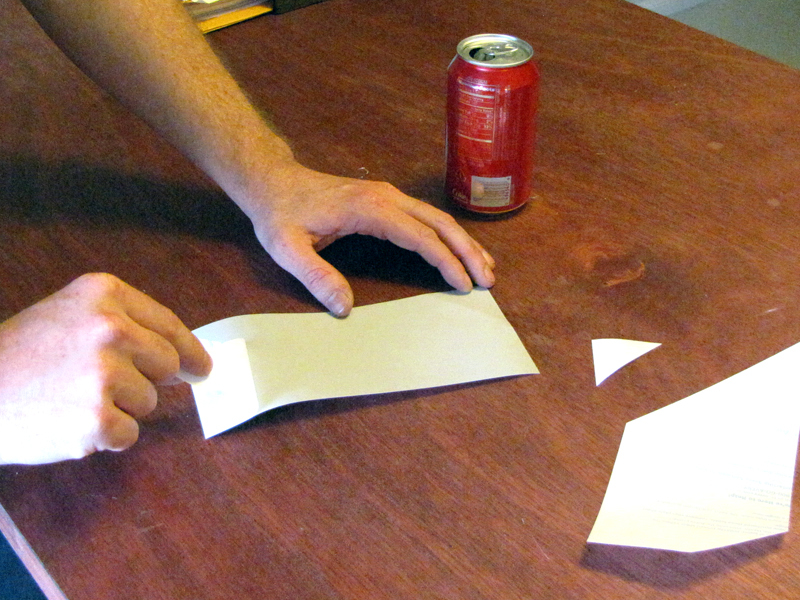
Cut the template down to size using a swing arm paper cutter, scissors, or a hobby knife and ruler.

Peel off the adhesive backing from the reverse side of the template.

Apply template

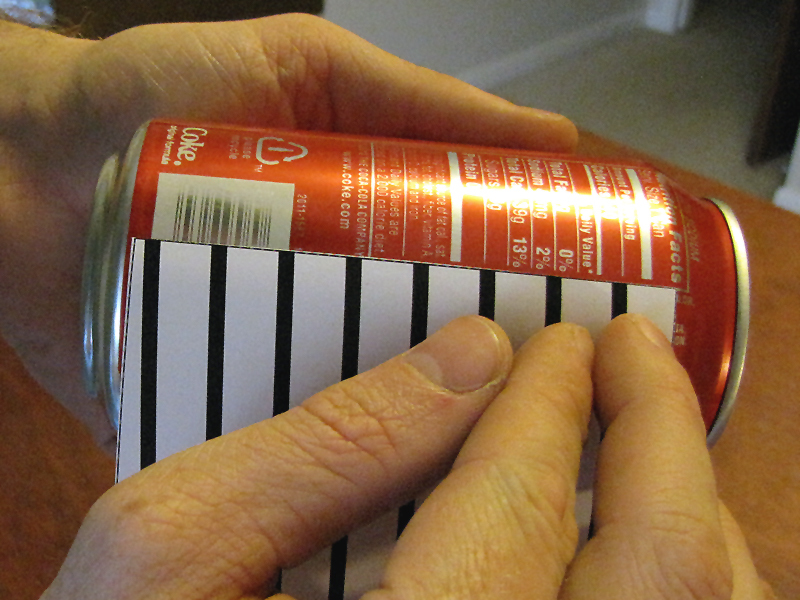
Align one of the short edges of the template with a straight vertical feature on the can label, and seat the adhesive along that line. Here, for instance, I am using one of the two long edges of the FDA nutrition information box.

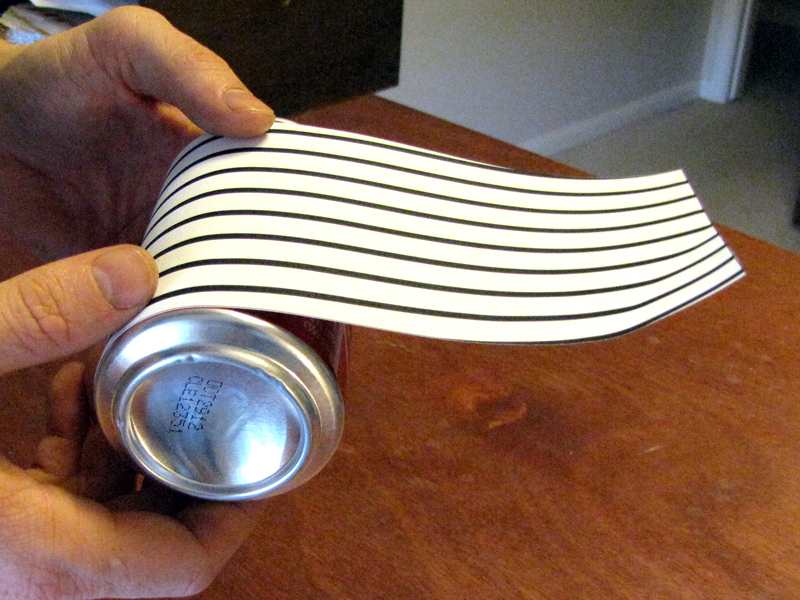
Carefully wrap the template around the can. Use only light pressure on the adhesive, at first, and be careful to avoid trapping wrinkles or bubbles.

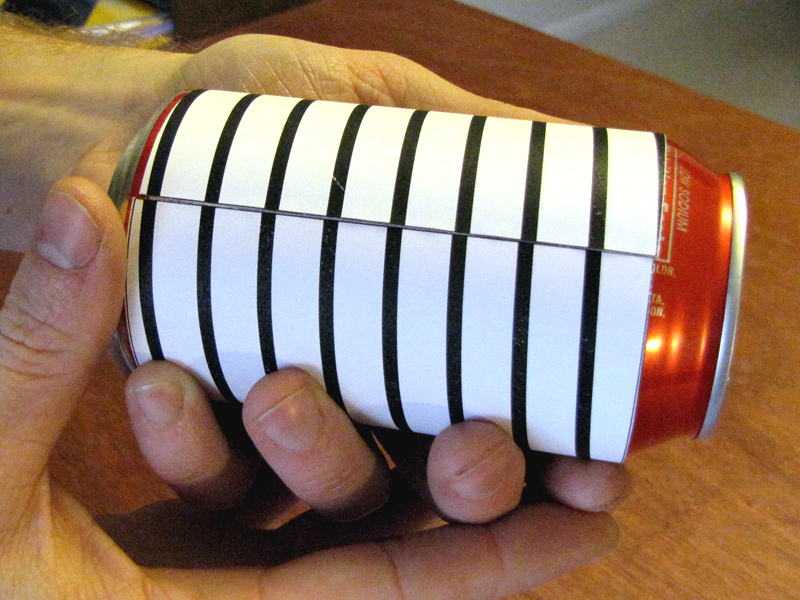
When the short edges of the template meet, the top and bottom corners should line up, as should the pattern of light and dark stripes. If they don’t, peel the label most of the way off in the reverse direction, adjust the alignment of the short edge, and repeat. The alignment doesn’t have to be hair-splitting exact. It usually takes me two or three tries to get it close enough, as in the photo.

Start cut

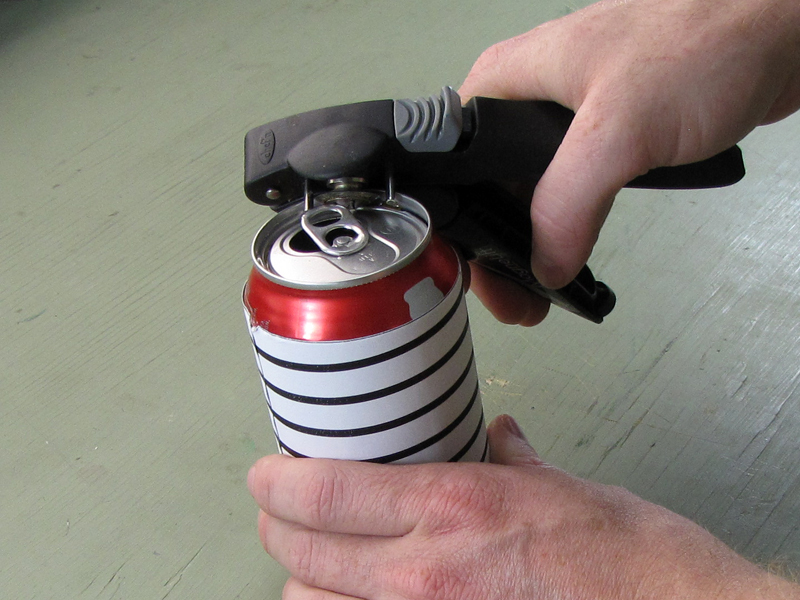
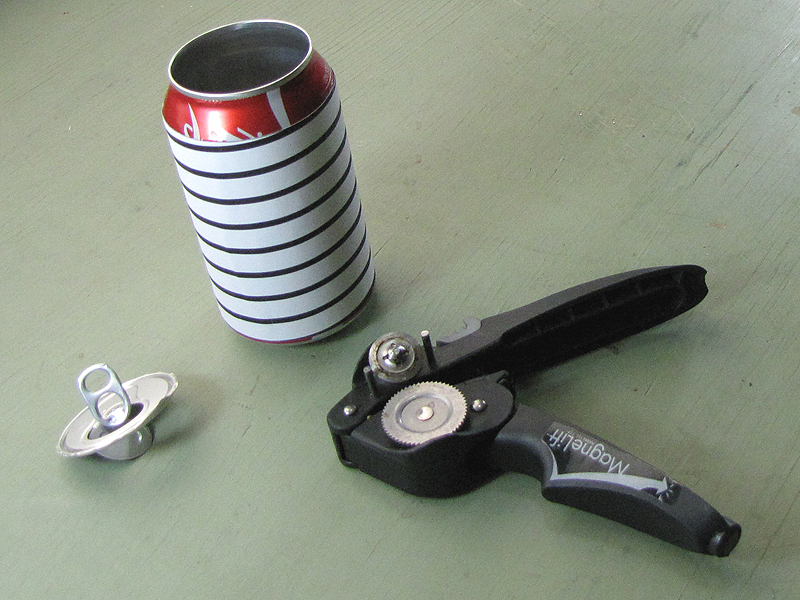
Use a normal can opener to remove the top of the can, as shown. This will make it much easier to start the nibbling shear.

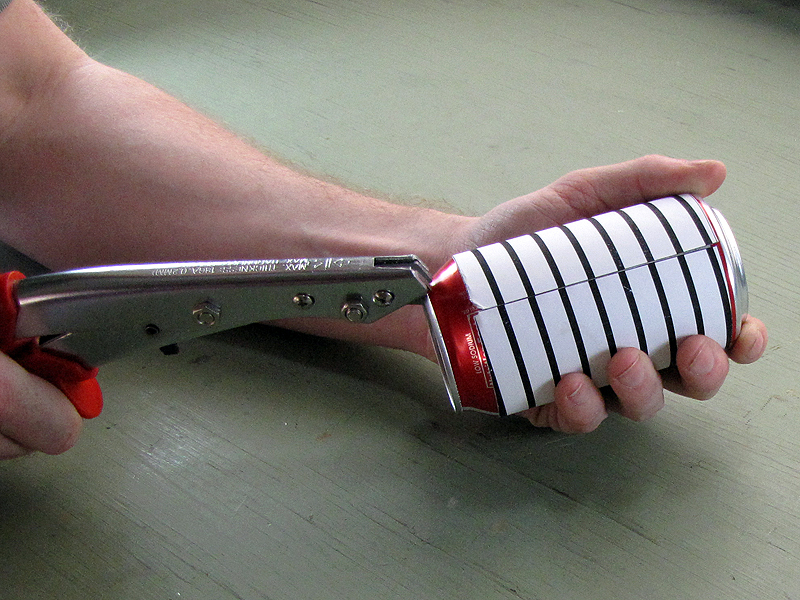
Using the nibblers, start cutting straight down along the side of the can.

Once you’re through the can lip, start turning the direction of your cut through 90 degrees, lining it up with the start of the dark stripe on the template.

Cut along line

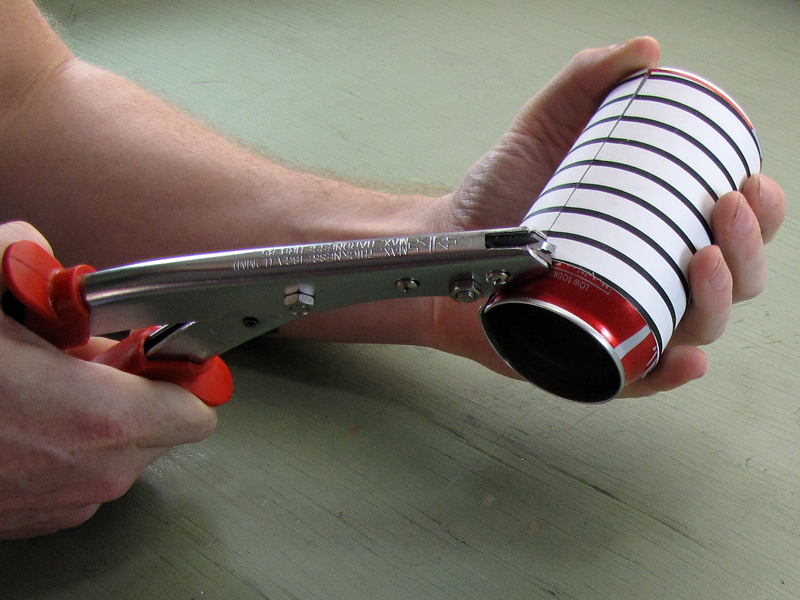
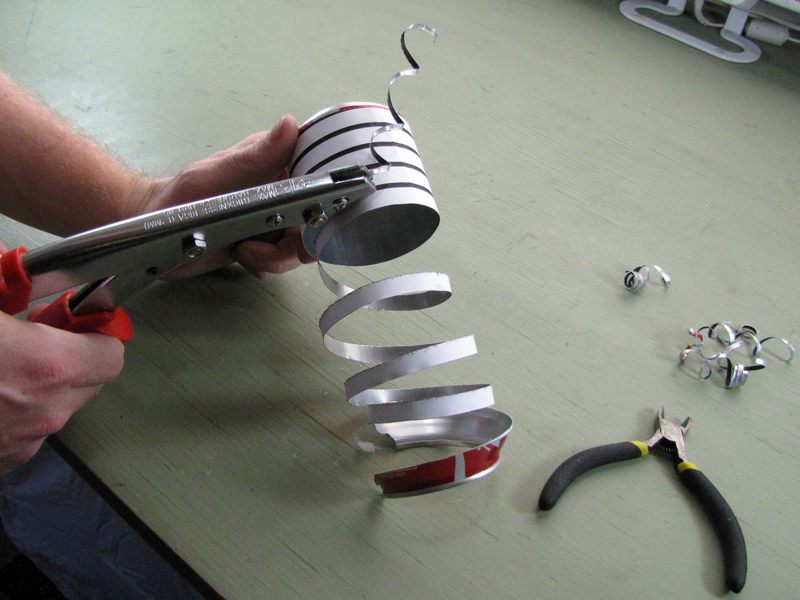
Working patiently, follow the dark line around the can with the nibblers.

The nibbler will produce a “kerf strip” that will tend to curl out in front and make it hard to see the line. Pause frequently to trim this off with a pair of sidecutters.

When you’ve cut all the way down to the bottom, trim the strip with a pair of scissors at each end to remove the dangling top and bottom sections of the can.

The templates provided should give about 4′ of 0.370″ width aluminum strip from a single 12 oz aluminum can.

Strop the strip

The strip will emboss just as well from either side, but the patterns on the outside of the can will make it very hard to read the text from that side. You’re welcome to experiment, of course, but I recommend embossing on the back side of the can for the sake of legibility. To emboss on the clean side of the strip, the natural curl of the metal from the can wall will need to be reversed.

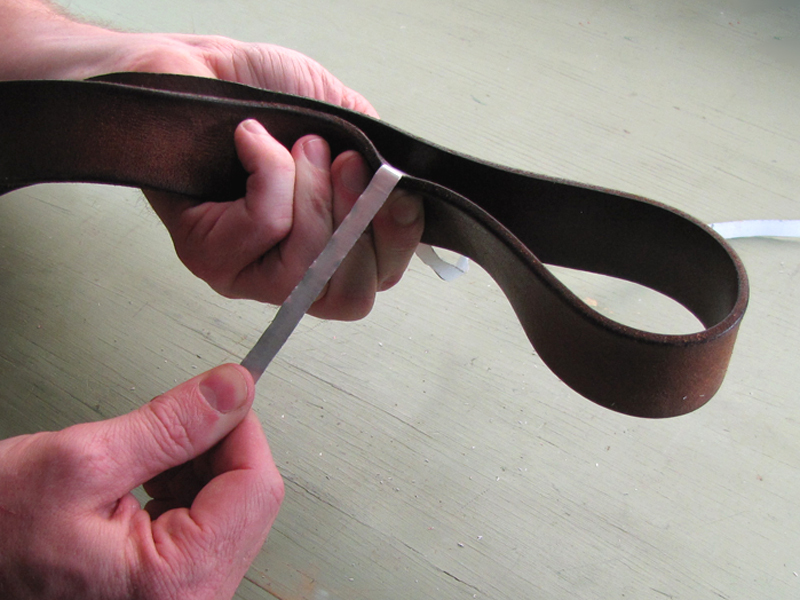
Also, though the nibbling shears produce a relatively clean cut, there will still be a small burr at each edge of the strip that should be smoothed for safety’s sake.

Fortunately, it is possible to achieve both goals in a single operation. Squeeze one end of the strip between the folds of an old leather belt or other piece of thick leather. You’ll want to press the tape against the back or “flesh side” of the leather, which is the rough side.

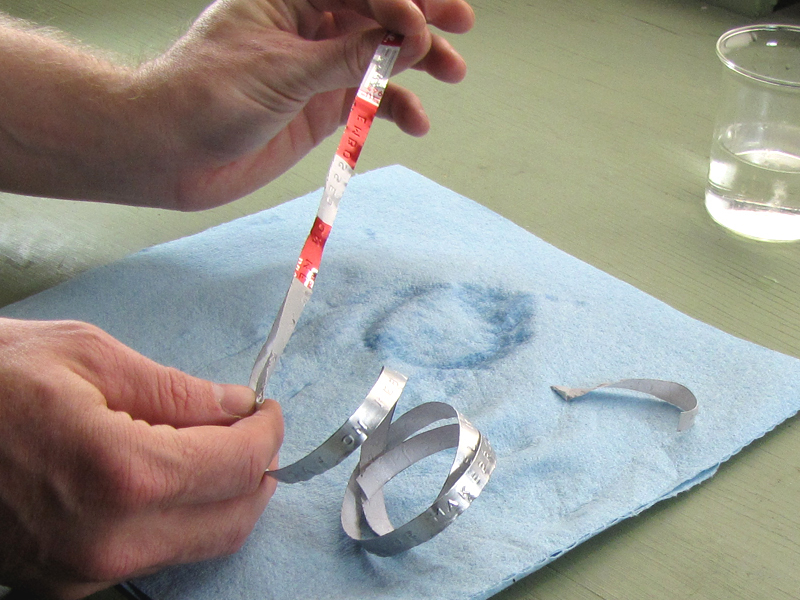
Pull the strip between the pieces of leather while squeezing tightly. Instead of pulling straight through, pull down at a slight angle. This action will both “strop” the metal burr and curl the strip in the opposite direction. You’ll probably want to do it two or three times to set the right curl.

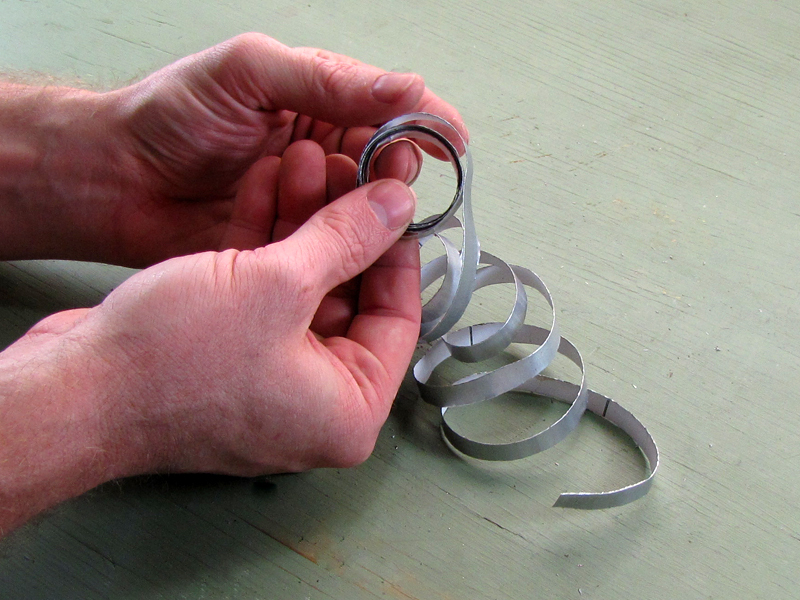
Coil the strip into a neat reel about 1.5″ in diameter.

Emboss text

Do not remove the paper template from the back of the aluminum strip before embossing. The extra thickness of the attached paper is essential for reliable feeding of the metal.

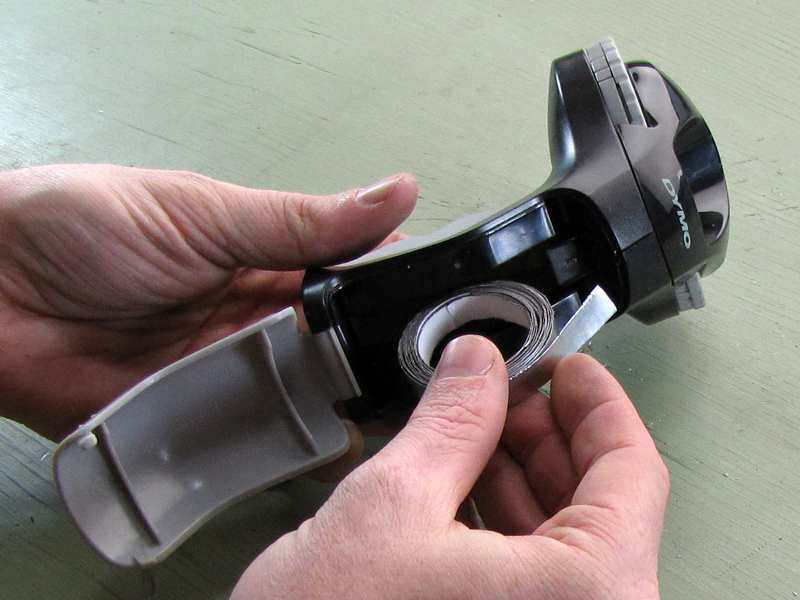
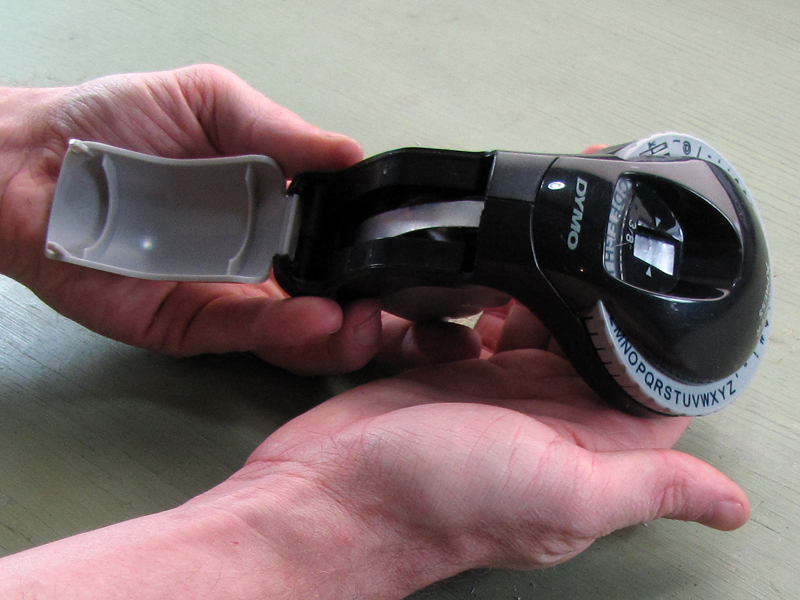
Load the rolled aluminum strip into your label maker as normal.

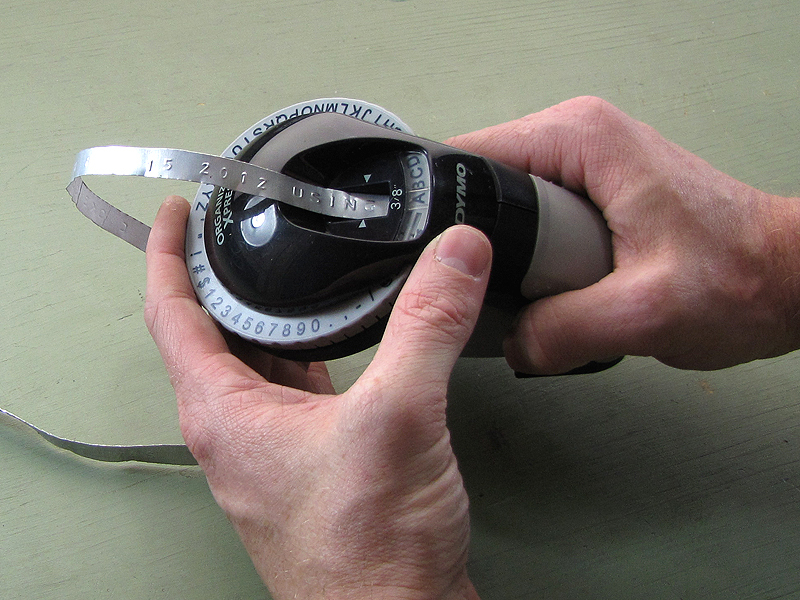
Feed the end of the aluminum strip into your label maker, as normal, until it protrudes at least 1/8″ from the embosser’s exit channel.

Emboss your text, using the label maker, as normal.

Finishing up

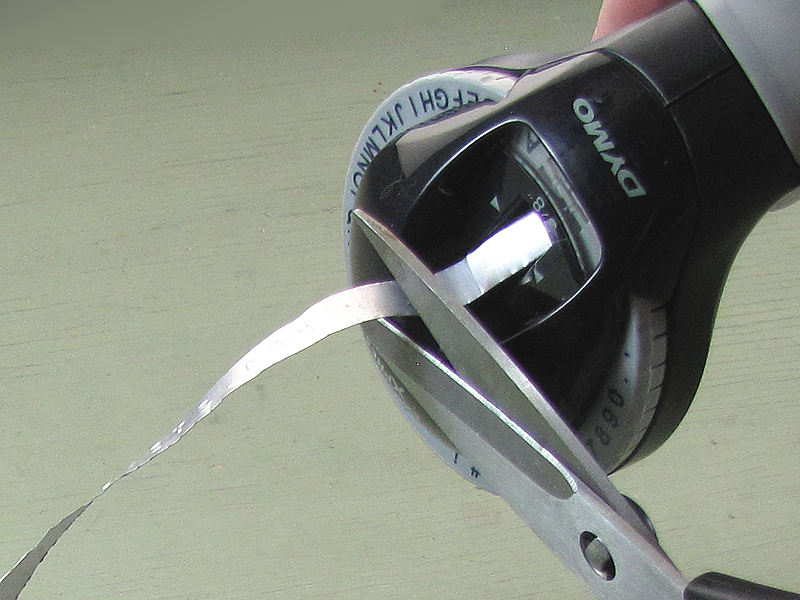
Your label embosser’s built-in cutter probably won’t work on the aluminum. Use a pair of scissors, instead, to cut the embossed label away from the reel.

You can remove the template label, now, if you want, but depending on your application there may not be much reason to bother doing so.

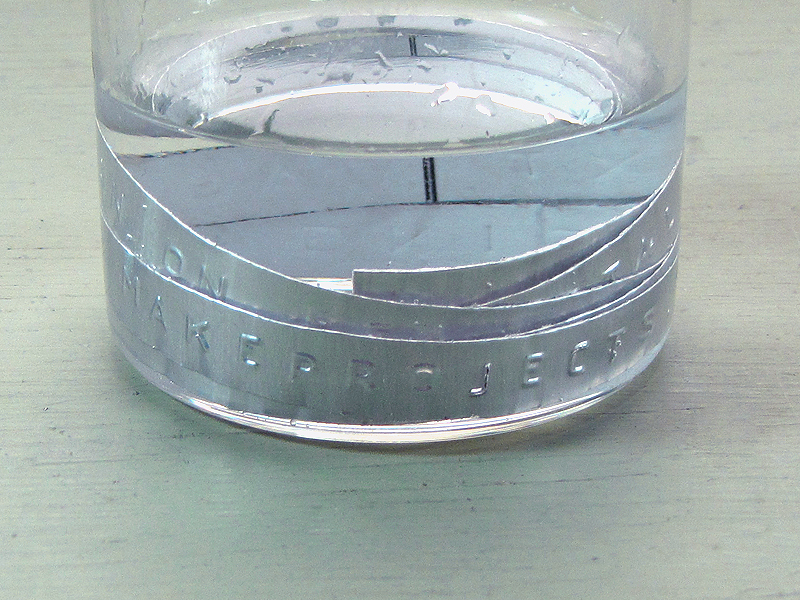
Soak the finished label in water, perhaps with a splash of rubbing alcohol in it, for a couple of hours. This will make it easier to peel off in one piece.

Attaching labels with rivets

Embossed aluminum labels produced using this method can be affixed to surfaces just like embossed aluminum labels produced with a Tapewriter: screws, tacks, rivets, glues, tapes, etc. My preferred method is to use aluminum pop rivets.

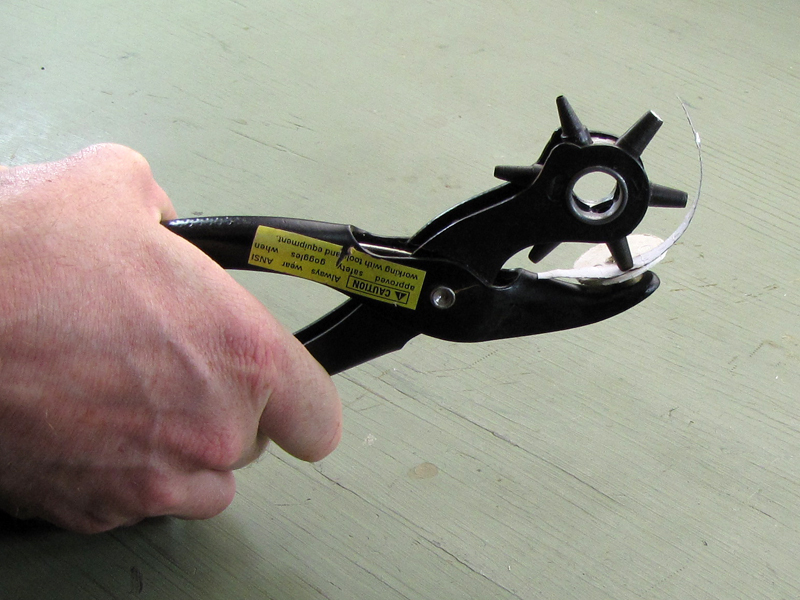
Punch holes in the label using a leather-punch tool with a piece of plastic, cardboard, or other soft matter between the die and the anvil. Use the 3.5 mm punch, and punch through the back side of the label.

Position the label where you want it mounted, and mark drilling locations through the punched holes with a Sharpie. Drill through the panel, where marked, with a 5/32″ bit.

Pass a 1/8″ diameter, short-throw pop rivet through each hole in the label, and each hole in the panel, and set it with a hand riveter.

Conclusion

I should note, finally, that the aluminum embossing tape manufactured by Dymo for its "industrial" label makers can also be embossed, with good legibility, by one of their plastic-tape embossers. As far as I can tell, however, that tape is only manufactured in 1/2" width, and would have to be cut down to use in the 3/8" and 1/4" "grocery store" embossers.