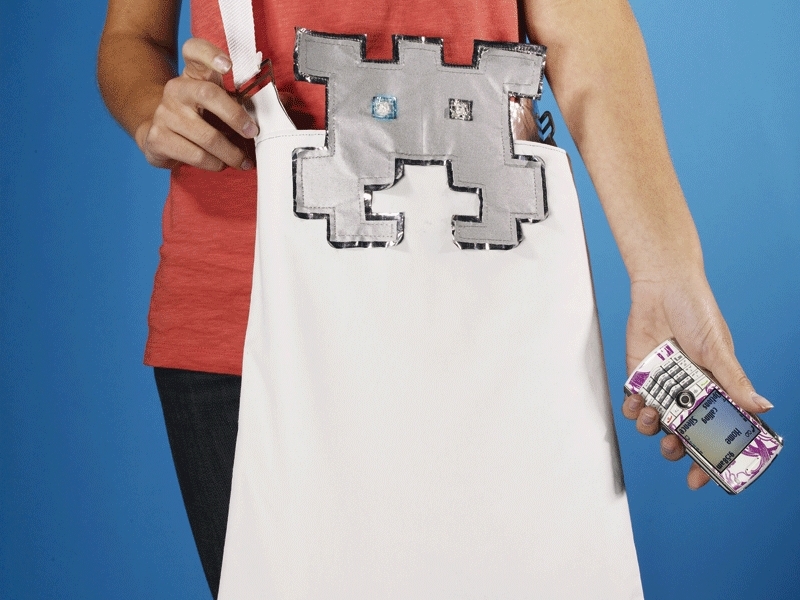
Cut two 1″×2″ pieces of fabric. Starting ¼” from the left side, using conductive thread, machine-sew a line from the top of the fabric, stopping ¼” from the bottom. Leave 5″ of loose thread at the top and bottom. Then sew a parallel line ¼” from the right side. Repeat for the second piece.
Thread a sewing needle with the loose thread from the bottom left of the fabric. Hand-sew a female snap, securing it to the fabric. Knot and cut off any extra thread. The female snap will be the negative snap. Repeat, sewing a male snap to the bottom right of the fabric. The male snap will be the positive snap. Repeat for the second fabric piece, this time swapping the placement of the snaps.
For the second fabric piece, swap the placement of the male and female snaps so that the female snap is at the bottom left and the male snap is at the bottom right.
Grab the interfacing layer. Place a fabric piece face down, aligning the stitch lines from the positive (male) and negative (female) snaps to the positive (from bottom of eye) and negative lines (from top of eye) sewn on the interfacing. Thread a sewing needle with the positive loose thread from the fabric piece. Securely sew the fabric piece onto the interfacing, overlapping the conducting lines from both pieces, creating a conductive path from the interfacing to the snap.
Thread a needle with the negative loose thread from the fabric piece. Securely sew the fabric piece onto the interfacing, making sure both negative conductive lines overlap. Repeat for the second fabric piece, aligning the stitch lines from the positive and negative lines accordingly. Place the combined top fabric layer face down. Place the interfacing layer directly on top of the fabric layer with the snaps facing down. Pin.


