With three socks, two stick-on eyes, and a thin scrap of material, in half an hour you will have a simple string puppet. (Although, if you use glue to attach the eyes, you will have to wait for the glue to dry. I suggest that you let it dry overnight if you can wait that long!)
Projects from Make: Magazine
String Puppet from Three Socks
Make a simple string-operated puppet from old socks and scrap material.
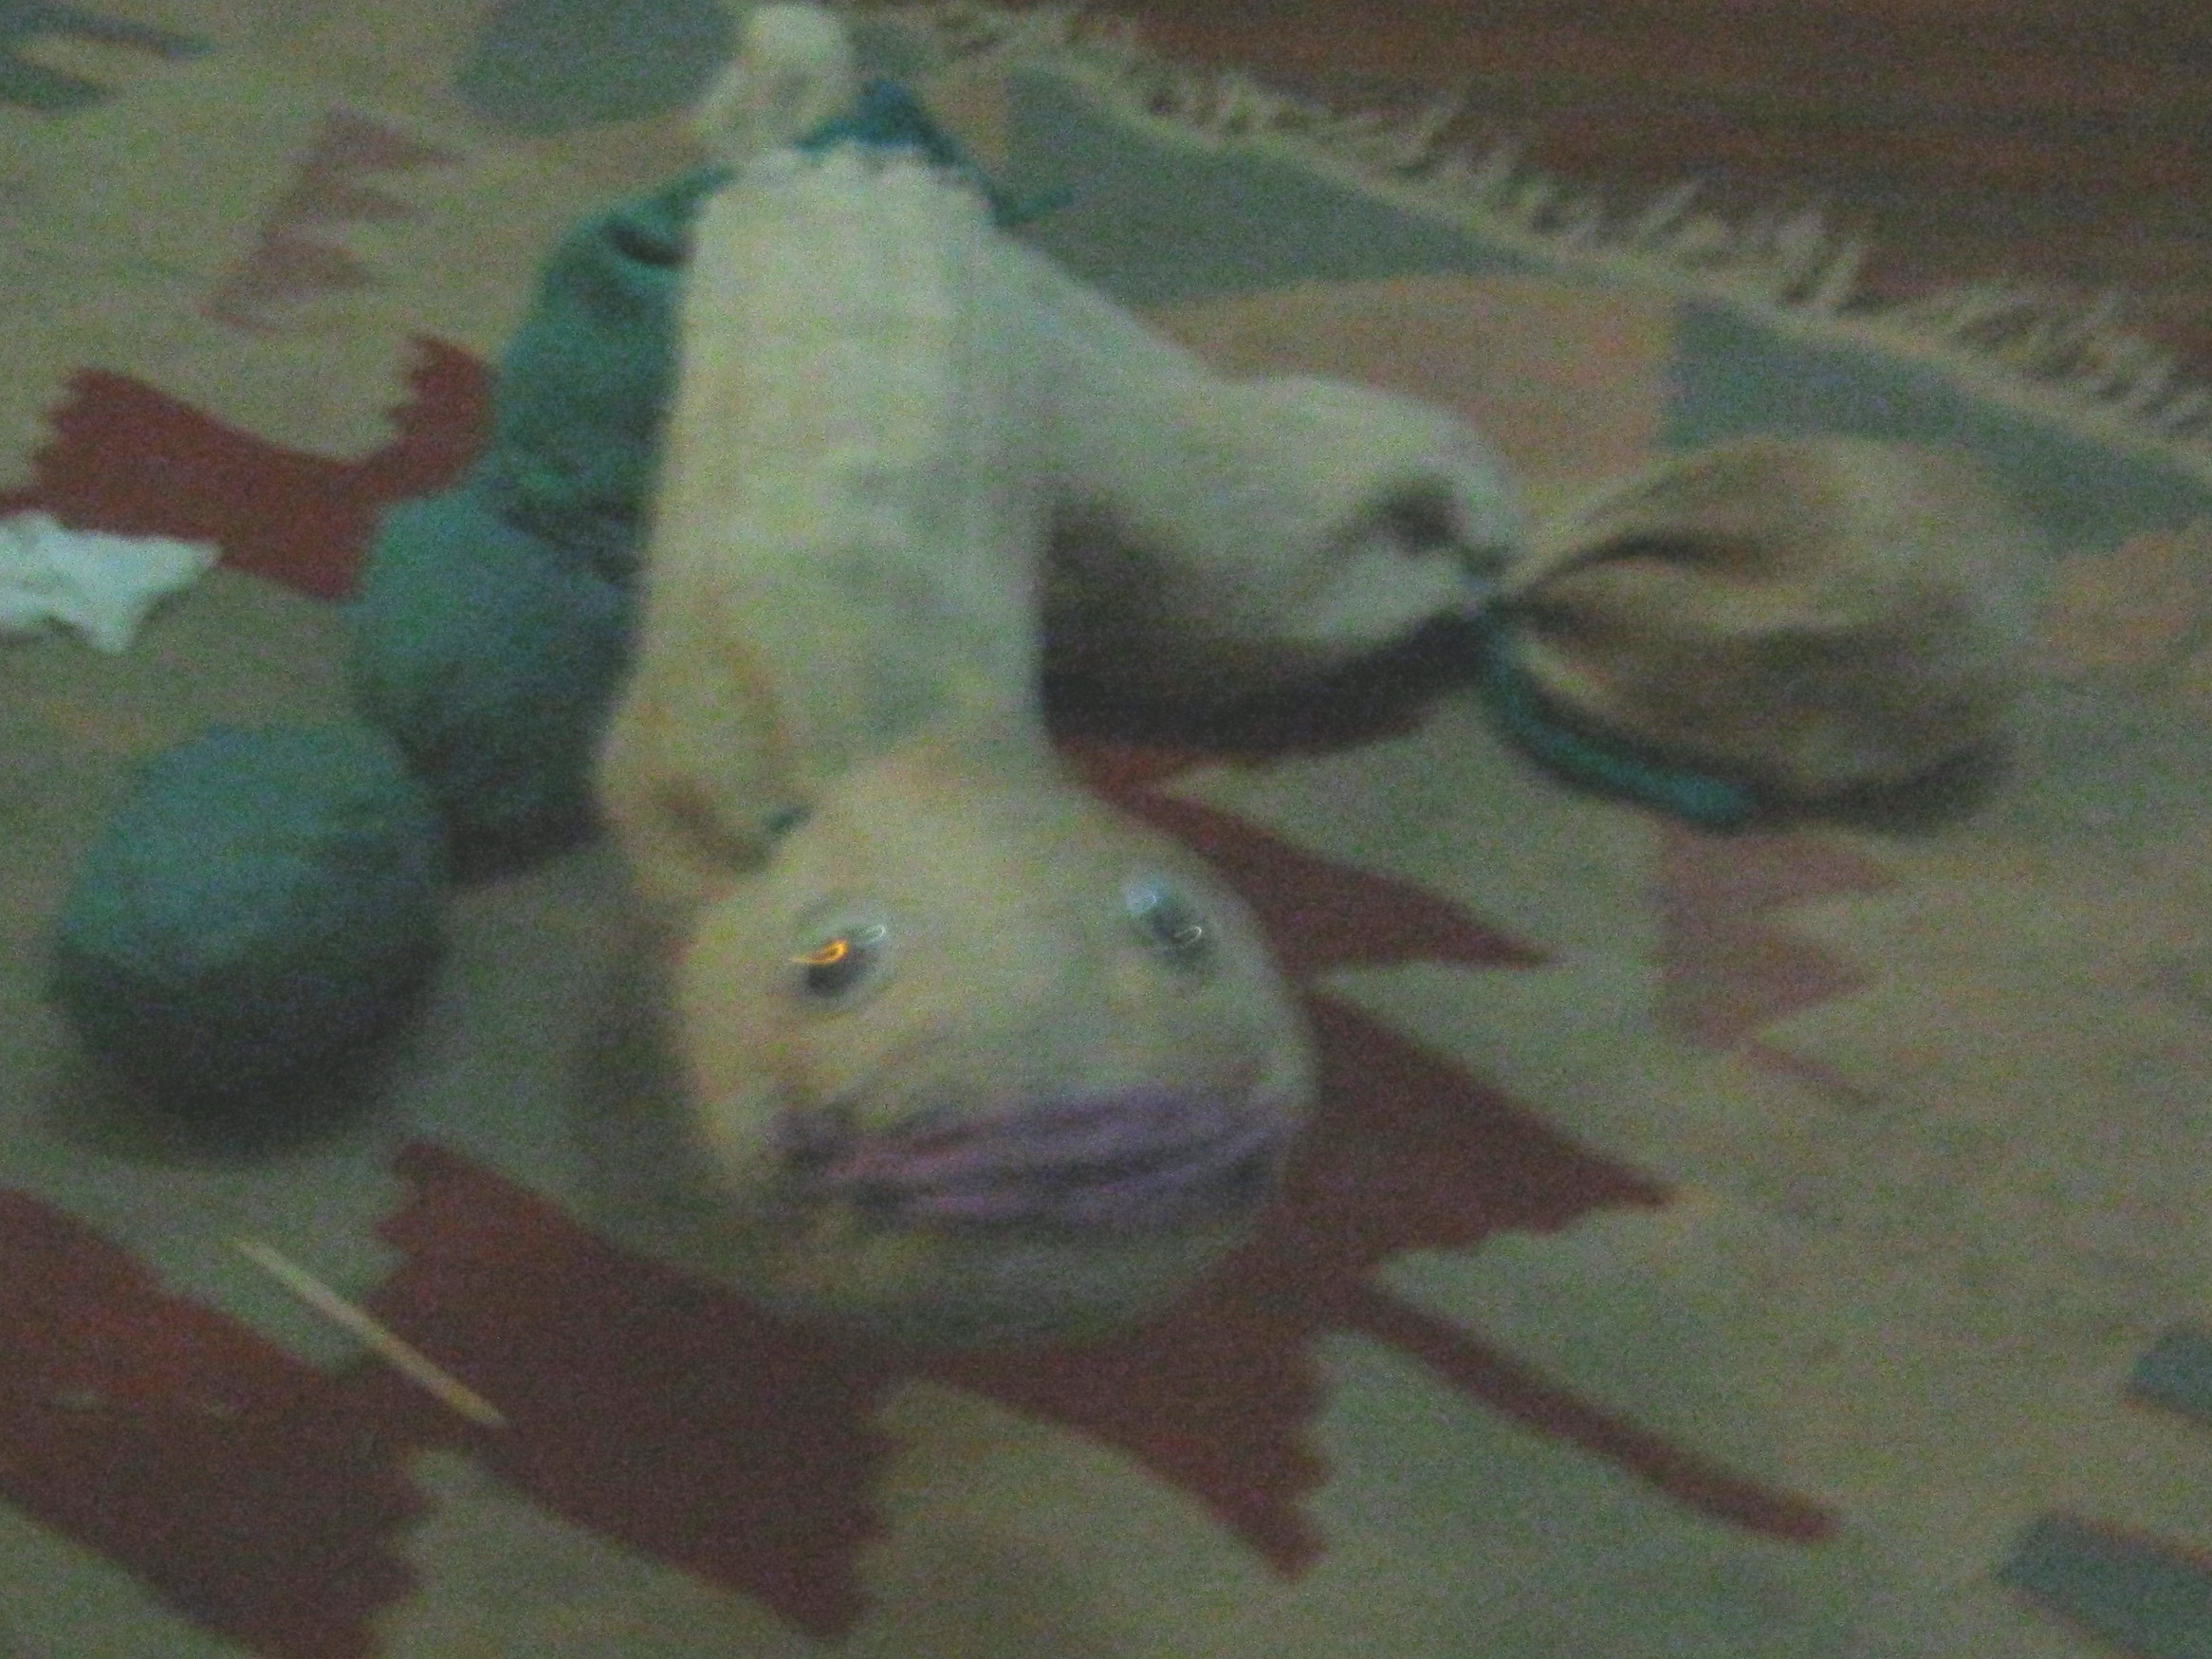
The body
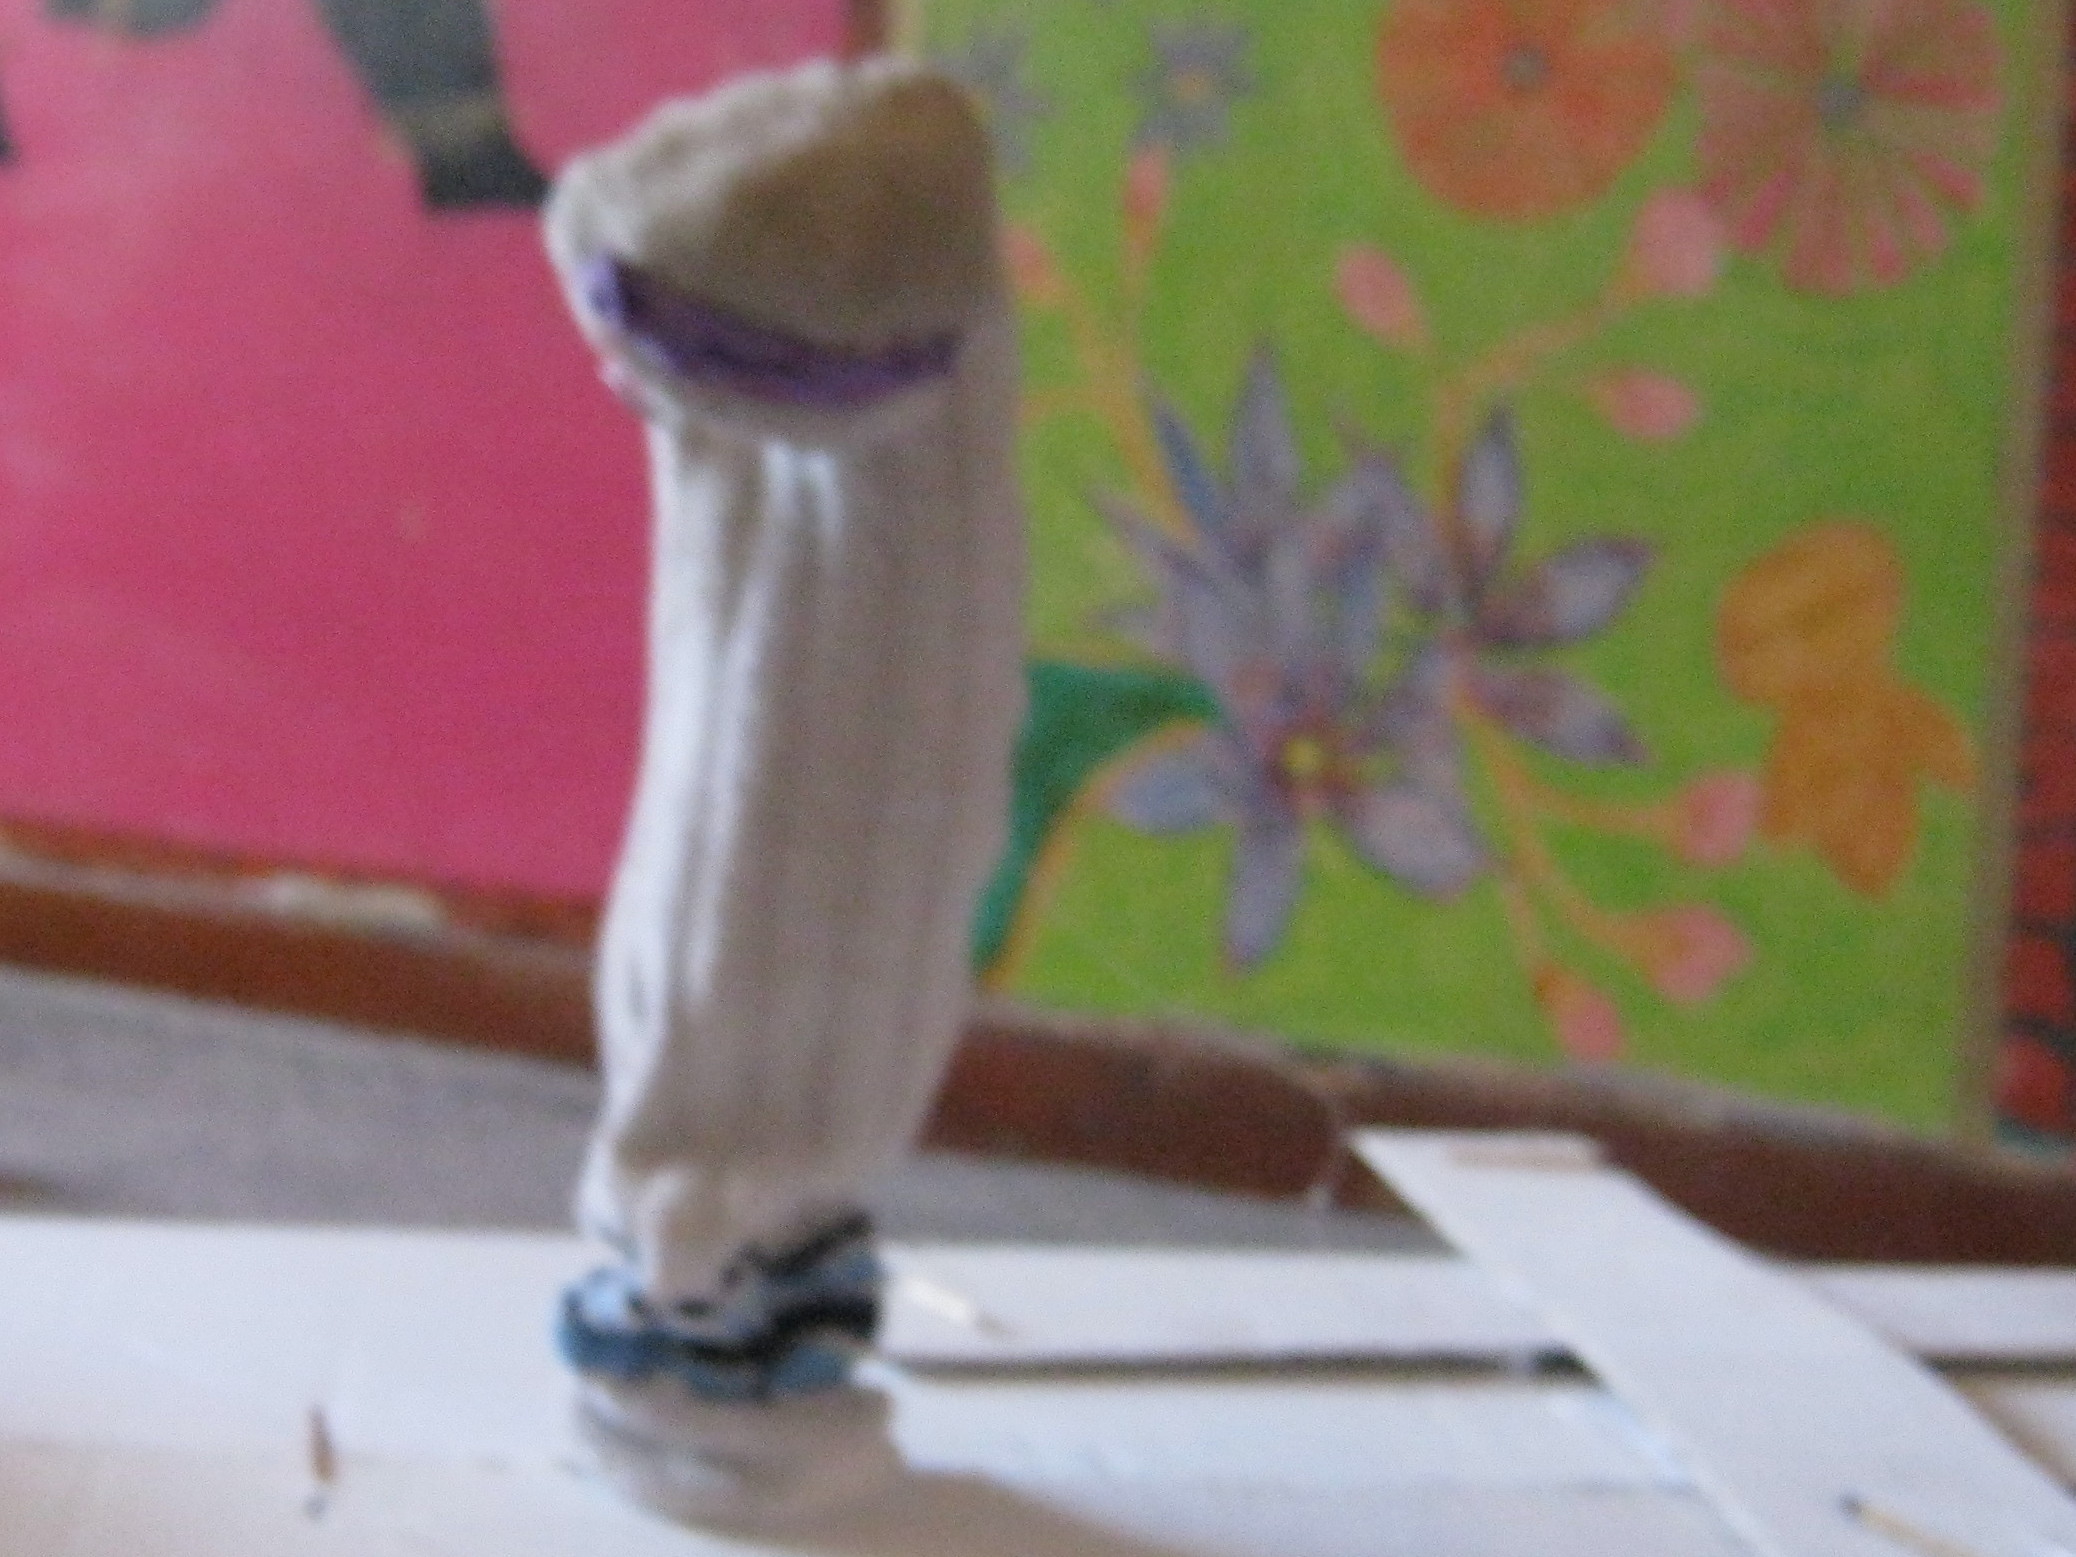
You will need: Three socks (preferably one thicker one and two thin ones) a scrap of material for the mouth, two stick-on eyes, fabric glue and string or gut.
To make the head, take the sock that you want to use as the body and put as much stuffing in as you see fit into the end of it.
Once you have done that, stitch the sock at the point where the stuffing ends to form the head. Make the neck long enough for the head to drop down when you lift up the body, then stitch the bottom of the neck.
There should be no stuffing in the neck.
Now it is time to give the puppet a mouth. Take the scrap of material and arrange it in the shape of a mouth. This can be done however you want the mouth to look. Then stitch it on. (I used a scrap of cotton Lycra because both of the sides roll in, so all I had to do was separate the sides a little and stitch it on.)
Stuff the body and sew up the bottom.
The legs
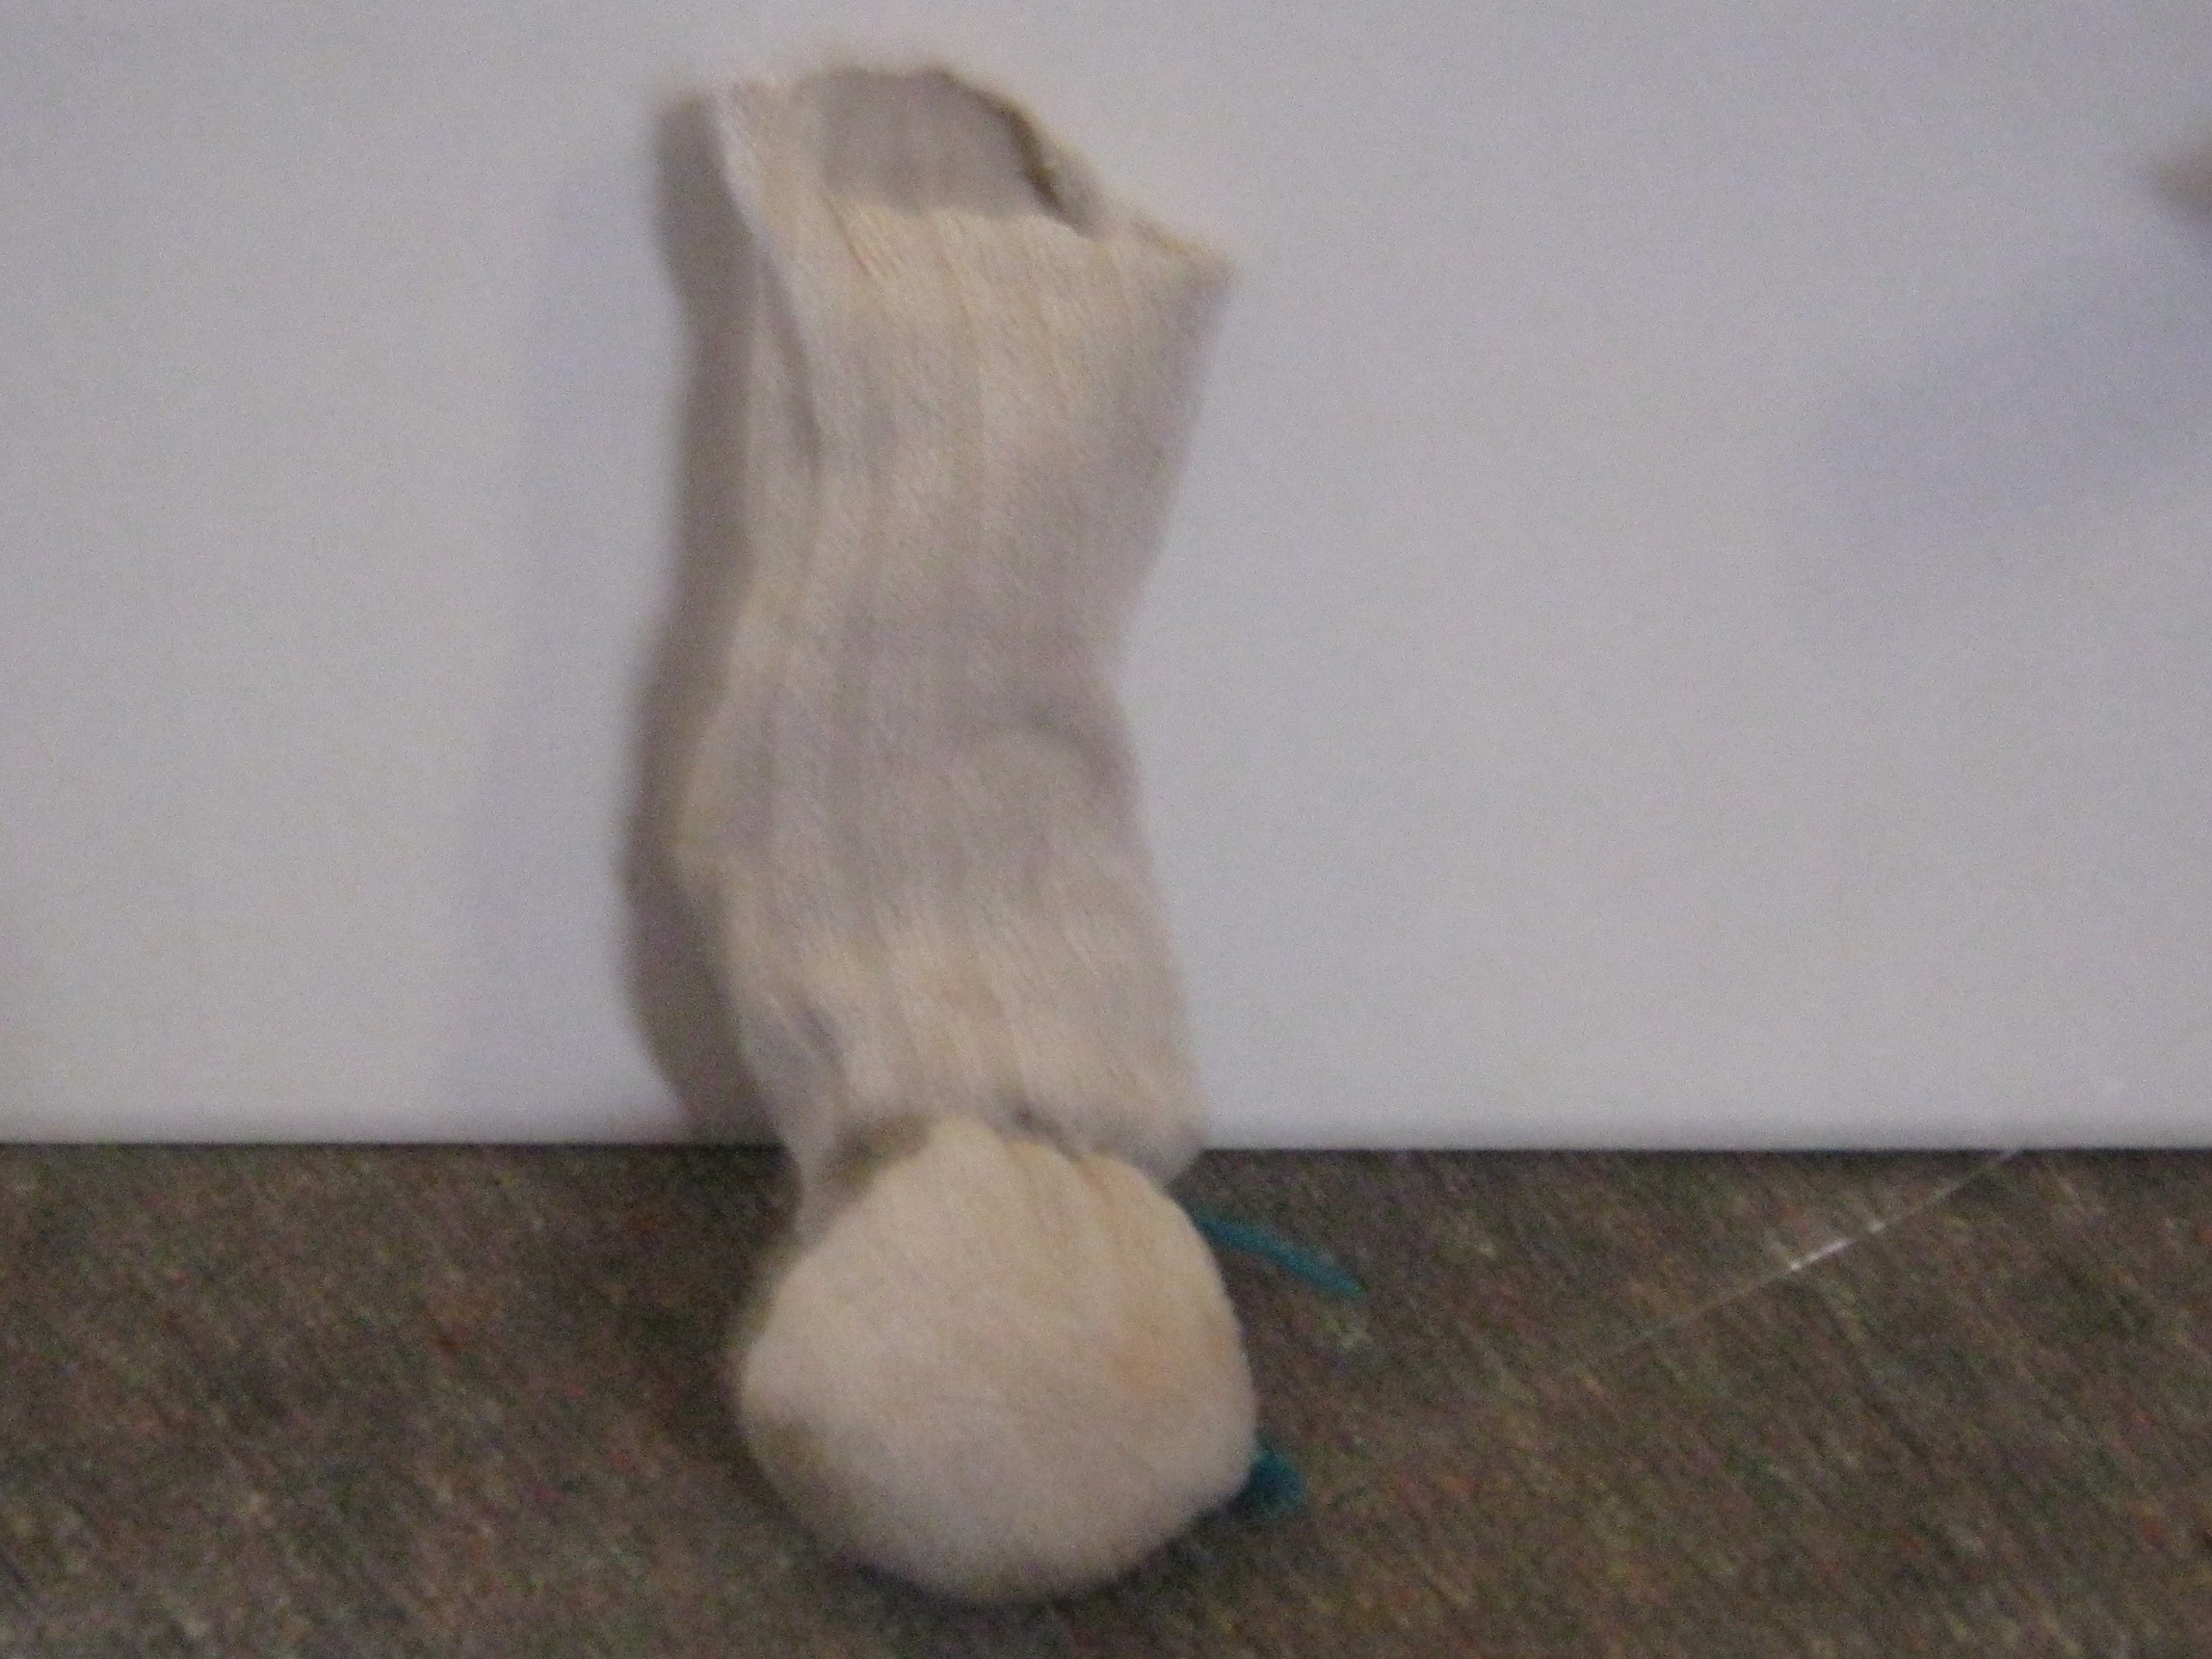
Do this step to form both of the legs.
Take the socks you are going to use for the legs and stuff as much as you see fit for the foot then stitch where the stuffing ends. Make the ankle long enough so that if you hold up the leg and let the foot touch the floor it bends to look normal. Then stitch the top of the ankle.
The ankle also does not have stuffing in it.
Once you have done this with both of the legs sew them onto the bottom of the body.
Adding the strings
The puppet is almost ready. Now you just need to add the strings.
We will start with the head string. Take the string and thread the end through a large needle. Then push the needle through a bit of the top of the head and tie the string there. Make the string long enough so that when you are standing comfortably you can pull up on the string and make the body stand upright. Cut the string at that length.
Always leave a little extra string for tying to the cross bar.
Thread another piece of string through the needle. Push it through a bit of the top of one of the feet and tie it there. Stand alongside the puppet, holding the head string so that the puppet is standing up, and make the foot string long enough so that the foot touches the floor. Cut the foot string at that length. Do this for the other foot as well.
if you want your puppet to be able to bend his or her back there is a simple way to do it: Cut a piece string the same length as the one on the head and join it to the bottom of the body.
The cross bar
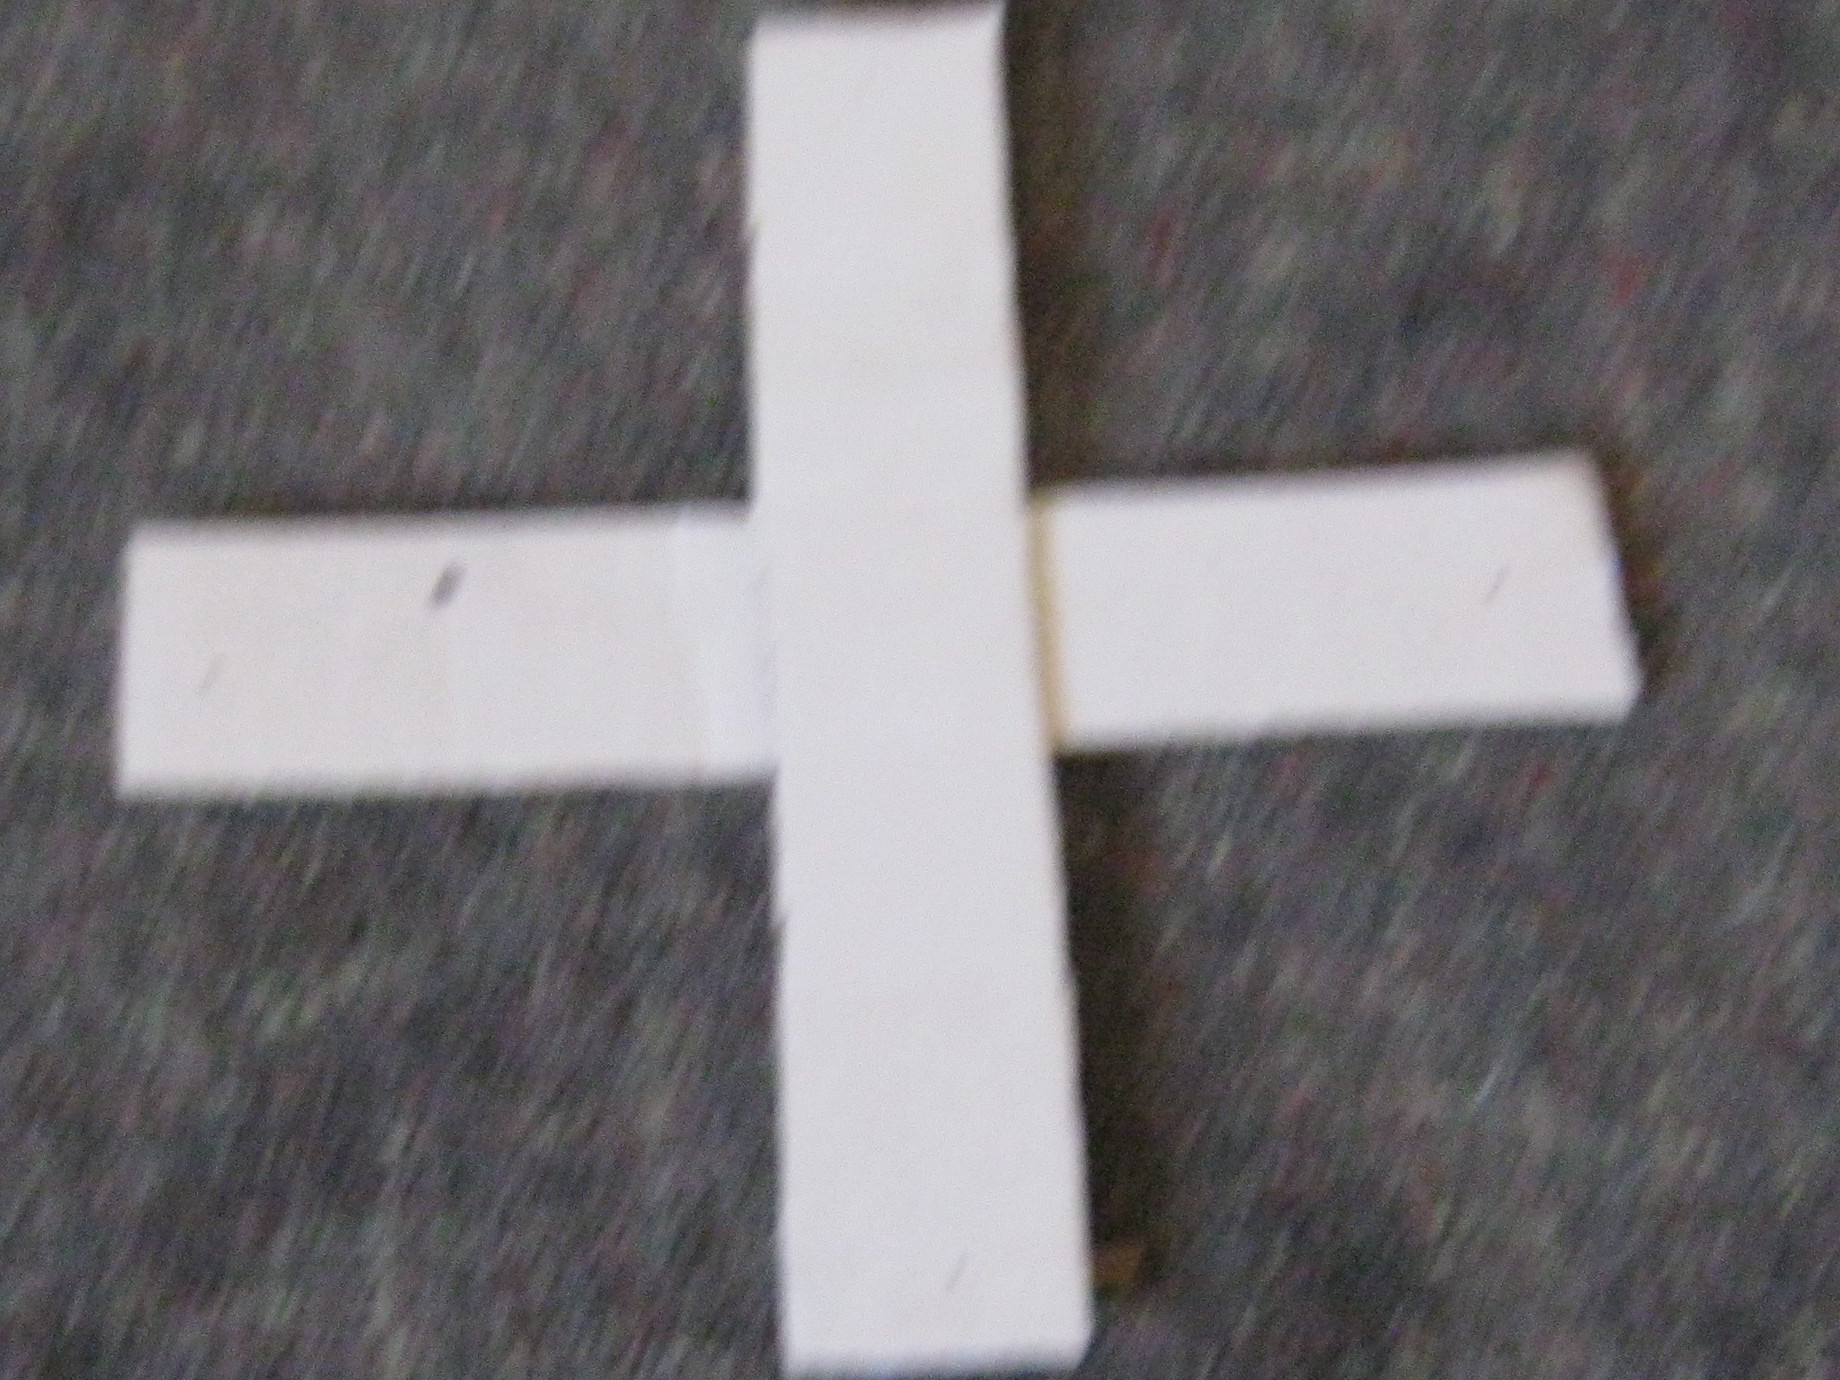
The cross bar is what you use to control the puppet.
The cross bar is easy to make. First, take two pieces of wood or cardboard about 30 cm long and 6 cm wide and glue one over the other to make a cross.
Then, make a hole at the end of one of the pieces and thread the string from the head through. Tie it to a matchstick on the other side so that it won’t pull back through.
Repeat with the string from one foot on one side and the string from the other foot on the other side.
Then take the string coming from the puppet’s back (if you installed one) and thread it through the remaining end of the cross.
Finally, glue on the eyes with fabric glue and wait for it to dry.


