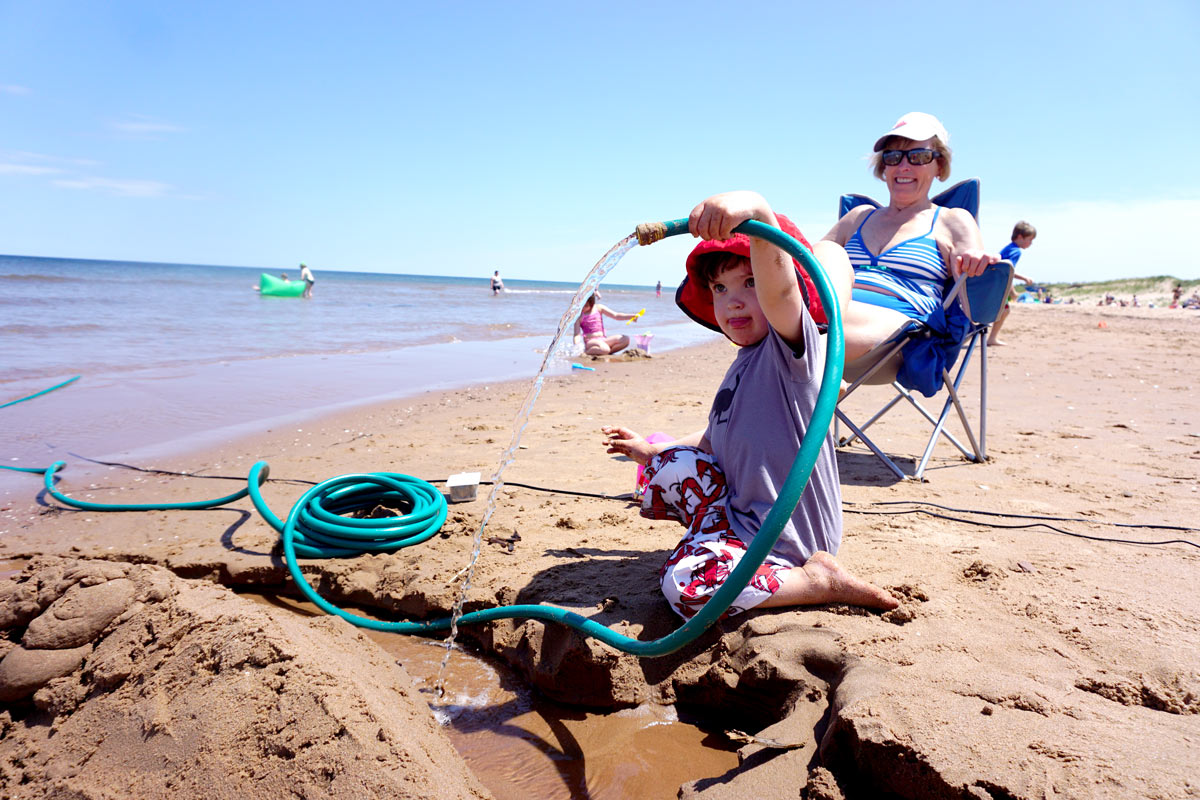
The Solar Beach Hose is a solar panel–powered bilge pump connected to a garden hose. It’s the absolute favorite beach toy for my kids, their friends, and their cousins. They make rivers to float boats down, fill buckets with water for making sand castles, spray each other, and have lots of fun. Ever since I made it, everyone that walks by on the beach wants one!

The solar panels are the type that are widely available for boats, RVs, and camping, and the whole project is very easy to make using inexpensive parts from the hardware store — no soldering is required.

Make Your Solar Beach Hose

We’re working with low voltage with this project, so electrical safety is not a concern. The 12V solar panels put out enough voltage to give you a little tingle, but are perfectly safe. We are using some components from 120V house wiring like the light switch, but that’s just for a reliable and convenient enclosure.

Project Steps

1. PREPARE THE CABLES

Your first step is to hook up the solar panels to the light switch. I kept the quick-connect adapters intact that come with the Coleman panels so I could hook them up to the included battery charge controller.

Cut the large alligator clamps off the quick-connect cables, and strip about ½” of insulation from the cut ends of the wires. (Other panels may already have a cable that terminates in stripped wires.)

Note: On my first build, I cut the solar panel quick-connect extension cord in half to use the connectors on both ends for this step. Don’t do it! This gave me two identical-looking connectors with reversed red-black wiring polarities. It’s really confusing to keep positive and negative consistent in this situation.

To prepare the lamp cord, use the scissors to separate the two conductors and then strip ½” of insulation from both wires. Repeat at the other end.

2. PREPARE THE ELECTRICAL BOX

You’re going to hook up all the wires inside the metal electrical utility box. First, remove one of the metal circle “knock-outs” by pushing it in with a screwdriver and then pushing it back and forth until it breaks off.

The utility box connector will protect the wires from being pulled out, or cut by the sharp edges of the box. Unscrew the nut, fit the connector into the box, and attach the nut from the inside.

Feed the solar panel connector wires and lamp cord wires through the hole before connecting them since they won’t fit through afterward.

3. CONNECT WIRES TO SWITCH

One wire of the lamp cord is ribbed, and one is smooth. Use the ribbed side as negative to keep the polarity straight. Twist together the 2 black wires from the solar connectors and the ribbed cable of the lamp cord, and secure them with a wire connector, aka wire nut. Push the wire nut firmly onto the twisted wires while turning it clockwise; there’s a copper spring inside that grabs onto the wires and keeps them secure. Then tug each of the 3 wires individually to make sure they are firmly in place and won’t wiggle loose.

Cut a small jumper wire from the lamp cord, then twist it together with the two red wires from the solar panels, and secure with a wire nut.

Make little hooks out of the smooth, positive lamp wire and the jumper to connect them to the light switch terminals. Bend the hooks clockwise, so that tightening the terminal screws doesn’t unravel the wires.

4. CLOSE UP THE BOX

Pull the slack in the wires out of the box, and tighten the screw in the utility box connector to clamp them in place. Screw in the light switch and then the faceplate.

5. CONNECT THE BILGE PUMP

Now you’ll hook up the bilge pump to the other end of the lamp cord. Use a wire nut to connect the ribbed lamp wire to the blue or black negative wire. Connect the smooth lamp wire to the pump’s red positive wire.

Since the bilge pump and its wires will be in the water, protect the wire connectors by wrapping them in electrical tape.

6. CONNECT THE HOSE

Depending on the size of the outlet on your bilge pump, you may need to connect the faucet hose adapter on the inside or the outside of the outlet. I had to take off the metal ring clamp to make it fit inside the outlet of my pump.

Then the garden hose can screw into the adapter and you’re ready to go!

Get Pumped!

Place your solar panels facing directly into the sun, near your towels on the dry part of the beach. Turn the switch off and connect the quick-connect adapters.

Put the bilge pump in the ocean or lake, and anchor it in place with the tent peg. These pumps are meant to take a lot of abuse, and pumping sand-filled seawater doesn’t seem to faze them.

Bury the lamp cord in the sand, since it could be a tripping hazard for people walking along the beach.

As the tide goes out, the bilge pump will even excavate a little hole for itself, and happily keep on pumping. If your beach is really gently sloped, you can dig a little hole for the pump in the sand to give it access to more water to pump.

Kids will spend hours with the hose, using it for water for sandcastles, making rivers, excavating, melting sand. It opens up so many new ways to play! Slip and slide at the beach, anyone?

MAINTENANCE

Before you leave, let the pump run in clear water for a bit to clear out any sand. When you get home, if you were pumping seawater, rinse out the pump with fresh water to get rid of the salt to prevent corrosion.

Going Further

Any cloud cover at all will make the output of the solar panels drop to nothing and the pump will stop. You can add in a battery backup to prevent this! These solar panels come with a charge controller, so you can just buy a waterproof sealed marine battery and hook it up.