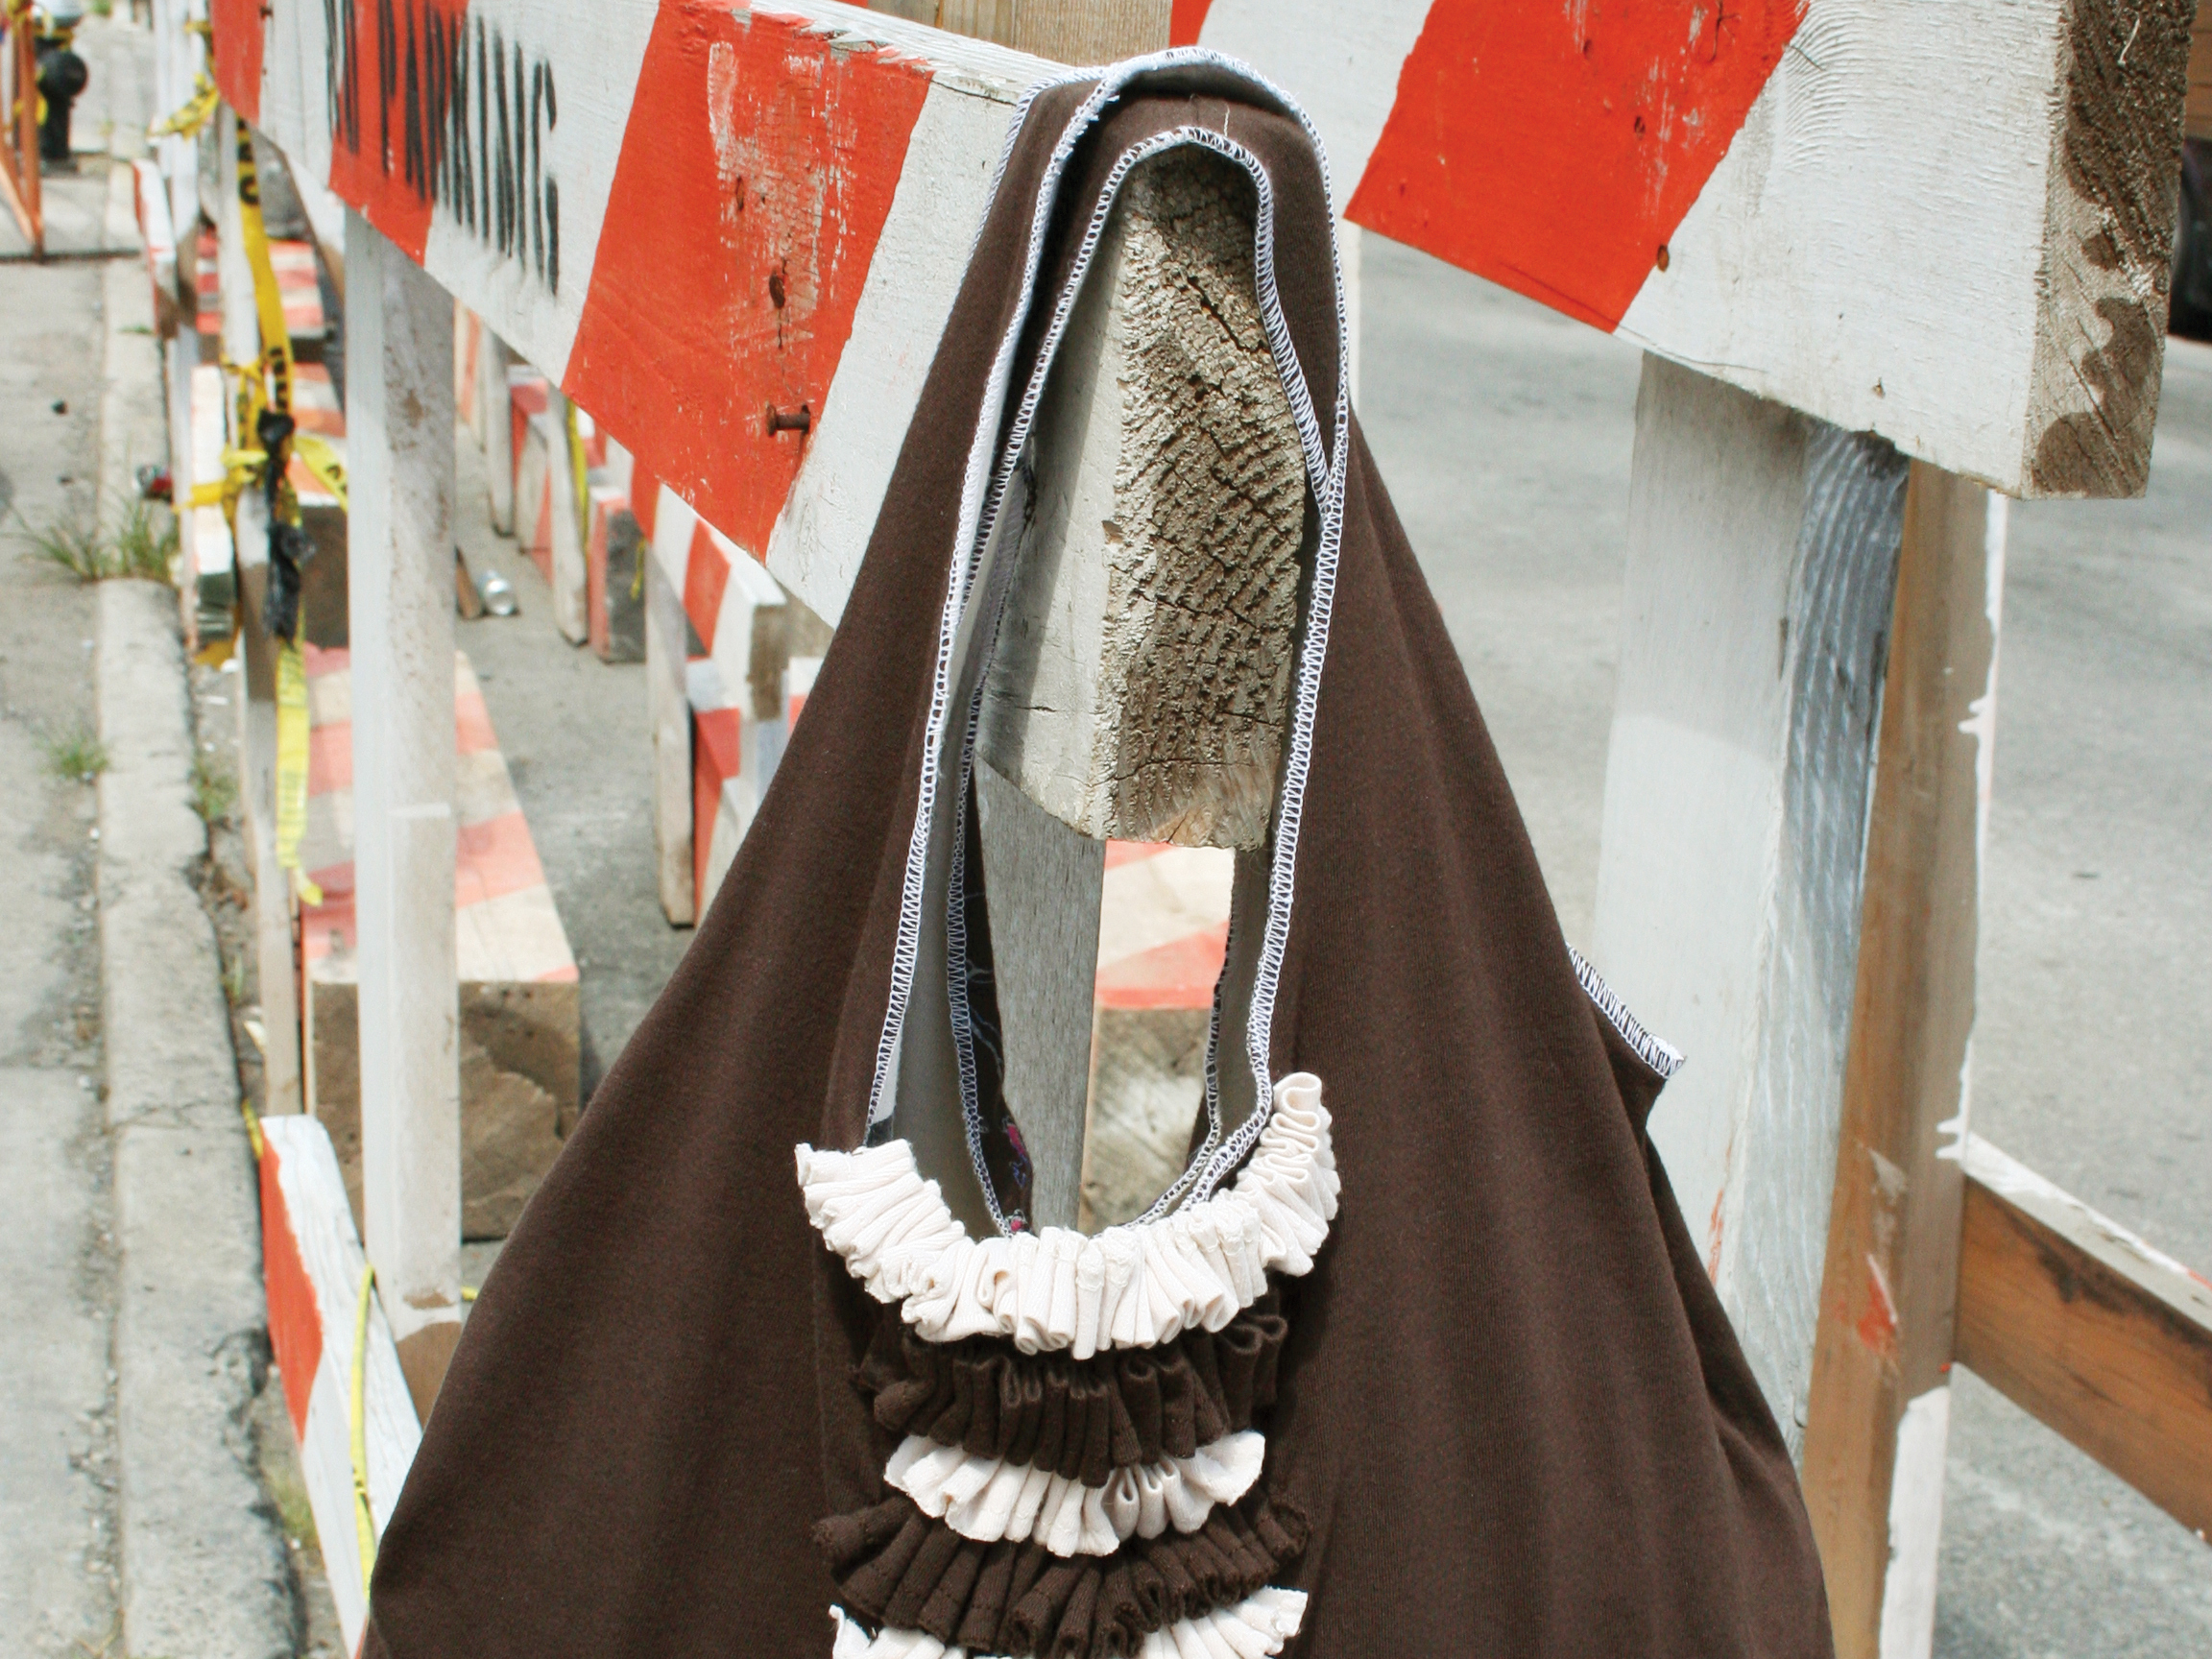
We all have piles of old T-shirts lying around, the ones we just can’t seem to part with. But don’t call Goodwill just yet. We’ll show you how to turn those dust collectors into something useful; an everyday purse or carrying bag.

We got the idea for this bag while we were working on our own reusable grocery bag pattern, the Charlie bag. Our intern Katie Leaver took the reins and came up with this jewel.

Project Steps

Flip.

Take one of your old T-shirts, flip it inside out, and lay it flat across the table.

Mark and measure.

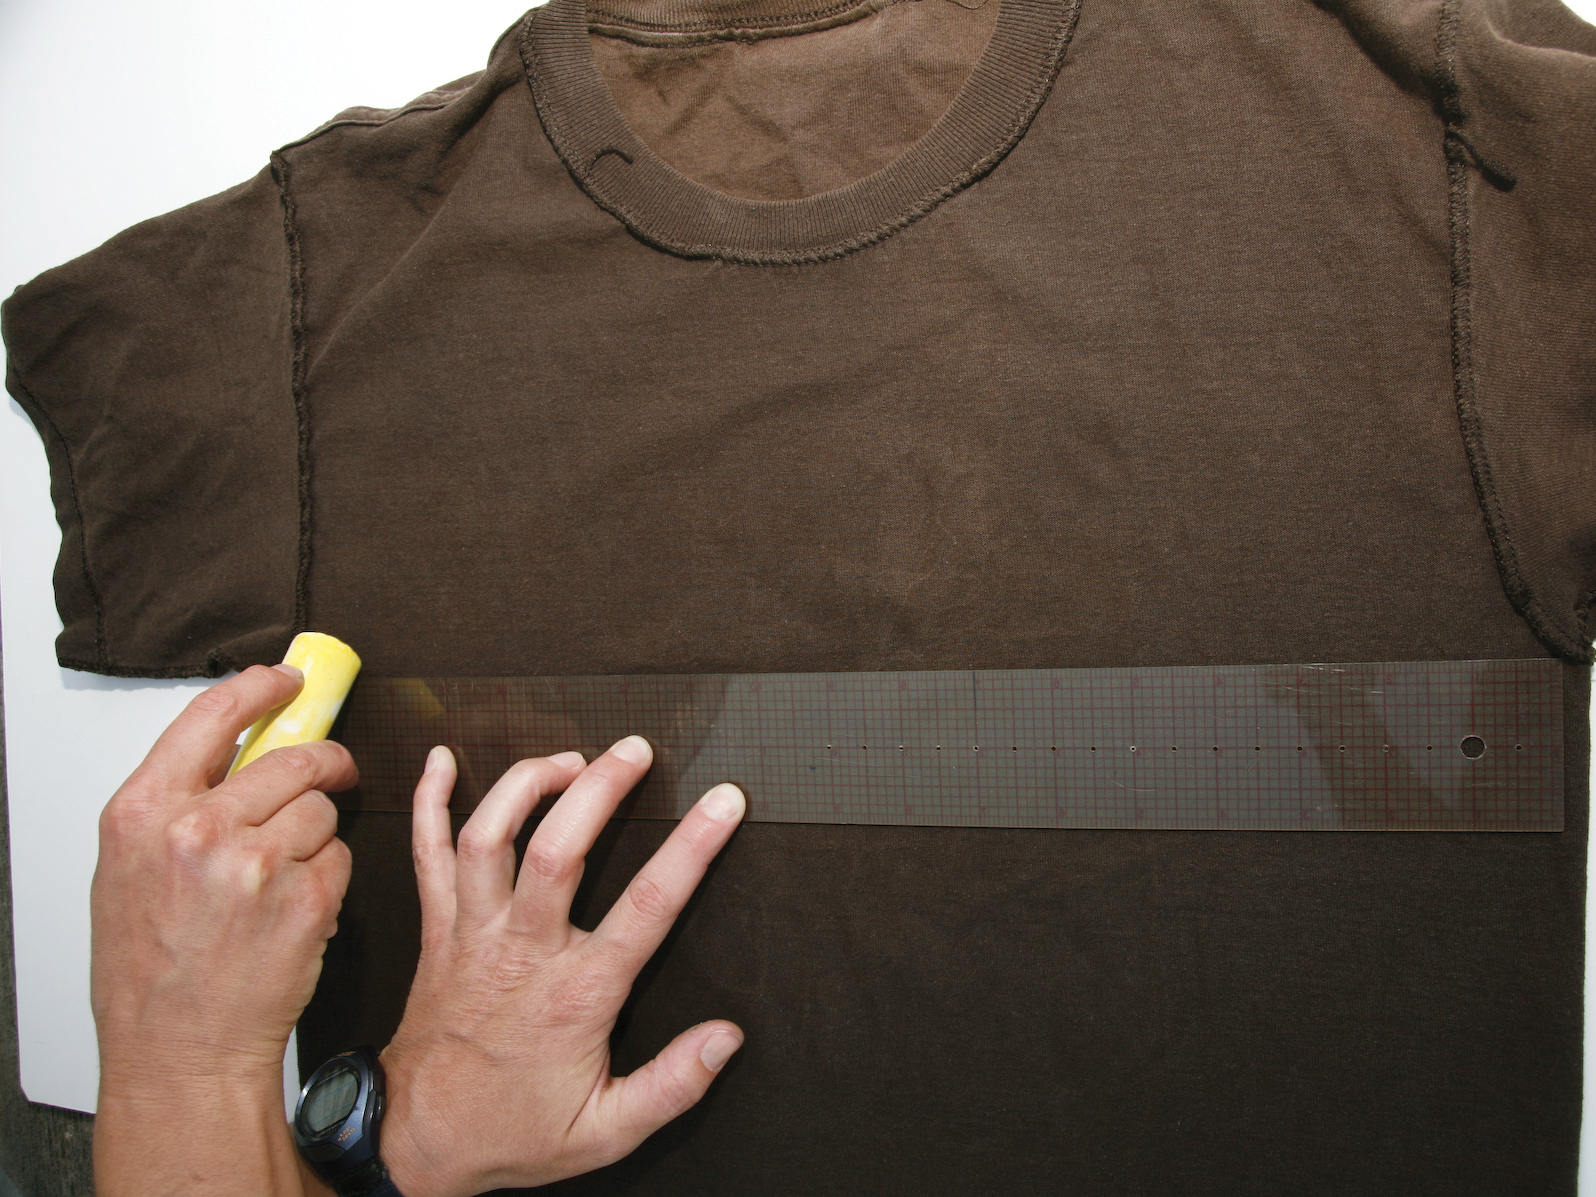
With your ruler and a piece of chalk, draw a straight line from the bottom of one armhole to the other.

Measure the length of that line and mark the center.

Now make 3 chalk marks, 1⁄2″ below the center and at both ends 1⁄2″ below each armhole.

Draw the curves.

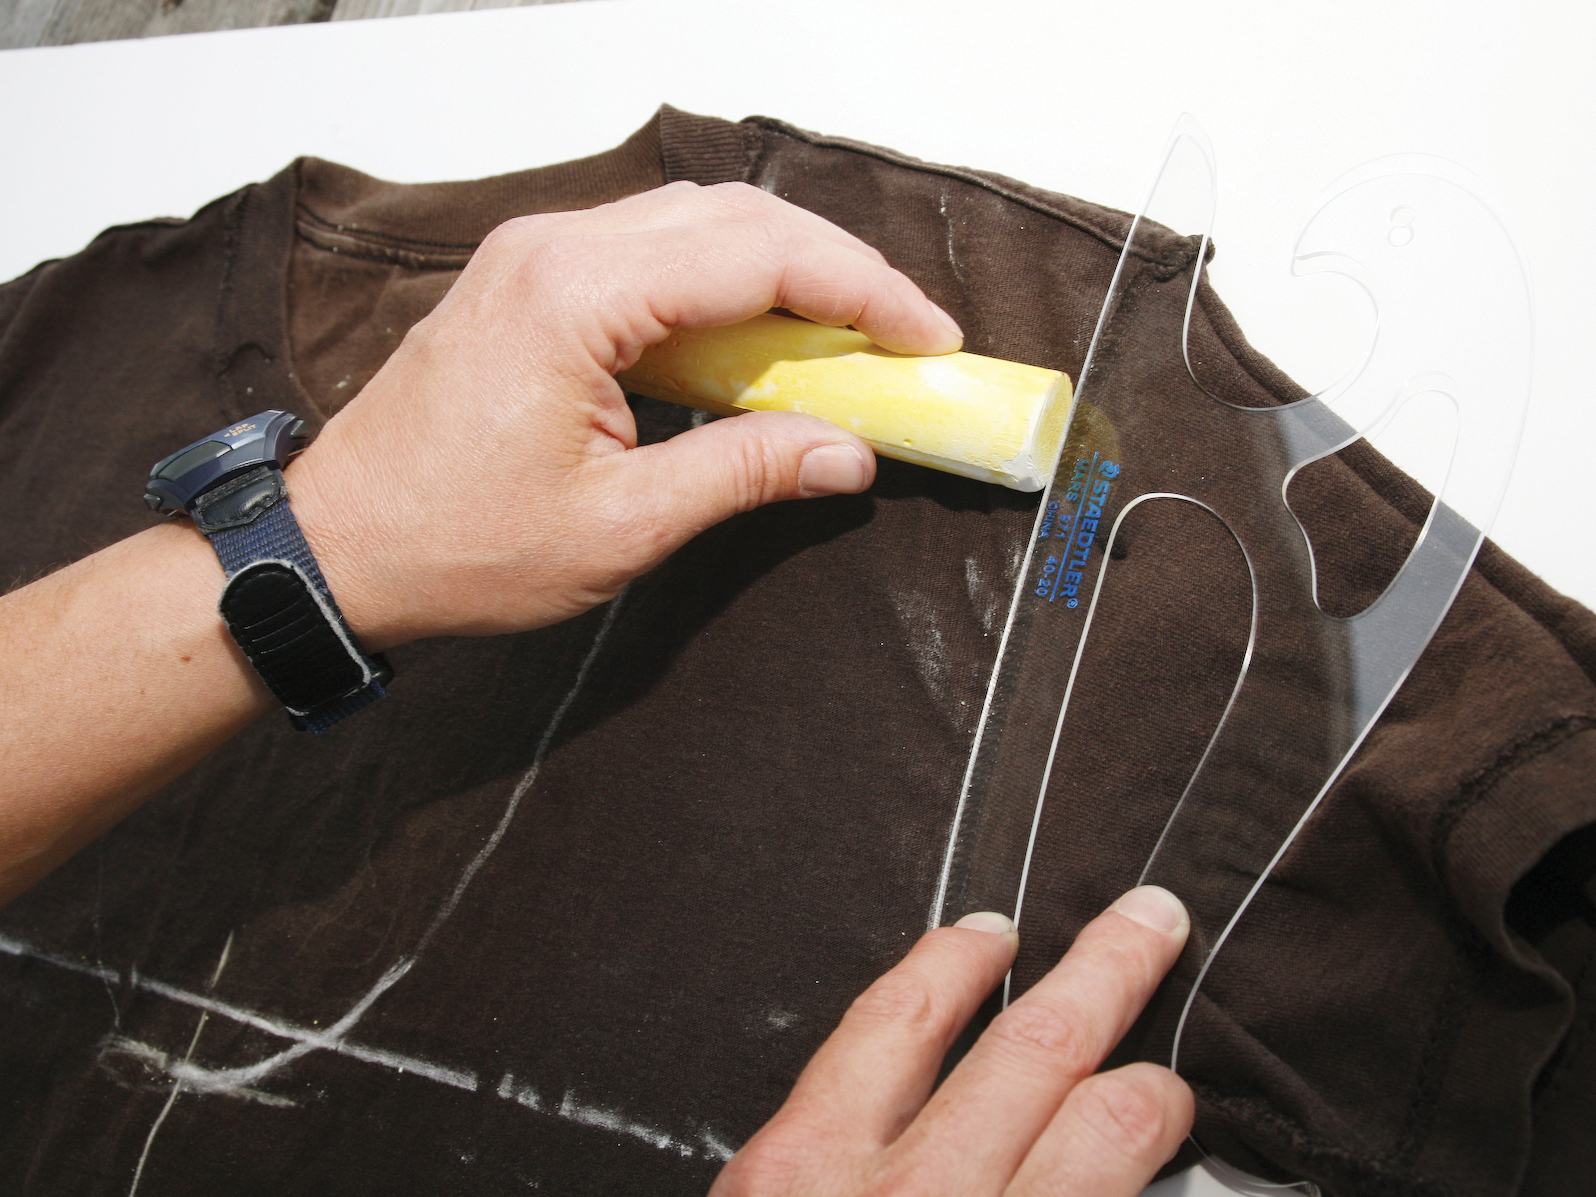
Take your French curve template and draw a curved line from the mark 1⁄2″ below center to the right edge of the collar at the shoulder seam. This line should look like a J.

Turn over your French curve, and repeat on the left side of the collar, making a reverse J.

Draw another J curve that connects the top of the left shoulder to the bottom of the armhole at the 1⁄2″ mark. Repeat on the right shoulder with a reverse J.

Cut.

With your scissors, cut all 4 of these lines through both sides of the fabric.

If you want to make a reversible bag, as we did, use this piece as a template for cutting out a second bag, and repeat that step for this second piece as well.

Remove the seams.

Cut across the bottom of the shirt, taking off the original hem, and then cut across the shoulder seams separating the front from the back.

Make sure to remove the original serged seam at the shoulders.

Sew.

Take the 2 front straps and bring them together, creating a single rounded shape, and pin.

With your sewing machine, sew straight across the straps with a 1⁄2″ seam allowance.

Press the seam allowance to one side, and sew down the seam allowance to the strap. This is called a flat-felled seam, and it’s very durable.

Repeat with the backside straps.

Sew across the bottom of the shirt with a 1⁄2″ seam allowance, creating the base for the bag.

Finish and embellish.

Now serge the edges. If you don’t have a serger, you can always use a zigzag stitch or a decorative stitch to add interest.

To make a reversible bag, put the bag’s wrong sides together, making sure to match seams and curves, and serge them together at all the handle edges. This will hide all the unfinished seams and give your bag strength when holding all your essentials.

Now have fun decorating and embellishing. We created ruffles with the hems we cut off, by gathering each strip with a basting stitch down the center. We hand-stitched these to the front of the bag, making sure to catch only 1 side of the fabric, switching from color to color.

Conclusion

This project first appeared in CRAFT Volume 09, pages 78-80.