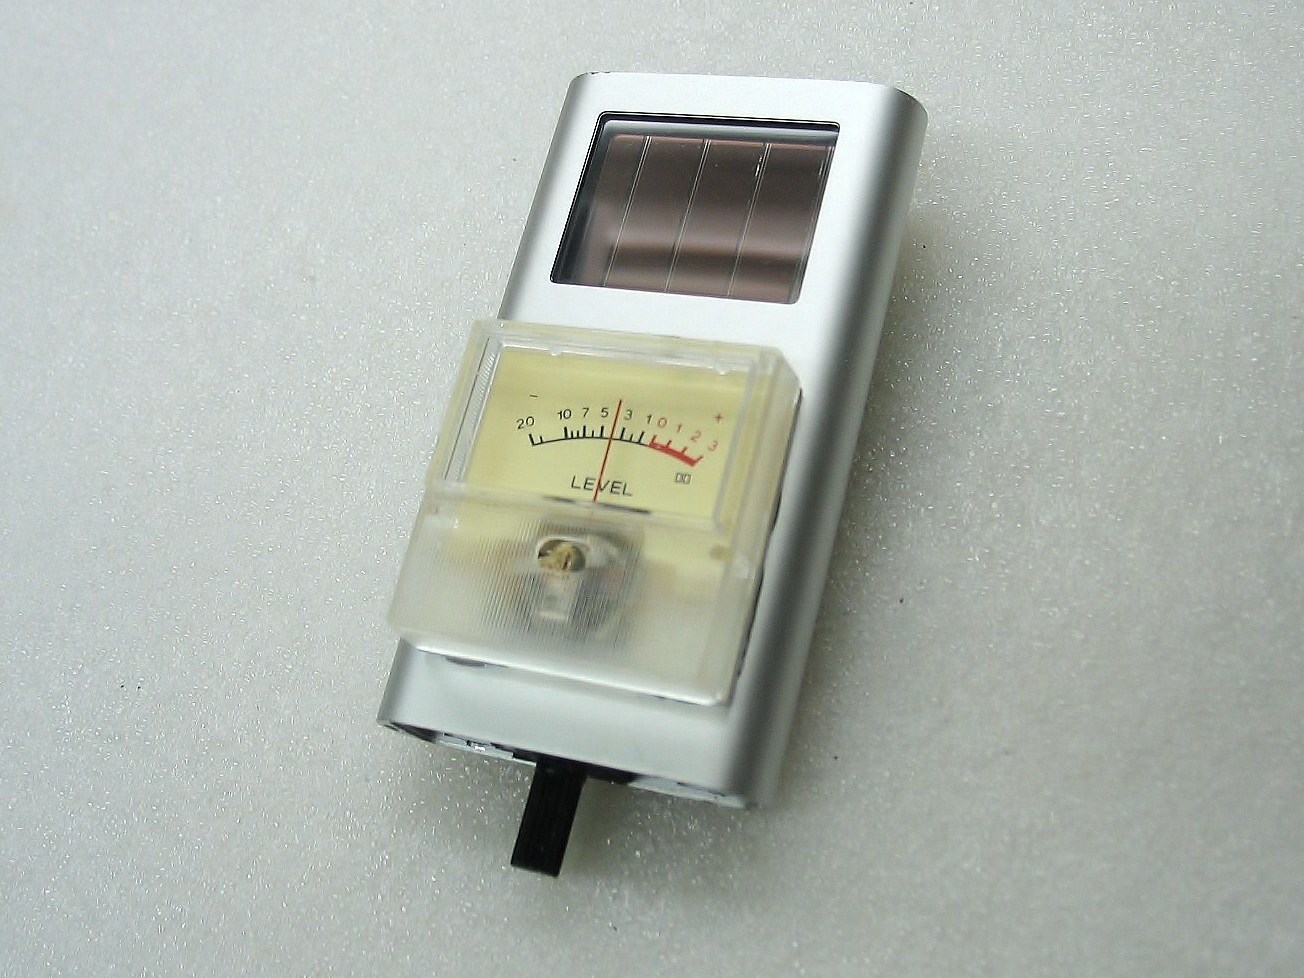
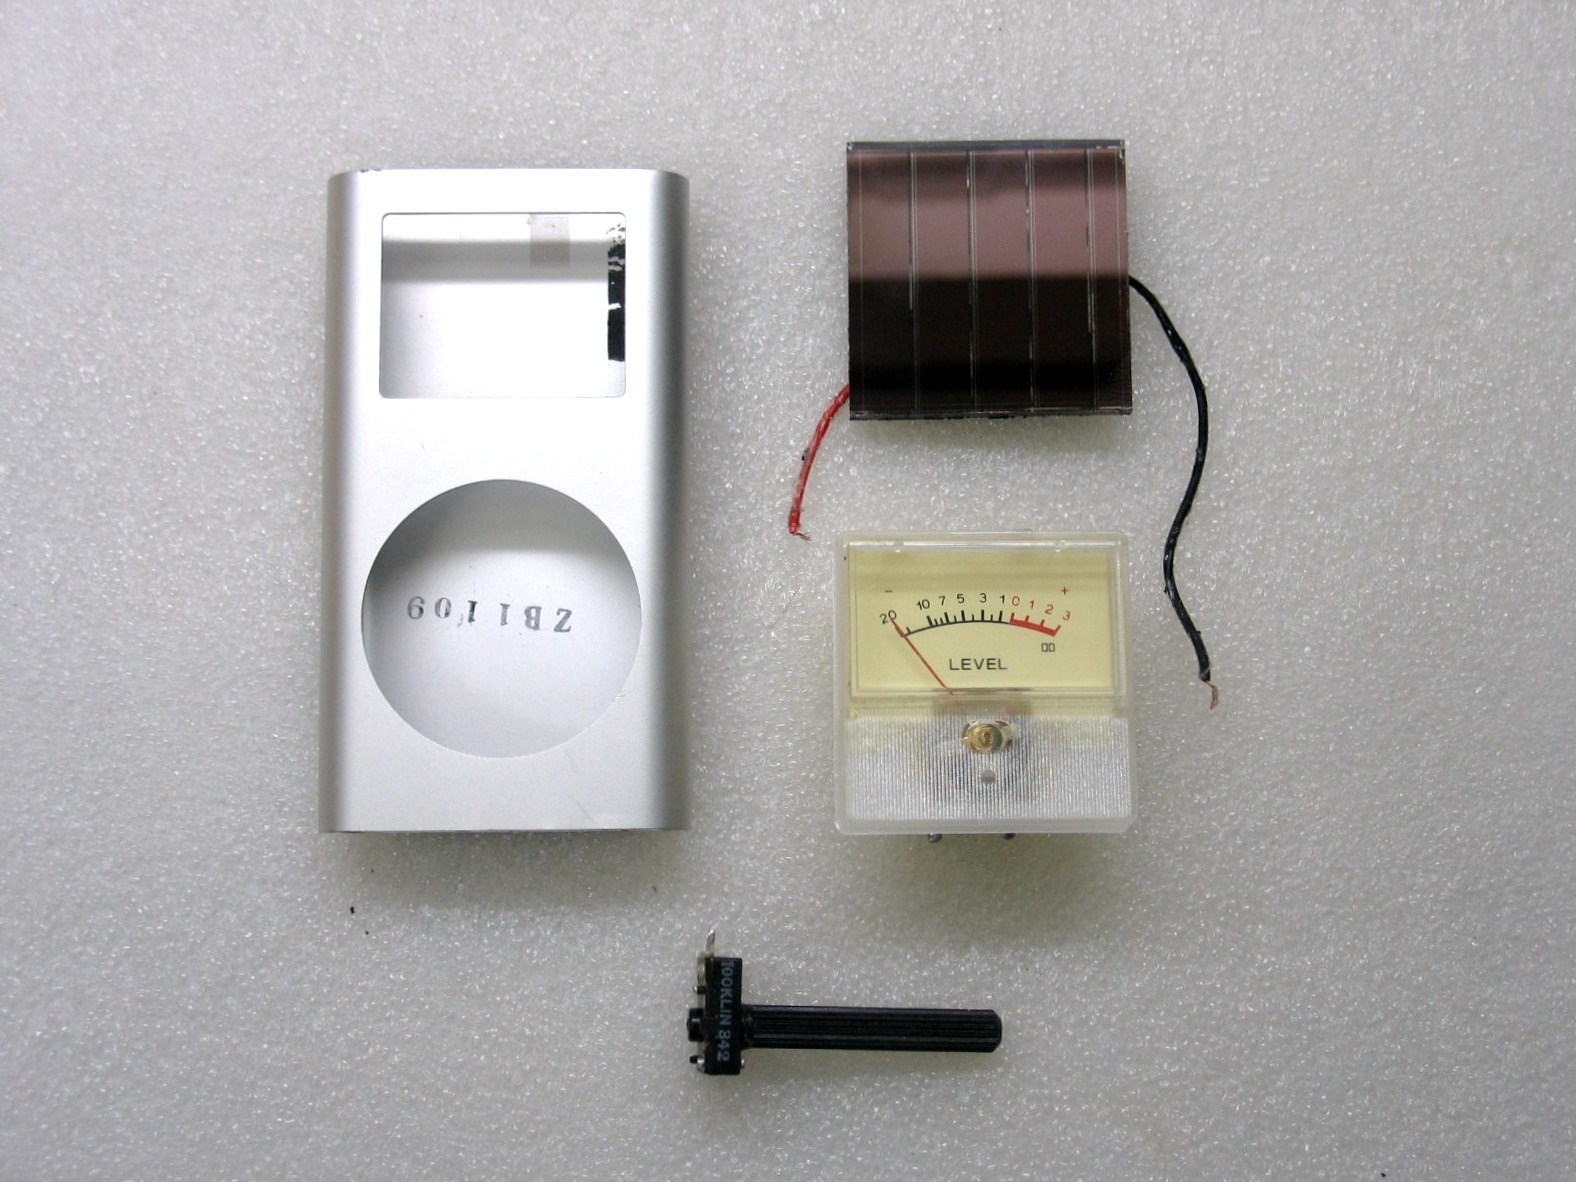
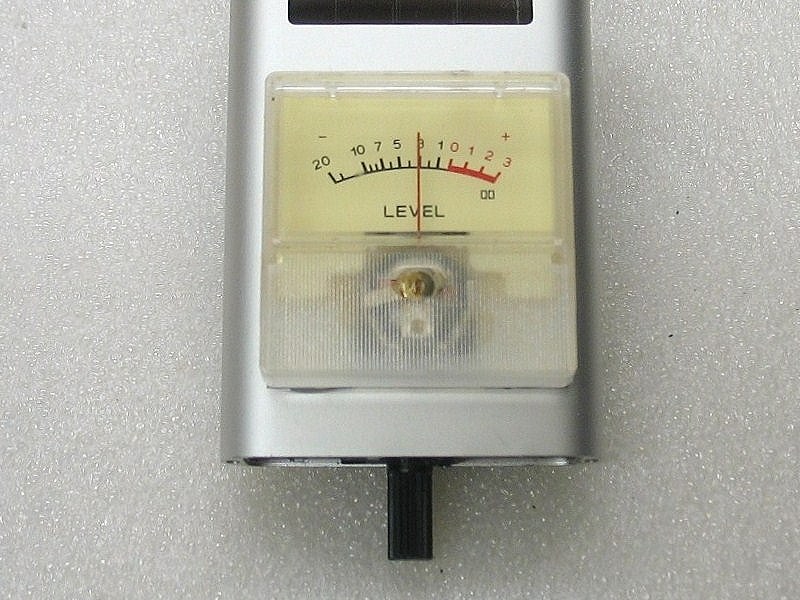
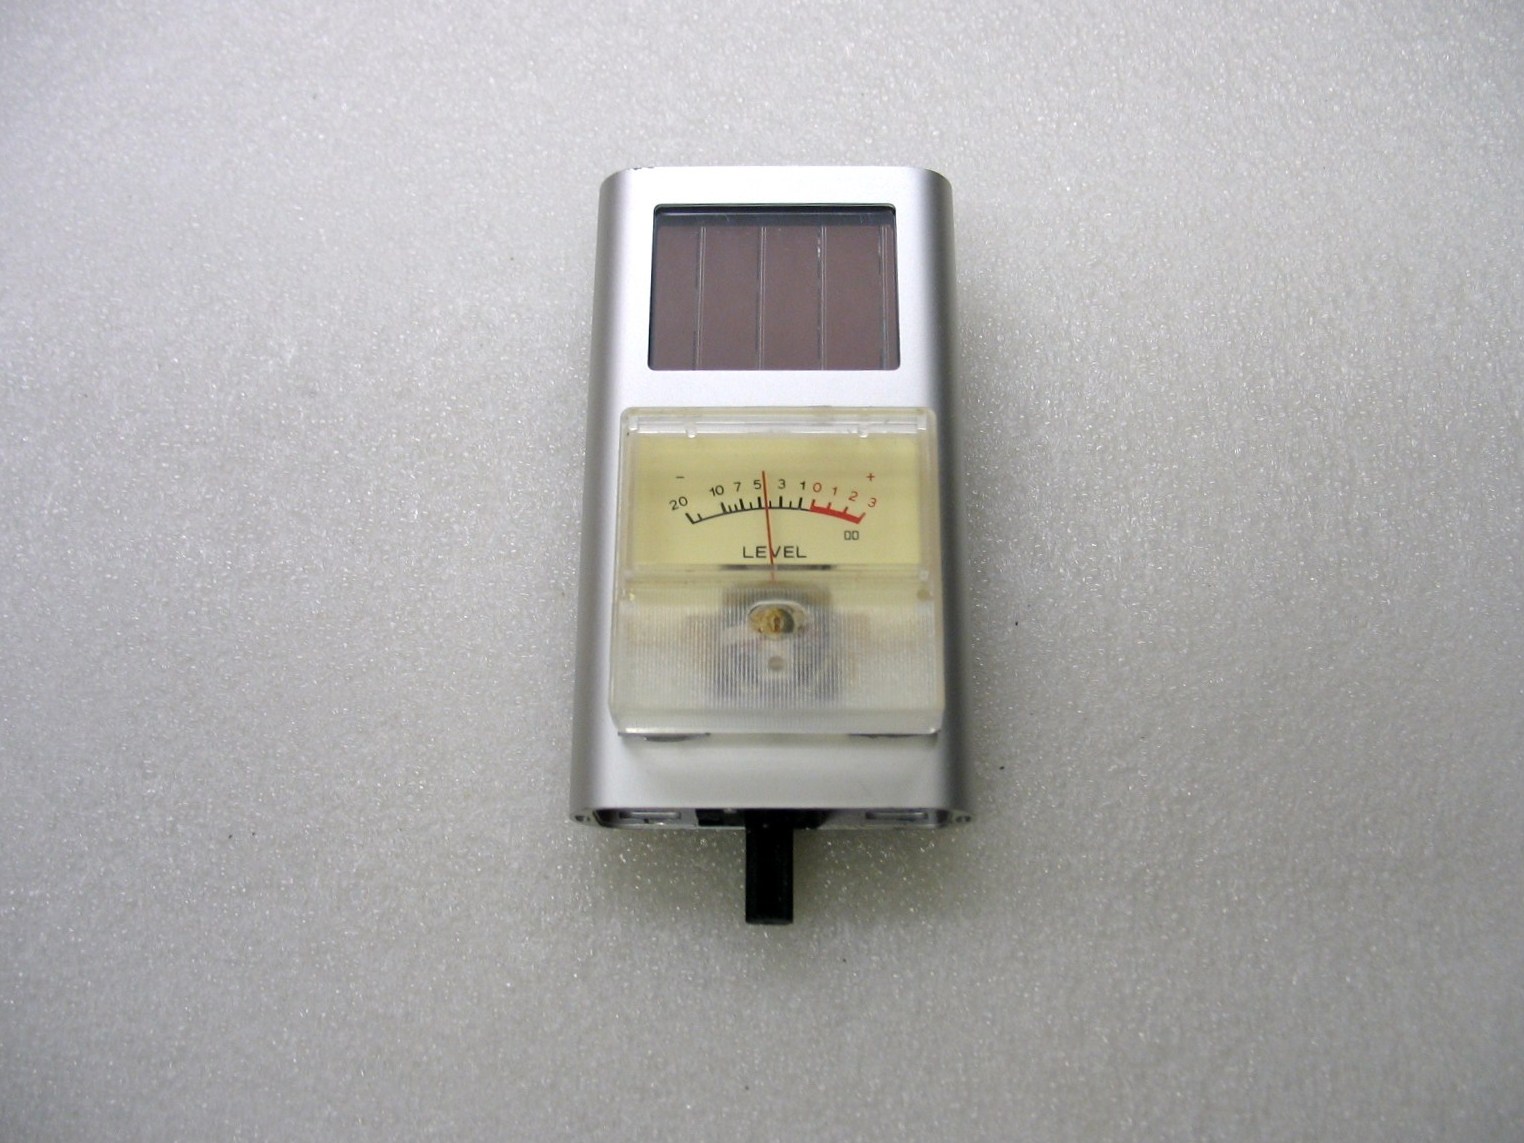
In trying to determine which was the better of two LED spotlights for reading in my easy chair, I had the need for a quick and simple light meter that could tell me which of the two different brands of bulbs I had would put out the the best light from a small recessed fixture on my ceiling. They were both rated at 3 watts, each comprised of 3 individual 1-watt LEDs built into a standard base. Even though they were the same wattage, their light output just seemed different. With that, I gutted my defective iPod and kept the metal case. I removed the solar cell from one of those ridiculous solar garden lights, stole a VU meter from a 1970’s-era cassette tape deck (remember those?), and removed a small variable resistor from a discarded monitor circuit board. I put these 4 parts all together and created the “Illuminometer Pod.”

A light meter in its most basic form, the Illuminometer Pod gives a relative indication of light source intensity, not an actual measure of lumen output. This is what I wanted, a simple light meter that would give different meter needle indications from various light sources at a given distance from the source. By placing the unit directly under a light source and adjusting the variable resistor to a set marker on the meter dial, I could try different light bulbs and the meter needle would rise or fall accordingly with different light intensities. Amazingly, it can measure subtle differences in similar light sources that are barely perceptible to the human eye.

What will the next generation of Make: look like? We’re inviting you to shape the future by investing in Make:. By becoming an investor, you help decide what’s next. The future of Make: is in your hands. Learn More.

Project Steps

Gut it

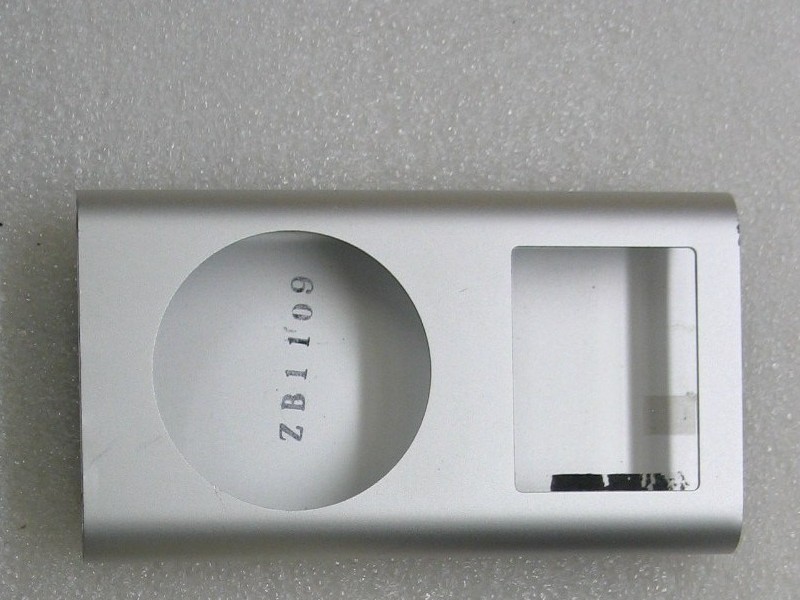
Start by completely removing the innards of an iPod that gave up the ghost. Remove the plastic end caps and everything will eventually slide out, leaving a nice flat ovular aluminum canister.

Prep the Solar Cell

Remove the solar cell from a solar garden light by carefully prying it loose from the globs of silicone holding it in place in its top end. These “lights” barely illuminate anything more than their own lenses, let alone a pathway, but they are now excellent and inexpensive sources of solar cells, NiCad batteries, photocells, and LEDs.

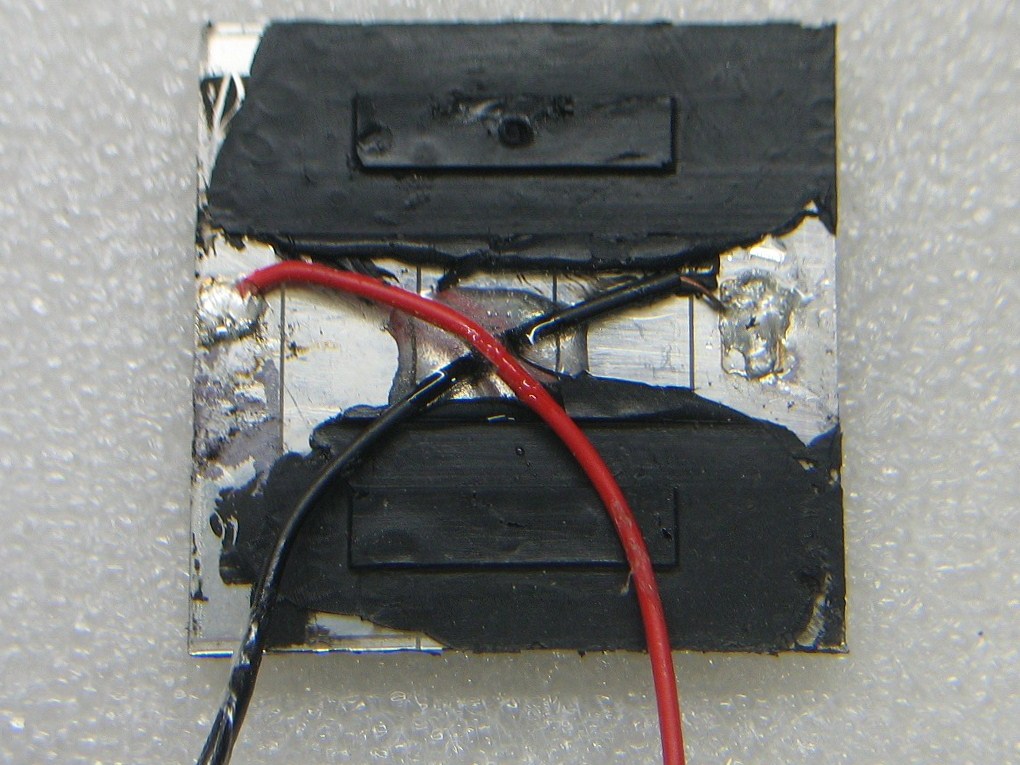
The solar cell is delicate and its wires can come off if not handled carefully. Put a blob of epoxy on the back to hold the wires in place. If they get accidentally pulled off, there is no putting them back on, rendering the cell useless.

Meter and Potentiometer

Find an old meter and a pot. The meter shown is a 0-1mA VU meter originally used to indicate audio levels from a vintage cassette deck. Its graduations were perfect for this use and it fit nicely into the large circular hole of the iPod case. But any small meter will work.

I made a spacer out of 1/16” PVC sheet and epoxied it to the back of the meter. This raised it up enough to keep its terminals from contacting the metal case, which was a little too shallow for the depth of the meter.

The pot came from an old monitor’s circuit board. Its value is 100k ohms, but a 50k ohm will work OK too.

Insert the Solar Cell

It fits near-perfectly under the clear window of the iPod case. Use a few blobs of epoxy to hold it in place.

Wire it all Together

Connect them all together by soldering the positive (red) wire of the solar cell to one end terminal of the potentiometer, and another wire from the middle and other end terminal together to the “+” (plus) terminal of the meter. Then solder the negative (black) wire of the solar cell to the “–” (minus) terminal of the meter.

Put heat-shrink tubing or electrical tape on the meter terminals to keep them from accidentally shorting to the back of the metal iPod case.

Attach the Meter

At this point the meter will actually be working as there is no power switch, so make sure the pot is turned all the way to its maximum setting to avoid damaging the meter from any light source you are working under. Epoxy the meter to the case and wedge the potentiometer in the bottom slot and put a dab of epoxy to secure it.

Let there be Light

Now go try it out on different sources of light and see how the meter needle responds. If you take it outside, avoid direct sunlight as old Sol is very powerful and can peg the meter needle quite easily!