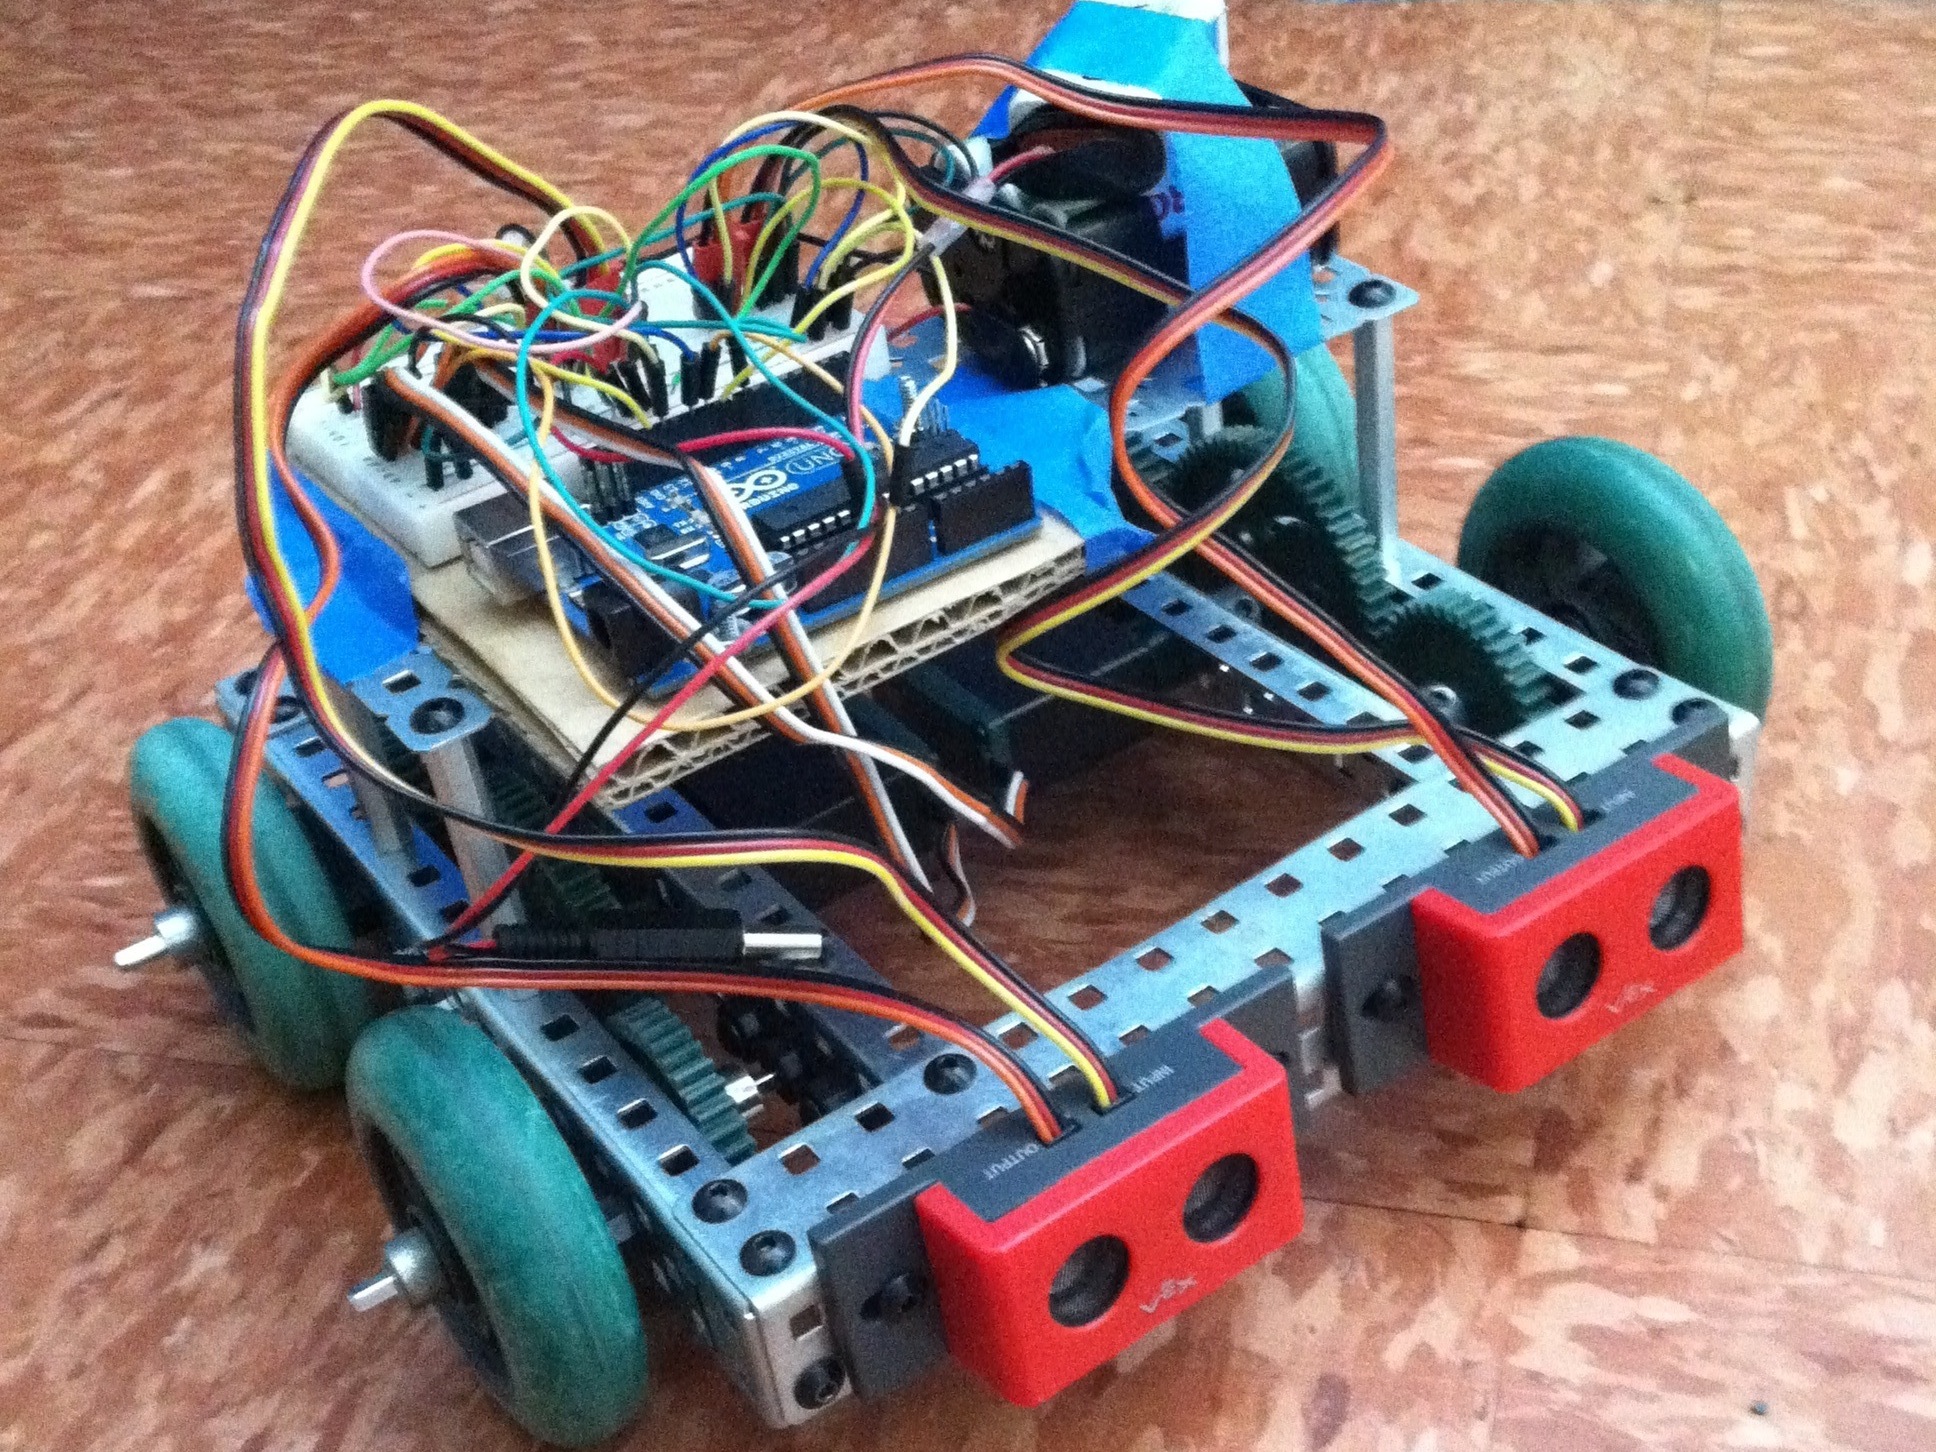
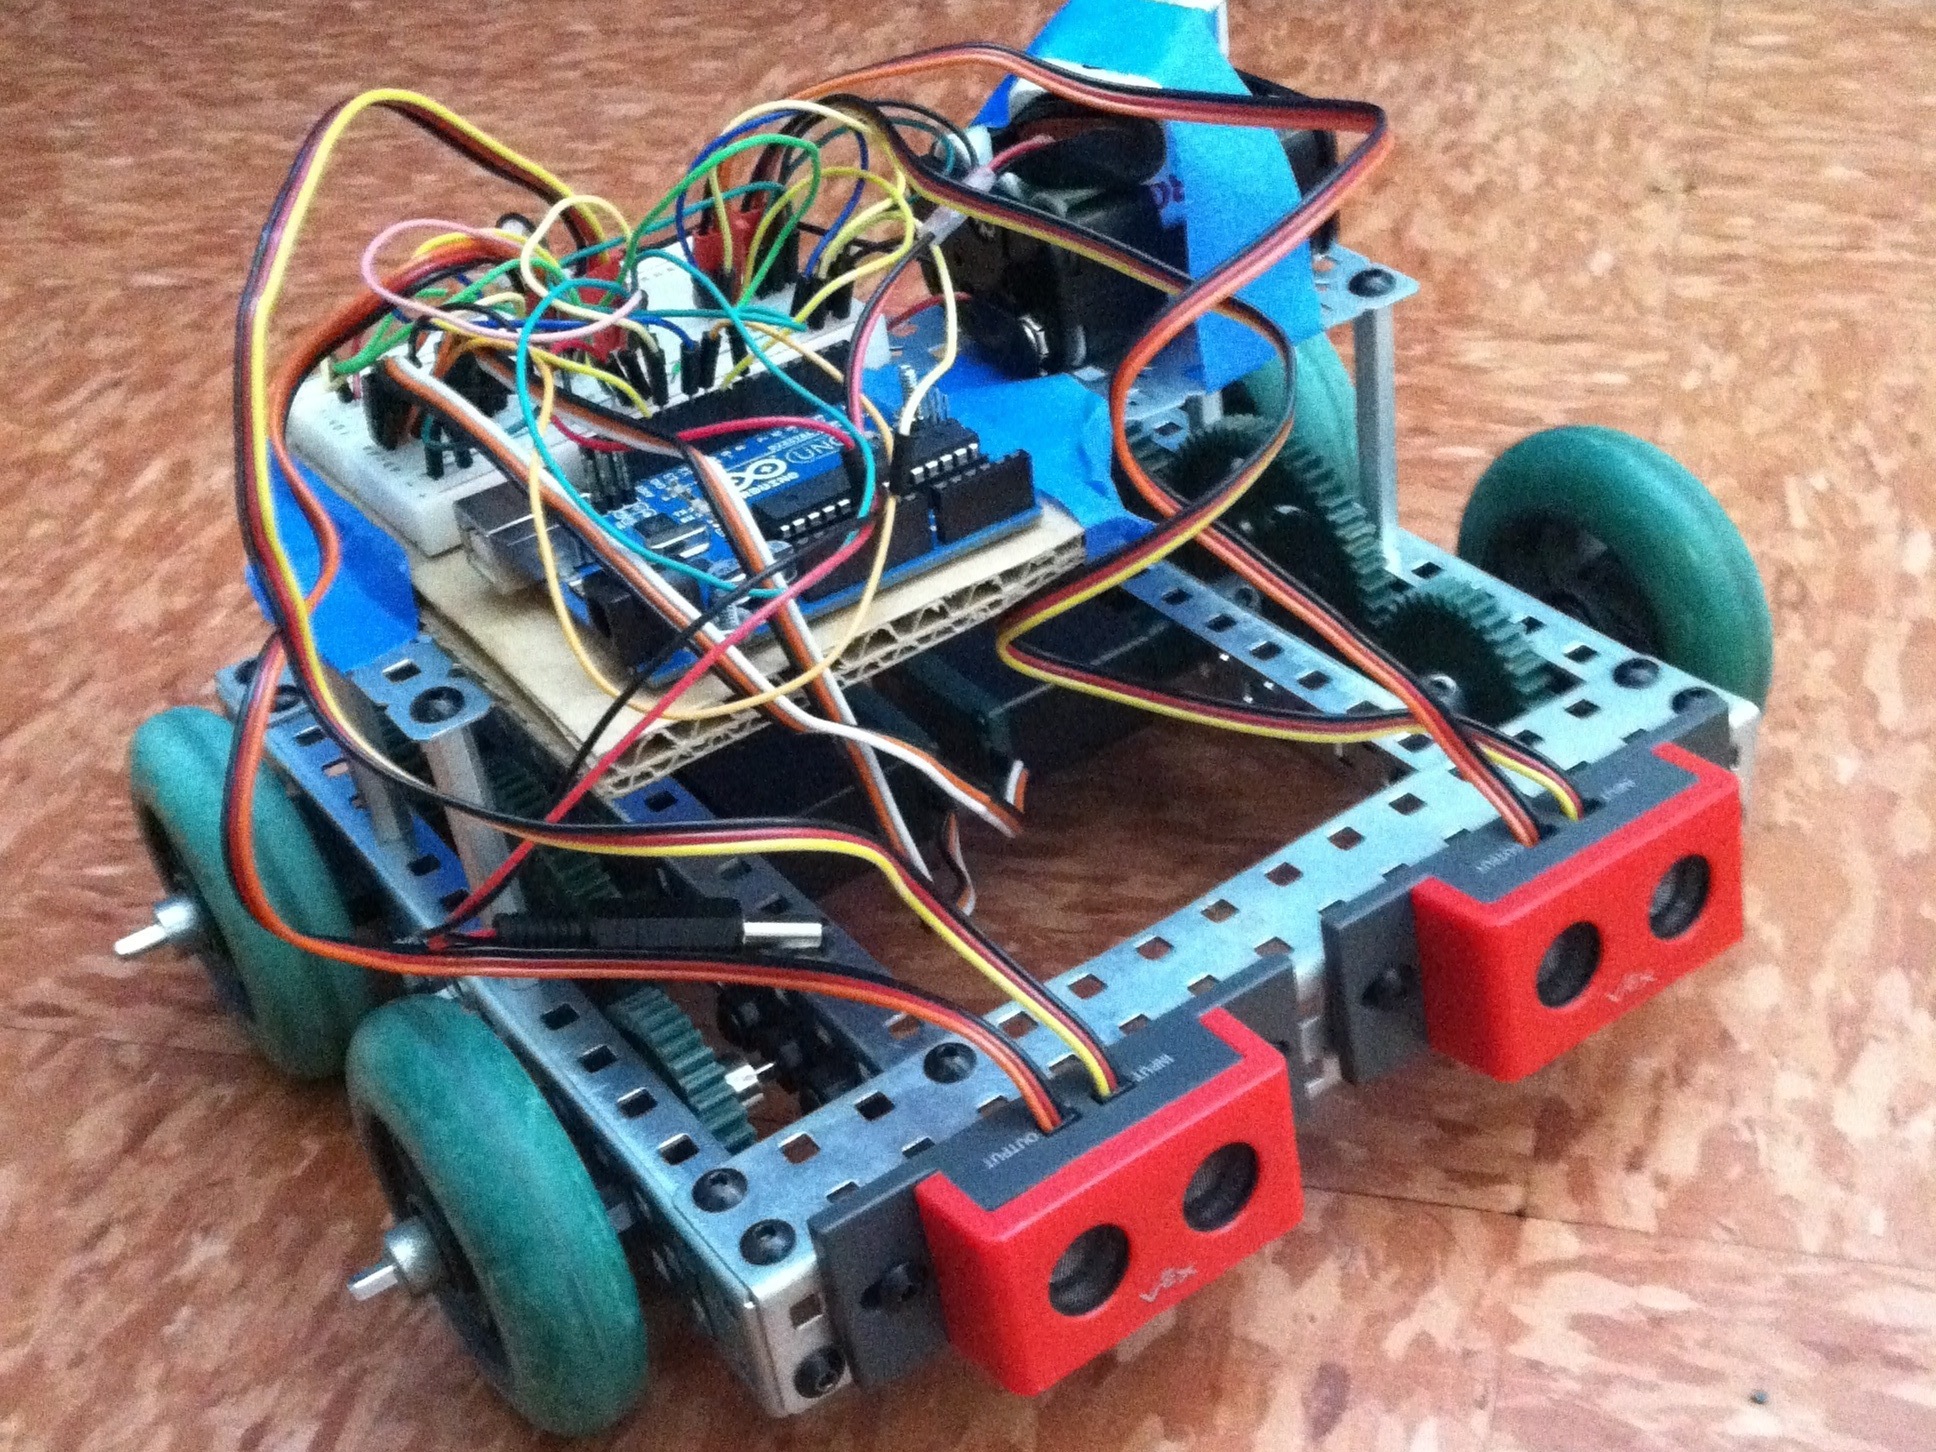
Gather the parts and follow the basic instructions and you can have a robot capable of following moving objects! With basic coding experience, you can also change the distance at which the robot senses moving objects or the speed the robot moves.
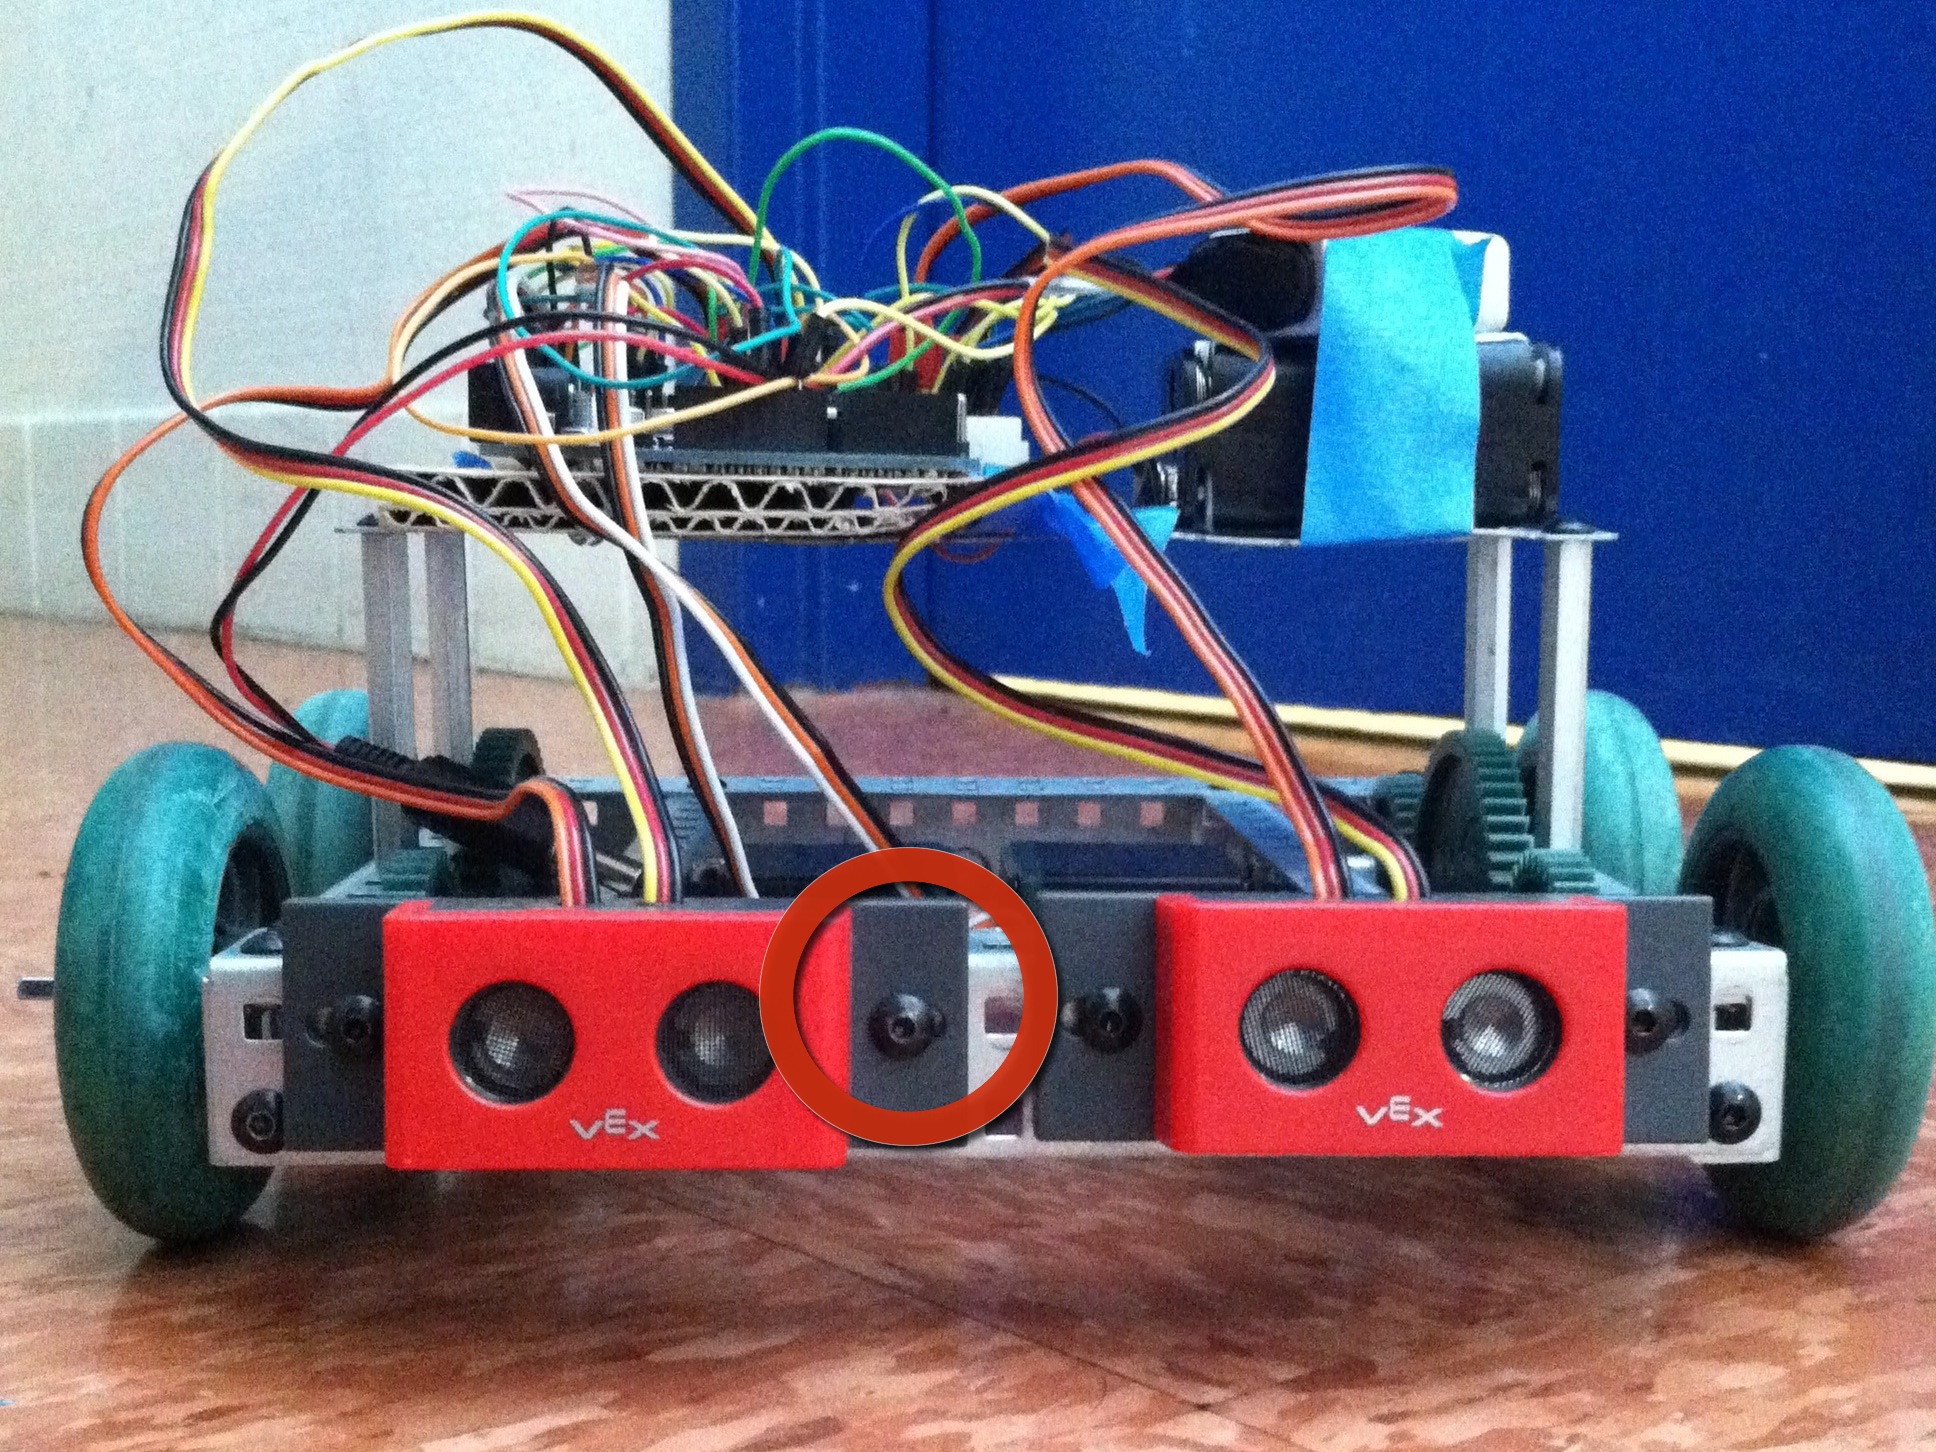
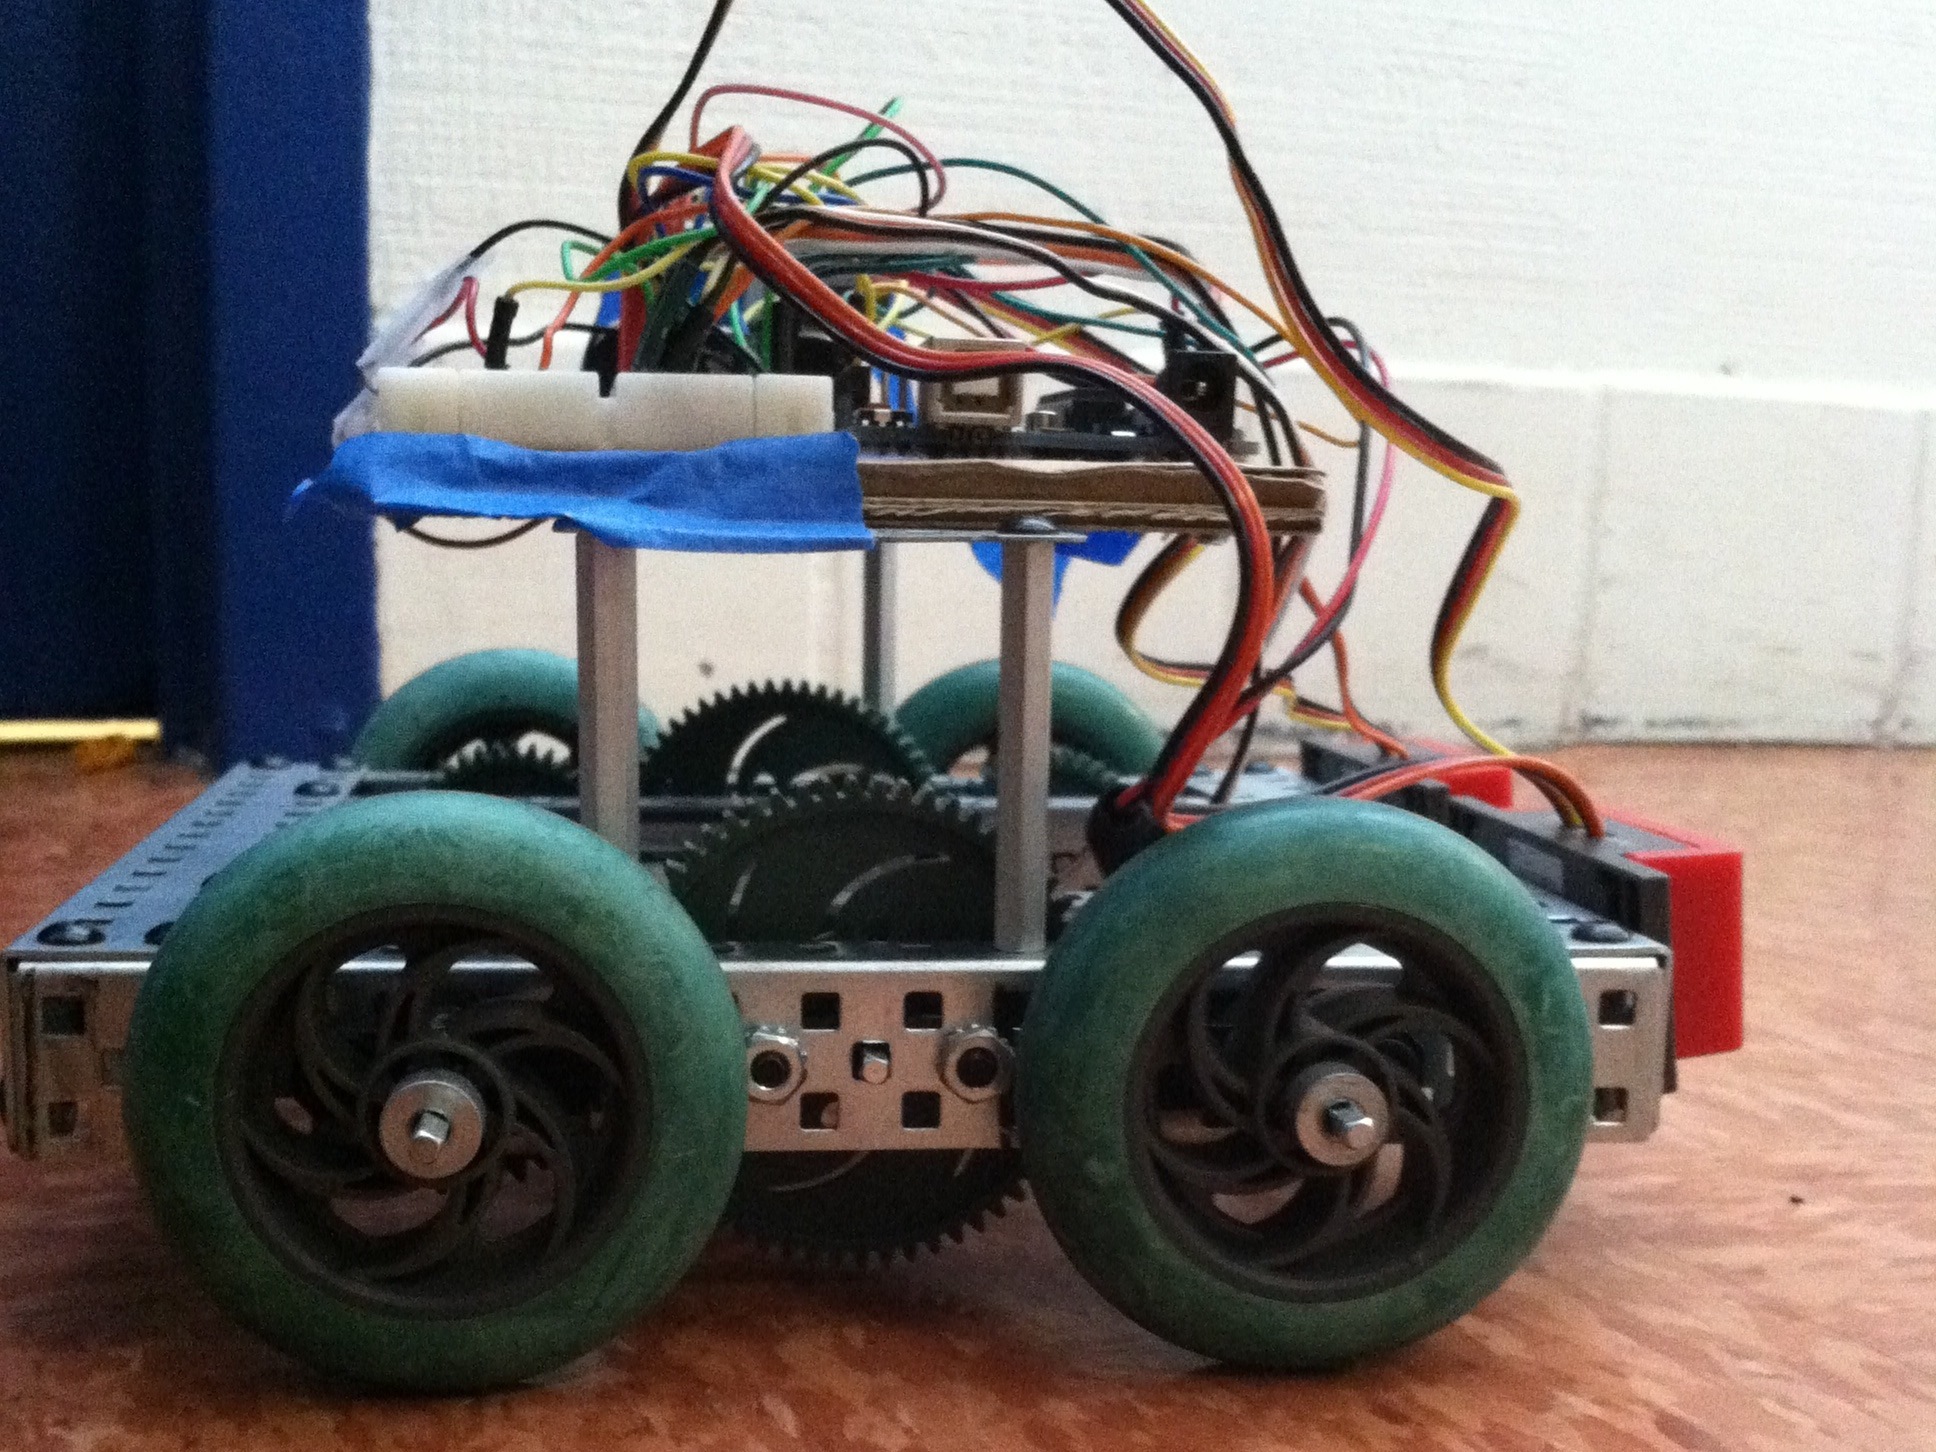
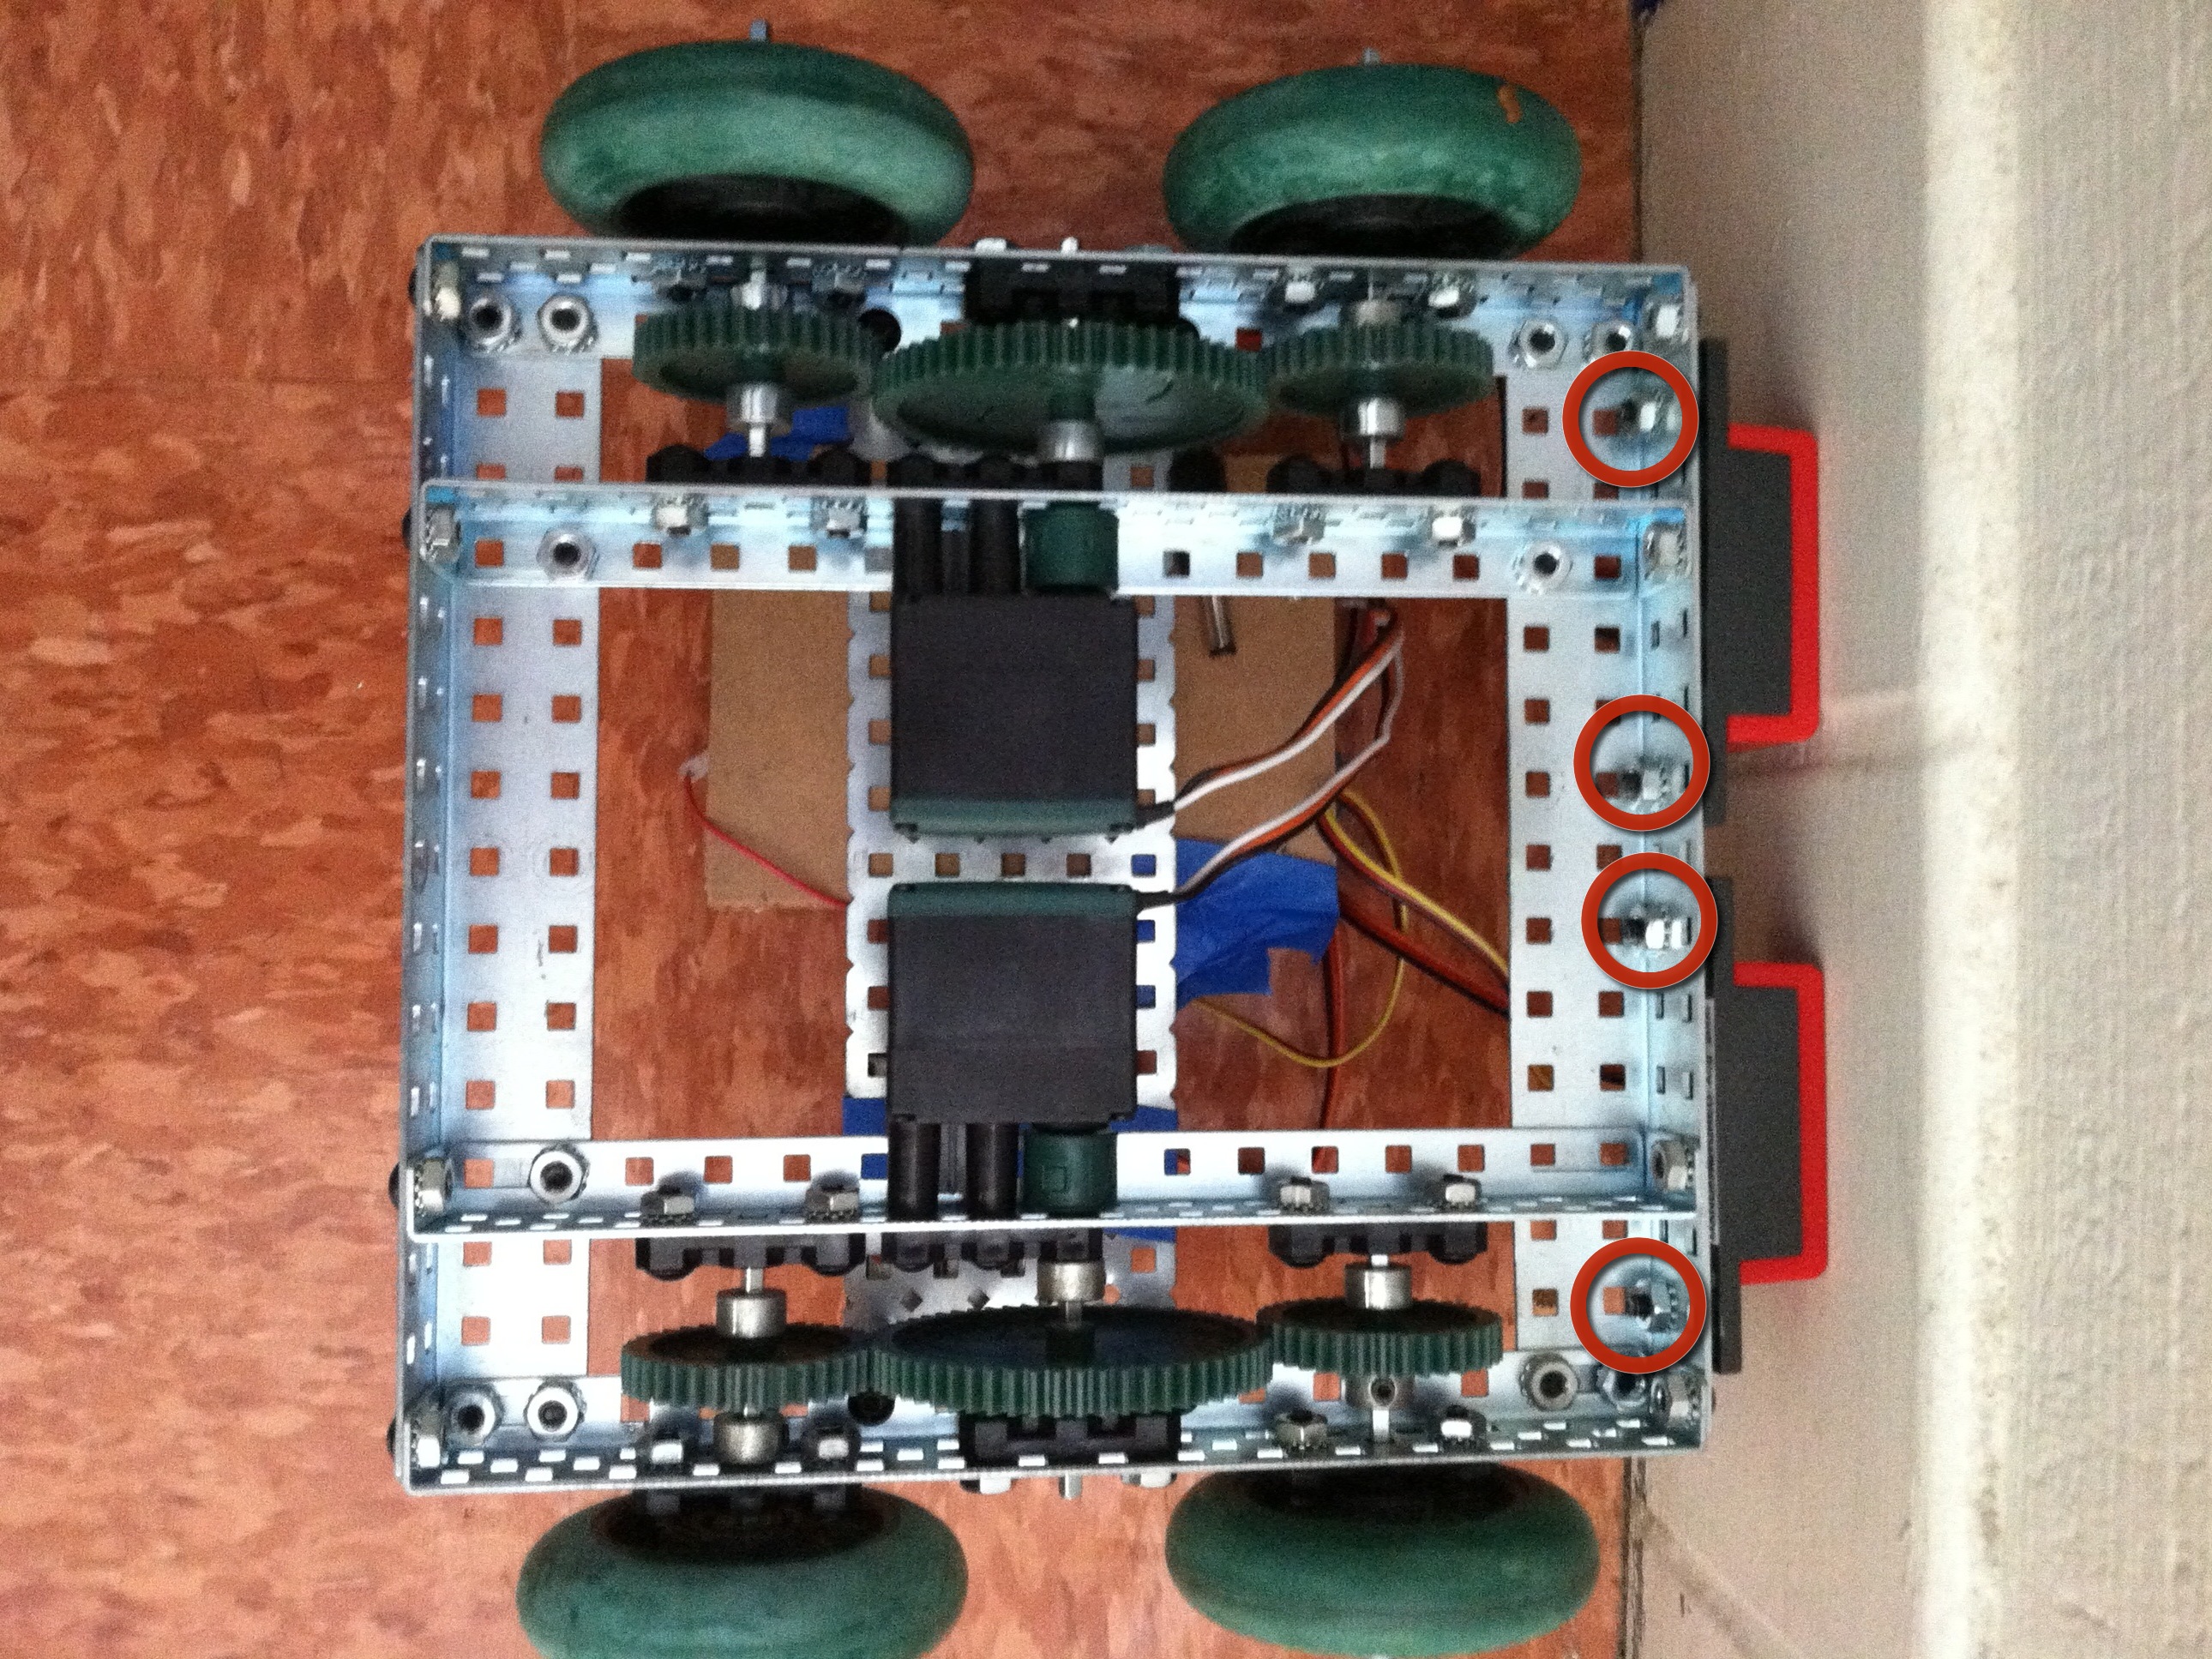
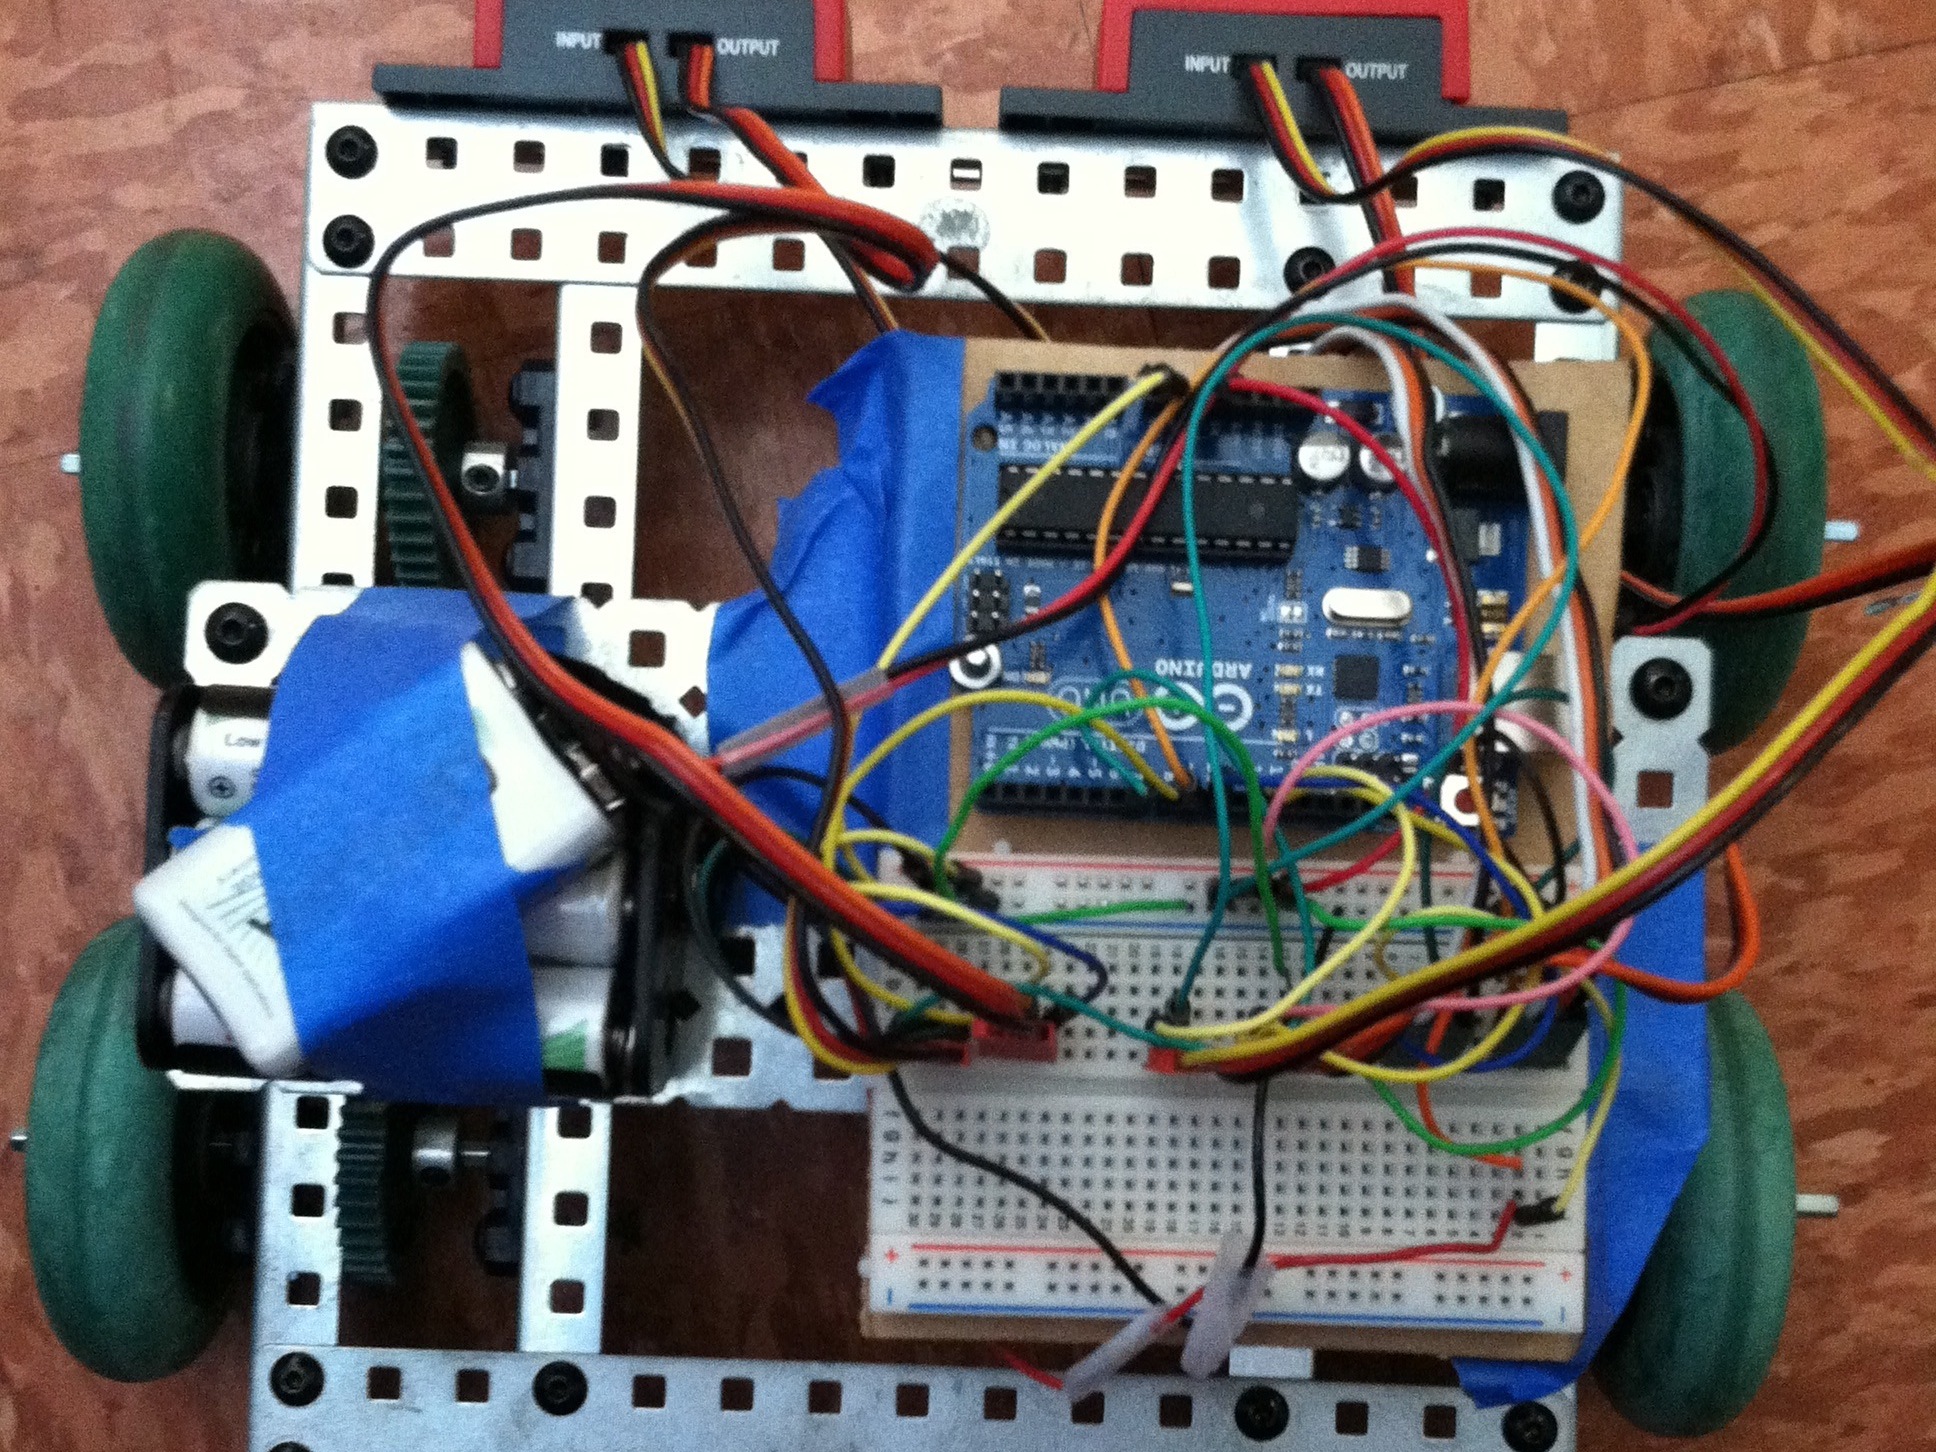
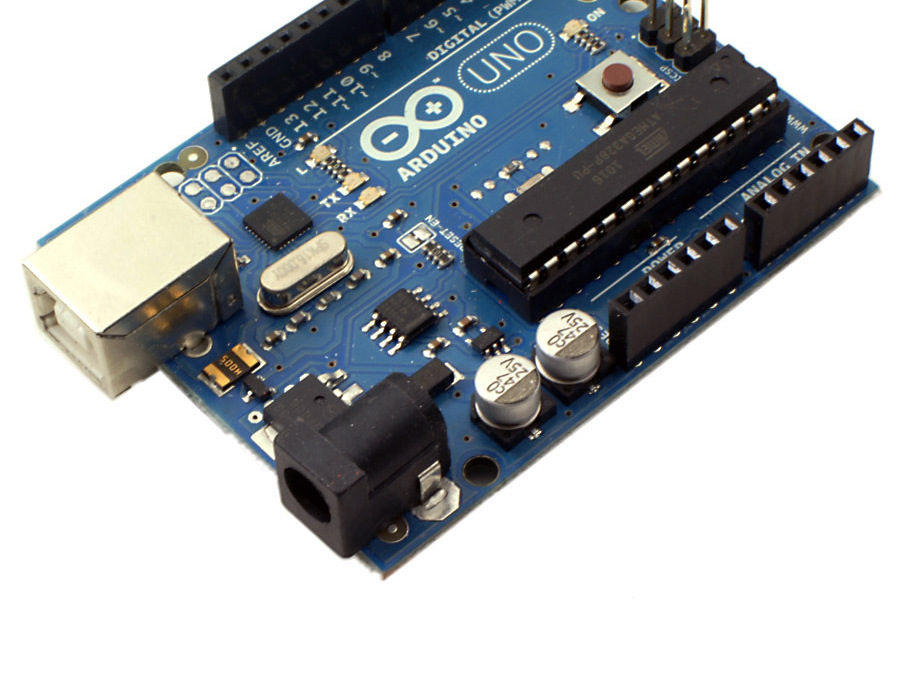
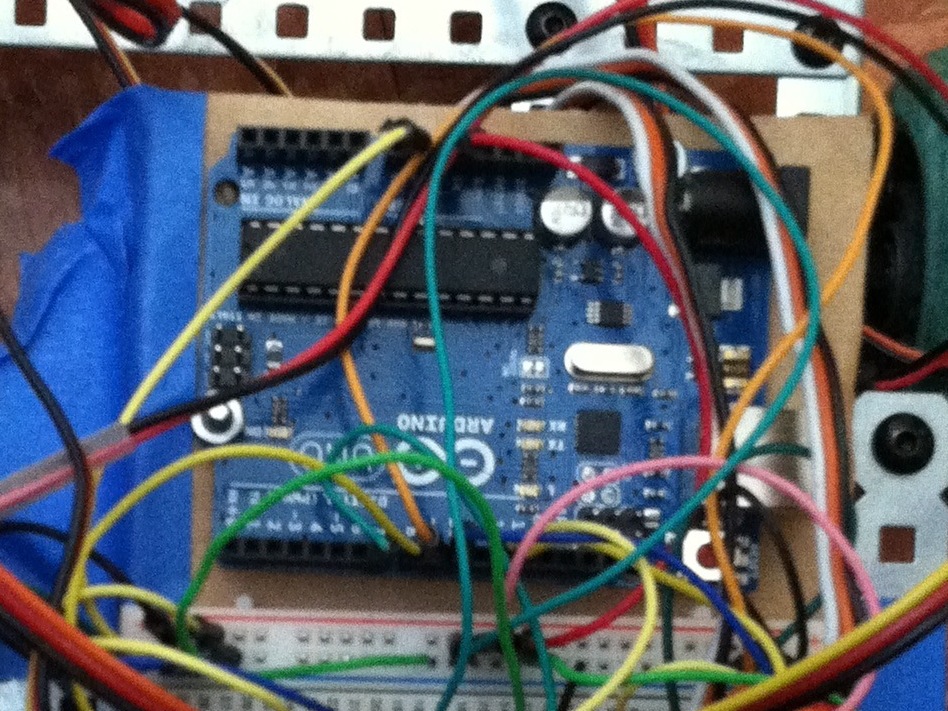
In order to do this project, a basic robot must be built that runs off of two 3-wire VEX servos. A good robot to build is the VEX Squarebot. Instructions for building this can be downloaded from PDF here or with any VEX robotics kit.
Project Steps
Attaching the Ultrasonic Sensors
Attach the ultrasonic sensors to the front of the robot side by side
Use two screws per ultrasonic sensor, putting nuts on the back to hold the sensor onto the robot
Use an allen wrench to spin the screws in
Make sure the ultrasonic sensors are facing up with the VEX lettering on the bottom
By adjusting the distance between the sensors, you can adjust how big of an object the robot will follow (a larger distance follows a larger object)
Attaching Electrical Components
Attach the following components to the robot, holding them down securely:
breadboard, Arduino, 6 AA Battery Holder, 1 9 Volt Battery
Tape can be used to hold these components to the robot
Place the Arduino and Breadboard next to each other to allow for wiring between them
For further guidance, see the StalkerBot_Diagram.pdf file in the Files section
Wiring
The next step is wiring! Follow the wiring instructions exactly to get a functional robot.
Using the StalkerBot_Circuit.pdf file as a reference (available in the Files section), wire each component to the Arduino through the breadboard.
Push the tinned ends of the wires (known as jumper wires) into the specified pinhole
Programming
Program the finished robot using the code provided in the Downloads section called “StalkerBot_Code.pdf”
Create a new Arduino program by going to “File” “New” in the Arduino application
Copy the StalkerBot_Code into the new Arduino program
Once the code has been moved to Arduino, connect a USB cable from the computer to the Arduino.
Click the upload button in the Arduino window to upload the code to the robot
be careful: the robot will start running the code as soon as it is uploaded
The StalkerBot!
The robot is now ready to use!
To operate the robot without having a USB connection with the computer, connect the 9 Volt battery to the Arduino power input
Conclusion
After completing this project, you will now have a functioning stalker 'bot! To adjust the distance that it senses objects from, edit the inch values in the Robot Control if loops in the program.