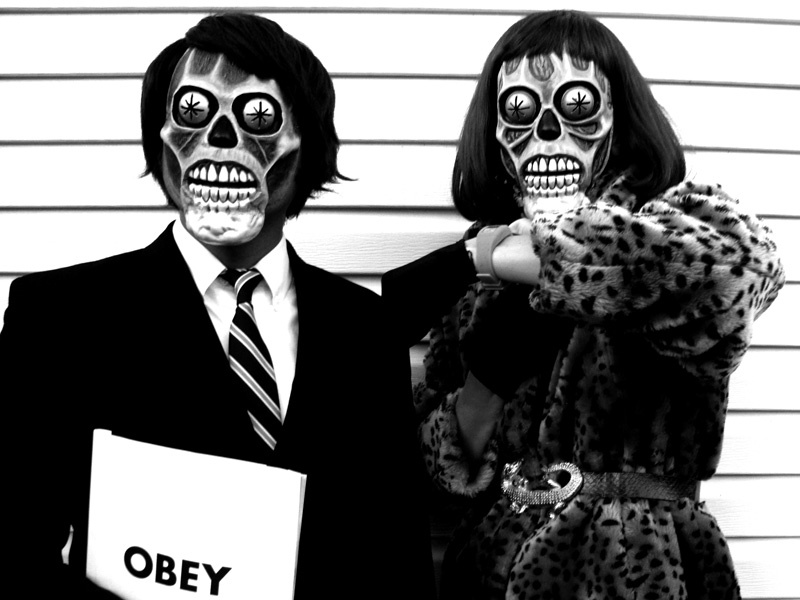
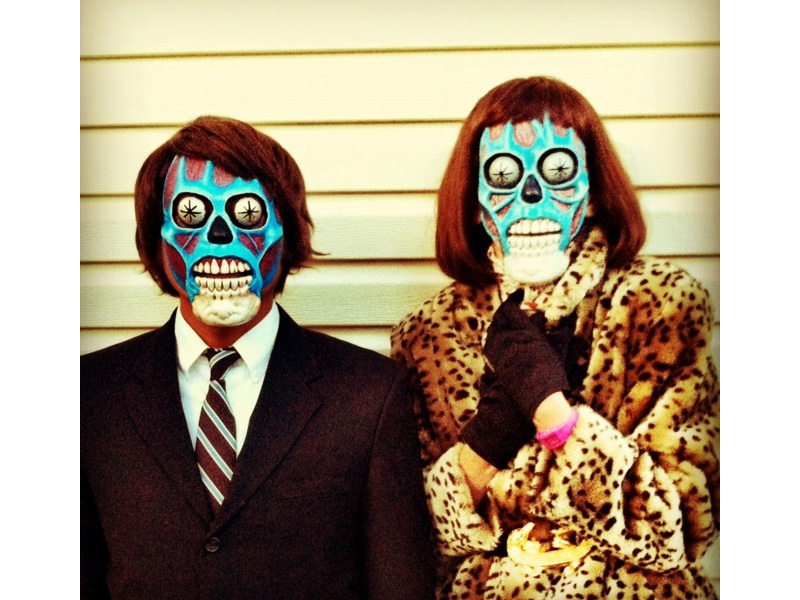
If you’re like me and my friends, Halloween is all about trying to out-do the previous year’s costume. This year, we decided to try to recreate the aliens from John Carpenter’s ’80s cult classic, They Live. And we did it all for under $15! Although this project is fairly simple, it does help to have or know someone with an artistic background or skills in painting.

Project Steps

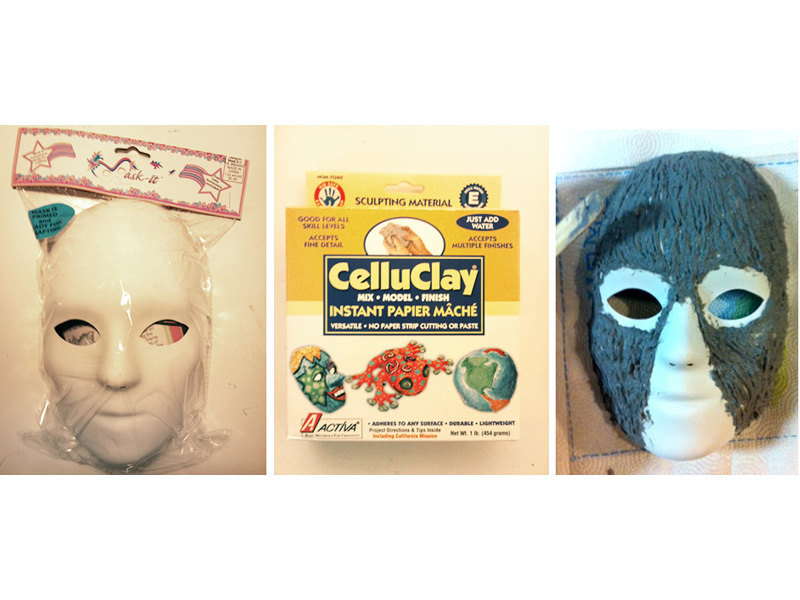
The first step is to create to the bottom layer of pulpy, muscle texture. This is the portion of the mask that will later be painted reddish-pink.

Simply add a little water to your papier-mâché, and spread an even layer on your white mask. Cover the whole forehead and cheek area.

You can add texture by using a toothpick, popsicle stick, or any other flat object, and simply “drawing” loose vertical lines down the material while it’s still wet.

Allow to dry a few hours. You’ll know it’s dry when it turns from dark gray to light gray.

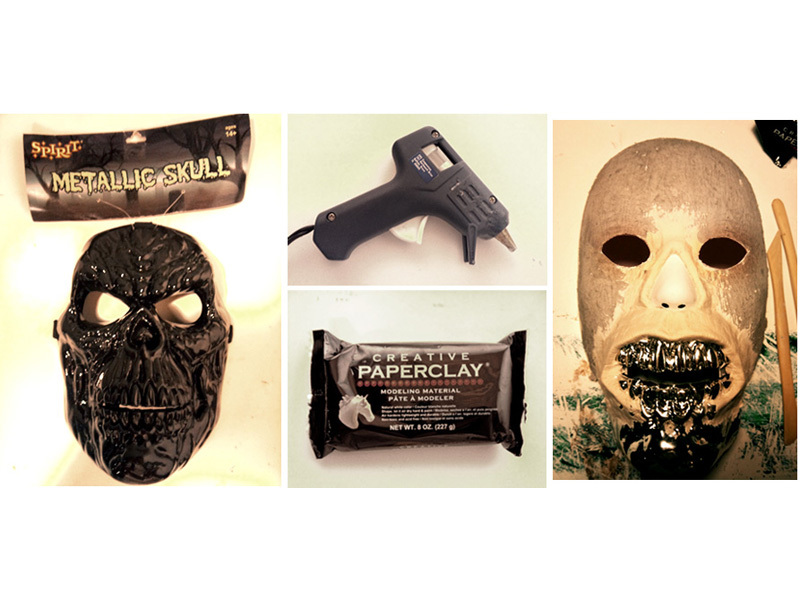
Next, it’s time to elongate the jaw. Take your skull mask and begin to cut the jawline out. Make sure to include the gum area, teeth and entire chin area. We used a Dremel tool, but you can use scissors or a sharp blade to do the trick. Be careful, some plastic doesn’t cut easily!

Once the papier-mâché on the white mask is dry, you can begin to cut its jawline as well. Don’t worry about it being perfect, we can smooth it out later.

Next, take the skull mask, place it in front of and in line with the white mask and hot glue it together.

Now take your Paperclay and fill in any holes that may be showing. This material is easy to smooth, so be sure to cover the entire gap between the adjoined masks.

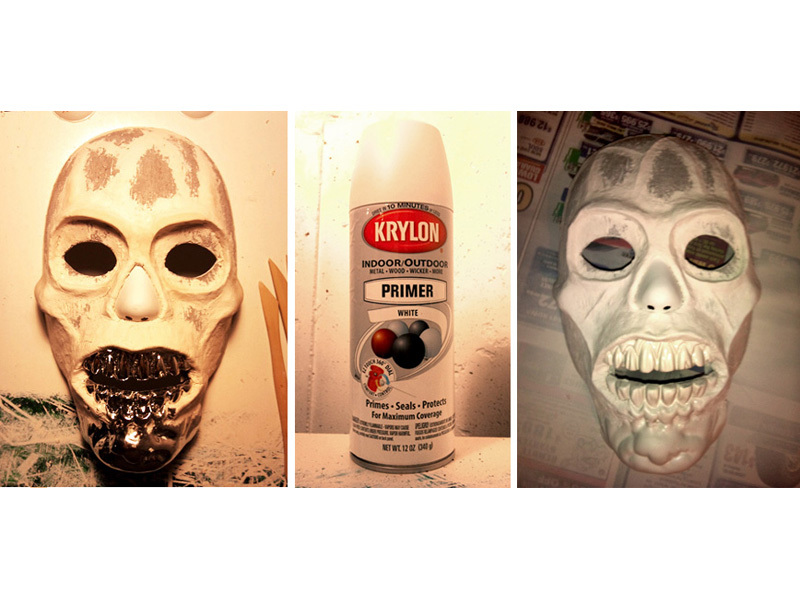
Now comes the fun part! Take more of your Paperclay and begin to sculpt the structure of the mask. You may want to start along the jawline and work your way up to the cheeks and eye sockets.

Be sure to create some depth on the cheekbones and brows. You want it to resemble a skull.

Also try to create a few angled and vertical strips starting from the top of the brow and going to the top of the mask. This will make it appear that the pulpy “muscle” texture is breaking through the skin.

One the Paperclay is dry (typically a few hours or overnight), spray with a white primer. This will give you a “blank canvas” and will make it easier to paint.

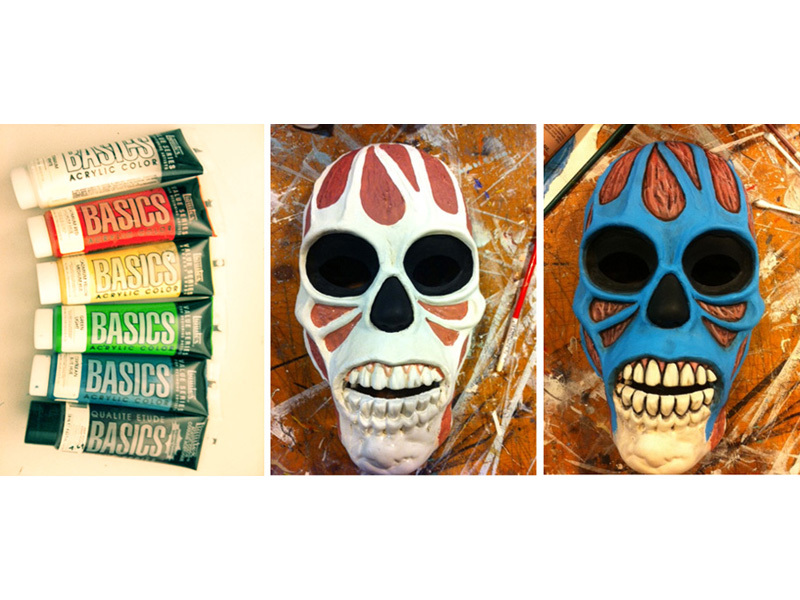
Once that’s all dry, take out your acrylics and brushes.

Begin with the red ‘muscle’ area. Alternate between pinks, browns, and reds, to create a more realistic look.

You can add highlights to the raised areas simply by using a thin brush and white paint. The same goes for the ‘valley’ areas, but use a dark brown or black paint.

Once that’s dry, mix up a blueish-teal color and paint the skin.

The teeth should already be white, but I liked to age mine by creating a yellowish-brown wash (just add a bit of water to your paint) and cover the entire jaw area. Also be sure to add some dark spots between the teeth to make them extra gross!

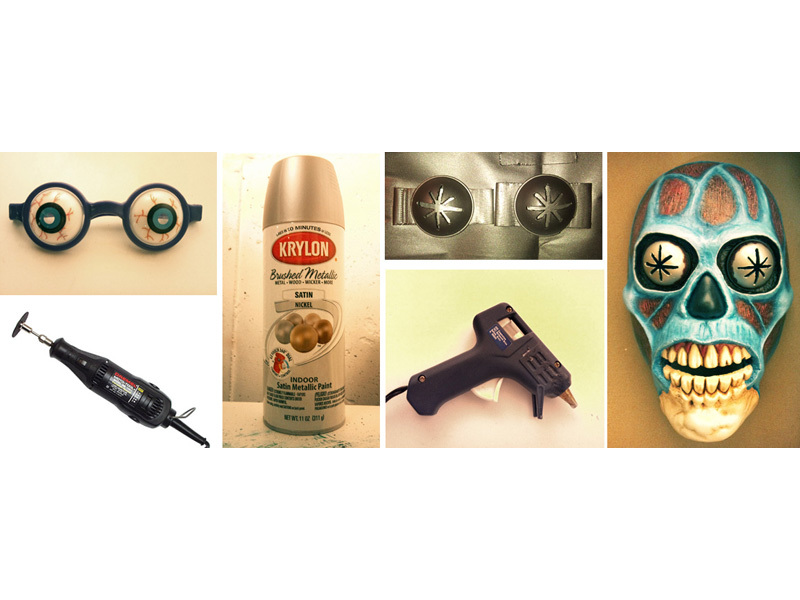
Now for the eyes. We used some cheap glasses (found at a Halloween party store), and popped out the eyeballs.

Next we took a Dremel (but you can use a knife or X-Acto blade) and cut a star-like pattern in the eye. This will allow for more visibility, and is consistent with most of the actual movie aliens.

Now spray or paint them with silver paint. Allow to dry fully.

Take your hot glue gun and apply them to the eye sockets. If there are any holes or glue showing, just apply a thin layer of black acrylic! Again, allow to dry thoroughly.

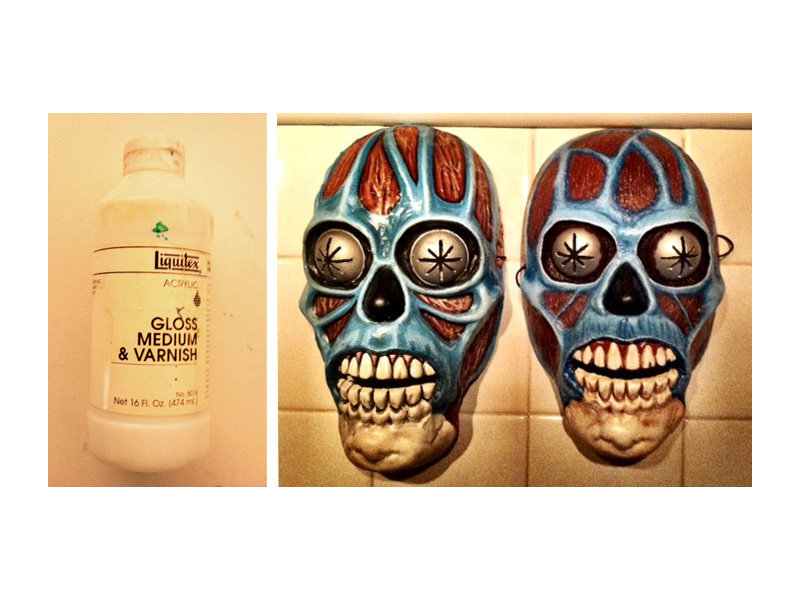
Now for the easiest step yet! Apply or spray a very thin layer of gloss medium. This will make the mask really come to life.

Allow to dry for a few hours and you’re all set! Add any type of wig and clothing (keeping in mind that most of the aliens from the movie are wealthy people, politicians, or law enforcement) and you’re good to go.

OBEY. CONSUME. STAY ASLEEP.