


Here’s a super simple mini-toy: a plastic bubble tip for a paper airplane. Dip it in bubble solution and give it a toss. It leaves a puff of bubbles as the plane darts away. Reminds me of the miniature plastic prizes that used to be in boxes of Cracker Jack or vending machines: tiny toy, big fun!
Download the .svg vector graphic file to cut the bubble tip on your laser cutter.
You could make this small part by manually cutting and drilling, but the ability to laser-engrave the radial ridges is really super neat and easy. The ridges increase the surface area of the bubble ring to hold more soap solution.
After the first engrave and cut, carefully pick out the part, flip it over, and re-insert it right back into the material blank in the same position. Laser it again, but this time only do the engraving. (The Glowforge I used has a handy Ignore setting to skip the re-cutting.) This will engrave the ridges in the backside of the bubble ring as well. Double the ridges, double the bubbles!
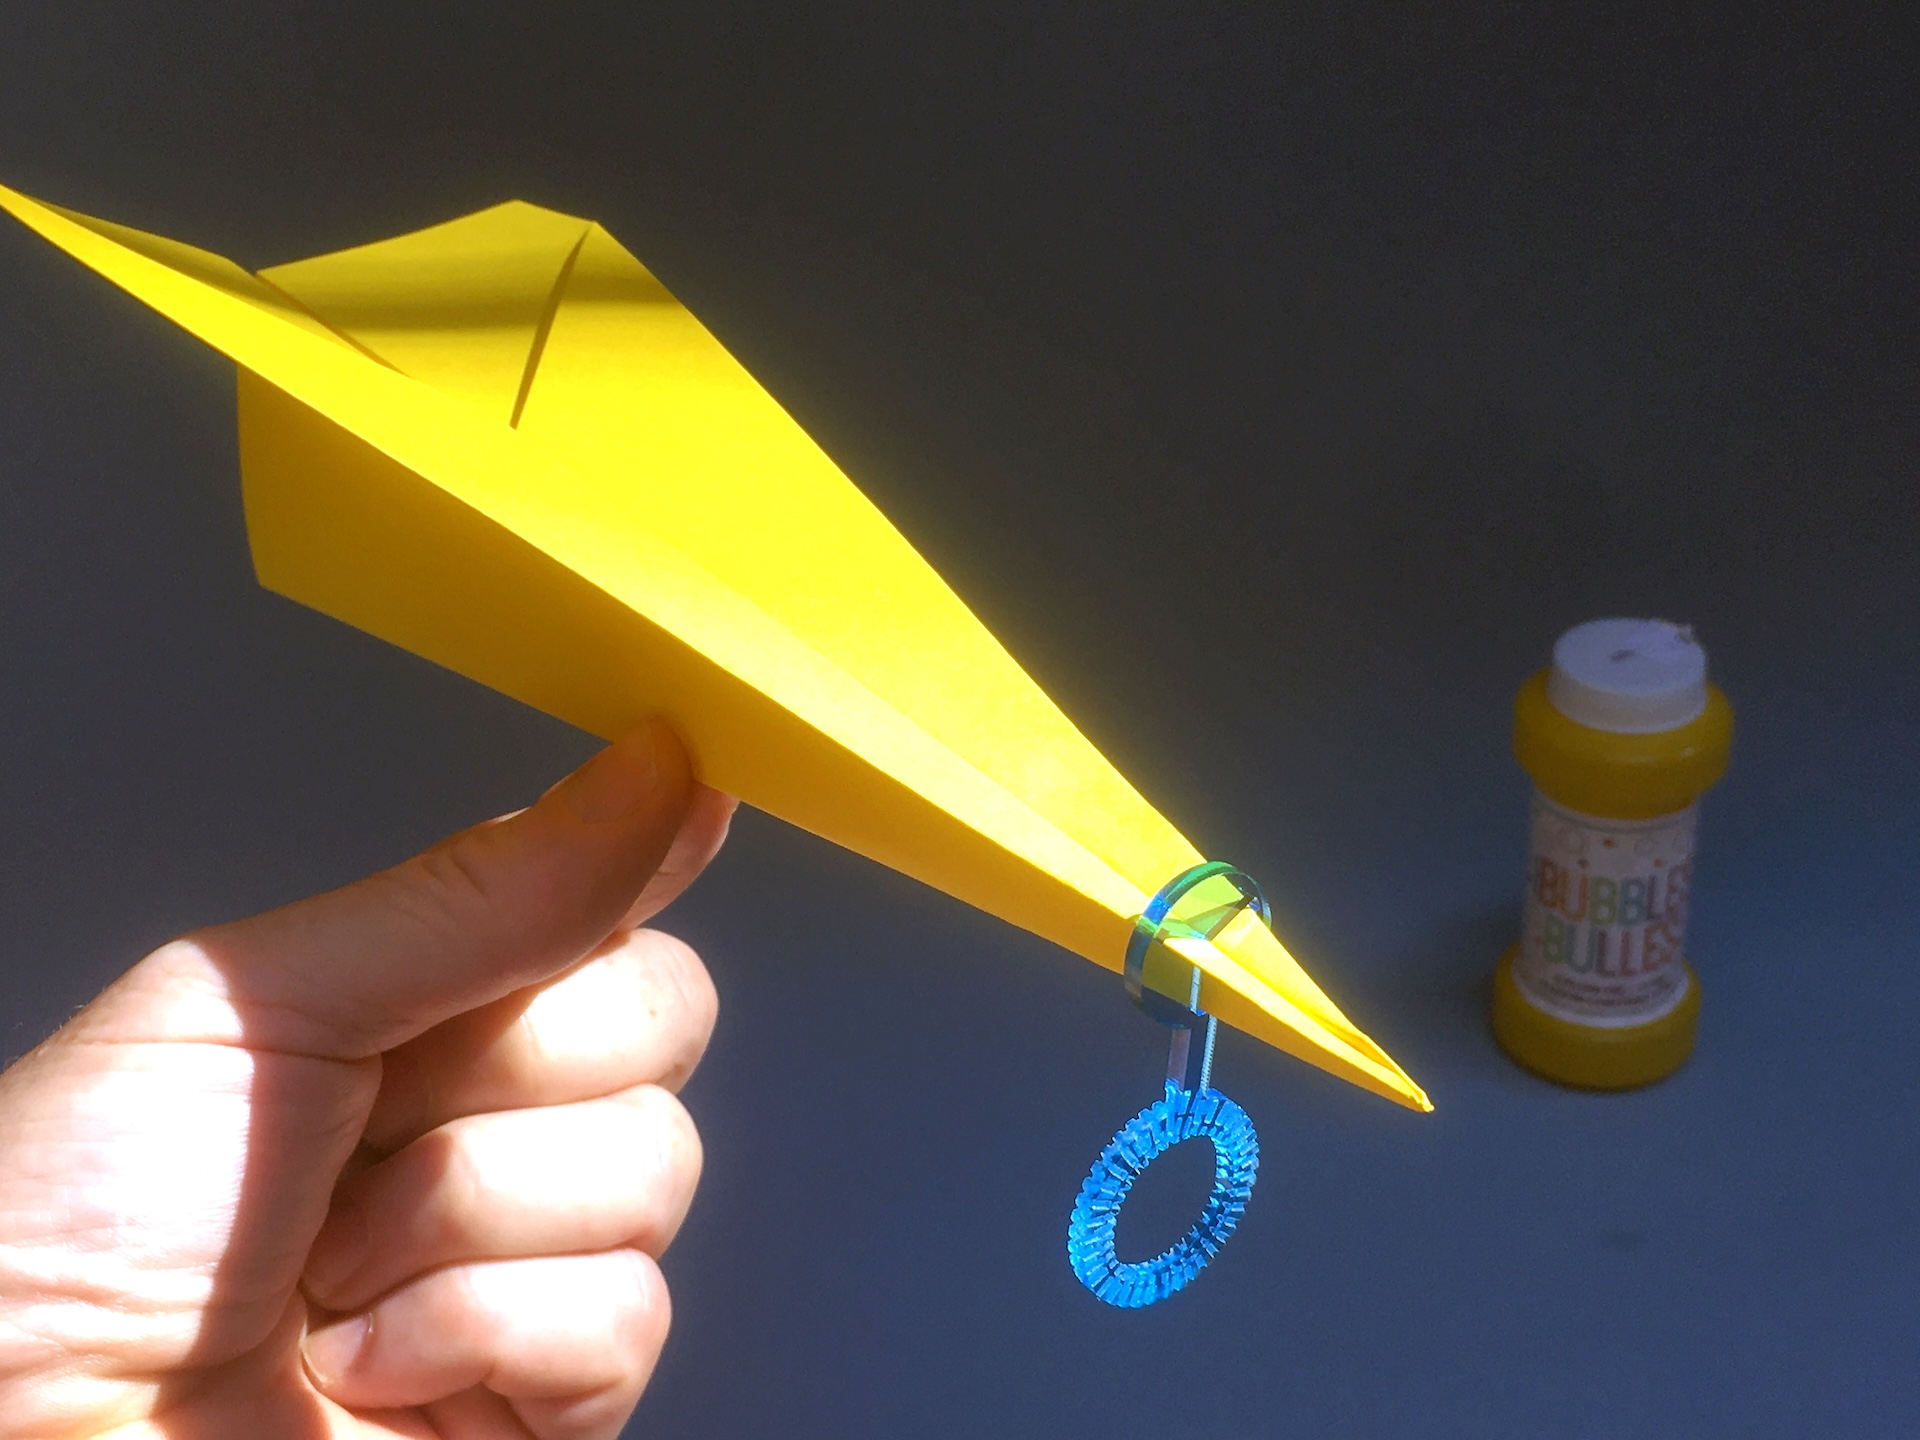
Fold a conventional paper airplane and carefully insert the tip into the triangular T-slot. Slide it on until snug.

Dip the plastic part in soap solution and toss for a bubbly flight. Try throwing at different speeds and arcs for best effect.
Thank you for flying Air Bubble
I thought this would be a simple project, but it required many revisions of sizes, rib layouts, and number of bubble loops.


This “final” design is really just a starting point. The symmetrical design can be modified or simply scaled up or down: see what works best for you. Good luck!

Images and photos by Bob Knetzger.
This project appeared in Make: Vol. 83. Subscribe for more maker projects and articles!


