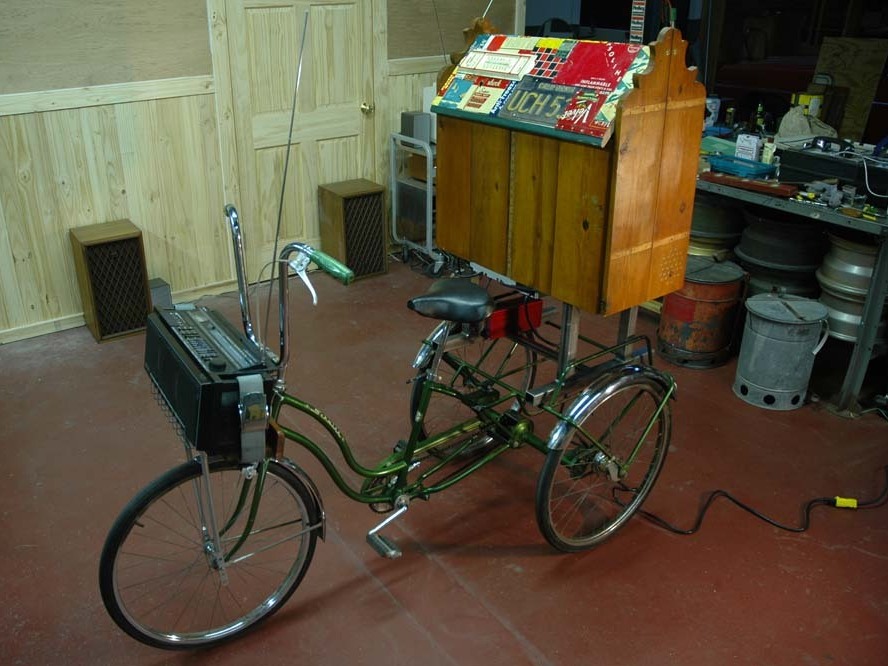
Rather than lamenting the slow death of drive-in theaters, I decided to build my own, mount it on an adult tricycle, and take the movies anywhere there’s an AC outlet. Vibrant online communities of DIY projector enthusiasts have ironed out the kinks and built the focal calculator software tools, and they’re building homebrew machines with jaw-dropping results.

The folks at Lumenlab (lumenlab.com) have put together a kit of hard-to-find components to build your own movie projector using a surplus 15″ LCD computer monitor. Rather than scour the web for components that might work, I decided to take advantage of Lumenlab’s engineered solution, their considerable informational build guides, and, most of all, their invaluable forums that include detailed project logs of completed projectors.

Project Steps

Strip the LCD panel.

Remove the plastic enclosure. In your fury to rid the panel of the original consumer packaging, remain tender, like you are kissing kittens on a summer morning. I gained access with screwdrivers and putty knives, but every monitor is different. Be slow and deliberate.

Every LCD panel is slightly different, but the basic components and structure are similar across brands.

Remove the controls and RF shield. To gain access to the LCD glass, remove the whole back half of the monitor. Be careful while disconnecting the monitor controls and power button, as you will have to relocate them so that they’re still functional.

Fold down the panel daughter board. Remove fasteners and fold down the monitor control board to allow the backlight to be removed.

Remove the backlight. Remove the screws and bend back the metal tabs to free the LCD from its backlight.

Be amazed by the fragility of the LCD glass! Old plastic case at 11 o’clock, RF shield with monitor components at 12, stripped LCD panel in latex-gloved hands, and backlight, which will not be used, at 9.

Disassembly was done on a grounded anti-static mat and I am wearing an anti-static wrist strap and a plaid western shirt. Only the western shirt is optional.

Make the LCD panel dummy. To prevent damage, I made a cardboard LCD dummy to allow rough handling during mock-up of the projector. I used the natural hinge of a carton fold to replicate the flexible panel cable.

Make monitor component sled. Using the original RF shielding as a component sled, I added a few pieces of wood to provide a base and another chunk of wood as a nonconductive shield between the panel and other components.

Design the projector layout.

Projector dimensions vary depending on the size of components selected, desired size of the projected image, and the method of box construction. A good design will allow for adjustment of internal components, as millimeters make a big difference in precision optics.

Calculate the dimensions. DAZZZLA, a moderator on the Lumenlab forums, wrote a superb focal calculator application (makezine.com/go/lumenlab) to determine the dimensions of your projector based on known component values and desired projection performance.

Design the layout. Based on the calculator and the width of my monitor, I had a pretty clear idea of dimensions. I cut out what would become the bottom of the box and started laying out the components. Note the placement of the LCD monitor control board.

Place the components. Using the calculated figures as gospel, my masking tape legend of key measurements proved invaluable for component placement.

Easy sewer pipe lens focusing

Fit the sewer pipe to the coupler. The projector triplet lens is mounted in a 40mm slice of 3″ ABS pipe, which slides into a 40mm chunk of 3″ ABS pipe coupler. As couplers are tapered, you will need to wear a dust mask and sand the interior of the coupler until the pipe is snug but slideable.

Screw in the lens. The wall of the 3″ pipe is thick enough to drill pilot holes and screw in the lens. Use a 4″ hole saw to cut the lens hole in the projector box. For a snug fit, use a strip of the fuzzy side of velcro to line the lens hole.

Epoxy putty reflector mount.

Admire the epoxy putty. Epoxy putty saves the day again! Oh, epoxy putty, is there anything you can’t do? Epoxy-putty the bolt to the reflector. Under that lump of epoxy putty is the head of a standard 3/8″ bolt that provides a strong, adjustable, and threaded stud to aid in the mounting.

Mount the reflector hardware. A ¼” eyelet bolt is sandwiched between a pair of 3/8″ nuts and washers. Though not classically beautiful, it’s adjustable and it works! Perhaps I should have carved my initials in the epoxy. The finished reflector hardware is connected to a coupler nut and held fast with a pair of standard nuts. The ¼” threaded stock then continues through the bottom of the cabinet.

Hang the heat shield, Fresnels, and LCD.

When trying to solve conundrums like how to mount the heat shield, I wander hardware store aisles with open eyes and mind. When I found a DIY window screen frame kit for under $10, I am reasonably sure that I heard angels sing.

Cut the Lexan heat shield and Fresnel to size.

TIP:Score repeatedly with a sharp razor knife, then break over a table edge.

Mount the heat shield, Fresnels, and LCD. The aluminum window screen frame is the perfect channel to hold the Fresnels and the Lexan heat shield. My “brilliant” design detail of using yardsticks as cabinet material precluded me from using the window screen channel to mount my LCD screen. Makers should learn from my mistake and use the aluminum channel to hold the LCD.

Now go use it.

So, does it work? Works great! This is an un-Photoshopped photograph of a freeze screen from the visually stunning The Fifth Element. There are some caveats worth noting before you throw away your television. A projector screen reflects light, which is great when it’s reflecting your movie, but it also reflects any and all ambient light. In other words, a room that is as dark as a movie theater is almost mandatory.

Also, my projector is mounted so that it’s a straight shot to the screen, but if the projector were tilted up or down, the projection would flare out at the top or bottom. This is an optical effect called keystoning, but you can eliminate it by tilting the 317mm Fresnel. Read about it on the Lumenlab forums. And read about the state-of-the-art projectors based on HDMI 10.6″ LCD panels. Prepare for your jaw to drop!

Which Fresnel is bigger?

Object is bigger, more distorted — 220mm

As opposed to smaller, crisper — 317mm

Conclusion

This project first appeared in MAKE Volume 11, page 48.