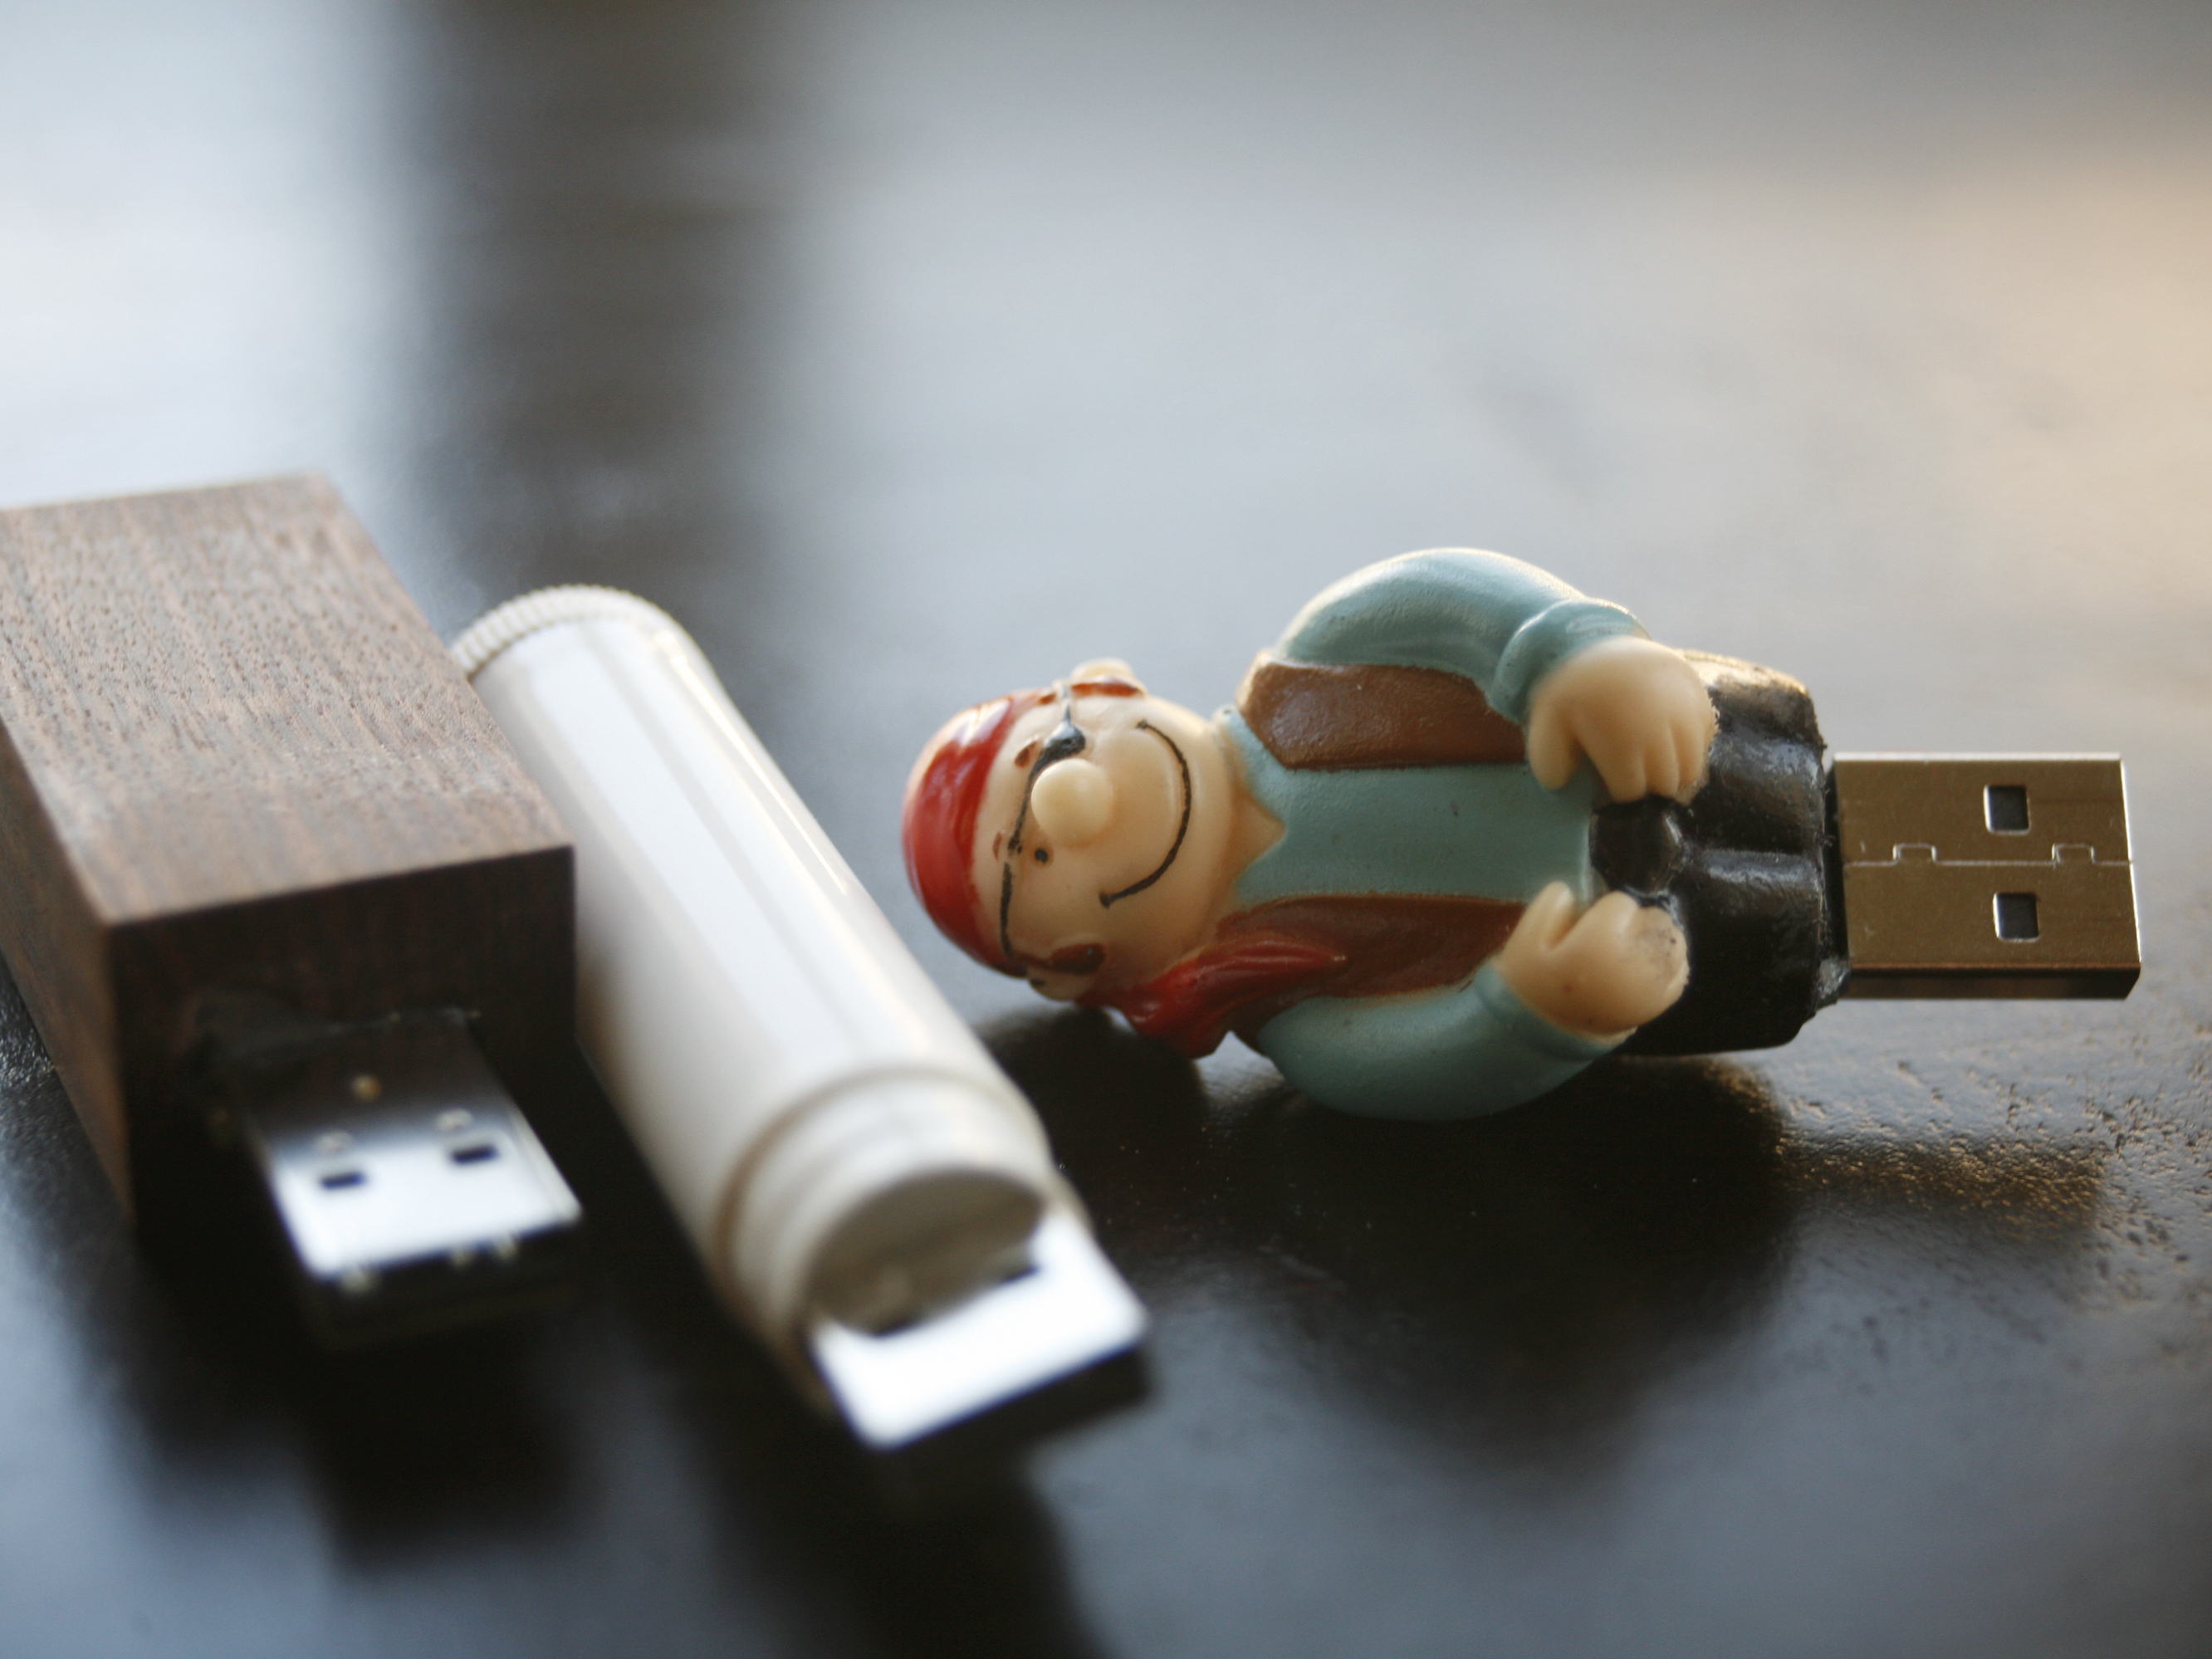
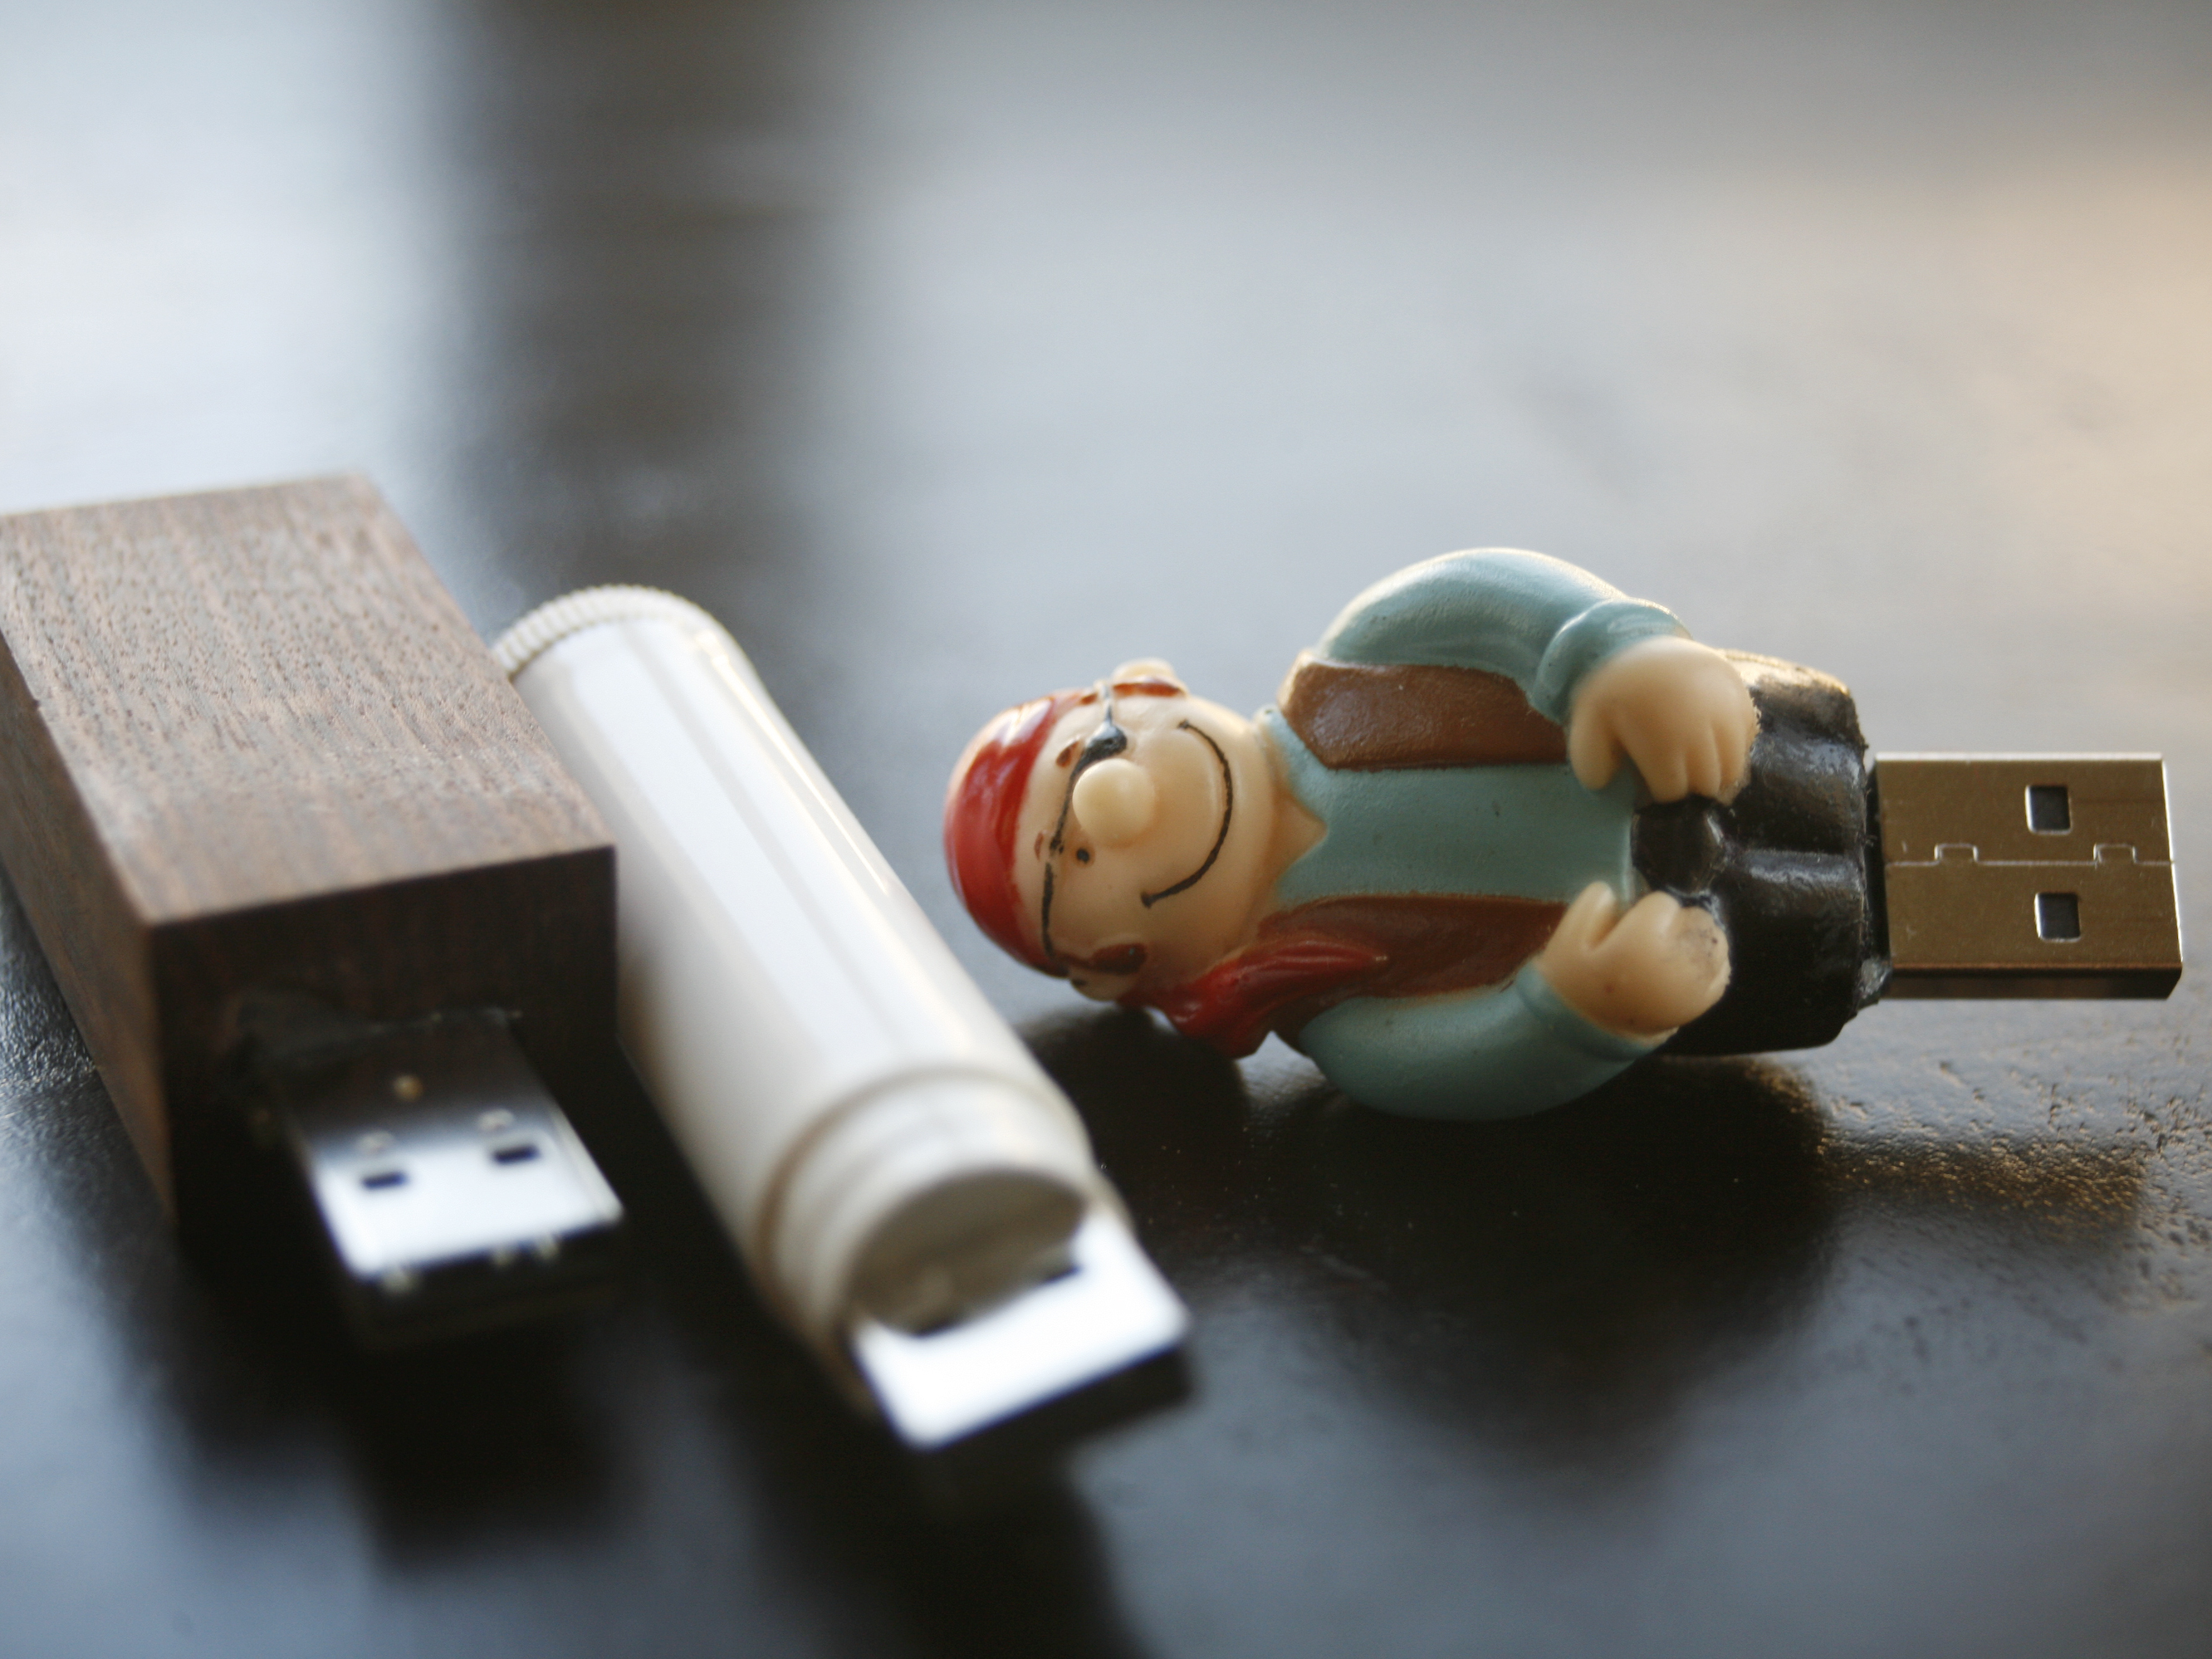
Memory sticks lack character. Even the nicest looking ones are more functional than fun. But re-skinning a USB flash drive takes only an hour, max, and unlike a PC case mod, you’ll carry your creation with you. They also make cute gifts (“Thanks for the memories!”).

So far, I’ve done a finger puppet, a ChapStick, and 2 wood blocks, but these mini-mods are limited only by your imagination. Small toys, wine corks, or even a rabbit’s foot are all fair game.

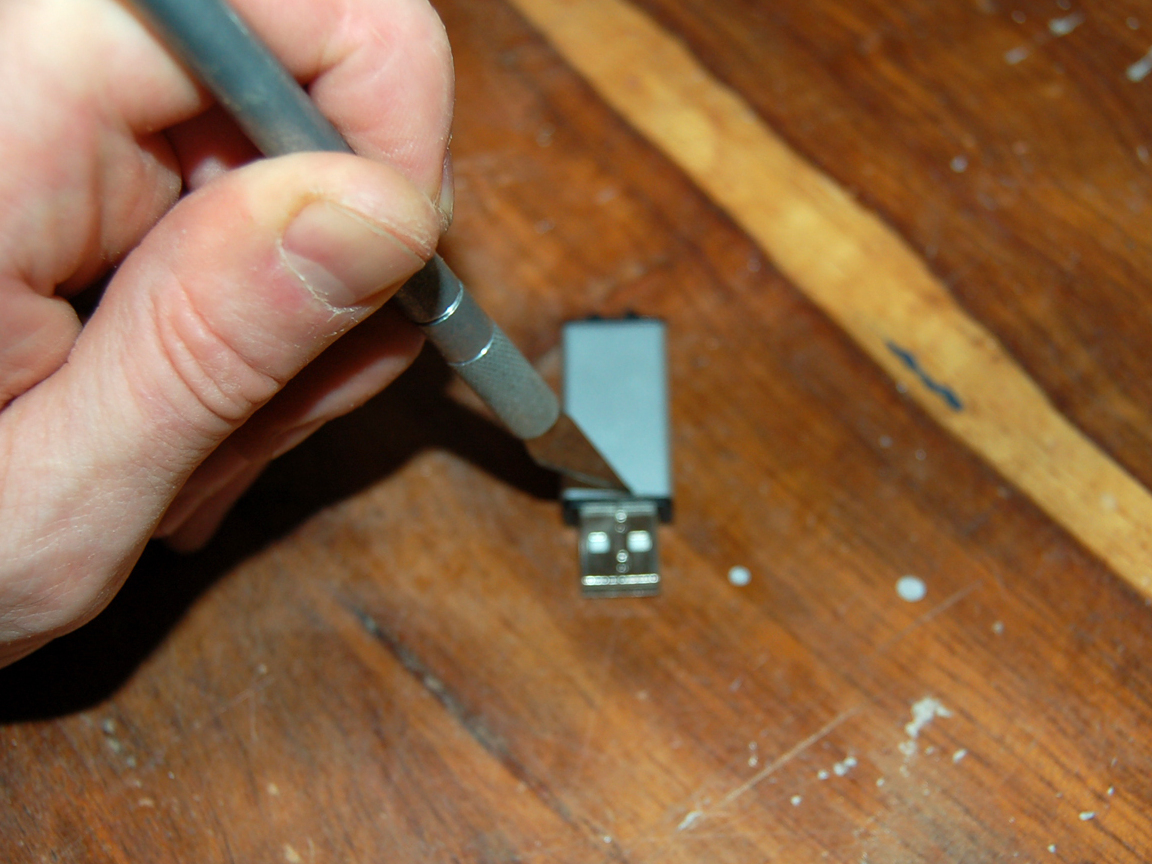
The hardest part is removing the case without damaging the circuit board. Most USB keys can be pried apart, but some require cutting. Then you just need to find the right cover.

Project Steps

Mod a finger puppet flash drive.

A child’s finger puppet is one of the easiest flash drive mods. If the circuit board fits, you just need to glue it into place.

I used a pirate puppet from my son’s birthday a few years ago. Its plastic is translucent, so the pirate’s head glows eerily when the drive’s LED indicator shows data moving in and out.

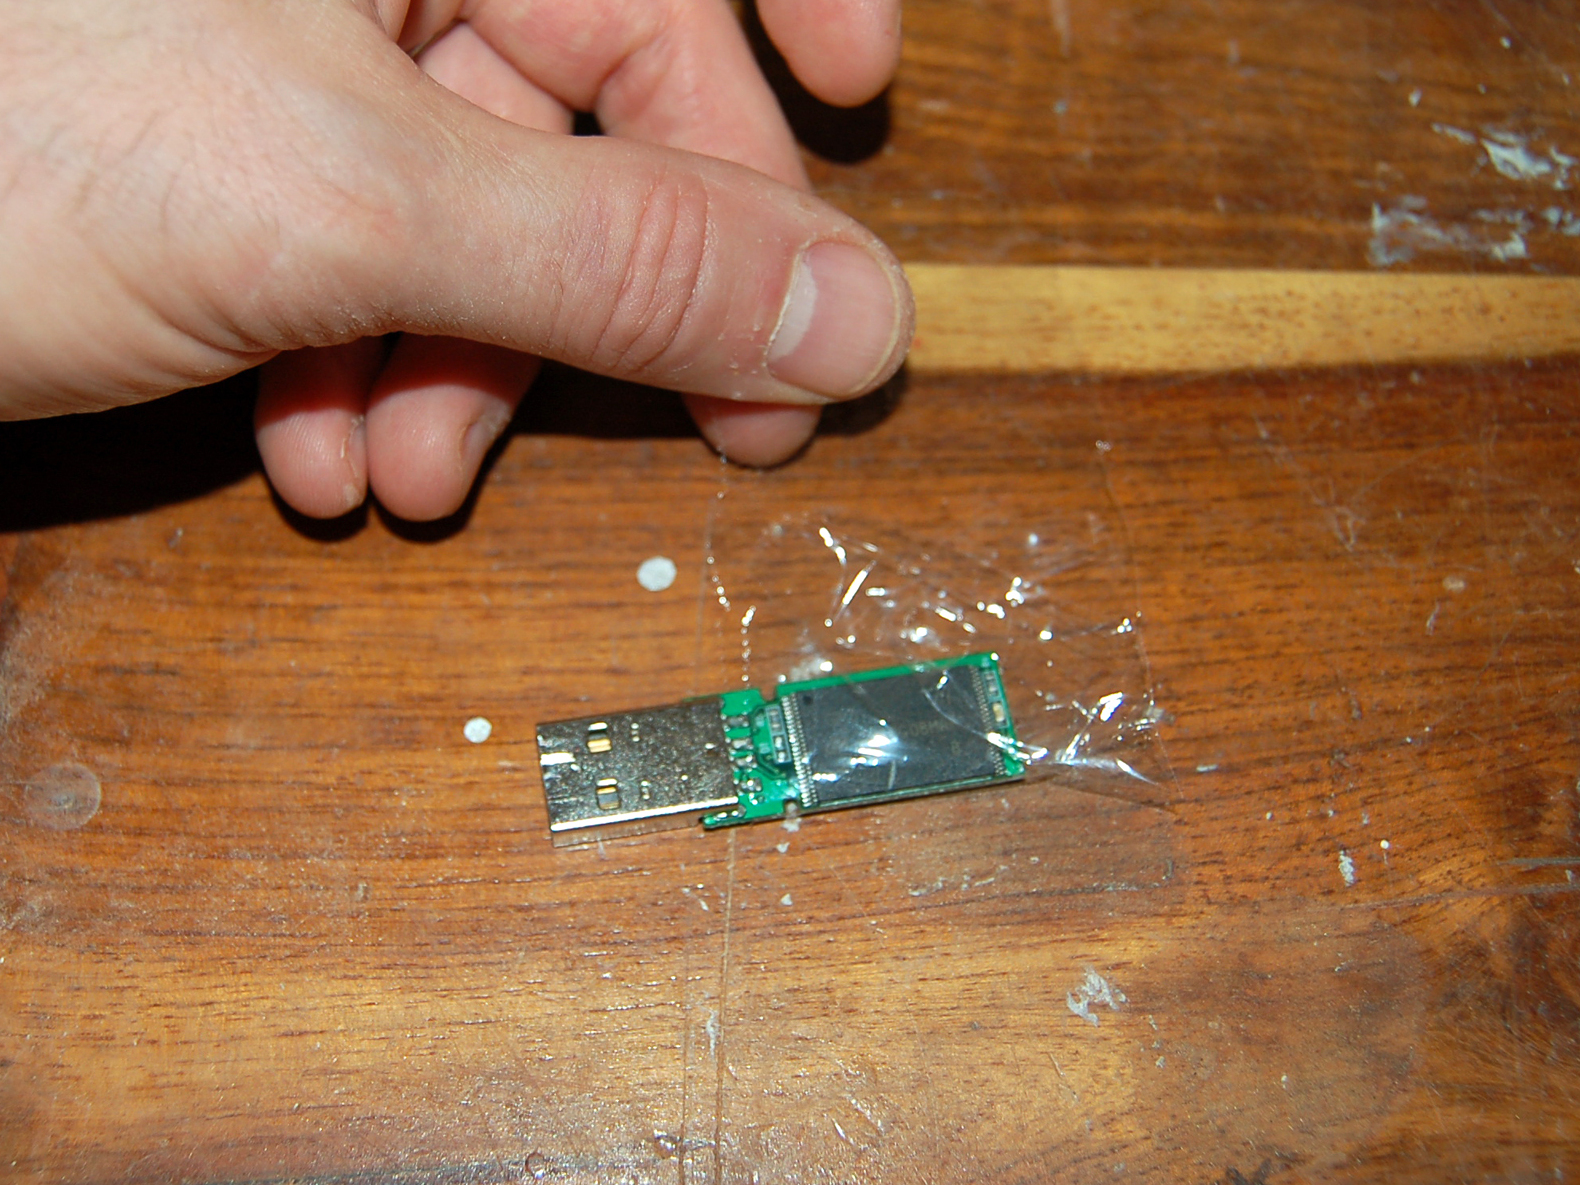
After shelling the drive, I covered its circuit board in plastic wrap so the glue wouldn’t cause problems. I slipped the board into place, making sure the USB connector had enough clearance; 5/8″ is generally enough.

With the board in position, I squirted in enough silicone to seal it in place. An hour later, it was ready to save a few naughty sea shanties.

Hide the drive in a tube of ChapStick.

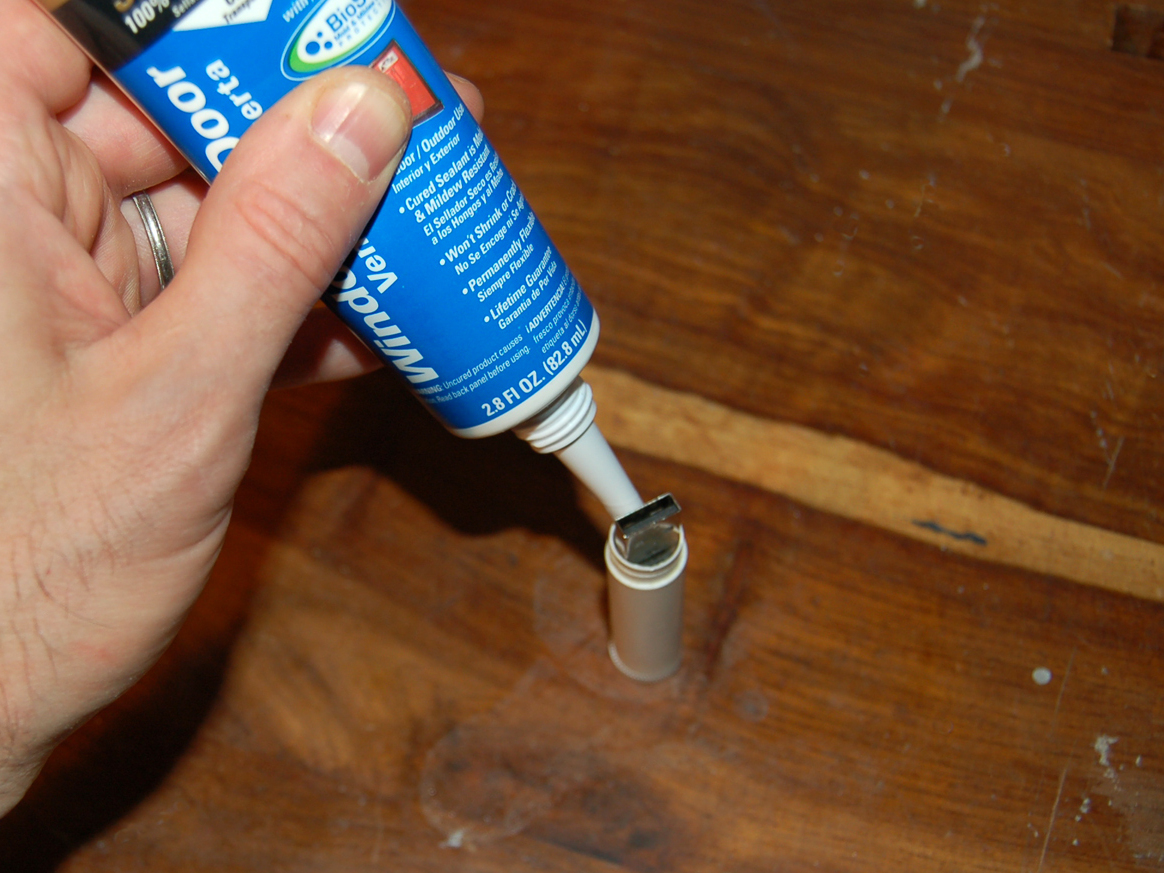
Hiding a flash drive in a ChapStick (or other lip balm) case takes a little more effort. I started by cutting and peeling off the label, to make it a plain white tube. You can glue on your own label, but I left it bare.

Twist the knob to remove all the product and its carrier, then yank out the central screw with needlenose pliers. Finally, as before, simply cover the board with plastic wrap and glue it into place.

Use wood blocks.

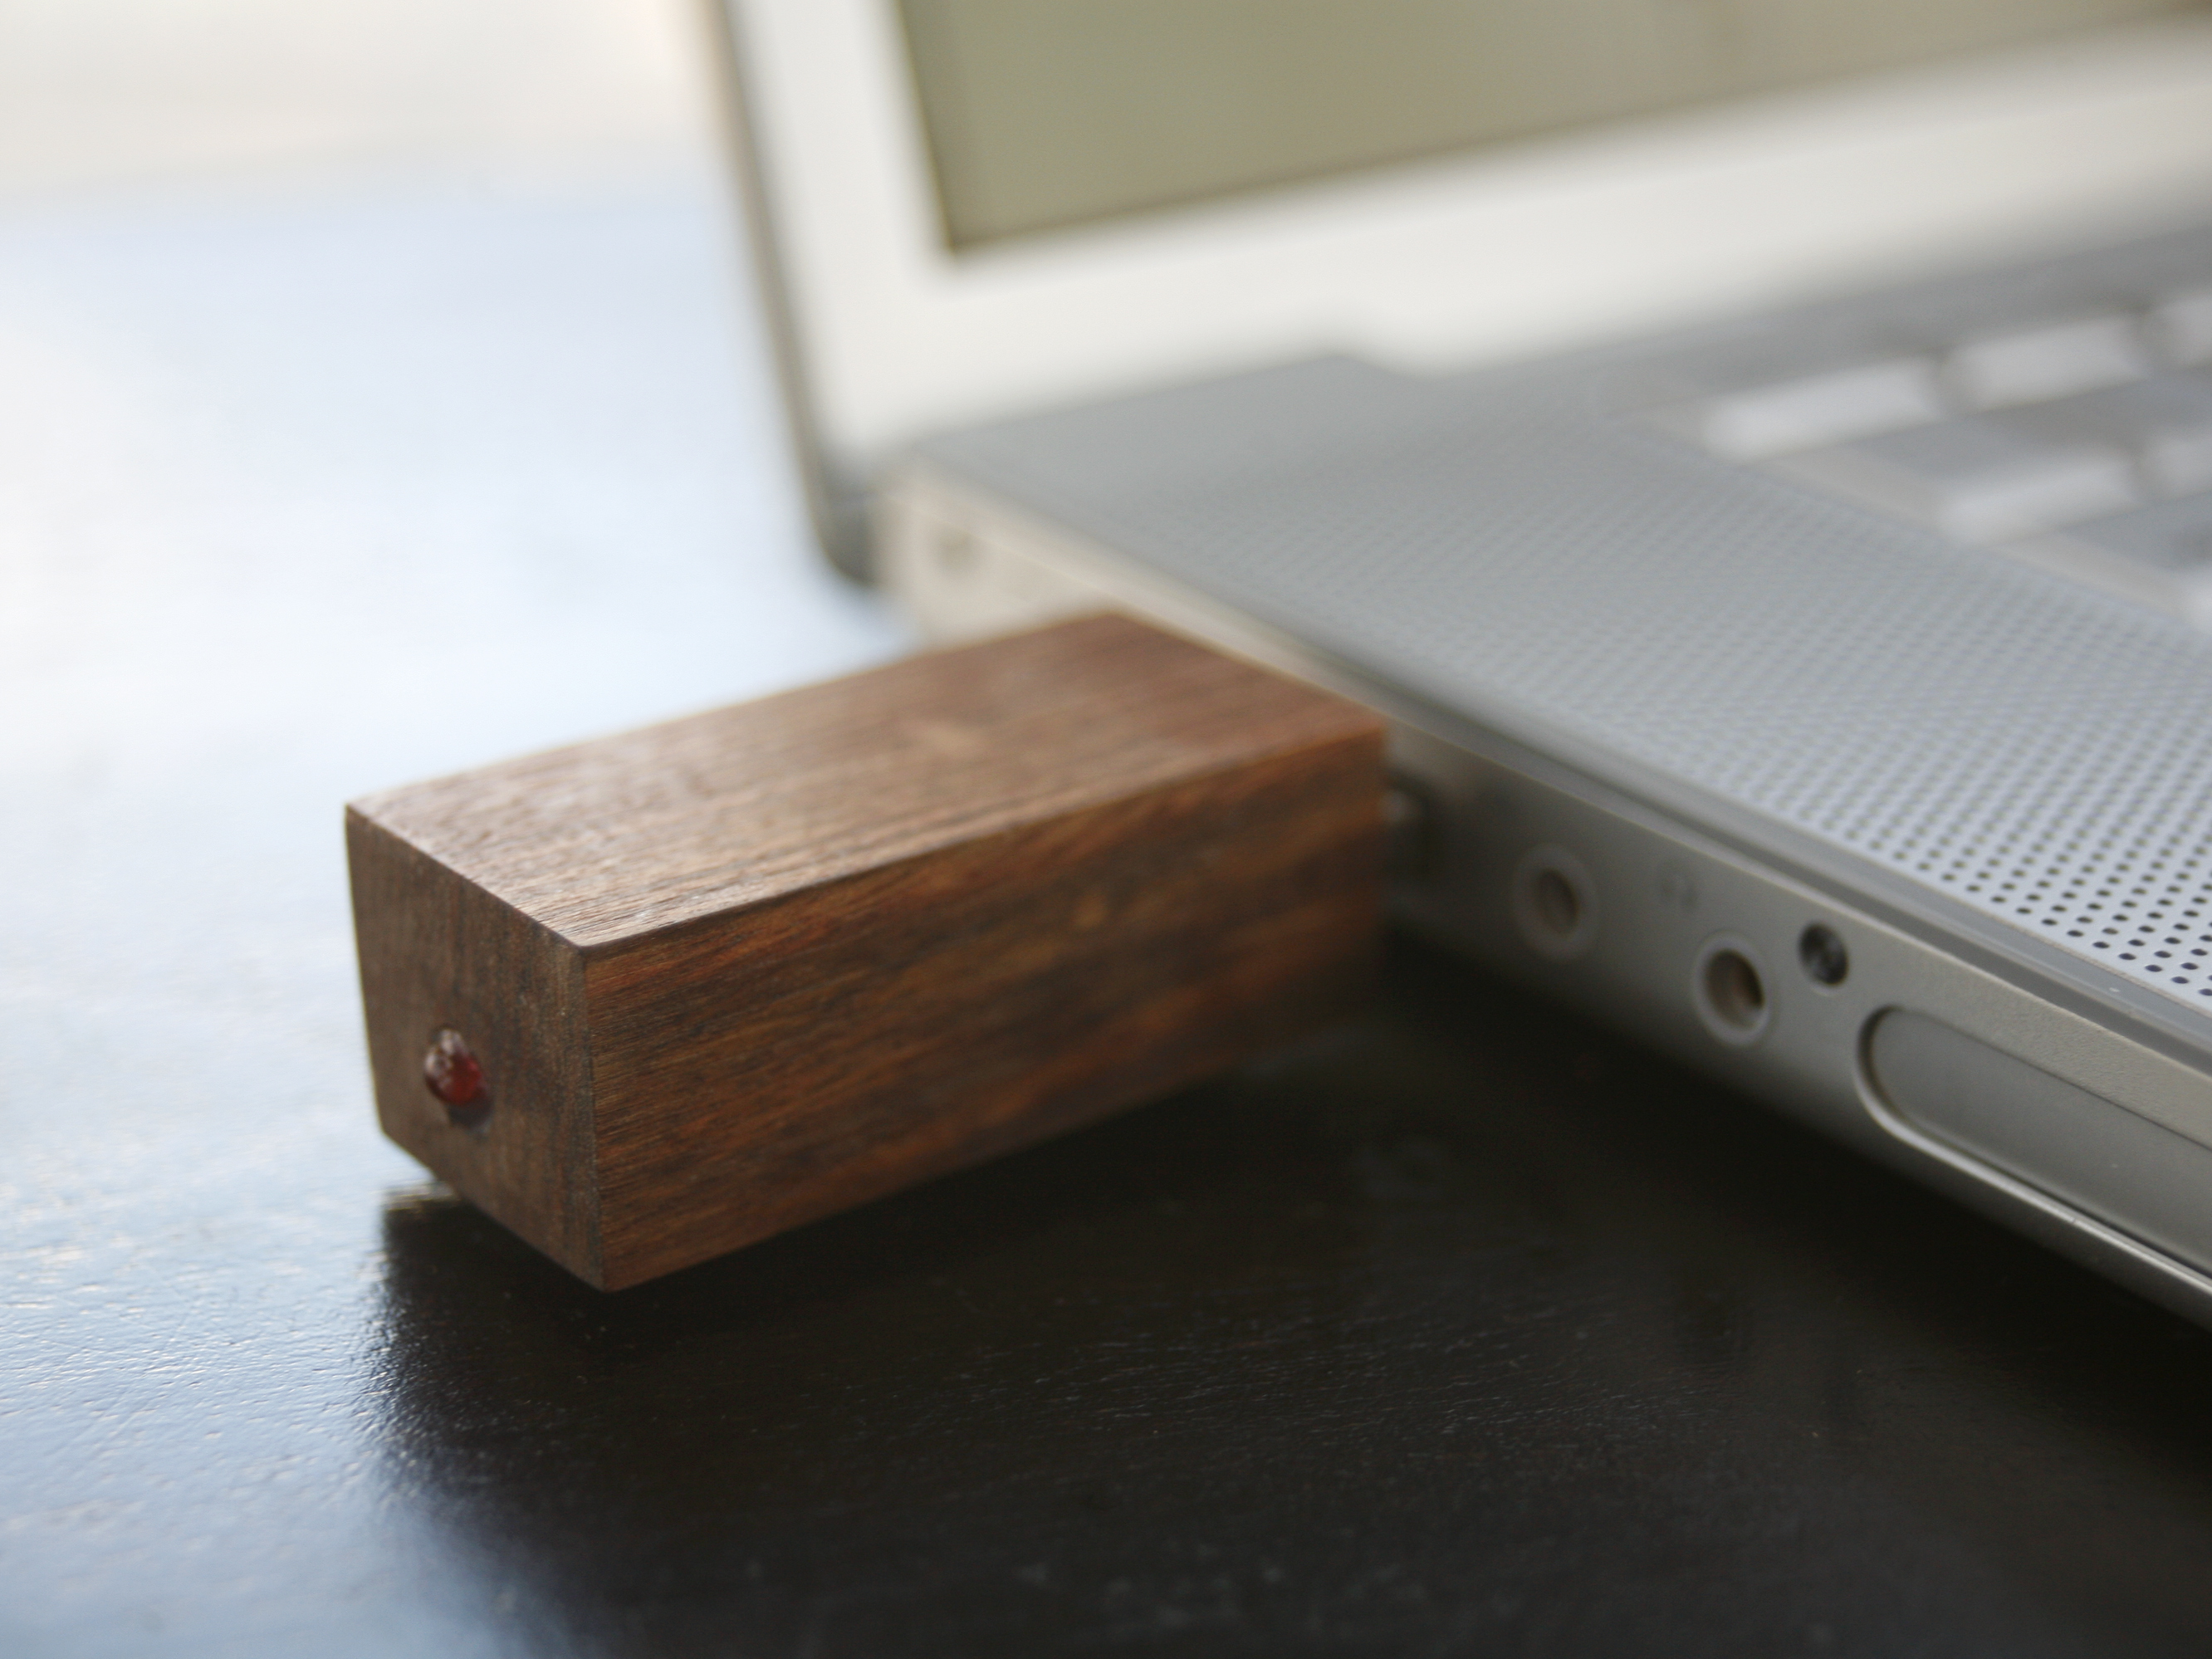
Some time ago, my wife bought me a box of hardwood samples, most of which I’d never heard of. To house a USB key drive, I picked a piece of African tamboti wood for its dark brown color and even grain. A small pine cone or knot would also work.

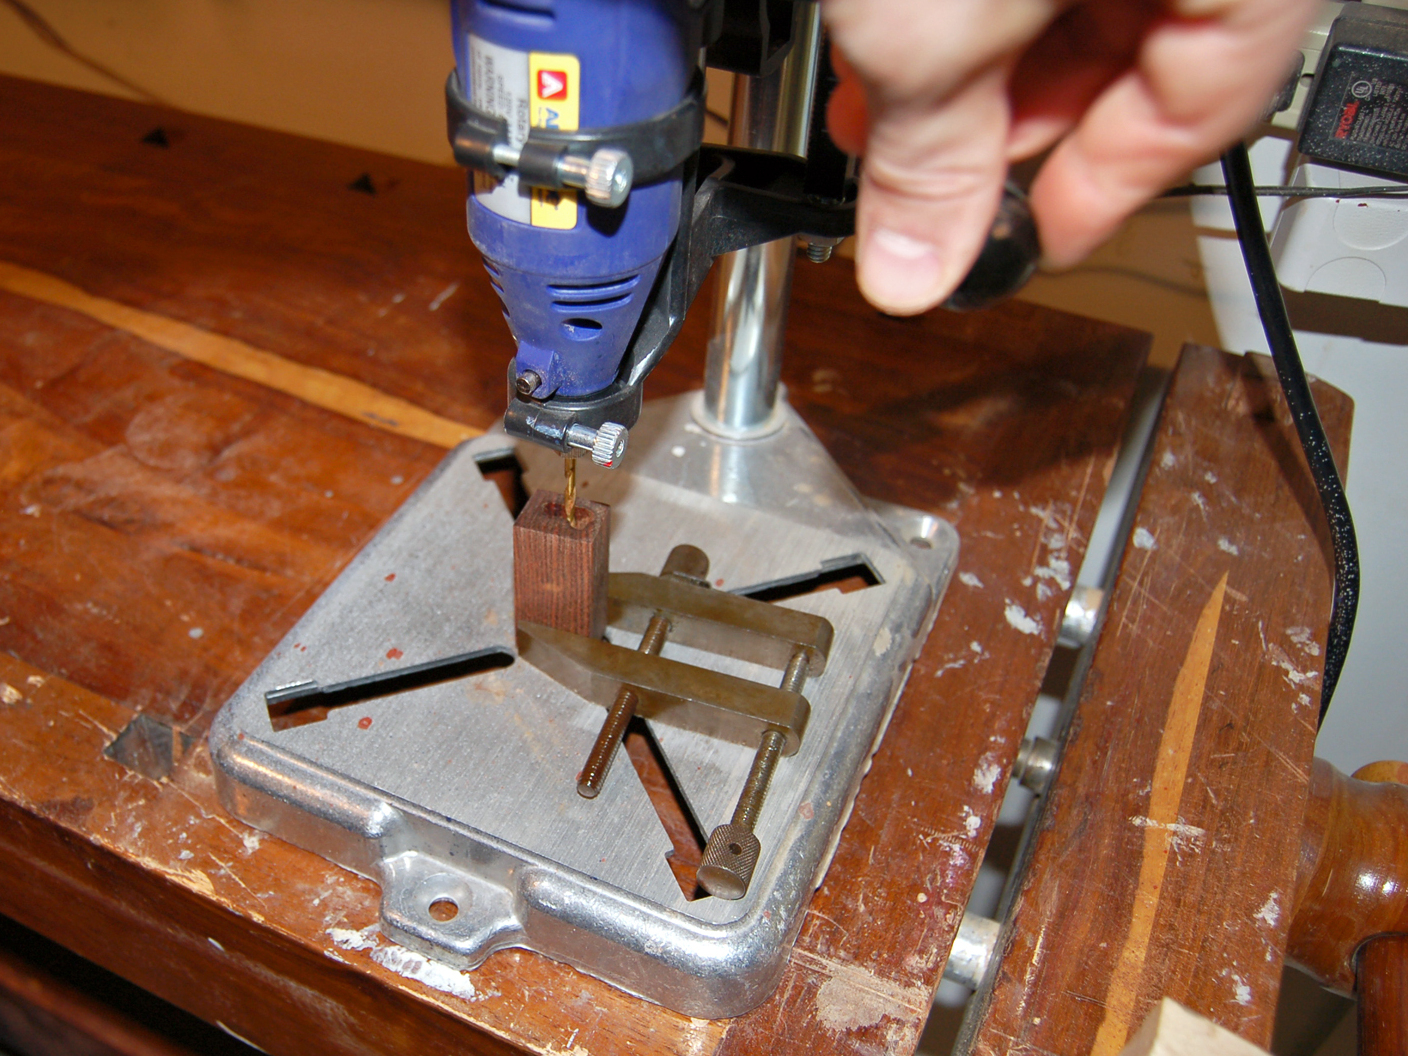
First, I cut the block to roughly the right size. To drill out room for the circuit board, I used a small drill press with its stop set about 1/8″ from the bottom. Then I drilled another hole just big enough to fit the activity indicator LED. This doesn’t need to be precise, because you can bend the LED’s wires to the position needed.

Then I shaped the outer surface with a belt sander. To avoid leaving ugly lines, I used 220-grit sandpaper and worked with the grain. For the final polish, I hand-sanded using 400-grit paper. Then I rough-fit the drive board, wrapped it in plastic, and glued it up.

I also did a memory stick makeover using a cylinder of the same wood, which I turned on my wood lathe; a pre-made dowel would work just as well. After turning the block round and drilling holes for the board and a lanyard, I finished both with a light coating of linseed oil for a hand-rubbed luster.

Conclusion

My modded memory sticks move files with style, but here’s a word of warning: they tend to disappear. In fact, 3 of the 4 I’ve made have since been taken by family members, leaving just the pirate for me. In other words, as soon as friends and family see your homemade memory sticks, they’ll want one.

This project first appeared in MAKE Volume 17, page 163.