

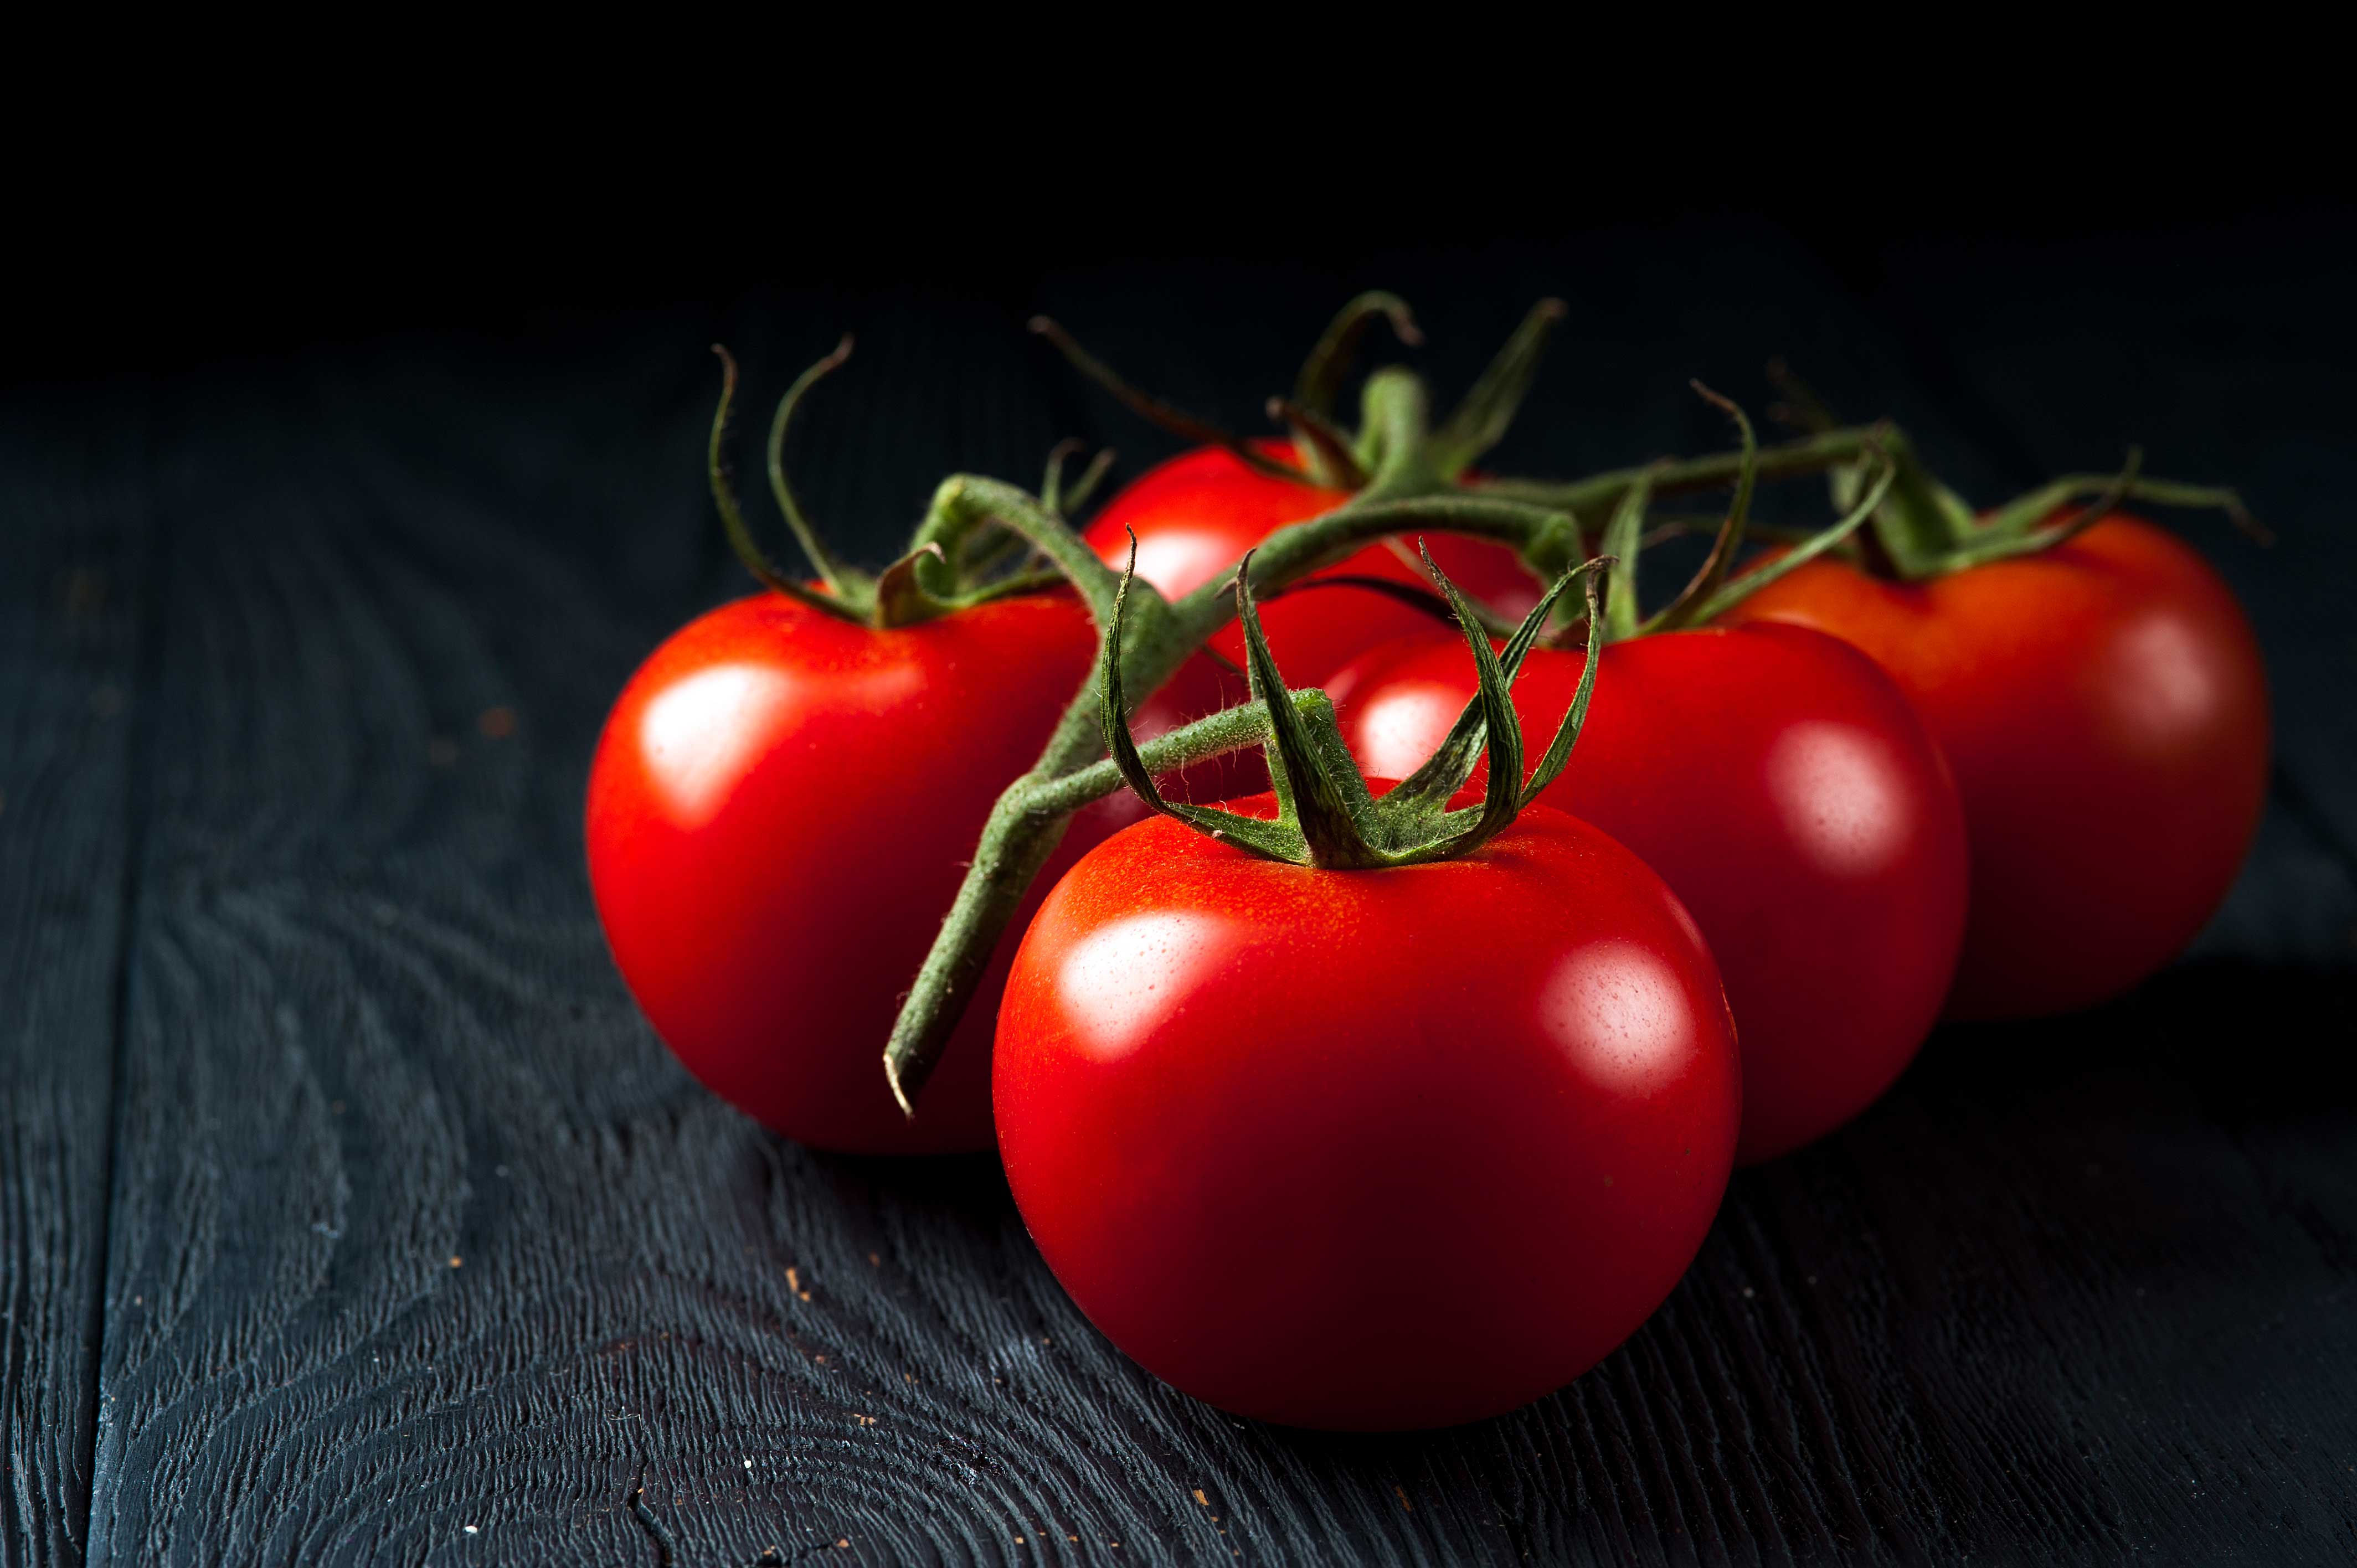


I love tomatoes, especially warm, freshly grown ones. We’re lucky enough to have a south-facing garden where tomatoes should thrive given enough water. However, watering is one of those things I’ve proven myself incapable of doing reliably. After a few false starts with a fish pond pump and a timer, I decided to do the sensible thing and buy a proper plant waterer — which ran out of batteries, got stuck off, stuck on, and finally filled itself up with water. Eventually, being a maker, I decided to do something about it — I made my own waterer with a microcontroller, and it “just worked.” Each year it’s evolved, and I now have something that’s simple, reliable, cheap, and has features you won’t find even in expensive shop-bought waterers, including automatic fertilizing!
Assembly


The plumbing is easy — drill a few holes in the box (Figures A1 and A2) and put in the solenoid (Figure B), then connect it to the hose adaptors (Figure C) and watering kit (Figure D). Your water source will connect to this. Meanwhile, the peristaltic pump (Figure E) will periodically add fertilizer into the water flow; one side goes to a container of liquid tomato feed via a connected hose, and the other plumbs into the watering pipe going to the tomatoes, using a T. If you bought a drip feed kit, they often come with all the pipe and T-pieces you’ll need.


To avoid using circuit boards, I soldered the FETs and diodes (Figure F) directly to the solenoid and pump. All you need then is to attach the 12V power and the 3 wires (ground and two control signals connected to D1 and D2) to Puck.js (Figure G). Follow the circuit diagram in Figure H. I put the Puck.js on top of the case and drilled through for some wires — it’s waterproof enough to be fine outside, and it means I can press the button on it to easily start watering when I’m in the area (Figure I).


Software
Now for the fun bit! Puck.js runs JavaScript, and can be programmed and debugged completely wirelessly using Web Bluetooth.
Follow the instructions on the Puck.js website to update your Puck’s firmware and get the Espruino IDE open — in many cases it’ll “just work” as long as you have the Chrome web browser.
Once you have the Web IDE open, click the “connect” icon in the top left and choose your device. On the left side of the IDE you should see a command-prompt where you can instantly interact with the microcontroller itself. You can still write code “normally” on the right-hand side and upload it in one go.
Go into Settings (top right) then Communications, and make sure “Set Current Time” is checked (this will set the correct time whenever you upload code).
Then upload the following code for a simple waterer:
E.setTimeZone(-8 /* PST */);
var hadWater = false;

function waterPlants(water, feed) {
  digitalPulse(D1, 1, water*1000);
  if (feed)
   digitalPulse(D2, 1, feed*1000);
}

// Check watering every 10 minutes
function onTick() {
  var now = new Date();
  var h = now.getHours();
  var day = now.getDay();
  if (h==8 || h==19) {
   // feed on mon, wed, fri morning
    var doFeed = (h==8) &&
     (day==1 || day==3 || day==5);
    if (!hadWater)
     waterPlants(300, doFeed?30:0);
    hadWater = true;
  } else {
    hadWater = false;
  }
}
setInterval(onTick, 10*60000);

// When a button is pressed,
//water for 30 sec
setWatch(function() {
 waterPlants(30,0);
}, BTN, {edge:"rising",
  debounce:50,repeat:true});
This will water twice a day at set times, and will also fertilize the tomatoes three times a week (Monday, Wednesday, Friday).
Using the left side of the IDE, you can interact directly with the waterer. D1.set() will turn on the water solenoid and D1.reset() will turn it off. Typing in waterPlants(10,5) will water the plants for 10 seconds and feed them for 5 seconds.
You’re now done. Your plant waterer should keep working just fine until the battery runs down in a year or so. However, chances are you’ll want it to keep working even if it gets reset, and that’s easy — just type save() and everything will be saved into flash memory.
NOTE: By default anyone can connect to Puck.js and interact with it. Visit espruino.com/Puck.js+Security for some ideas if you’re worried about this!

Check out my Github for this code as well as a slightly more complicated version that logs temperature and light levels, and even provides a dashboard for your phone (Figure J)!
If you attempt this (or something similar) yourself, or have any questions, please get in touch on the Espruino forums.


