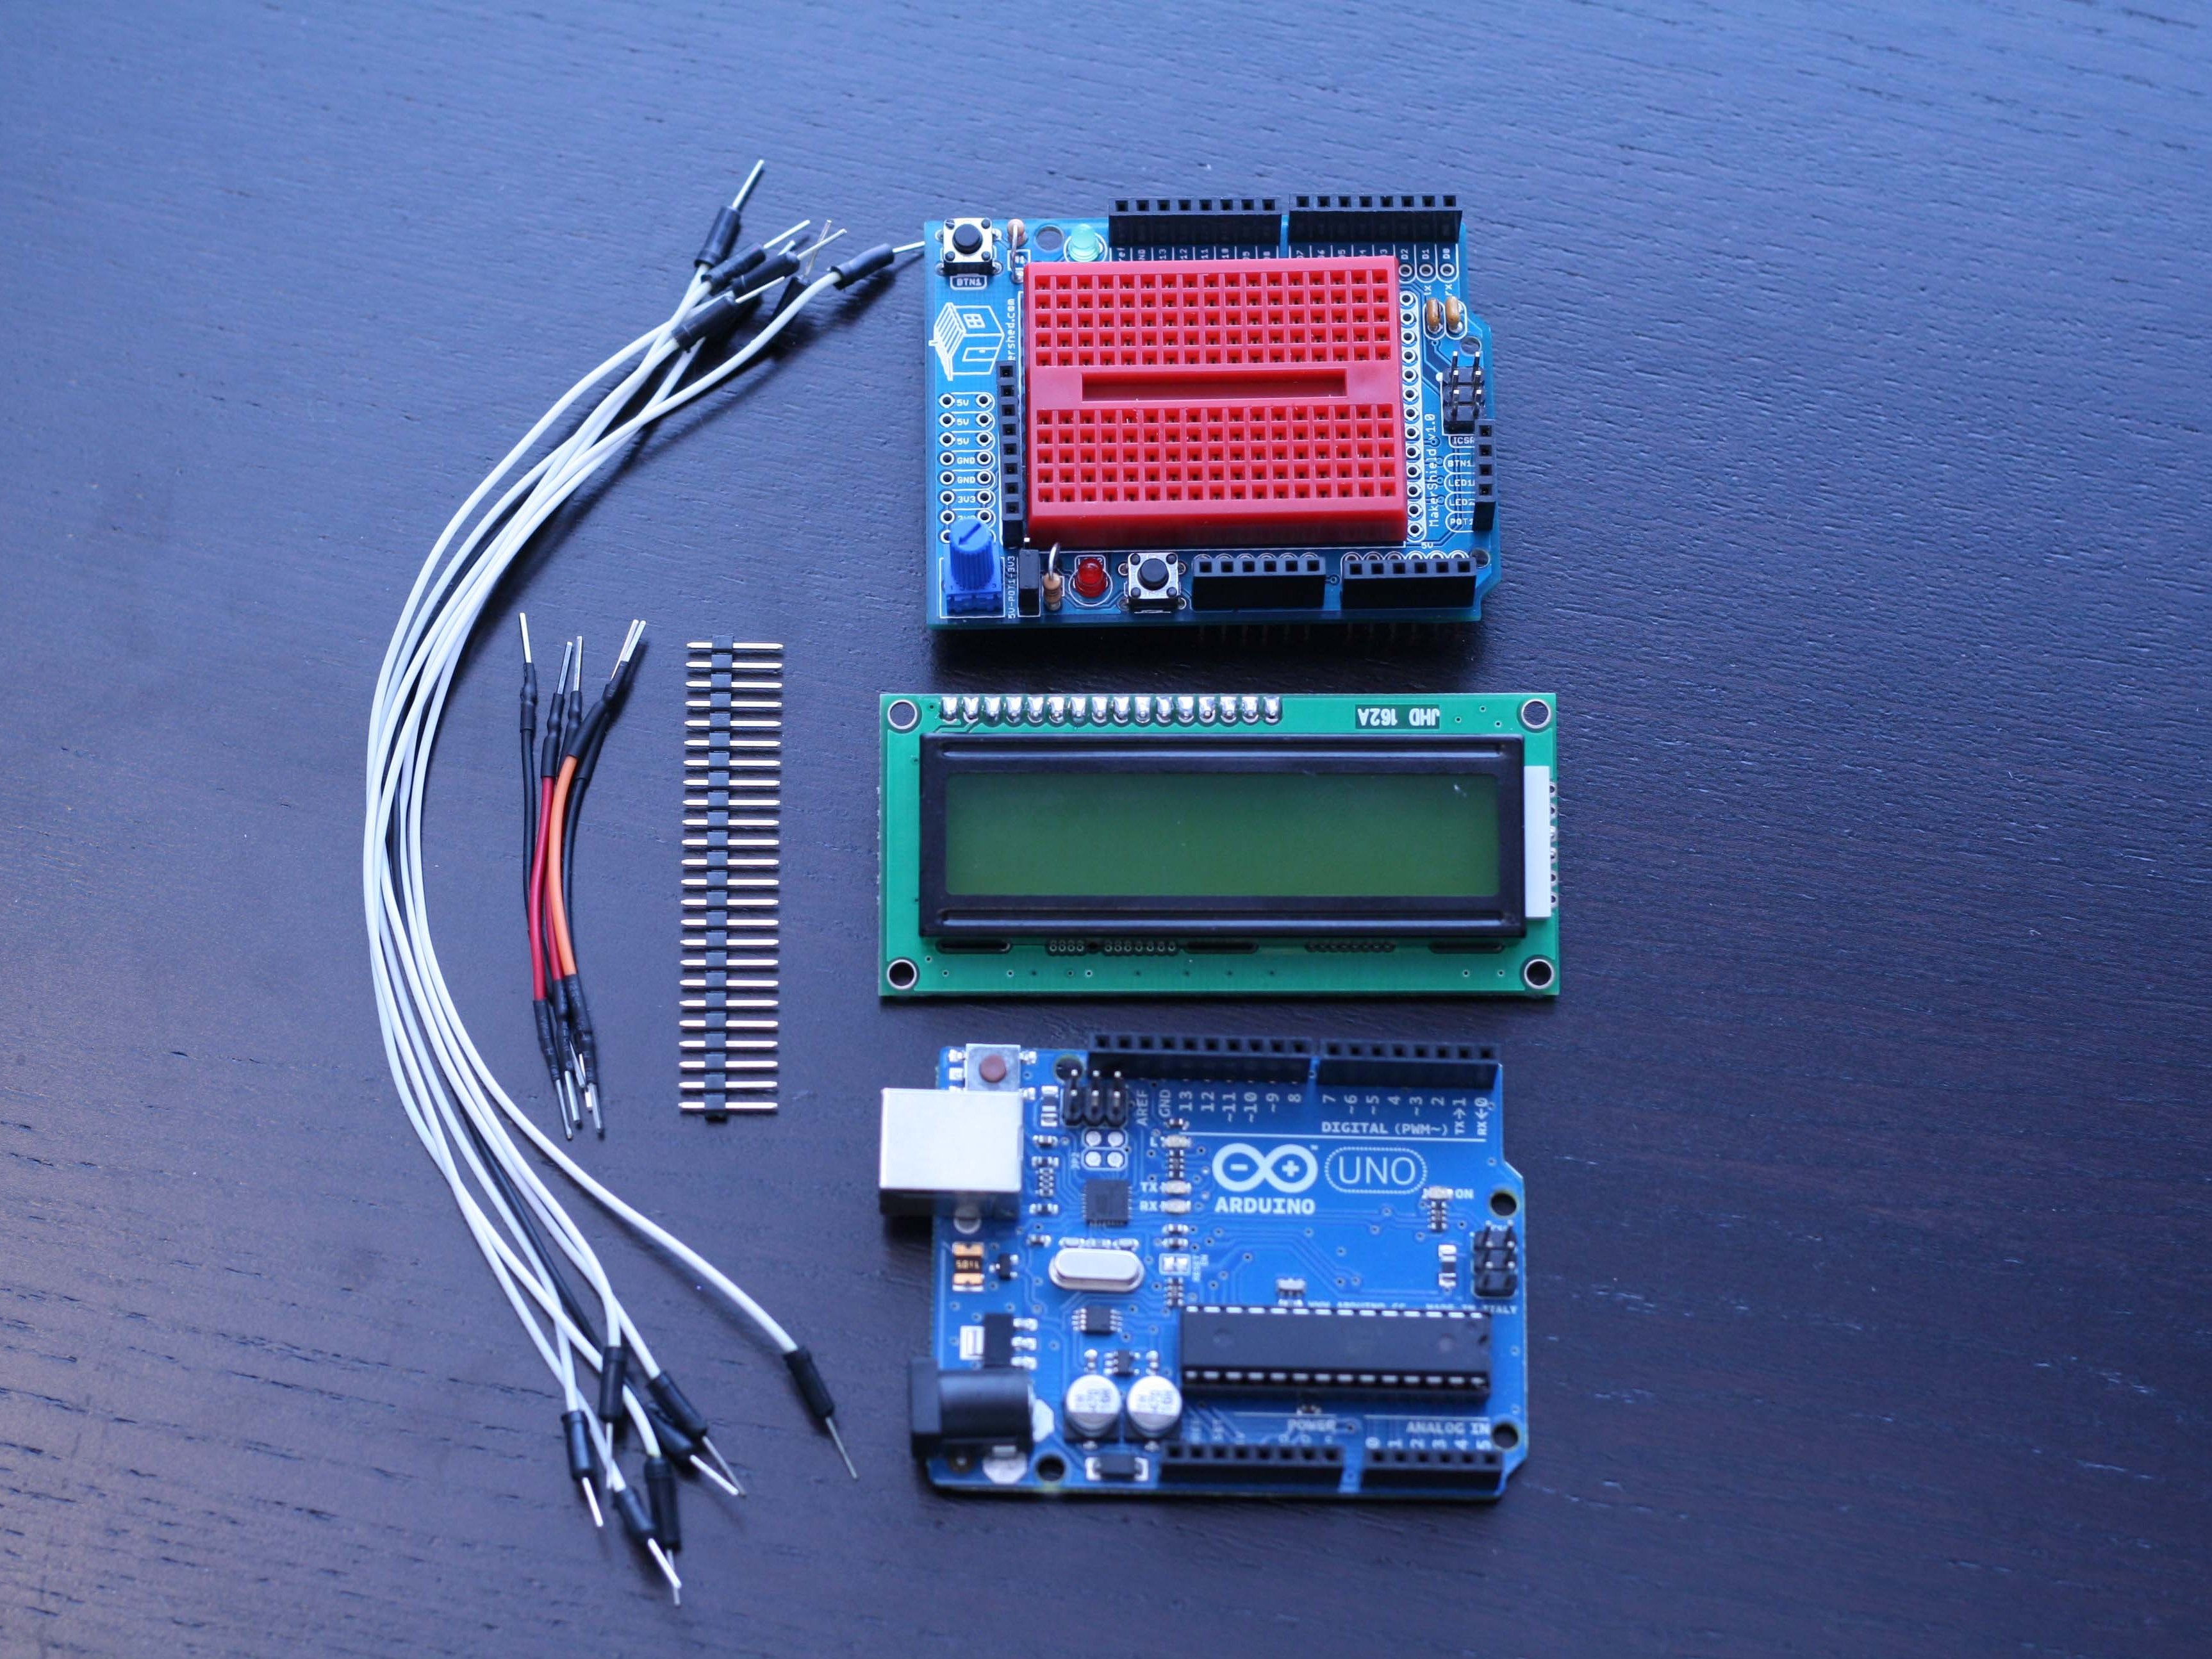
LCD Screens look complicated but using an Arduino it’s not too bad at all. This tutorial will teach you how to hook up an LCD display to an Arduino using a MakerShield. All the components you need for this build are included in the Ultimate Microcontroller Pack.

What will the next generation of Make: look like? We’re inviting you to shape the future by investing in Make:. By becoming an investor, you help decide what’s next. The future of Make: is in your hands. Learn More.

Project Steps

First, gather your parts. You’ll need 12 jumper wires, your LCD screen, male headers, an assembled MakerShield with mini breadboard, and an Arduino.

The LCD Screen needs some header pins soldered to it. Break out your soldering iron and snap off a row of 16 headers.

Next, we’ll solder the headers into place.

Insert the row of 16 headers into place on the LCD screen. Turn assembly over and place it onto a flat surface, making sure the pins are straight.

Solder the headers into place.

Now let’s get this bad boy hooked up.

Place the MakerShield on top of the Arduino Uno and press it into place.

Now take the LCD screen and push it into the mini breadboard. Pay attention to where you’re plugging it in! I found that using the second row down, leaving one hole unfilled from the potentiometer side is the best location.

Now to wire it up!

I used this diagram from Arduino.cc for reference. It’s kind of complicated and might give you a headache. Be warned.

The first connection we’re going to make is Arduino ground (GND) to LCD pin 1. Piece of cake, right?

The next connection we’re going to make is Arduino 5V to LCD pin 2. Just push it in there.

After that, we’re going to connect the MakerShield potentiometer (POT1) to pin 3. Make sure the jumper next to the potentiometer is set to 5V or else it will catch fire. Just kidding.

Now, use a long jumper wire to connect Arduino Pin D12 to LCD pin 4. It’s all the way on the other side of the MakerShield so you’ll have to curve the wire around.

The next connection is another ground connection. Connect Arduino ground (GND) to LCD pin 5. Yes, I know we already have a ground connection. Yes, you need another one. Yes, I know the pic is dark. Sorry.

Back to the long wires. Connect Arduino pin D11 to LCD pin 6.

Pins 7, 8, 9, and 10 are not used on the LCD. I have no idea why. Just leave them be.

Take another long wire and hook Arduino pin D5 up to LCD pin 11.

Using another long jumper, connect Arduino pin D4 to LCD pin 12.

Do the same and connect Arduino pin D3 to LCD pin 13.

Wash, rinse, repeat, and connect Arduino pin D2 to LCD pin 14.

Now we’re going to hook up the wires for the backlight. The backlight runs on 3.3V so run a wire from Arduino 3.3V (3V3) to LCD pin 15.

After that, we need to run yet another ground wire for the backlight. Since we’re out of ground pins on the close side of the MakerShield we’re going to have to use a long jumper wire and reach around to the other side. Plug Arduino ground (GND) into LCD pin 16.

That’s it! It’s all wired and *should* work when we plug it in. Fingers crossed!

Open the Arduino program and navigate to File → Examples → Liquid Crystal and select the HelloWorld sketch.

Plug your Arduino into your computer using a USB A to B cable.

Hit the upload button and wait for the program to upload.

Now that the program is uploaded, you probably won’t be able to see anything except the backlight. Don’t worry.

Twist the potentiometer on the MakerShield until you can read the words on the screen. Adjust it for maximum readability.

Congratulations! You’ve done it! Now you can check out some of the other liquid crystal examples or modify the code to display your own words.

Pretty cool, huh?

Conclusion

Congratulations! You've built your very own LCD Shield! That wasn't too bad, was it?