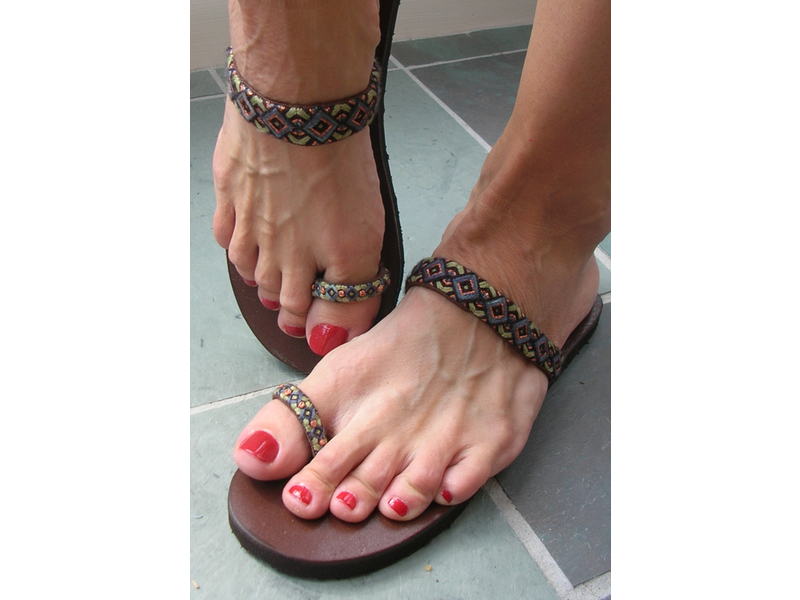
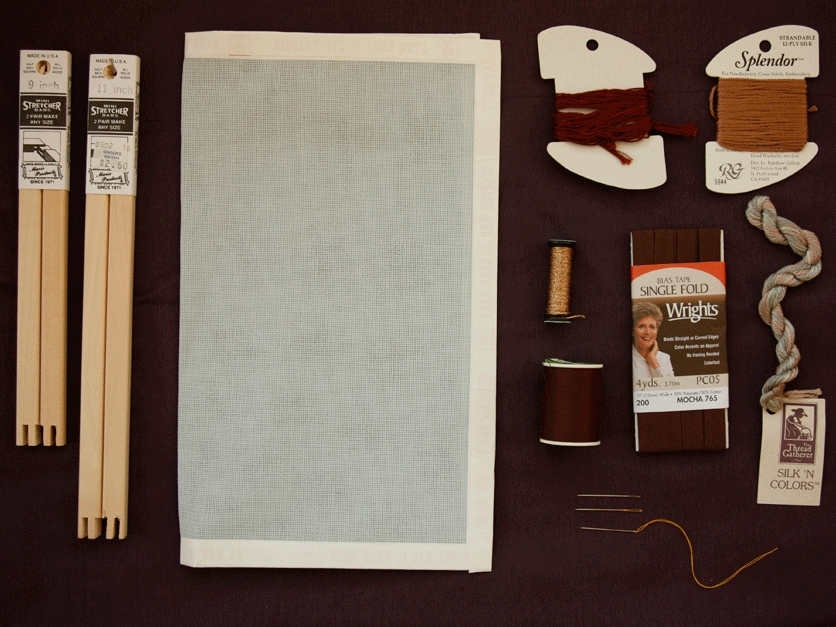
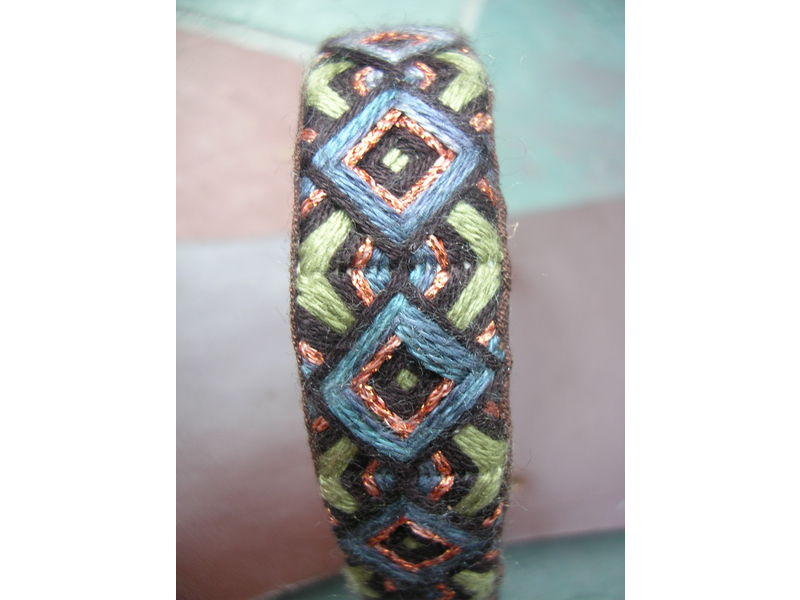
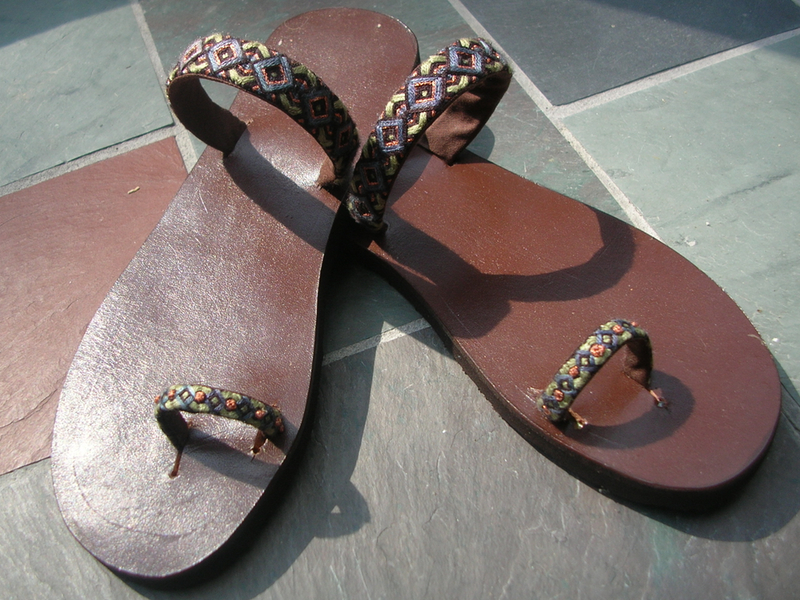
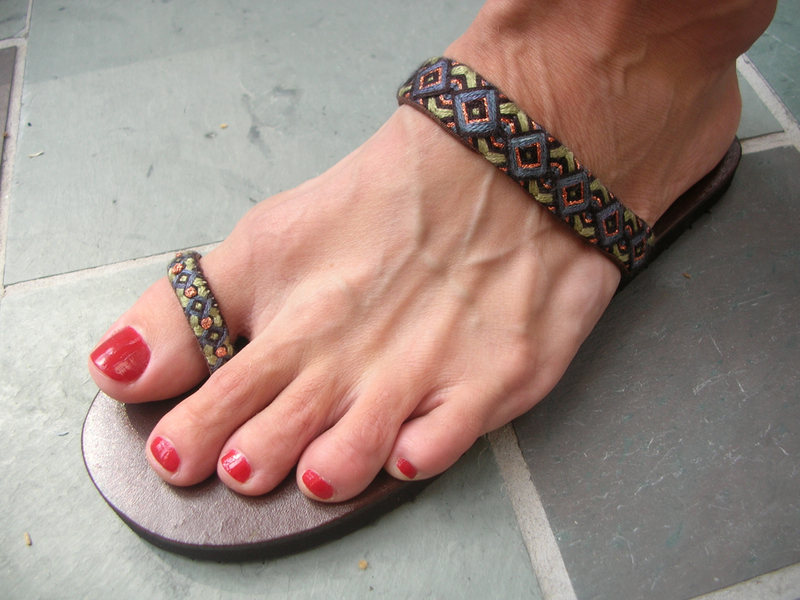
You need to attach a cloth backing to the straps so that the raw canvas edge won’t aggravate your foot, and to make them look professional — handmade, not homemade, as my mom says. Basting (or bias) tape, which is available in any sewing store, works very well and is inexpensive. You might also use an ultrasuede, which is softer. Match the color of your backing fabric to the color of your extra row of tent stitches; I chose brown. Also, be sure to use a quality thread that is doubled over in your needle for sewing on the backing — you don’t want your thread to snap. I recommend Gutermann.
Cut out each strap from the congress cloth, leaving no more than 1⁄4″ of raw canvas around the perimeter. To sew the backing on the strap, you will use a technique called blind finishing, or invisible stitch, also used for hemming an item of clothing. This process will probably take longer than the needlepoint phase, and it’s somewhat tedious. A needlepoint shop will do it for you for a fee, but you can do it yourself, too. You will be sewing the backing along both long edges of each strap. You can use a sewing machine for one of the edges on each strap, but the second edge will require hand-sewing.
After you cut out your straps, cut out the proper length and width of bias tape. The length is determined by the length of your particular straps, of course. The width of the backing should be 2.5cm wide for the toe straps and 3cm wide for the arch straps. After cutting out the 4 strips, iron each piece of bias tape flat. Then fold in each tape 6mm along its length and iron that flap down. At this point you only need to do this once per strap (not along both edges).
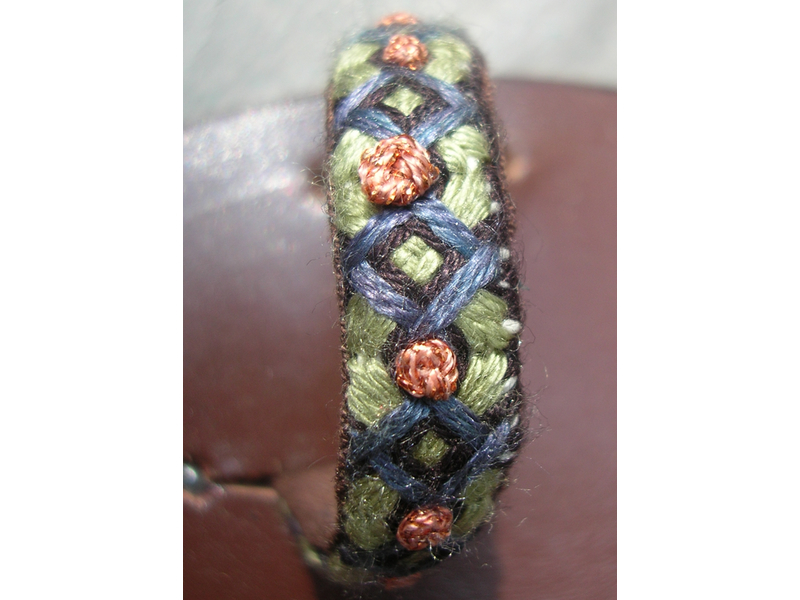
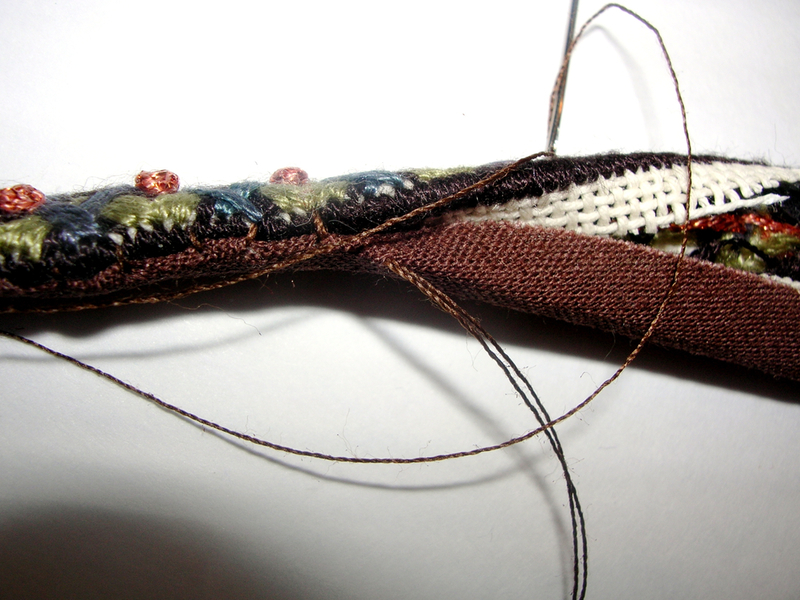
Hand-sewing the edges: if you choose not to machine stitch the straps’ edges to the backing and opt to do it by hand, line up the folded edge of your bias tape with the row of tent stitches along one edge of a strap. The flap on the bias tape should lie against the raw canvas edge of your needlepoint, and its crease should align with the edge of your Norwich squares.
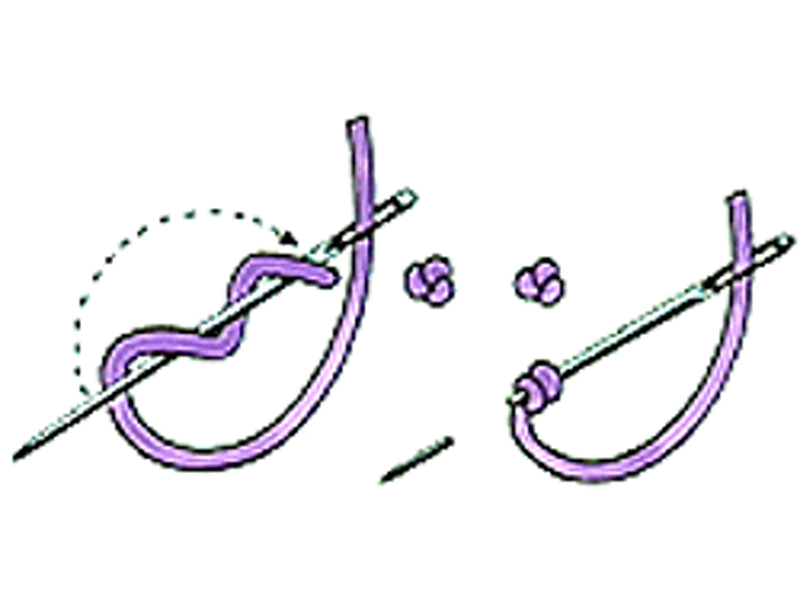
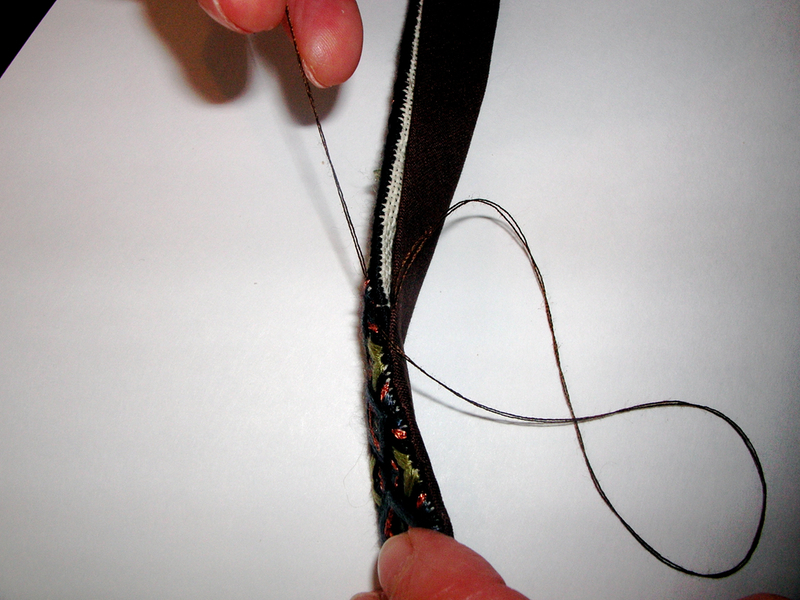
Bring your needle with the double-thickness of brown sewing thread up at the corner of the crease and make a small stitch along the crease, no more than 4mm per stitch, sinking the needle back into the crease of the bias tape. Then come back up, this time in the hole shared by a tent stitch and a Norwich square. Make another small, 4mm stitch along that edge, sinking back into a hole shared by a tent stitch and a Norwich square. Your next stitch will be placed in the crease of the bias tape again. Continue this way along the length of the strap, and repeat for all straps. This process can be long but it’s worth it to have a finished strap with a clean edge.
Once you’ve finished blind stitching (so called because the stitches are hidden) one strap edge, fold in another 6mm flap on the remaining edge of the tape, ironing it down flat to make a crease. Stitch along that edge in the same fashion as you did for the first edge of the strap, aligning the tent stitch edge with the crease of the bias tape. Make small stitches down the length of the strap, alternating with small stitches down the crease of the bias tape. Large stitches, you will notice, make the fabric bunch and look shoddy.
Repeat this process of invisible stitches along the remaining edge of all of the straps. For further instruction and illustration of blind stitching, see The Needlepoint Book by Jo Ippolito Christensen.


