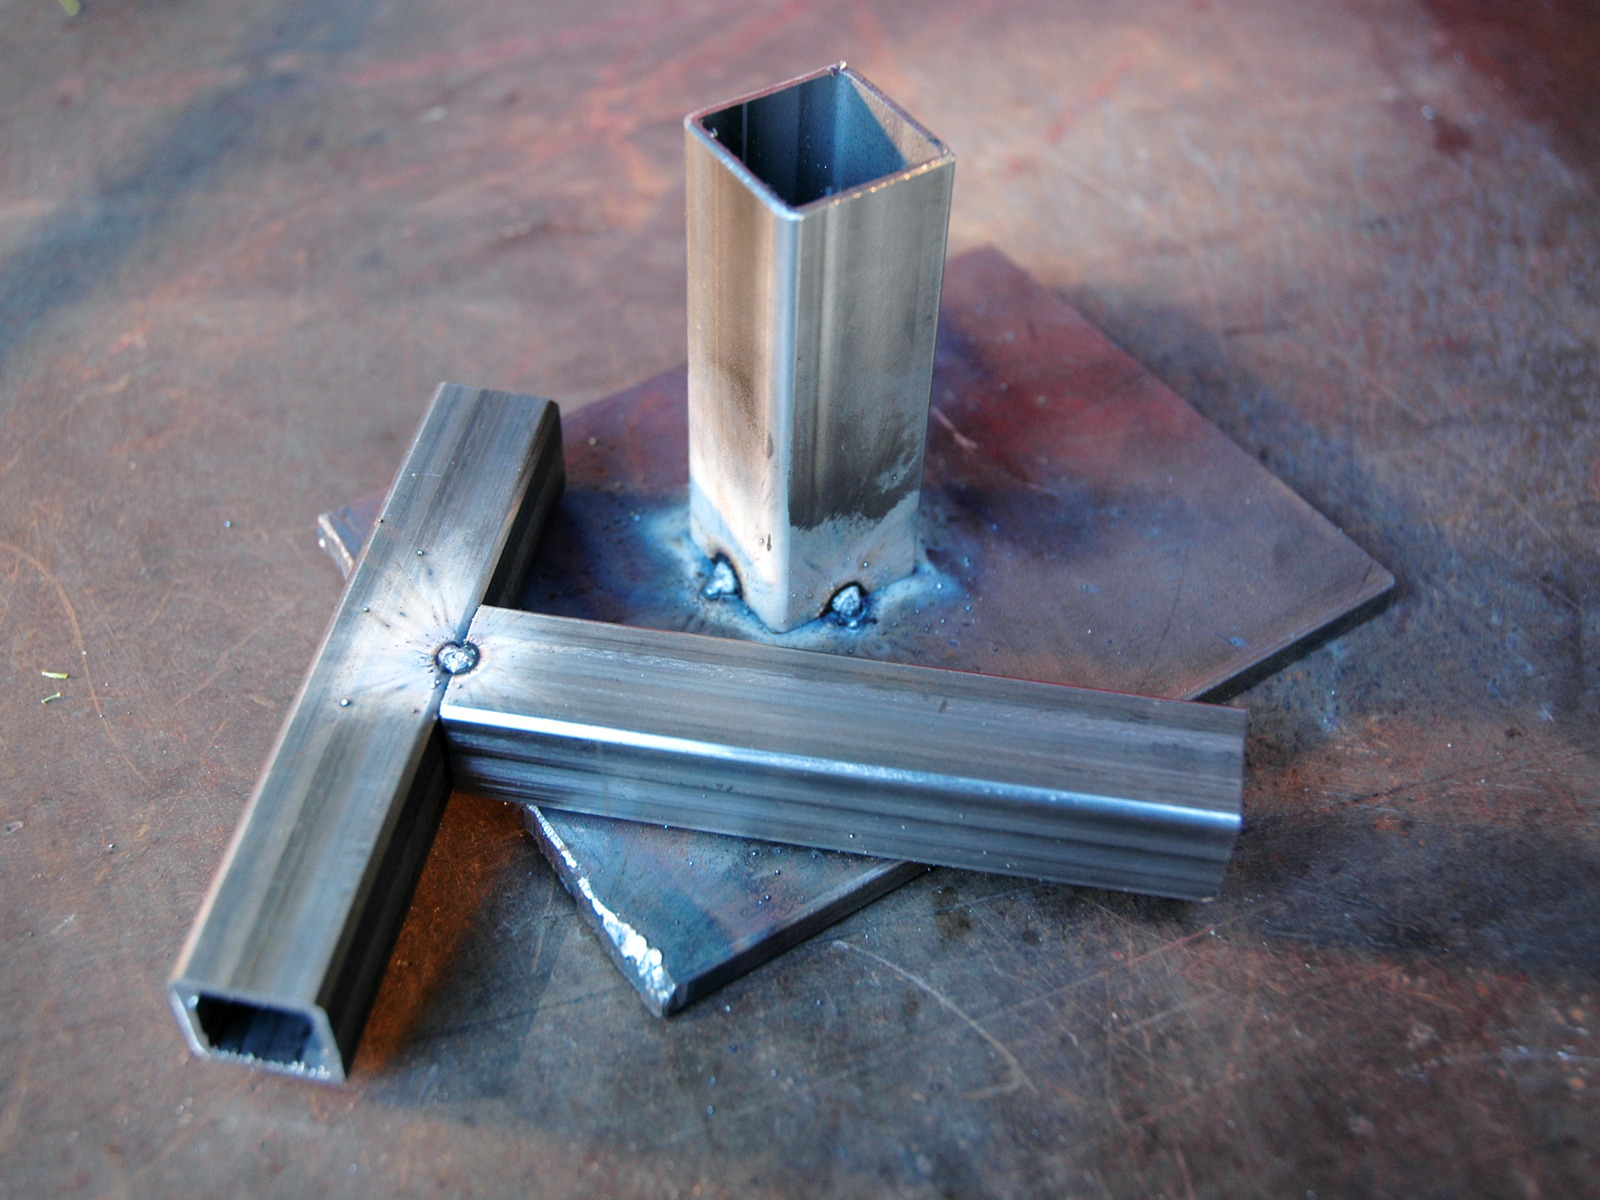
Before we start on our stands, let’s look at square-tube steel. Since the walls of square tubing are much thinner than angle iron, there is a greater likelihood of “blowing a hole.”

Tips on Welding Square Tube

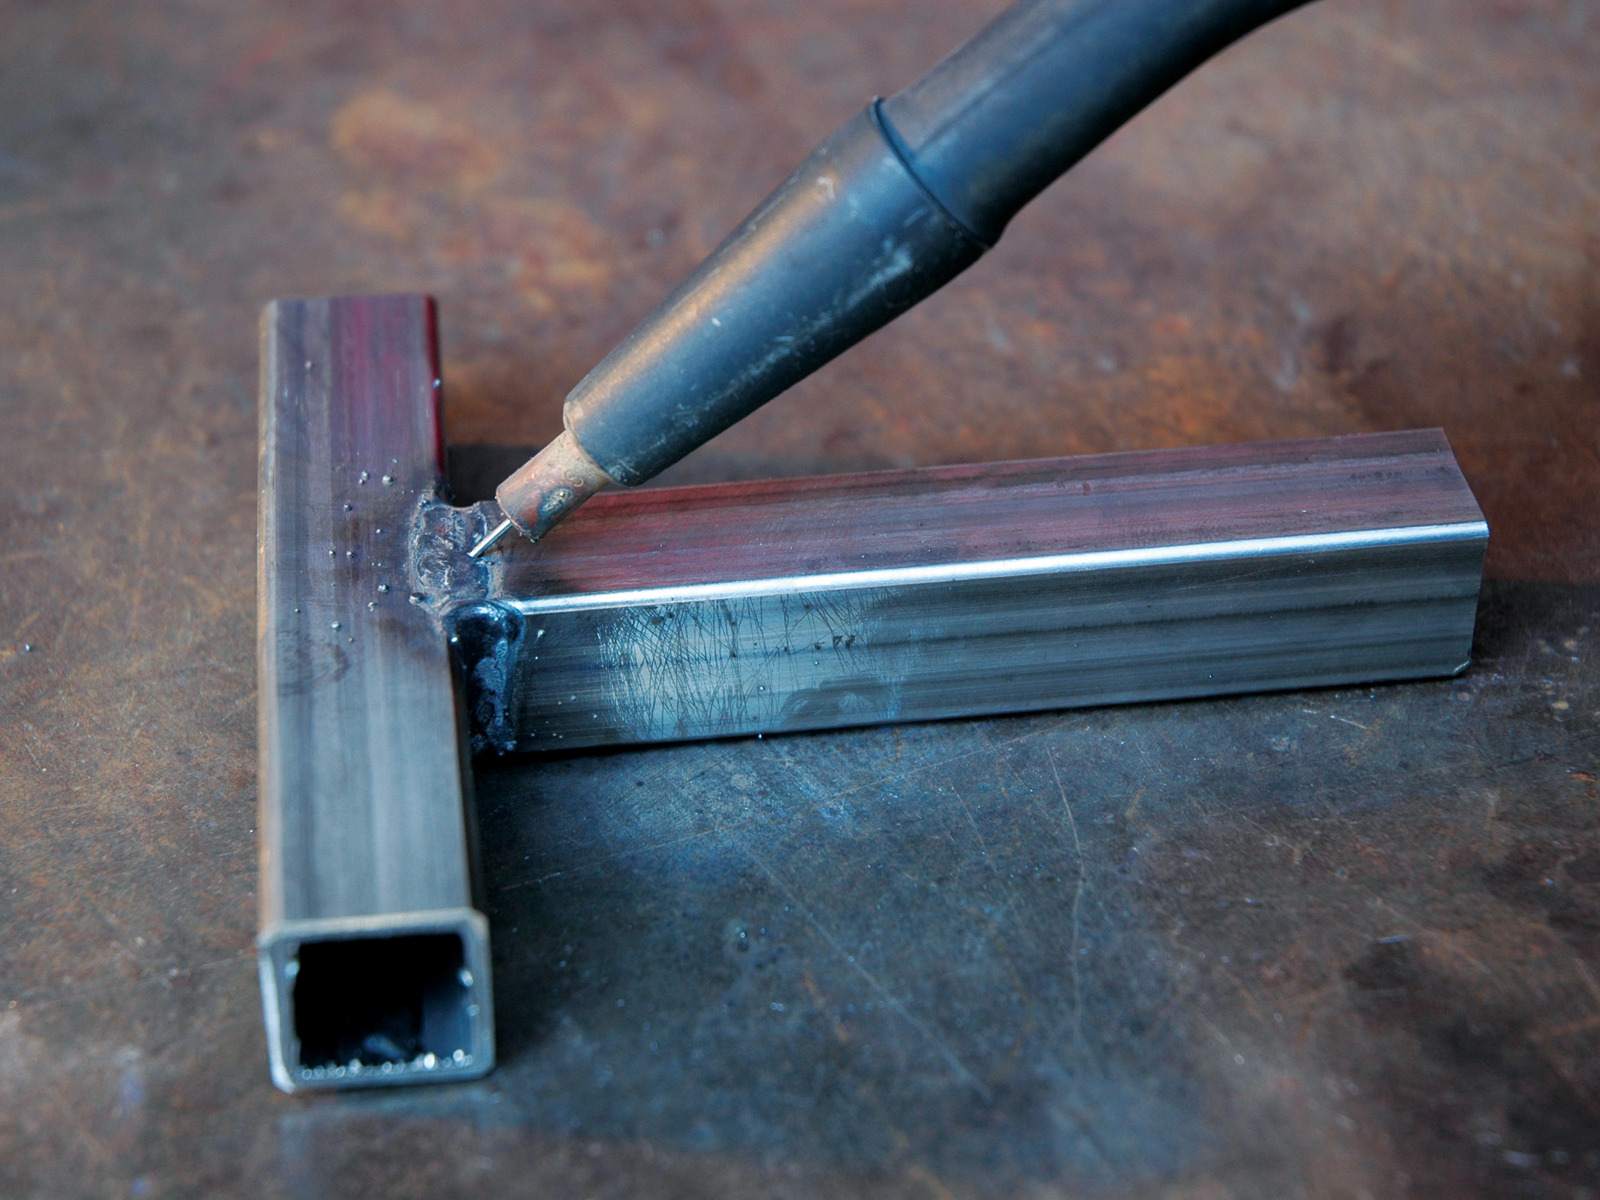
The heat and wire speed need to be turned down or your work will be Swiss-cheesed. Standard steel tube is about 16 gauge, so I set the welder to E-2 per the cheat sheet.

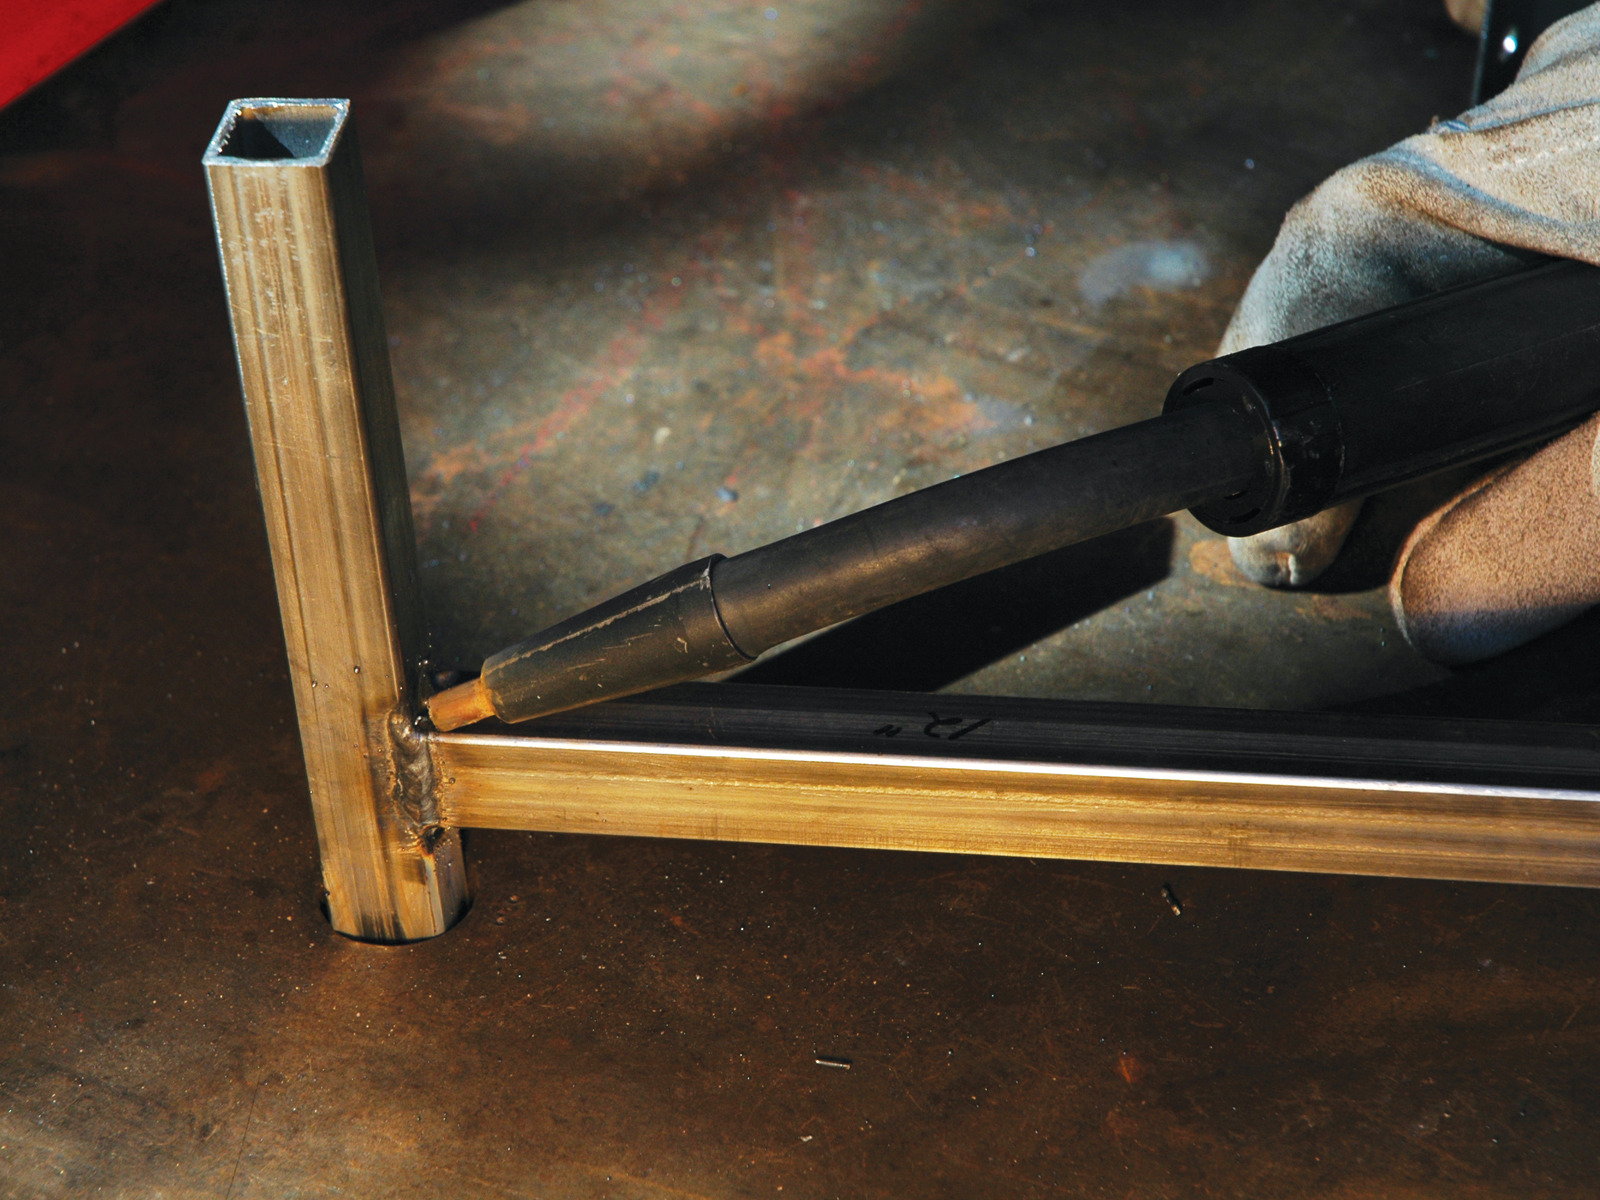
The horizontal tube resting on the table acts as if it is thicker because you are welding into the side of the tube rather than the edge. Since the vertical tube is being welded on its very edge, it has less metal to absorb the heat and is much quicker to melt away.

To compensate, hold the gun at a steeper angle, which will direct more of the heat to the horizontal tube.

It’s like lighting a sheet of notebook paper on fire. If you hold a match to the center of the paper, it will take longer to catch fire than if held at the edge or the corner.

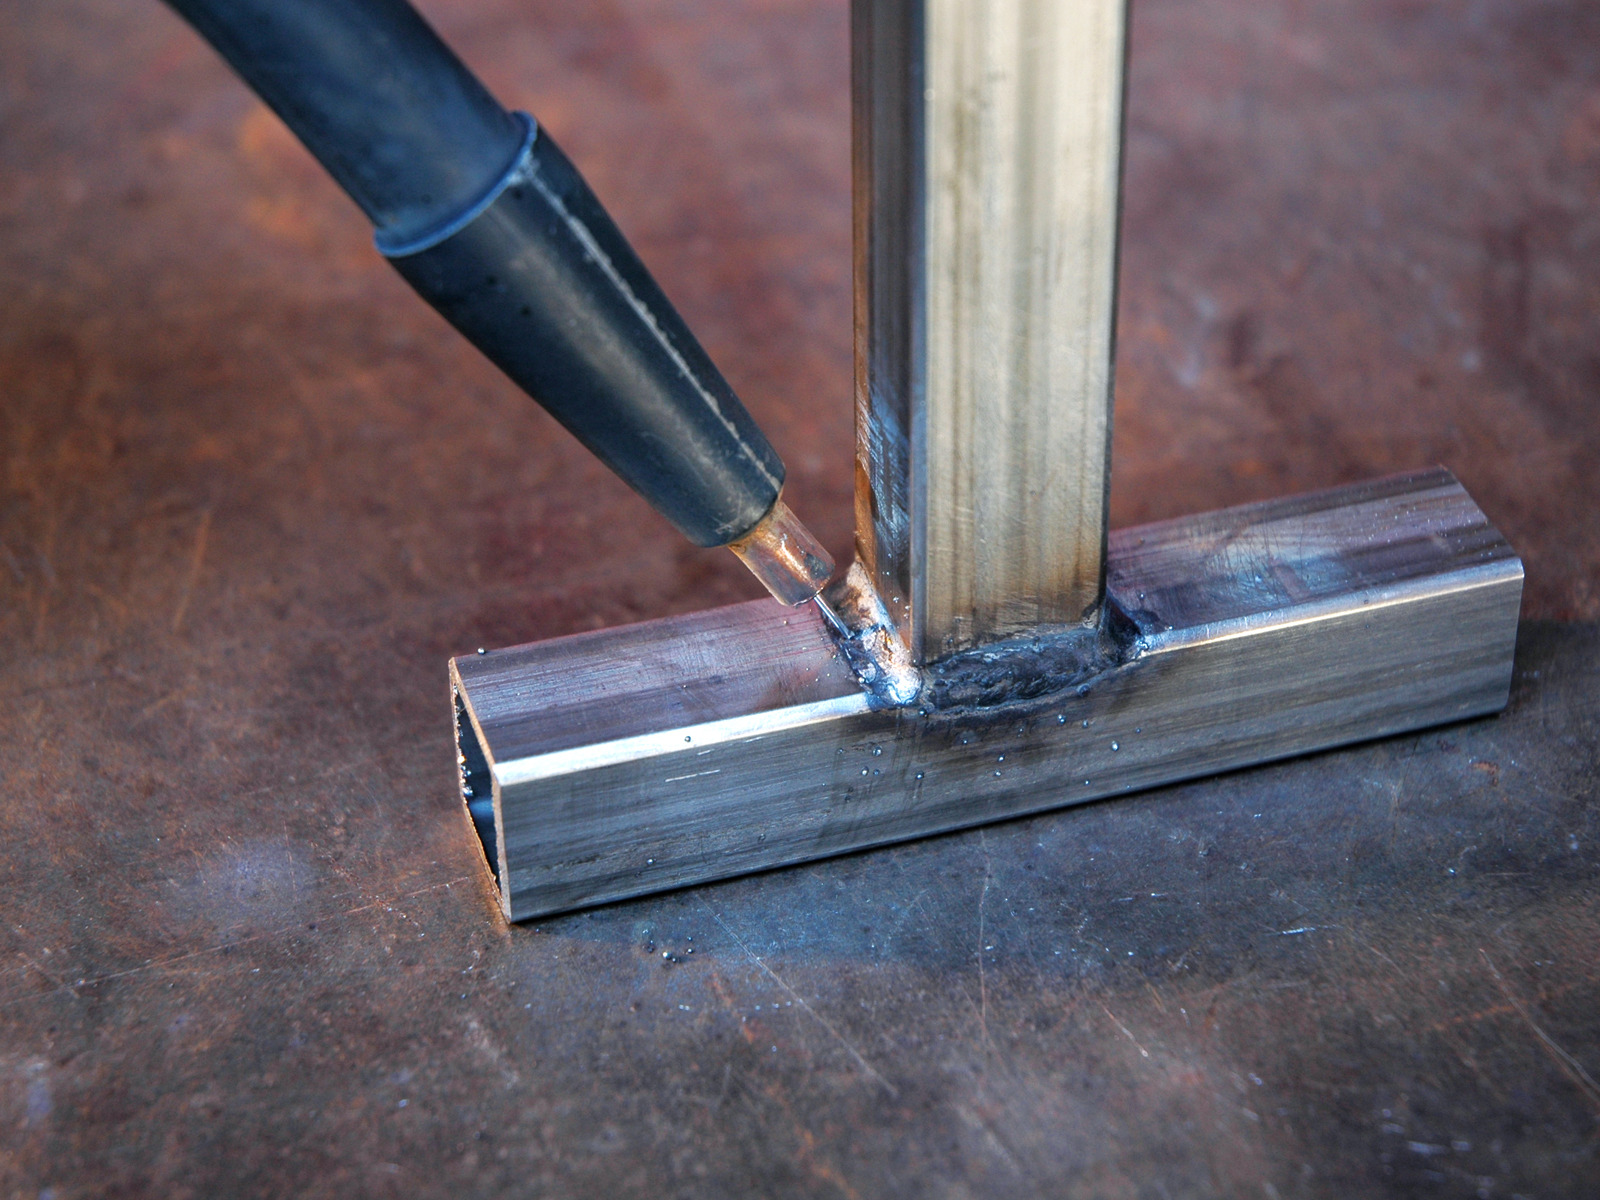
Same principle, shallower angle. This time the thin edge is on the base of the T. Again, angle the gun into the more substantial piece of metal.

Practice welding square tube. Use the scrap metal and practice welding some tacks and beads. Be sure to tack on all four sides, as the square tube will want to wander when it gets hot. These fresh tacks have yet to be wire-brushed.

What will the next generation of Make: look like? We’re inviting you to shape the future by investing in Make:. By becoming an investor, you help decide what’s next. The future of Make: is in your hands. Learn More.

Project Steps

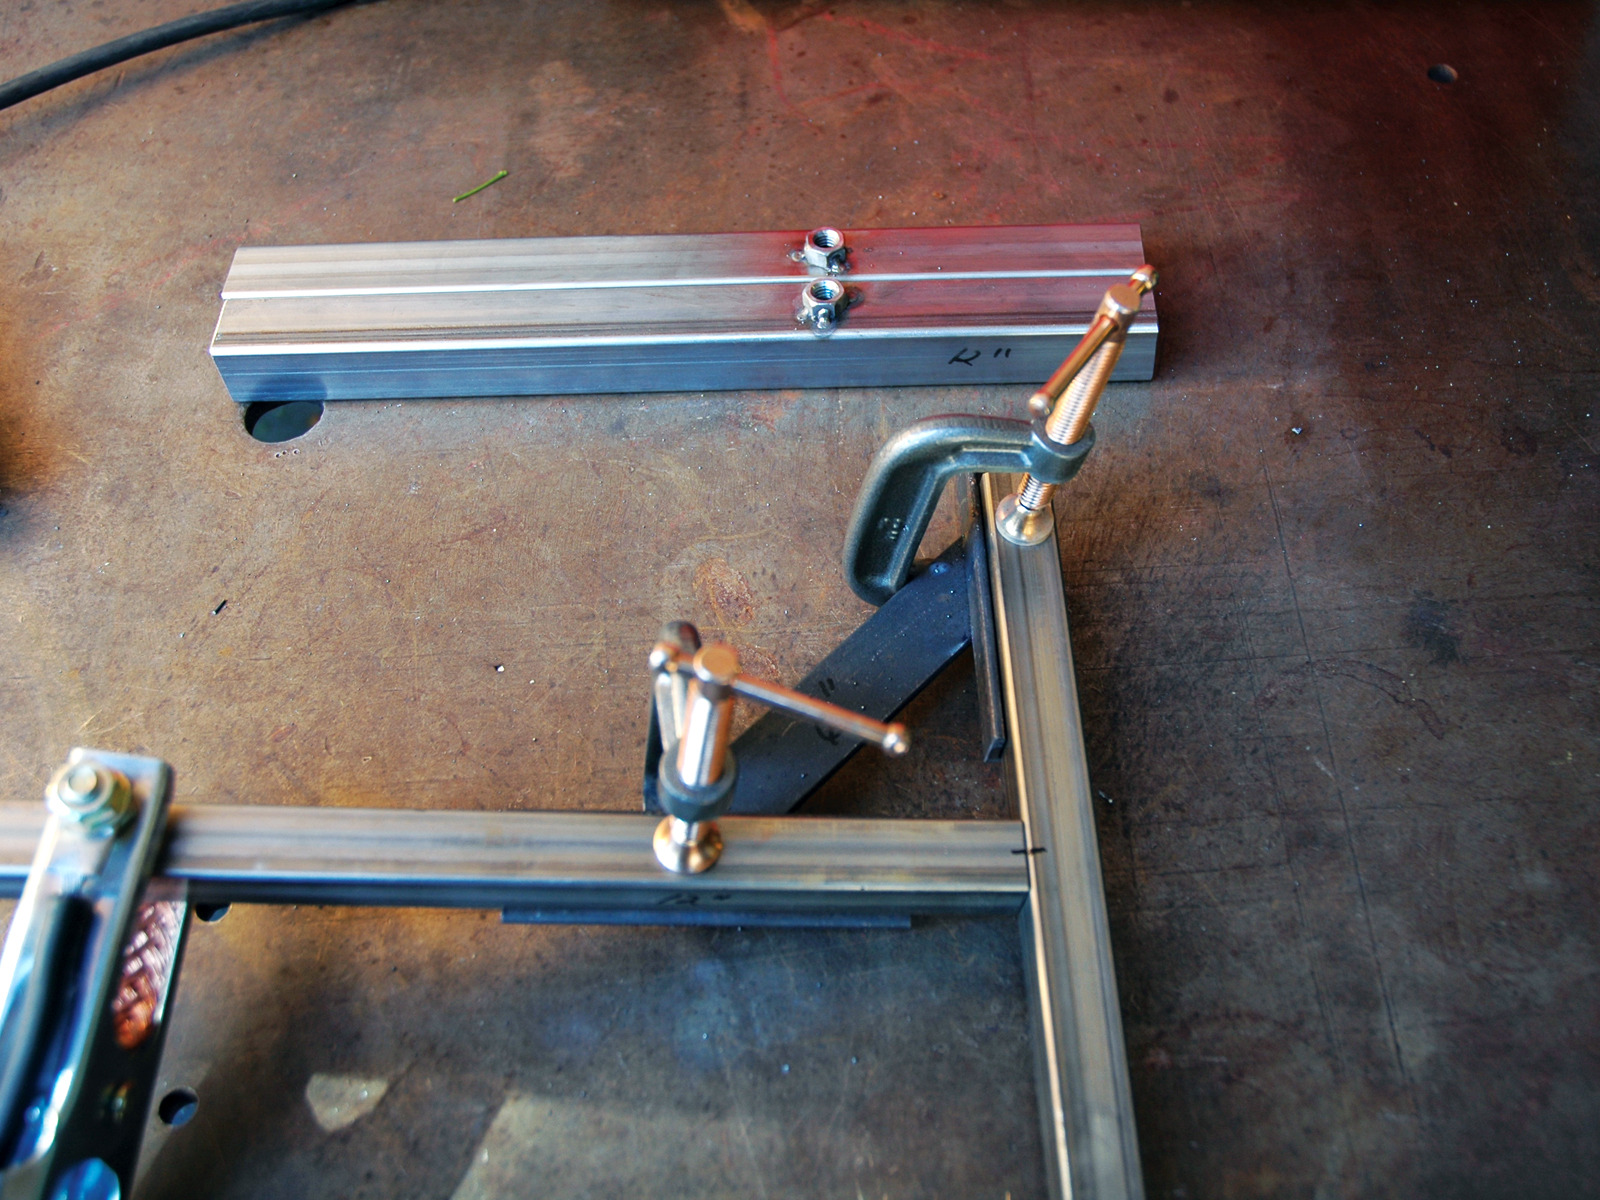
Clamp stand top in jig and tack weld.

Clamp the stand’s upright piece (12” long, 3/4“ tube) in the jig.

Measure the center of the stand top crossbar and align to the center of the stand upright. Certainly, without measuring, you could align these pretty close and it wouldn’t affect usability. You might be a bad person, but the stands would still work fine.

Clamp (and center) the stand crossbar in the jig.

Weld a tack on each of the four sides of the T-joint.

Weld the stand top.

After the stand top is tacked on four sides, it can be removed from the jig and the final beads can be laid down.

When you are welding beads on square tube, weld a little farther around each corner. That wraparound will assure that the bead is continuous.

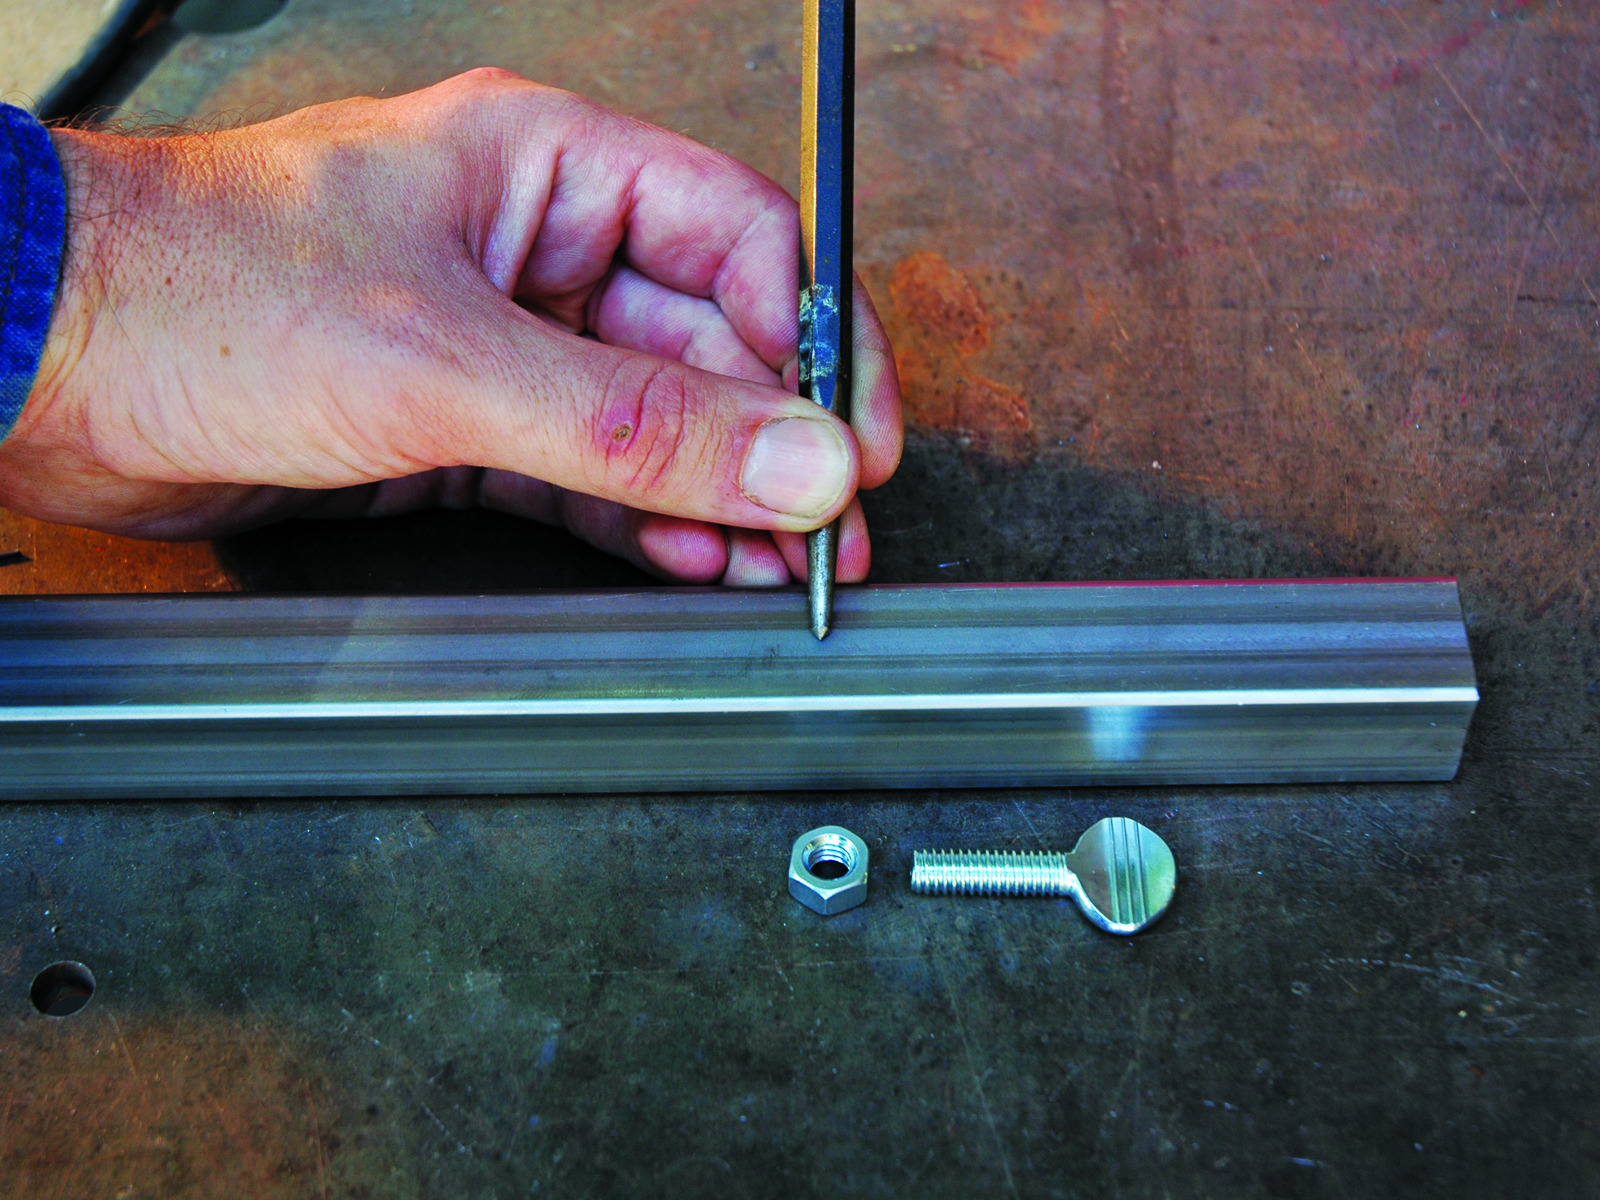
Center punch and drill holes.

Drilling steel is more difficult than drilling wood as the drill bit tends to skate along the top of the metal. Center-punching the steel first solves the problem by creating a tiny divot for the drill bit to get its start.

Once the piece is center-punched, drill a 3/8” hole for the 5/16” thumbscrew to pass through.

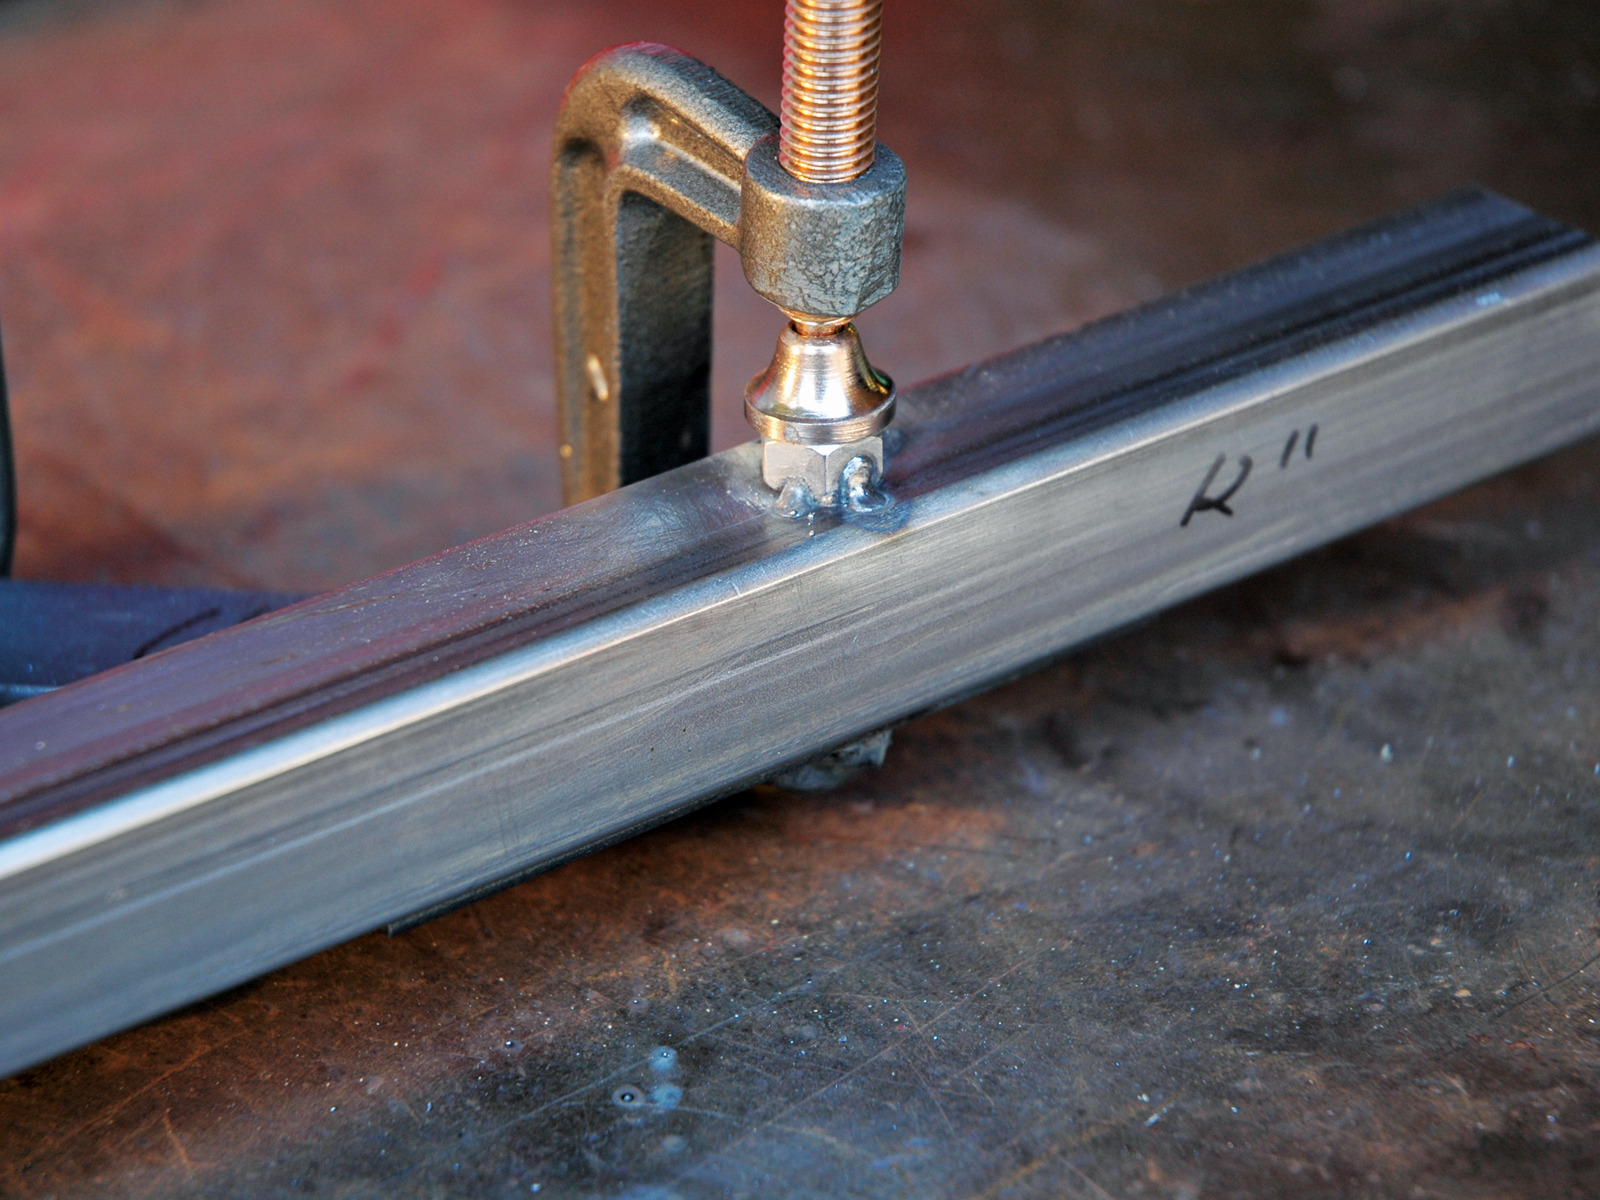
Weld the hex nut.

After drilling the hole, position the hex nut over the hole. Make sure it is lined up so that the thumbscrew can pass through.

Proud of my new jig, I used it to hold the nut to the stand. A bead on two or three of the sides of the nut should be adequate.

Zinc fumes are hazardous. These tiny tacks will not create much in the way of fumes, but do it outside.

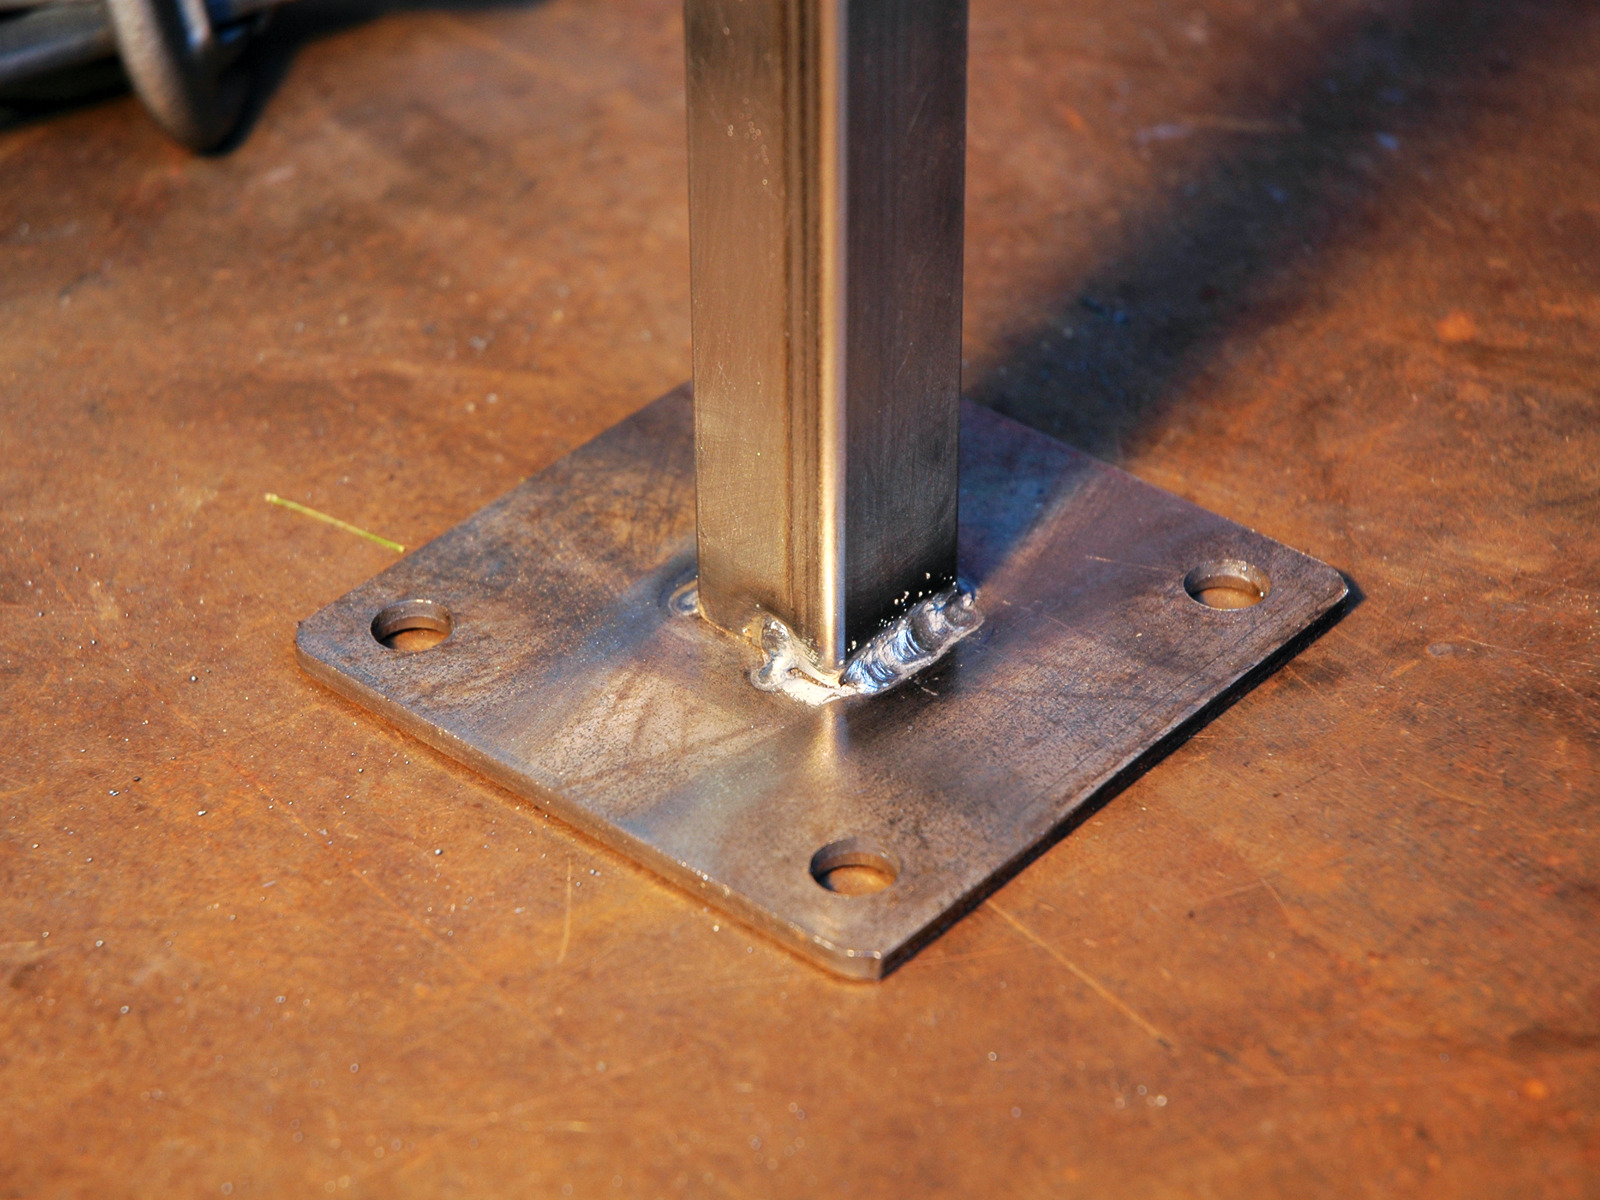
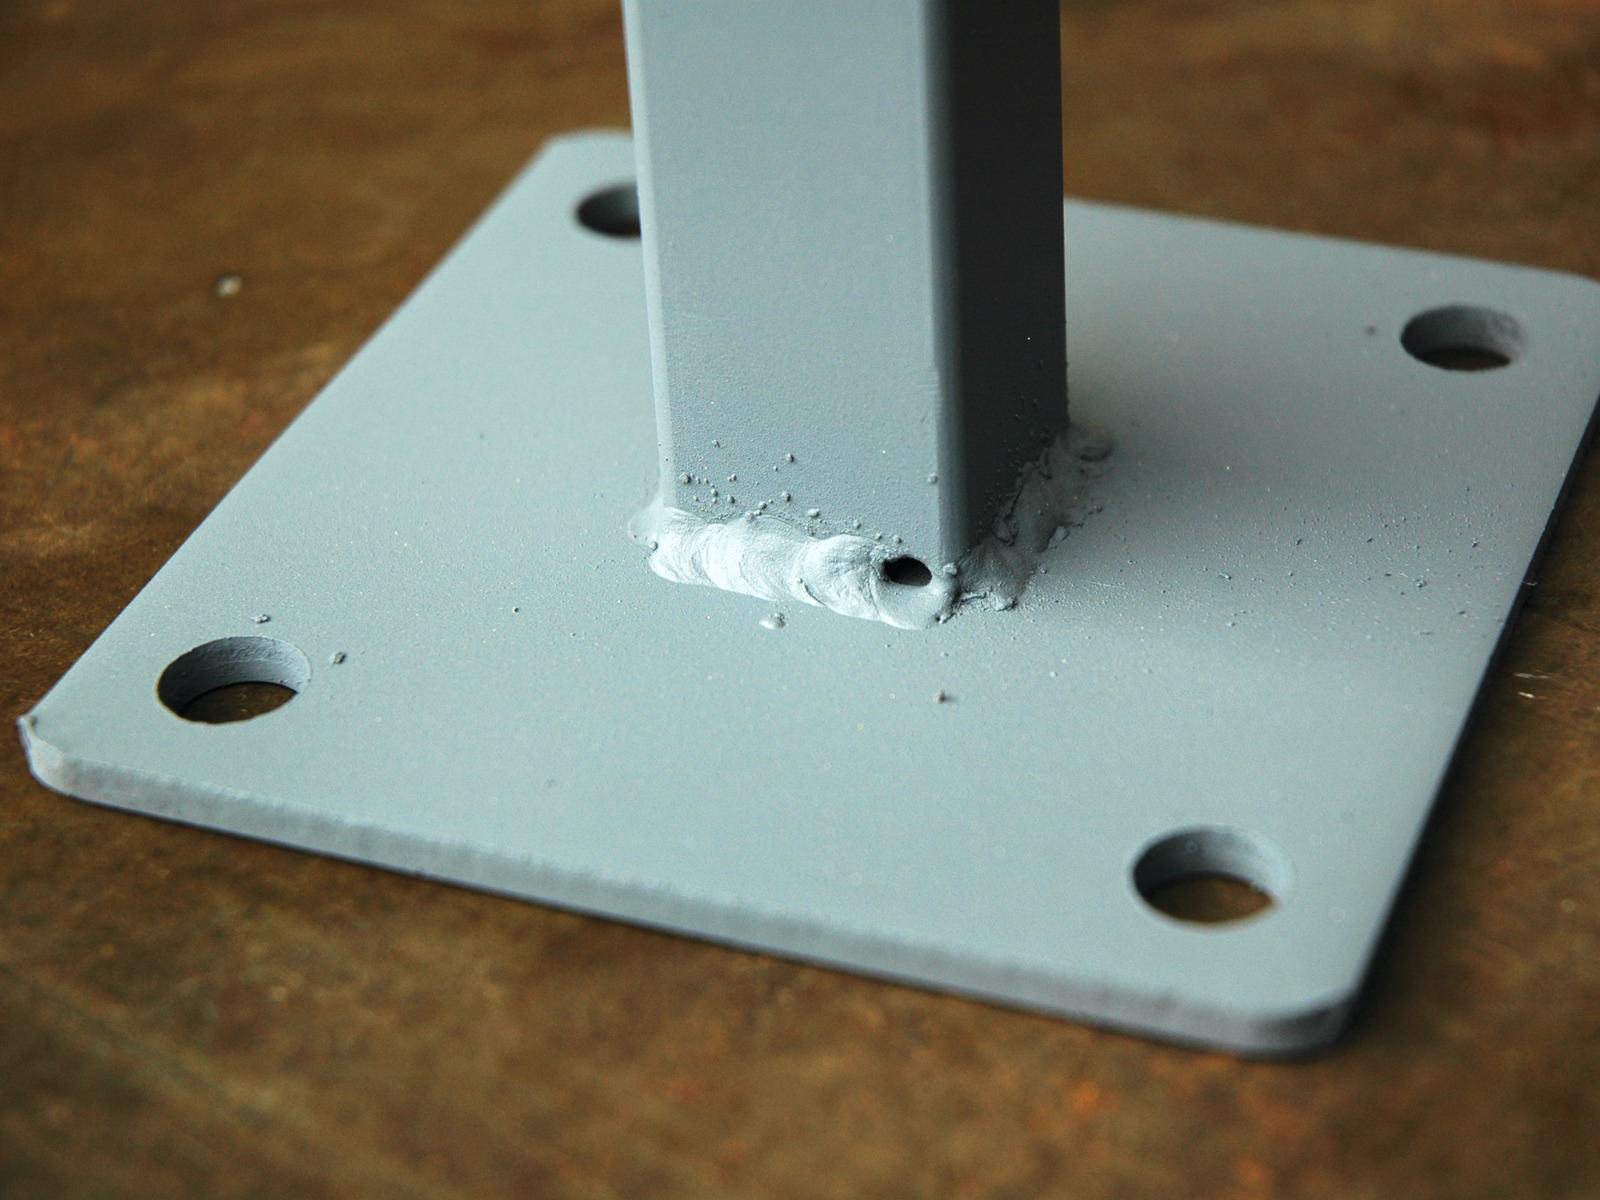
The most difficult weld saved for last. The base plates are much thicker metal than the square tube that sits on it. I cranked the heat to right between E and F (E-3 to F-3) to get a little better penetration in the base plate.

Angle the gun at a steeper angle to direct more heat and metal into the base plate. Four tacks, four beads, and you’re done.

I didn’t realize that I had blown a hole in the vertical tube until it was primed. And I didn’t make it around the corner! I should have filled the hole with a tiny tack weld, but instead, I will live with the humiliation.

There are no perfect welders. Just welders who are better at fixing their mistakes.

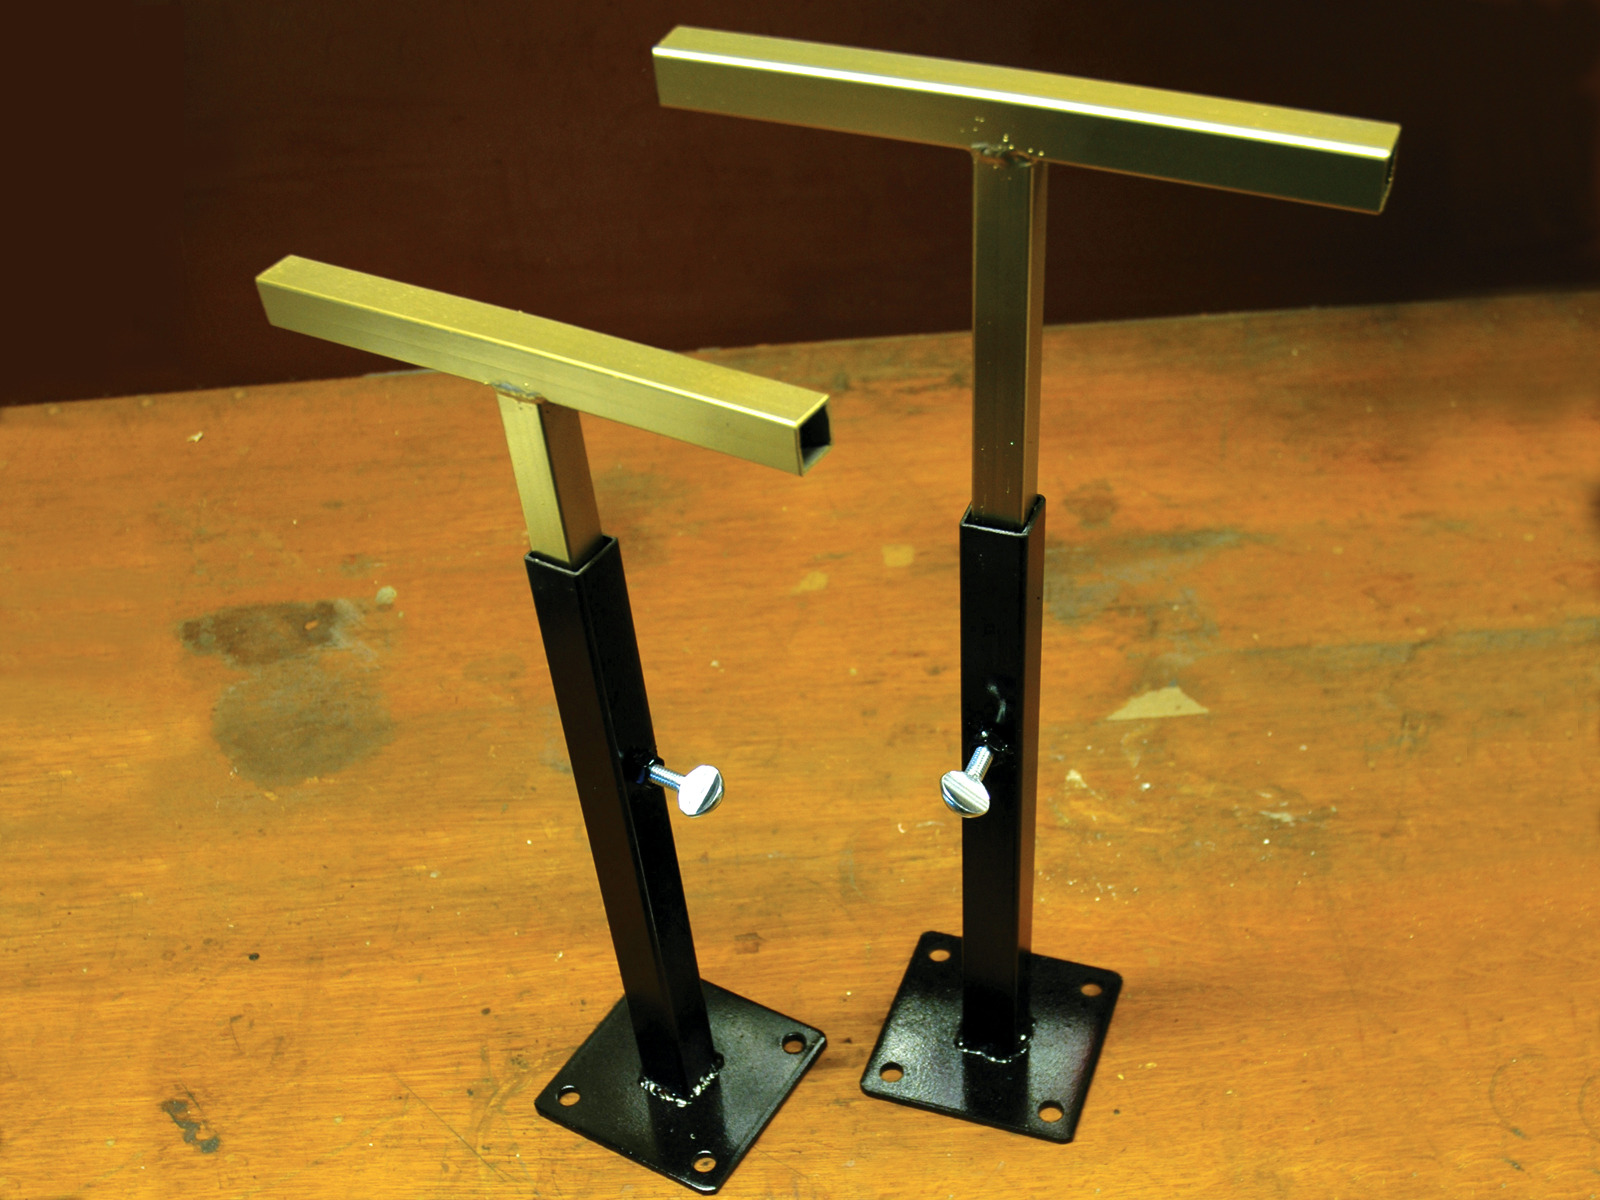
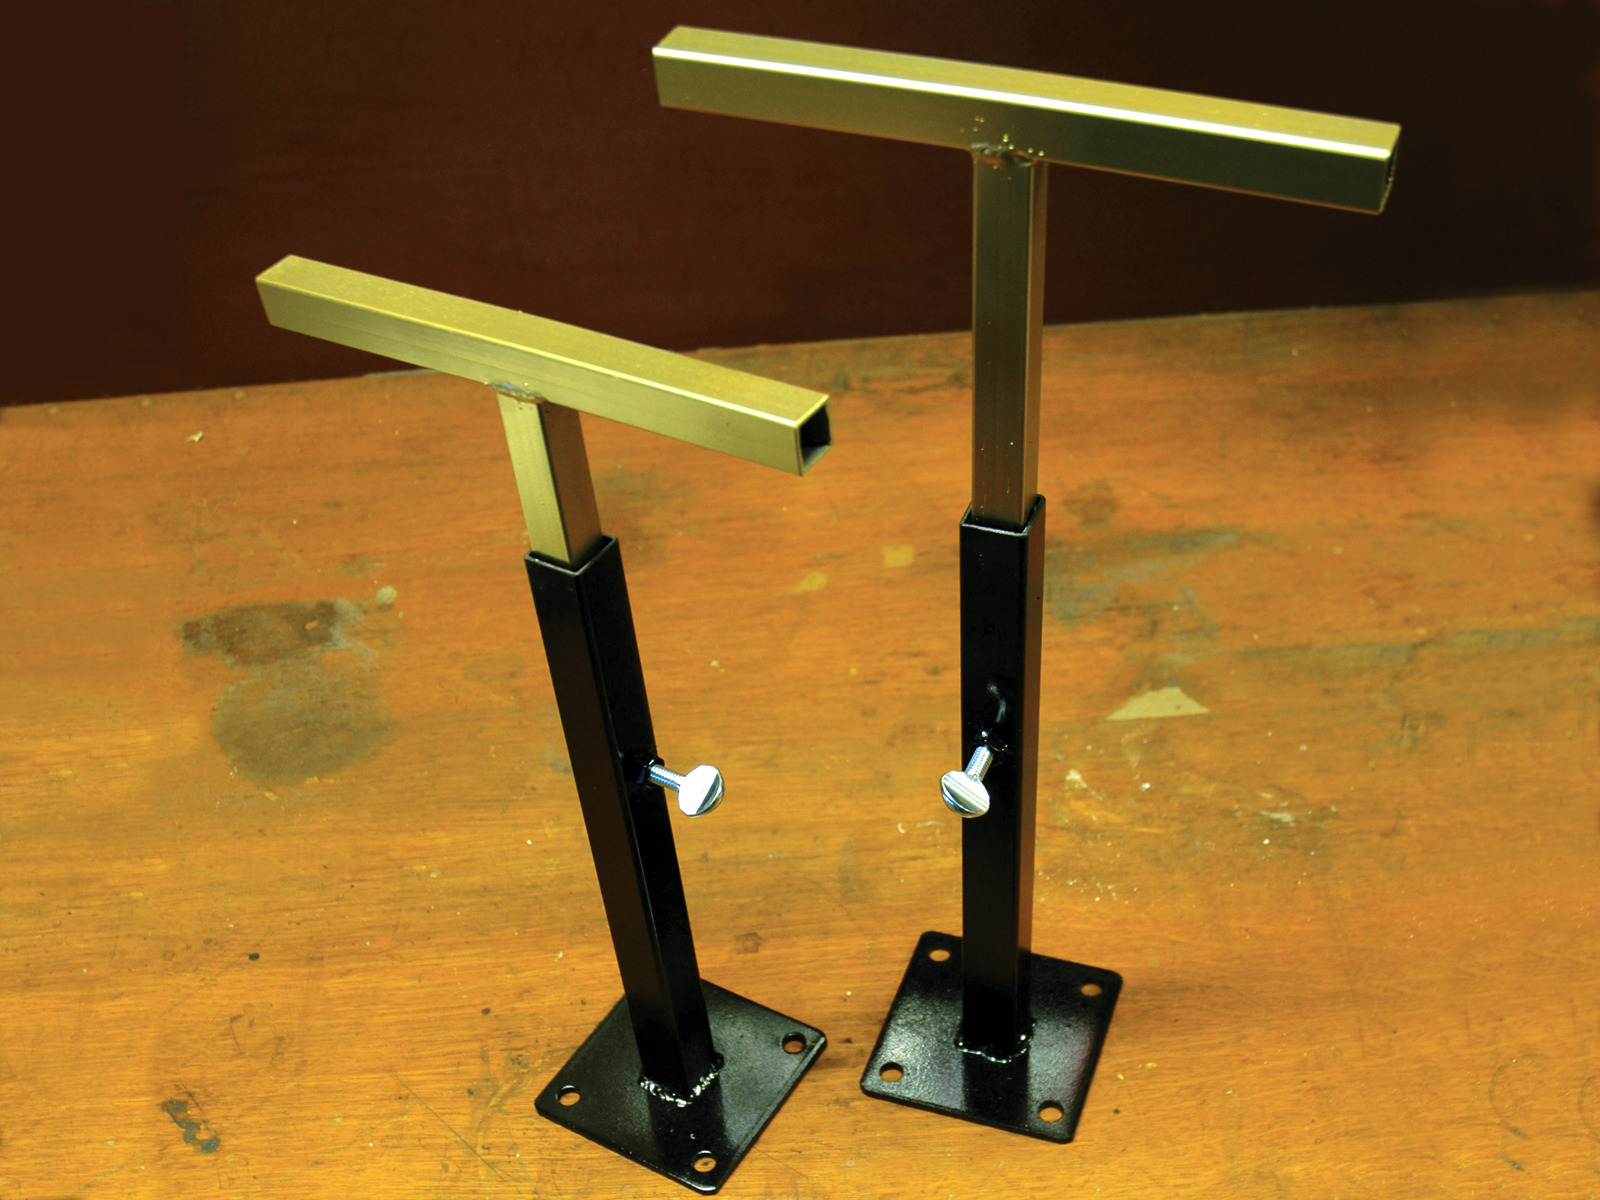
My color choice was the mercilessly fast, black/gold made famous by the Smokey Yunick racecars and the Hurst “Hemi Under Glass” experimental wheelstanders. These stands look like they are going about 200 miles an hour!

Conclusion

This project originally appeared in MAKE Volume 03.

Related Projects on Make: Online:

Weekend Project: Bike Repair Stands

http://blog.makezine.com/archive/2009/11...

How-to: Car Battery-powered MIG welder

http://blog.makezine.com/archive/2008/10...