A Chumby is a small wi-fi device with a screen that uses your wireless internet connection to grab cool widgets (music, video, news, messages, photos) from the web.

It’s always on, and can act as a simple alarm clock, digital photo album, news source, music player, or anything else you program.

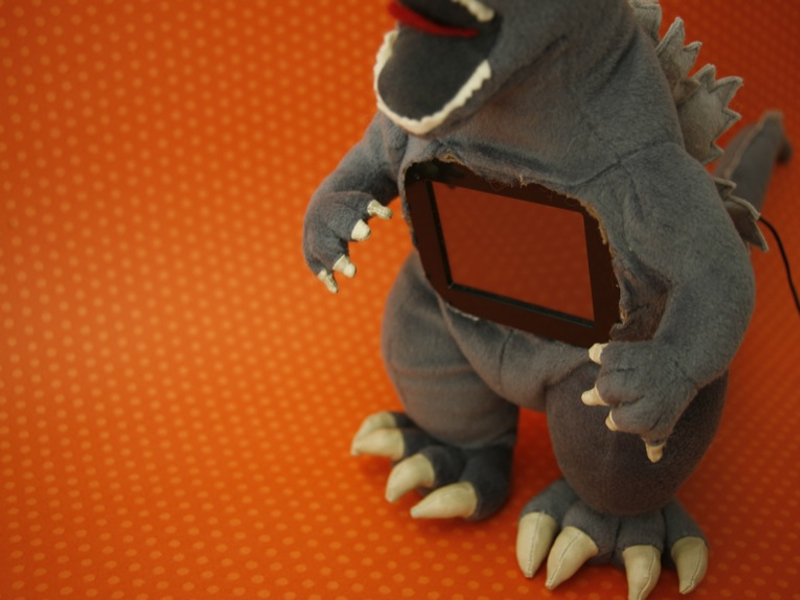
Last year at O’Reilly’s FOO Camp on new technologies, I decided that while my Chumby was pretty cool, it needed to express more individuality. Essentially, every Chumby looked the same — cute, but still a clone of its brothers and sisters. So with the help of a few members of the Chumby team, I abandoned the beanbag toy packaging for something more expressive. Here’s how I did it; you can do the same mod with a lunchbox, spaceship toy, anything!

Project Steps

Remove the screen.

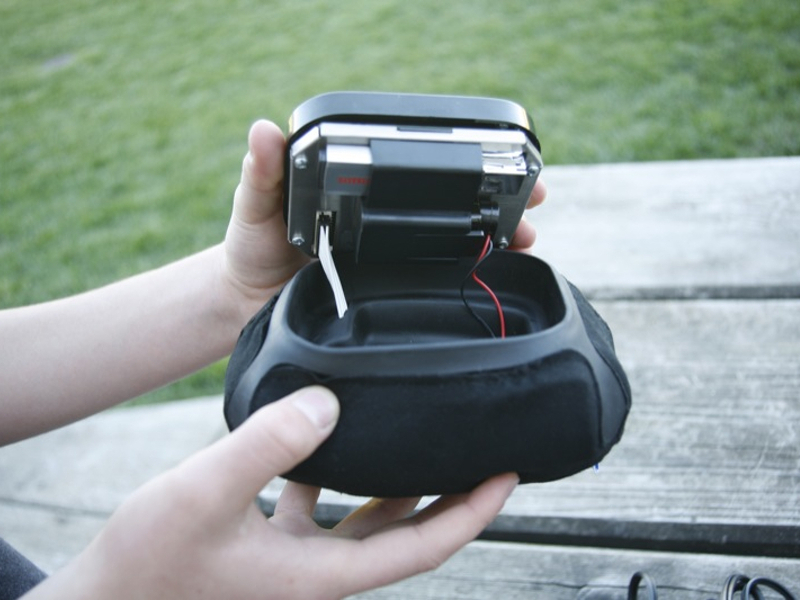
Take out your Chumby’s screen by applying pressure to the outside of its rubber housing. The screen should pop out, attached by the “chumbilical” — a cord that relays information — and a backup power supply. Disconnect both cords. Cut out the rubber the screen was in and put it aside.

Remove cords, connectors, and speakers.

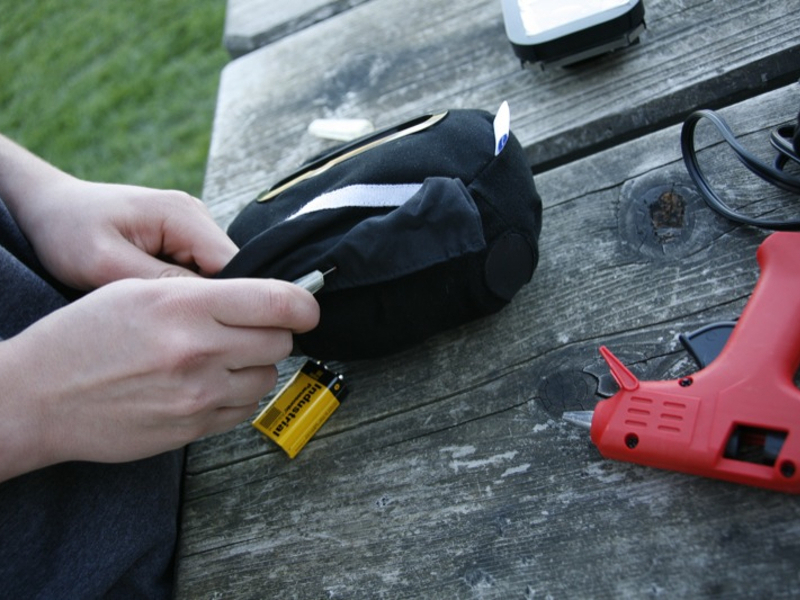
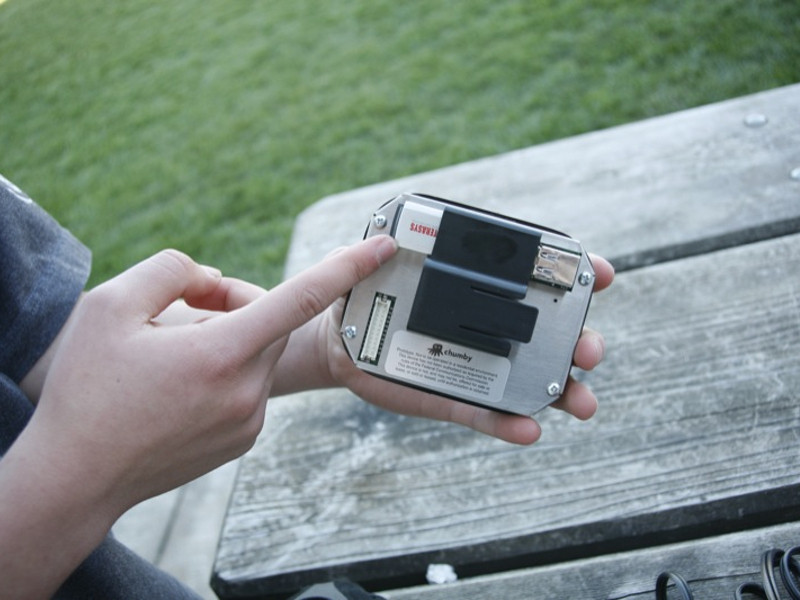
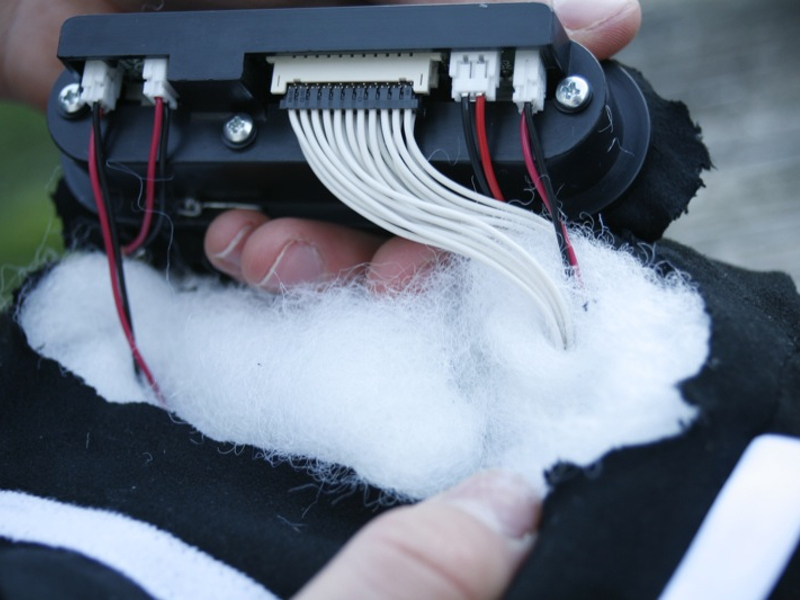
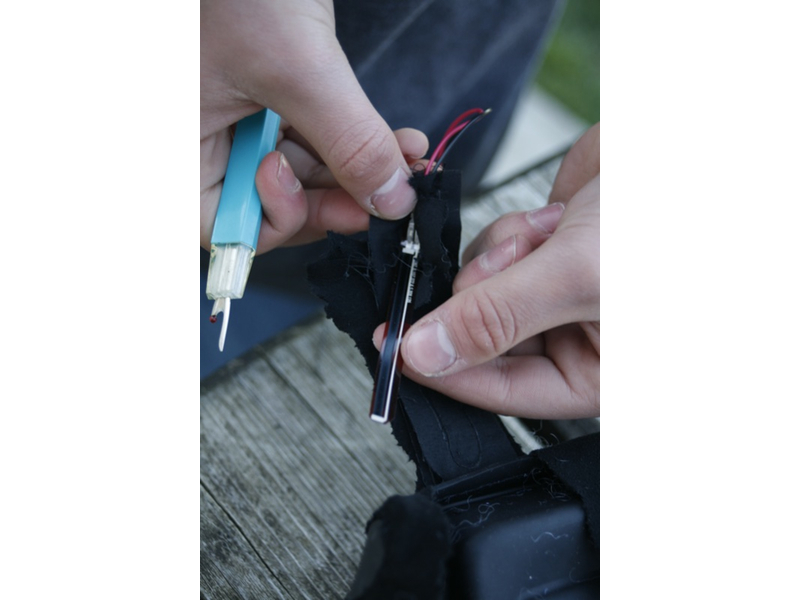
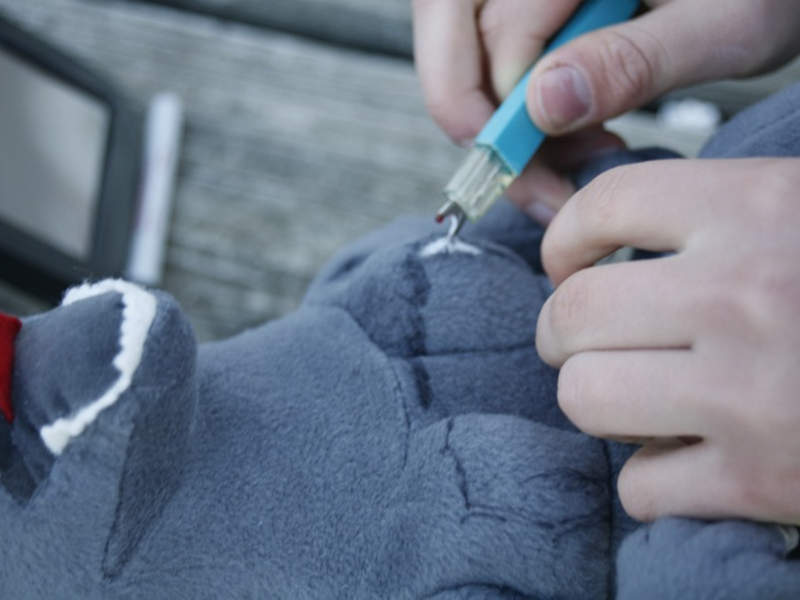
Next, flip the Chumby over and undo the Velcro lining. Use the seam ripper to cut the seam and extract the polyester beanbag inside. Cut out the plastic mold in the device’s rear that houses the on/off switch and power supply, and disconnect all cables.

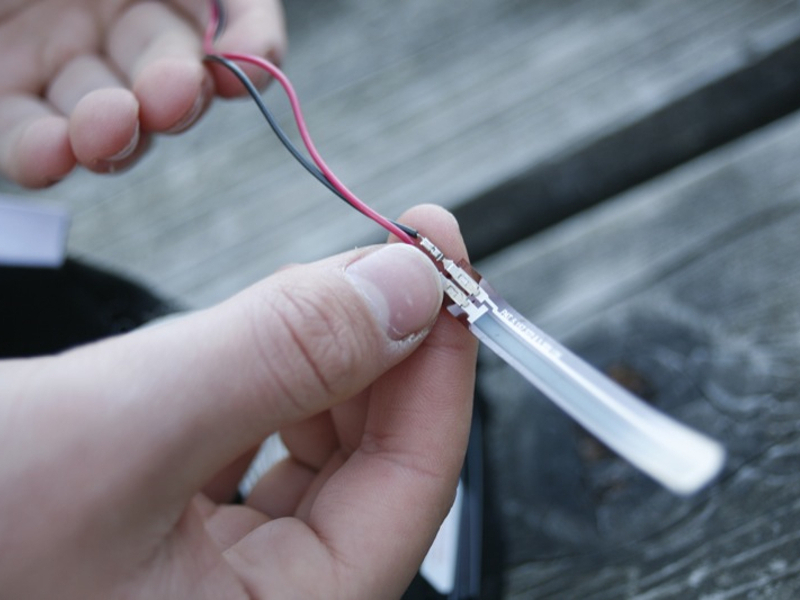
Take the speakers out of the Chumby’s sides. Set them aside, and locate the cable that is not connected to a speaker or the screen. This is the bend sensor. Carefully cut the bend sensor out of the fabric it is in. The sensor is very fragile, so be sure not to hurt it with the seam ripper. (Or yourself! I stabbed myself in the thumb at least once.)

Prepare your plushie.

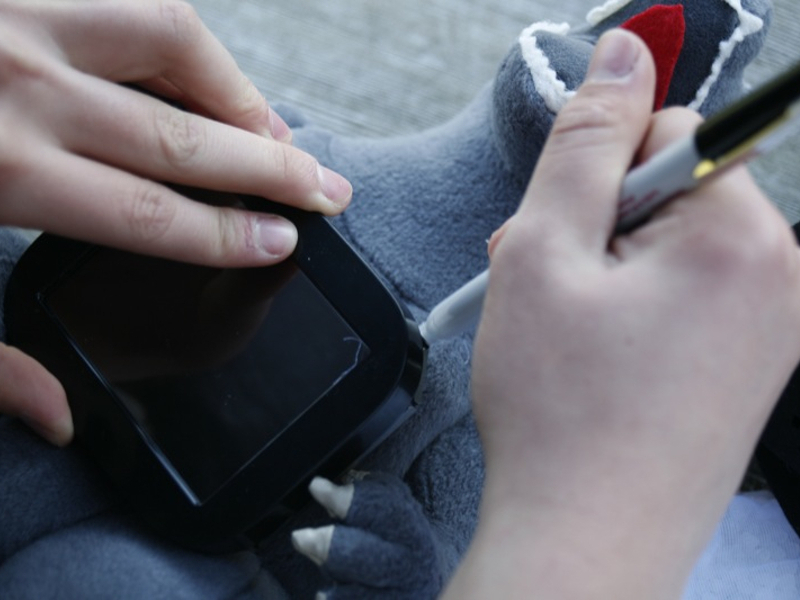
Decide where you want to put the Chumby’s screen, then trace around the device’s base on the plushie with a marker. You’ll also want to decide where on the plush the connectors will go (often on the back side of the item).

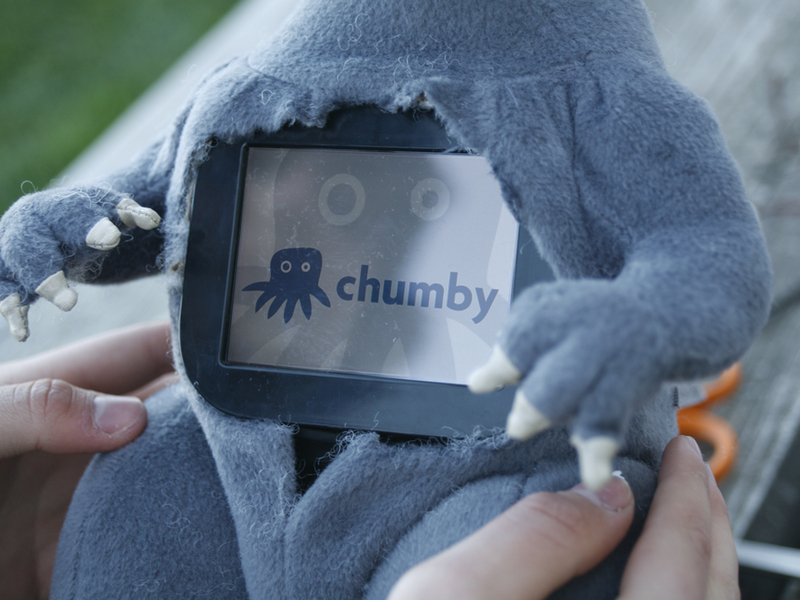
Cut along the line you’ve drawn with your seam ripper, reconnect the chumbilical and power supply from the back of the rubber housing, and place the housing in the plushie.

Insert the connector case, speakers, and bend sensor.

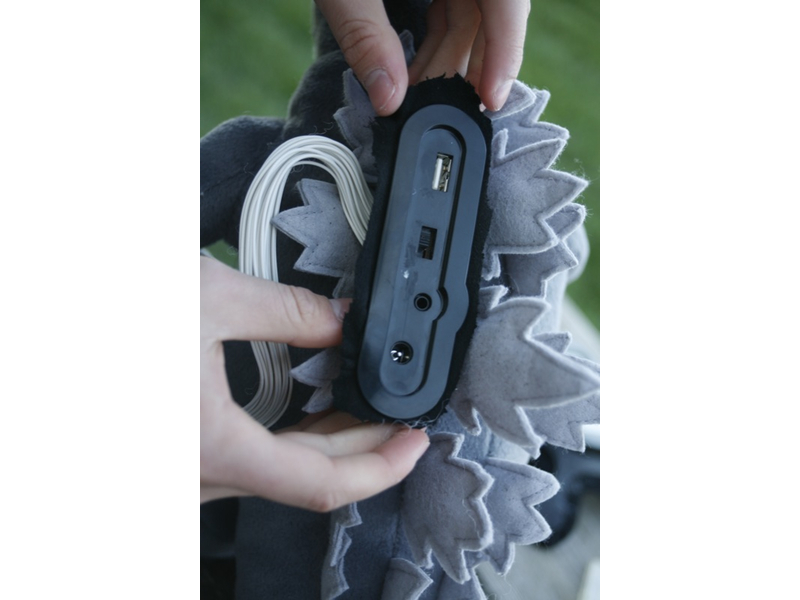
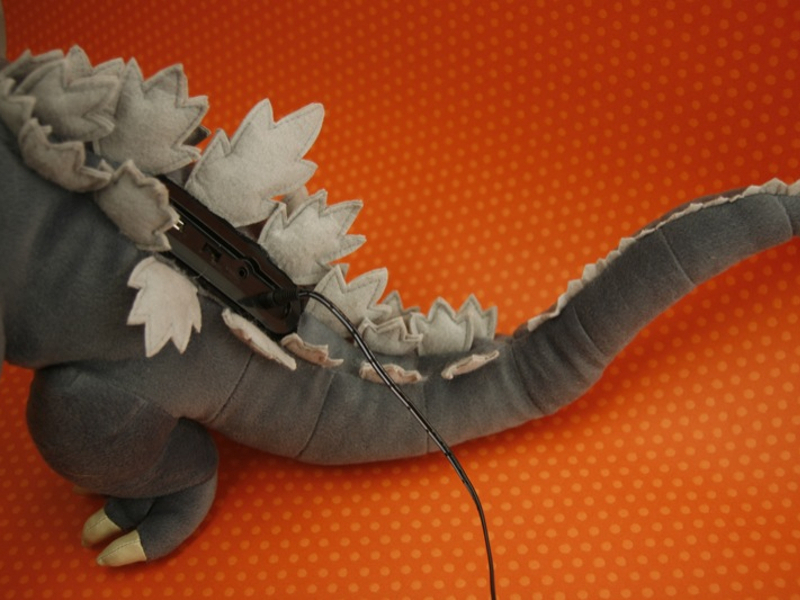
Decide where you want to put the plastic housing of the Chumby’s dorsal connector case. Connect all the wires back in. The speakers are audible from inside a plushie, but the bend sensor must be placed in a firm area in order to function properly.

If the bend sensor does not function correctly after the hack, the control panel can always be pulled up with a tap to the screen’s upper left hand corner.

Glue the project together.

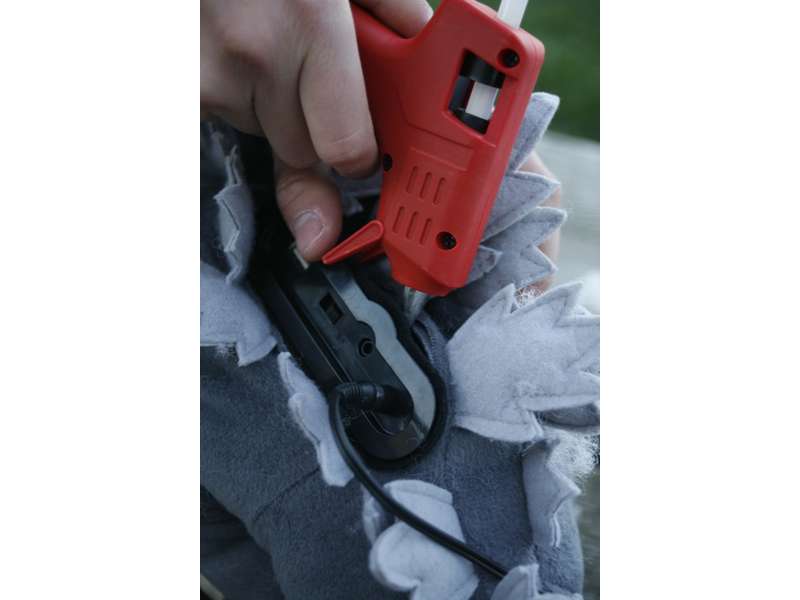
Last but not least, hot-glue the Chumby to your plushie. Be sure to leave an opening for the light sensor on the left side of the screen. Let the glue dry, and enjoy!

Conclusion

This project first appeared in CRAFT Volume 03, pages 124-126.