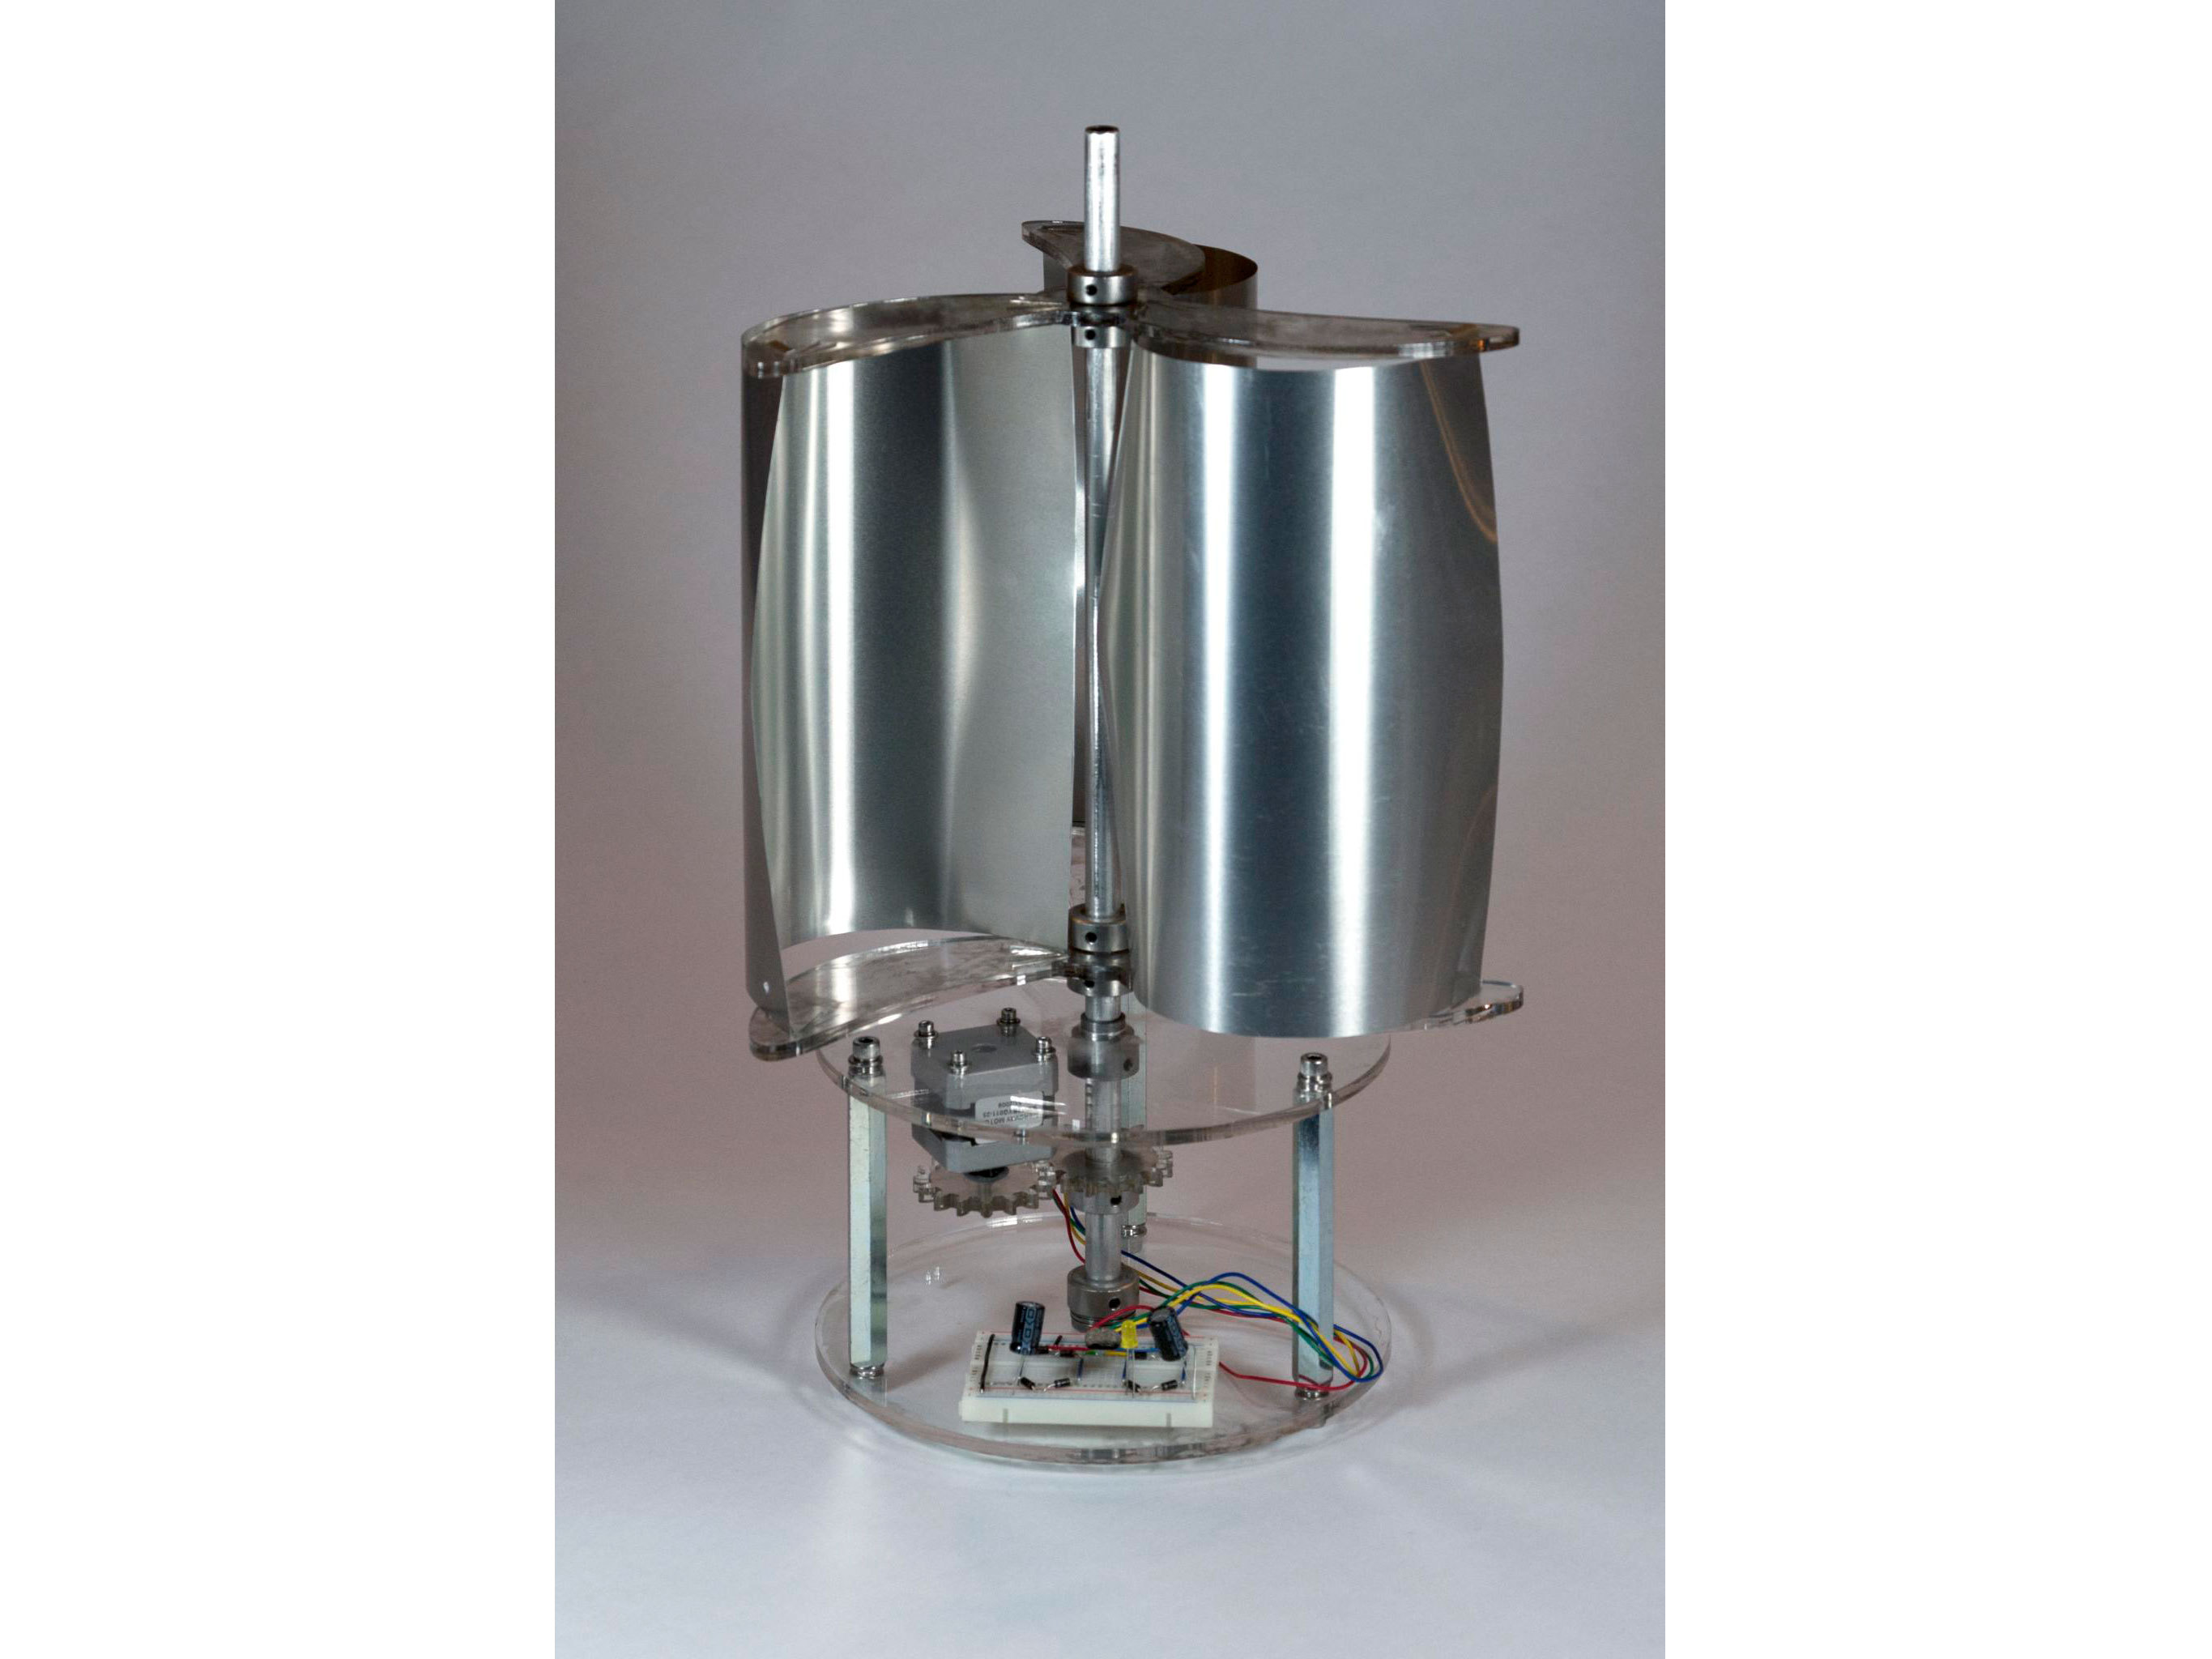
In this project, we’ll build a small, vertical-axis wind turbine, or VAWT for short. These are not as efficient as their horizontal-axis cousins, but they are better suited to urban environments where wind can come from all different directions.

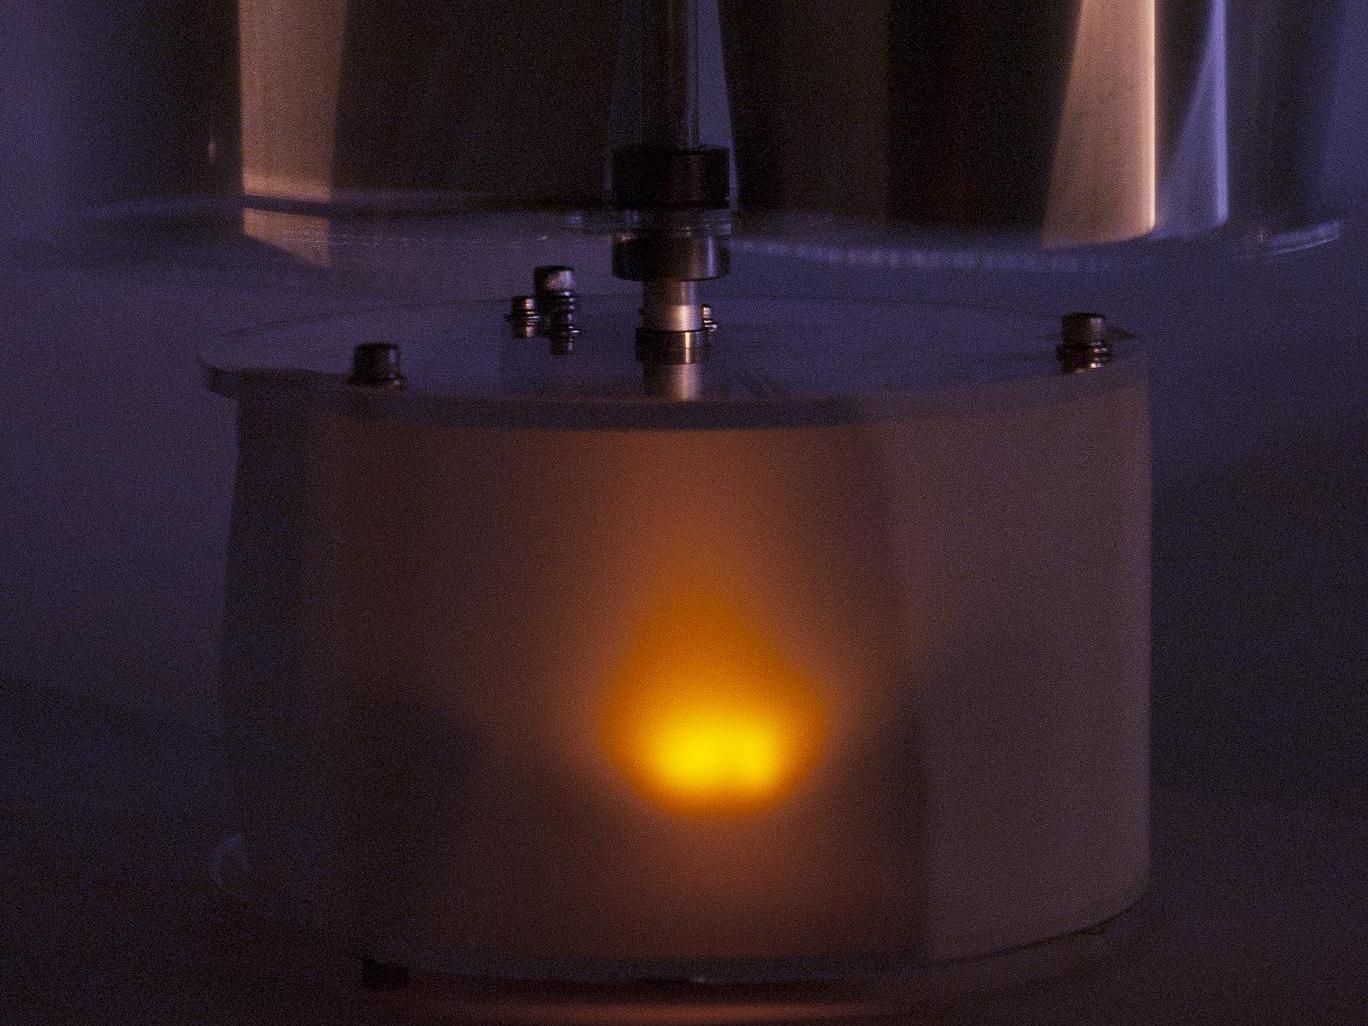
Normally, when you give electricity to a motor, it spins. The same is true in reverse: If you give a motor a spin, it acts as a generator and creates electricity. The wind lantern will use energy from the wind to turn a motor and the resulting energy to light up some light emitting diodes (LEDs) within the base. The wind lantern will use this electricity to create a flickering, glowing indicator of the wind.

LEDs, like any other diodes, allow current to flow through them in only one direction. Bipolar stepper motors have two wire coils. The challenge here is to design a circuit that directs energy generated in each coil through an LED in the correct direction, no matter which way the wind lantern spins. To do this, we’ll build a rectifier circuit for a bipolar stepper motor.

You can download the FREE template here on Thingiverse, or go ahead and buy them from my Ponoko showroom.

What will the next generation of Make: look like? We’re inviting you to shape the future by investing in Make:. By becoming an investor, you help decide what’s next. The future of Make: is in your hands. Learn More.

Project Steps

Prepare aluminum rod

Put on your safety glasses and cut an 18″ length of the aluminum rod with a hacksaw. Use a deburring tool or file on the inside and outside of the end of the rod to smooth it and avoid cutting yourself.

Make sure your aluminum rod fits through the flanged sleeve bearings, thrust bearing and washers, and the shaft collars. Look at the tolerances of all the parts on McMaster:

The aluminum rod has a ±.025″ outer diameter tolerance, which means it can range from 0.475″ to 0.525″. The shaft collars don’t give a tolerance for their inner diameters. The flanged sleeve bearings say +.001″ to +.002″ for the inner diameter. This means they will be between 0.501″ to 0.502″. The thrust bearing says 1/2″ +0.002″ to +0.007″, which means the inner diameter can range from 0.502″ to 0.507″. The thrust washers don’t give any tolerance for the inner diameter.

This means that the outer diameter of the aluminum rod needs to be smaller than the smallest possible part it needs to fit into, which is the 0.501″ sleeve bearing. As you can see here, we have a good possibility for overlap in an inconvenient direction.

If your aluminum rod is too big for the sleeve bearing, put on your safety glasses, dust mask, and gloves (aluminum dust is not good for you). Grab the aluminum rod with the sandpaper and rotate it while you’re squeezing until you see aluminum dust coming off. Continue this until the rod fits through all the components. If you’re lucky enough to have access to a lathe, it could be a time-saver if you have a lot of aluminum to shave off. A bench grinder will work faster than sanding by hand, but it will be harder to maintain the round shape of the rod.

Start assembling base

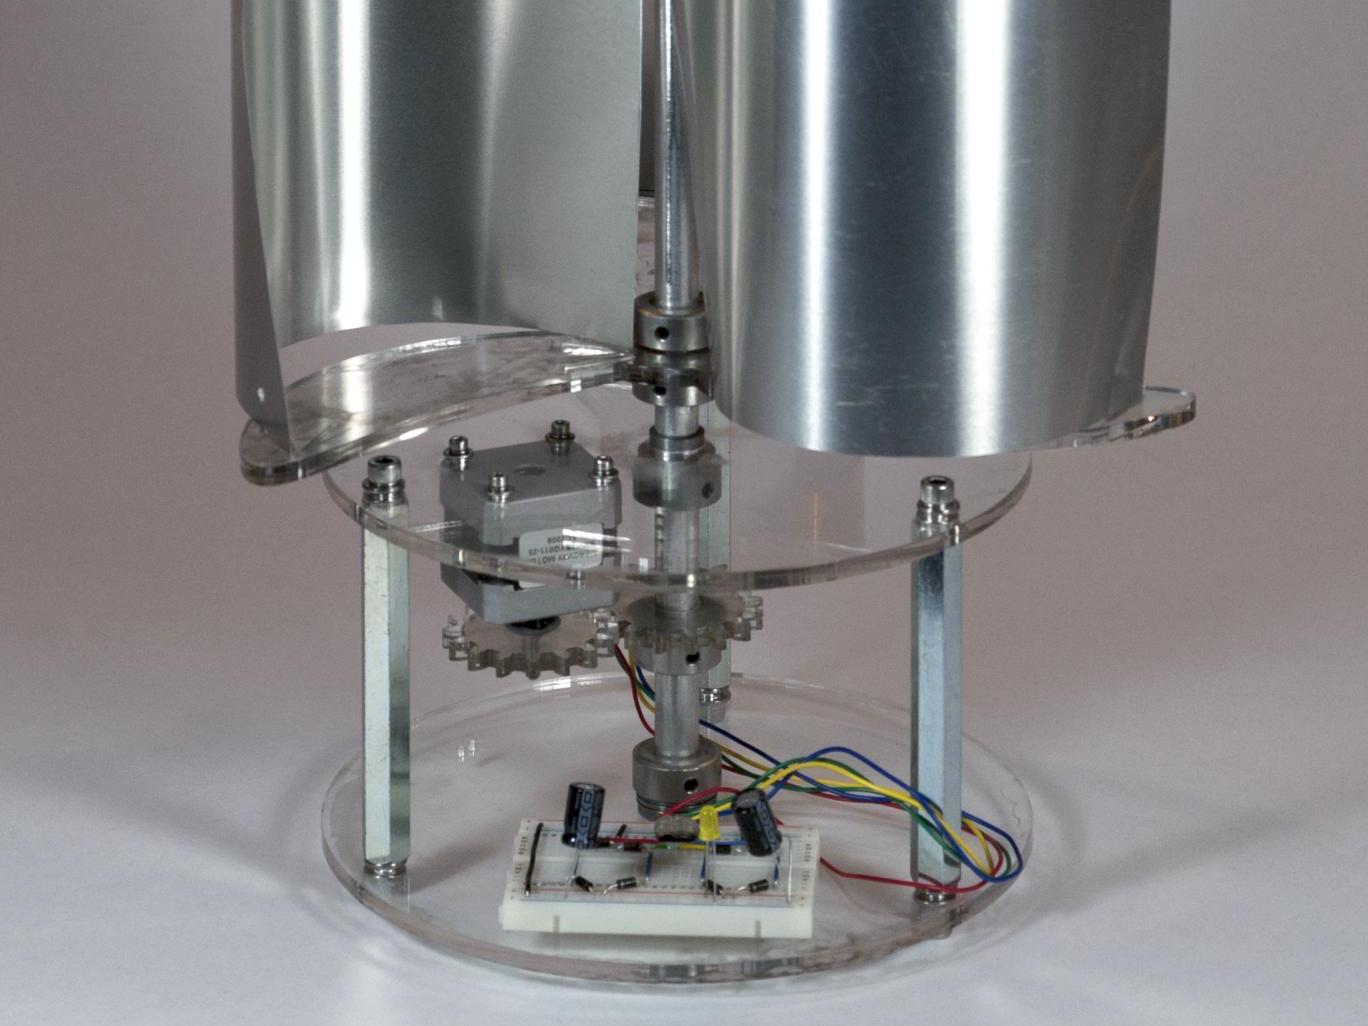
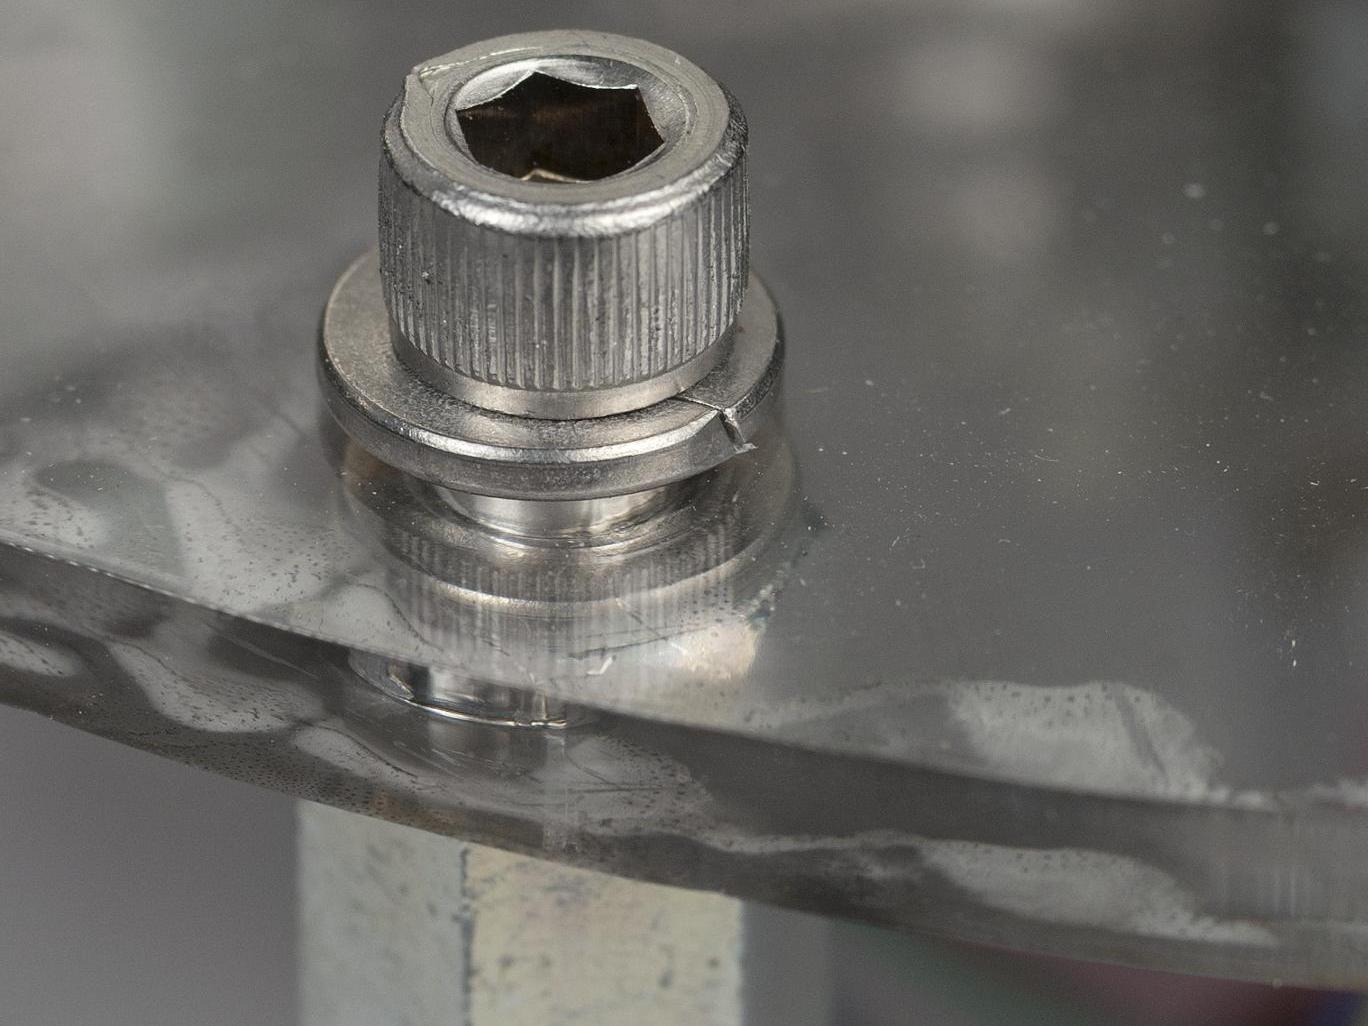
Assemble the base (refer to the full picture as you go through the steps). Start with the two disks, the hex standoffs, and the 1/4-20 screws, lock washers, and washers. Install the standoffs by sandwiching the acrylic disk, a washer, and a lock washer on each end with a 1/4-20 screw.

Part assembly in base

Install one of the flanged sleeve bearings in the center hole of the base disk. The base is the one without the four holes to mount the motor.

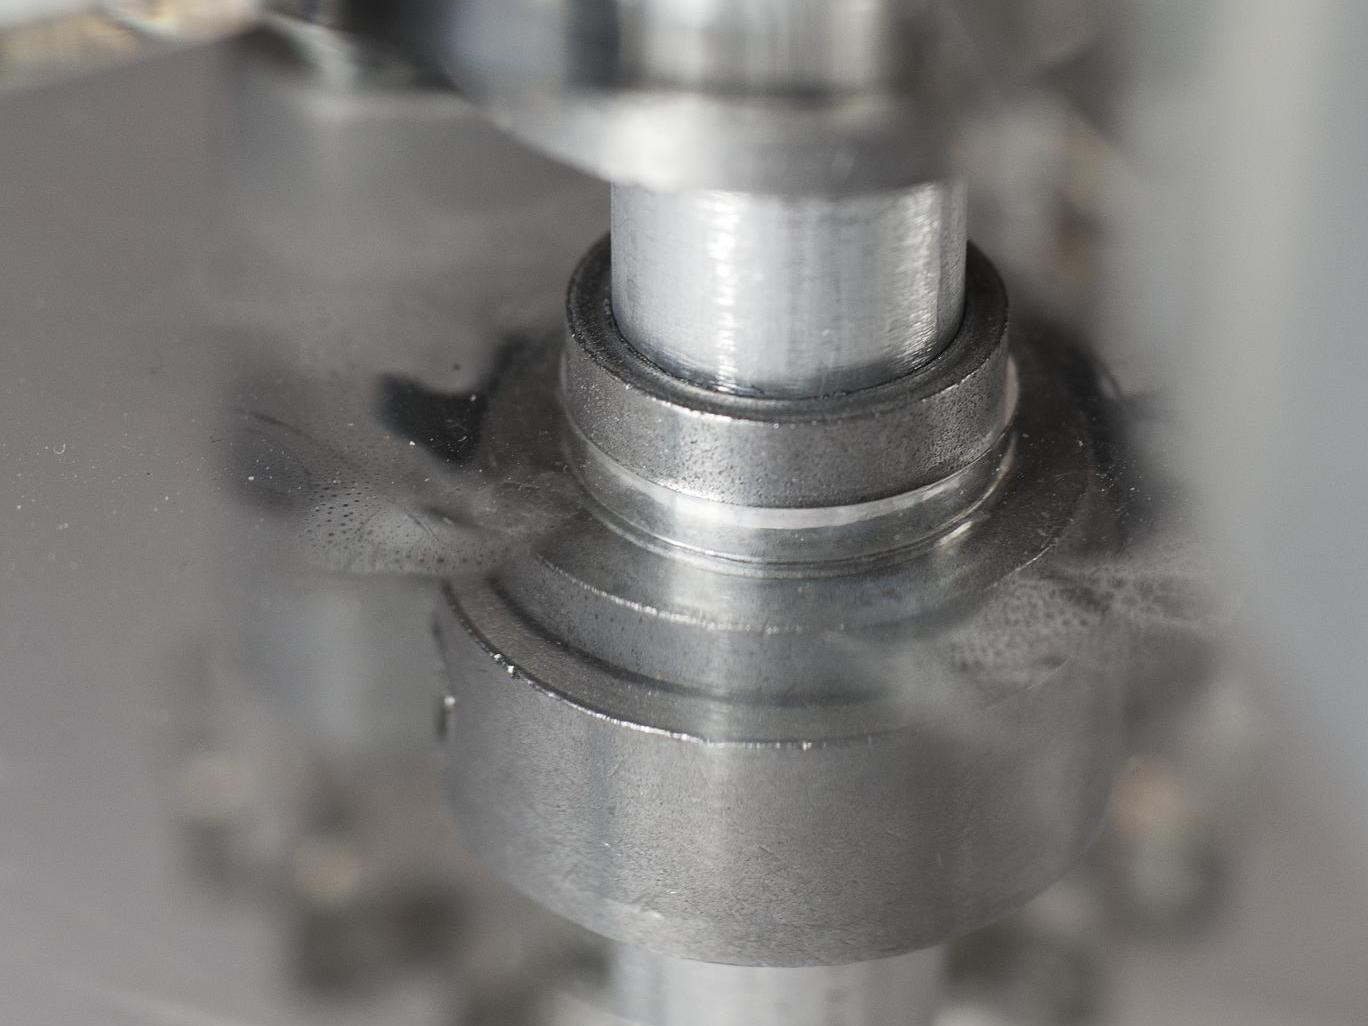
Rest a thrust washer, thrust bearing, and then the other thrust washer on top of the flange.

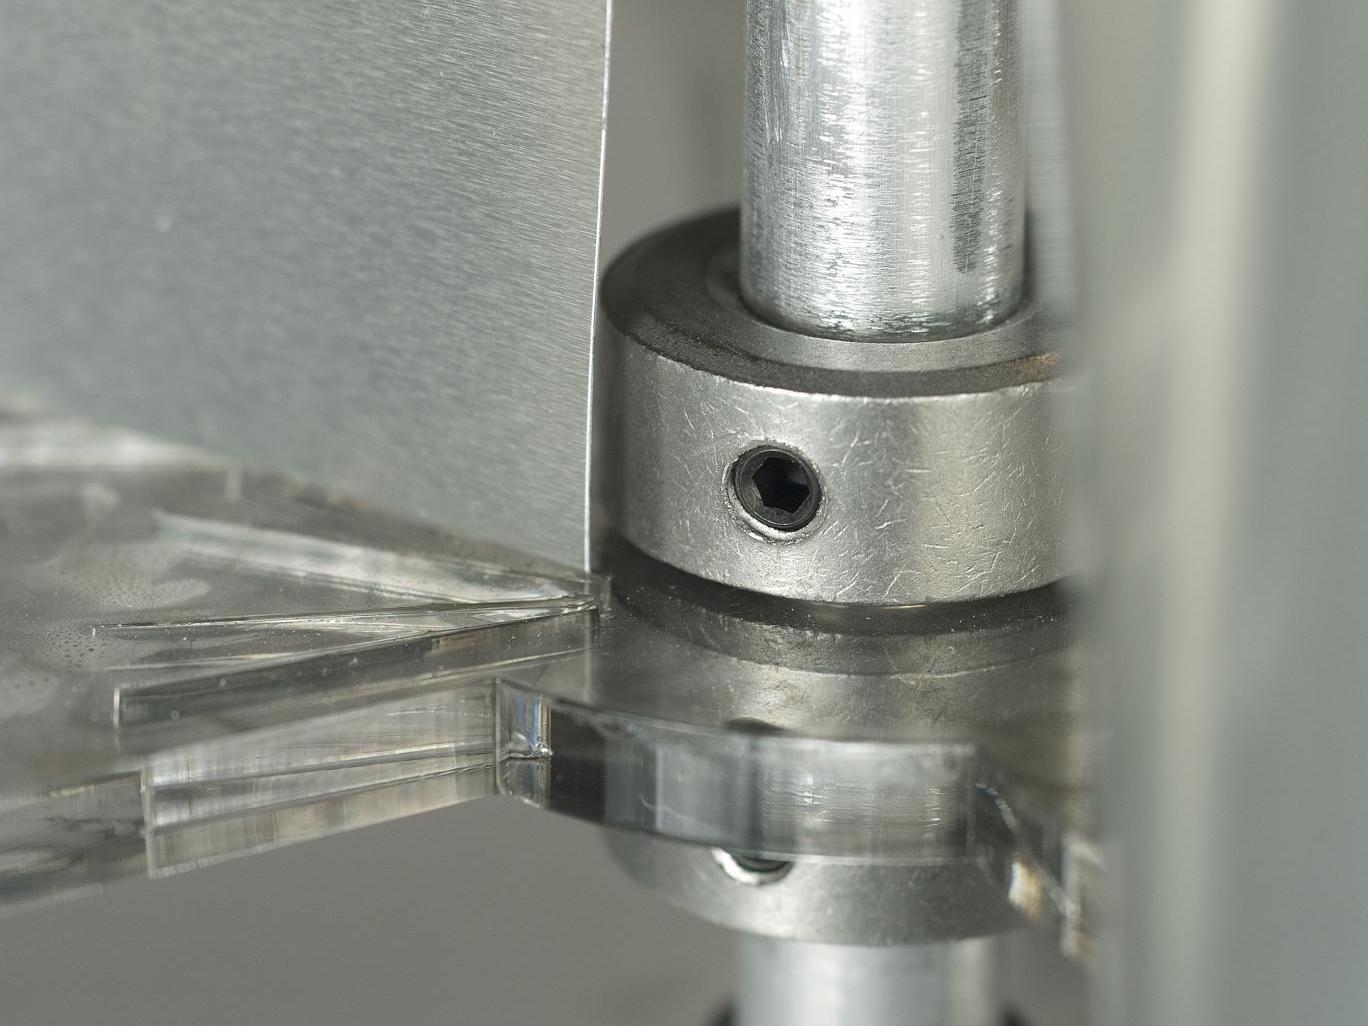
Slide the aluminum rod in from the top. Before it hits the sleeve bearing on the bottom, it should slide through the other sleeve bearing, a 1/2″ shaft collar, a laser-cut gear, two more 1/2″ shaft collars, and finally the thrust washer, bearing, and washer stack.

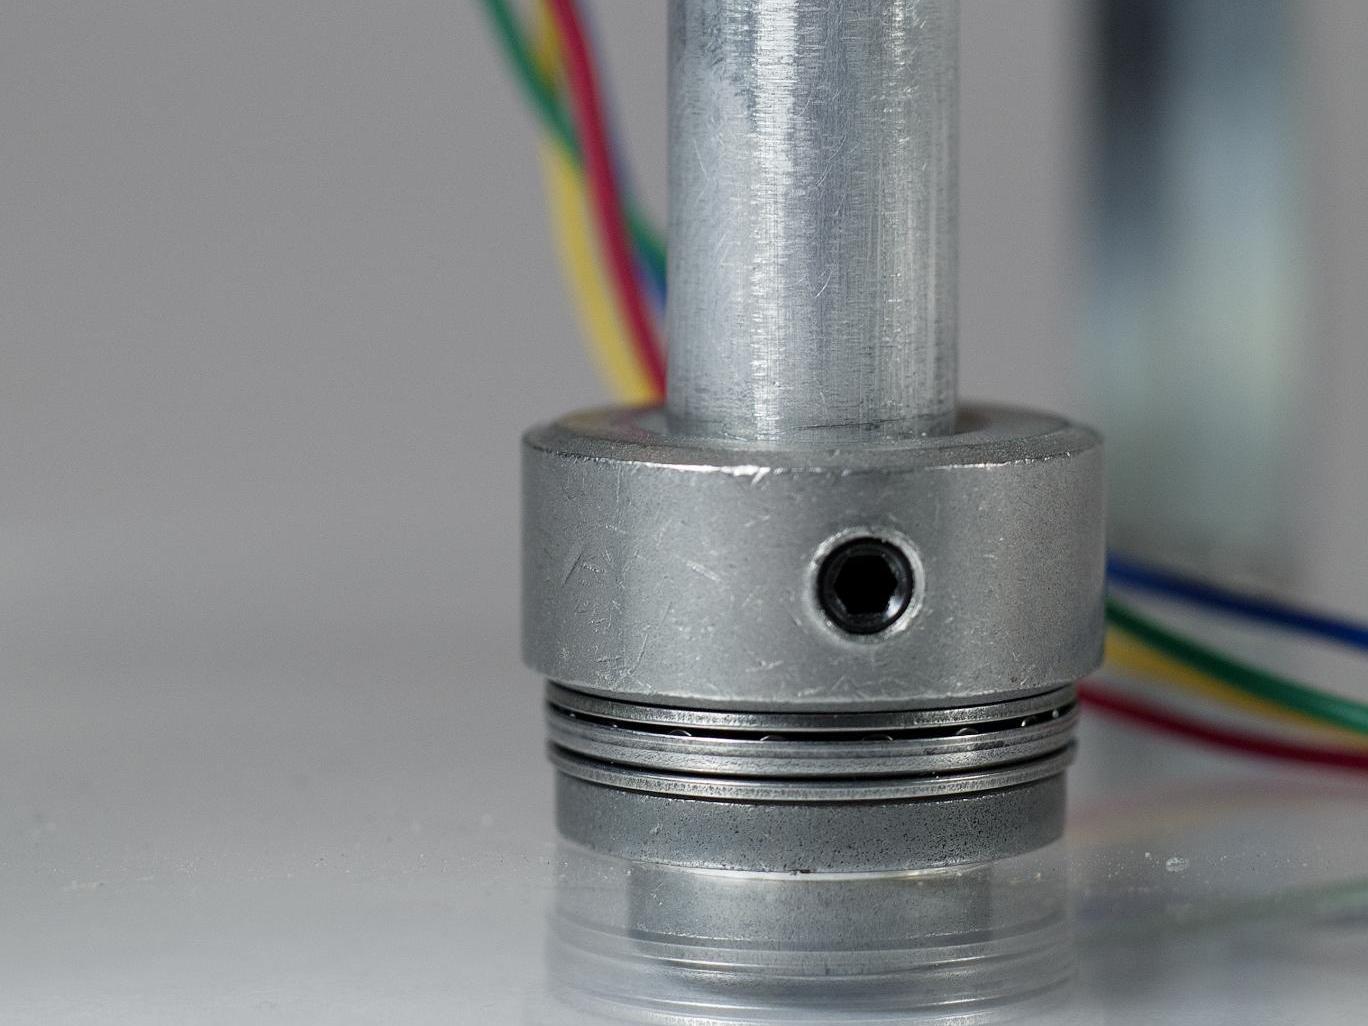
Pull up slightly on the aluminum rod so it’s not hitting your work surface. Use your Allen key set to tighten the set screw in the lowest shaft collar. At this point, the shaft collar is resting on the thrust bearing and attached to the aluminum rod, so you should be able to spin the rod.

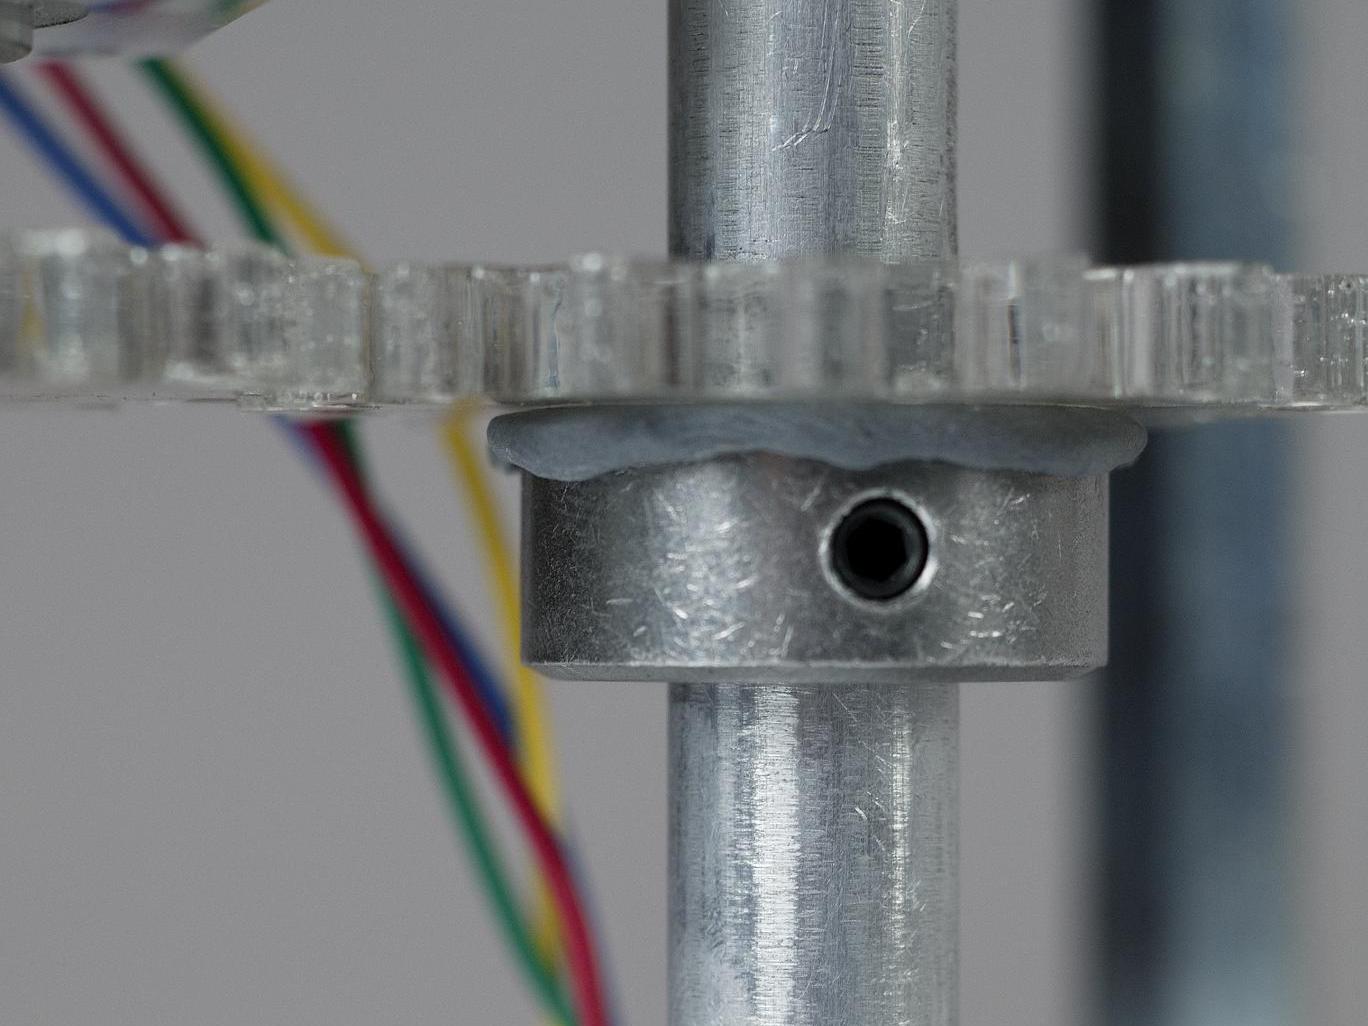
Lift the next shaft collar from the bottom up with the gear to about the halfway point inside the base. Tighten the set screw. This shaft collar will be attached to the gear with epoxy putty later, but DO NOT do this yet.

Finish base assembly

Secure the top sleeve bearing with the top shaft collar.

Solder wires and mount motor

Before you continue up the rod, this is a good time to mount your motor. First, cut the wires to about 8″ long and solder a set of four male headers to the wires. Red and green should be next to each other on one side, and blue and yellow on the other.

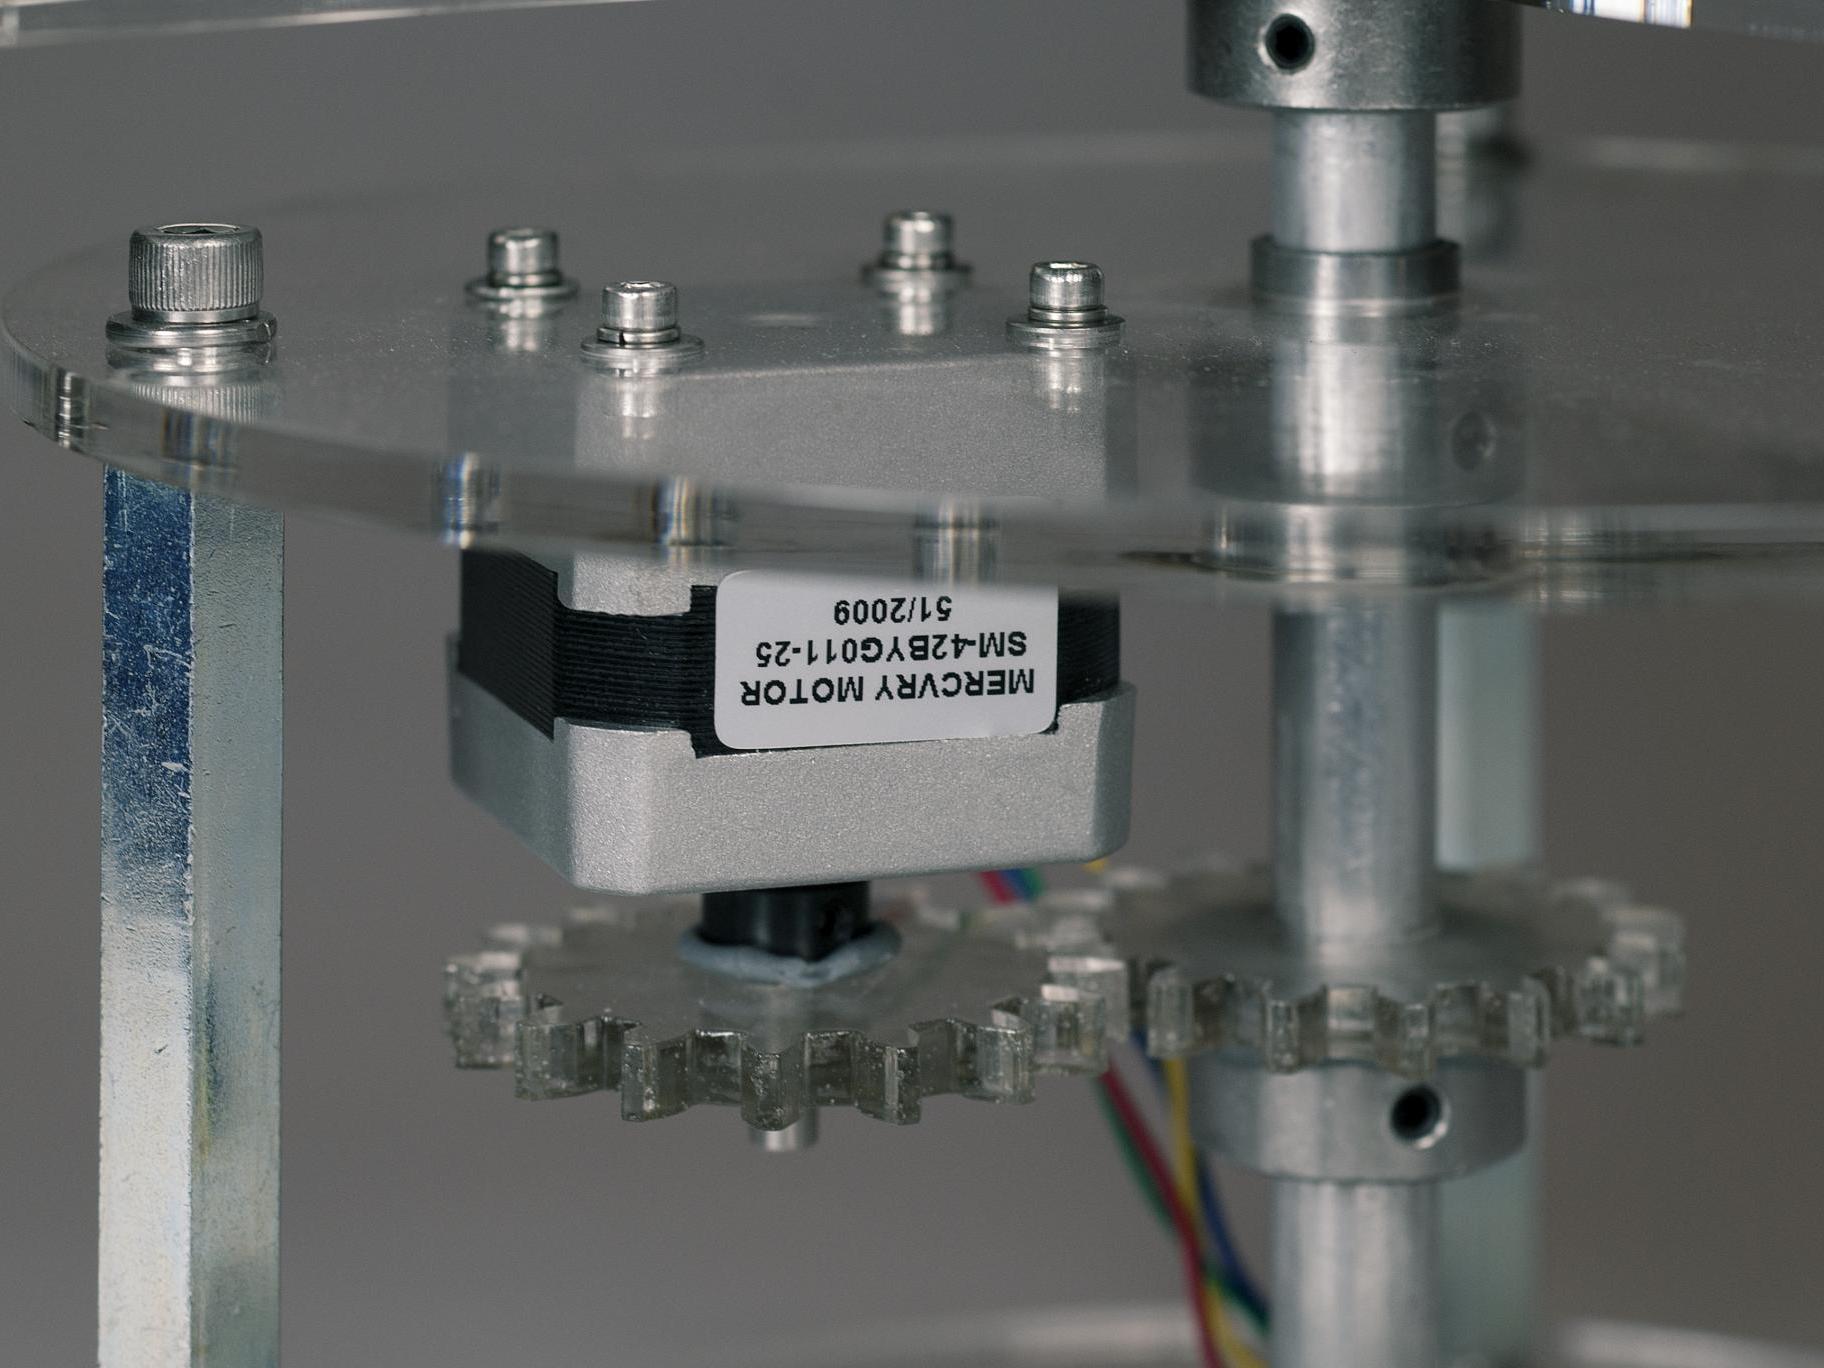
Remove the screws that hold the motor together. Use the longer M3 screws from the shopping list to mount the motor from the back, on the underside of the top disk. Sandwich an M3 washer and lock washer with each screw.

Slide the other gear onto the motor shaft and use the 5mm shaft collar to secure it temporarily. Adjust the height of both shaft collars until the gears are at the same height and mesh well. Now you can break out the epoxy putty and secure the gears to their respective shaft collars.

Continue adding parts up the rod

Continue up the aluminum rod. Slide on a 1/2″ shaft collar, one of the plastic sail holders, and then another 1/2″ shaft collar. Pull the lower shaft collar up so it’s not resting on the top of the base and secure it to the rod with its set screw. Then pinch the plastic sail holder with the shaft collar on top of it, and secure the assembly with a set screw. When you rotate the whole assembly by the shaft, it should rotate smoothly, and the sail holders should rotate with the shaft.

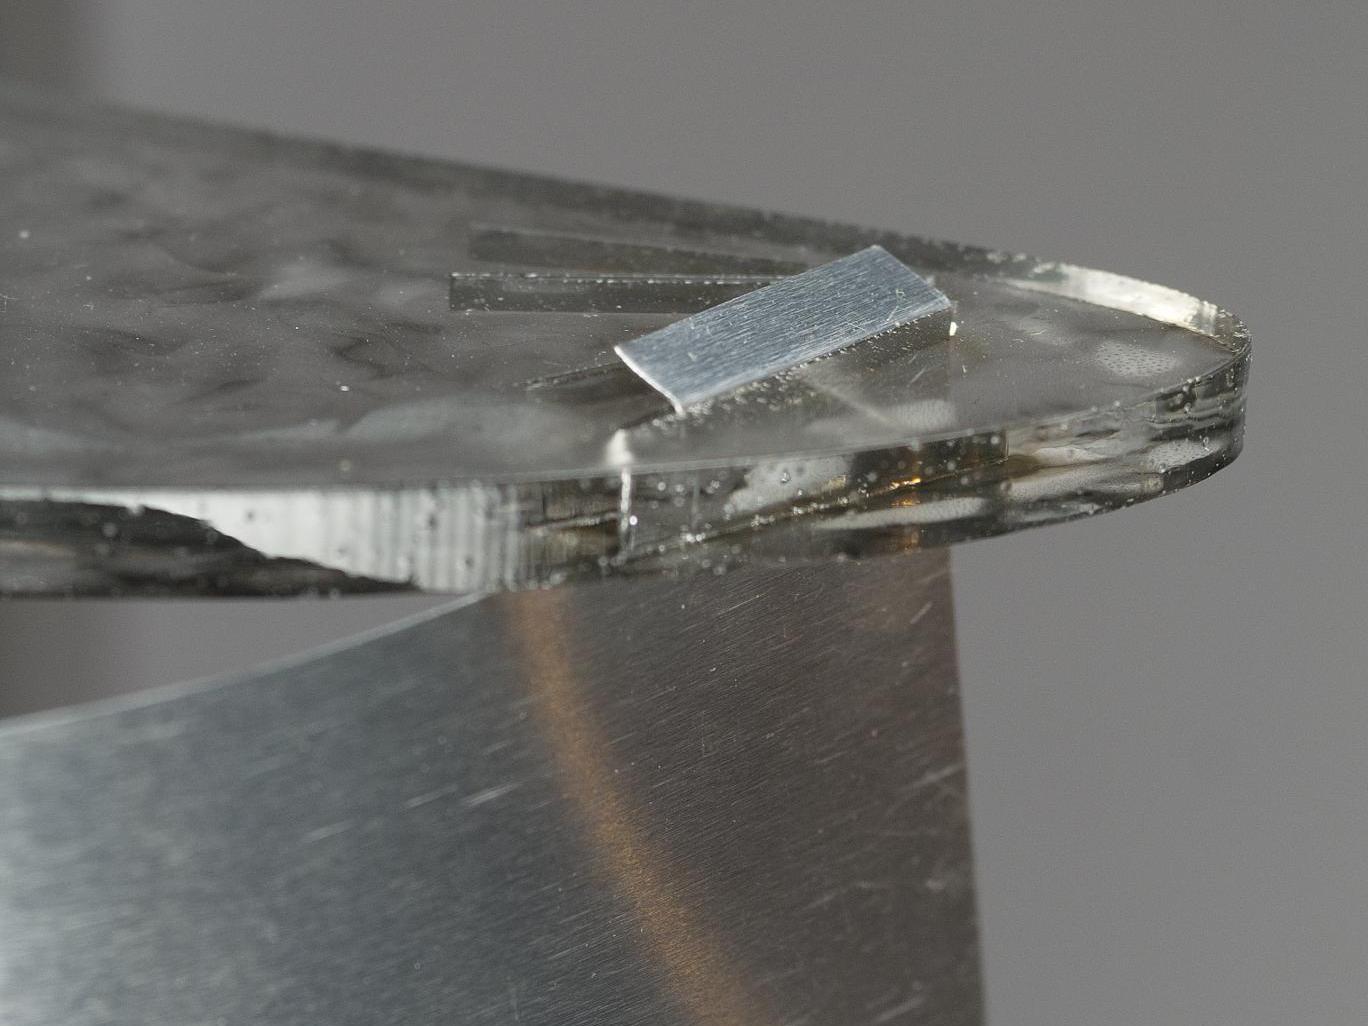
Cut out three sails for your wind turbine to catch the wind. There’s no right answer here, and you have a few different slots in the sail holders, so just use scissors to cut the aluminum flashing in a length you think will work. Then cut 1/2″ tabs into each corner to slide into the slots. Bend over the tabs to secure the sails.

Do the same shaft collar, sail holder, shaft collar assembly on the top of the sail to finish this section of the build. It should spin with very little friction when you turn it by hand with the aluminum rod.

Now, the electronics

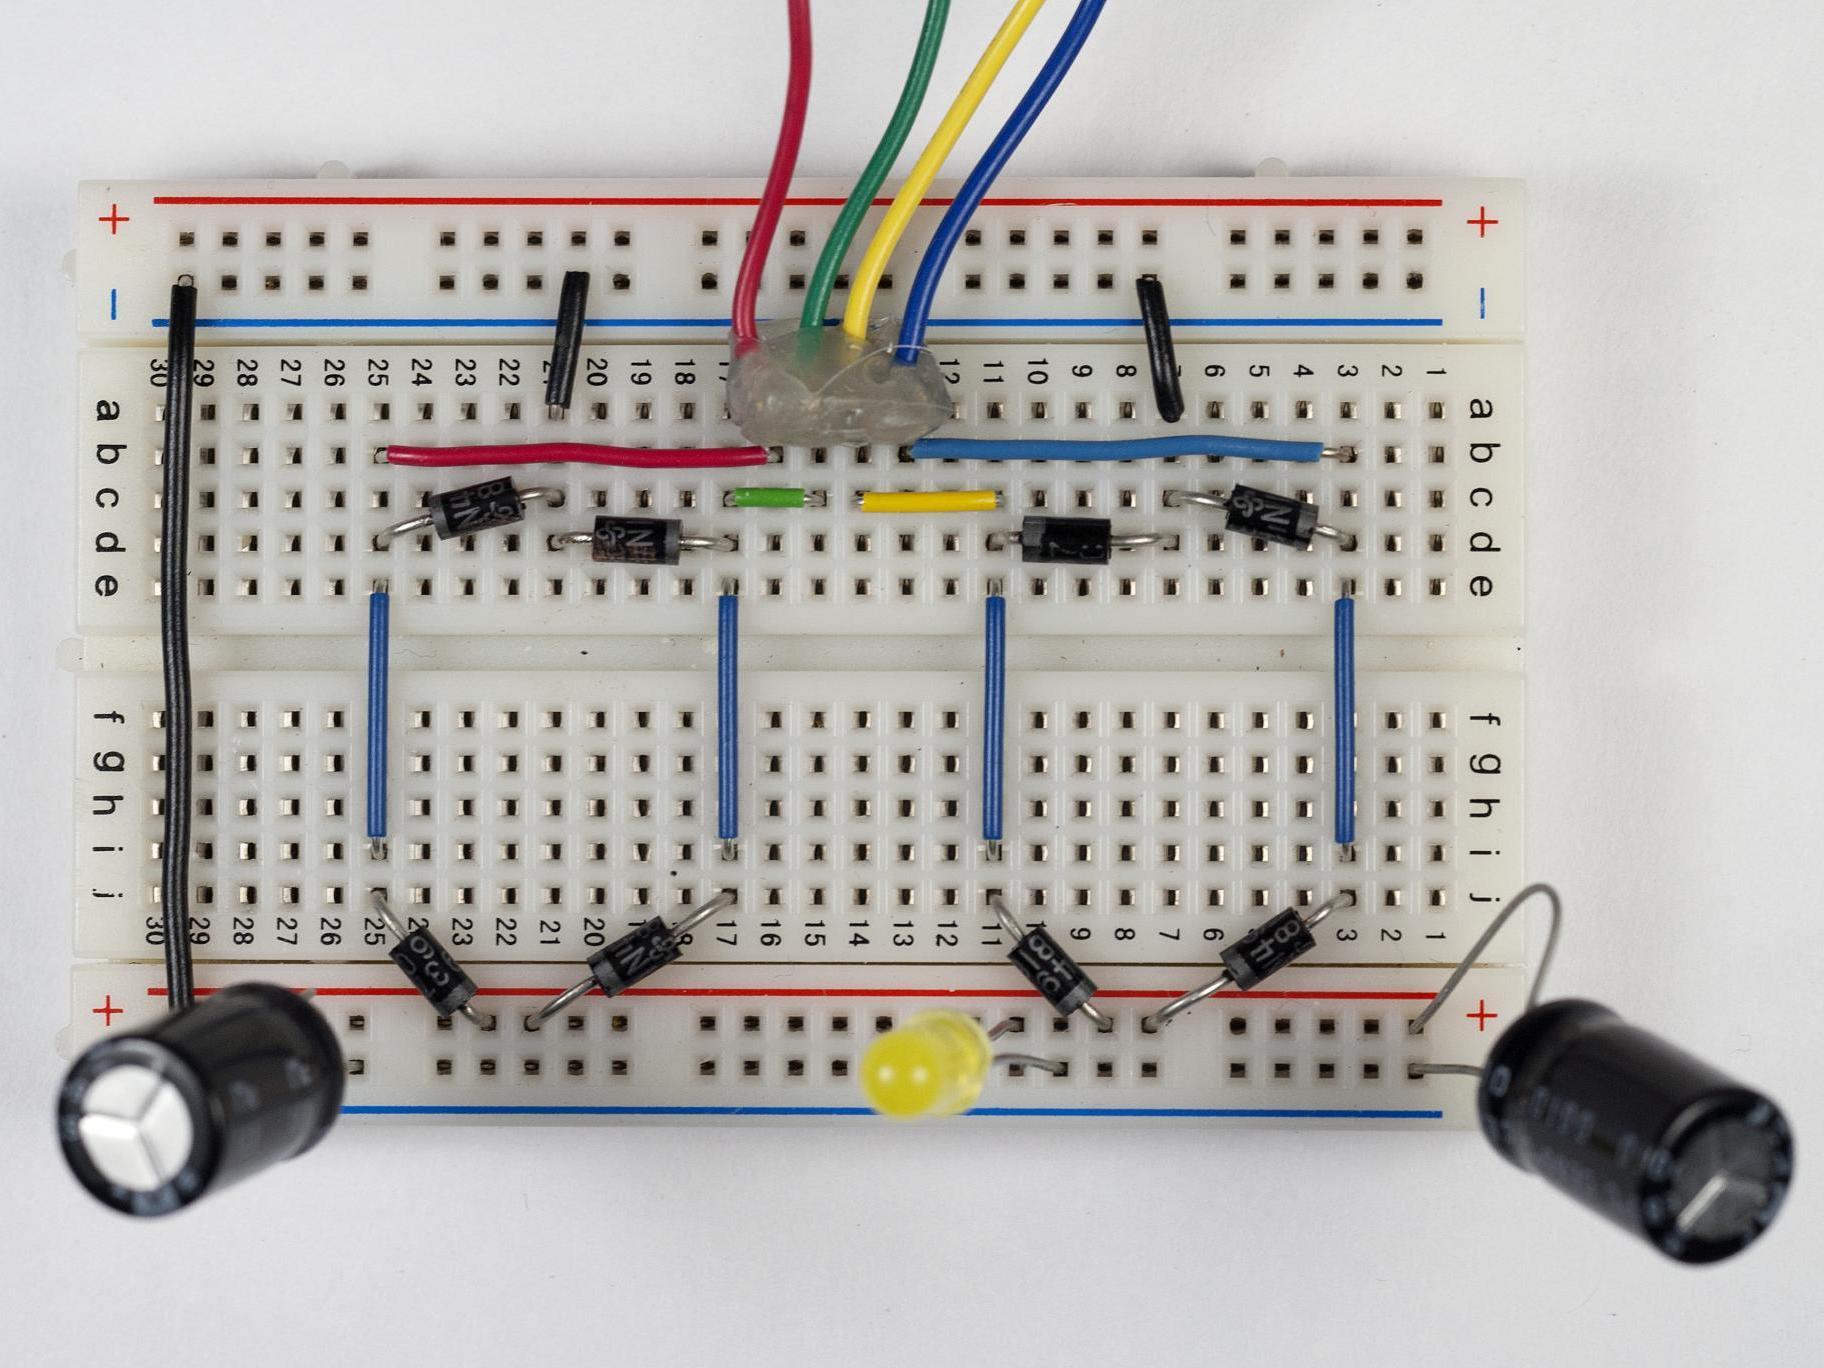
We need to create a circuit like the one shown here. Use the eight diodes and jumper wires to create this circuit on your breadboard as shown. It will tell any electricity generated in each coil of the motor to go to the same place: the power column on the bottom of the breadboard. Make sure all your diodes are facing the right direction, and don’t forget to jump the ground columns across the board. Here’s a schematic too if that’s easier.

Notice the LED in the center and the two capacitors at the sides of the board. Plug the long leg of your LED into the power column and the short one into ground. Before you add the capacitors, give the wind lantern a spin and watch the LED flicker!

Try adding at least one capacitor as shown. The negative marked side should go to ground, the other to power. The capacitor will store energy while the wind lantern is creating it, and release it when it is not. The resulting effect here is a smoother flicker on the LED. Try adding more LEDs and more capacitors until you get a smooth glow when you spin the aluminum rod. You can also place diffuser paper over the side of the lantern to create a pleasing glow.

Put it to work

Now take it outside! See if it works with real wind. We had success on a street corner in Manhattan and on the roof of Eyebeam Art + Technology Center’s two-story building.

Thanks to awesome intern Sam Galison for helping with the project!

Conclusion

This project appears in the book Making Things Move by Dustyn Roberts.