The video below shows all the things you need to know to make a low-tech outboard motor in a couple of hours once you have obtained the materials. This project uses parts that you can buy in the local hardware store and the marine supply store. The propeller and 90° drillhead you can also find on the internet.
Projects from Make: Magazine
Wooden Outboard Motor Powered by a Cordless Drill
This project shows a simple design for a trolling motor made from wood and a few other parts.
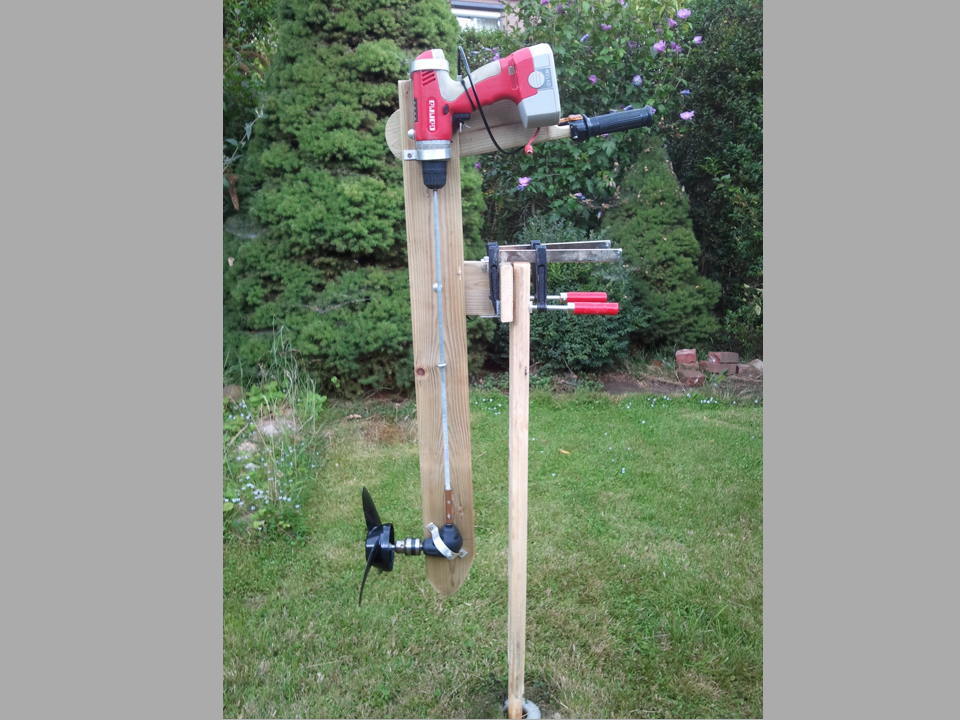
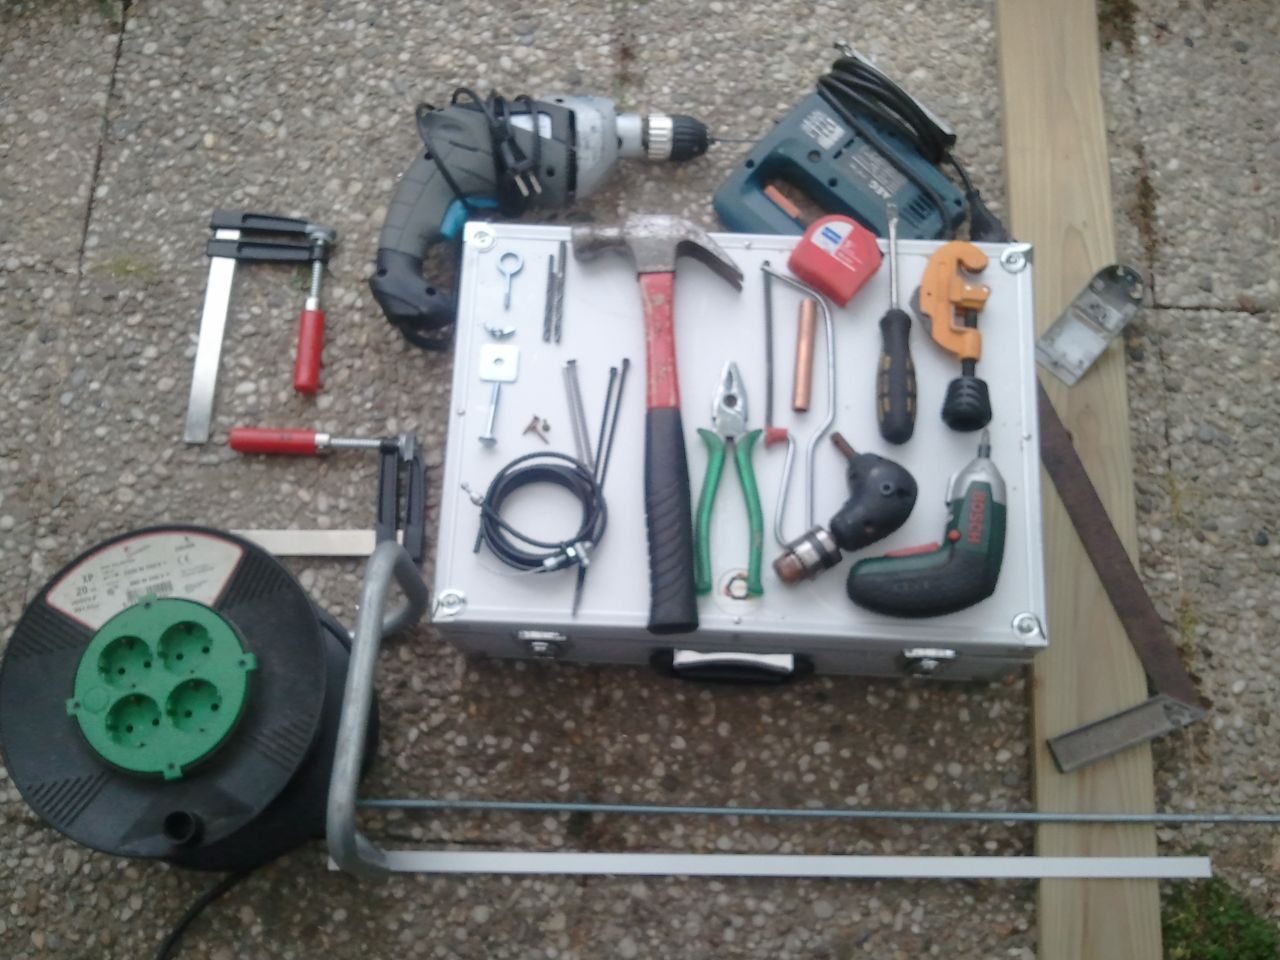
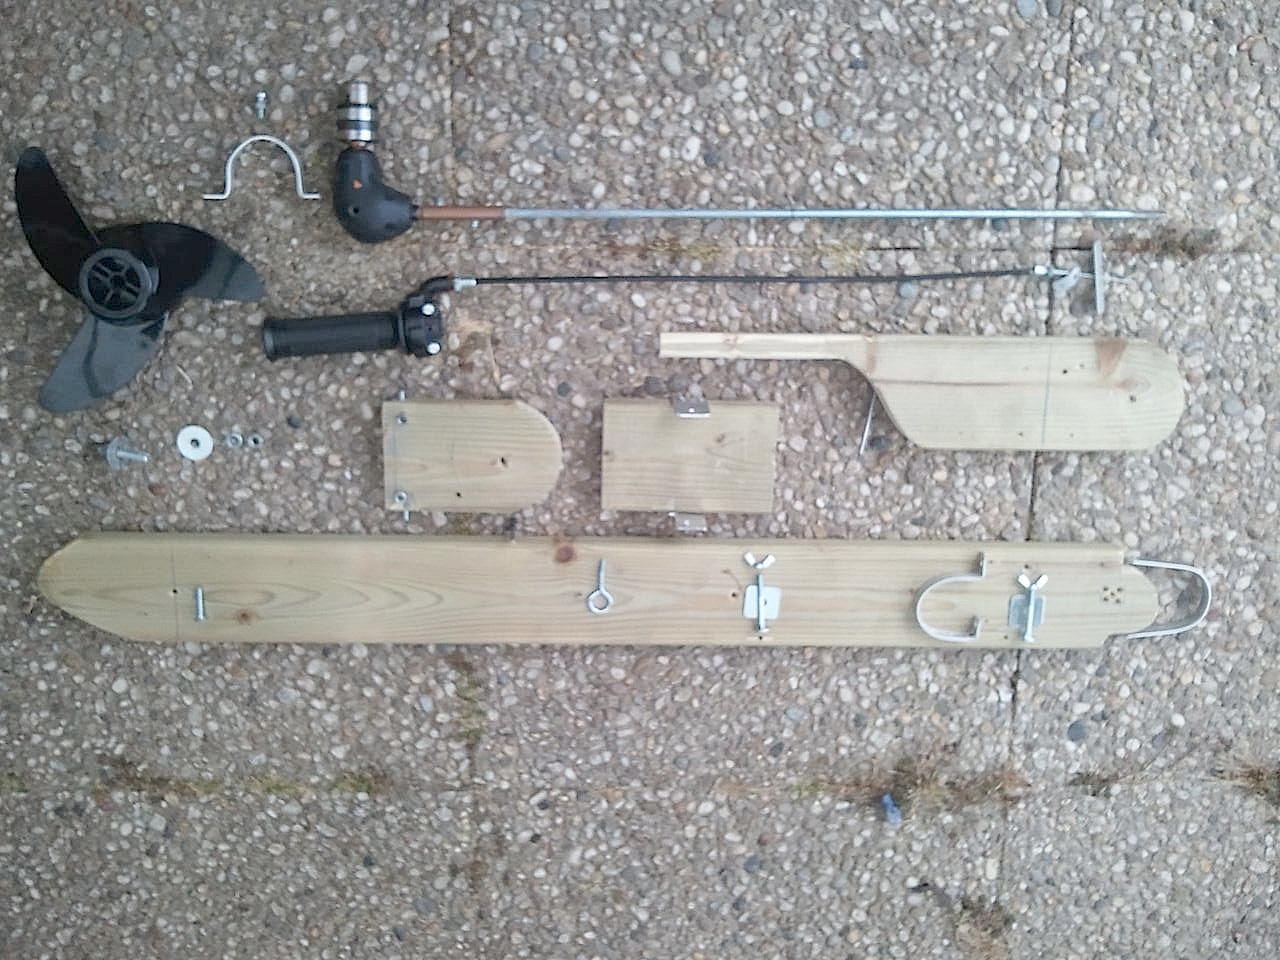
Watch the video and look at the photographs of this project and the construction should become clear. Here you see all the tools and parts together. Most are common tools that you can find in many sheds.
We start by cutting the wooden parts; 4 pieces in total. The plank is L:240cm, W:9.6cm, T:2.1cm. 1cm = 0.4 inches. The shaft piece is 98cm or 38.6 inches. The handle piece is 42cm or 16.5 inches. The 2 hinge pieces are both 15cm or 5.9 inches.
The threaded rod is 60cm or 23.6 inches. The size of the 3 aluminum strips depend on the size of the drill and drillhead.
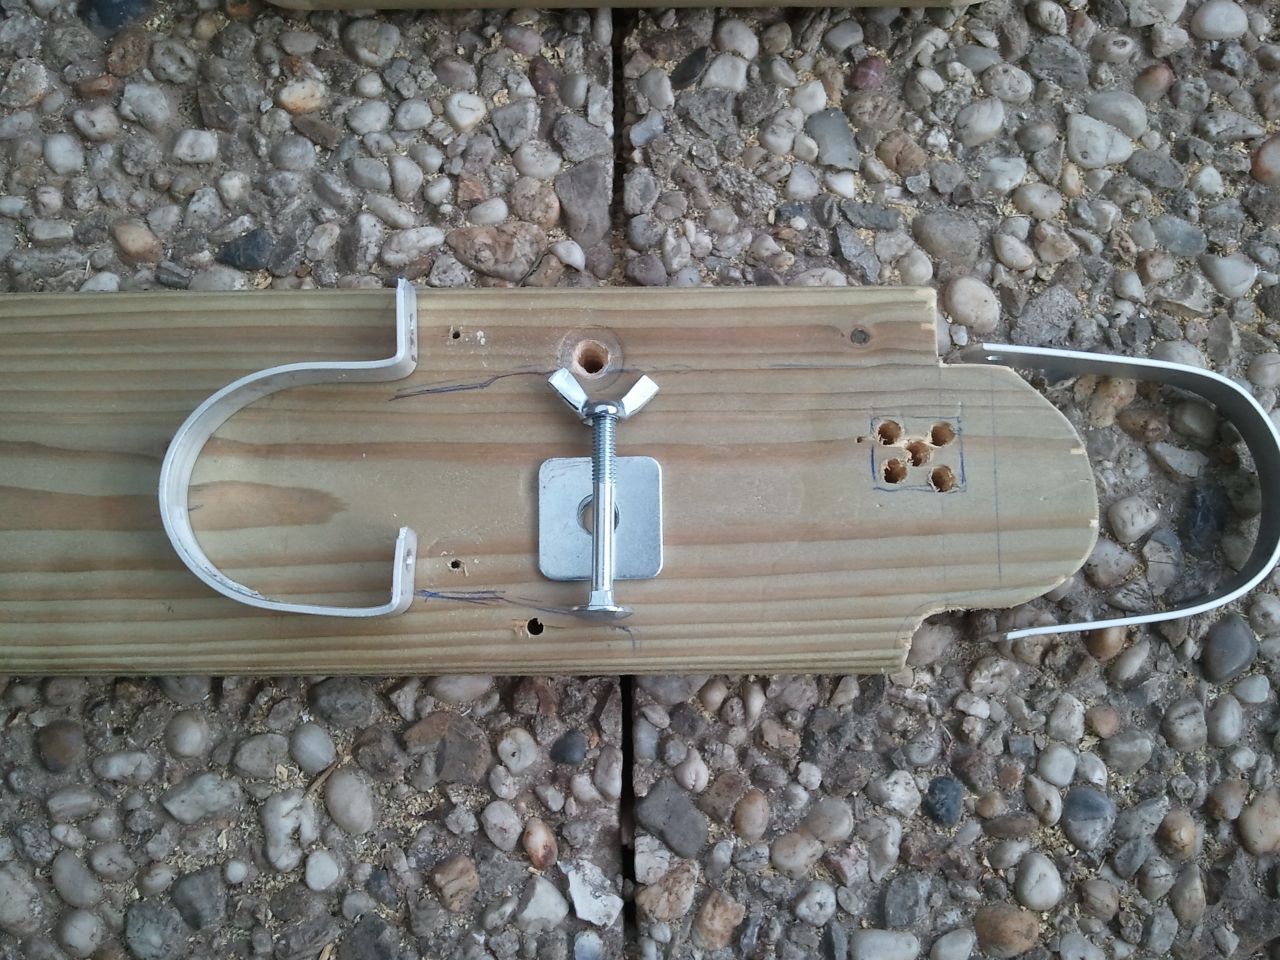
Here you can see the shape of the plank on the top, where the cordless drill fits. The length of the aluminum strips depends on the size of the drill. Strip size: W: 15mm or 0.6 inches. T: 2mm or 0.08 inches.
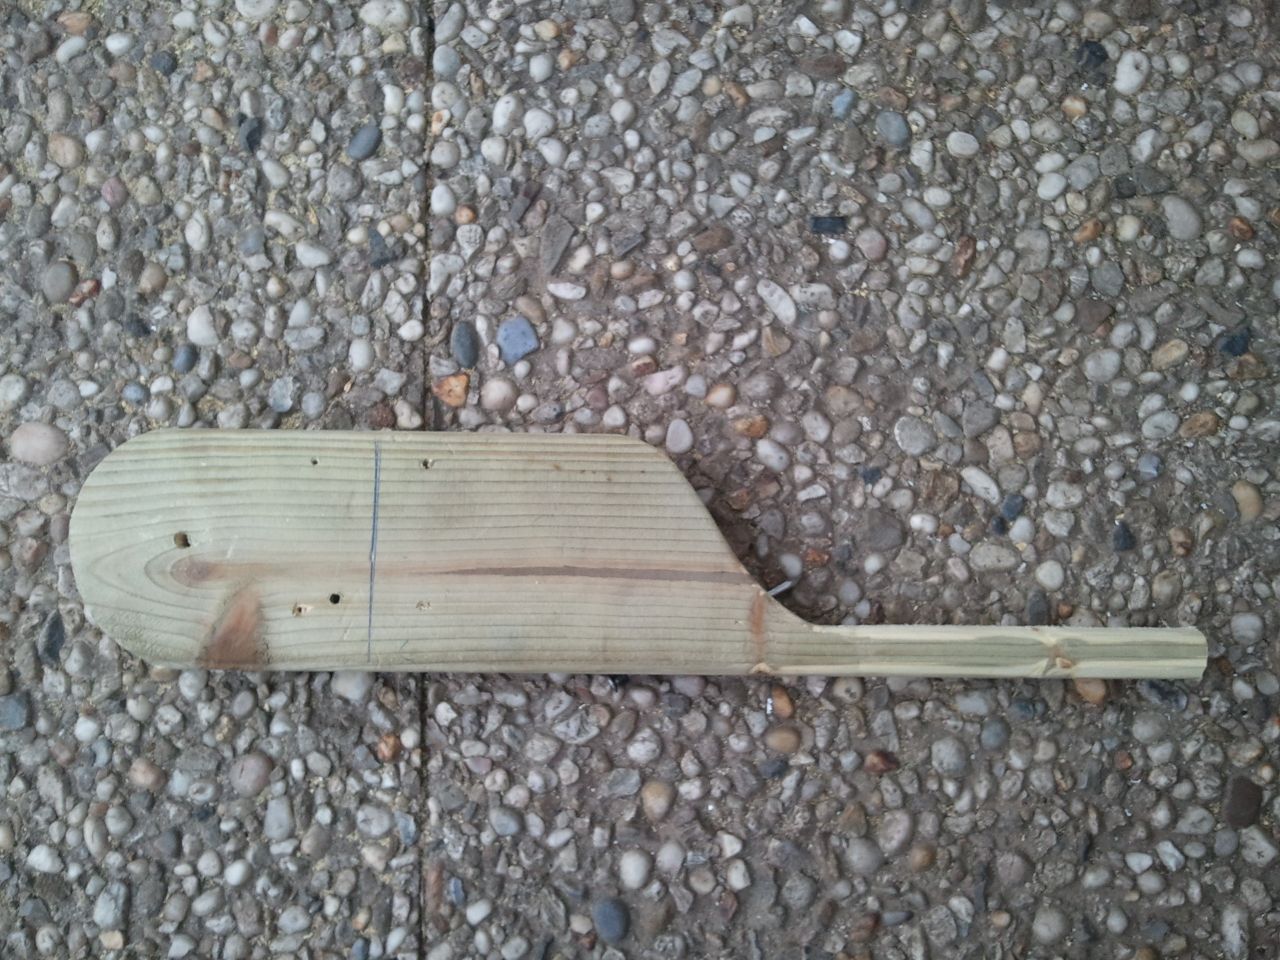
Jigsaw the steering handle as seen in the picture. Round off sharp edges with a file or by sanding. The throttle handle has to be fixed to the steering handle.
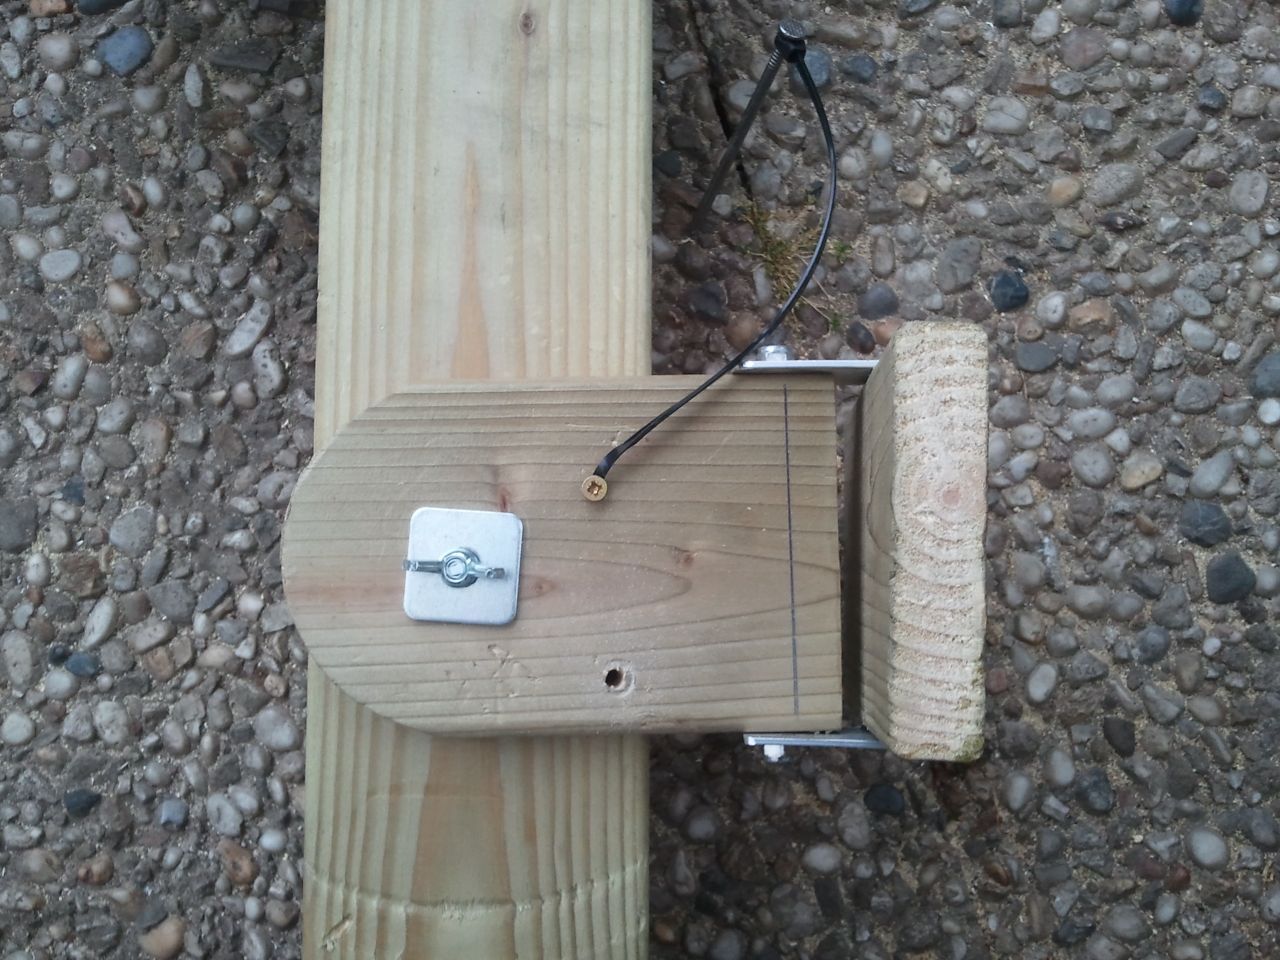
The hinge is of the simple sort. Watch closely to see how it is made.
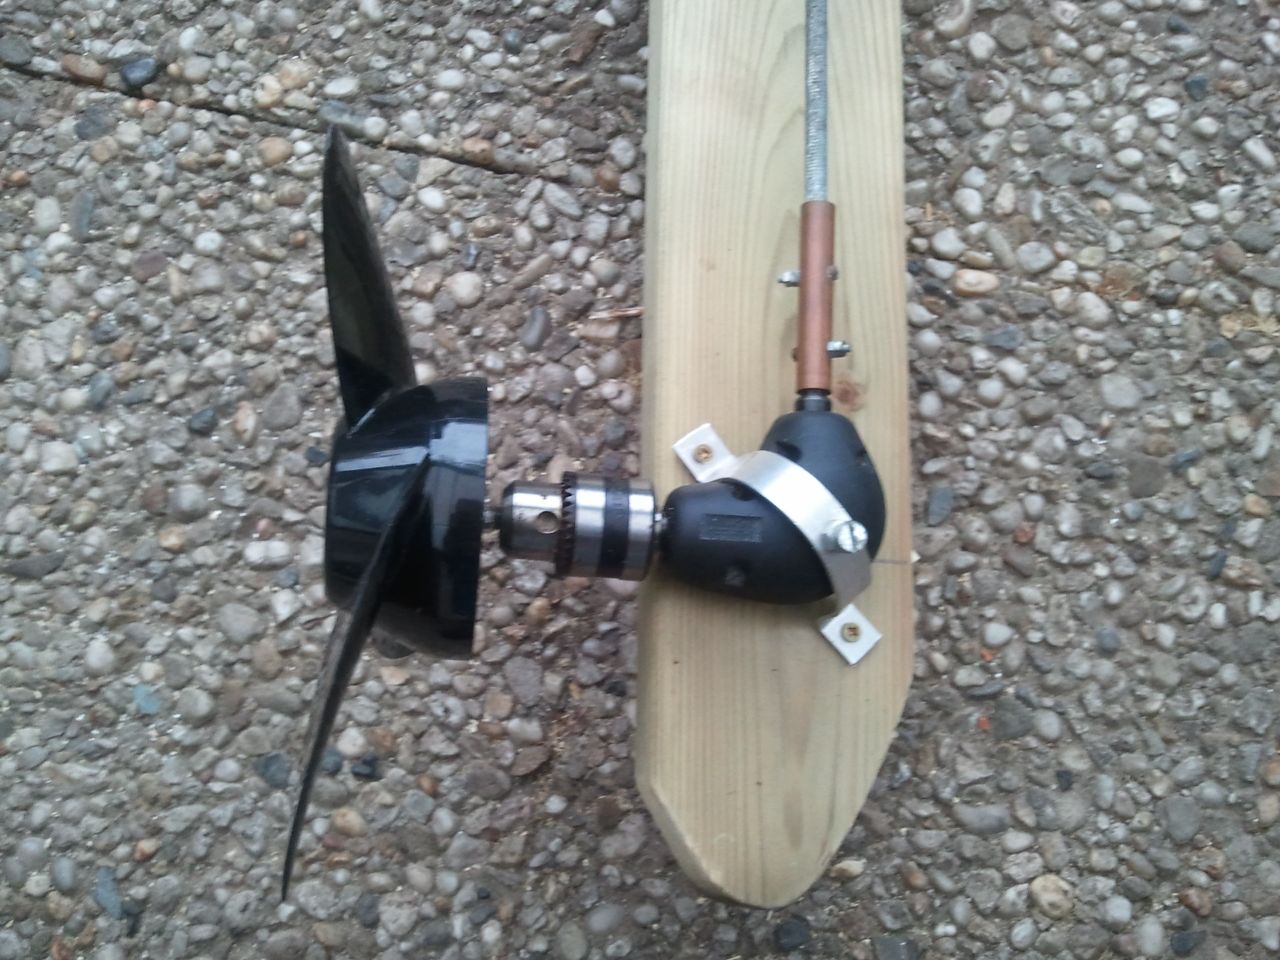
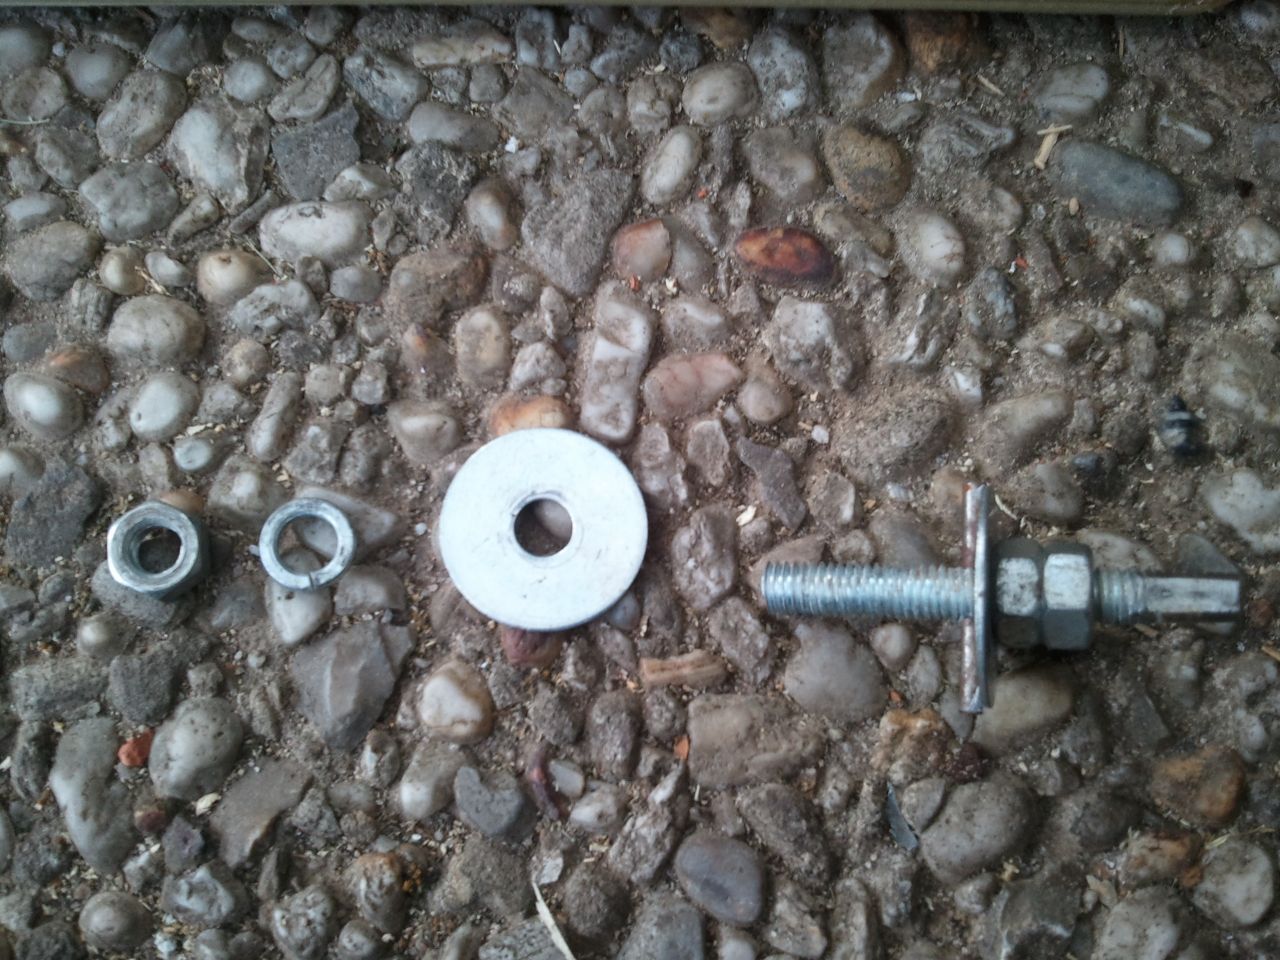
An important part is the 90° drillhead. It has a threaded hole on each side for connection to the plank and the aluminum strip. On one side the main shaft is connected with a small copper tube; on the other side the propeller is put in the drillhead.
The propeller needs a specially made center bolt for a reliable connection. Tests showed that a 2-blade propeller gives more torque.
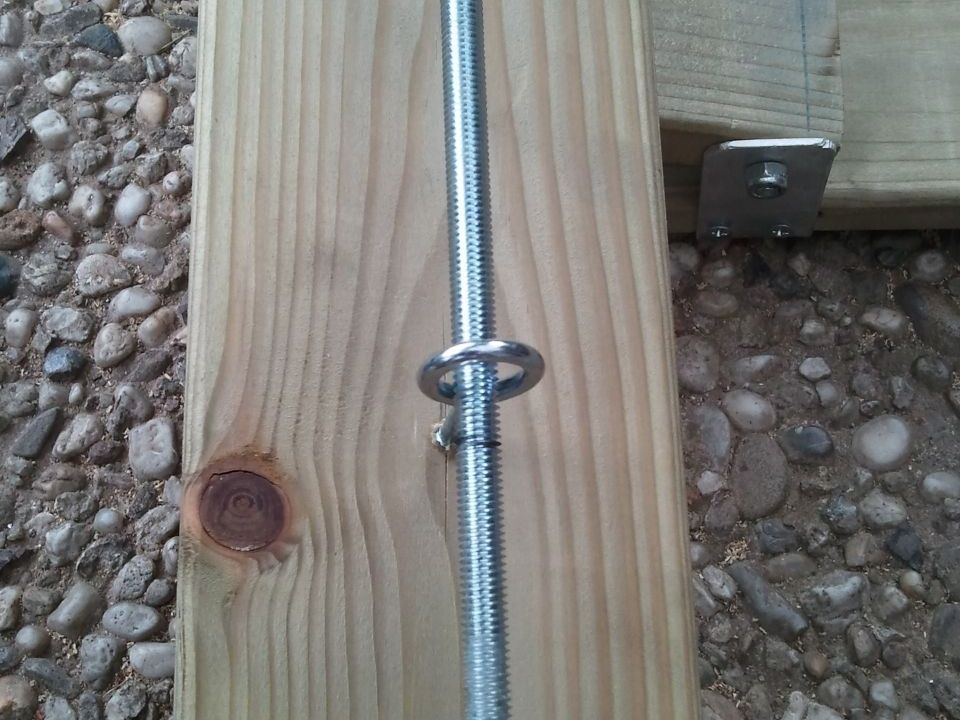
Halfway up the shaft I placed an eyescrew for centering the threaded rod. When the cordless drill is disconnected, the rod stays in place.
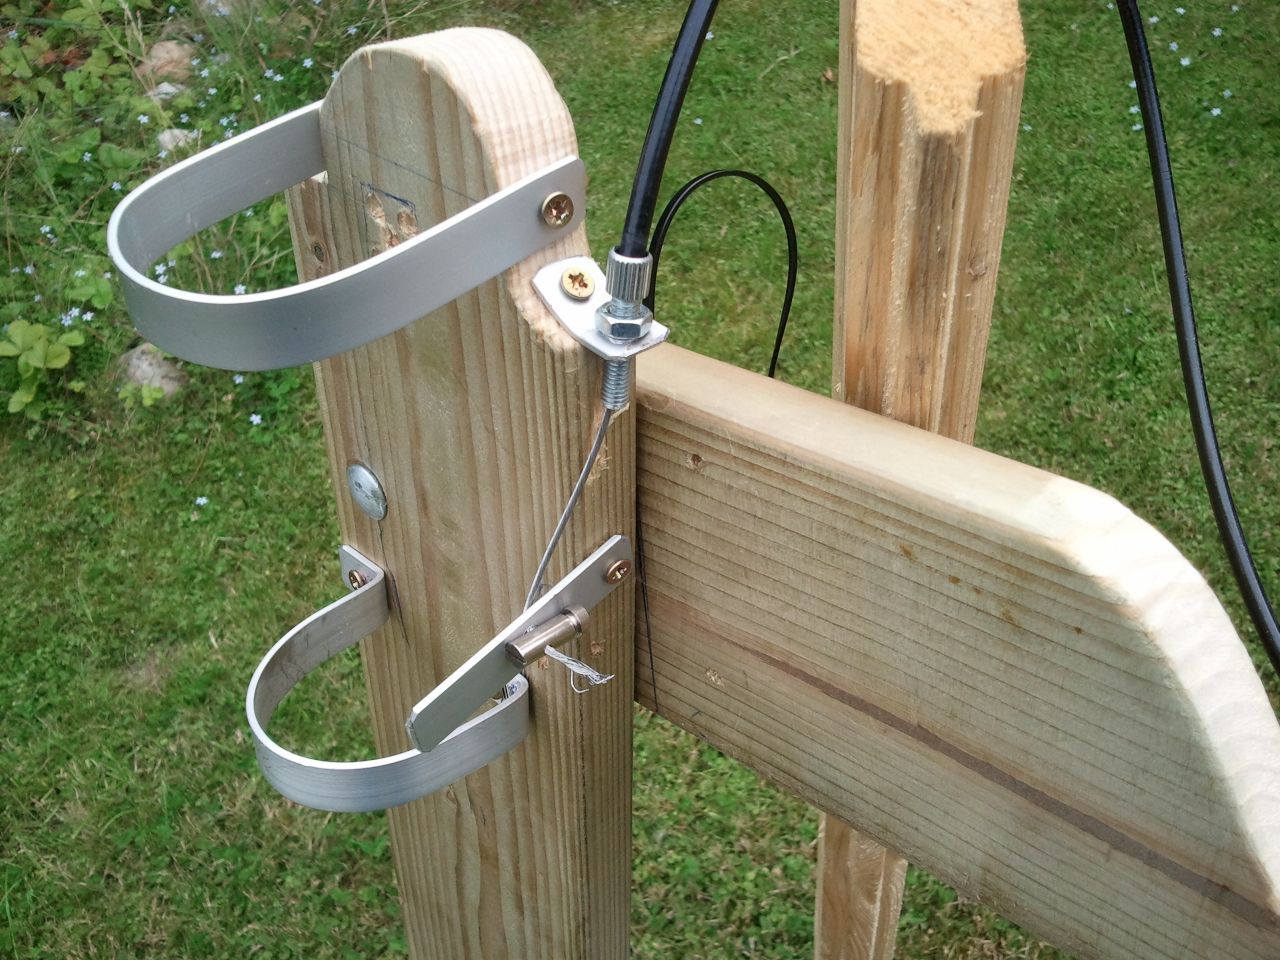
Here you see in detail how the speed control is done. The strip pushes against the drill’s speed button when the operator turns the throttle handle.
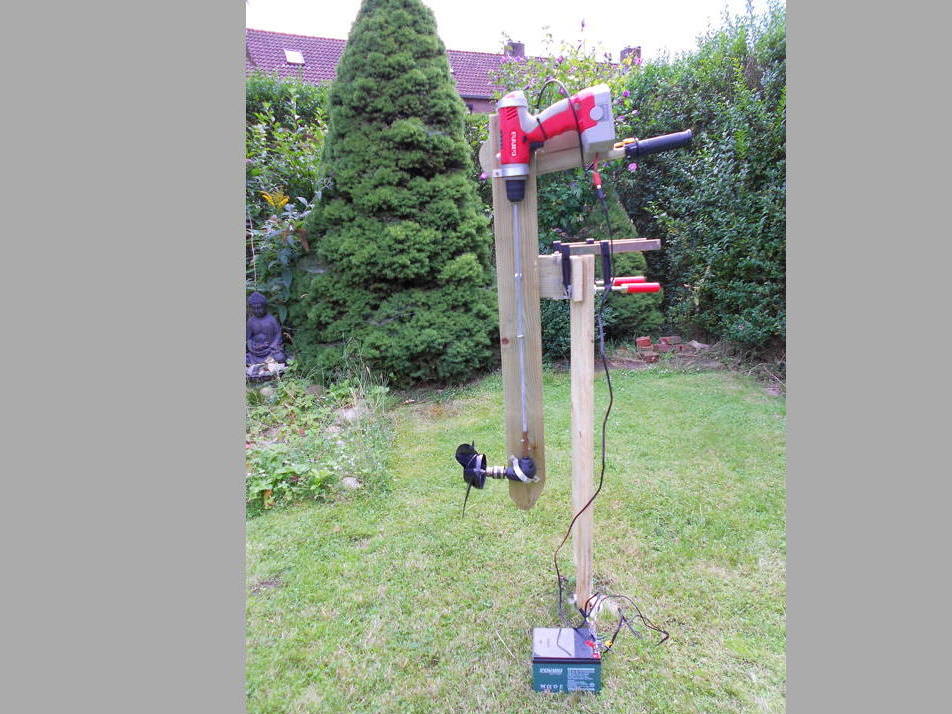
The last picture shows the large battery powering the drill via a cable. The drill’s internal battery is hacked with a plug for external 12V connection.
It’s a good idea to check the temperature of the drill now and then. 10 minutes driving and 5 minutes rest is recommended.
I hope you will be inspired by this project to make this wooden outboard motor.
Conclusion
This is a fun project to make; in a short time you can make an outboard motor from a battery-powered drill. The multi-functionality of electric tools is the core of this project. Success!!!


