IntelCatOpener-2

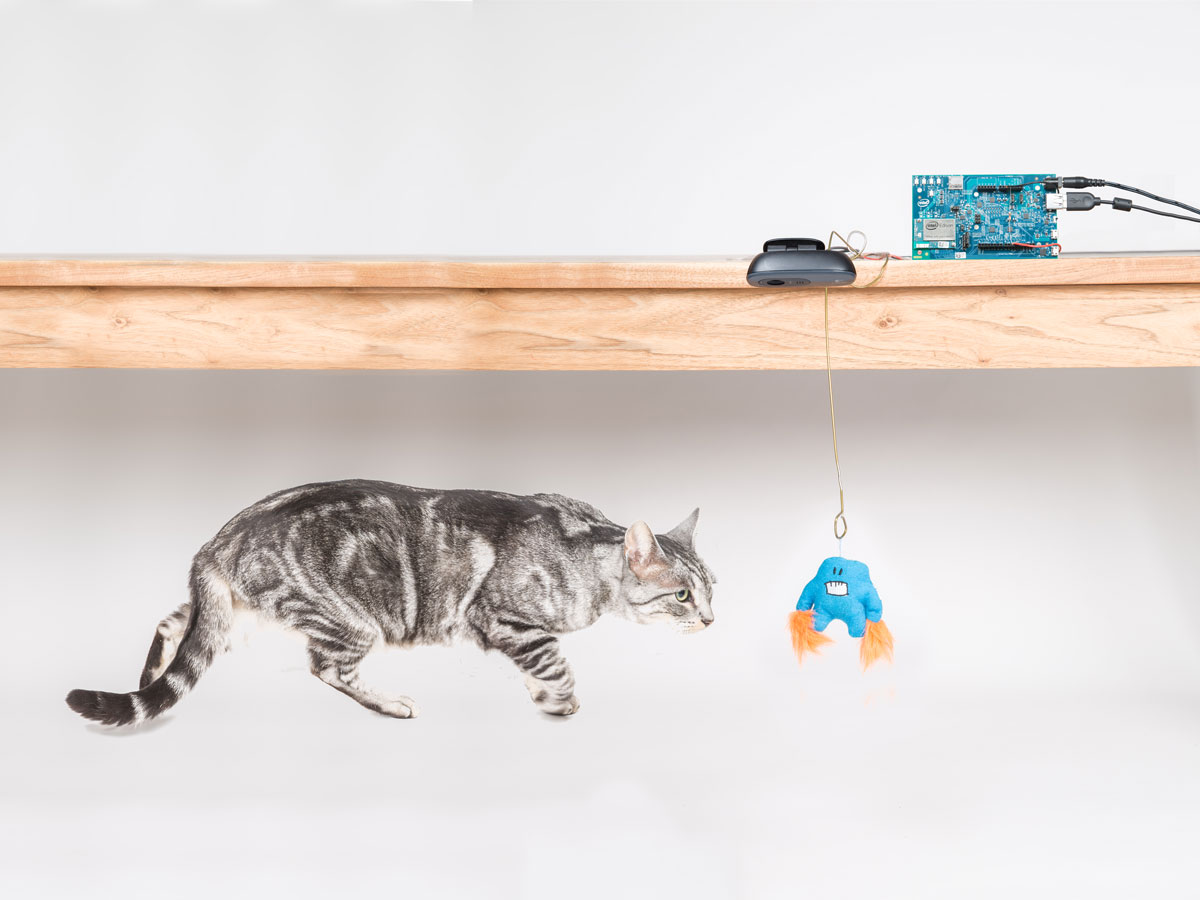
If there is one thing that the Internet loves, it’s cats. Whether they are ticklish, grumpy, play keyboards, or are act like ninjas, the Internet is full of them. I have recently found myself the owner of a cat who refuses to do fun stuff when we are in the room – let alone on camera – so we can make her Internet famous. With the help of the Intel Edison, I created a device to help catch her in the act of kitty playtime.

The link from this device will only be visible to you if you are on the same network as the device. If you would like to open it up to the rest of the world, you can do so by creating a dynamic DNS address and using a little port forwarding magic. Now, sit back and feed the internet more cat content as your kitty bats away at its new toy.

Project Steps

Setup the Edison Module and Edi-Cam

Follow the Intel guides to set up the Edison module at intel.ly/1Drs15a.

You will use the Arduino IDE for this
project, so be sure to follow the instructions for setting it up for the Edison.

Streaming video from the Edison is easy thanks to Edi-Cam. This free package enables access to the camera and creates a web server that you can use to stream video.

Follow the instructions on the Edi-Cam github page at github.com/drejkim/ edi-cam to install the package.

Cut the Clothes Hanger and Sand the Wire

Cut off the hook below the twisted wires. Then, cut two sections of hanger wire: one about 6″ long, and another about 1’4″ long.

Measure 1½” from one end of the long wire, then sand the enamel off of a 4″ section to expose the conductive metal.

On the 6″ section of wire, sand off all of the enamel except for the top 2″.

Bend the Wire

Bend the 1½” non-sanded end of the long wire into a small loop. On the other end, bend the wire into a loop a little smaller than your cat toy. This is the pendulum.

Bend the sanded end of the short wire into a quarter-sized loop. Next, bend about half of the wire into a large circle, parallel to the first circle. This will be the base.

Create a small hook on the non-sanded end of the remaining wire and then bend the wire up from the base so the hook sits directly above the small loop.

Attach Wires and Adjust

Run the small loop in the long wire up through the quarter-sized hole in the stand, and attach it to the hook you bent into the stand. Make sure that it dangles in the center of the hole in the base so the sanded portion can make contact with the ring it’s passing through.

You may need to bend the base section a little to make sure everything is aligned. The insulation on the hook and inside the small loop on the pendulum should keep them from being electrically connected, but when the pendulum swings and touches the side of the ring, a connection will be made.

Attach the Signal Wires

On each of the 2′ red and black hookup wires, strip about 2″ of insulation from one end and ¼” from the other.

Wrap the 2″ of stripped black wire around a sanded portion of the base. Make sure it is tight, and then wrap the wire in tape to insulate it and keep it in place.

Wrap and tape the 2″ section of stripped red wire onto the long pendulum wire. Make sure the tape doesn’t insulate the pendulum from the ring.

Wire Your Arduino

Plug the free end of your black wire into ground on your Edison Arduino Breakout and the red wire into Pin 10. Jump from any 5v pin over to Pin 10 with the 10k resistor — this will act as a pull up resistor so we can detect the switch closing.

Setup Arduino Tweet

Tweeting from Arduino platforms couldn’t be easier with the Tweet Library for Arduino (arduino-tweet.appspot.com).
This web app will do the heavy lifting for you by authenticating to Twitter and sending the message.

To access the web app, all you need is your API key. Follow the first two steps in their setup process to get everything you need to send tweets. I created a special Twitter account for my cat toy so those following me wouldn’t be distracted by the tweets coming from it.

Get the Code

Download the IOCat.ino sketch at github.com/MattStultz/IOCat.

Add your Twitter Library for Arduino key and modify the tweet message to include the link to your Edison streaming server.

Then, upload the code to your Edison module via the Arduino IDE.

Putting It All Together

Plug the USB webcam (I recommend a Logitech C270, but any UVC-compatible webcam works fine) and power cord into your Edison and connect to it via SSH. Navigate to the directory “Edi-Cam/Web/Server” and run the command “node server.js &”. The “&” will allow the code to continue running even after you disconnect your SSH session.

Tape or clamp the pendulum base to the edge of a table.

Attach one of your cat’s favorite toys to the end of the pendulum with tape or a light thread (if kitty gets too aggressive, you don’t want the whole thing coming down).

Sneak away and wait for the tweets to start rolling in.

Taking It Further

The link from this device will only be visible to you if you are on the same network as the device. If you would like to open it up to the rest of the world, you can do so by creating a dynamic DNS address and using a little port forwarding magic. Now, sit back and feed the internet more cat content as your kitty bats away at its toy.