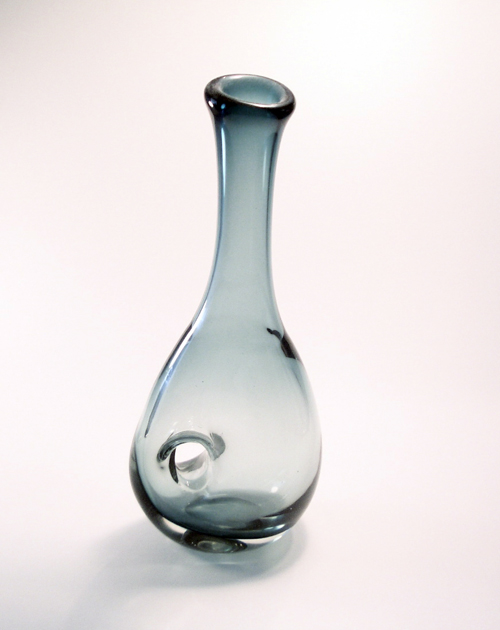
This photo wasn’t taken in a studio. It was taken in my kitchen with a light box I made with household items. I’ve been testing out a cheap solution to take better pictures of craft projects, but this can be used for anything. If you don’t have any of the materials, just head to Bed and Bath and you can get this stuff for around 20 bucks or less (save those coupons in the mail). Most of us typically have at least one of these items somewhere in our house.
I used this tutorial on Switchboard called “Taking Professional Looking Photos without a Professional”.

What you need:
1 big plastic storage container
2 clip lamps
1 white poster board or fabric for lining inside of container
fabric interfacing (enough to cover outside of container, approx 1 1/4 yard)
Lay the plastic bin on a table or flat surface. Insert the poster board (or fabric) in the bin to be your backdrop. Lay the interfacing around the bin and clip the 2 lamps on either side of the bin. You really can get by with using just 2 clip lamps. I like them shining in from both sides. (The lamps I use have 60 watt bulbs.) Also, try moving them around in terms of direction as well as placement. For some items shining the light down from the top looks best. If you think you need more light, another lamp can be used.
When you are ready to take pictures, make sure you have a tripod for your camera. It will give you the stability you need for a clear shot. Make sure your flash is off. Next, turn up the white balance to a level that looks good on your digital camera and shoot away. Take a lot of photos and test to see which setup works best for your photos. You can also take your finished photos and modify the levels in Photoshop or do any kind of cropping/masking. For this shot, I only adjusted the levels a tiny bit.
What’s great about the plastic storage bin is that I can store fabric in it when I’m not taking pictures. It is a great space saving solution.
Related:
Make Blog: Product Photography Tutorials – Link.
ADVERTISEMENT


